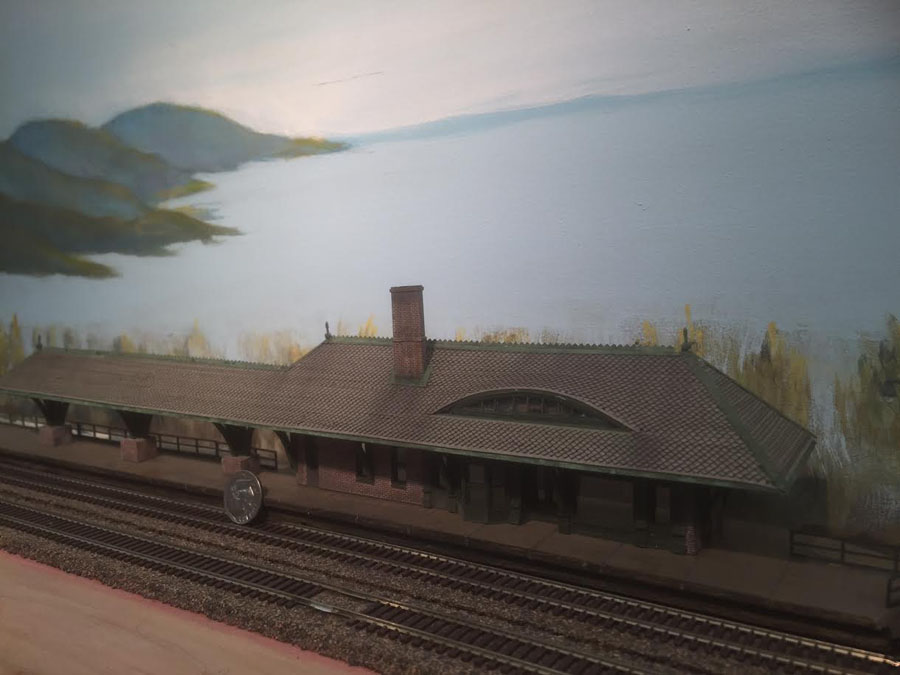
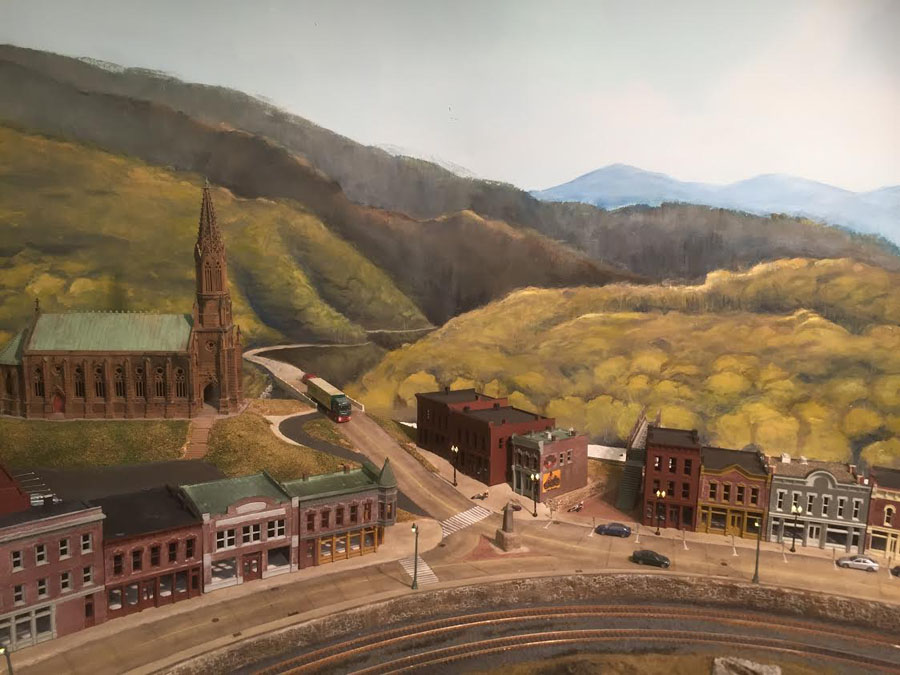
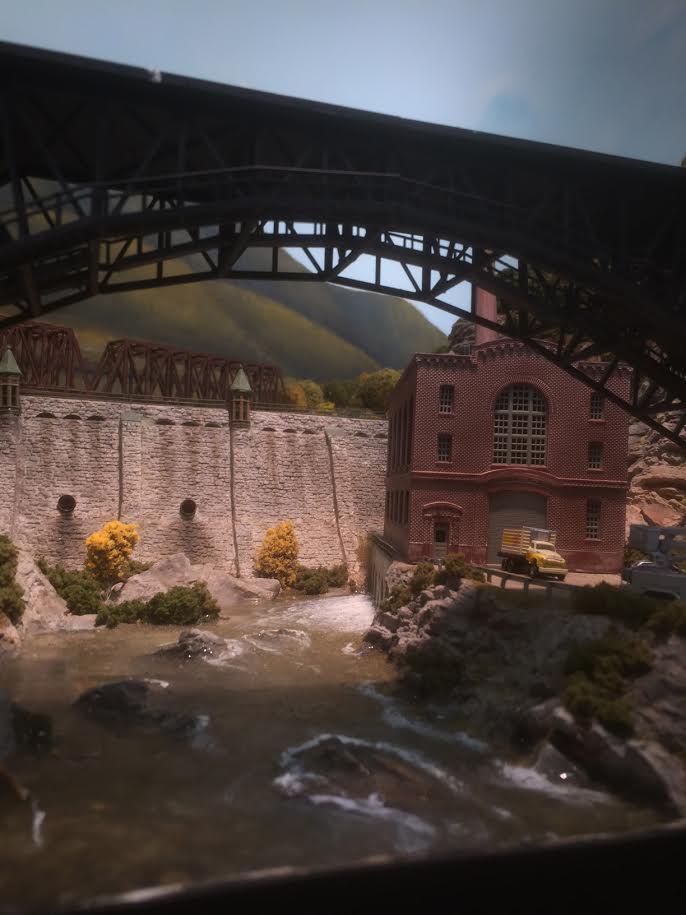
Fred’s been in touch again, this time with some advice on model railroad backdrop painting.
He’s very kindly put the below together in response to all the comments on his last post (which is here).
“Many thanks to all of you for your over-the-top compliments, which were greatly appreciated.
What you see has taken me a full time effort for a year, and it gets lonely in the basement – I appreciate the support.
Iʼll try to answer some of the questions sent me, but first let me explain my background and what excites me about modeling as a pastime.
While I had trains as a boy, as an architect I made a lot of architectural models in the 70ʼs and 80ʼs, and did a number of them professionally to earn extra money in what eventually became a non lucrative vocation that I quit in 1984. (Modeling was my favorite part of architecture.)
Iʼve always loved modeling, though, and as a pilot, I did a lot of RC aircraft modeling, with large scale models of WWII fighters and the like, until I tired at the heartache of seeing a half yearʼs work shattered by a violent crash into a fence or treetop!
So in my retirement I opted for more “permanent” subjects, and my preference is definitely on backgrounds, structures, scenery, etc.
Trains, per se, are less important, and mainly a way to bring the static part of the model to life, rather than the other way round. Iʼm not making a value judgement, itʼs just a personal preference.
Iʼm also finding that the painting of both scenery and structures, rocks, etc. is as fun as it is challenging – architectural modeling is almost always white, which is a bore.
For model railroad backdrop painting, determining a color “palette,” “atmospheric scale,” or the degree to which color changes and fades with distance is interesting to me, and Iʼve enjoyed the chance to explore this in the layout.
There are a number of fascinating articles about the dioramas at the Museum of Natural History in New York, which consumed me as a kid, and inspired me to make my layout as much a full “diorama” as my basement space would permit.
Of course this decision complicated a lot of processes. For instance, I have now learned that I couldnʼt really do the backdrop and the scenery sequentially.
While that might seem more efficient, I was unable to make the judgements about color value, conventional perspective lines, lighting, and decided other things that for visual reasons are best done at once!
So I find myself going back and forth, even with buildings and trees in the way, and I have repainted the majority of the backdrop two or three times already.
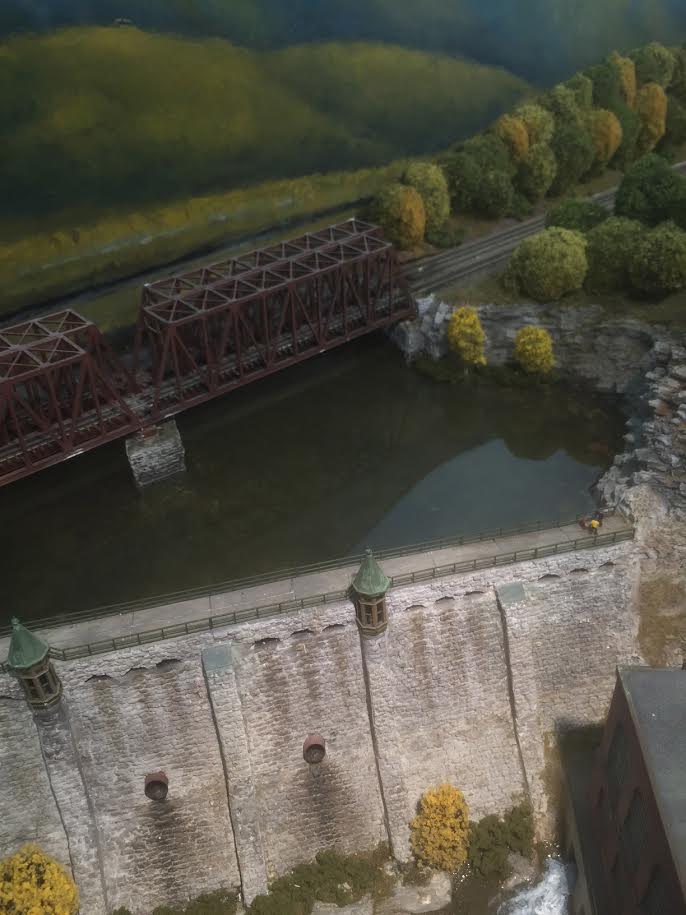
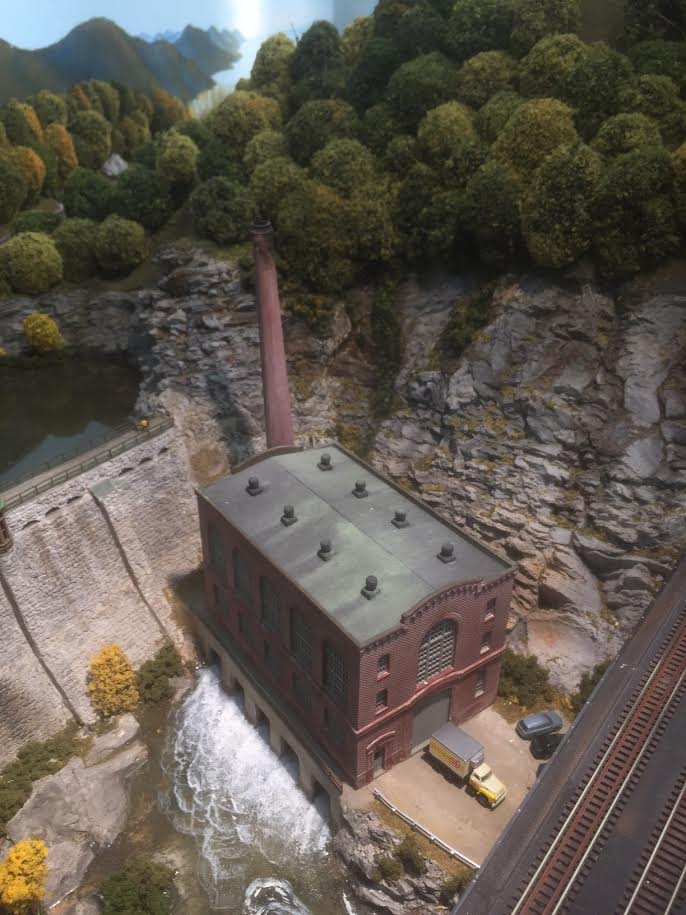
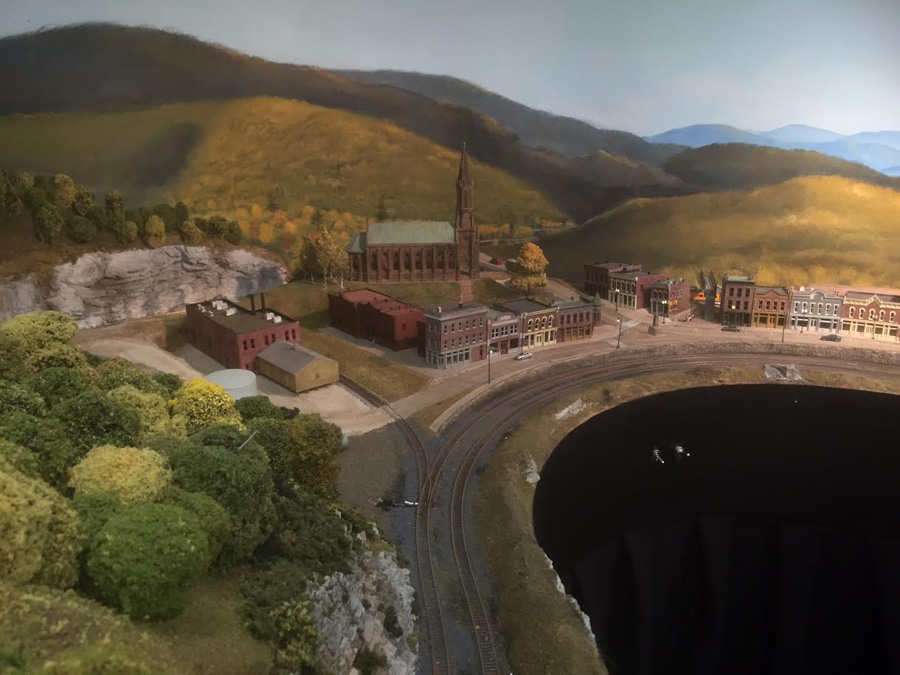
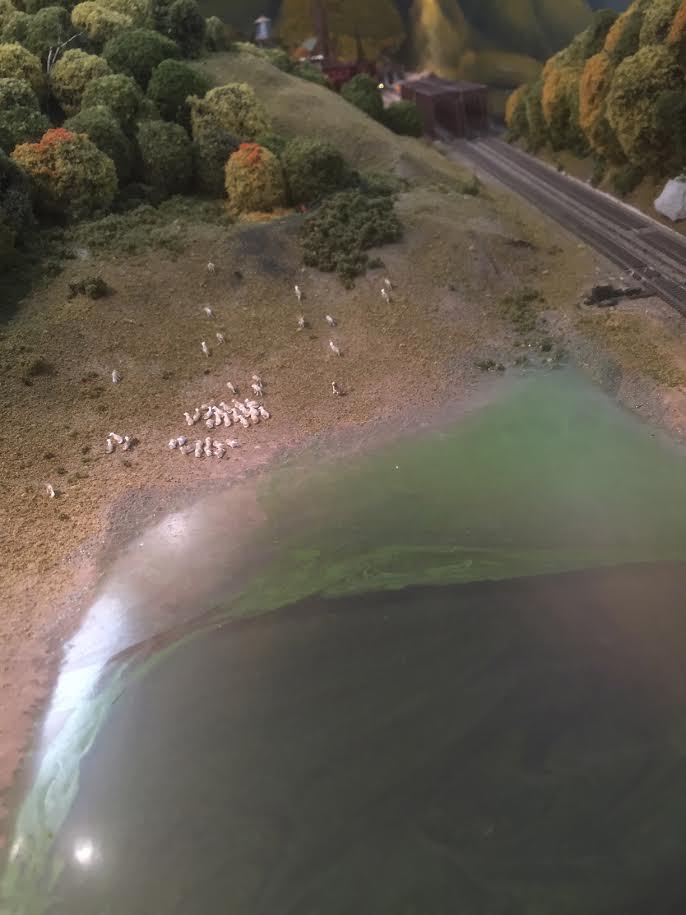
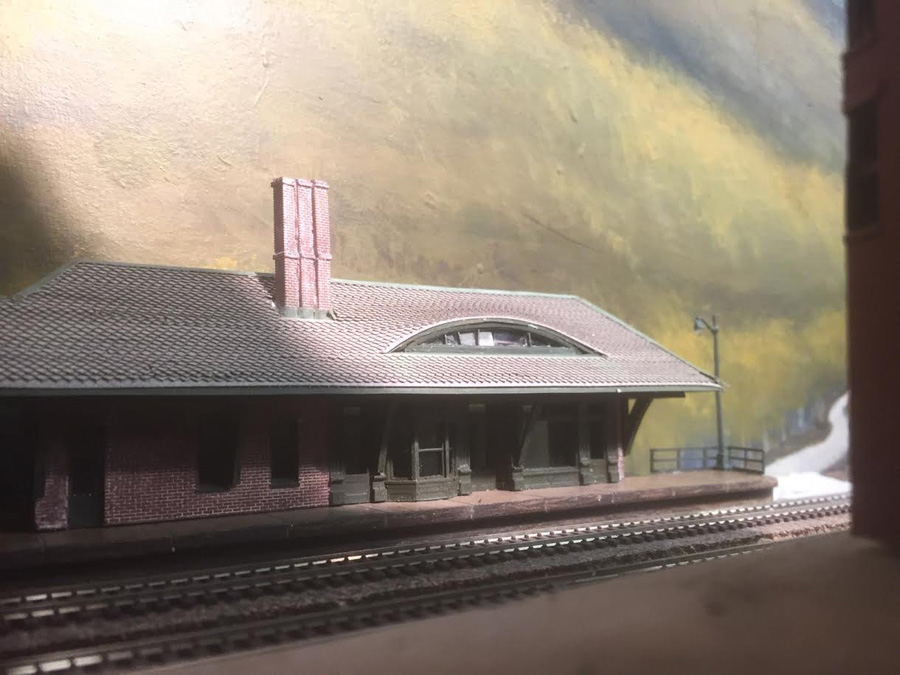
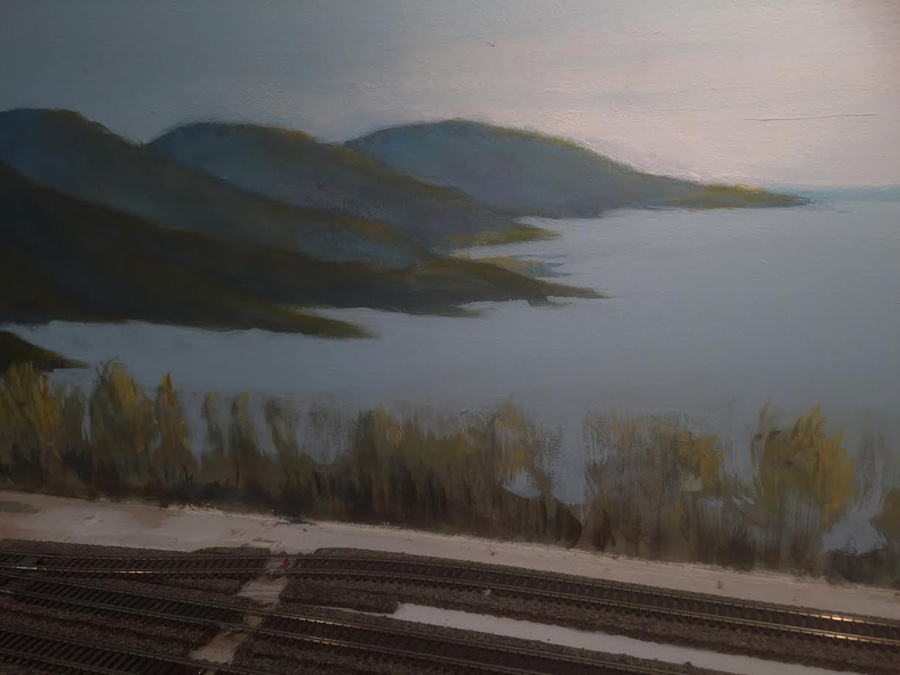
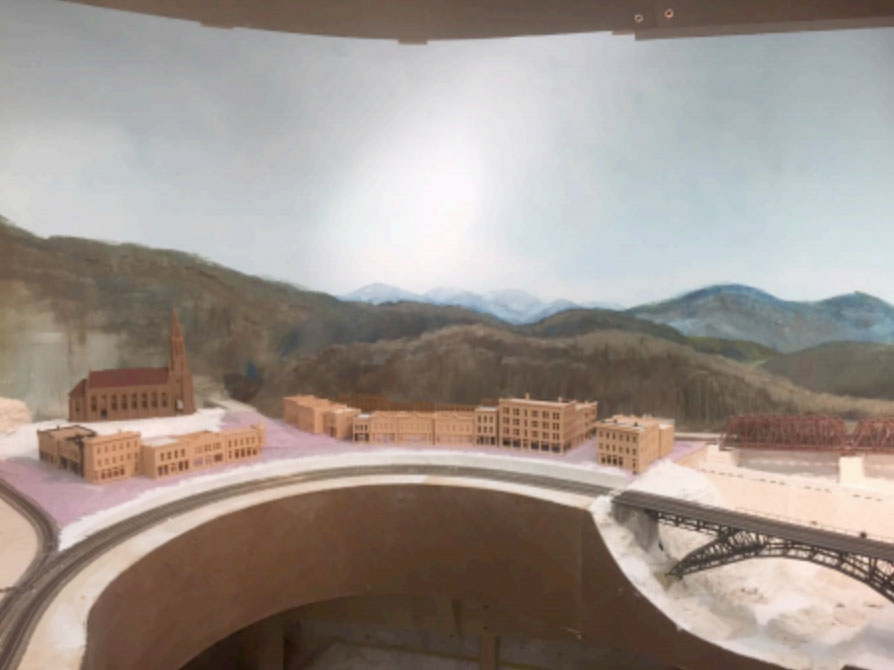
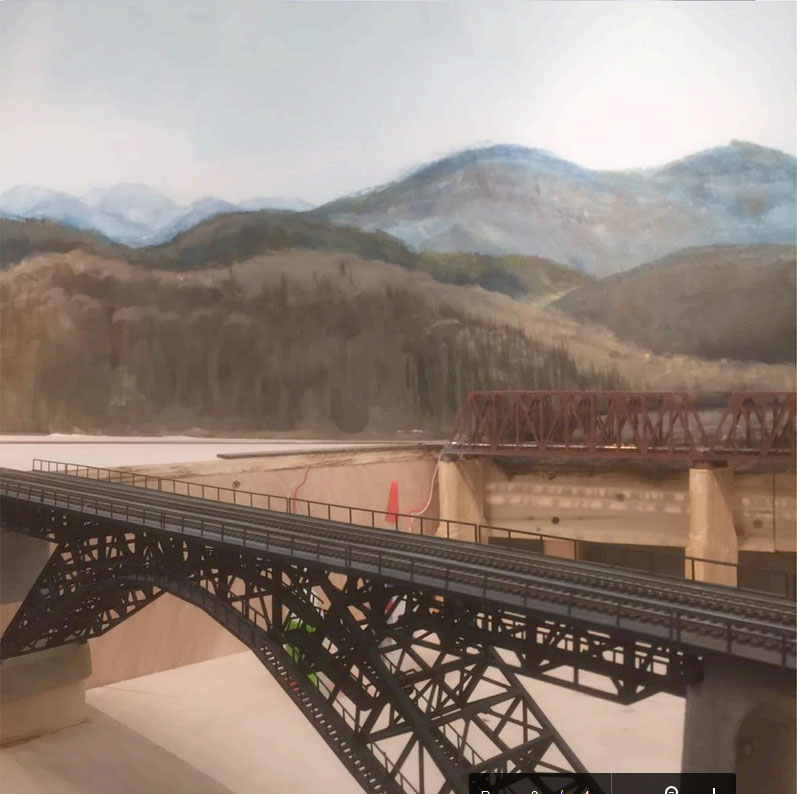
Here are some earlier pictures of my model railroad backdrop painting which I never sent Al, which show the dam and backdrop before Iʼd remembered what my high school art teacher once taught me, and before Iʼd even figured out that early fall was the most interesting season to depict from the color standpoint:
For the fellow that expressed some intimidation that he “wouldnʼt be able to meet the grade,” all I can say is that the fun part of this hobby is that we are first our own critics.
So if you feel you arenʼt doing what you wanted to do, just keep pounding away….youʼll
eventually improve and be very happy with it!
My first efforts at this backdrop are barely polychromatic, flat, and too sketchy to be anything but a big distraction.
Interestingly, when I progressed last November to a phase of psychological abandon from hating my backdrop so much that I wanted to start all over again, I had had the time to stare it and figure out what was wrong:
1) Mountains were too exaggerated in form. (When you enter my basement and view
the backdrop from an angle, the foreshortening effect makes this even worse.)
2) I had chickened out initially from showing any source of light in the painting. This is sort of a no-no in most landscape painting.The most recent version has strong light from the right hand side, which helps define the shape of the topography, bring out some color, etc. By the way, Iʼm starting to experiment with shading and coloring of the shady side of my buildings for added effect. Anybody else tried that?
3) I hadnʼt yet defined my street layout in the village, so I couldnʼt integrate roads and river in the painting.
4) Color palette was out of whack with available ground matte and scenery foams from Scenic Express and everybody else. Now it works, but the choice of foams definitely drove the show, and I think that most of the greens they offer are way to green to look really genuine. I made most of my trees with yellow, olive green, or light green. Iʼll be adding more “aspen yellow,” and subtle orange/red in places. But a little red goes a looong way!
For those who requested videos: Iʼll try. Videography is not my strong suit, and for some reason the video Iʼm taking on my iPhone6 gets out of focus and the color turns reddish and washed out. Anybody have any ideas what Iʼm doing wrong?
Itʼs hard to photo this layout from farther back…my furnace gets in the way. I gave Al a couple additional photos at the other end. Hope that works.
For the question about the dam “penstock,” Iʼve been working on that. The dam was not a kit. I made the face of the dam with built up plywood and foam, then layered with rough stone “tiles” roughly 50ʼ by 25ʼ at N scale which I made with one of my many latex plaster molds.
I ground the edges and thickness of these on a large bench grinder until they roughly coincided with the lines of the stone courses from the mold, then “grouted” in by hand with plaster of paris. All my exposed natural rock and cut stone in the layout is stained with 3 thin acrylic washes (yellow ochre, burnt sienna, black….in that order)
And I had the predictable problems with spots that wouldnʼt stain due to glues, “Sculptamold,” and basically anything beyond plaster. Nothing that a little shrubbery wonʼt hide! Railings are ABS, and dam turrets were “kitbashed” from parts of other DPM kits.
The penstock is going on the face of the dam as a pair of enormous pipes down to the turbine level inside the power house. Iʼve been putting this off while I search for something pre-made that looks like 8 to 10ʼ diameter industrial pipe.
Itʼs tricky at this scale, because without the requisite details like the pipe flanges at the proper thickness, and maybe even the mating bolts, a pair of half inch hoses running down my dam may actually spoil the effect.
Artistic license is necessary. Or maybe I can find a source to do it in brass. Iʼve just discovered etched brass fire escapes for my buildings, and I love them, but maybe it should become the “damn penstock!”
For the fellow who asked about track height, itʼs all on the same level. I dropped the level of my river/ravine to accomodate the dam by building a lower section of the bench work thatʼs about a foot lower than the rest of the benchwork, which is 48” off the floor.
Itʼs fatally incongruous though that I actually wound up with a river thatʼs below sea level! But since Maxwell Falls exists way down at one end of the layout, nobody has yet noticed this but me.
And for the guy who wants to get in his truck to come see the layout…youʼre welcome (and anybody else) any time. Even if youʼre trucking in from Cape Town! Just get in touch first, thatʼs all I ask.
Fred”
A huge thanks to Fred for sharing his take on Model railroad backdrop painting – sound advice.
(Here’s the link to his original post again).
Stunning stuff – and I so love his comment that I think really captures the spirit of this hobby: “…all I can say is that the fun part of this hobby is that we are first our own critics”.
That’s all for today folks.
Please do keep ’em coming.
And if today is the day you start your layout and paint that backdrop, the Beginner’s Guide is here.
Best
Al
PS More HO scale train layouts here if that’s your thing.
Need buildings for your layout? Have a look at the Silly Discount bundle.