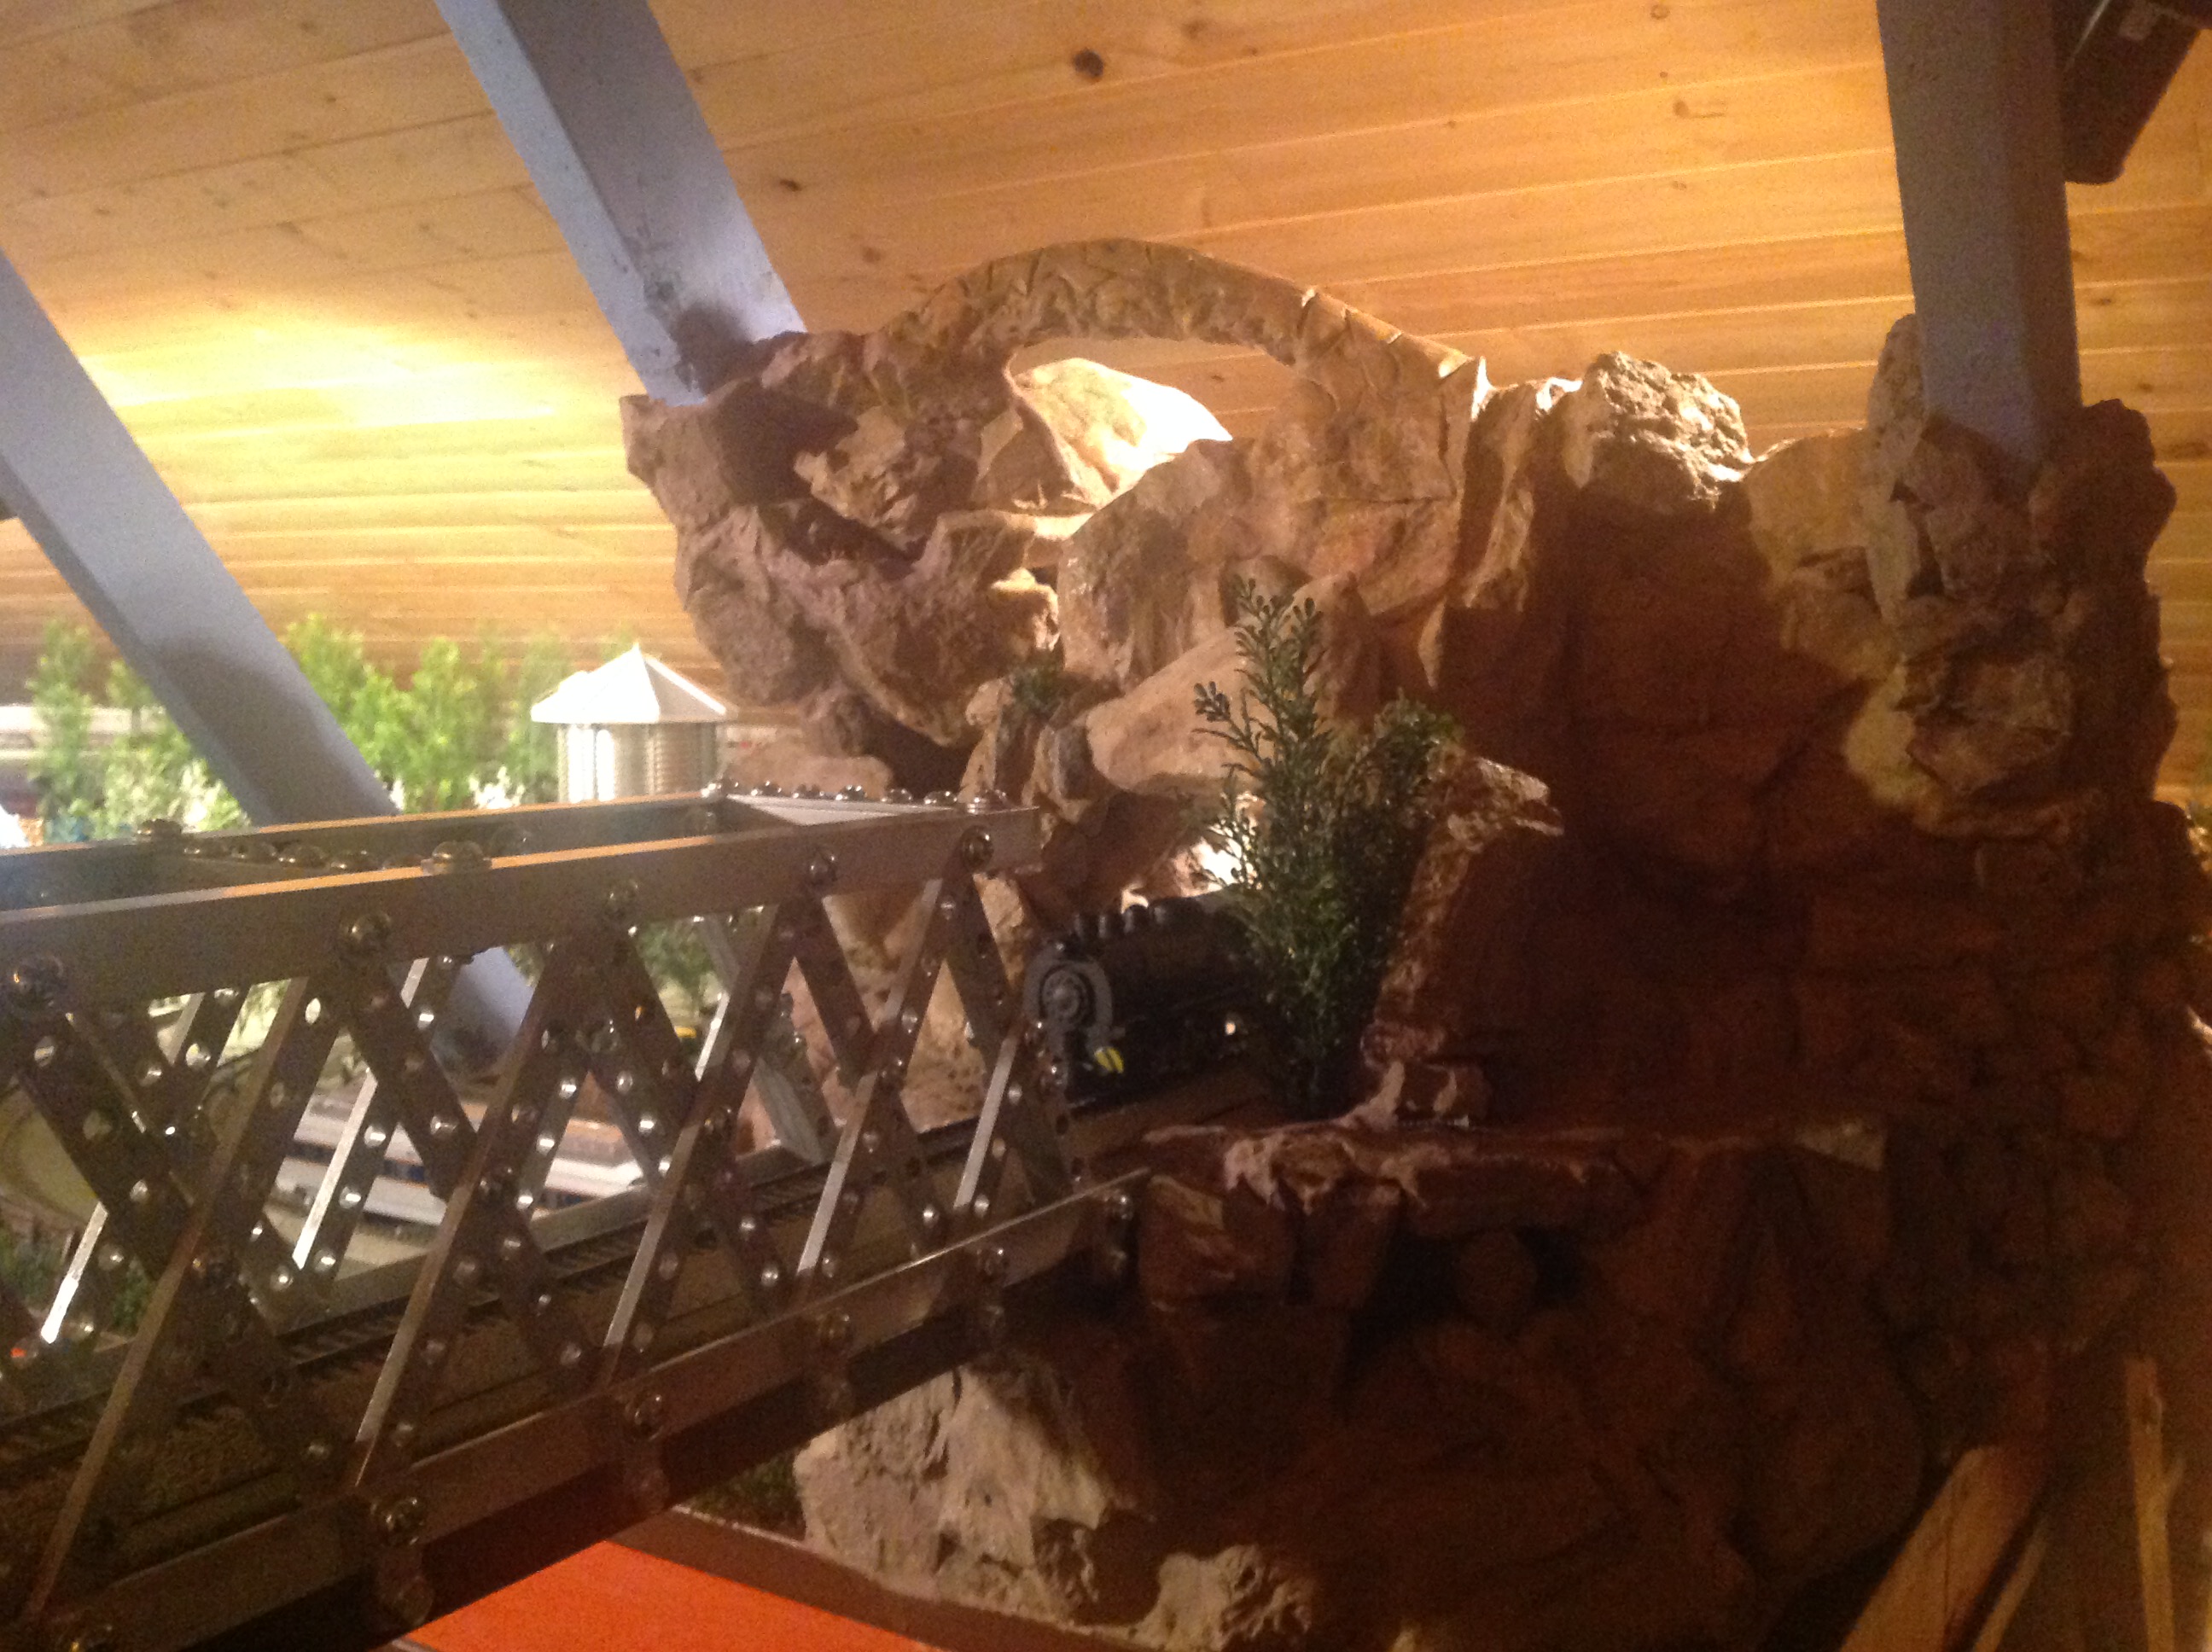
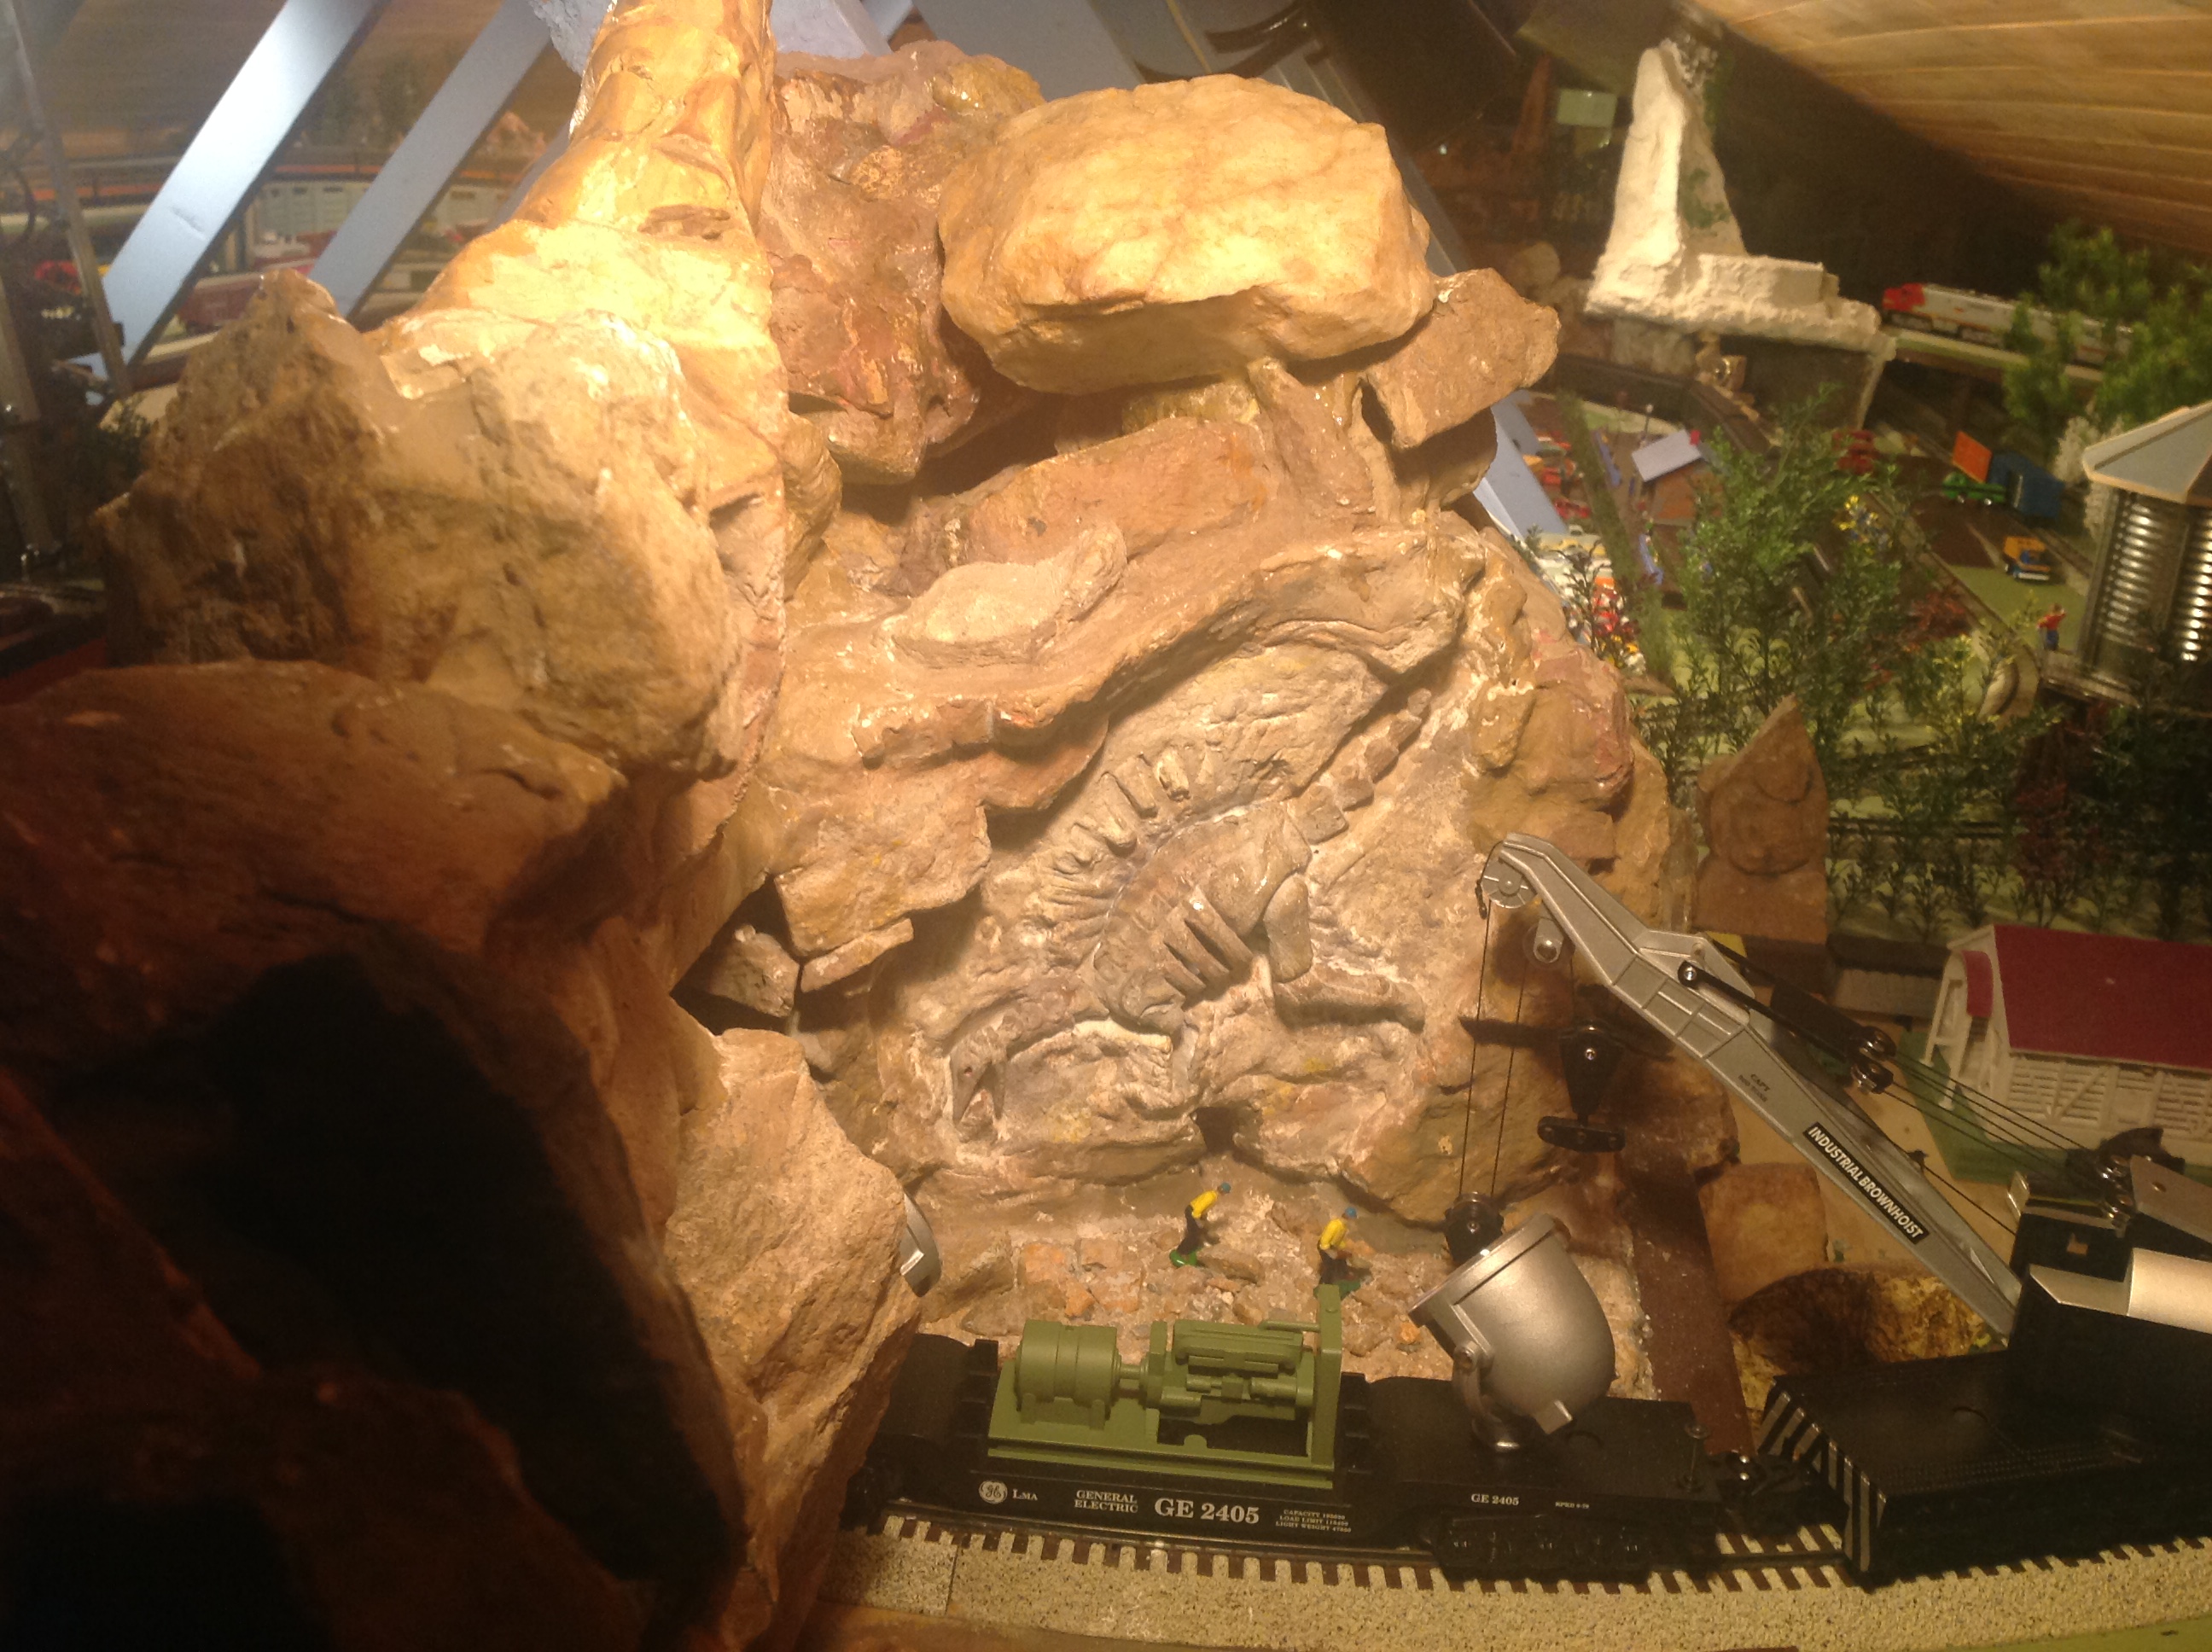
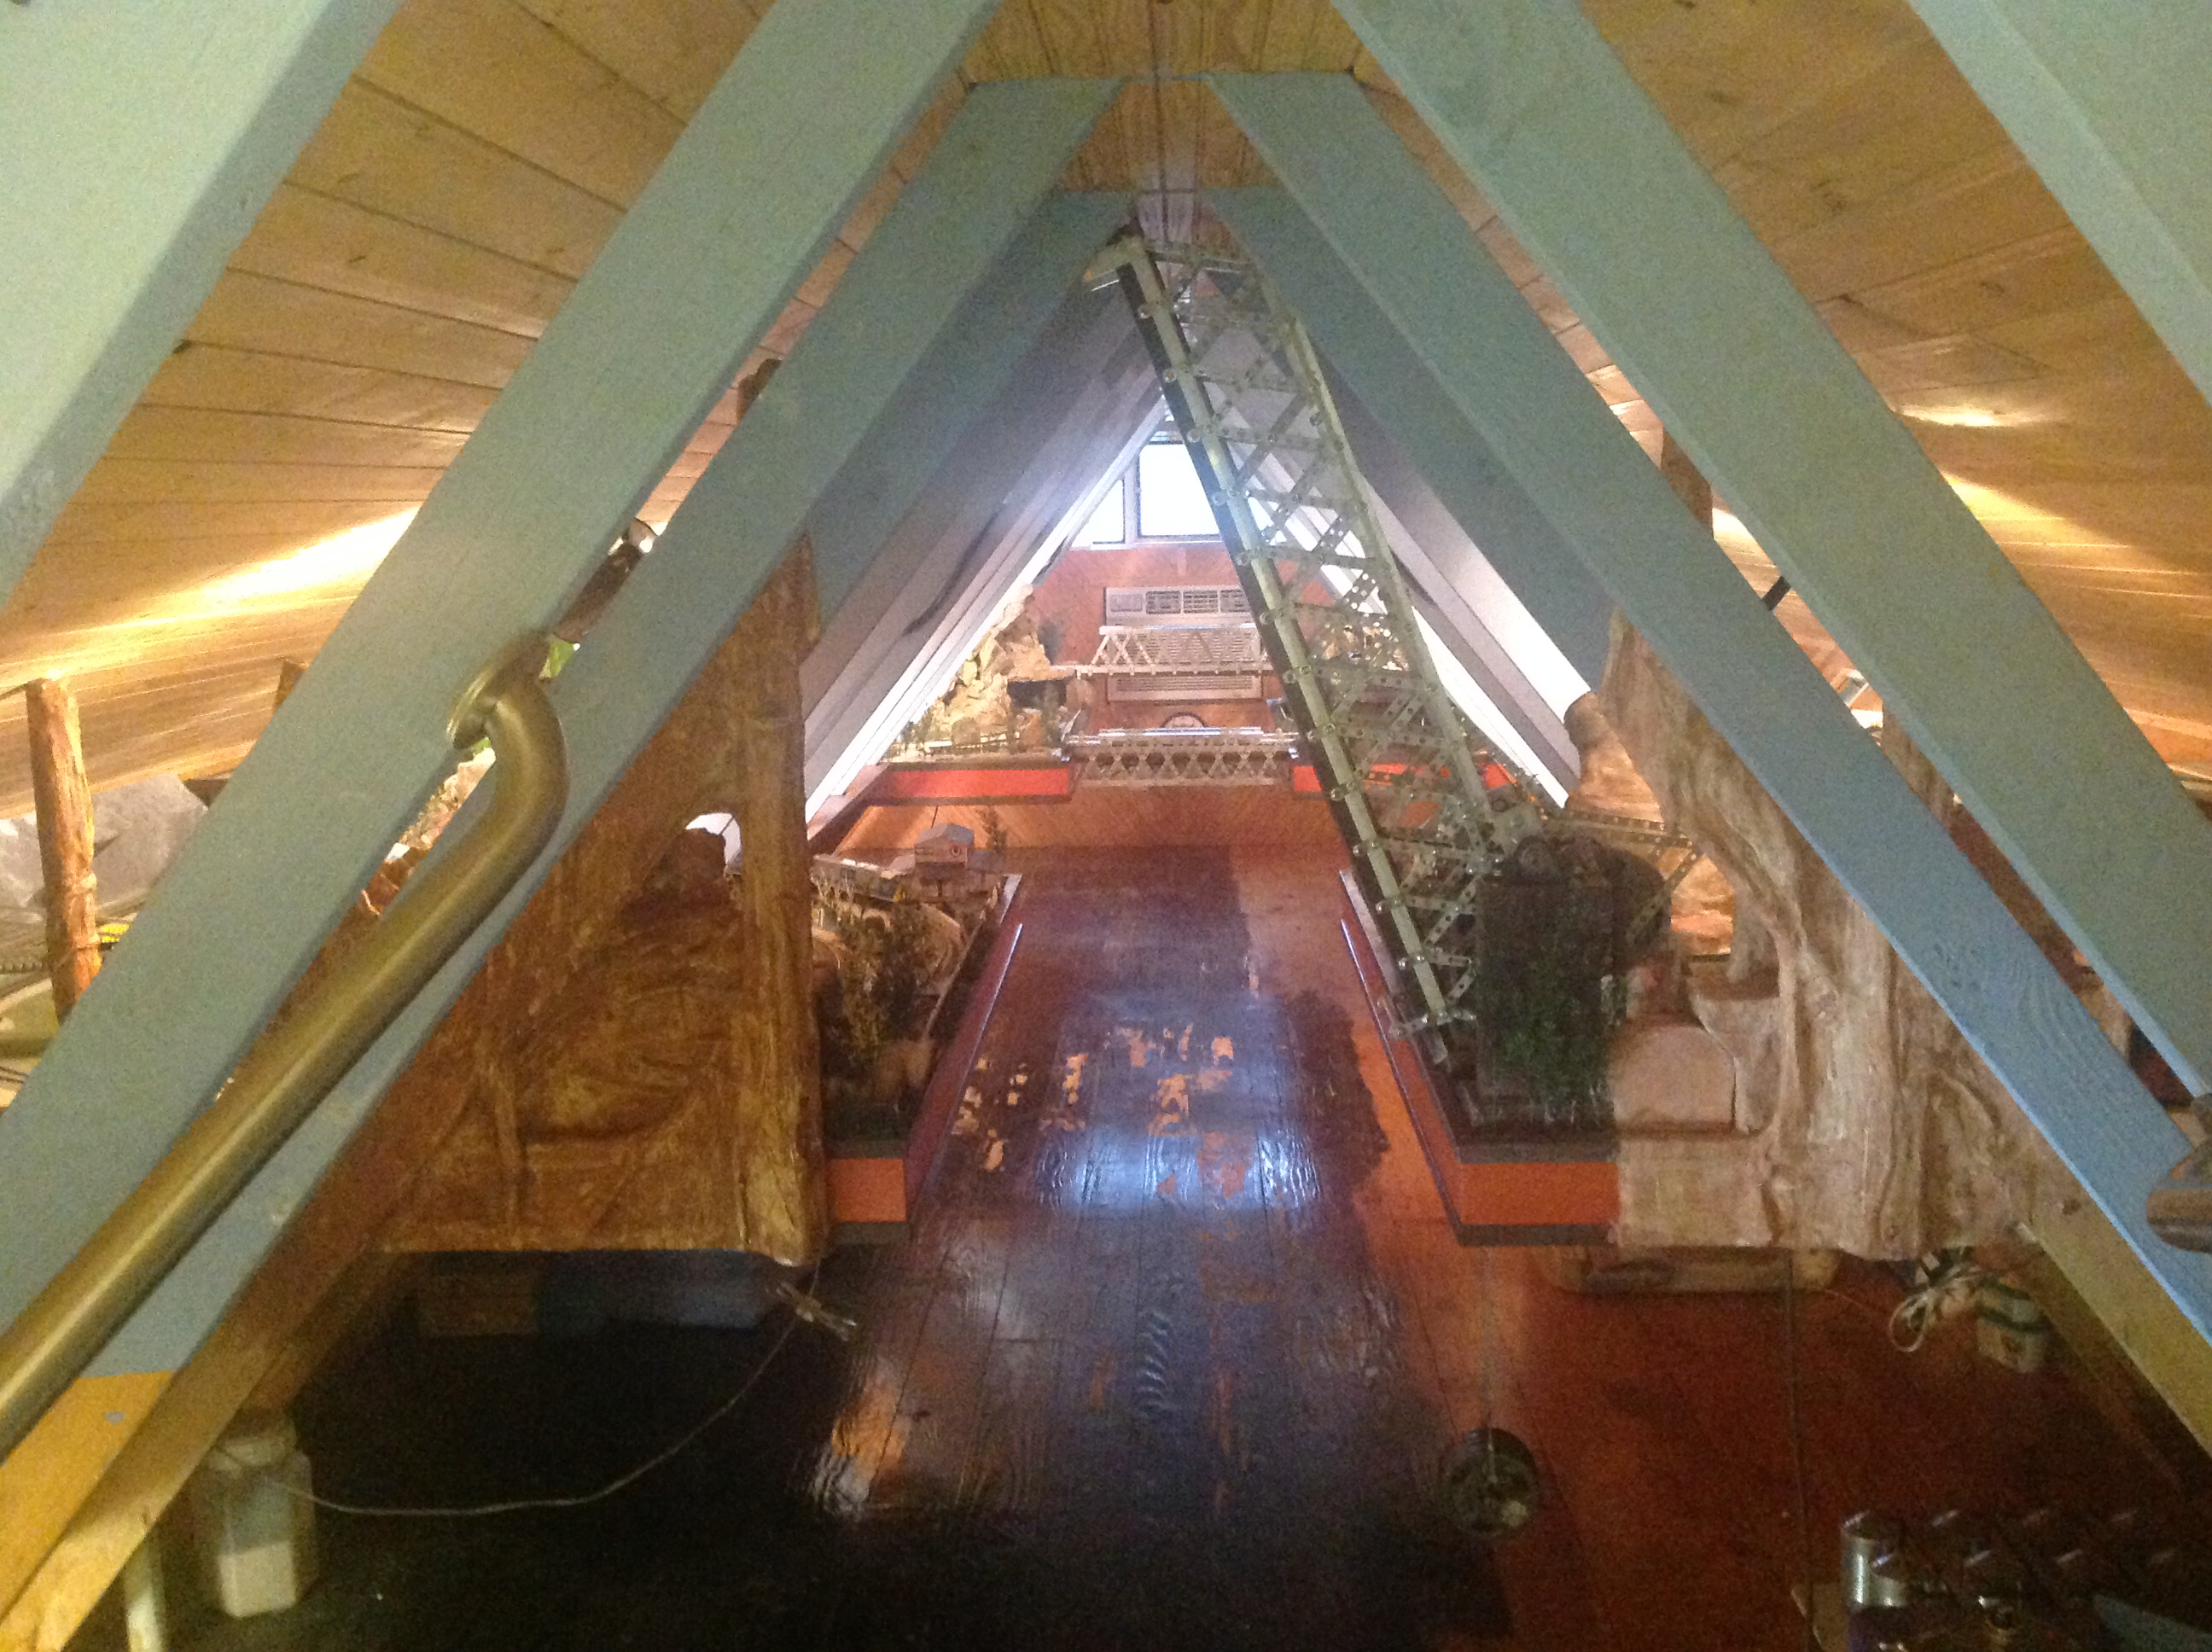
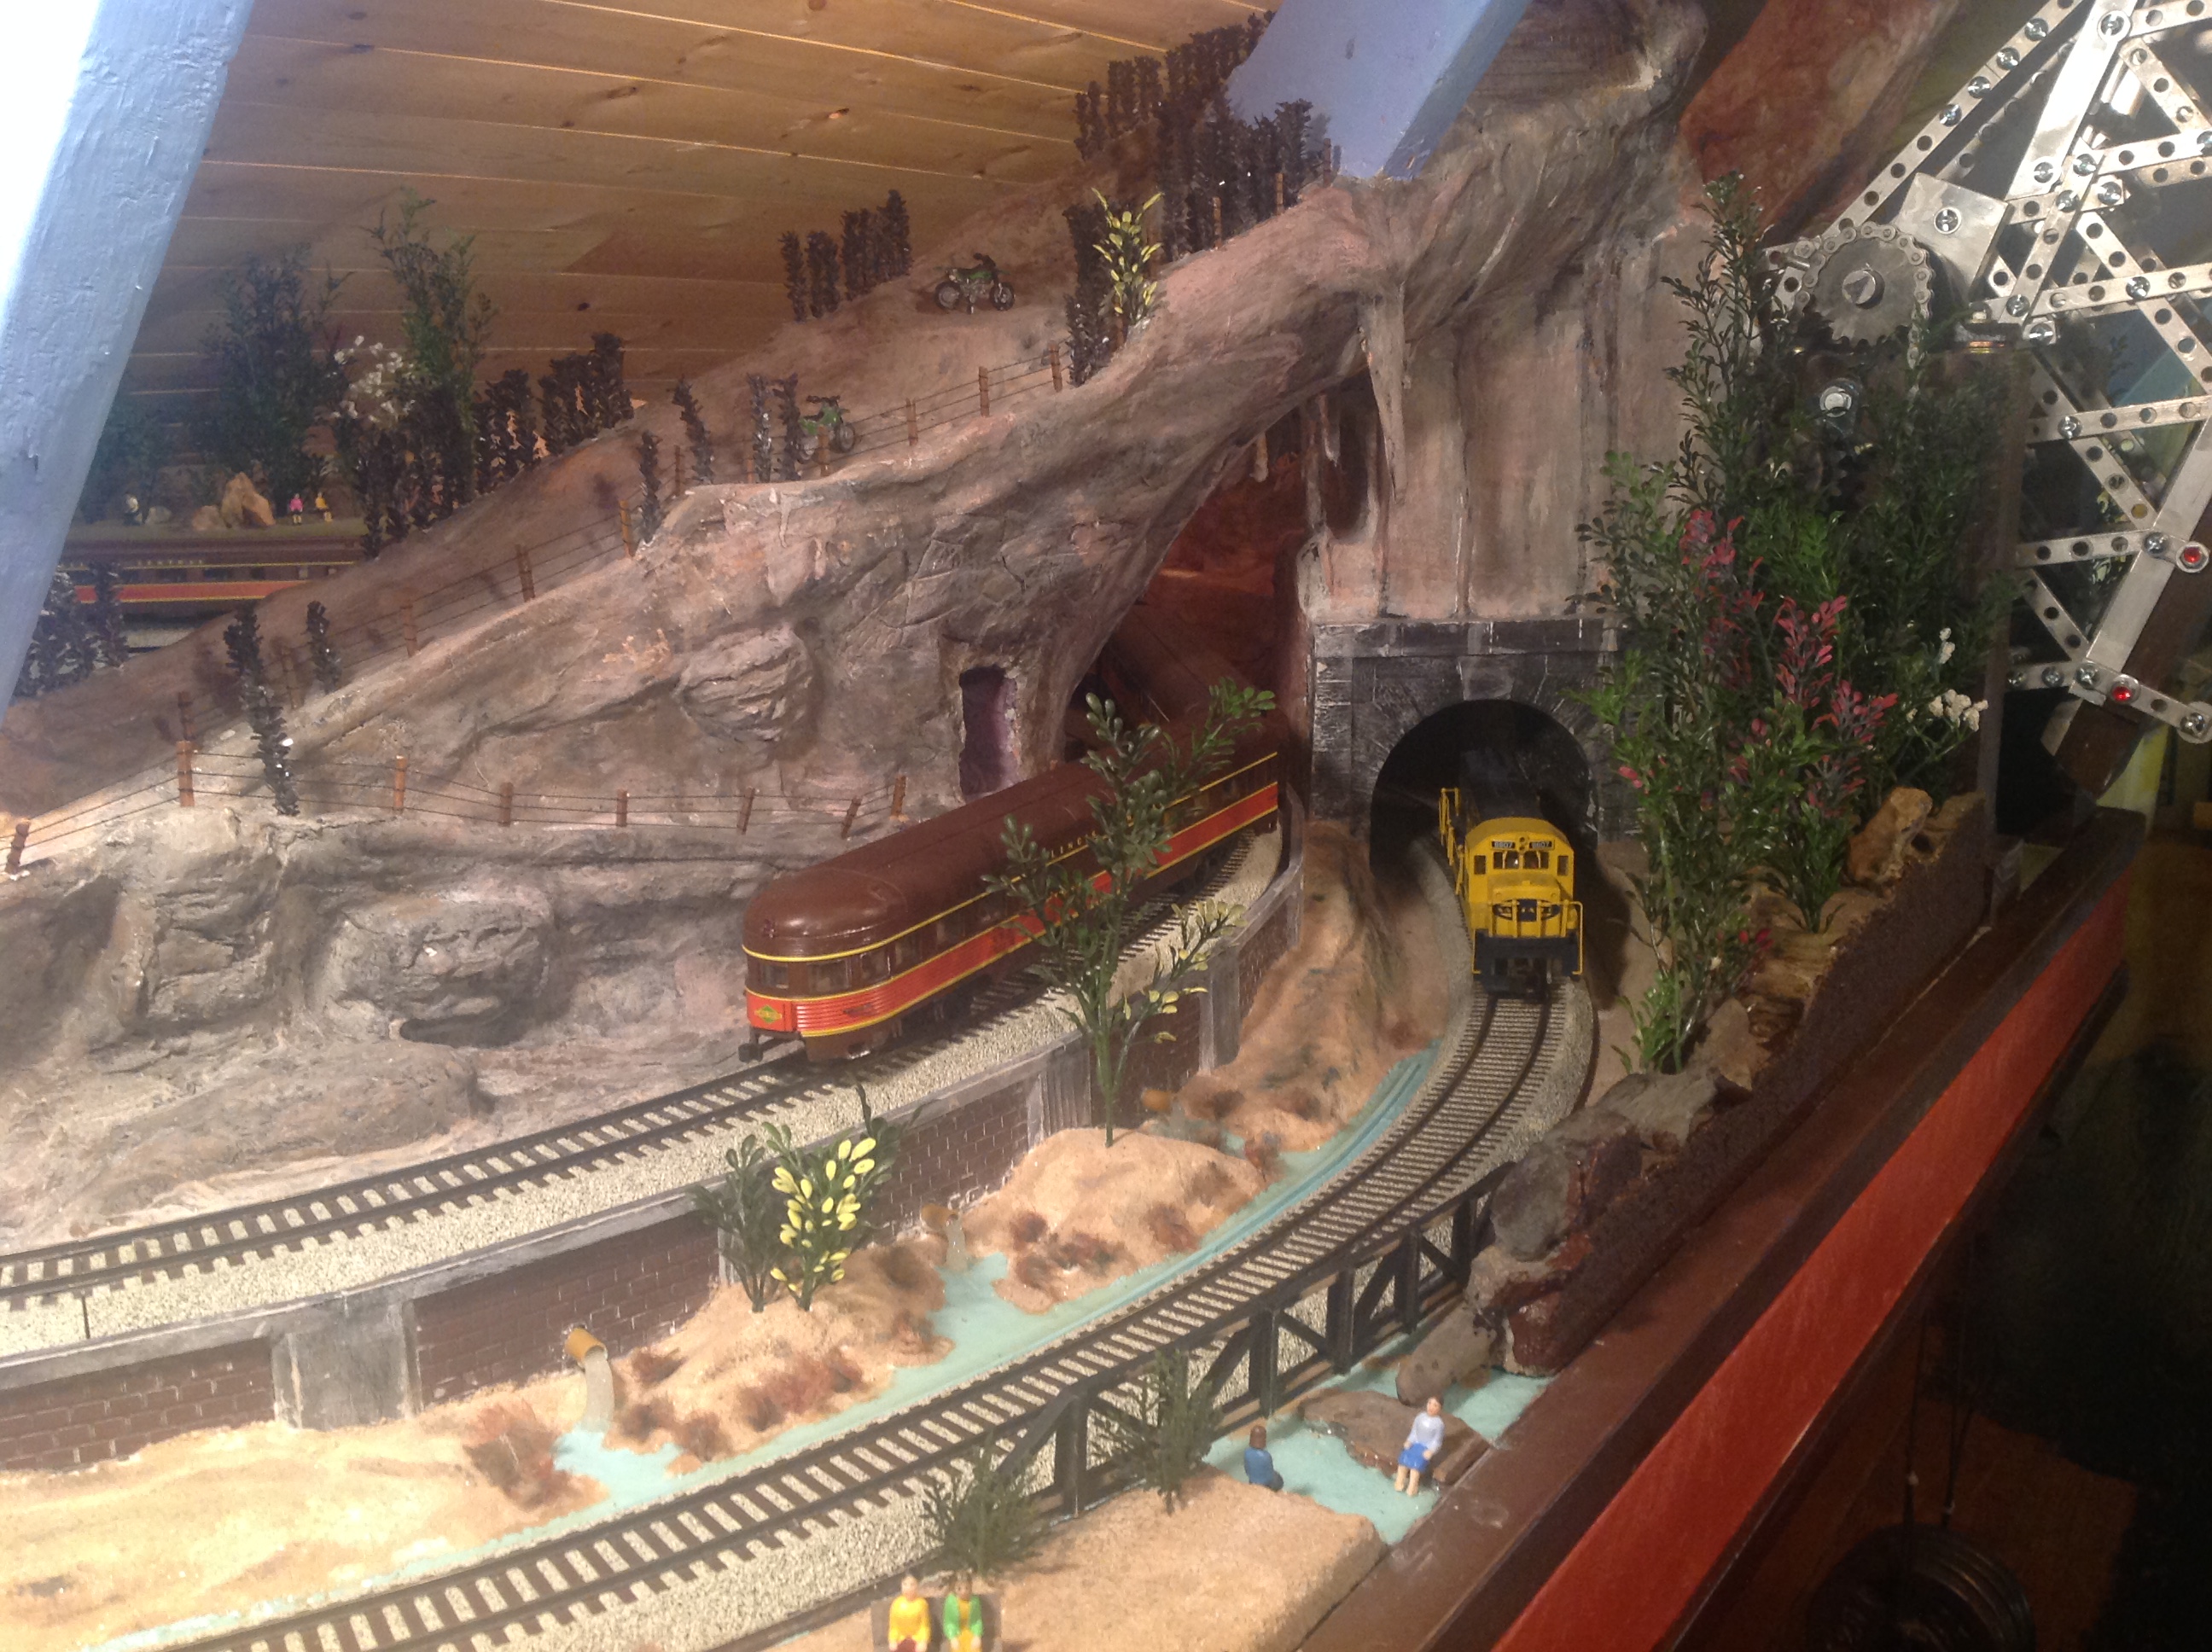
Dave has been in touch with his Walthers bascule bridge:
“Hi Al,
My name is Dave. I’m 73 and still play with toy trains.
So impressed with your site that have decided to discontinue my subscription to train magazines.
Kindly allow me to introduce you to the ITARR:
ITA is the name selected because it resides IN THE ATTIC.
As a test, I will try to show a few pictures of the bridges on the ITA.
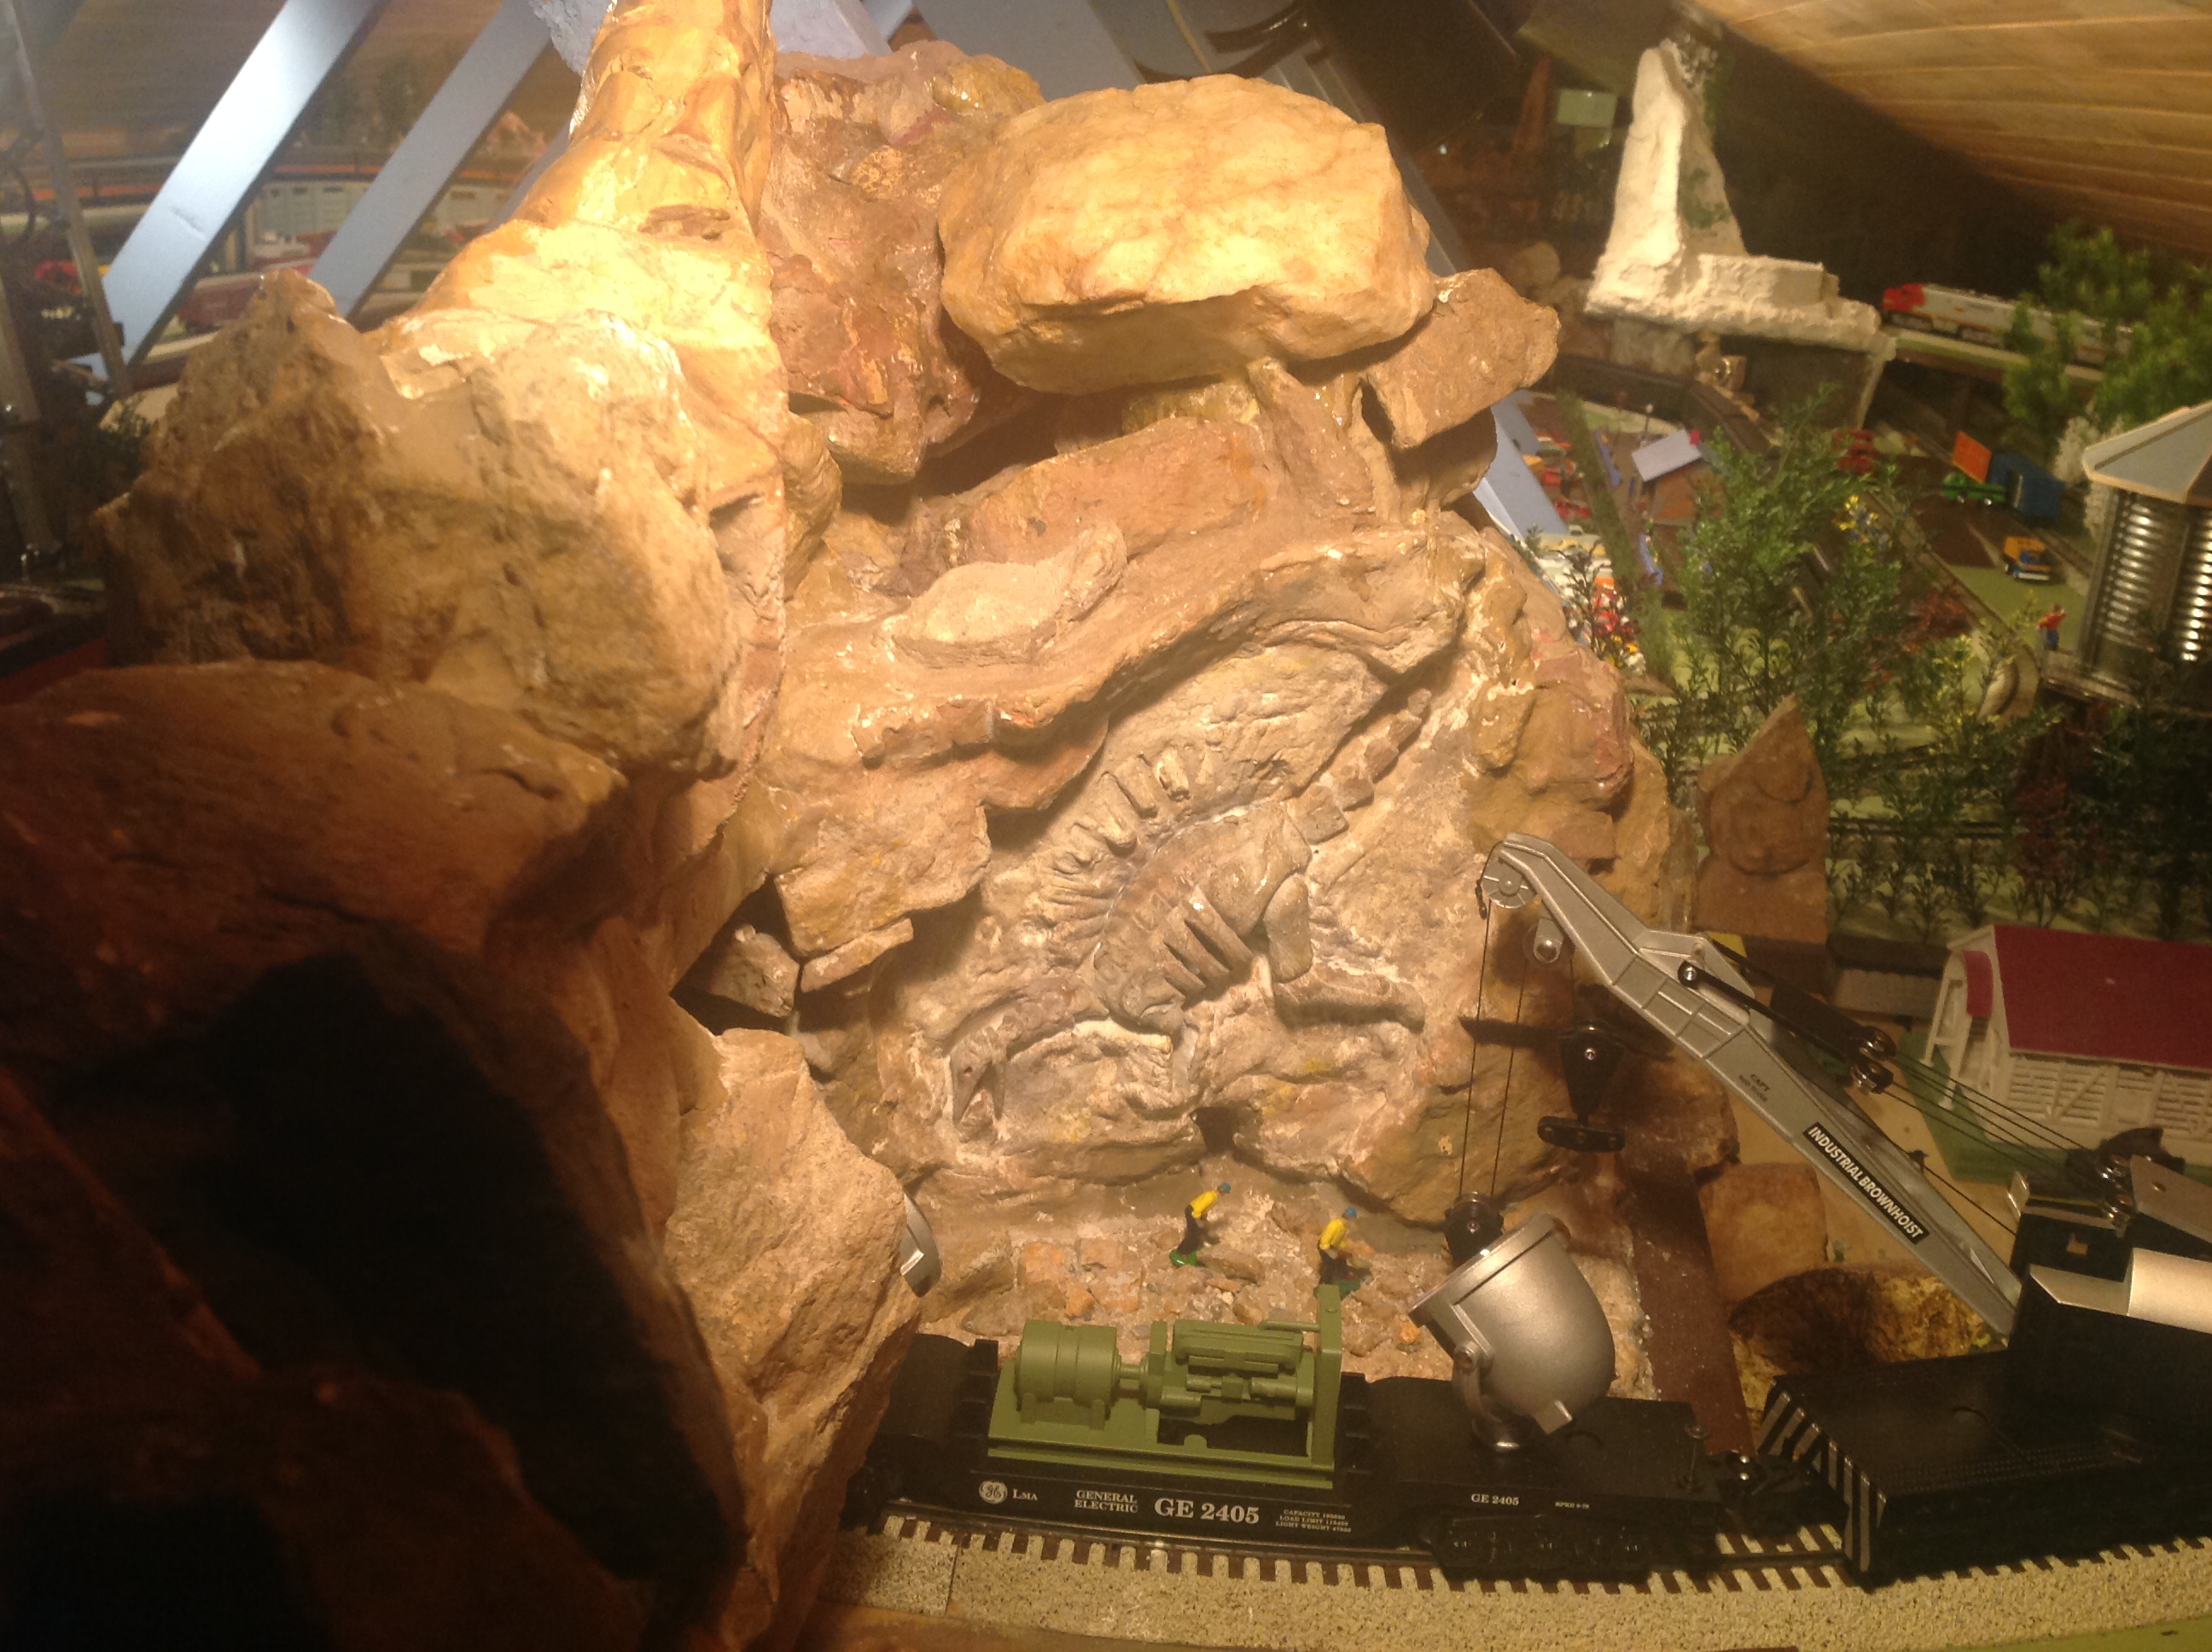
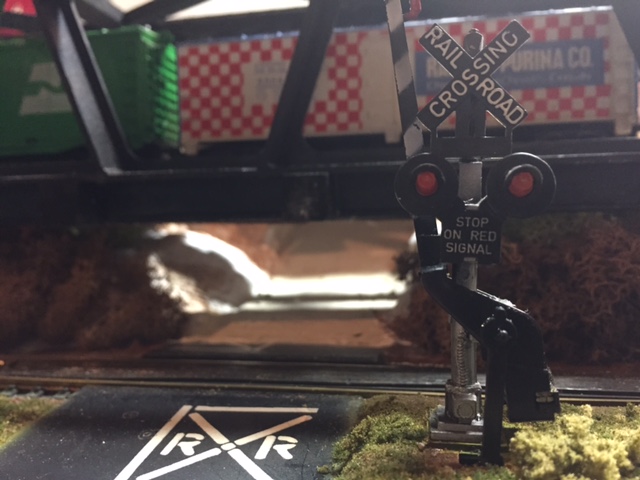
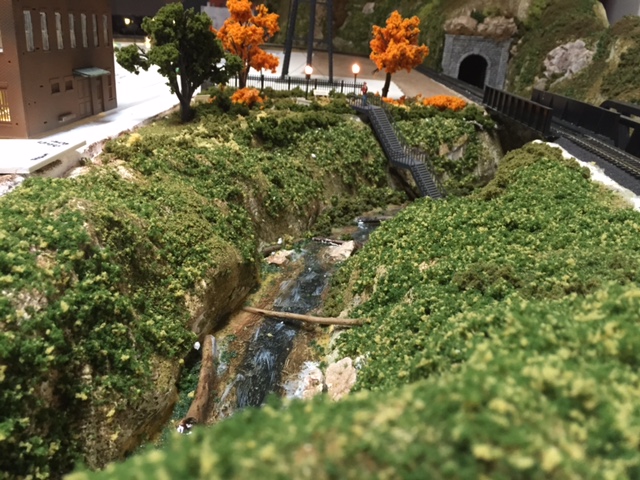
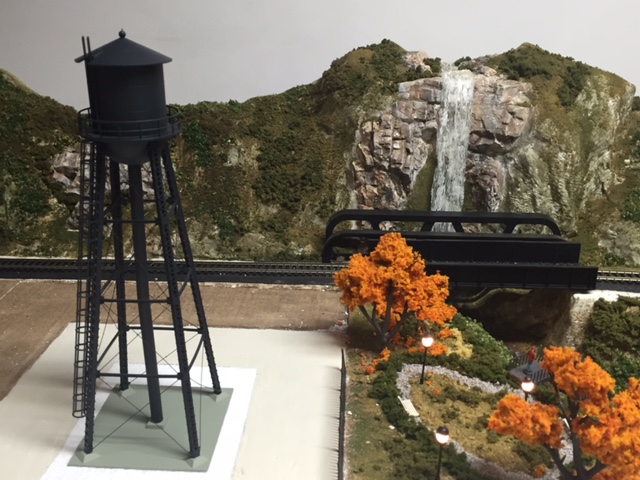
The first bridge is the bascule bridge. It is controlled by a motor too small for the job and thus the need for two sets of counter weights. One set of weights to help the deck go up the other set to eases the pain of going down.
The second bridge swing up to open from the right side The third bridge swings open like a gate when needed. All threes bridges operate with the track wiring in tact from scrap material that I was able to locate without cost.
Toot..toot
Dave”
Next on to Hall of Fame Mark:
“Hi Al.
My “Tip for the Day” is that when a scene on the layout is complete, or even fairly close to completion, take a few minutes to snap some pictures and perhaps even a short video. Study these and they will reveal any items that need correction.
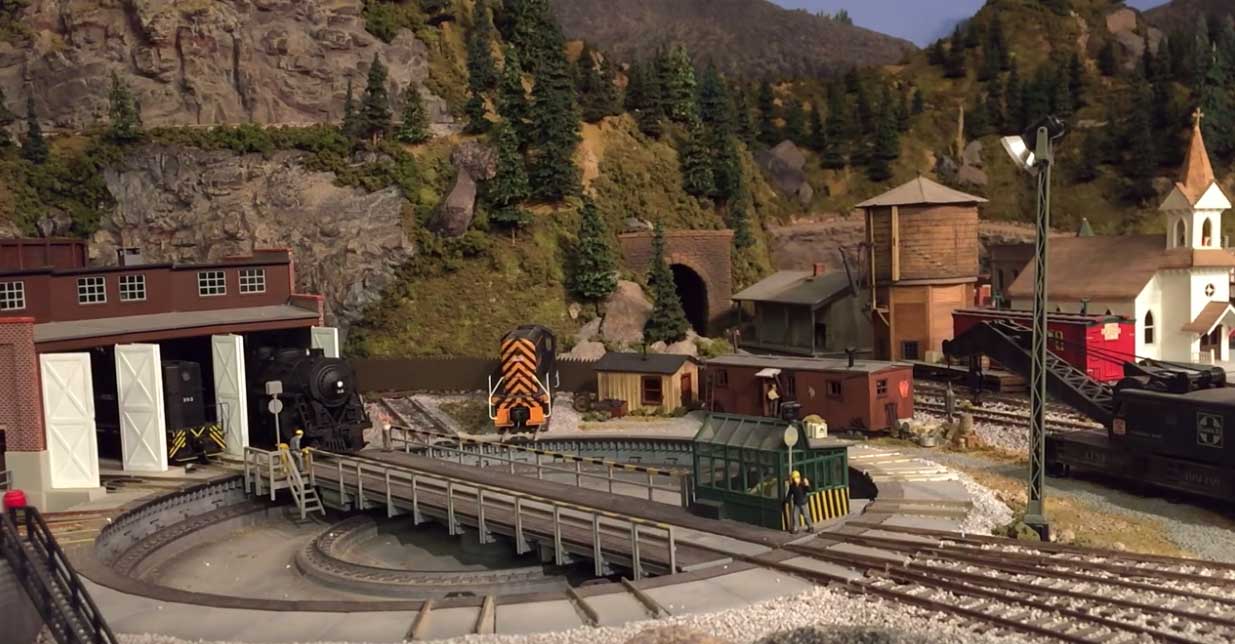
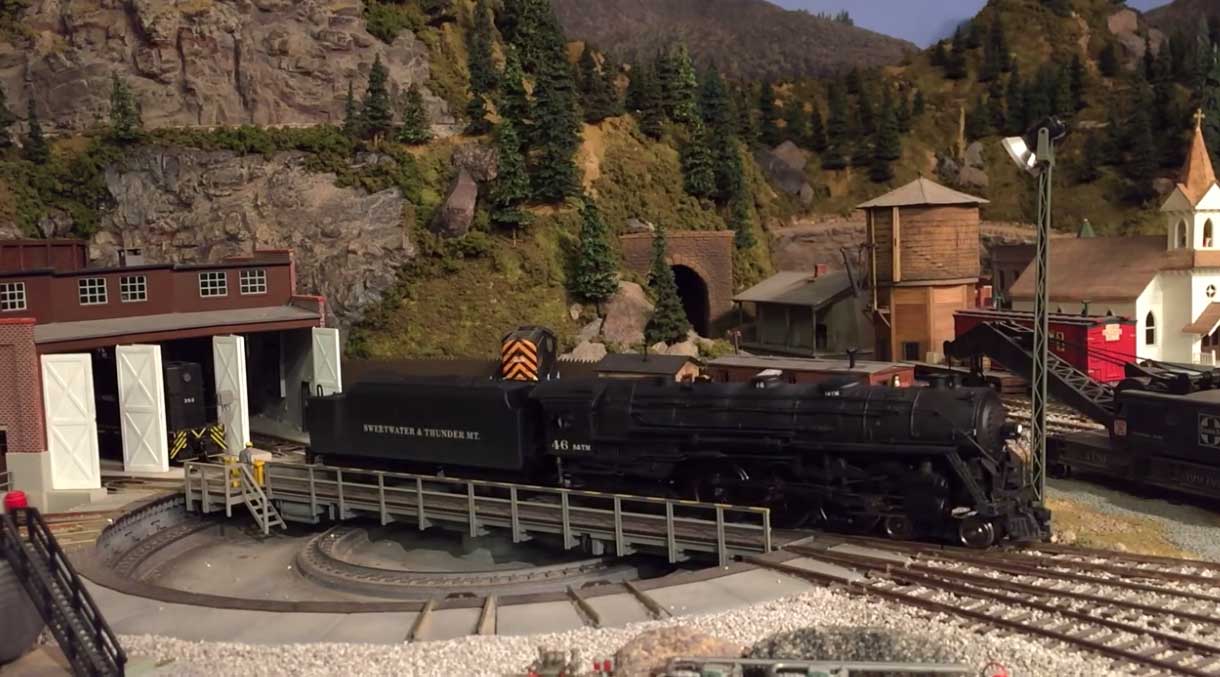
Then enjoy you creation with some “run time”. Attached is a short video of some action down at the roundhouse early one morning. Turn up the sound and wait for the action
Model railroading is FUN!
Mark”
I thought Dave’s layout looked fantastic – and no wonder the kids the love the Walthers bascule bridge, I did too. It’s funny how one feature of a layout really can transform it. More pics please, Dave!
Andrew’s been in touch again, this time with some model railway road viaduct construction.
(He did a fantastic how to on a bridge made from razors, believe it or not. Part 1 is here, and part 2 is here.)
This time he’s sharing pics of his viaduct, which I think looks excellent.
“Hi Alastair
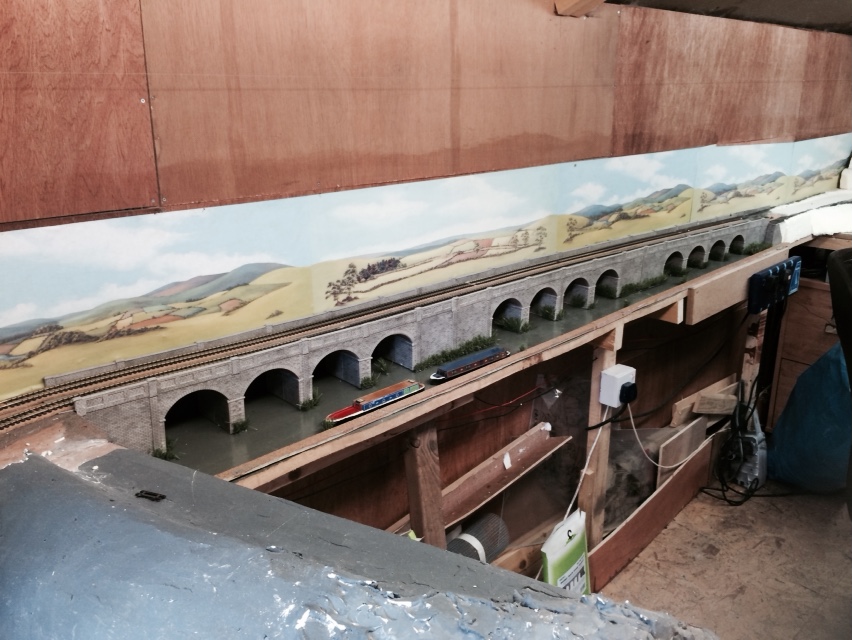
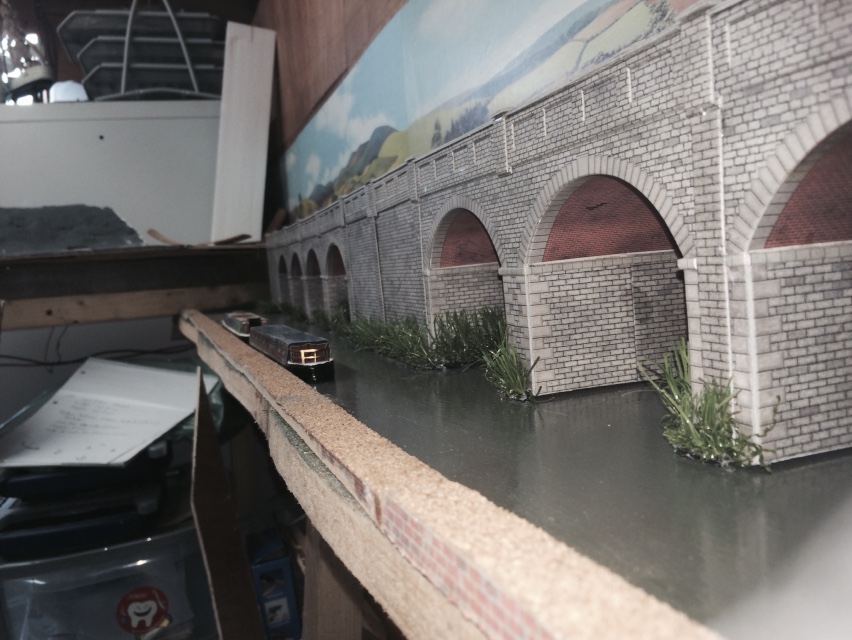
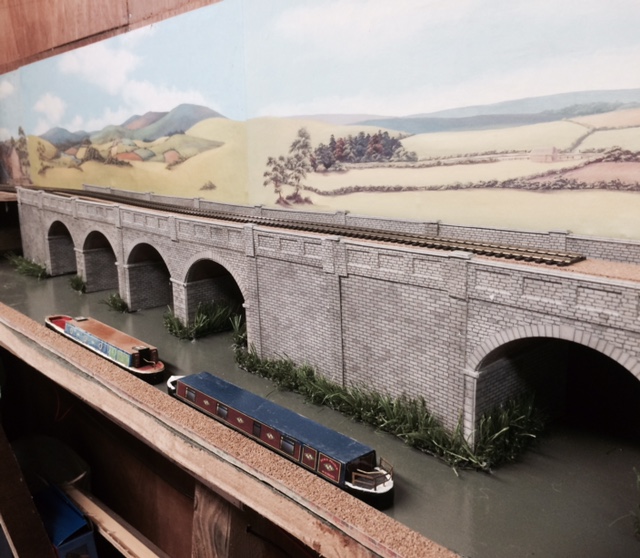
Since my scratch but girder bridge I’ve moved a little forward and bought 3 viaduct kits and done a bit of doctoring to make them fit the layout backdrop and down to the bottom end of the layout.
I’ve also done a canal scenery and used false grass cut along each seam for reeds and stuck with clear hot glue, which is quite impressive if I say so my self, I will wait the readers comments.
The canal was made from a base board MDF and painted to match a photo of my local canal.
More later.
Here are my pics
Andrew”
I always find it amazing how a little doctoring and scratch building transforms any kit – it has been a very common theme of the posts over the years.
And it got me thinking too about the costs of kits.
A ways to save a small fortune on thing like viaducts are the printable buildings.
Don’t take my word for it though, have a look at John’s pics: Faller HO viaduct.
Wayne’s been in touch with some great tips on model train building lights:
“Hi Al,
Some time ago I sent some pictures of my “in-progress” HO layout.
It has been a year since I started the project and being away from the hobby for many, many years, it has been very exciting to see all the new products available. I am now 67 so I have tried to keep things simple and manageable.
Your site has been a tremendous help and your other contributors have inspired me to keep going. My trains are running well and now I am working on more scenery and structures.
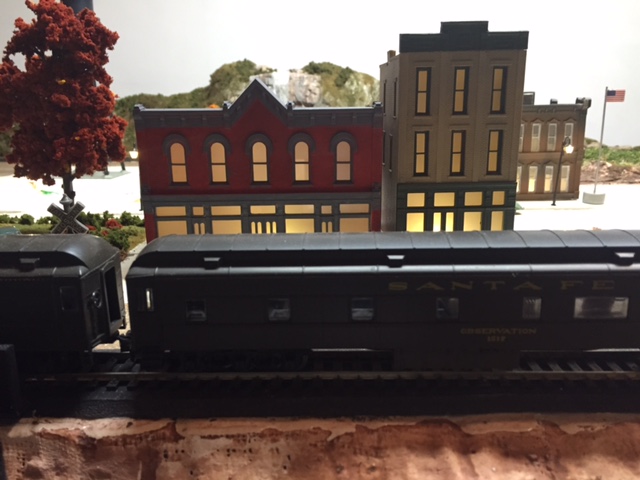
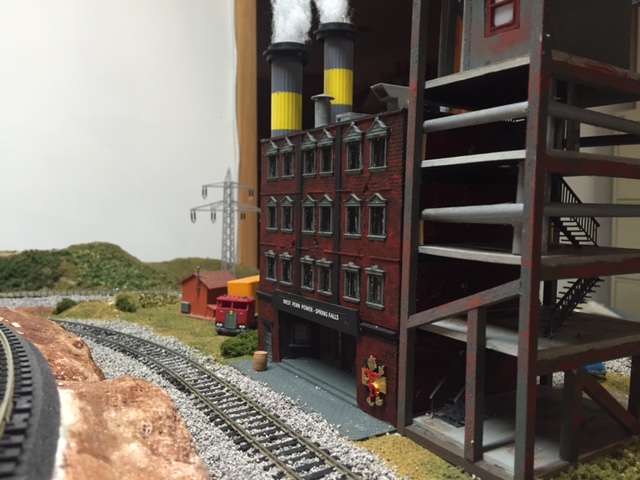
In the attached pics, my proudest accomplishment is the kit-bashed, scratch built Power Plant. The structure is not lit in the photo but it is lighted with LED strip lights. That allowed me to place lights on each level of the side super structure as well as the interior. I also added a dimmer switch.
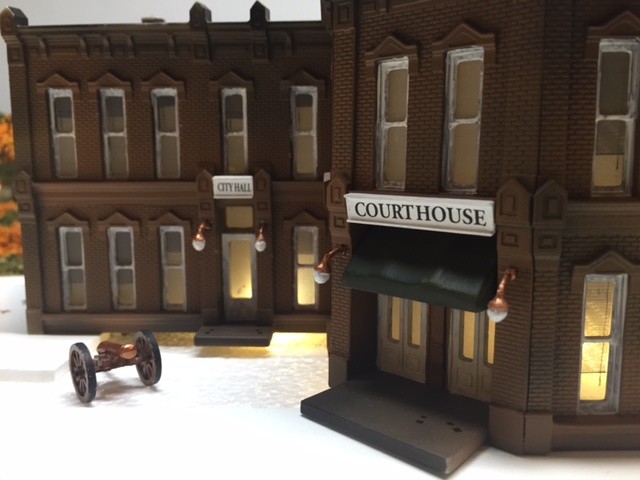
One tip for your readers although this may not be new. Using the LED lights for all my structures created too much of the light to be seen through the windows. I solved that by spraying Testors Dull-Coat on both sides of the acetate window sheets provided in the structure kits before applying to the inside of the buildings.
The result is a very nice warm glow from the windows as well as blocking any view through the building to rear windows. I will do all my model train building lights like this.
One of the suggestions from Woodland Scenics is to insert a sheet of black construction paper to make the interior view more realistic. My method allows the light to glow in all windows. Note the blinds in the windows of the Court House in various positions. These windows were pre-printed with blinds and the Dull-Coat still allows them to be seen.
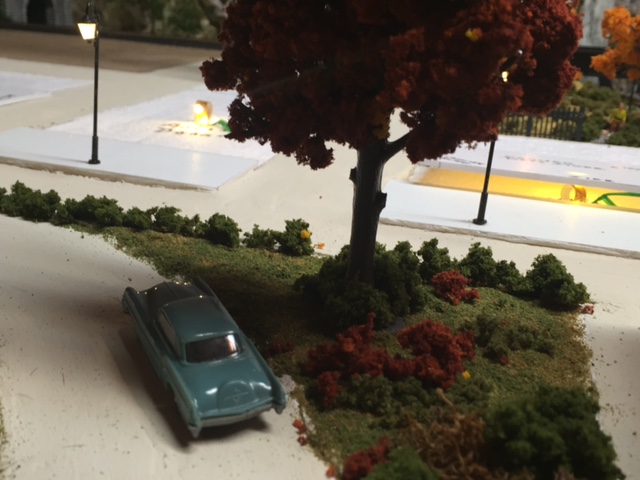
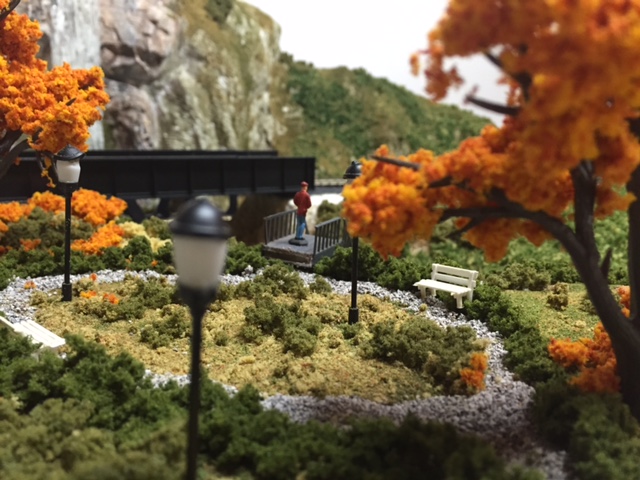
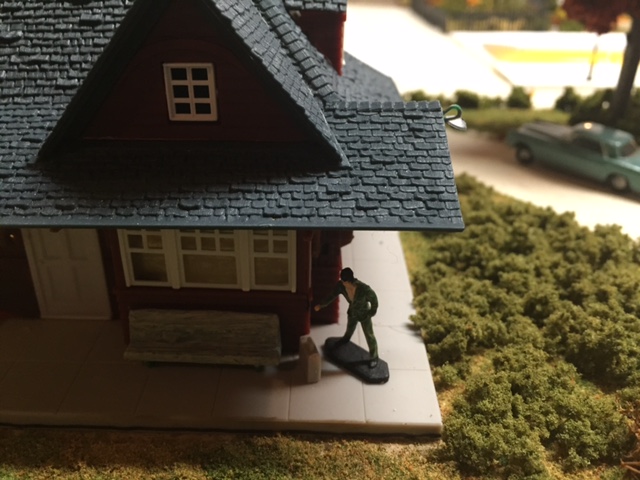
My next step will be to add more bushes, trees, weathering etc. to the layout. The town name by the way is Spring Falls; an amalgamation of the town where I grew up, (Springdale), and the town where I attended college, (Beaver Falls).
Another tip I want to pass on is the building weathering. I have tried using washes, weathering powder and so on. Although pretty good, I have found that priming my building with matte black paint and then applying a color from my air-brush in small amounts at a time, allows some of the black to show through creating an “old” weathered look. To each his own of course, but I was startled at the results after experimenting. Worth a try. You can always paint over.
Hope your readers enjoy. I look forward to getting your posts from around the world.
I want to retire if all goes well and I plan to spend a lot more time with the layout and maybe get my son to take more pictures.
Thanks for all you do for the hobby.
Wayne, Pittsburgh PA”
Model train building lights:
A big thanks to Wayne! Now on to another layout that’s been featured before:
“Hi Al,
Among the responses I had from my last post was at least one wanting a video of the shunting process.
As I use an I pad to film, it’s a bit awkward trying to operate both controller and I pad.
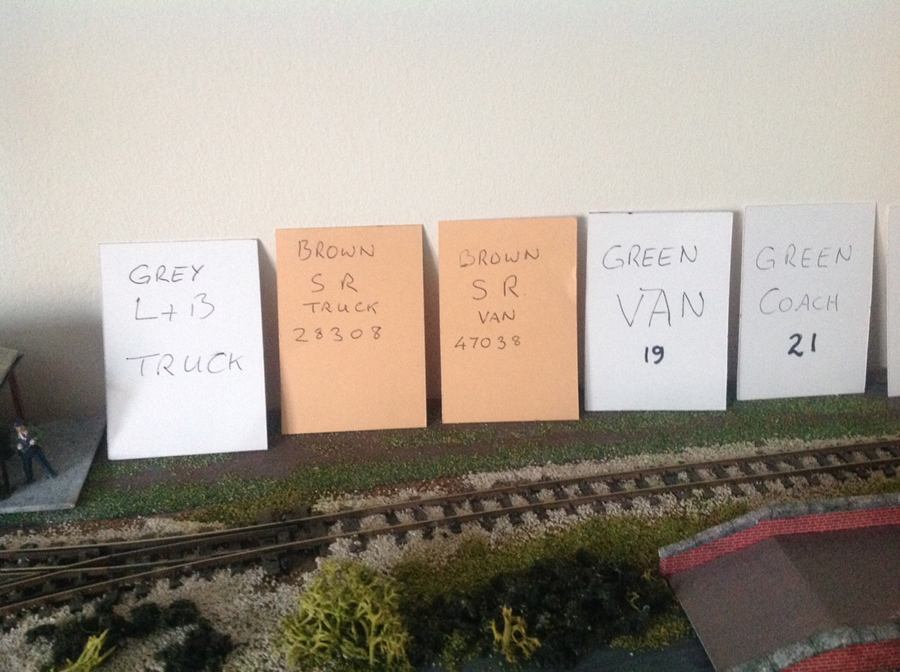
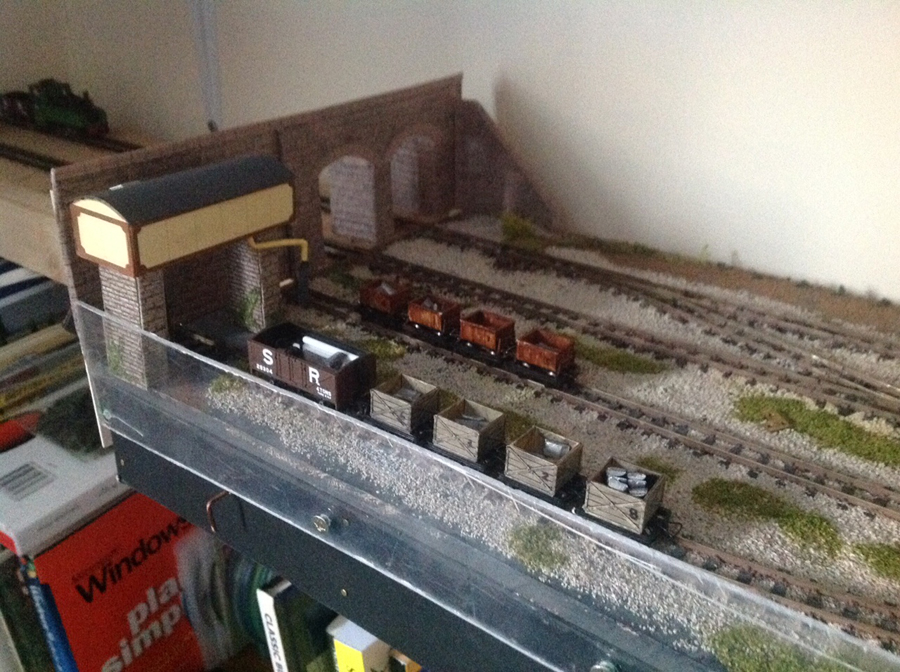
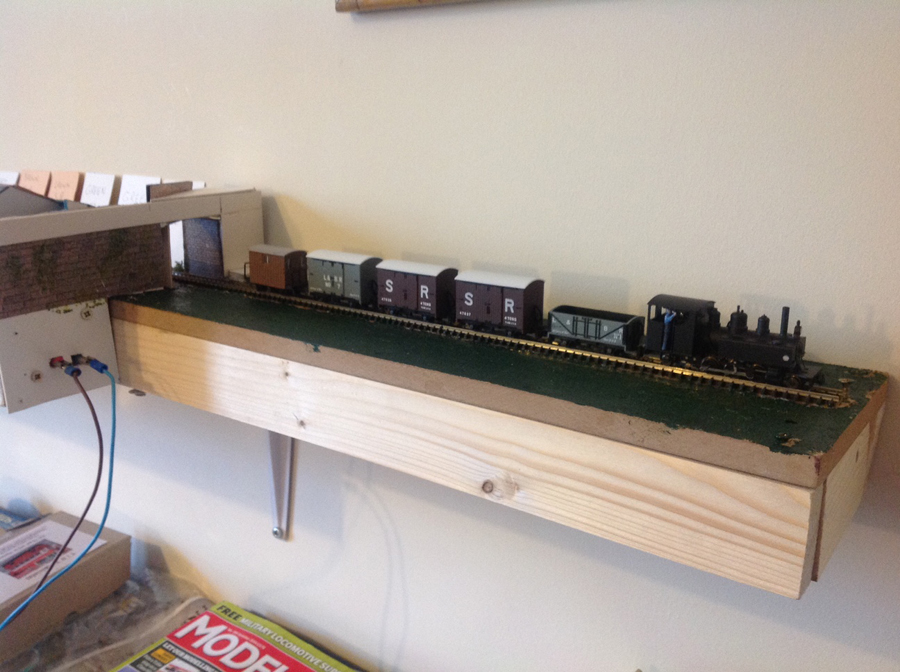
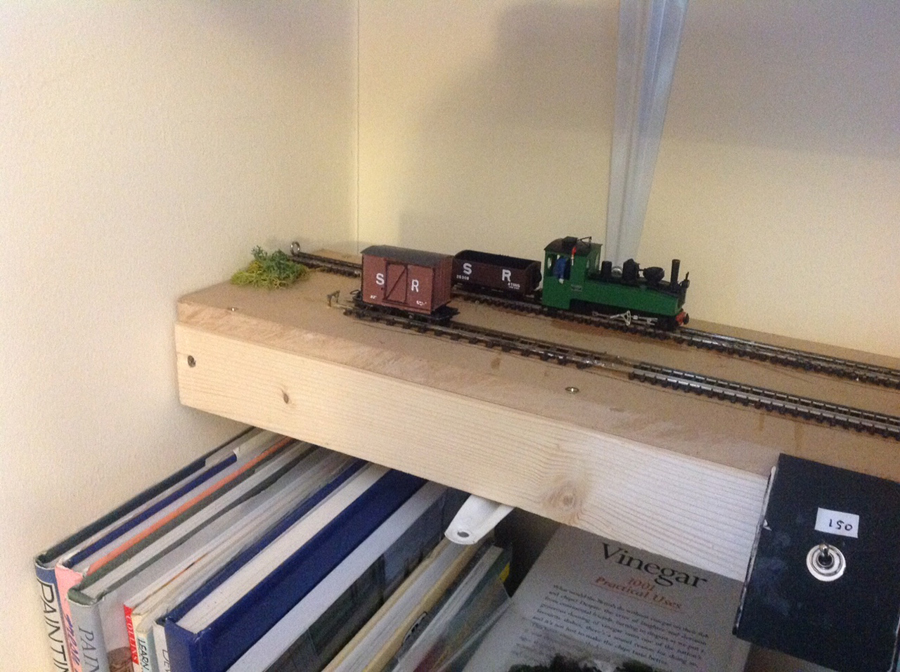
Every wagon has a card relating to it, which I use when making up a train. After shuffling the cards I decide how many wagons I want ( 2- 8 ) then make up the train in the order the cards are dealt. I have 7 S.R. Wagons plus a guards van kit, 8 Minitrains trucks, 2 green coaches, 1 green van which came with the Brigadelok loco as a set. Also a bogie flat car.
The scenic part is four feet long, has 3 sidings, a loop at the ‘station’ and two tracks going ‘off scene’ at one end and one track at the other. The pictures will make things clearer.
The pictures will come in batches as the I pad only allows 4 at a time and one video.
Keep them coming Al, it’s a great site.
Kind regards
Alan”
And the video:
That’s all for today folks. A big thanks to Wayne for sharing his model train building lights tips.