Brian’s been in touch with pics of his HOn3 brass locomotives from 45 years ago:
“Hi Alastair,
I finally got my 45 year old photos converted from colour photos to JPEG’s to enable me to use them on a computer.
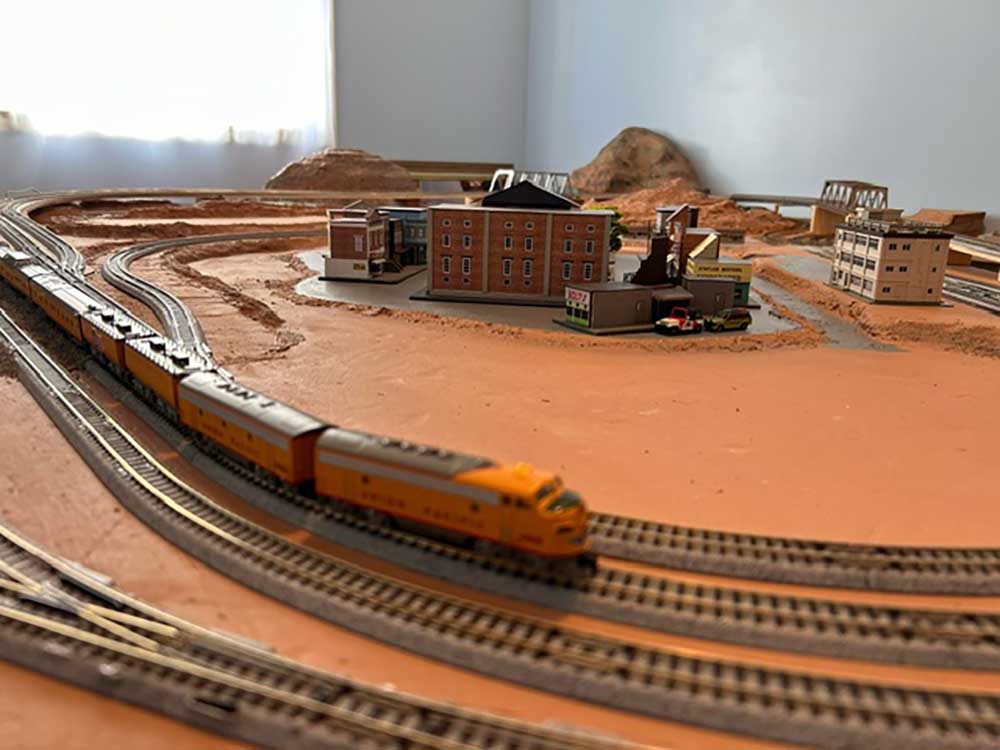
This HOn3 layout with the modified timesaver switching design on it was built by me 45 years ago when I lived in an apartment.
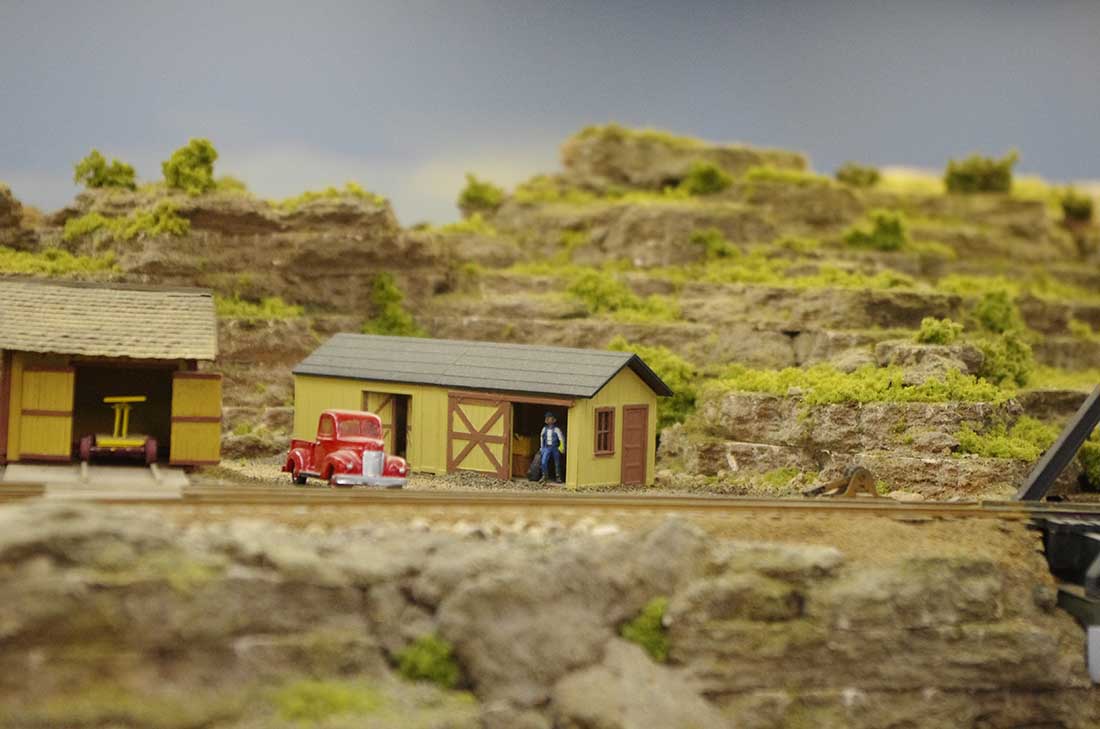
It was 6 foot 6 inches long by 20 inches wide. That was the only space that I had at the time. I used and modified John Allen’s switching puzzle (Timesaver) as a basis for my mini layout. I spread the tracks further apart, added structures and scenery with a painted sky backdrop and flat printed buildings onto it. It was all DC that stage.
I had a lot of scratch built rolling stock and structures on hand which I added to it.
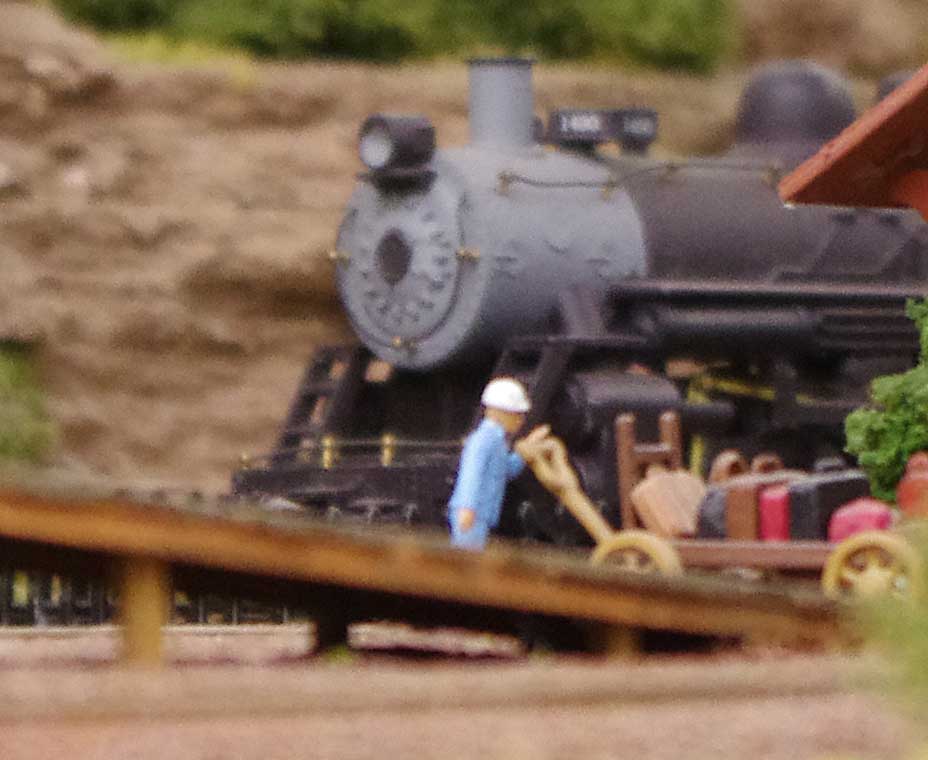
Locomotives at that time, was a brass HOn3 K37 by PFM and an MDC/Roundhouse 2-8-0 with a North-west shortline gearbox and motor conversion which made it an excellent runner.
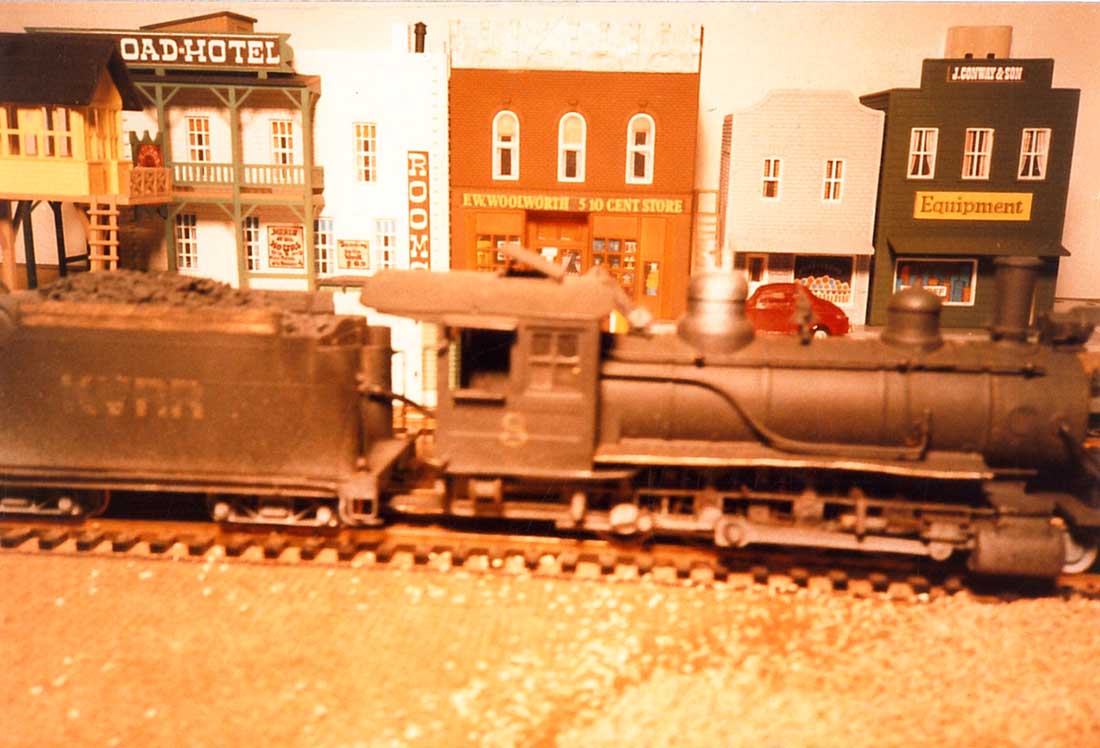
An HOn3 outside frame MDC 2-8-0 locomotive.

The same locomotive pulling a well weathered box car.
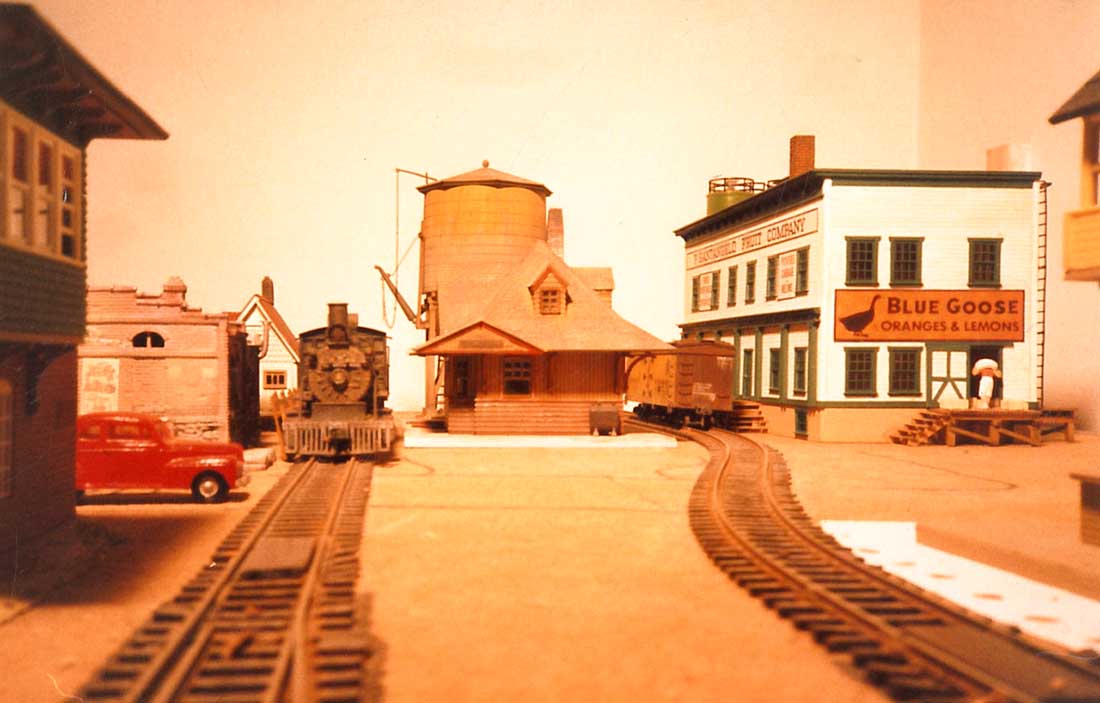
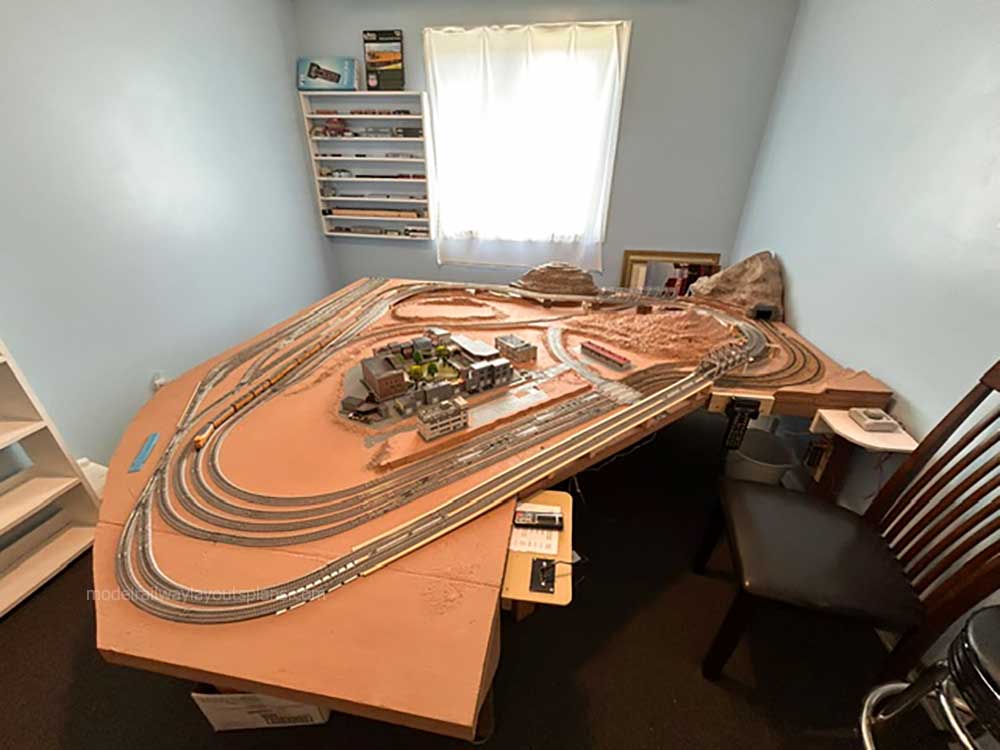
The start of the timesaver HOn3 layout.
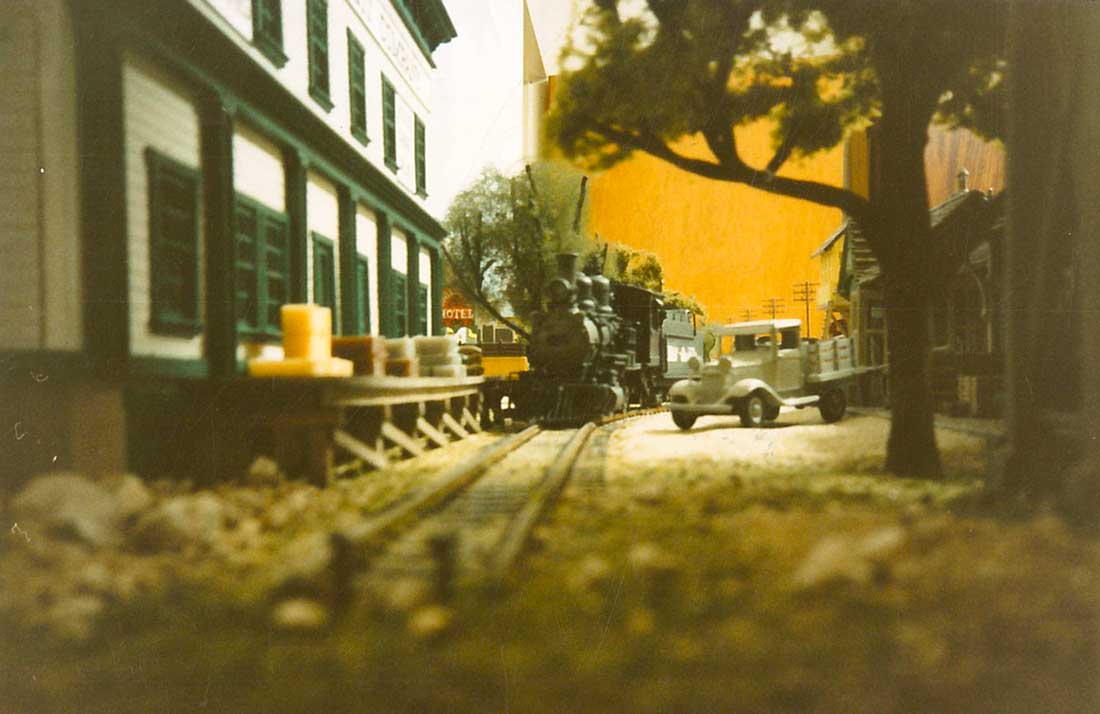
The HOn3 K 37 locomotive pulling some weathered scratch built refrigerator cars along the waterfront.
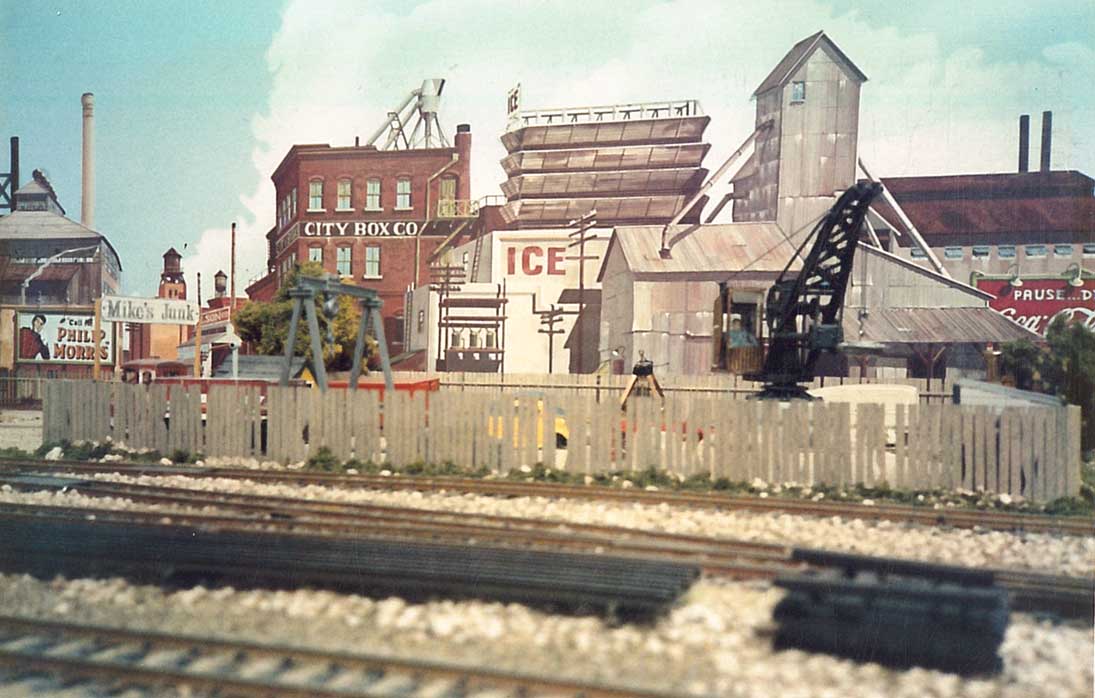
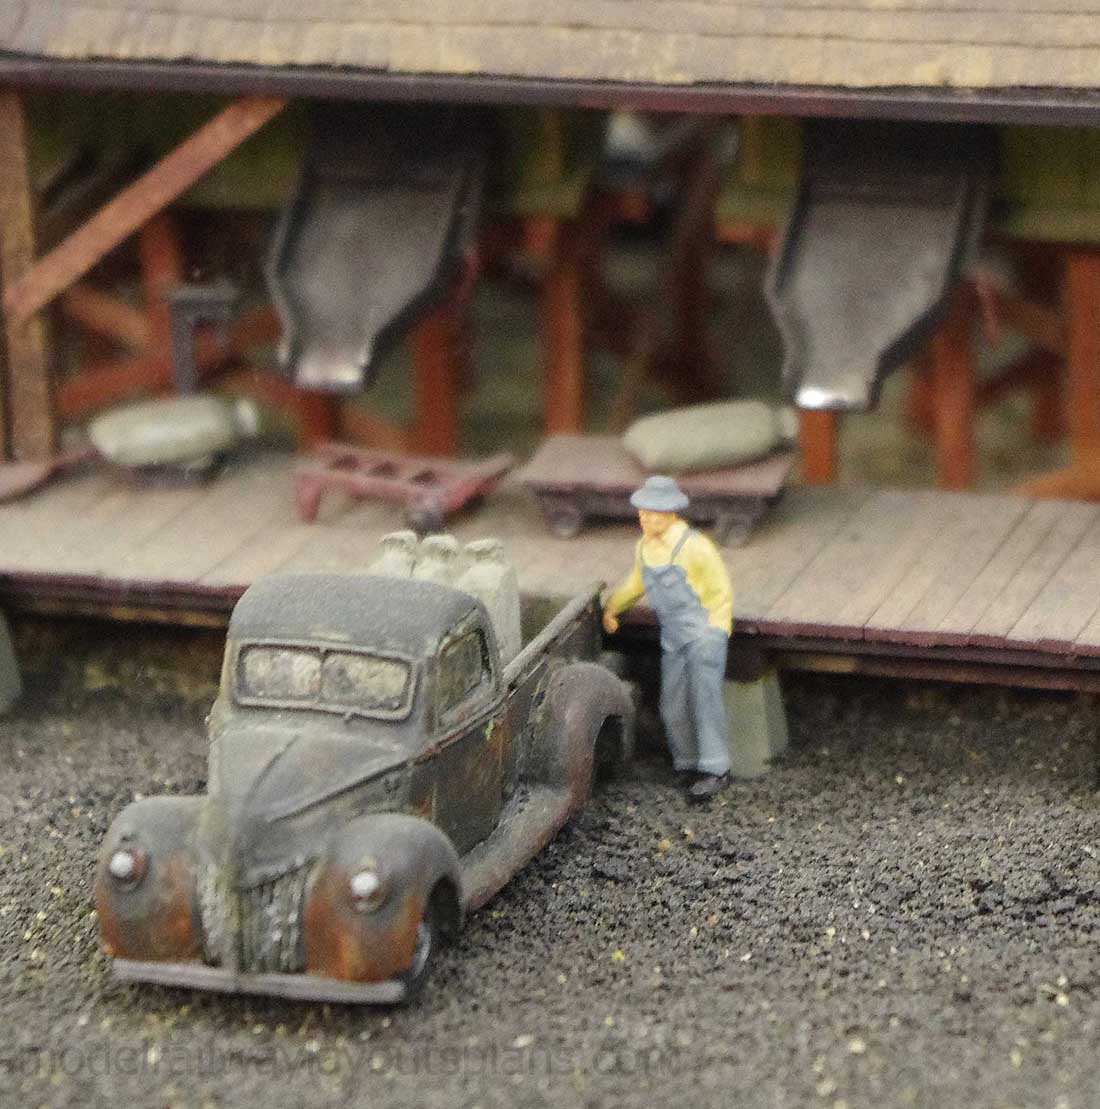
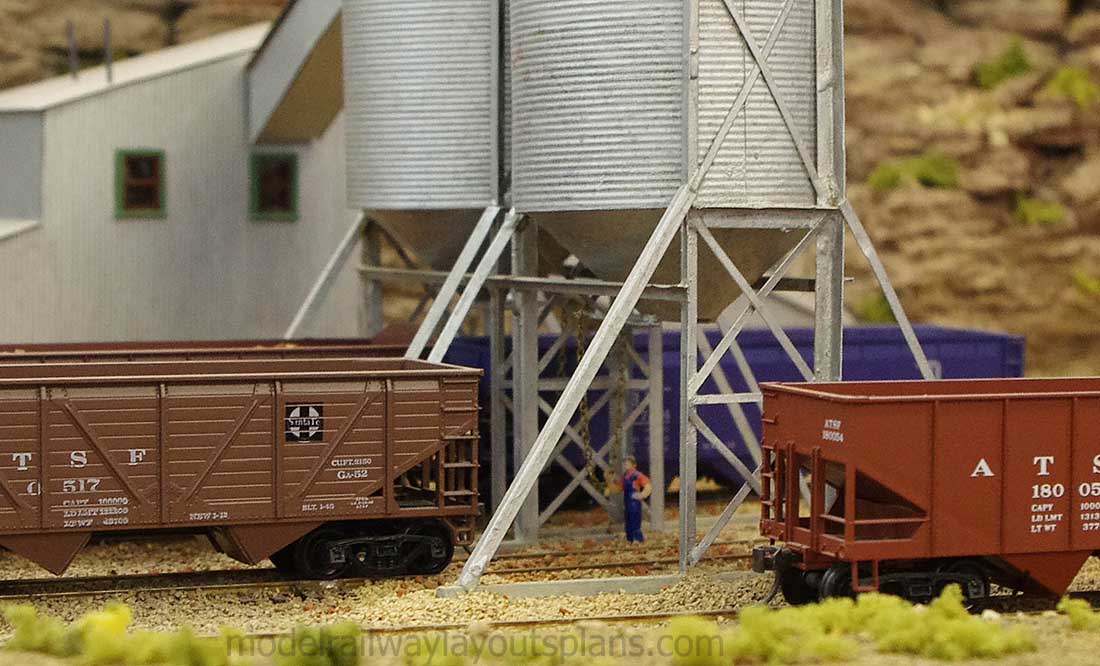
The scrap metal yard with lengths of rail and a pile of ties (sleepers) next to them.
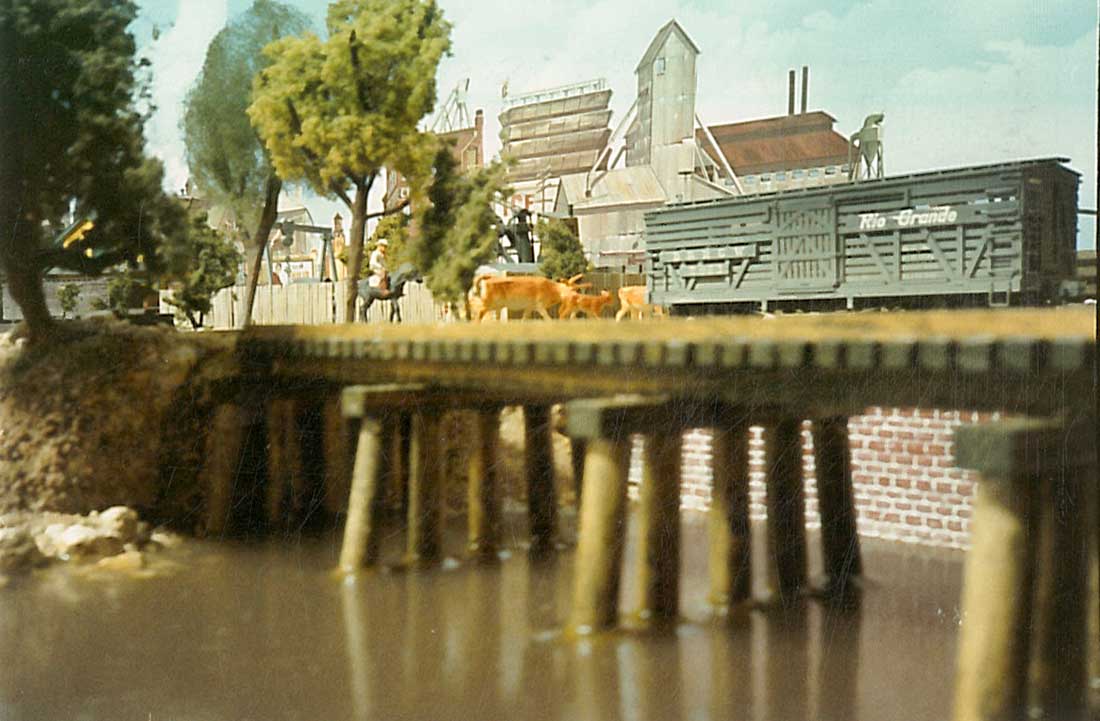
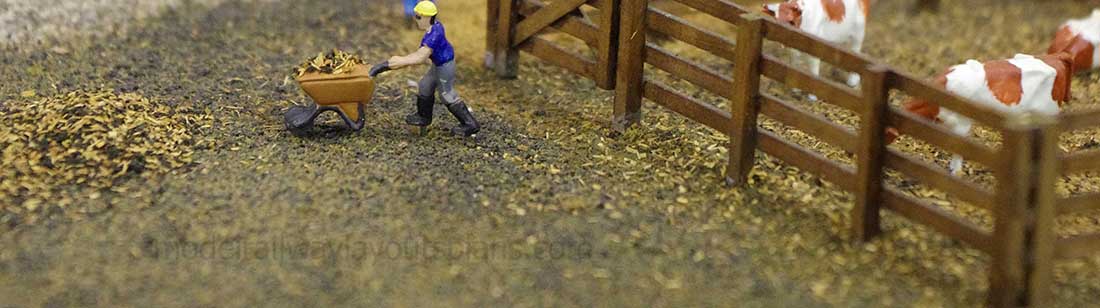
A stock train crossing the trestle and a cowboy on his horse leading cattle to the stock pens.
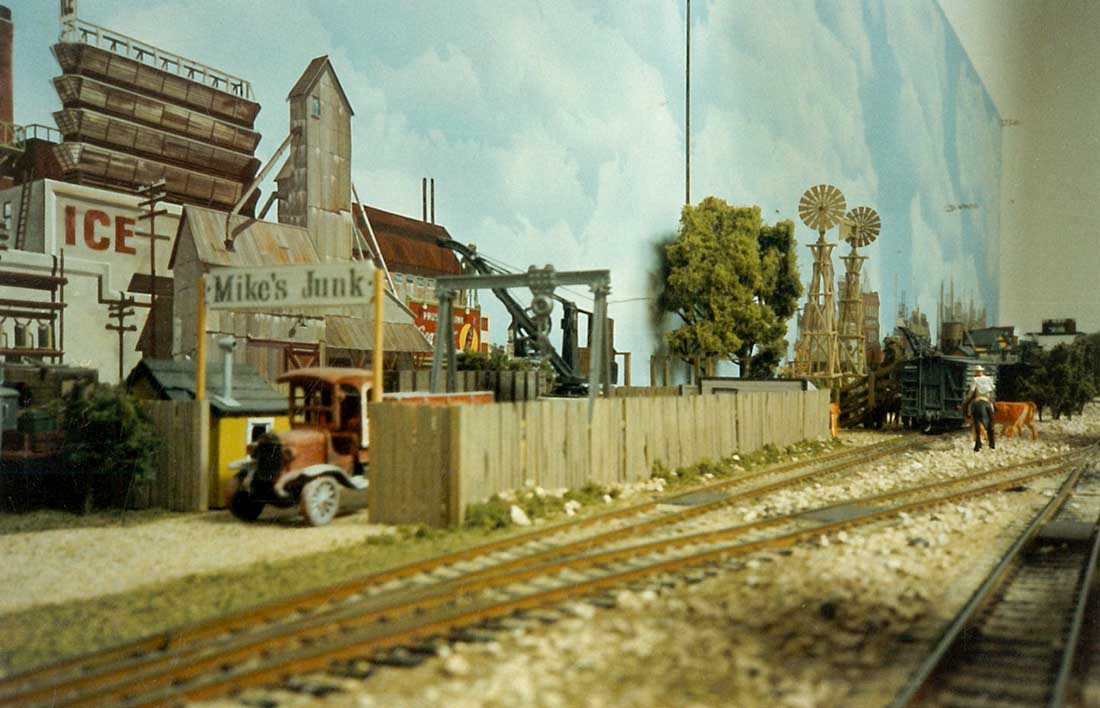
The entrance to the scrap yard surrounded by a scratch built fence.
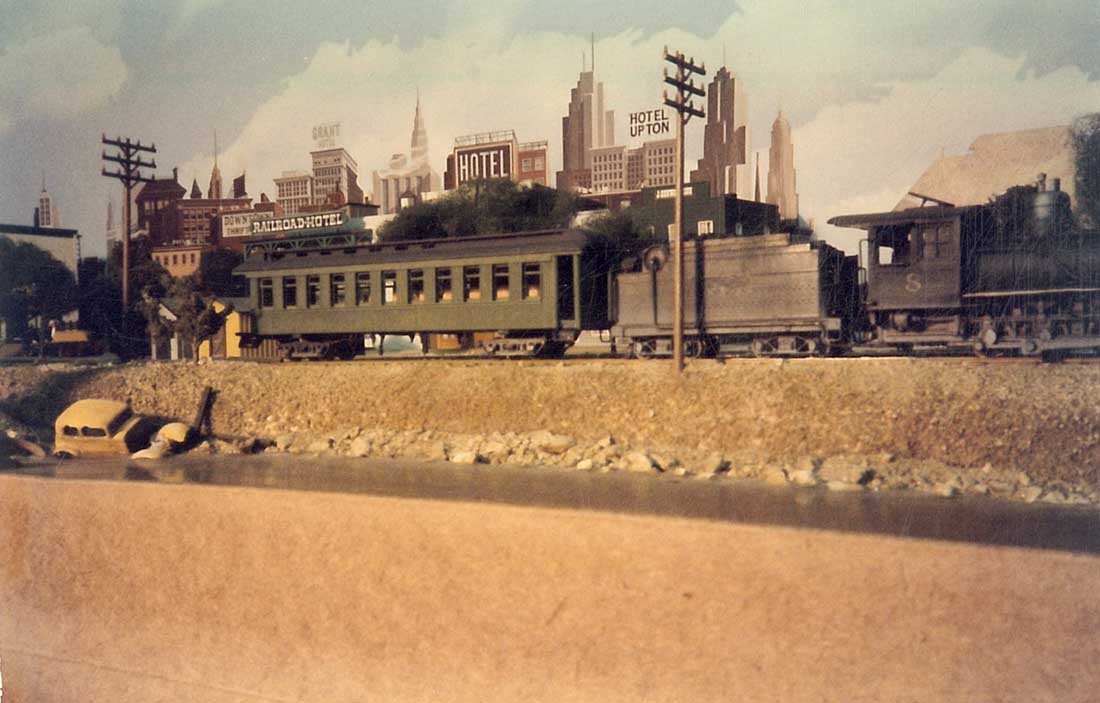
A passenger train heading out to the next destination.
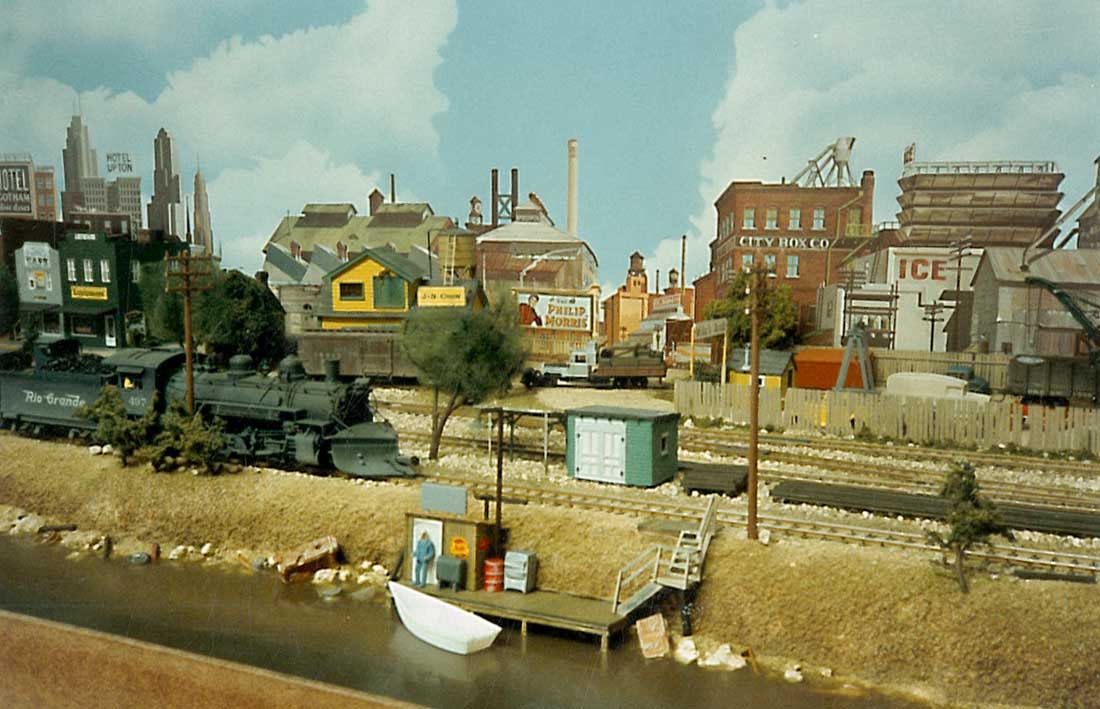
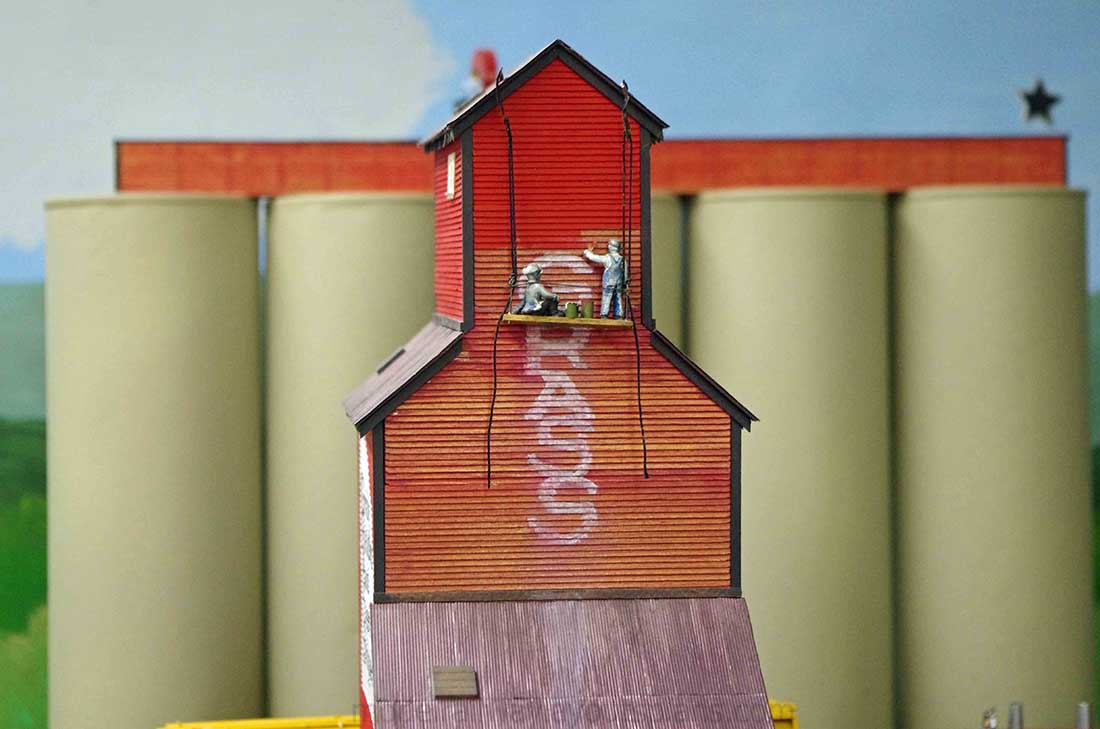
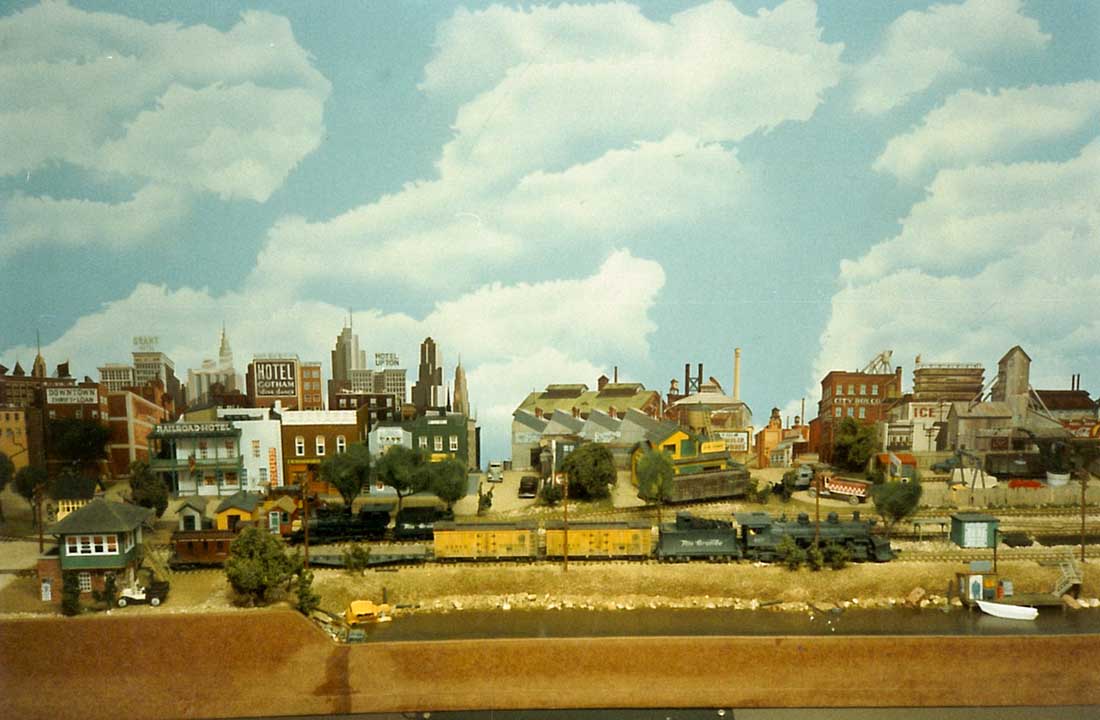
A small boat hire dock for the local fishermen to use. Note how the printed backdrop blends in with the foreground. A really busy little town.
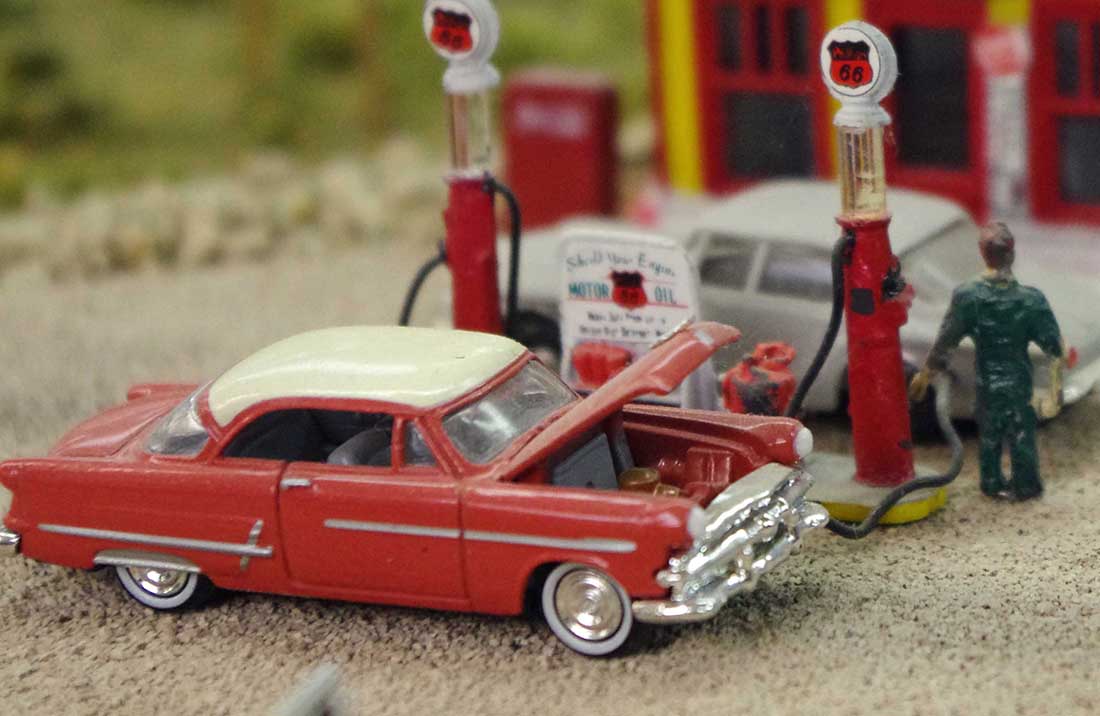
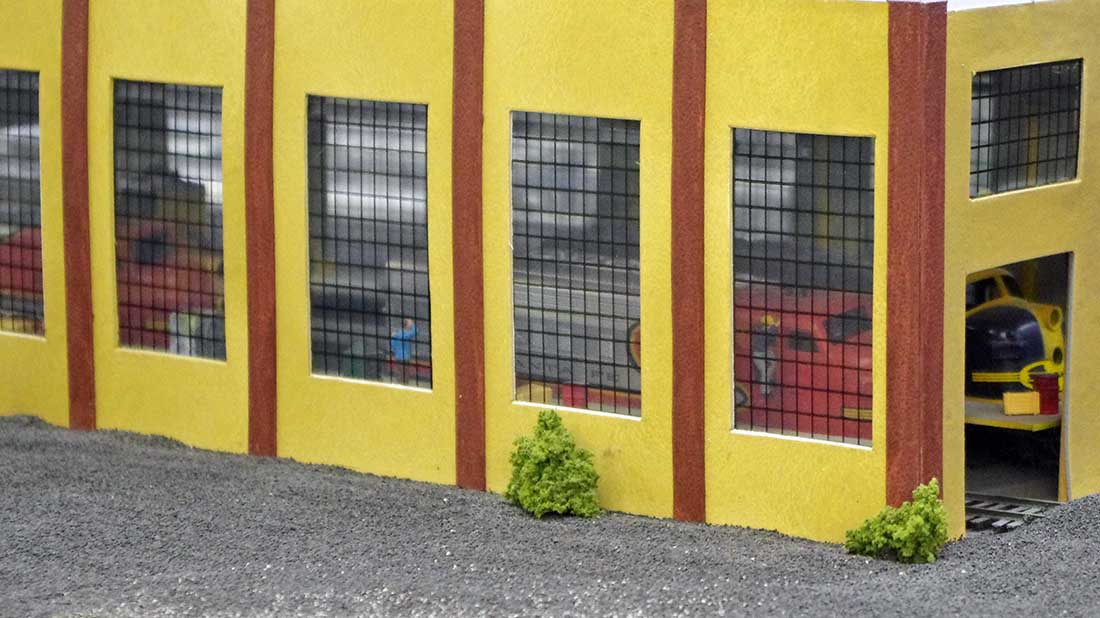
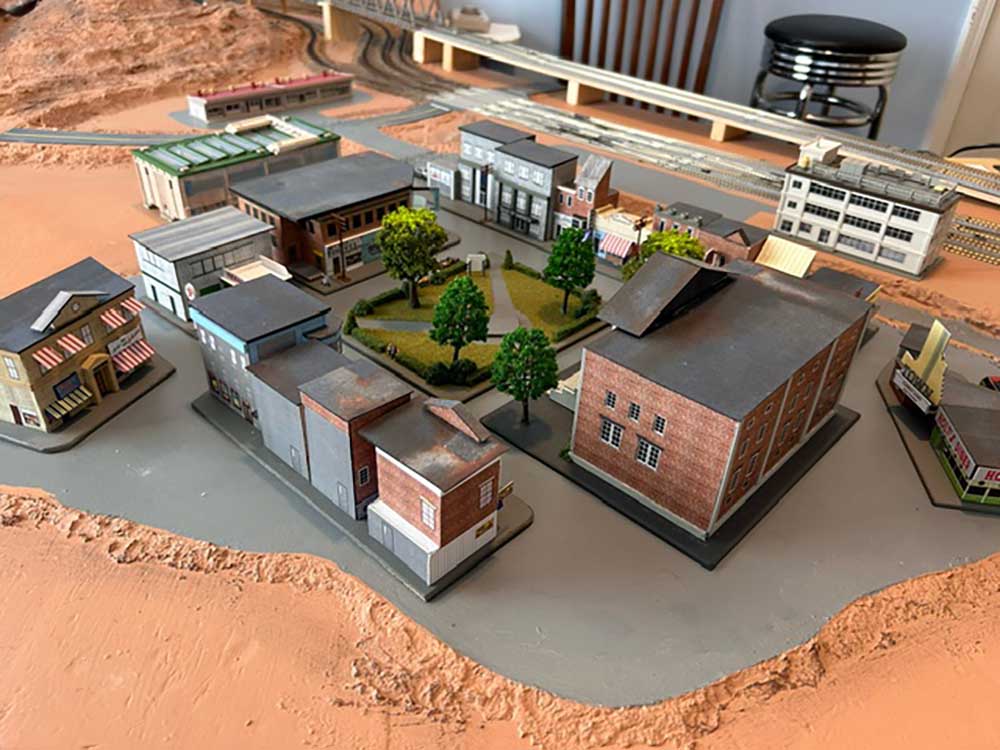
Shops and industry in front of the backdrop.
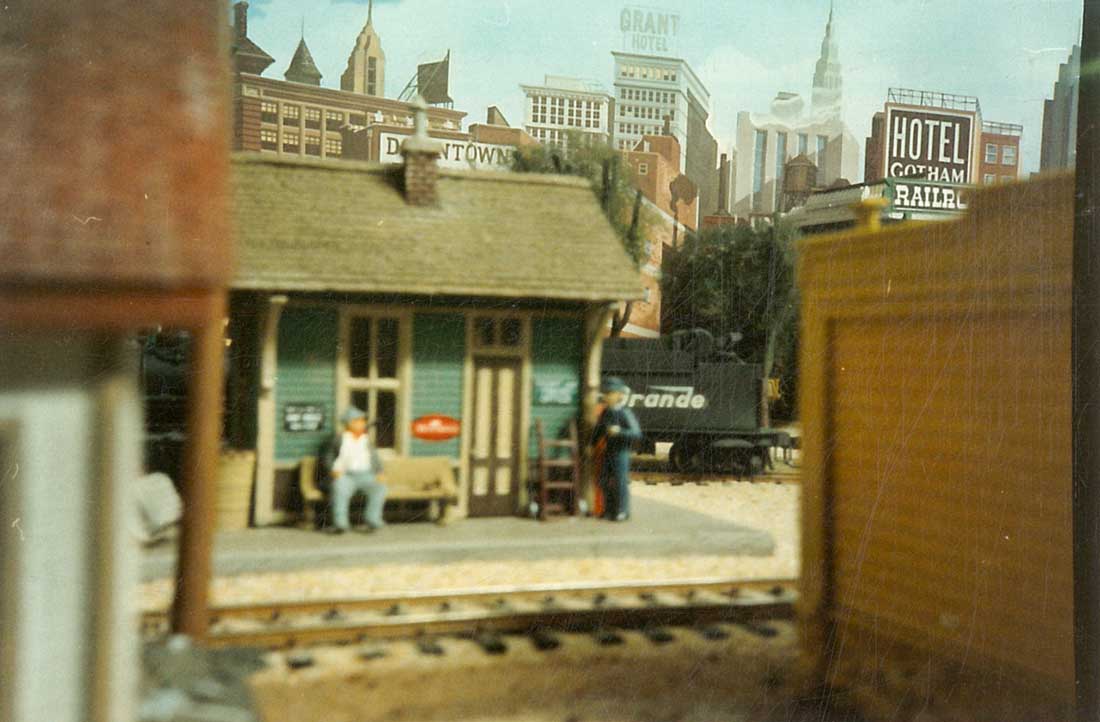
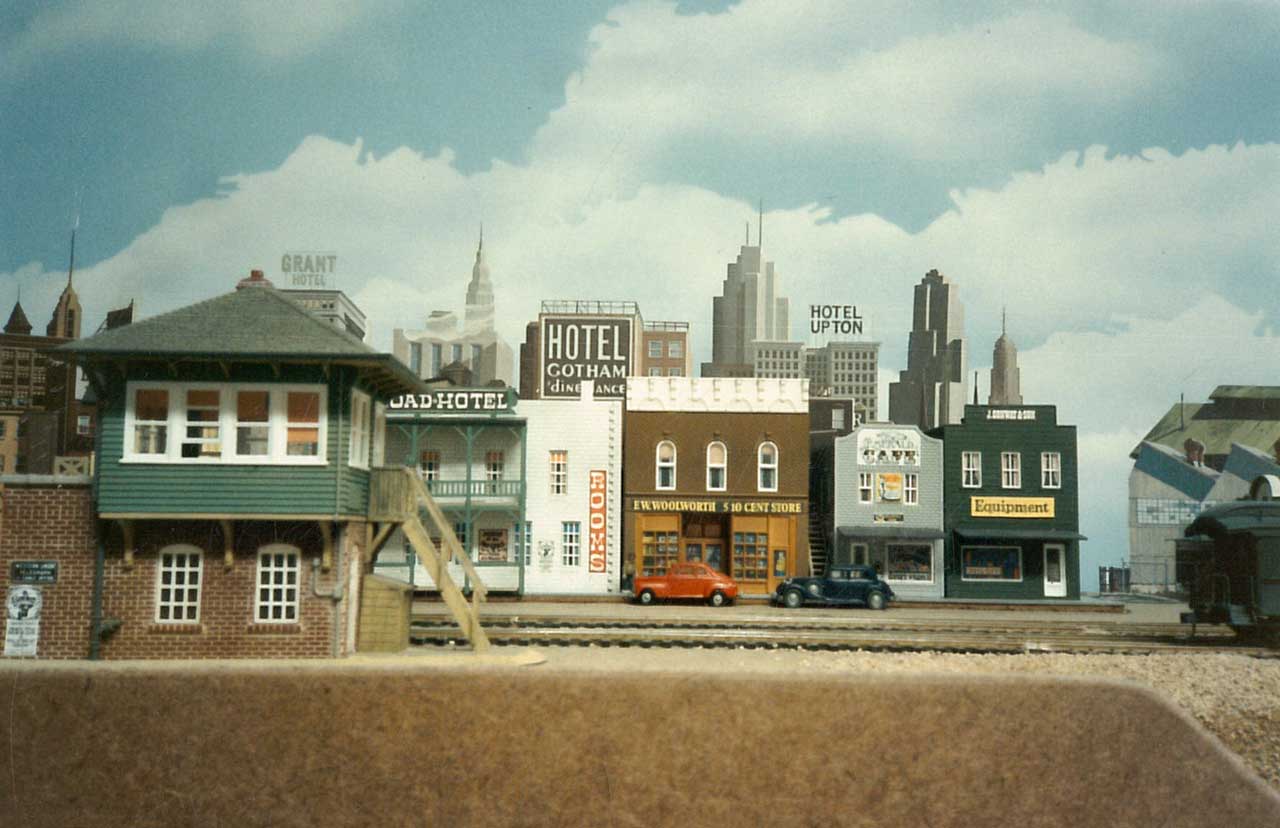
A small passenger station – a Woodland Scenics kit.
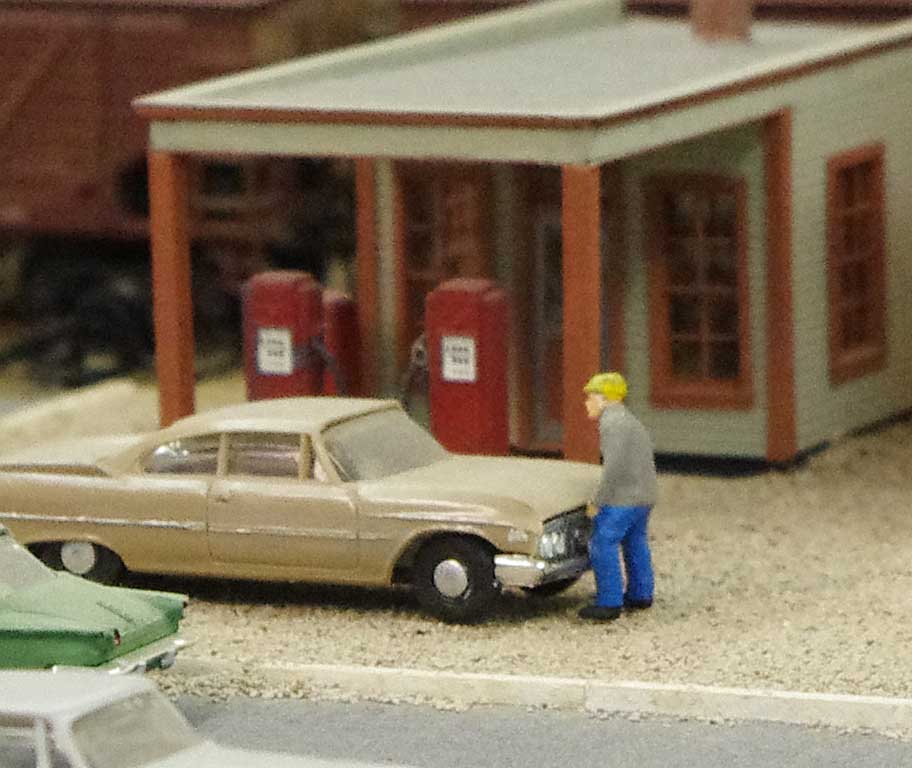
This white building (a Campbell kit) is still in use on my current layout 45 years later.
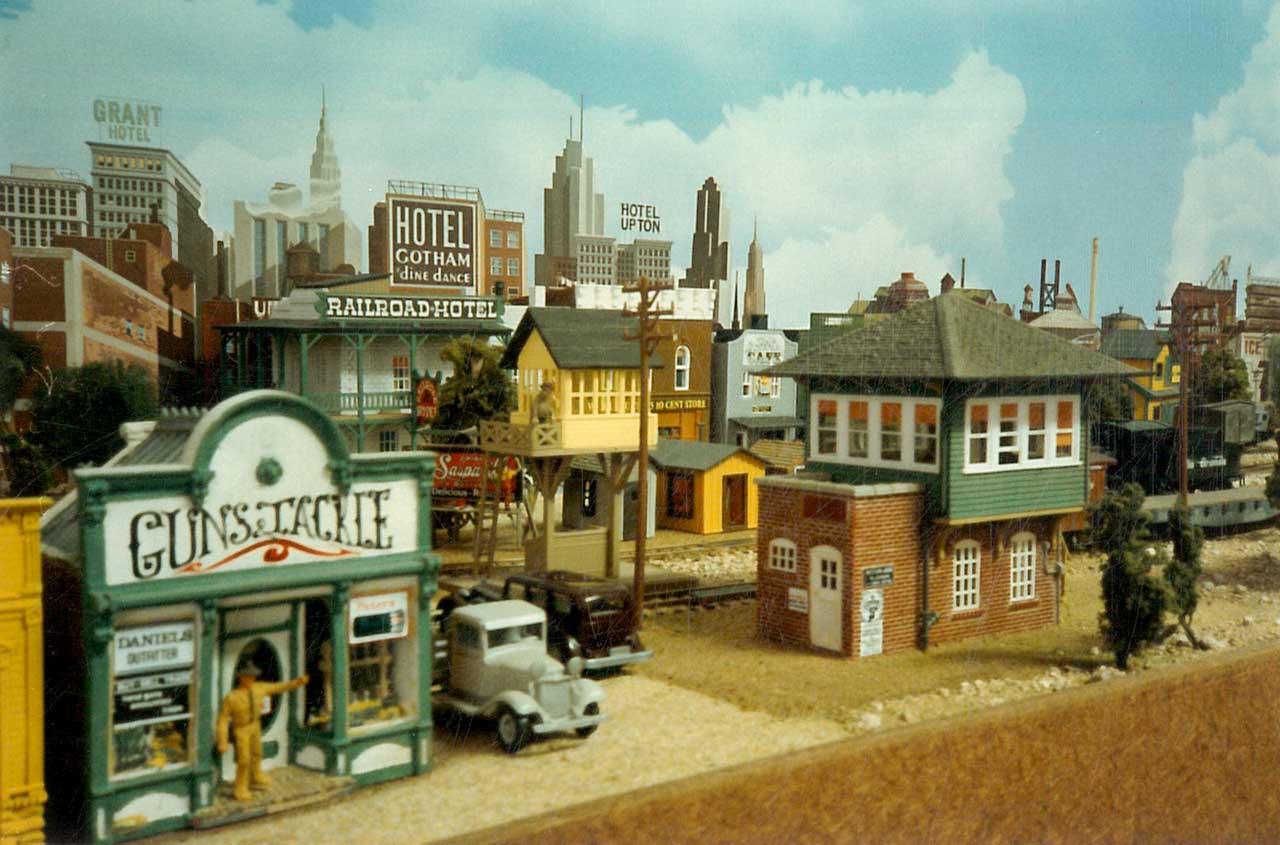
All this much detail in such a small space. Guns & Tackle is now on my current layout.
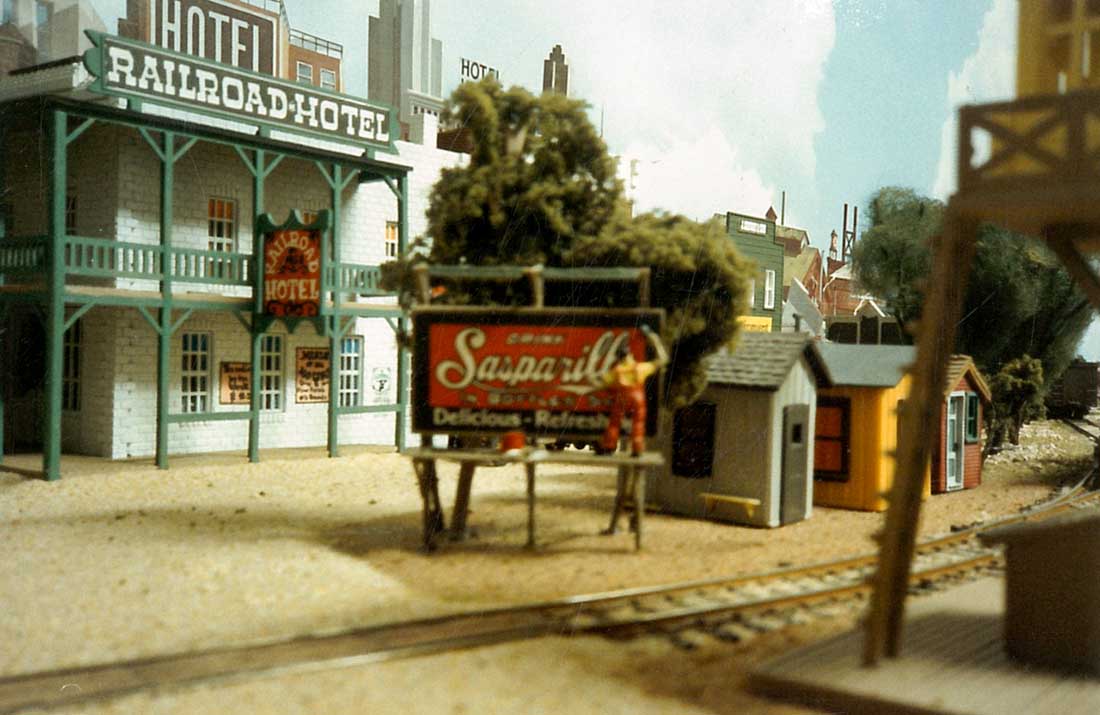
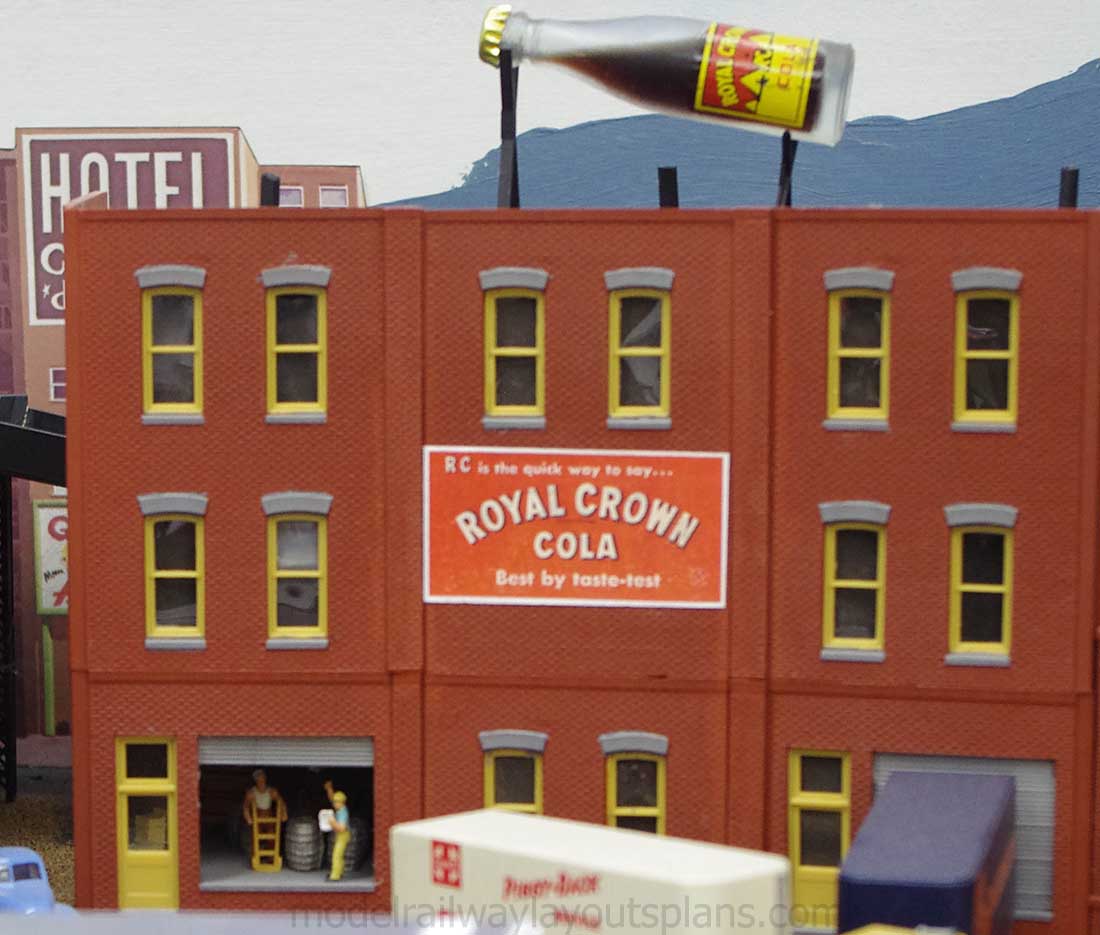
Every town had to have a hotel. The billboard is a Woodland Scenics kit.
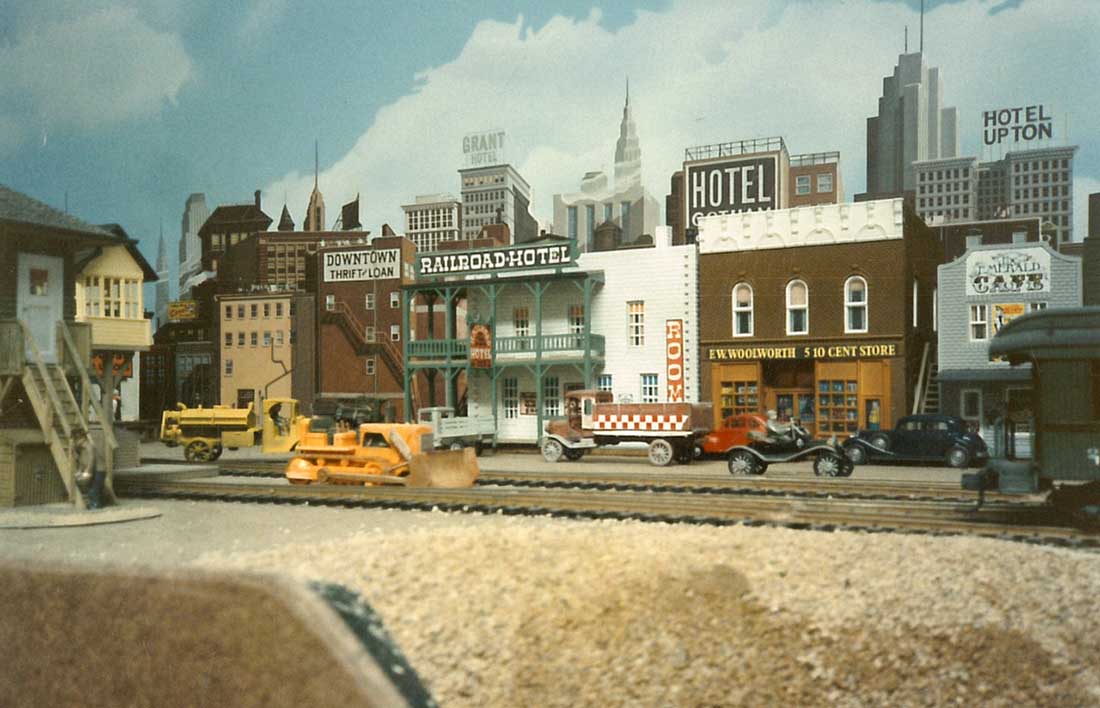
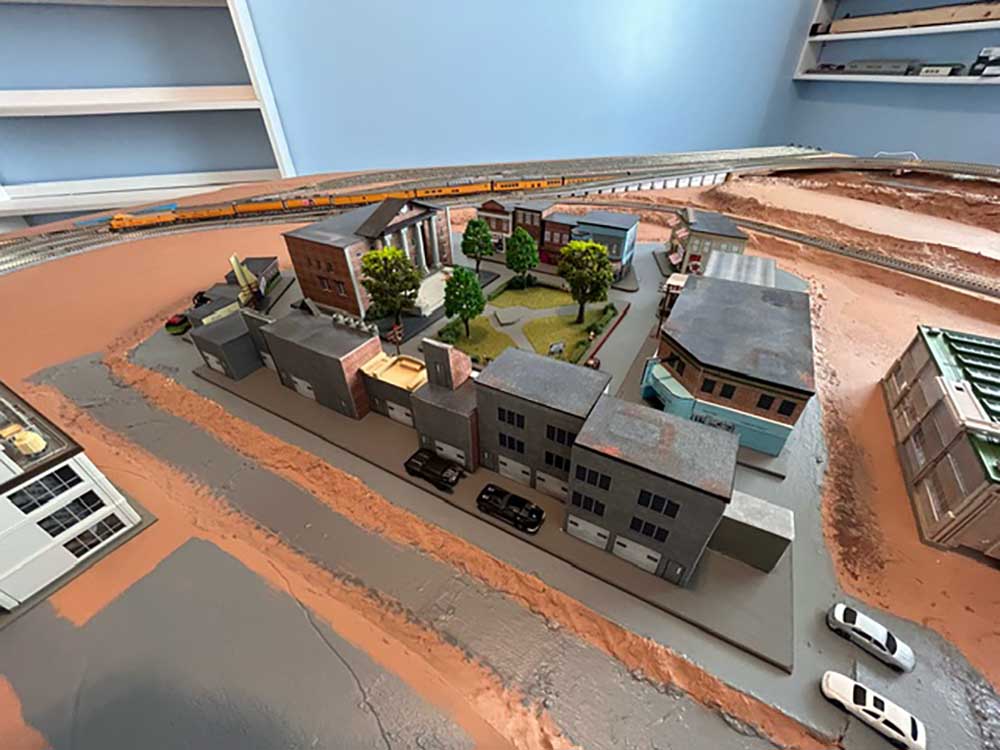
Another view of the town and railroad tracks.
This was my second layout that I built in HOn3 for the spare room that I had in my apartment 45 years ago. If I can find and convert the photos that I had of my first layout also HOn3 as a shelf layout, I will post them here if possible.
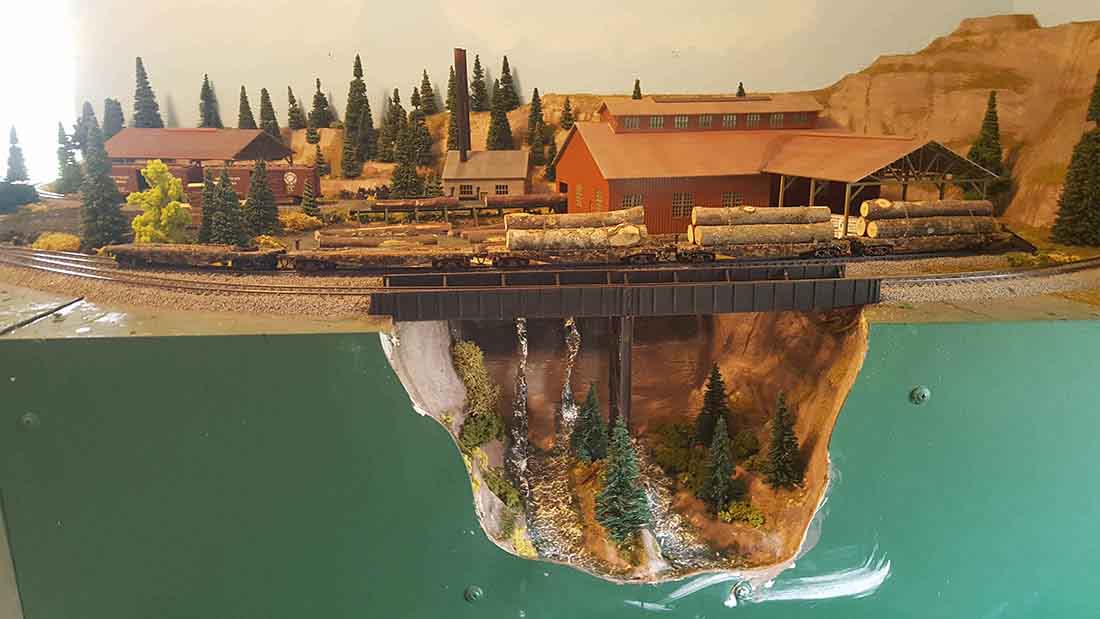
Every layout that I build has to have a waterfront on it no matter how small they are.
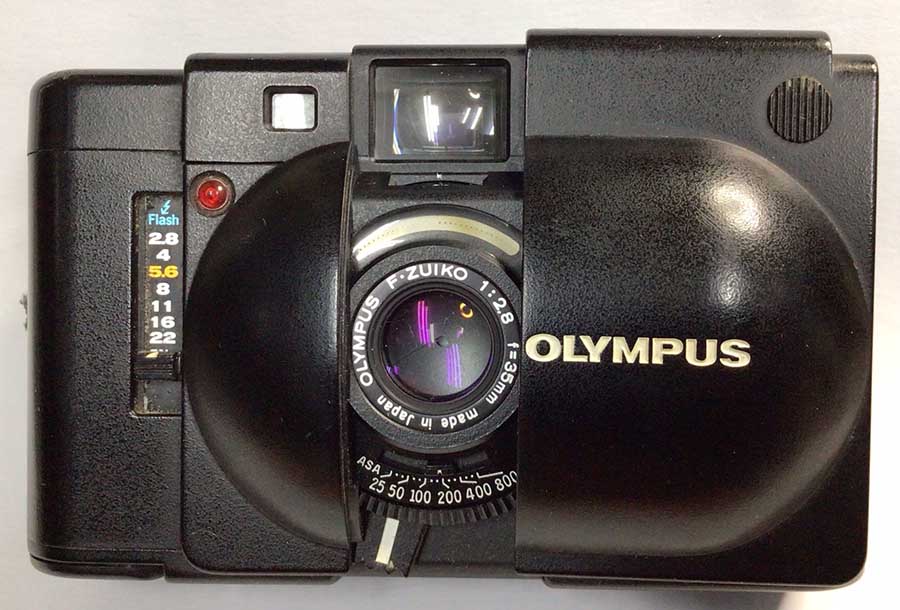
The quality of the photos are not the best because of their age and having had them scanned. They were taken with a 35 millimetre Olympus XA film camera stopped down to f22. The negatives were lost a long time ago unfortunately.
The 46 year old camera below.
All the best and as per usual – keep up the great work on this excellent site.
Brian – the HOn3 guy from Knysna RS”
A big thanks to Brian for sharing his HOn3 brass locomotives from all those years ago – his layouts really do have a style of his own.
You can see more of Brian in the Hall of Fame.
Now on to Richard, who is looking for some suggestions.
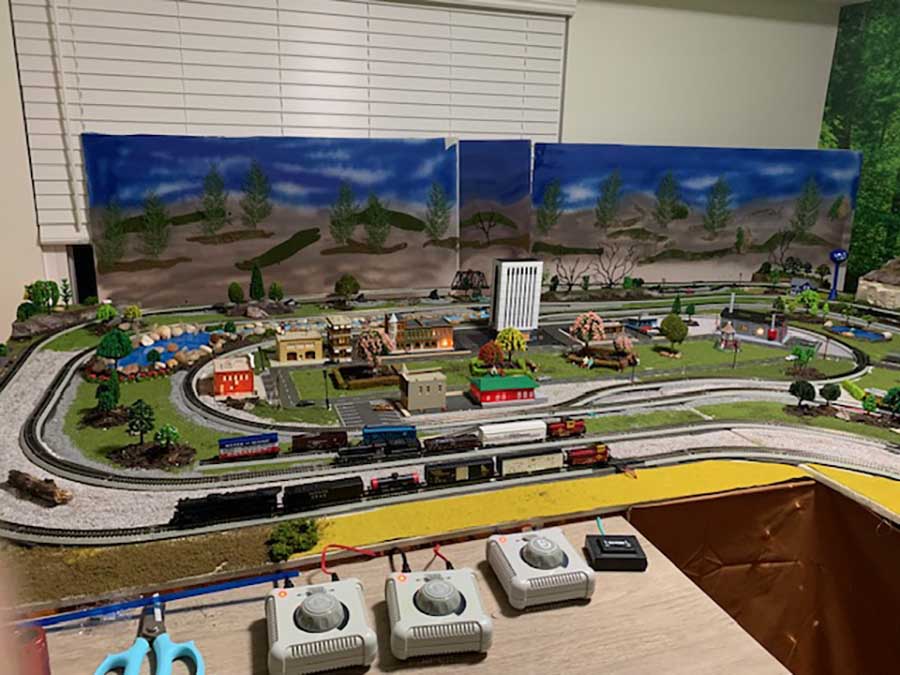
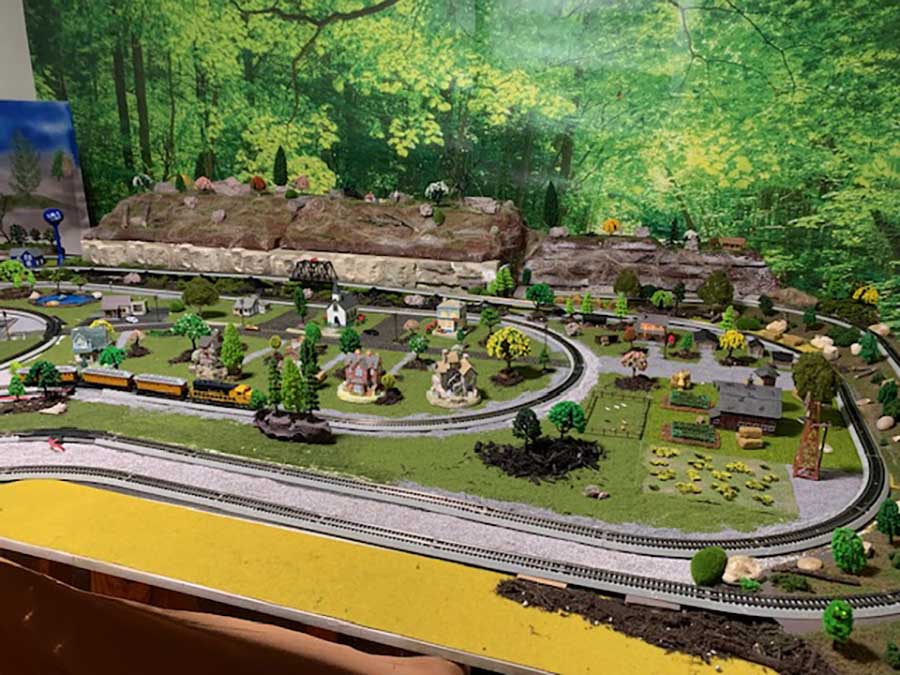
You’ll remember him from his previous layout which is one of my personal faves. You can see it here:
And here’s a pic of it too:
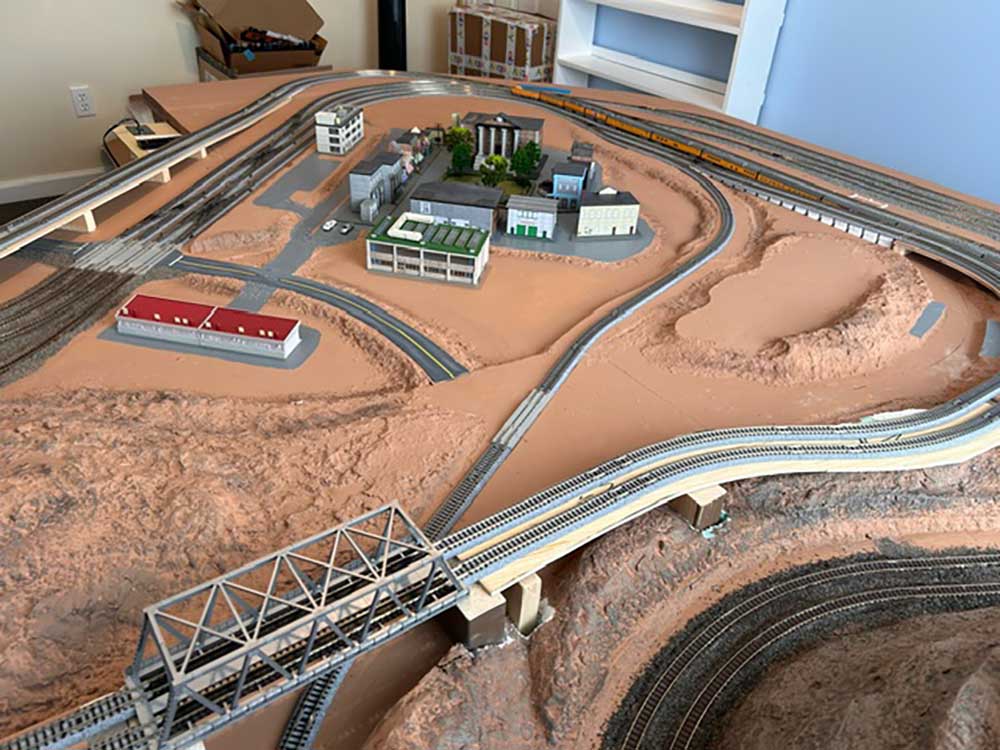
Well, here’s what Richard is planning now:
“Hi Al,
Richard here, now from Arkansas formally from Oklahoma…
Well, after long deliberation, I’ve narrowed my choice of future layout builds down to 3…
1) Rebuild the R&K Logging RR with an expansion to a tree harvesting area…
2) The Thunder Mesa plan, upgrading it to the 50’s time line and incorporating the logging and mining theme…
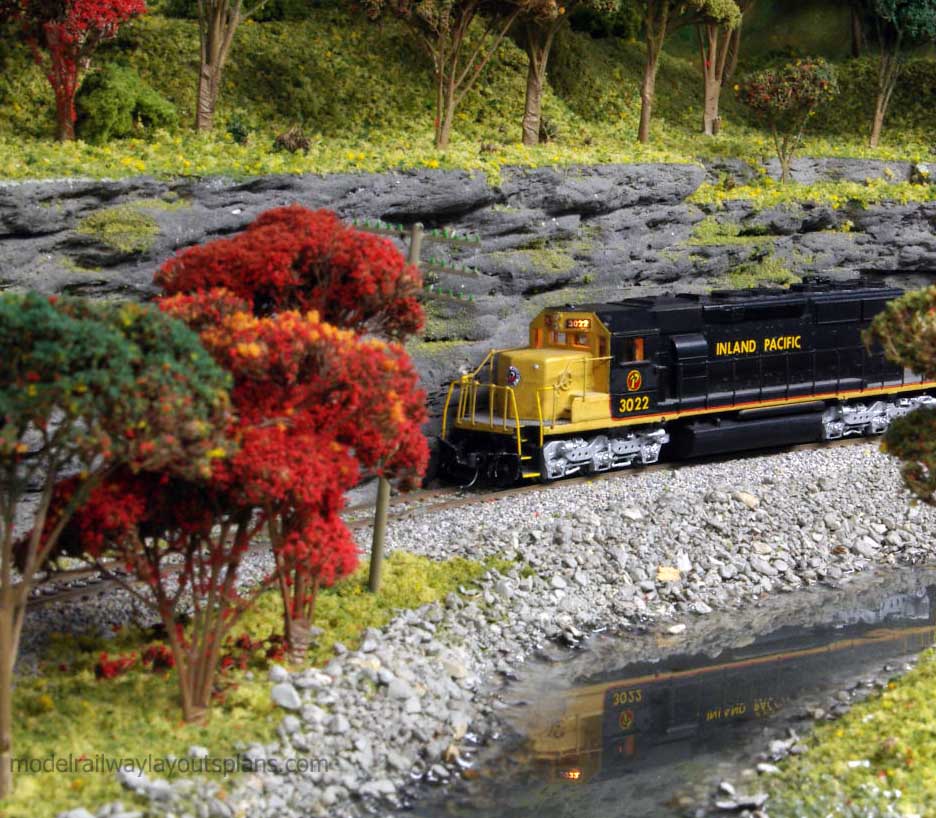
3) Or the Inyo & White RR… a plan that I found online….
So, all that being said, any suggestions from your readers would help….
Thnxs again for all you do for the hobby
Rich”
If you have a suggestion for Rich, please do leave it below!
Lastly on to Dave, who has sent in this:
“Hi Al, just a short video with Deltics and class 37`s running, it will help to Brighten up a dull grey day… like today.
Regards
Dave”
A big thanks to Dave and Brian.
That’s all for today folks.
Please do keep ’em coming.
And if today is the day you get started on your layout, the Beginner’s Guide is here.
Best
Al
PS Latest ebay cheat sheet is here.
PPS More HO scale train layouts here if that’s your thing.