I have two layouts for you in today’s missive: Ron’s HO layout, and below that, the suitcase layout!
“I completed this layout this past holiday season.
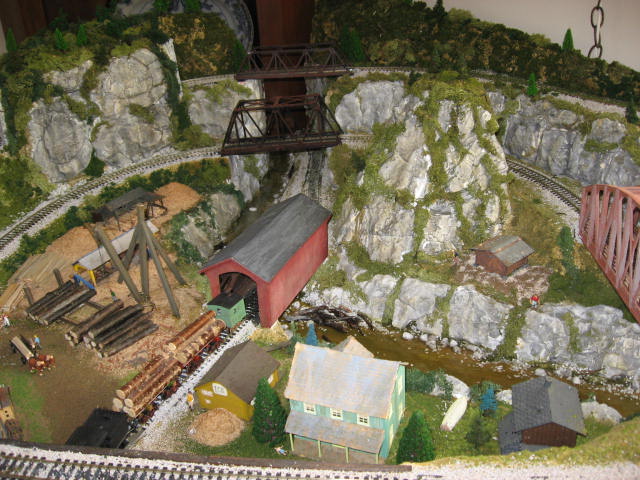
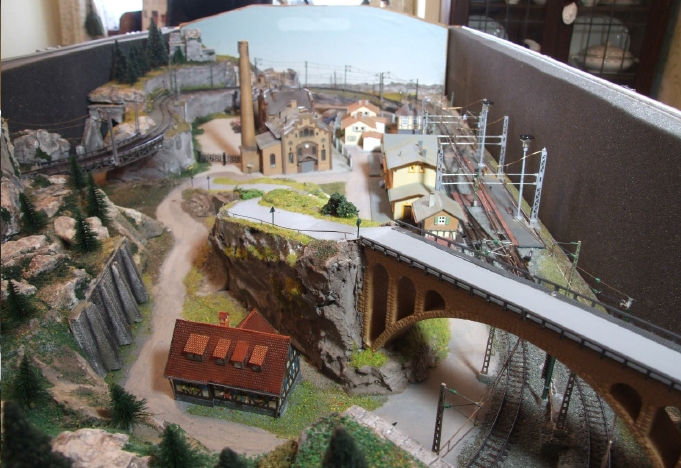
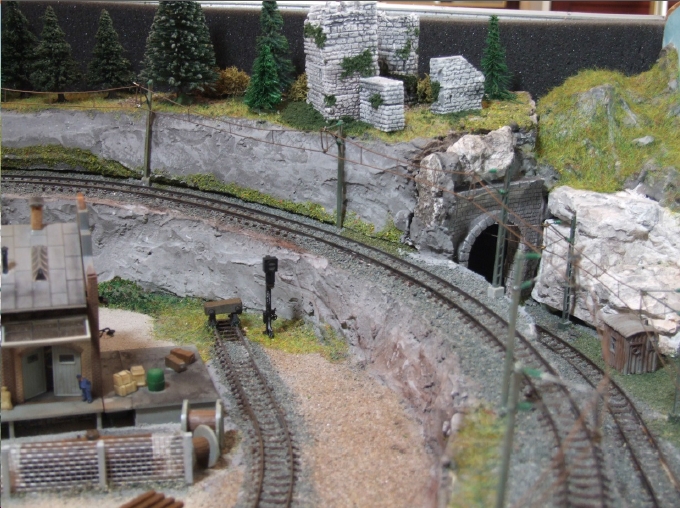
It is a 4X8 HO layout built and planned for expansion. I built this with the idea of selling it as my joy is in the building and seeing the finished product.
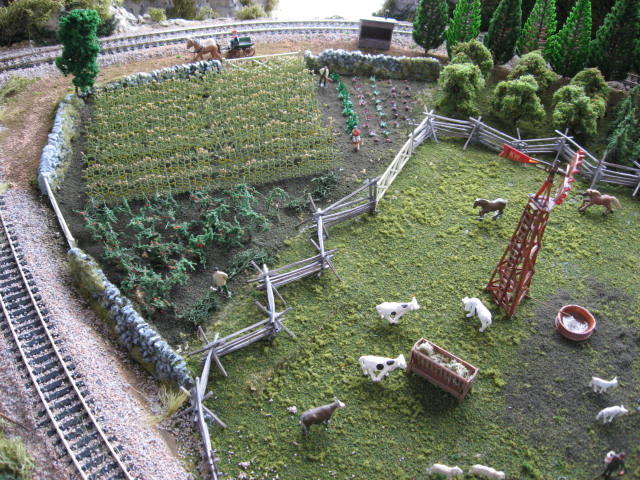
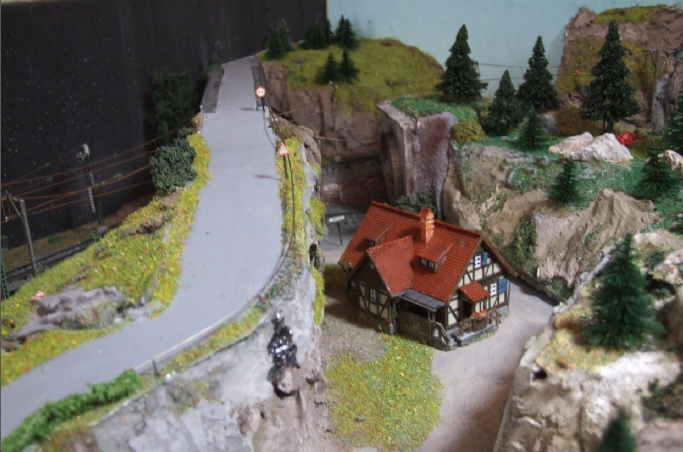
It is foam over a wood frame and very light weight. The scenery is all hard shell plastercloth, with both molded and sculped rock and features made from light weight Hydrocal.
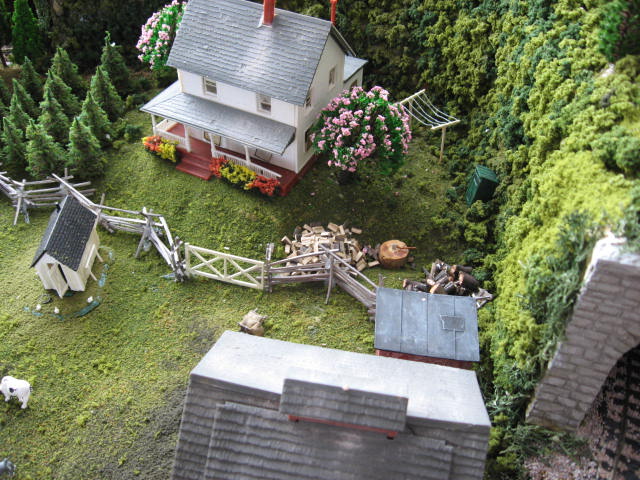
It is entirely painted and covered with landscaping materials.
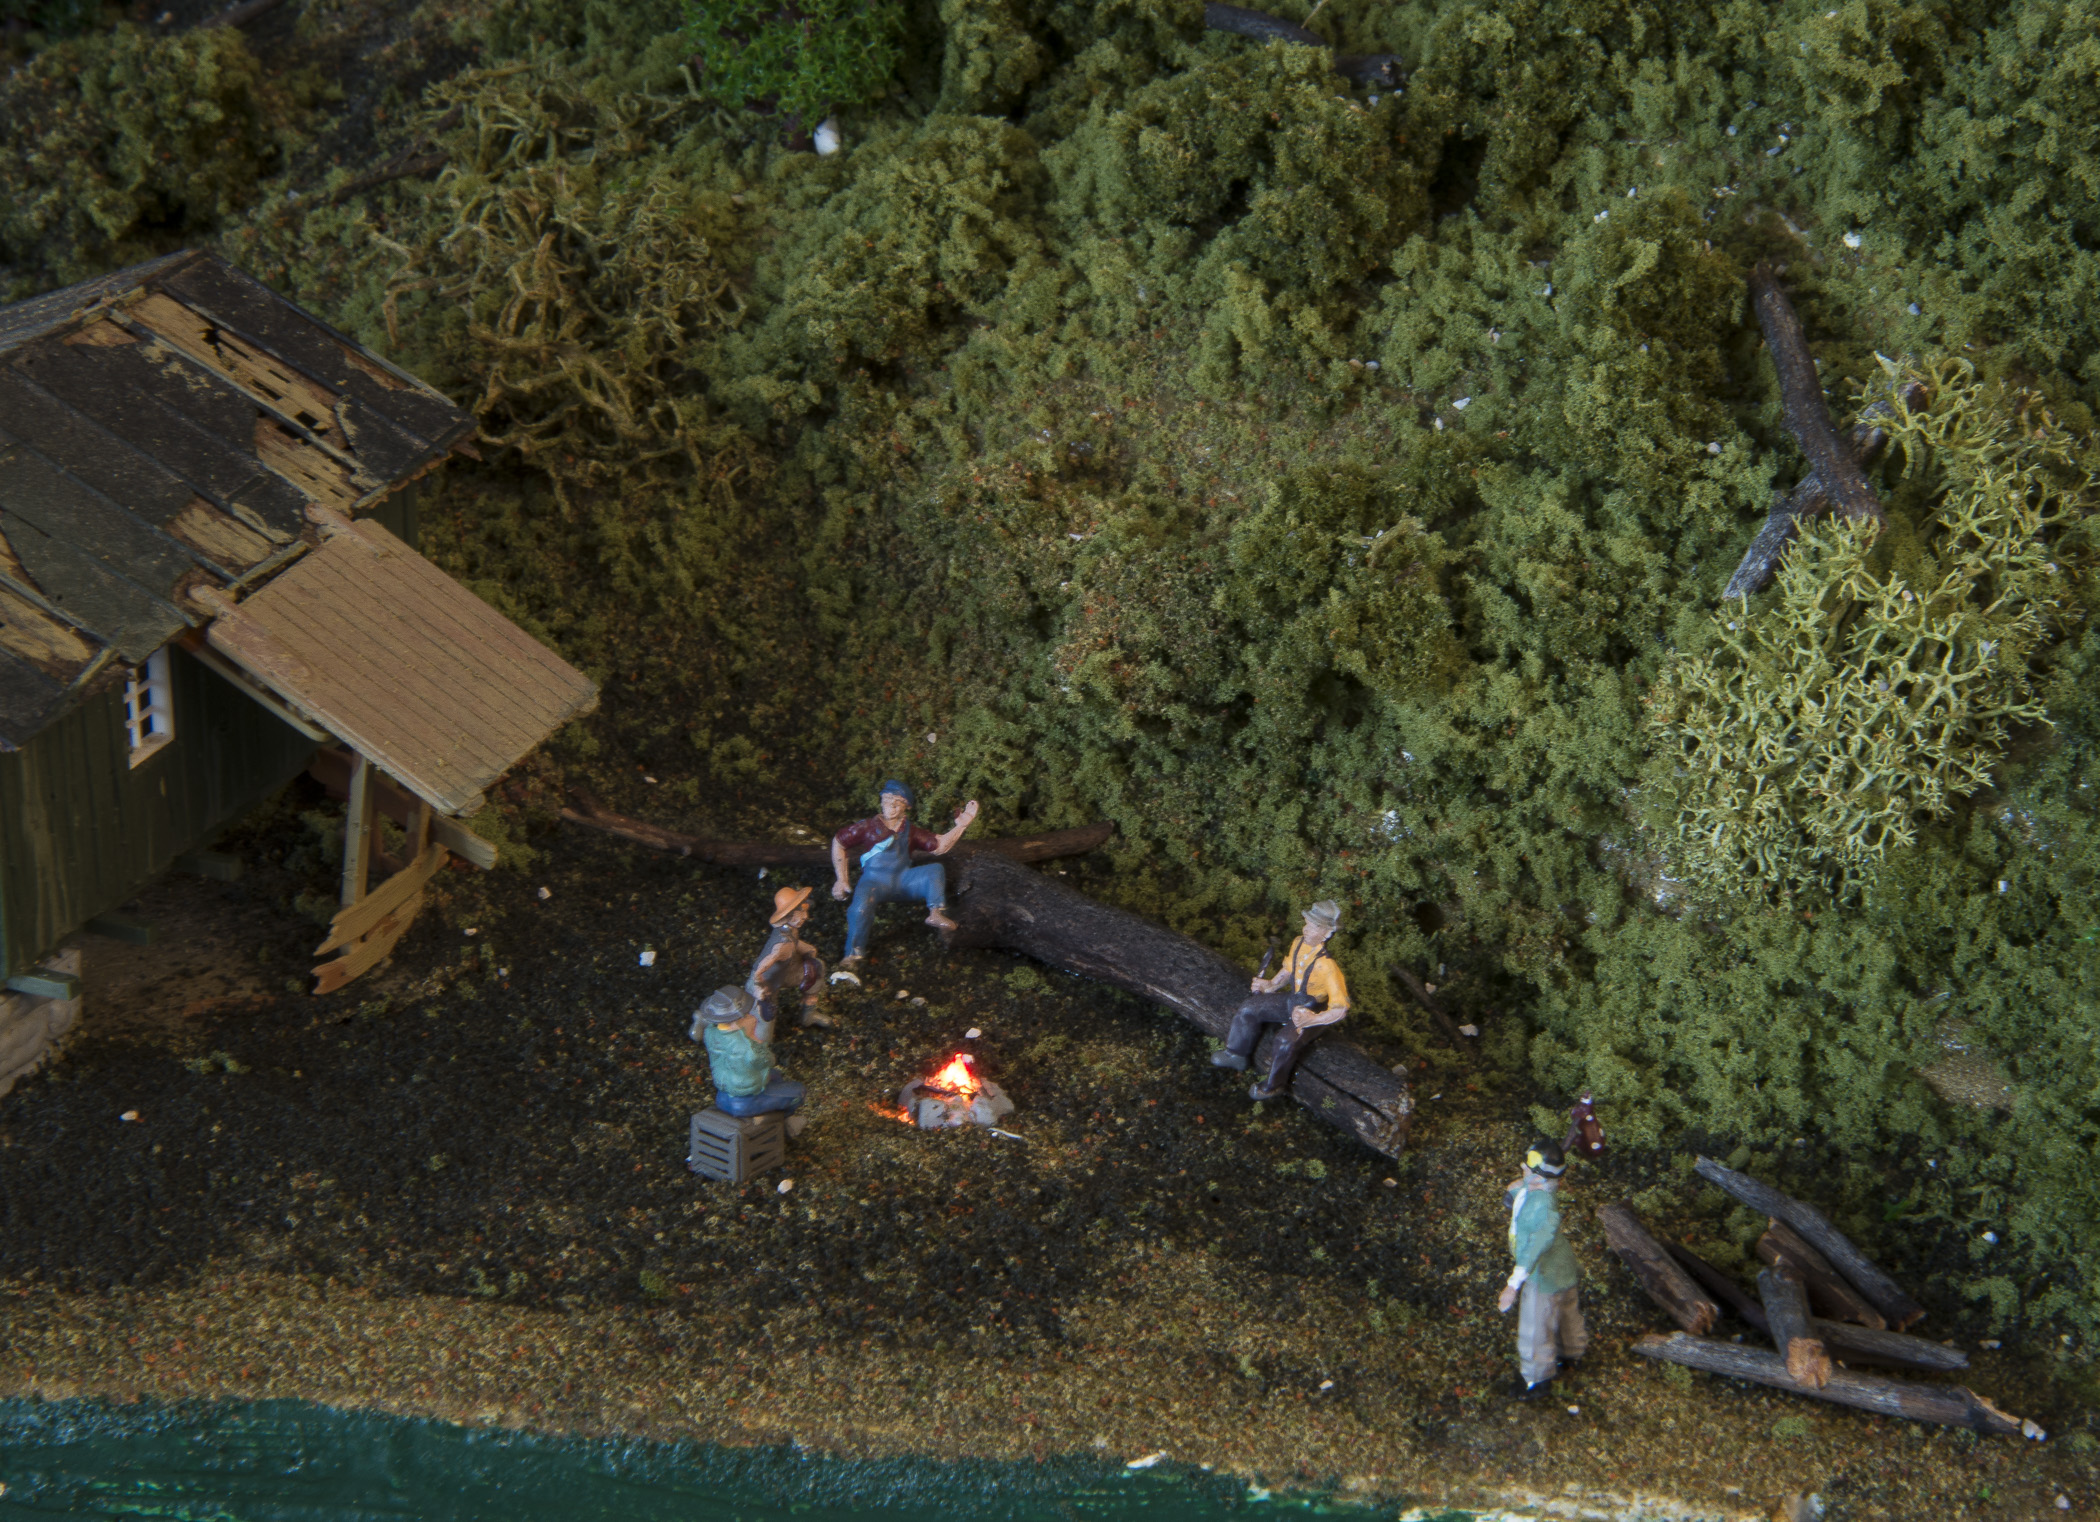
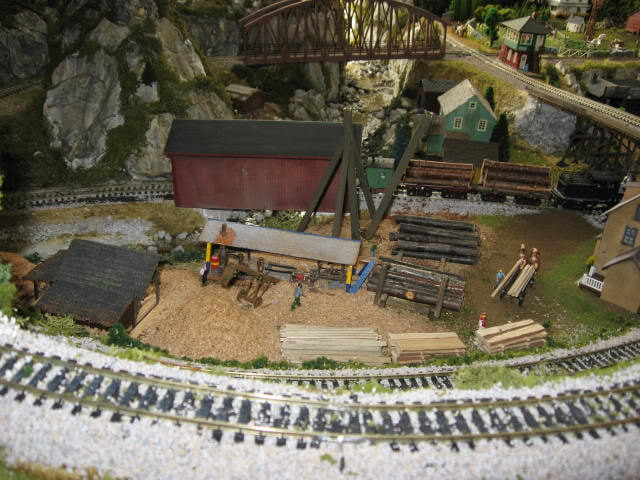
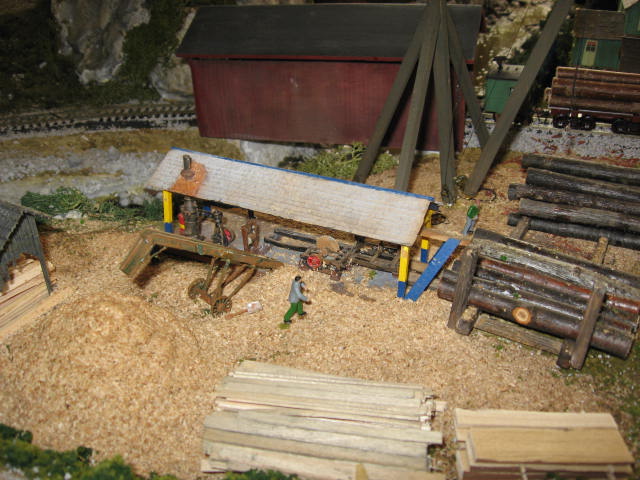
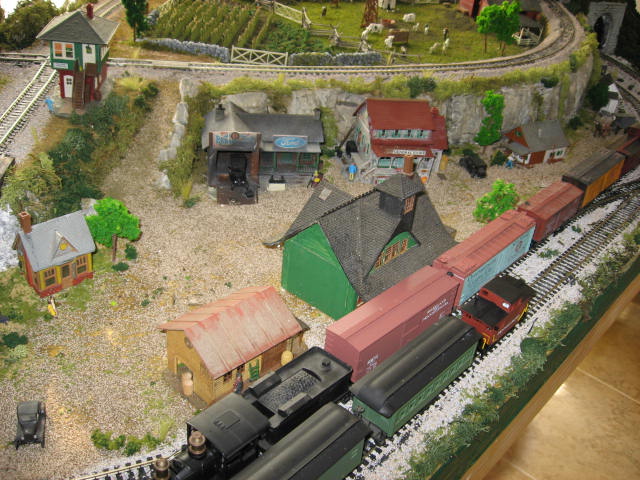
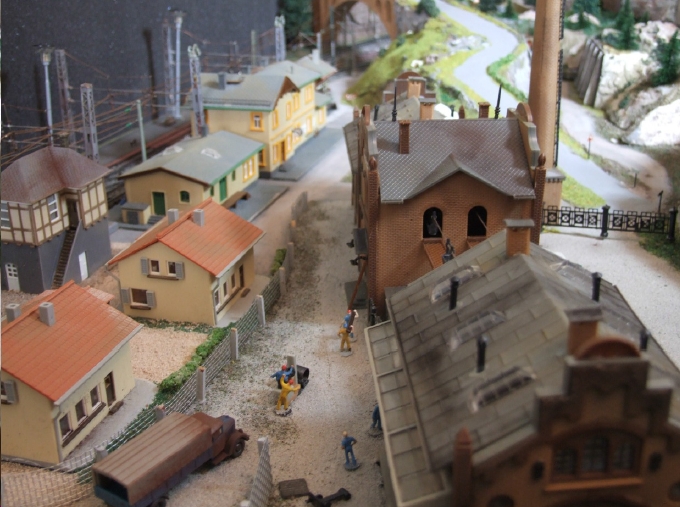
All builings were built, kitbashed and aged. Some are scratch built, such as the lumber yard, covered bridge,etc. As soon as this sells I will start the expansion or a new design.
This is wired so that it can be used as DC or DCC Quite easily.
Ron”
Hope enjoyed Ron’s HO layout as much a I did, now on to CW:
“Hi Alastair,
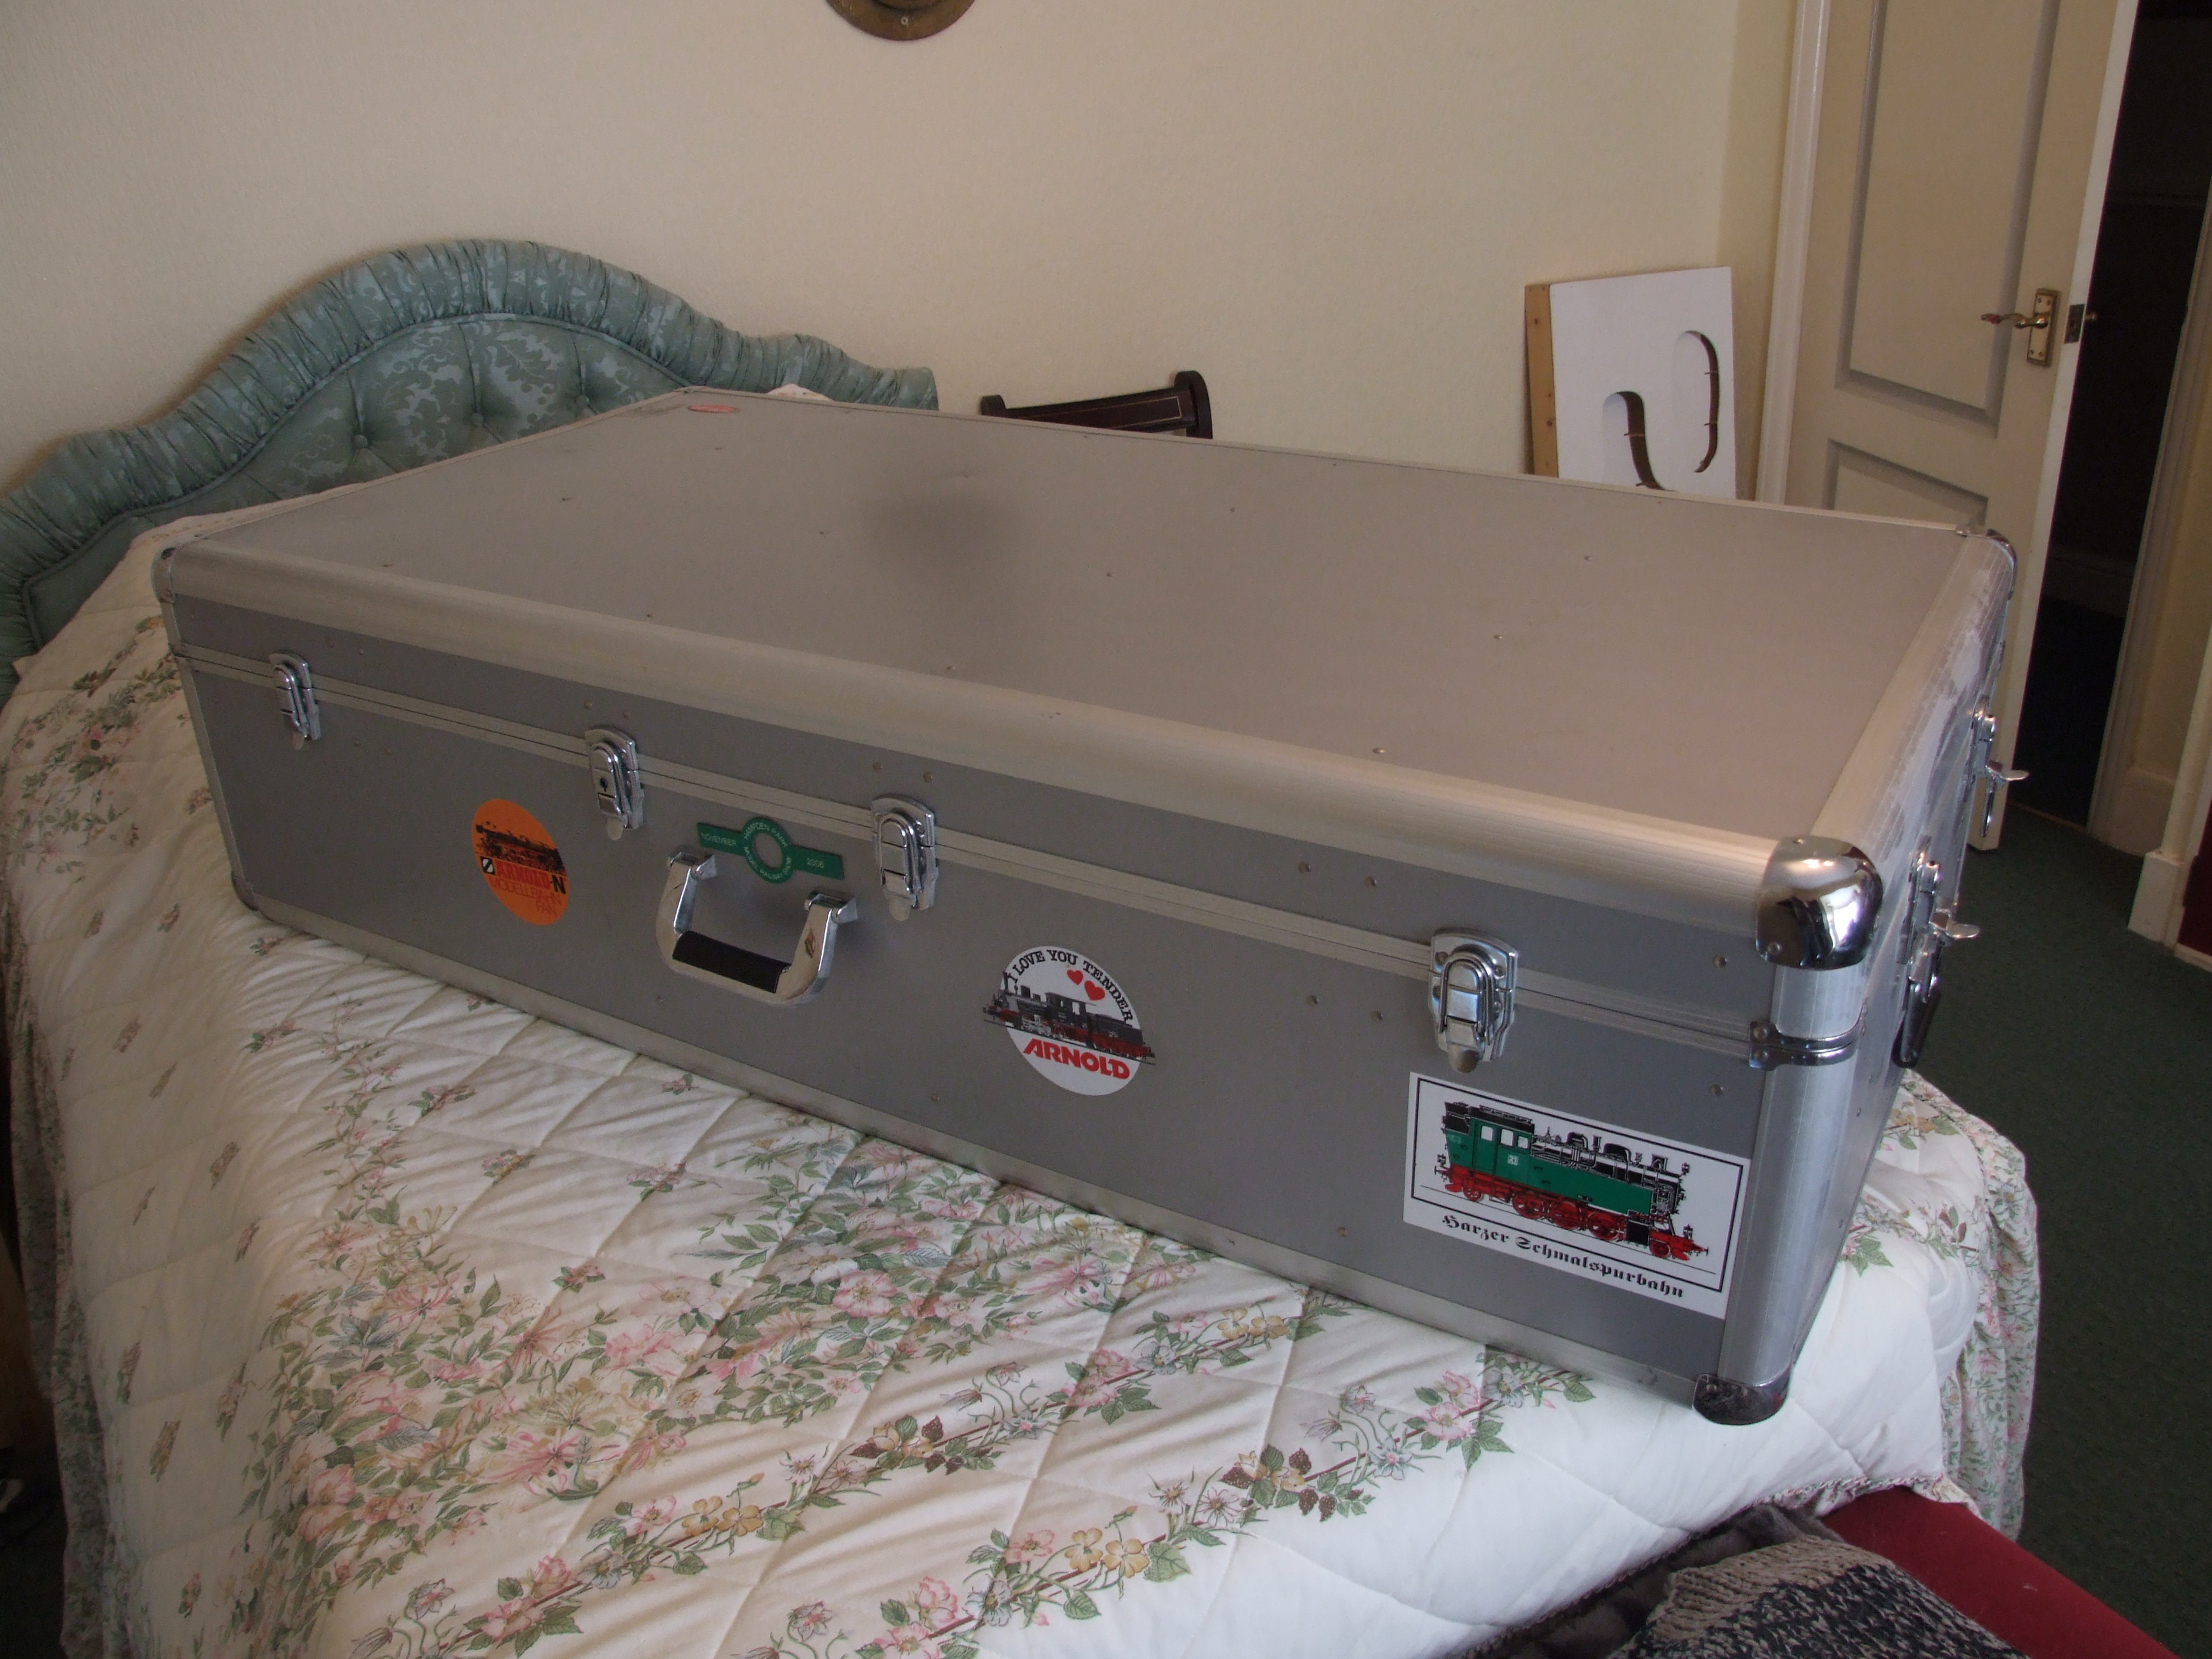
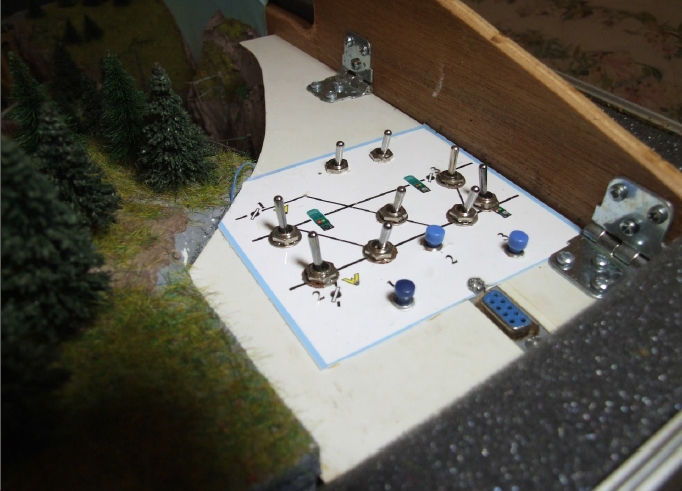
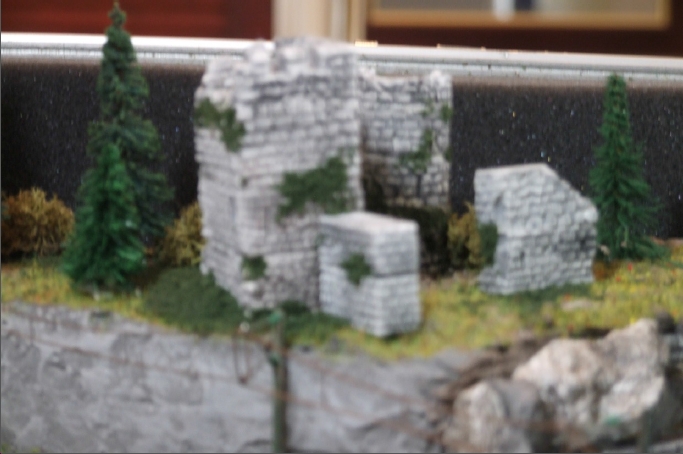
Attached are pics of my “Train in a suitcase”. I have now sold it, but I am still working on another, larger layout for both analog and digital operation. Hopefully I will soon be able to send you some more pictures of my current venture.
CW”
Big thanks to Ron for sharing his HO layout. I do enjoy the 4×8 HO train layouts.
Martin sent in this wonderful model train tunnels ‘how-to’. It’s so easy to follow – and look absolutely stunning.
“
“Here’s “My way” of making scenic items to place on model railway layouts. I produce many different models usually which have some form or rock face, but not all are landscaped the same although I do tend to put plenty of grasses & many bushes on my models.:
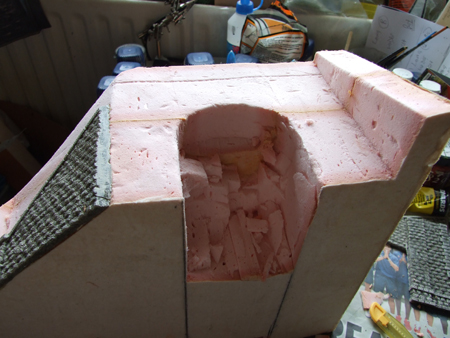
This project is a single track tunnel entrance designed to fit in the corner of a layout with the track running behind the back scène to a ‘fiddle yard’.:
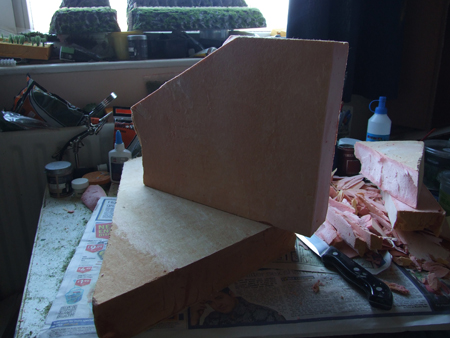
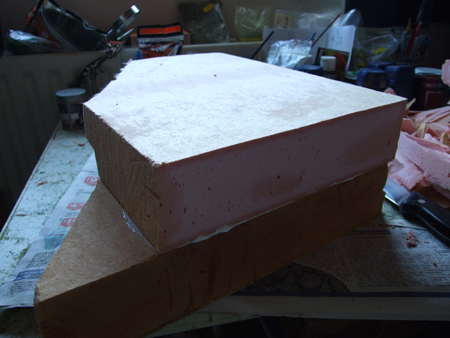
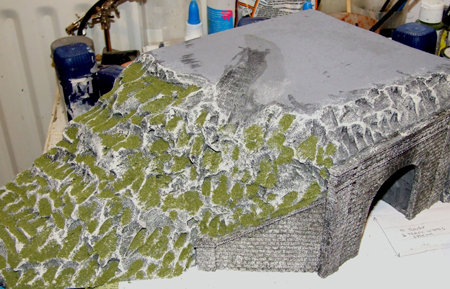
First I use a type of insulation foam which is used to insulate houses, the off cut’s are ideal to make models. (Please excuse my untidy workspace).
Picture shows a couple of blocks of foam which I will glue together.
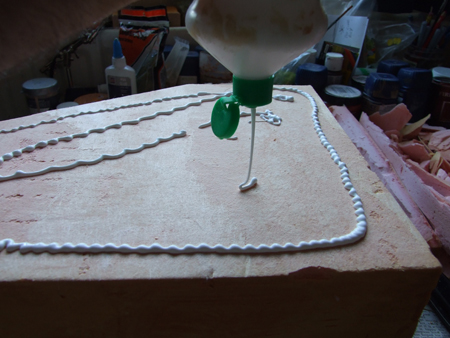
I almost always use PVA glue which I find very good & cheap.
Model train tunnels:
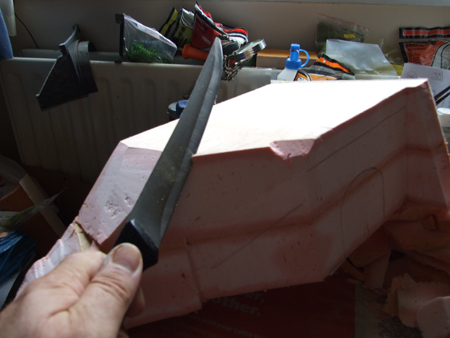
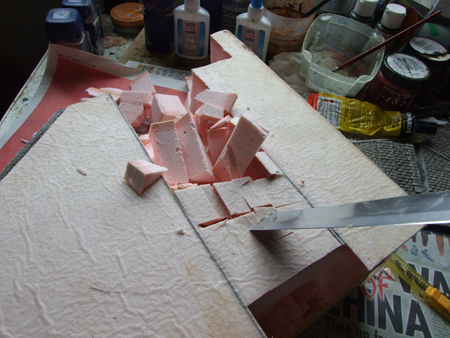
Once dried I pick up my sharp kitchen knife and trim the foam.
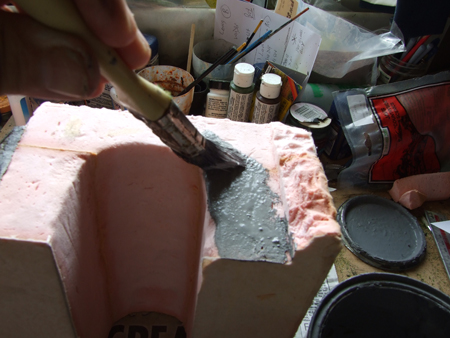
Having obtained a readymade resin portal for the model train tunnels used on this project, I marked out on the foam the tunnel and carefully began to carve the foam.
On many occasions I do not use a portal but carve my own into the foam, this model I decided to paint a resin postal to use.
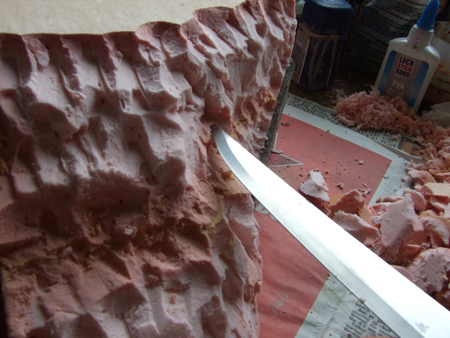
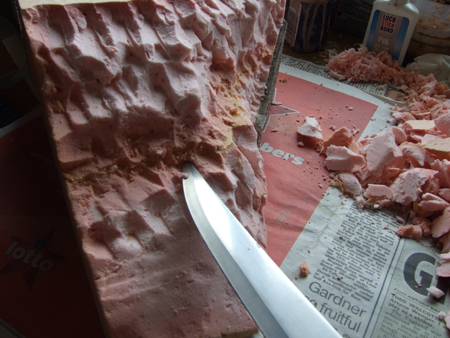
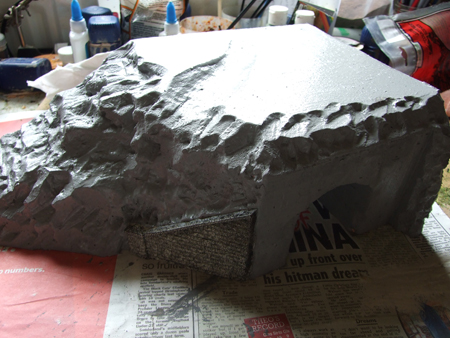
The roof of the model train tunnels are shaped by using a desert spoon.
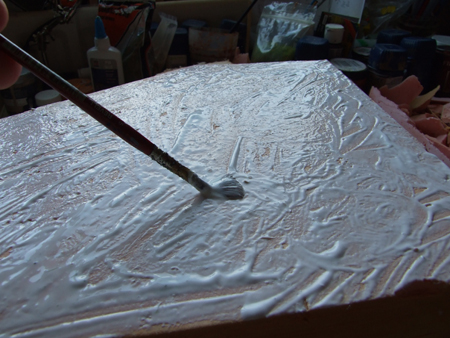
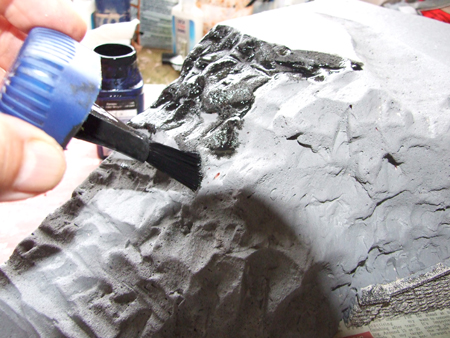
Once dry, I paint the rocks with a very watery black into the cracks.
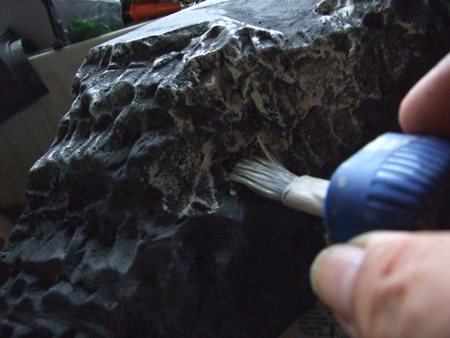
Then I use a light emulsion on an almost dry brush to bring out the highlights on the model train tunnels. The portal can be then glued onto the foam by using a strong contact adhesive bought from the Poundland shop in the town centre. The model is now ready to Start applying the landscaping. This is a matter of taste and I vary my models by the use of a variety of types of grasses & bushes.
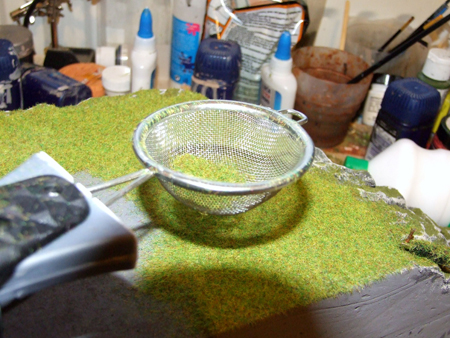
Most of my materials are Woodland Scenics, Although I do sometimes use other makes. On this model I have chosen to first apply an olive coloured grass onto the rock embankment.
Then I applied a summer ‘Static grass’ by the use of an electric applicator.
With short static grass, the static effect of making the grass stand up is not very effective. But when I use 4.5mm & 6mm grass the effect is very lifelike.
The next job is to apply a variety of bushes onto the odel train tunnels, again by PVA glue.
All that is left to do then is to give the model a spray of watered down PVA glue (always remember to run some clear water through the spray when you have finished).
It can set in the nozzle & ruin the spray for future use). I then sprinkled some Woodland scenics coarse turf onto the summer static grass and a little on the rocks.
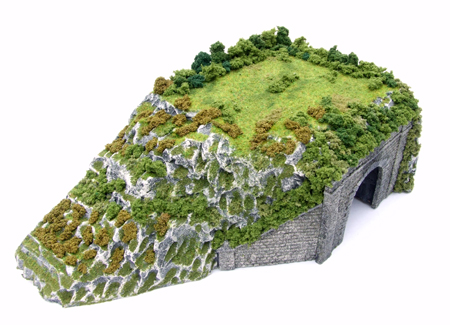
I usually add a row of various bushes along the back edge of the model train tunnels.
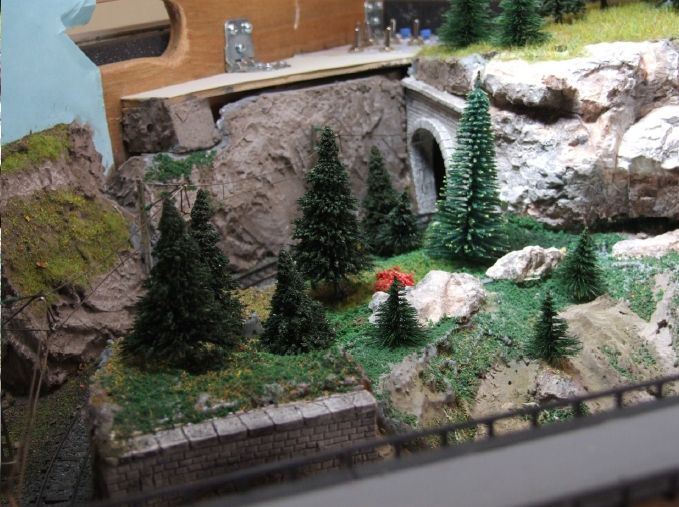
That is how I make my models, I hope that it gives you some ideas? Whilst this is drying – Here’s one I made earlier where I carved the portal myself.
Martin”
Incredible work and stunning detail – thanks so much for Martin for sharing his model train tunnels ‘how to’.
There are lots of tunnel step-by-steps on the site, here are some more:
“Thank you for the constant info and images – all very inspiring.
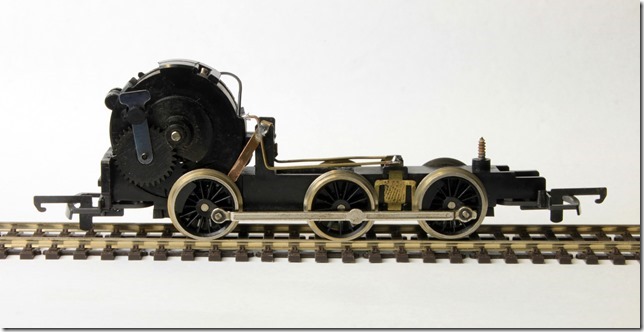
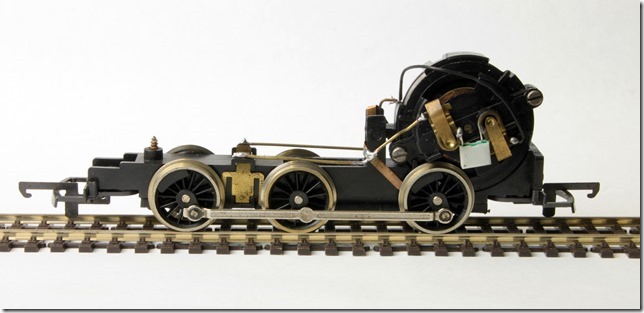
Here’s an easy upgrade I have done on a lima 9400 – Add additional wheel pickups
The problem with these is the rail pickup is only on the front two wheels hence stalling on points and crossovers.
By unsoldering the wires from the pickups to the motor and replacing them with thin solid brass rod, additional thin flexible copper or brass strips can be soldered to pickup on the rear wheels.
A huge improvement is seen. You can also paint the visible part of the pickups black to blend in.
Sam”
“Al,
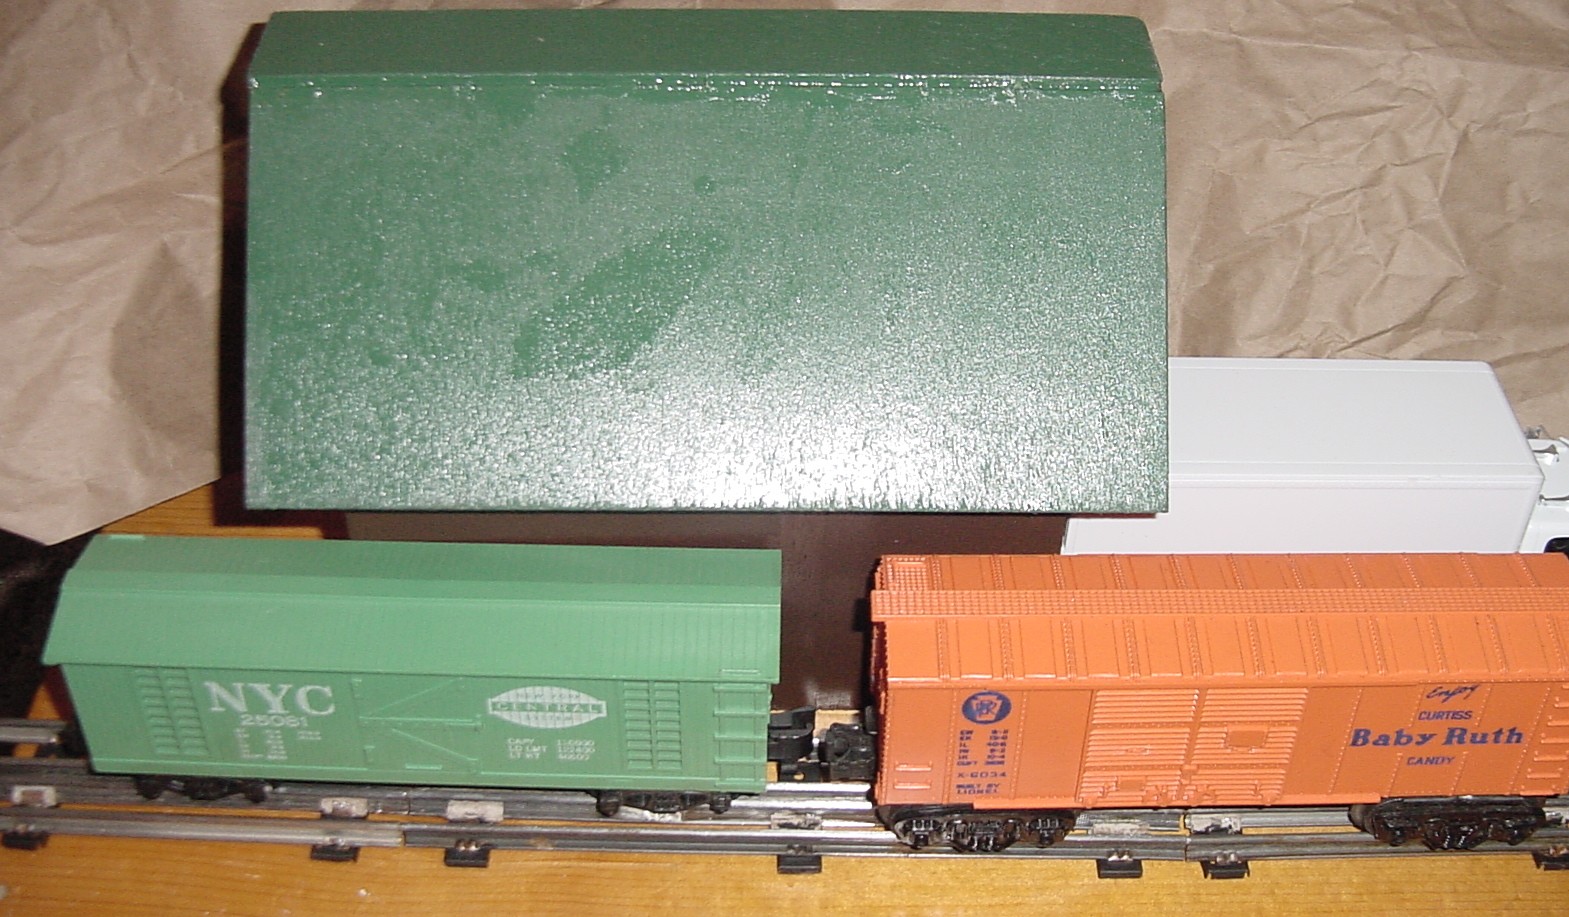
I know most of the folks on this chat group are HO people. I like O and especially S gauge.
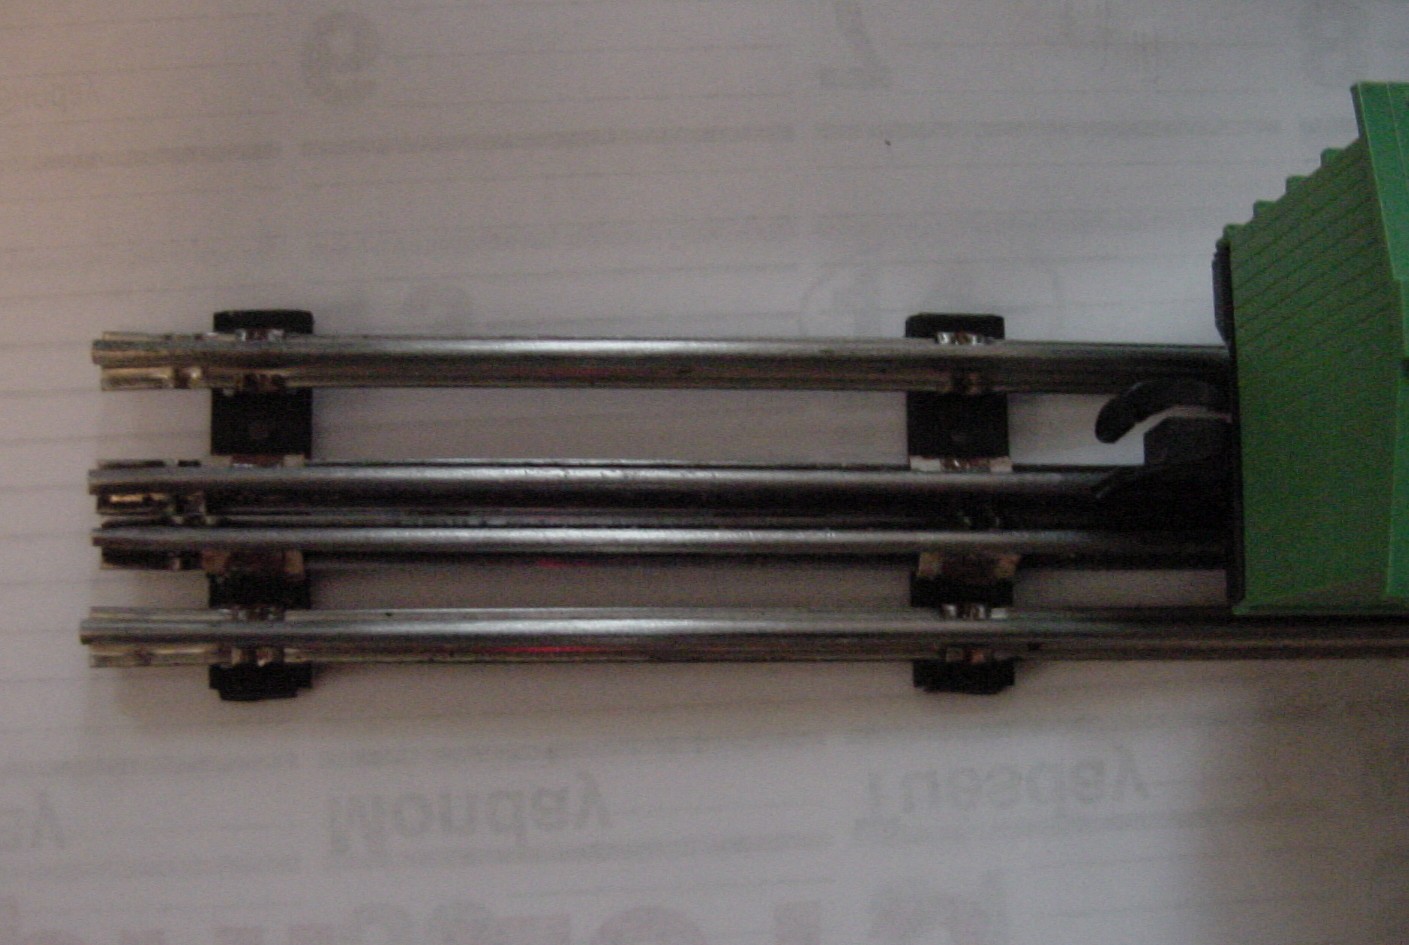
My question is, how do you build an S and O gauge layout with limited space. Answer is to use the same track.
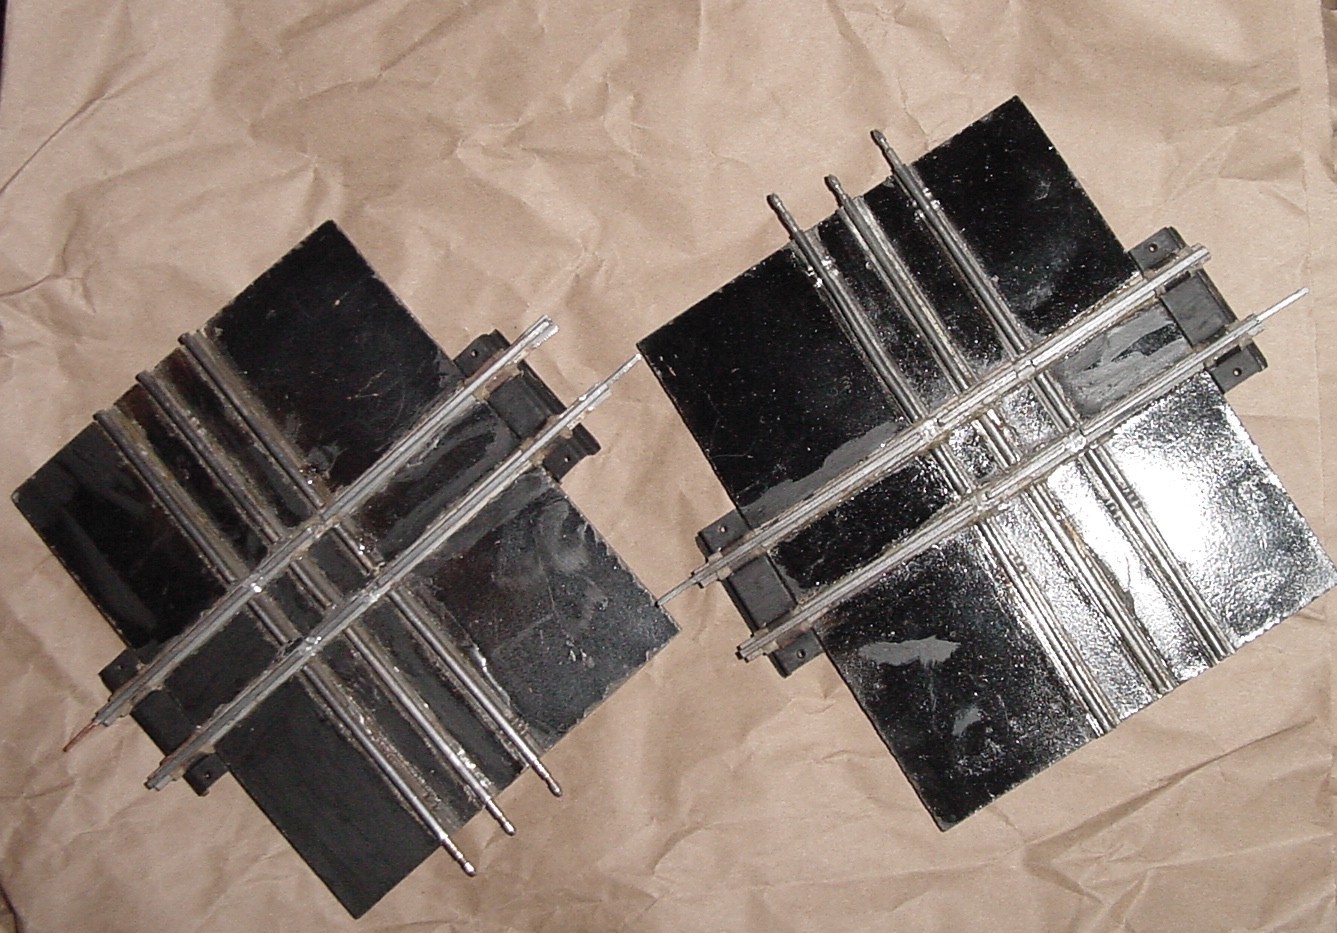
I built an “OS” gauge track and can run both S and O gauge on the same track with the same transformer.
It allows me to park cars for simulated loading and unloading next to buildings and .hoppers with out the space between tracks.
Also built my own cross overs and dedicated Ys I can use an S engine to pull O cars and visa versa with a modified adapter. Laugh but I enjoy running both gauges on the same track.
Joseph”
“Is there anyone out there who knows the trick/tip how to glue those ultra-microscopic plastic people, that are supposedly in HO scale (via Woodland Scenics) that will make them stay permanently on a foam sheet (or any flat surface)?
The feet on the people are so small, I have no idea how to keep them standing up (such as construction workers on a street or train station people waiting on the platform.)
How Woodland (and other companies) can call these HO scale (clearly marked on the package and bought from E-bay or Amazon) is beyond me.
WK”
I do love the way you folk come up with these ideas and solutions – please do keep ’em coming!