Dan’s been back in touch. This time he talks us through his Helix construction HO scale:
“A lot of the layouts today have a helix to change the levels of the layout. As a scenery guy, why not make it part of the scenery if possible.
This post will be about how to include the helix as part of the scenery.
My previous post was the Gorge on a friend’s layout. On the same layout, he had a helix. His design for the helix was to get to three different levels.
The lowest was storage/staging and run through. On the top level of the helix, there was a problem with the track.
He had the upper level that was going down and the lower level coming up cross at a 30/60 diamond. (Part of the helix turns were thus double track, one up and one down.)
The major problem was the diamond. Those of you with DCC know about shorting at the frog or the guard rail. This was a problem with the 3 axle locos and some 3 axle
passenger cars with lighting.
Our first solution was to put nail polish on the inside of the offending rails. That would have been a good solution and would have worked on other layouts. There is always a
however.
If the helix were to be closed, normally done, there would be no way to know if the diamond was clear.
He did not want some kind of detector there. (His layout.) So out came the saber saw again. You will see later how this was done.
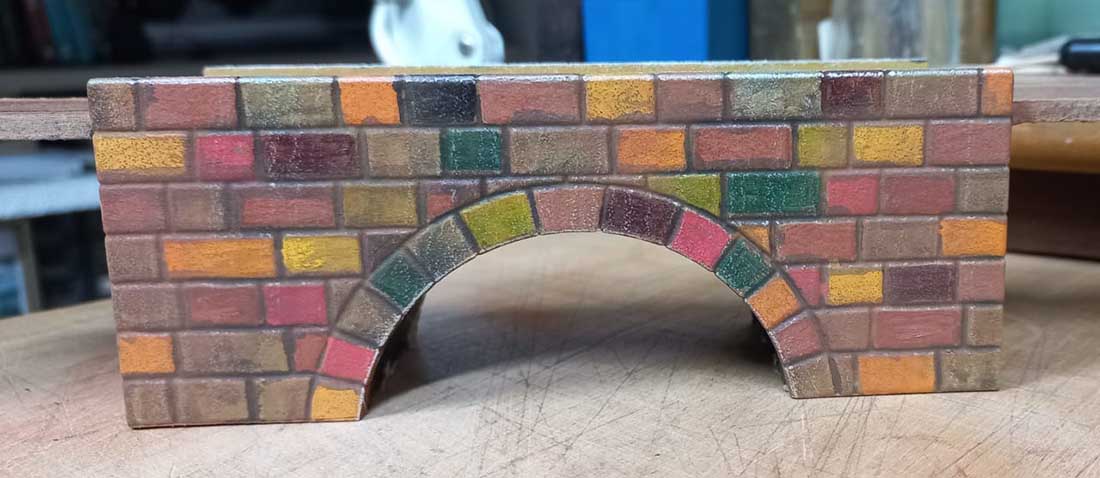
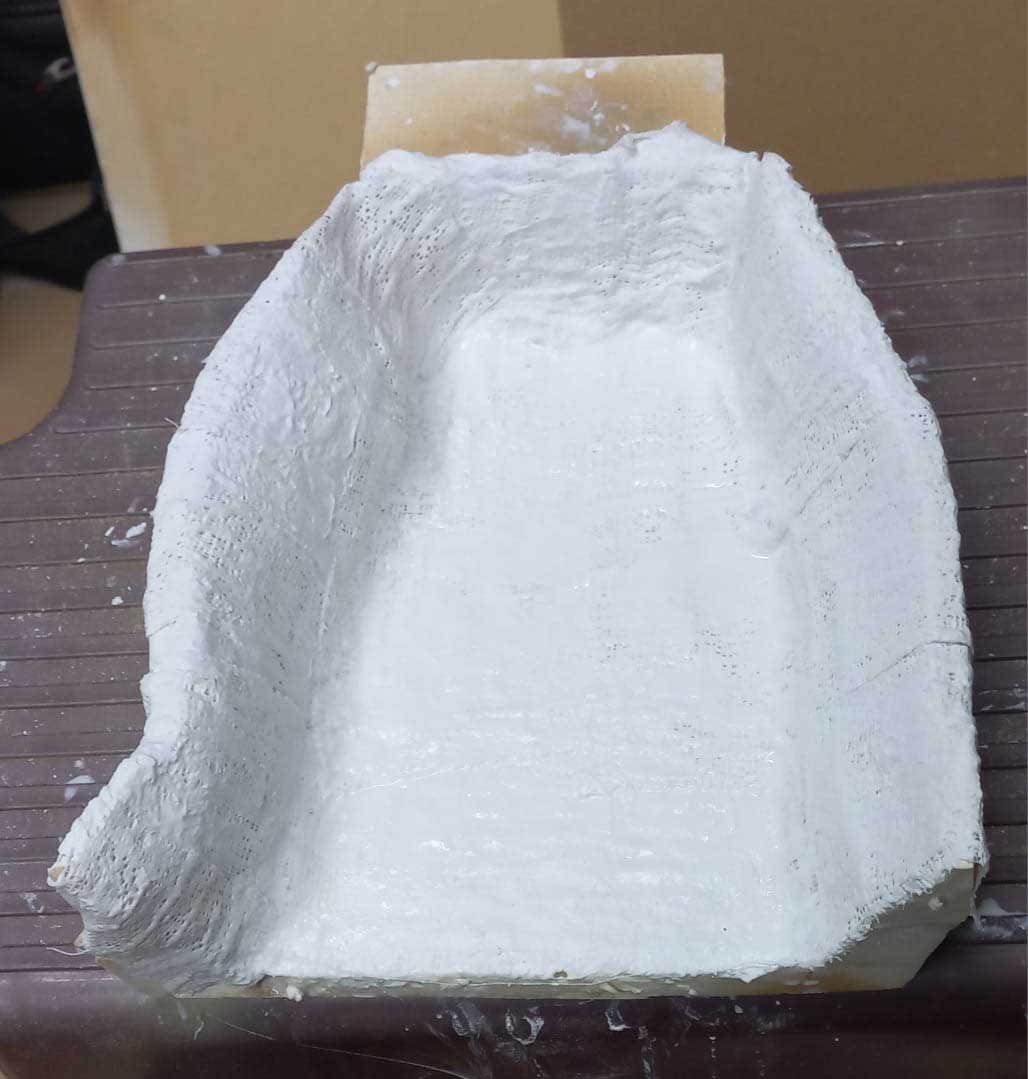
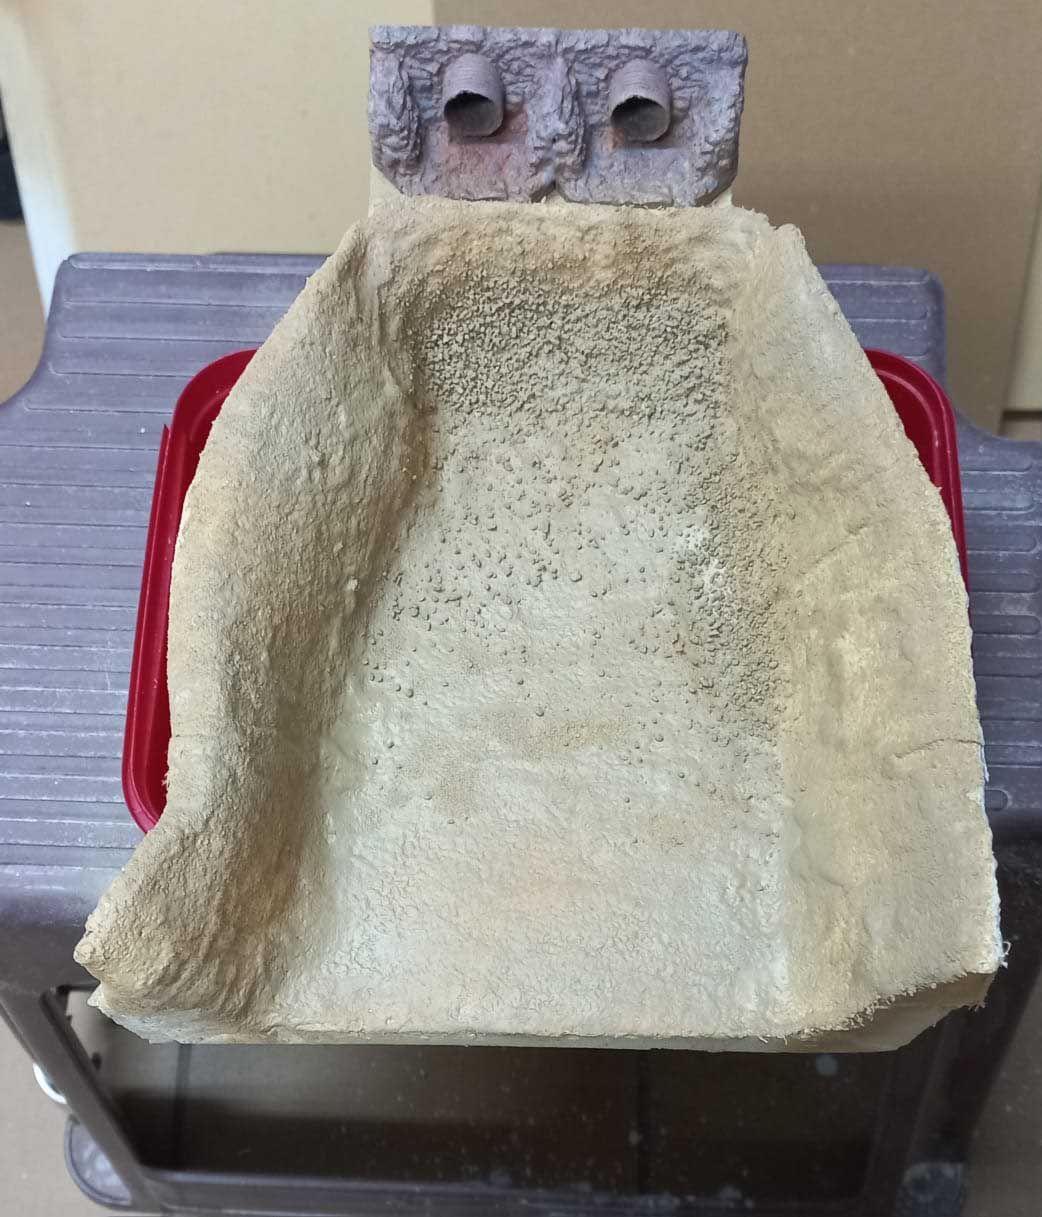
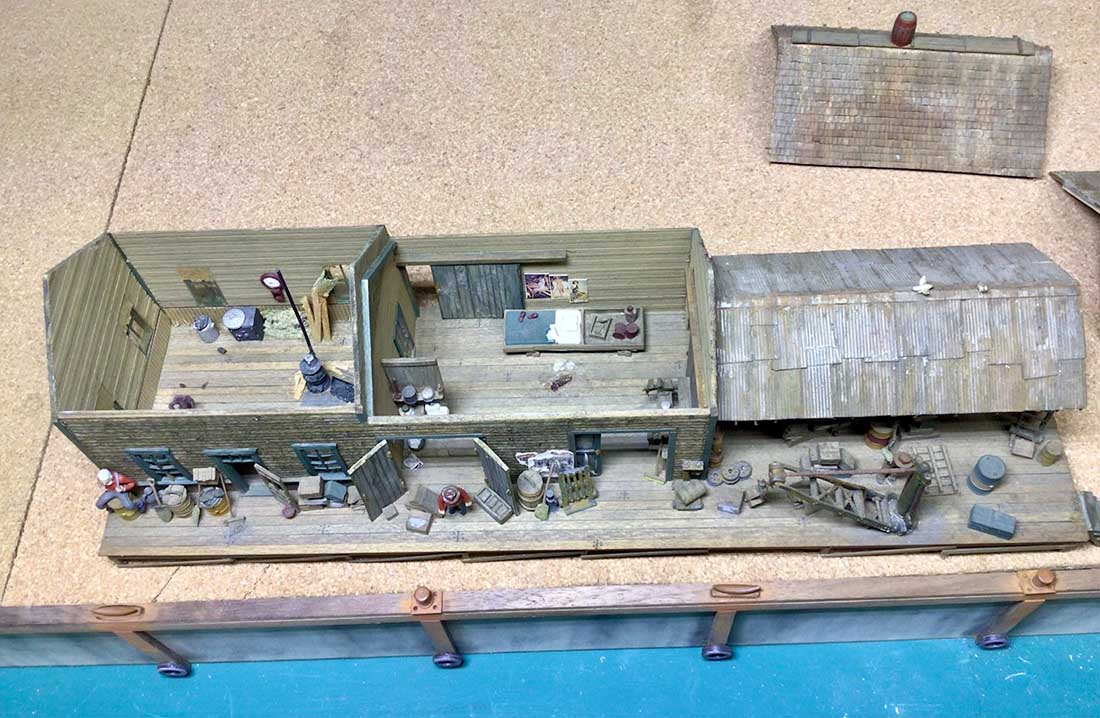
Everything was my basic: ceiling tile, plaster cloth ,scupta mold, and ground foam scenery technique.

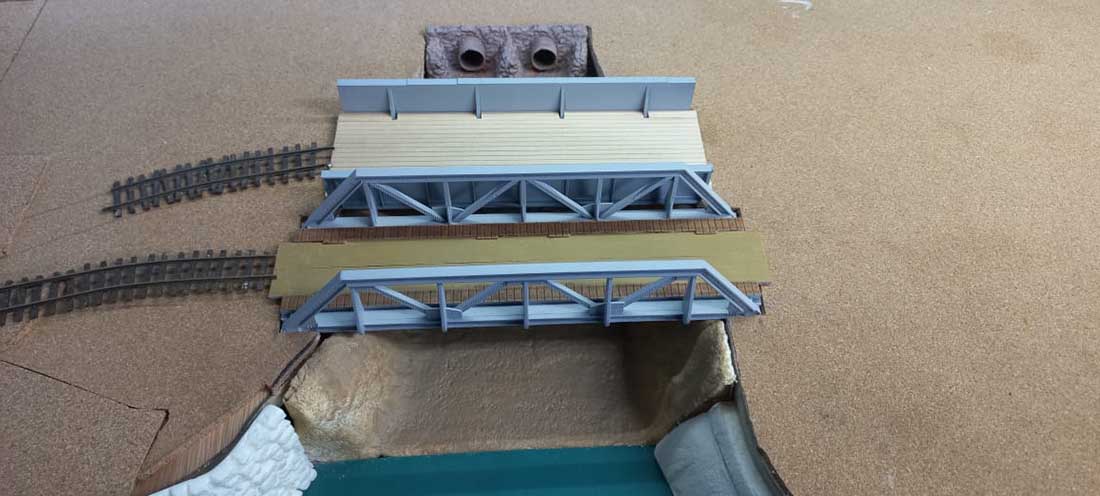
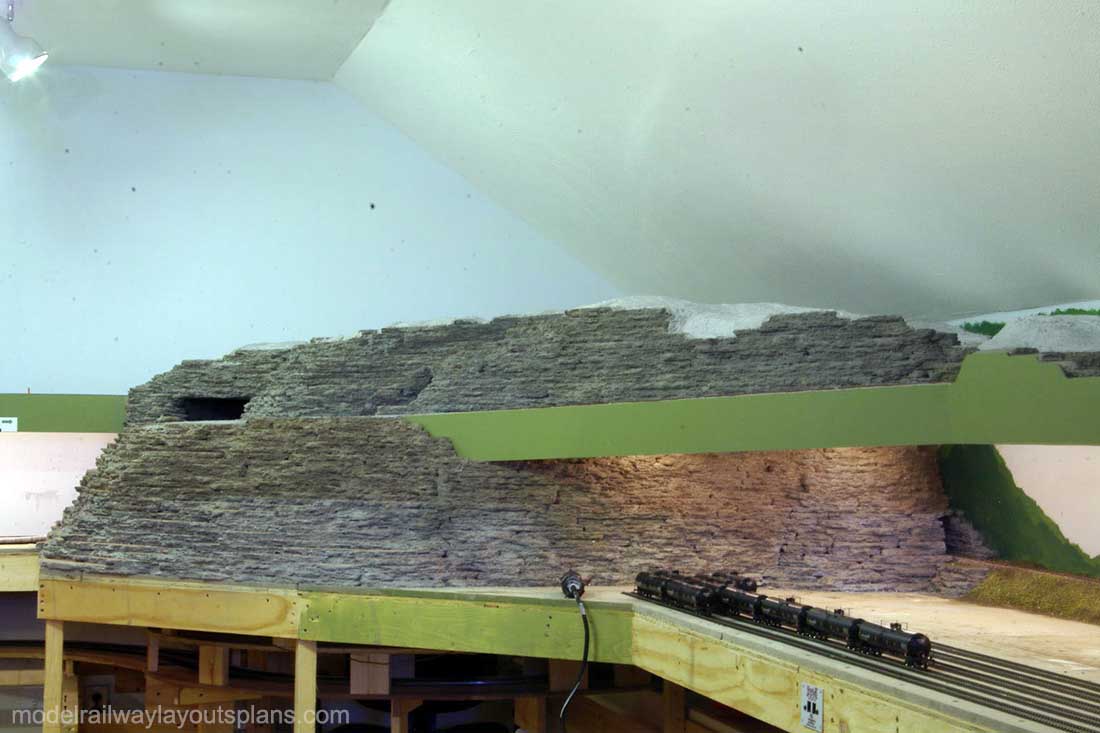
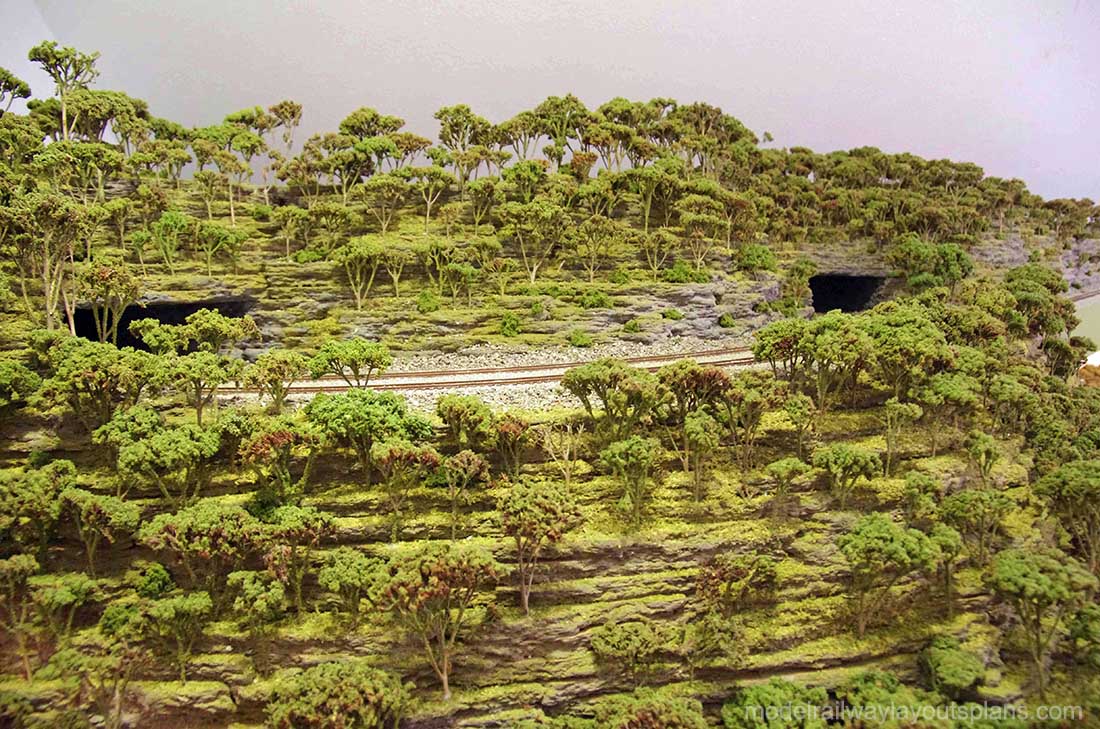
The helix as it was before my “adjustments.” There is a top level. A middle level. Below the the middle level you can just see to the lower left, the lowest level.
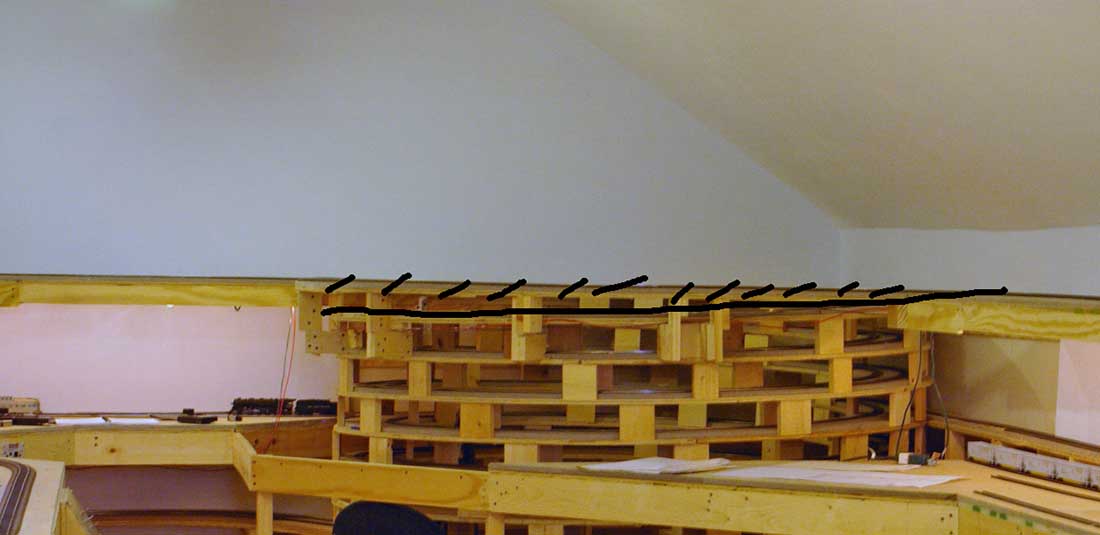
The track from the upper right would have crossed at the 30/60 diamond, not seen in this view, the track from the upper left at grade. The black line is the new alignment. At the right end, the new mental meets the old down track. This eliminated the diamond. The dashed line is the old up track. Watch for the “special effect” this creates….stay tuned.
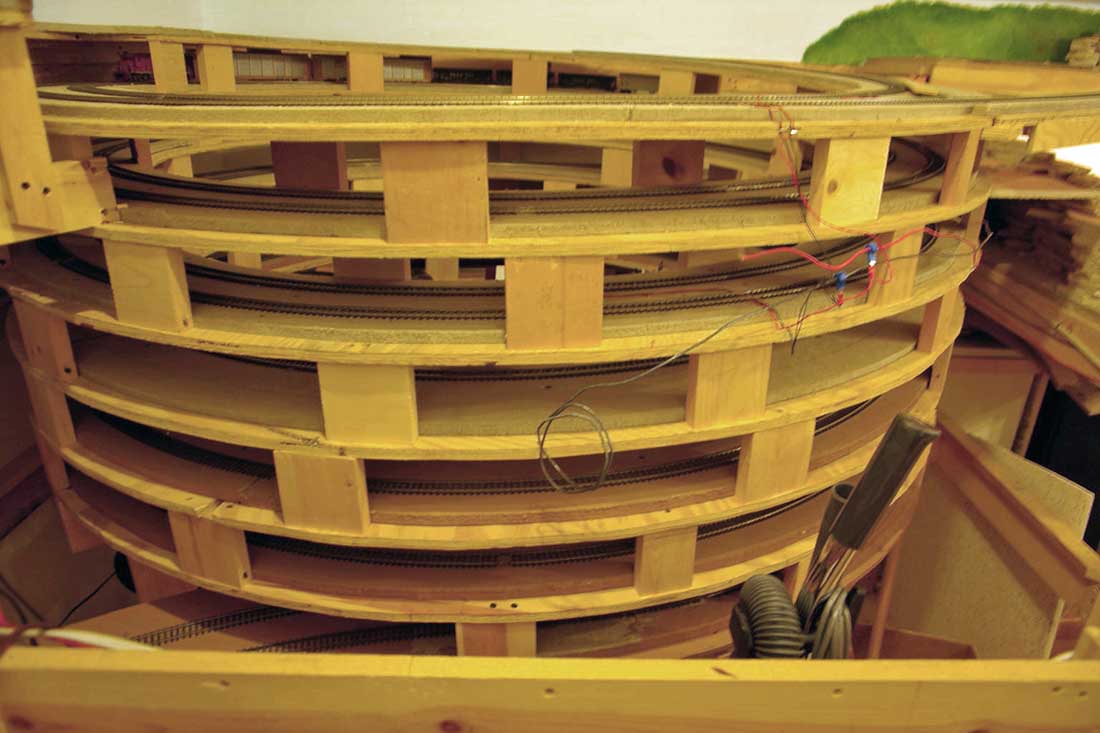
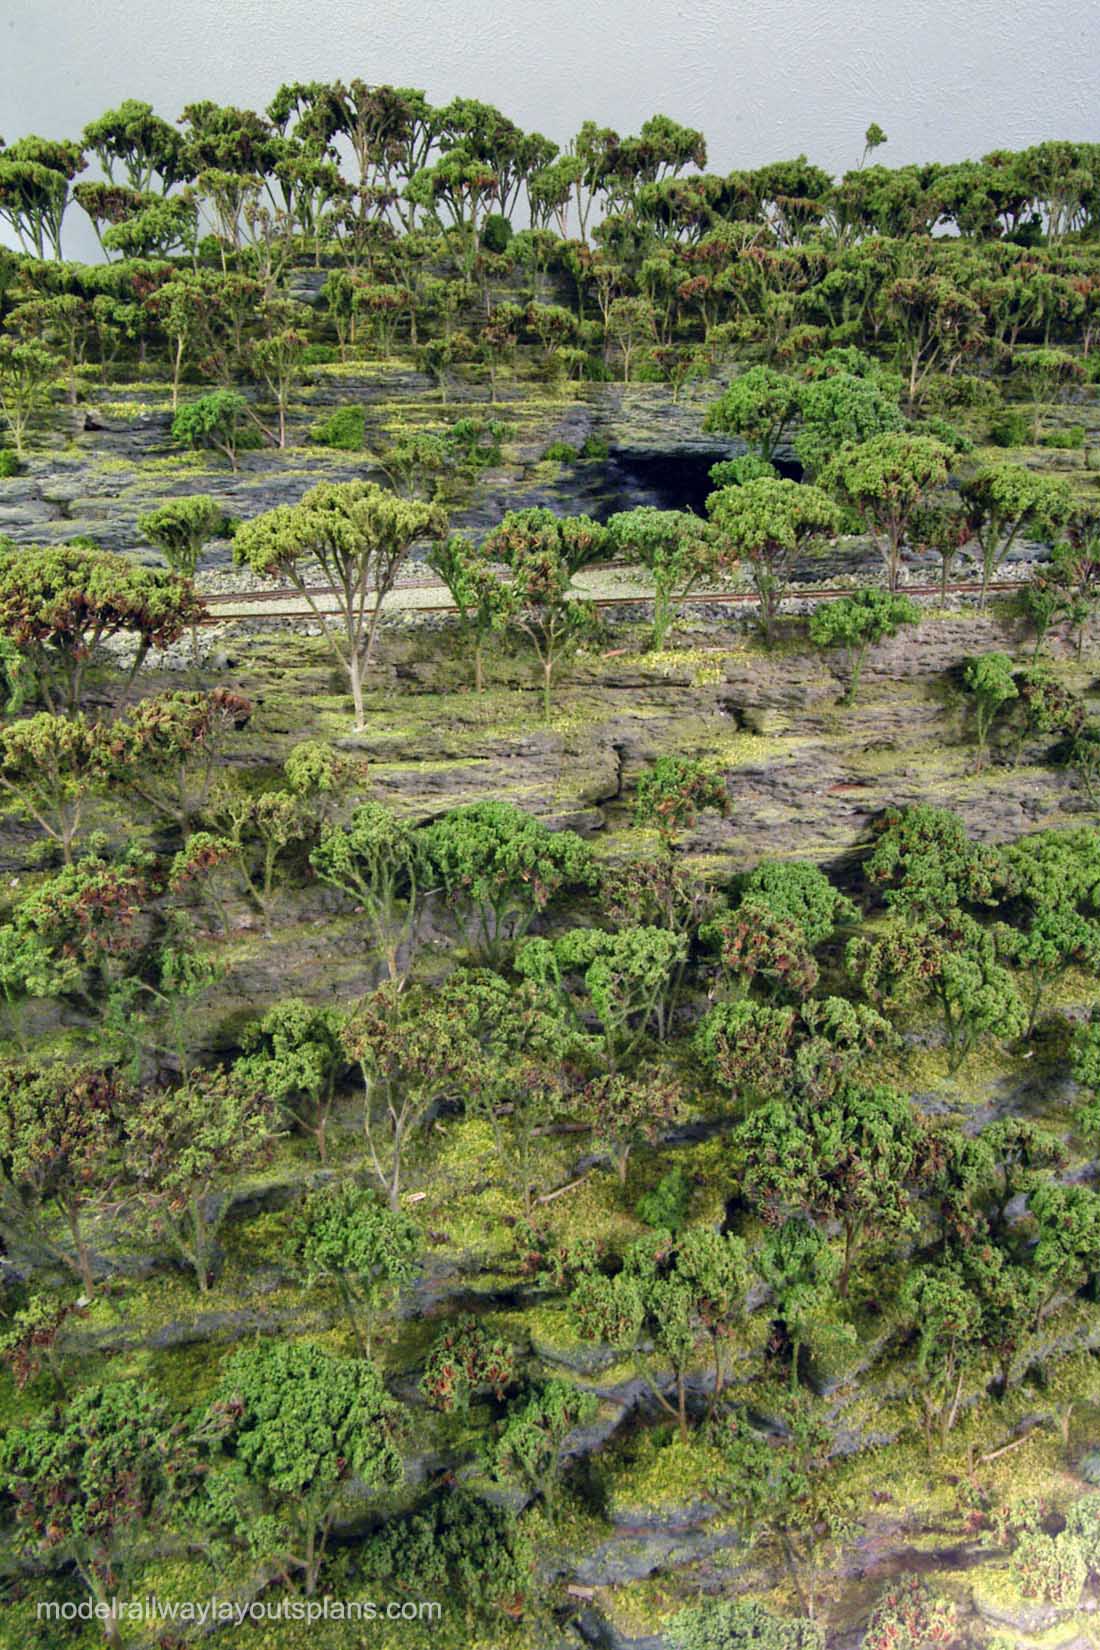
This is the new alignment. The track in the distance is where the diamond was. The two tracks on the upper level now pass each other with out crossing. He knew how to create a puzzle to fix. The tracks seen at the very bottom are for the staging/storage and run through tracks. One is for the up and one is for the down tracks. (I know this might be confusing to your normal naming of tracks.)
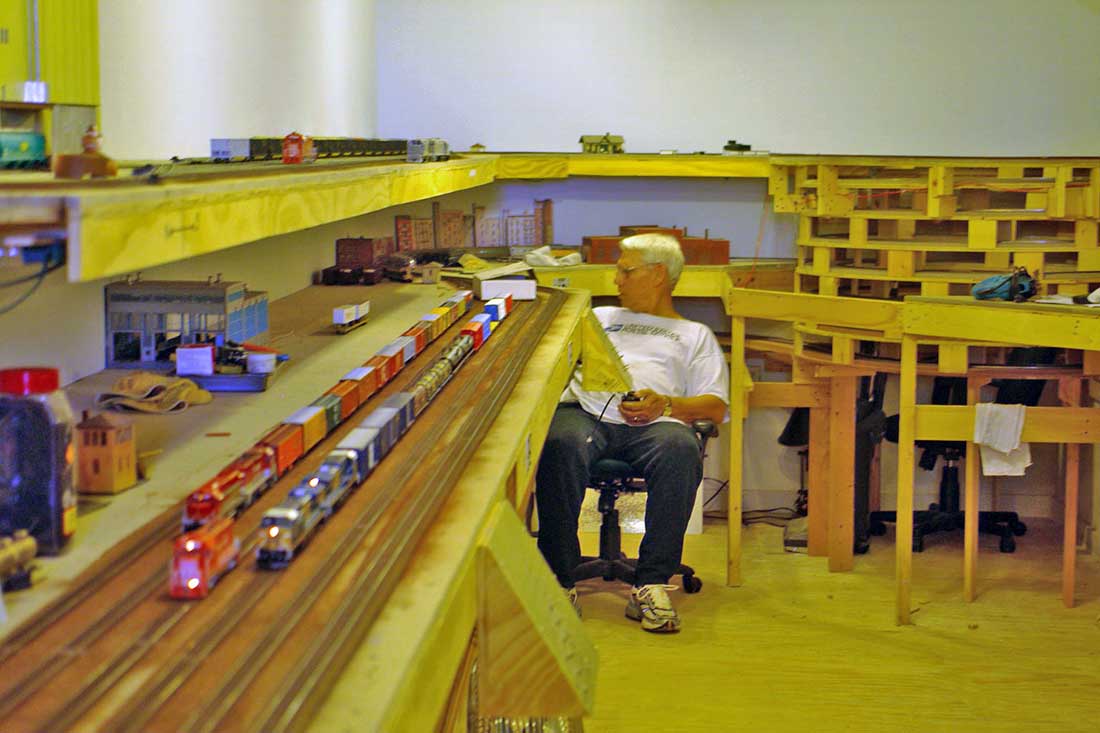
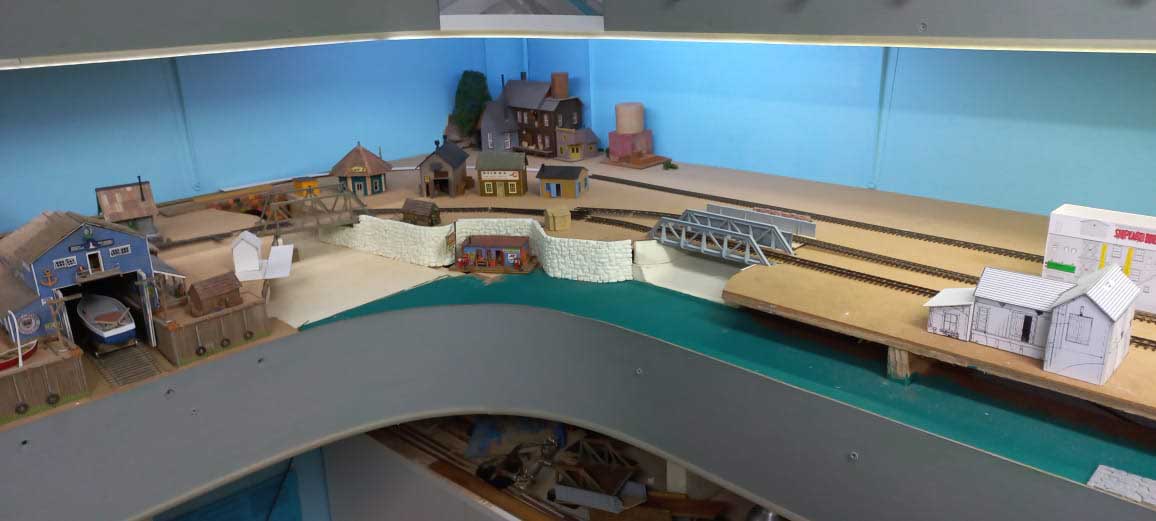
The general view. The owner is in the photo. He is reaching to the lower level.
Helix construction HO scale:
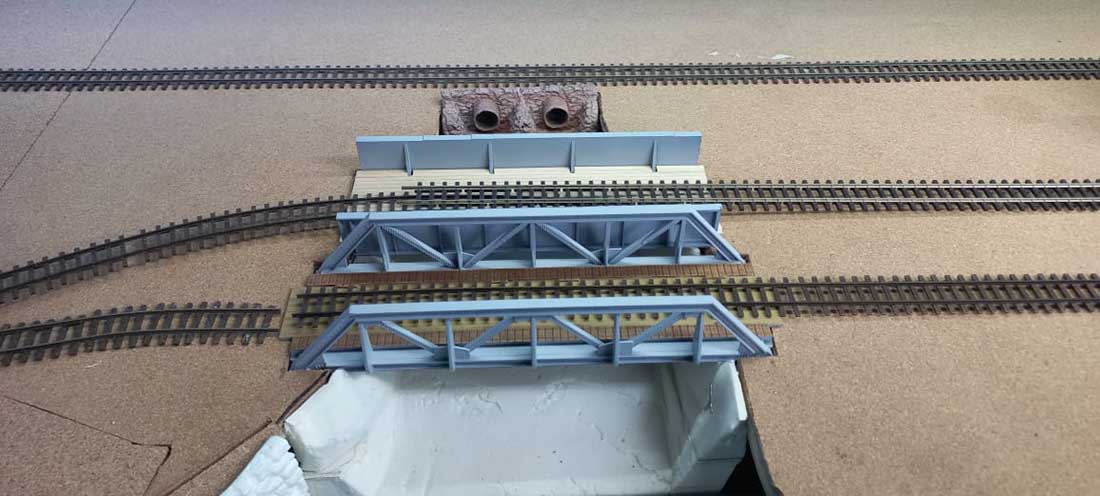
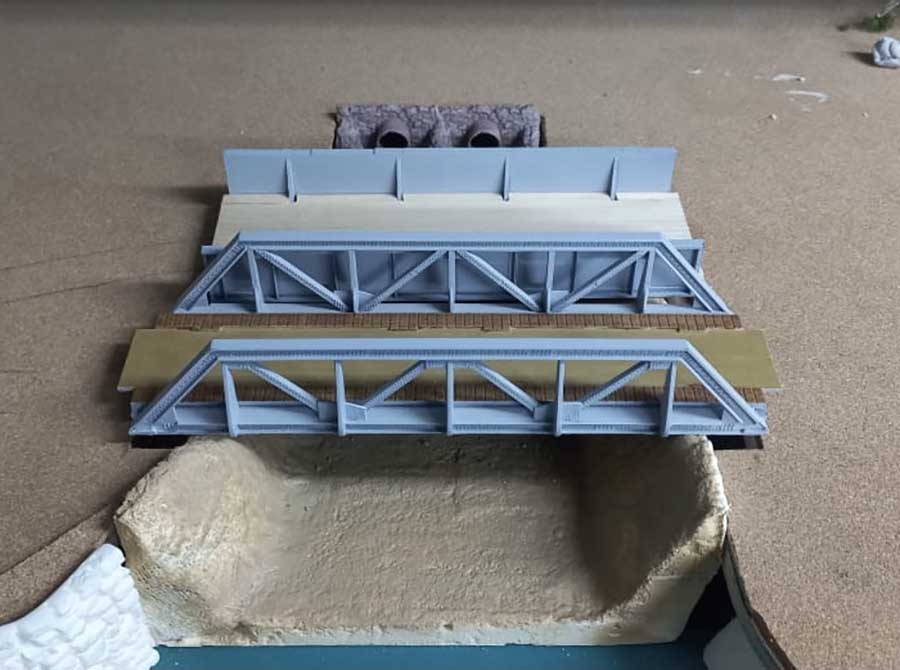
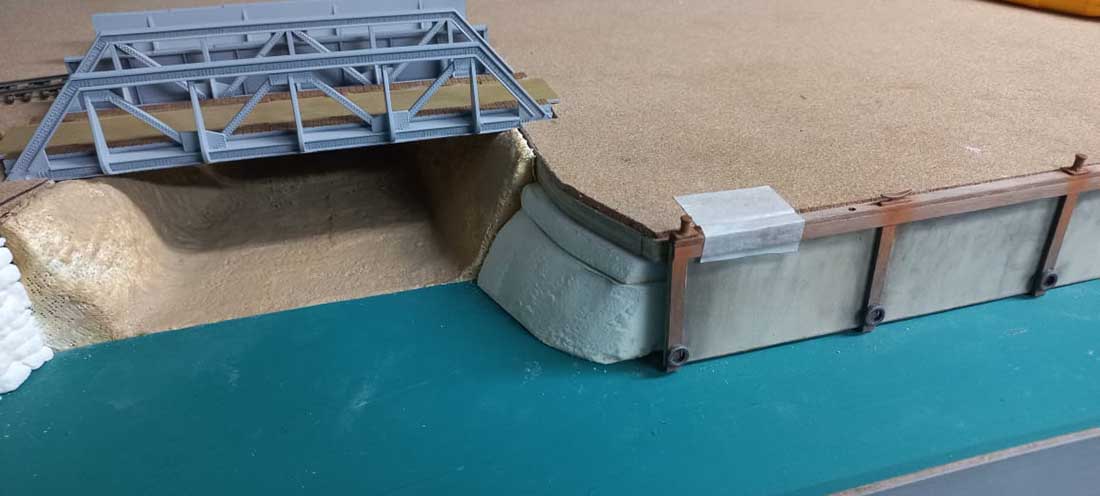
The basic shape of the helix. The green fascia board running to the right is my new alignment.
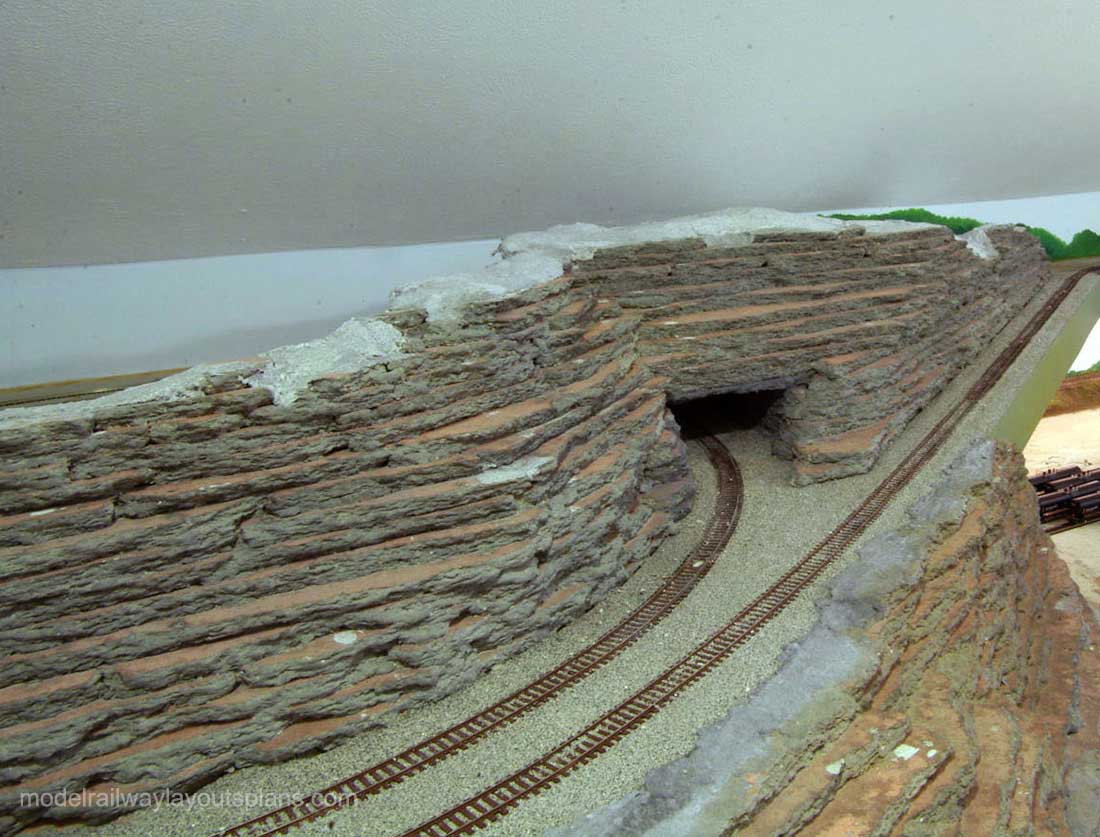
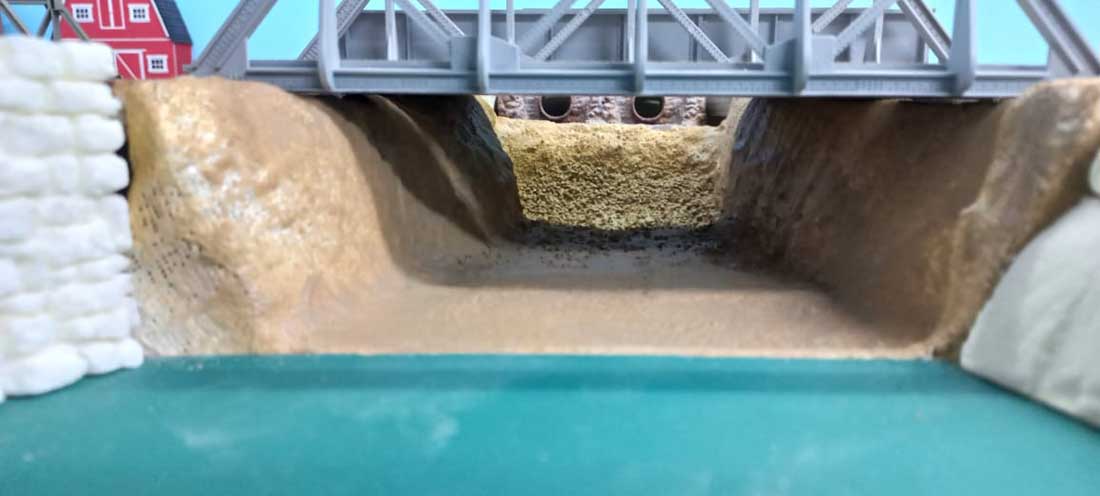
The tunnel is the down track and the track to the right is the up track. You can see some of the plaster cloth in place ready for the ground cover.
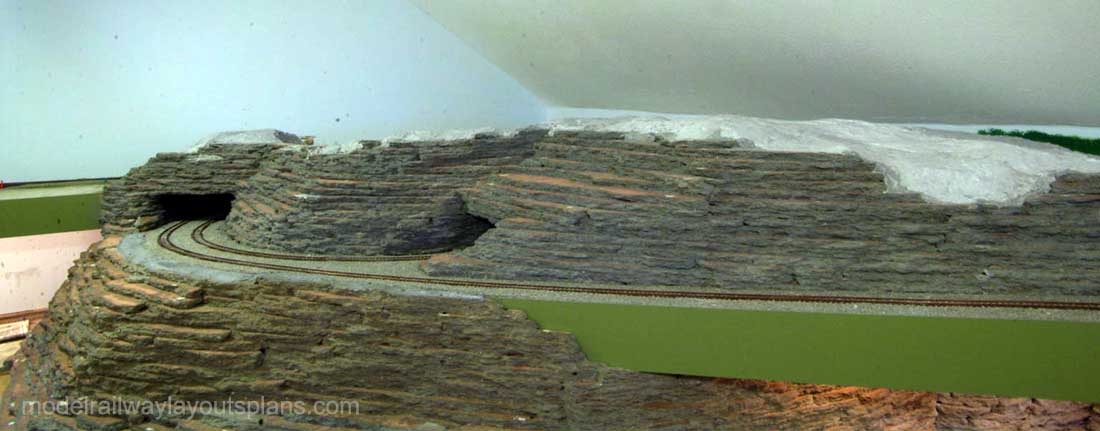
A view looking the other way.
Both tunnels.
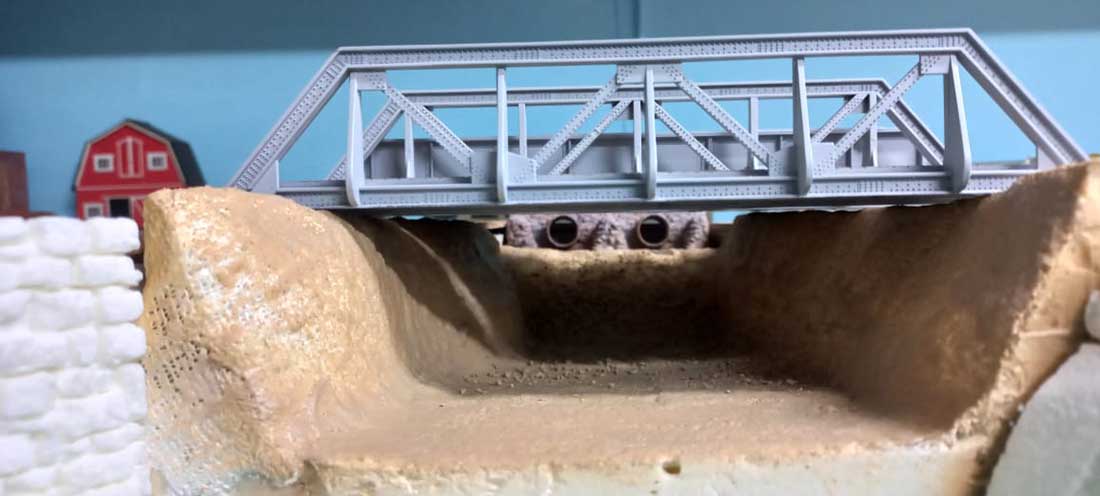
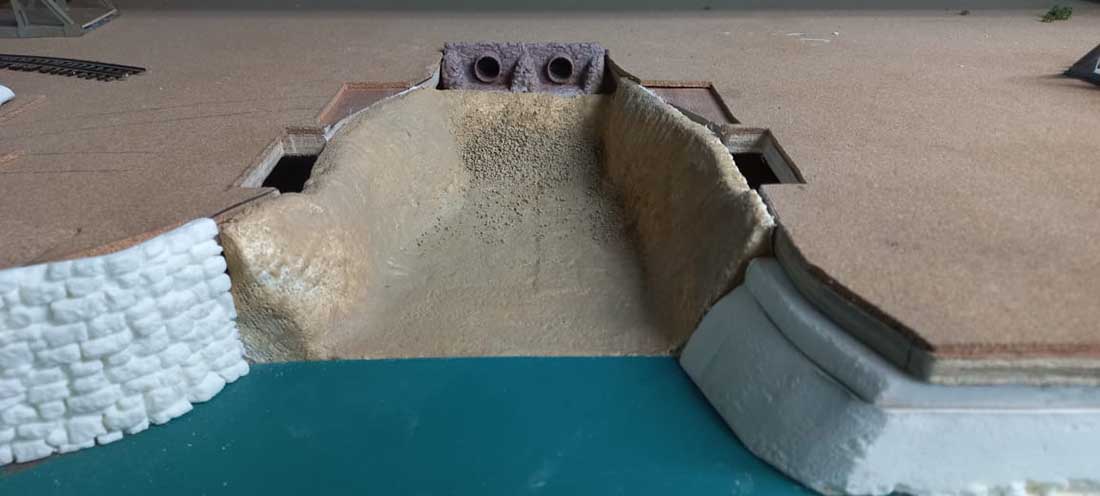
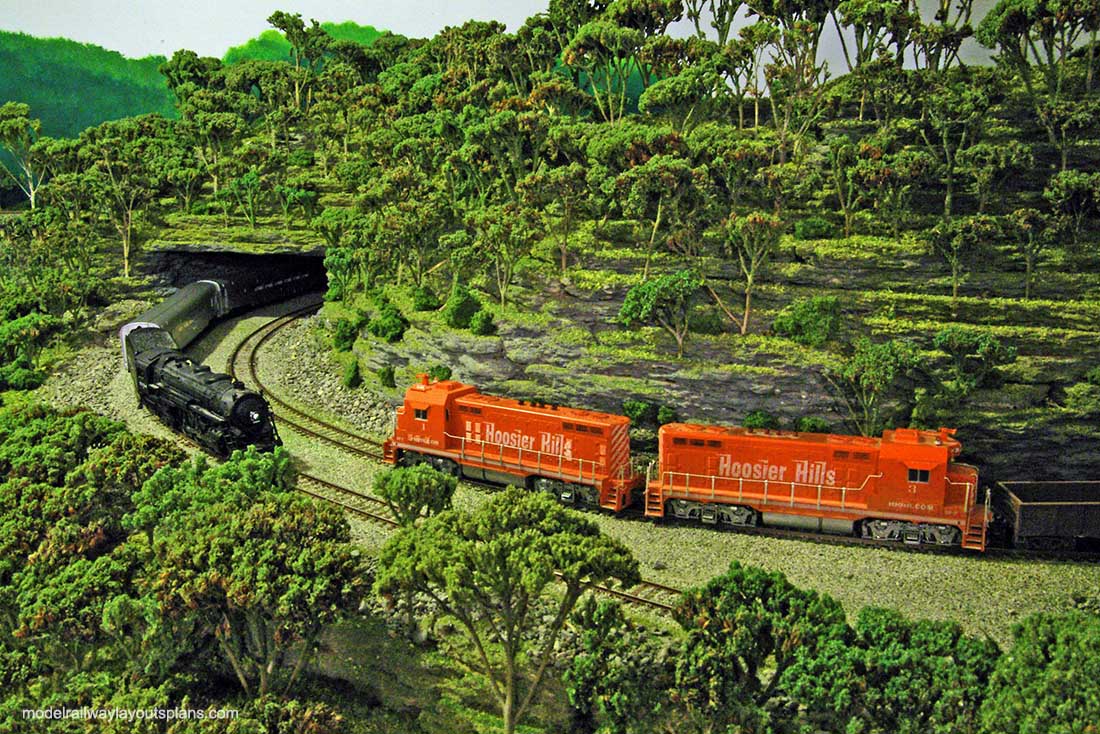
The “special effect” I mentioned earlier. A surprised scene! Now the helix is something to look at rather than hide.

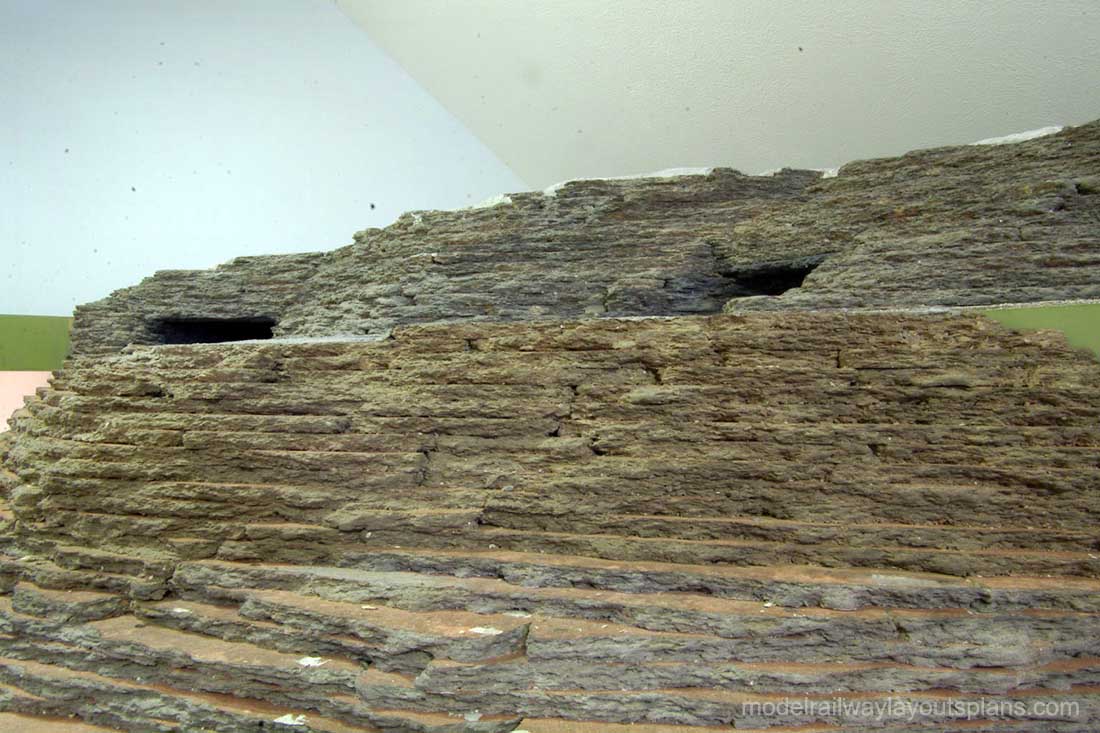
Some views of the un-hiden helix.
Tunnel view.
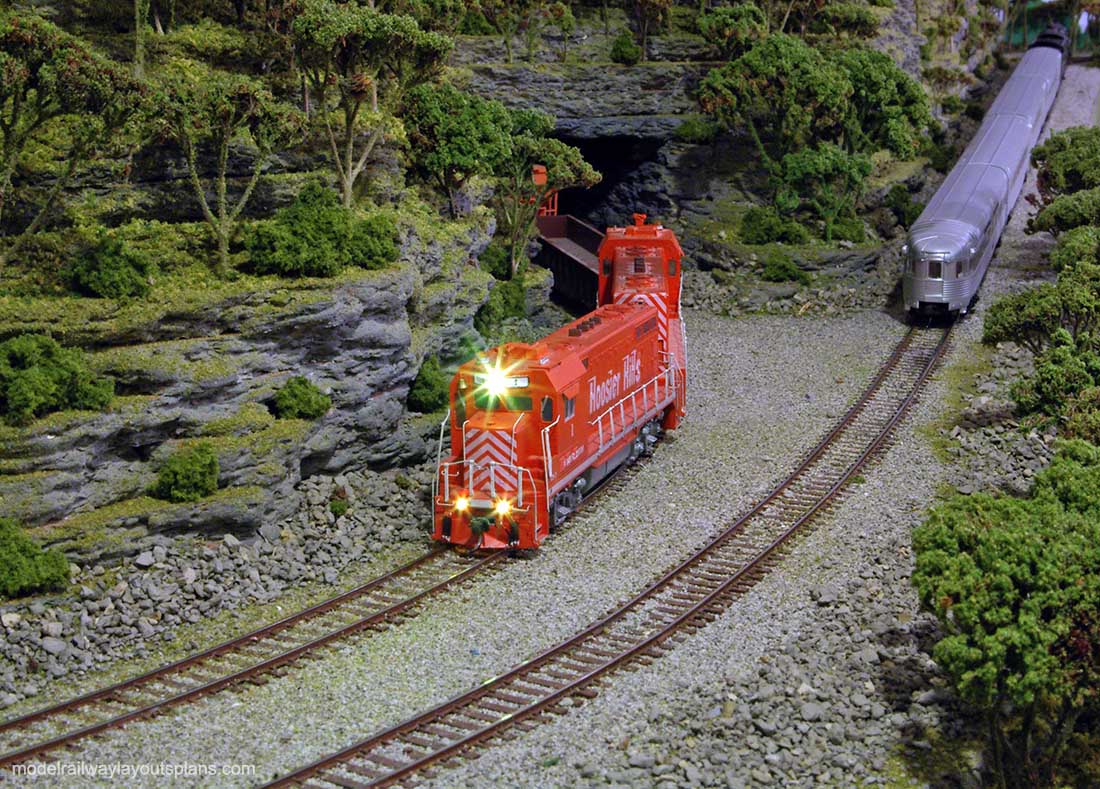
Passing trains.
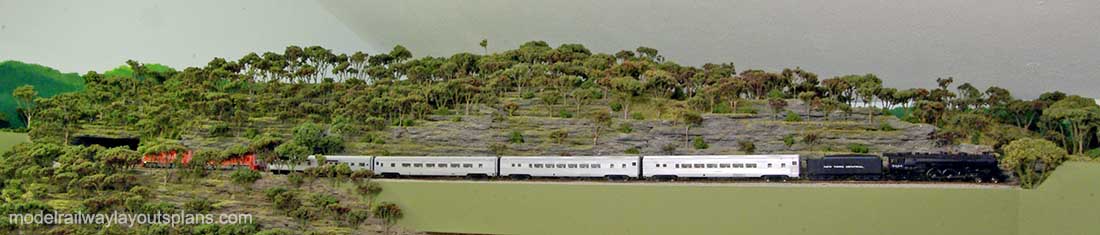
A train on the new Alignment.
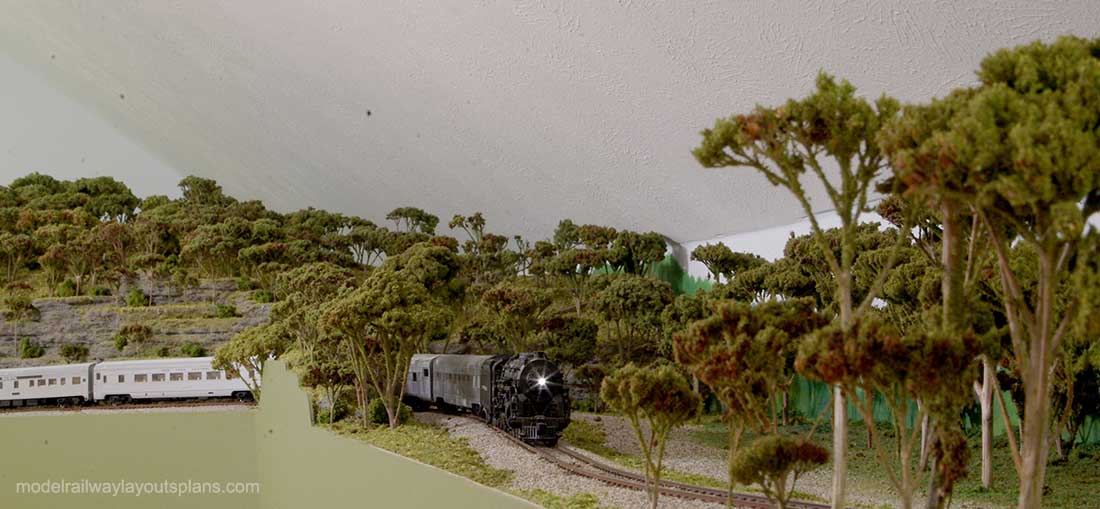
The train is now on the old alignment.
I just like watching the trains pass.
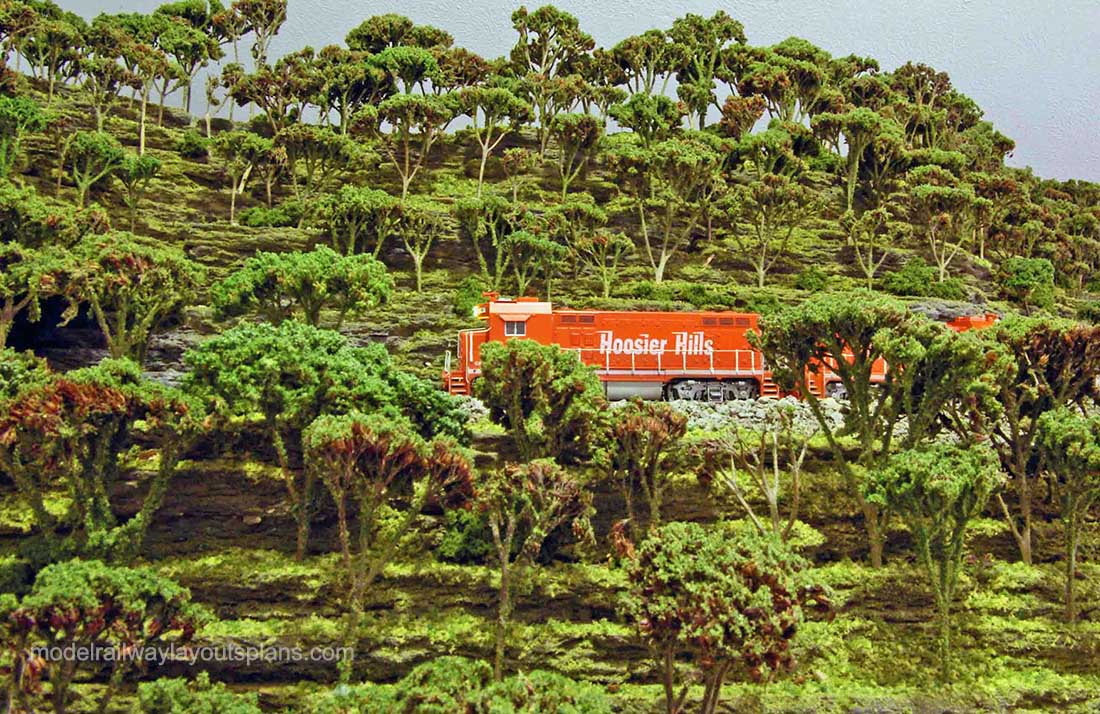
I could not resist one more look.
Dan*”
A huge big thanks to Hall of Fame Dan for walking us through his Helix construction HO scale. I do really enjoy his posts.
I think adding a helix to a layout is an itch a lot fo us have to scratch. Over the years there have been lots of posts on them. Here are a few:
How to build a model train helix
Model railroad helix construction
Making a helix for you model railroad
I’m sure it won’t be long before the forum has Helix questions too, answered by you clever lot.
That’s all for today folks.
Please do keep ’em coming.
And if today is the day you get started on your layout, the Beginner’s Guide is here.
Best
Al
PS Latest ebay cheat sheet is here.
PPS More HO scale train layouts here if that’s your thing.