Lou raises his entire layout

There’s no two ways about it -get the height wrong for your layout and it’ll gnaw away at you forever. Or give you a bad back. Or both.

But where there is a will, there’s a way. Here’s how Lou raised the height of his entire layout.

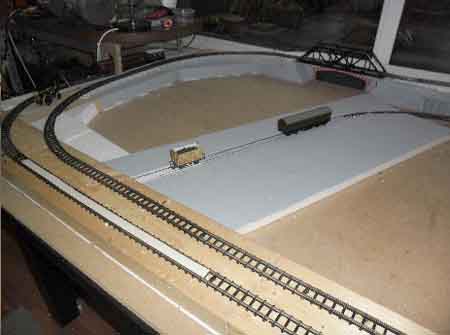
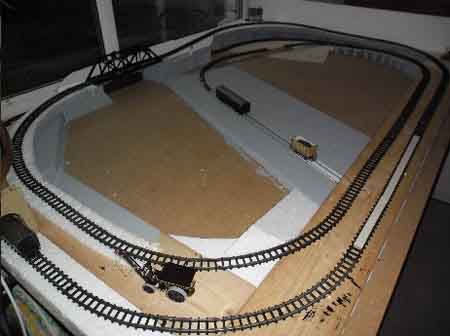
“Just an idea for those who are interested. I have a room that is 16 feet x 21 feet with about 500 feet of hand laid track. The layout is already wired for 96 blocks of block detection. As i started working on scenery, I was thinking “man, I wish the layout was higher. It would give a much better perspective on the scenery”.

The layout was bolted to 2 walls, and the rest of the layout is on L-girder legs.

I decided to raise the whole layout in one lift, going up 10 inches.

I took a circular saw and cut the backdrop to the new height.

I bought 40 garage door hinges. The posts in the hinges will handle a 7/16″ threaded rod. I bought threaded rod and cut them to 18″ lengths. Mounted the garage door hinges at the bottoms of each leg with enough room underneath to fit a nut and washer.

I setup some temporary legs along the walls and prepared them before I unbolted the layout from the walls. Then you just started cranking away at each leg around the layout. Once done, I used carriage bolts to extend the L-Girder legs.
I was going to use jacks, but I would’ve needed at least 12 jacks with a 10″ throw. This was also much safer.

Lou”


Lou was also kind enough to share a video of his layout. Looking forward to seeing this one finished!


Latest ebay cheat sheet is here.

That’s all this time folks. Please do keep them coming – and let us know your thought – please post your comments below.

And if today is the day you take those first steps on your layout, the Beginner’s Guide is here.

Best

Al

PS Latest ebay cheat sheet is here.


How to make inclines

How to make inclines – it’s something we all wonder about at some point.

“Hi Al.

Just wanted to inspire others on how I made my inclines for my layout on a 6’x4’ board. Might be nothing new but here goes.

First I made a hot wire cutter out of scrap wood, nichrome wire and a 4.5 Volt rechargeable battery pack. I used this to cut the incline to the gradient I wanted.

model railway make incline

model railroad incline angle

The result of the cut inclines.

For the next step I used a woodlands scenic incline to act as the template for cutting the slots in my inclines. I use a sharp fillet knife as I’ve found it very good for cutting and shaping polystyrene. Note that wide slots only have to be cut on the inside of the radius. A simple cut is required on the outer radius

riser for track incline

Finally I use silicone sealant to fix the incline in shape on the mdf board.

incline shape for track

I used this process to create my layout on a 6’x4’ mdf board. The layout is basically a figure of 8 with the cross over placed to the rear. The two loops run side by side at the front at a height of 2”. The inclines to the crossover have a 1” rise and a 2” drop giving a 3” clearance with a rise gradient of 1:40. This doubles the length of track on a single controller and enables me to run two locos at a safe distance between them.

This is how to make inclines! I hope it helps with your layout.

My theme is steam on a 1930’s inland water way with barge dock and town. The photos show the finished base before the scenery covers it up.

Hope you like it.

Chris”

track layout for incline

track incline


track incline


Thanks to Chris – a nice ‘how to’.

And when it comes to inclines, you’ll probably find Lawrence’s post very helpful too.

Bob’s incline post is also helpful when it comes working out what percentage of slope you can use.

And there’s Alan’s too:

Building model railway inclines.

That’s all for today folks.

Please do keep ’em coming.

And if you’re tired of everyone else having all the fun, the Beginner’s Guide is here.

Best

Al

PS Latest ebay cheat sheet is here.


Dave’s loft layout latest

The talented Dave has been in touch again.

Here’s the latest on his layout – his brand new layout…

“Hi Al,

been a bit slow with the progress , but here is as far as I have got to date …loads to do should keep me going all winter.

Regards

Dave”

Latest ebay cheat sheet is here.

And don’t forget to post your comments for Dave!

Best

Al