Dan’s been in touch with his model train display at his local bank:
“Al,
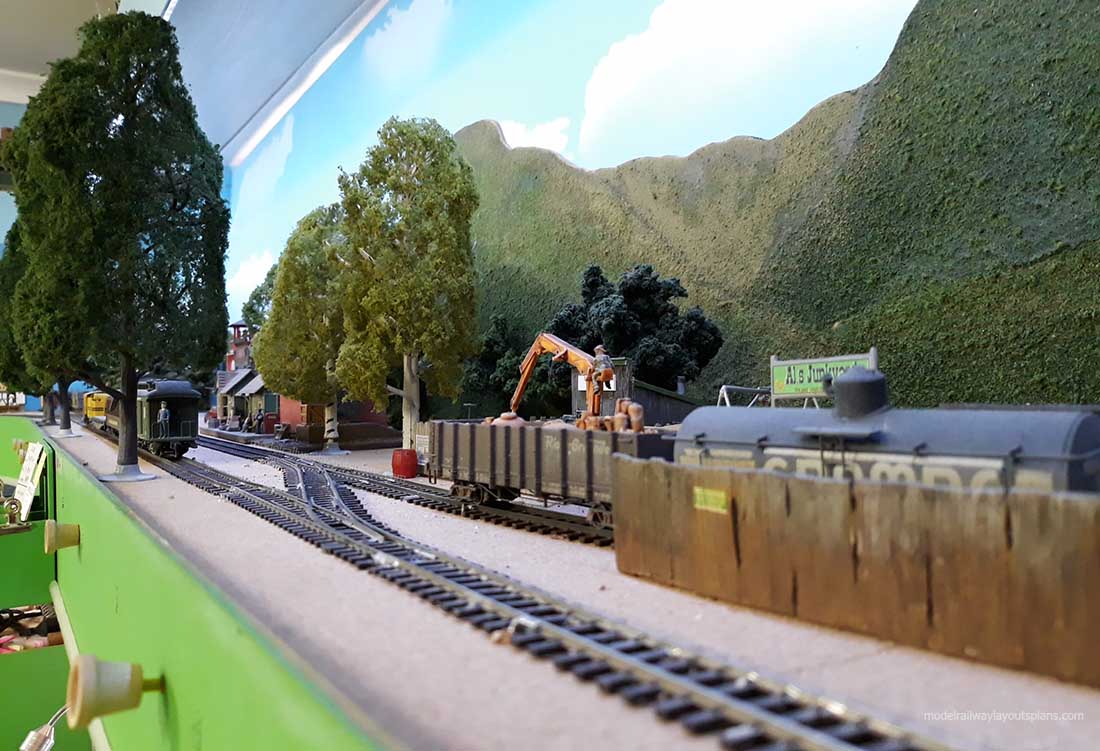
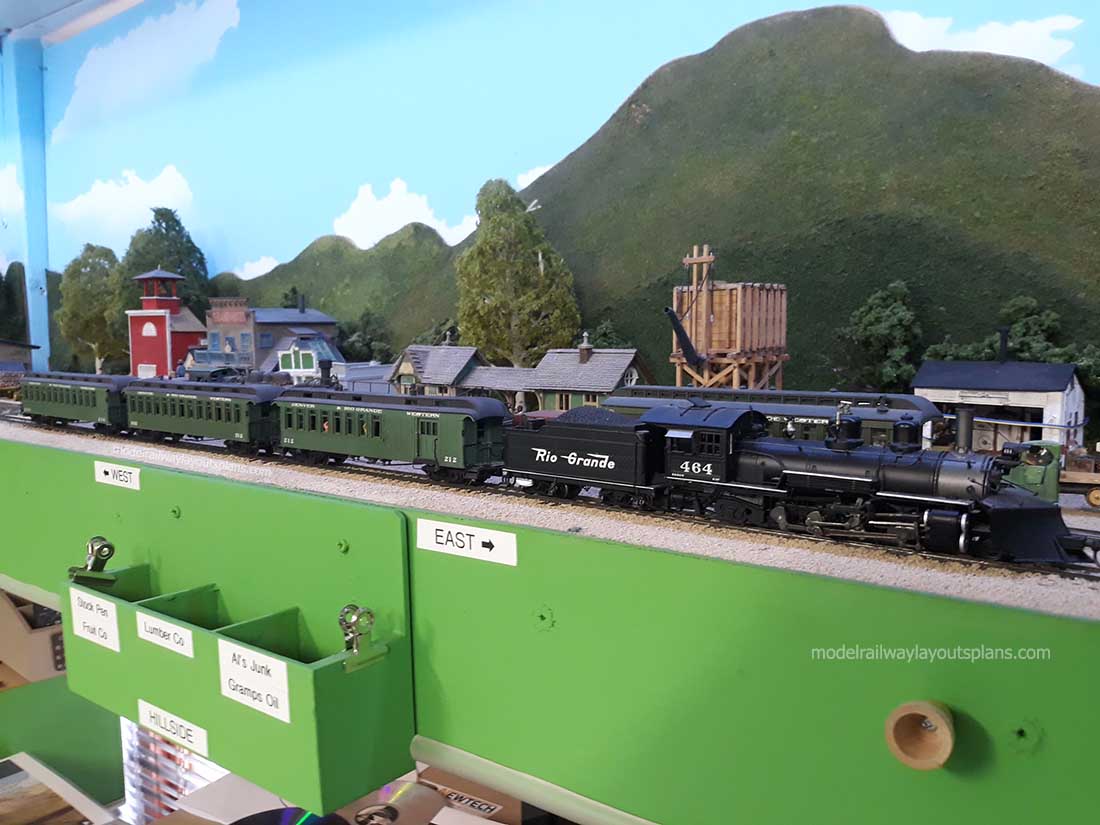
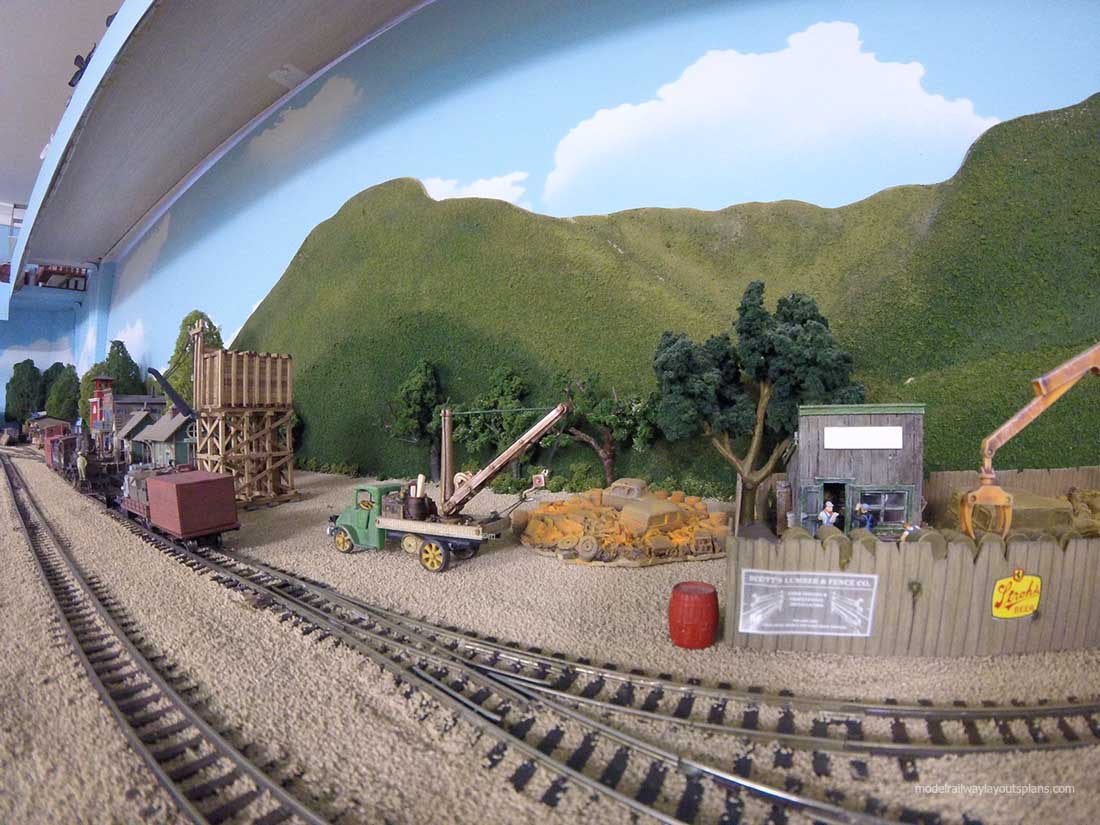
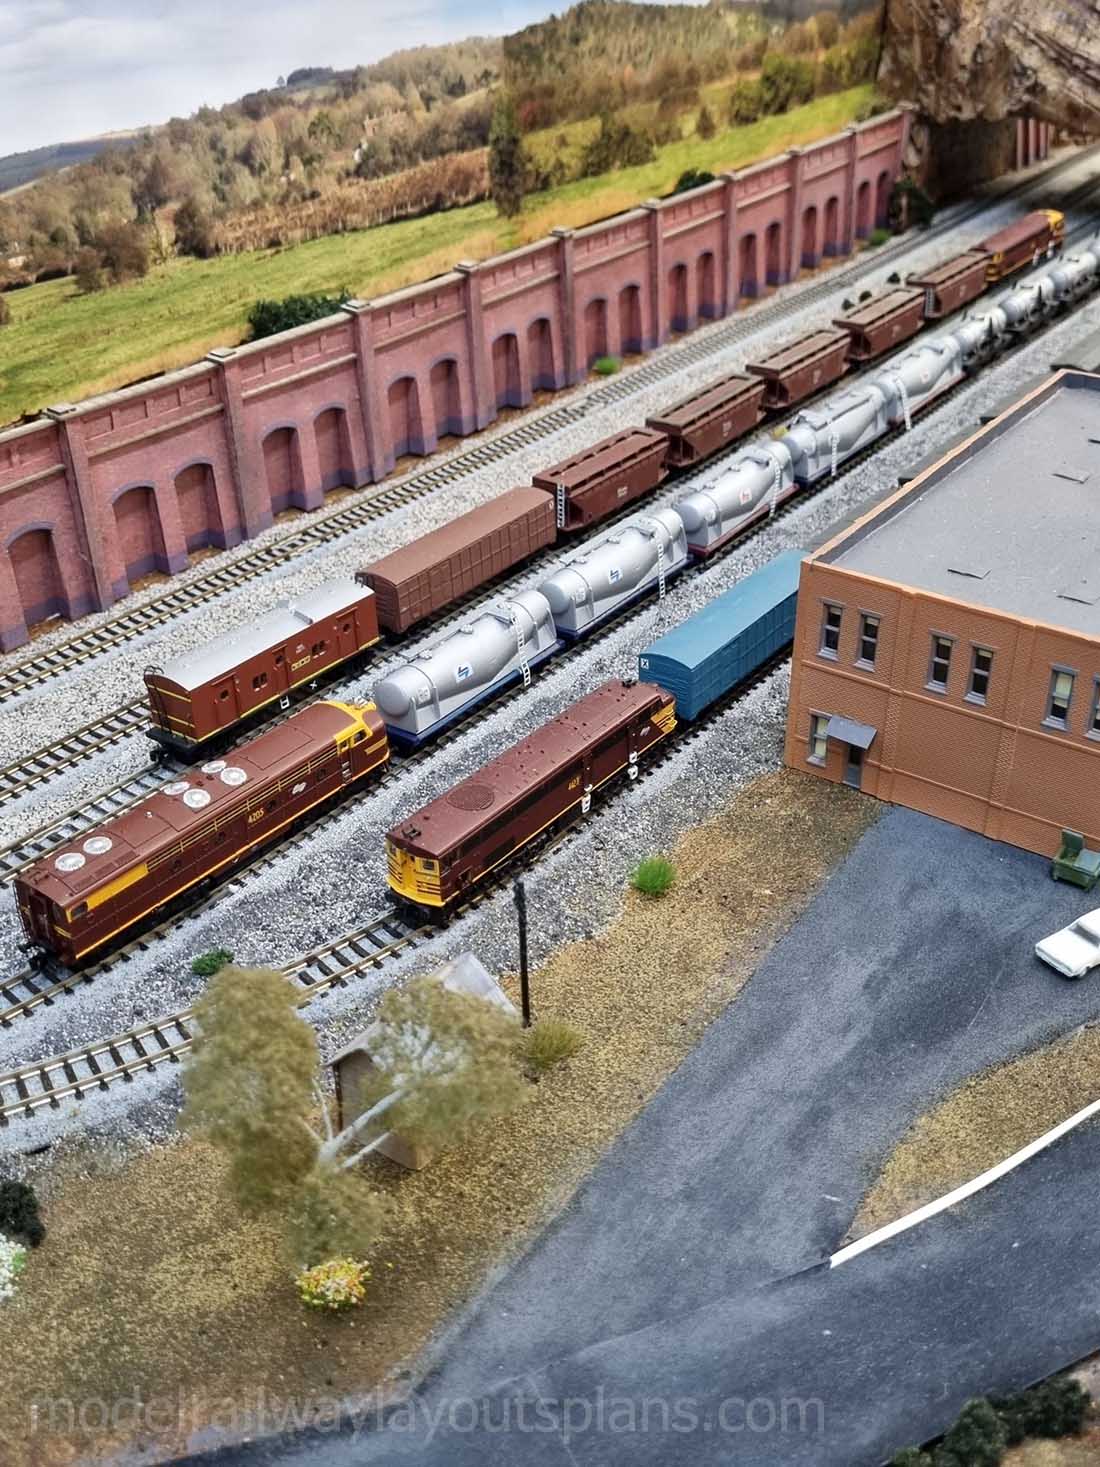
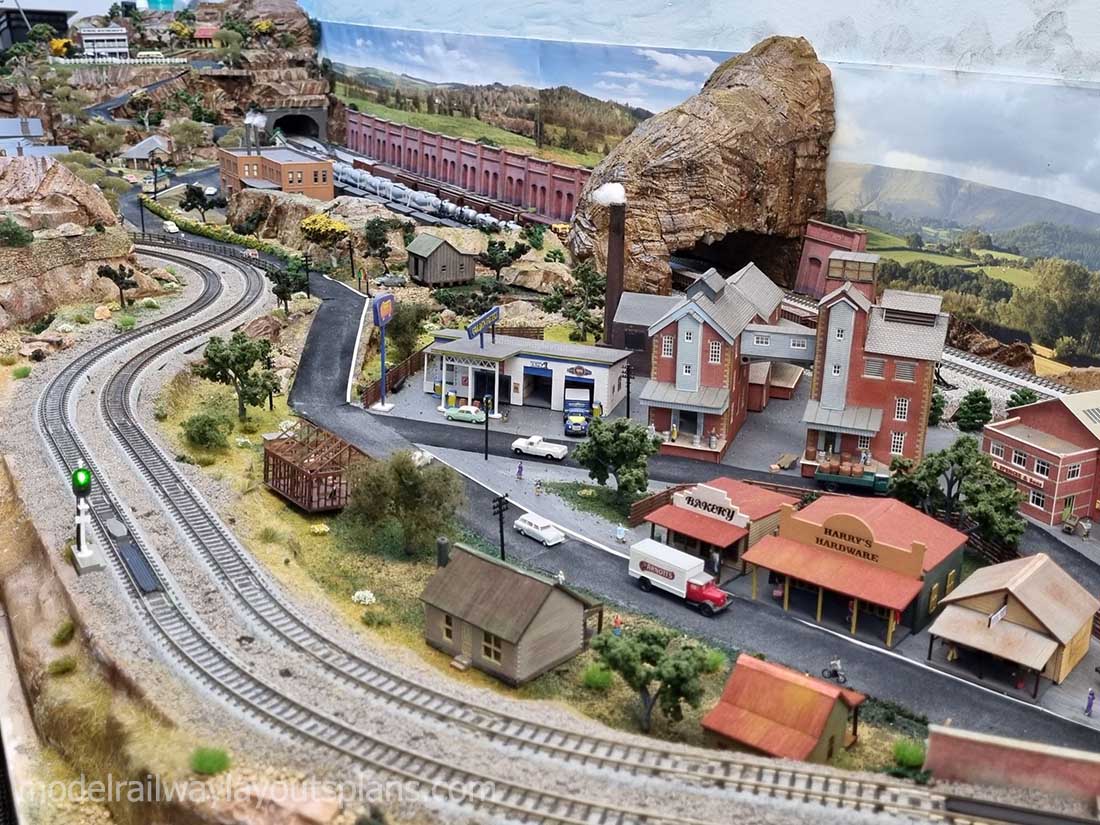
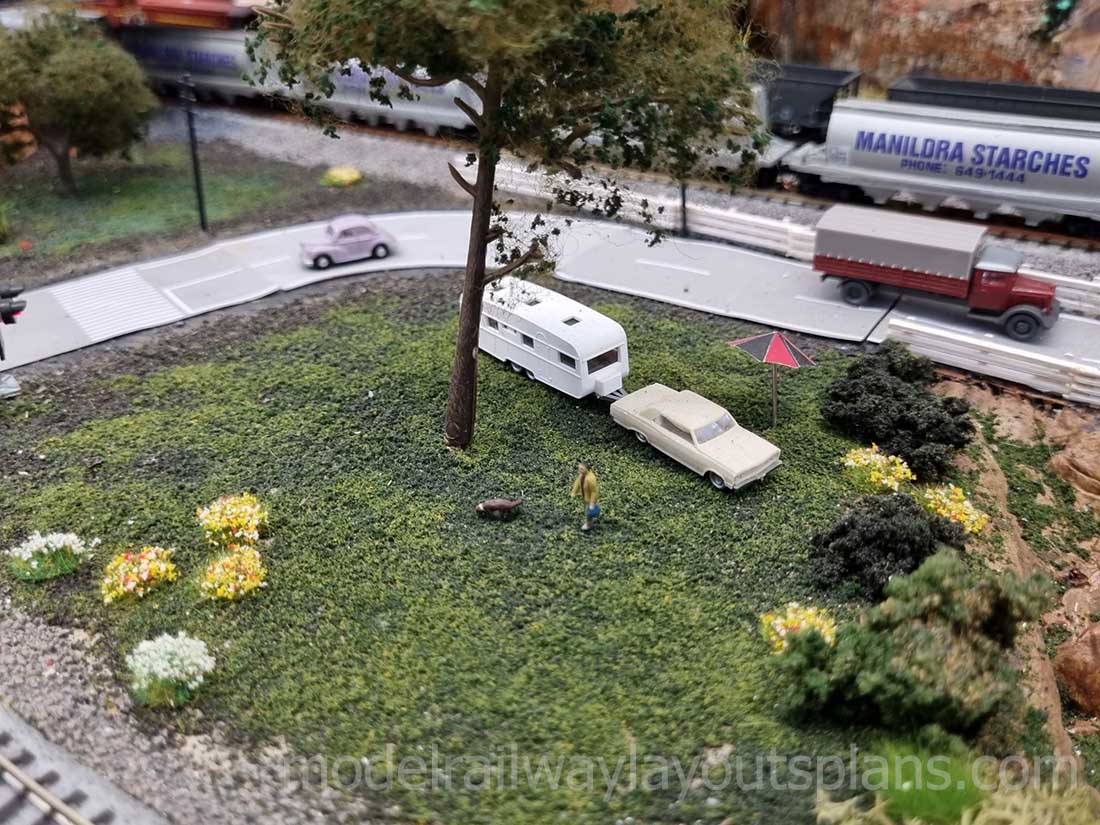
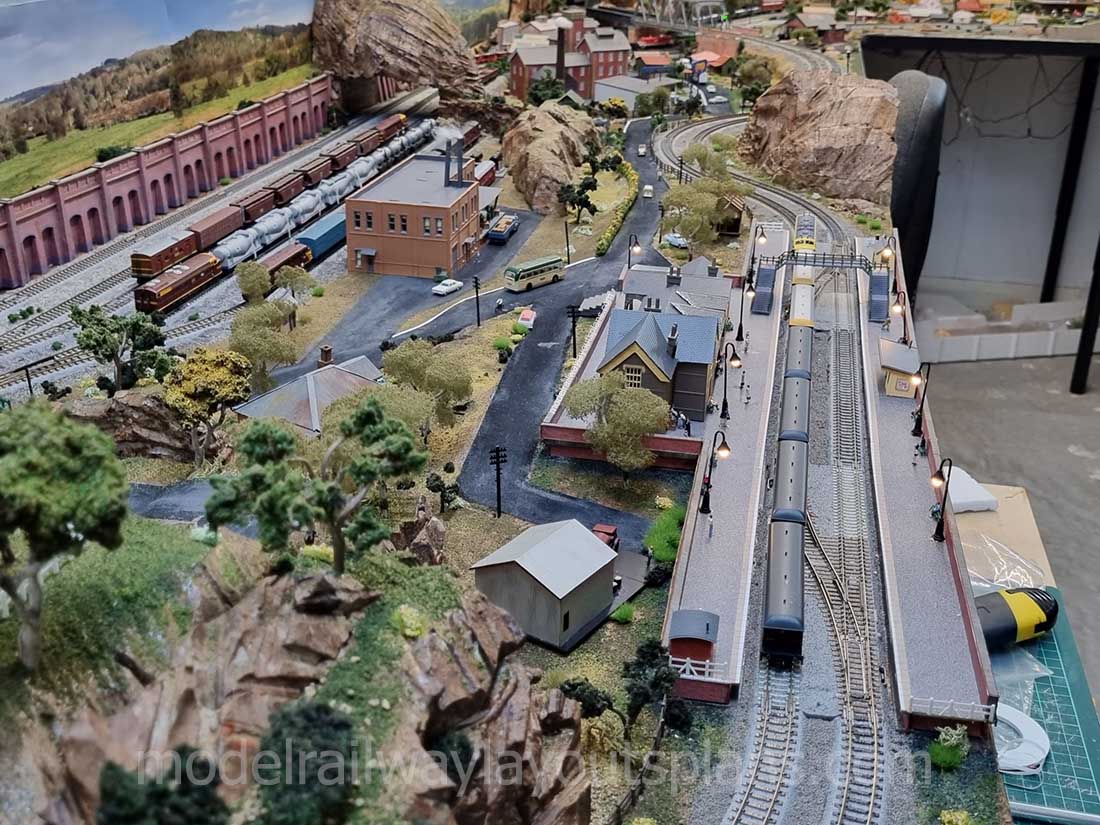
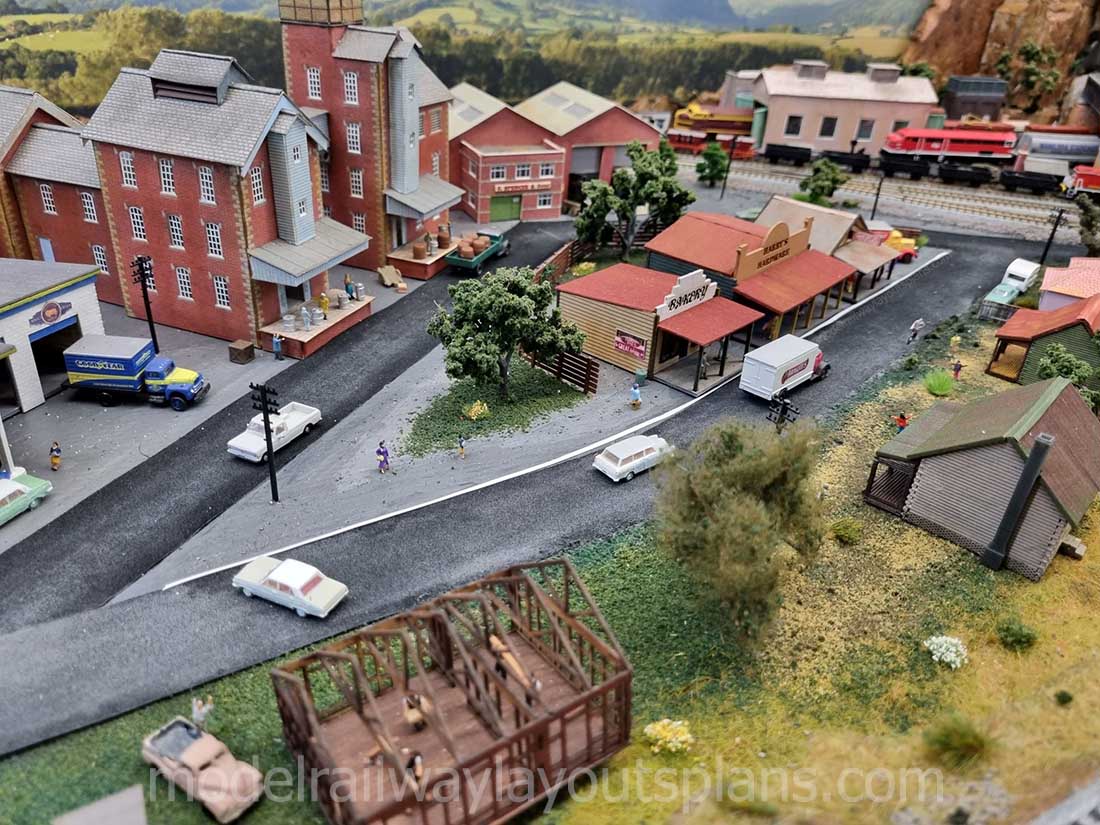
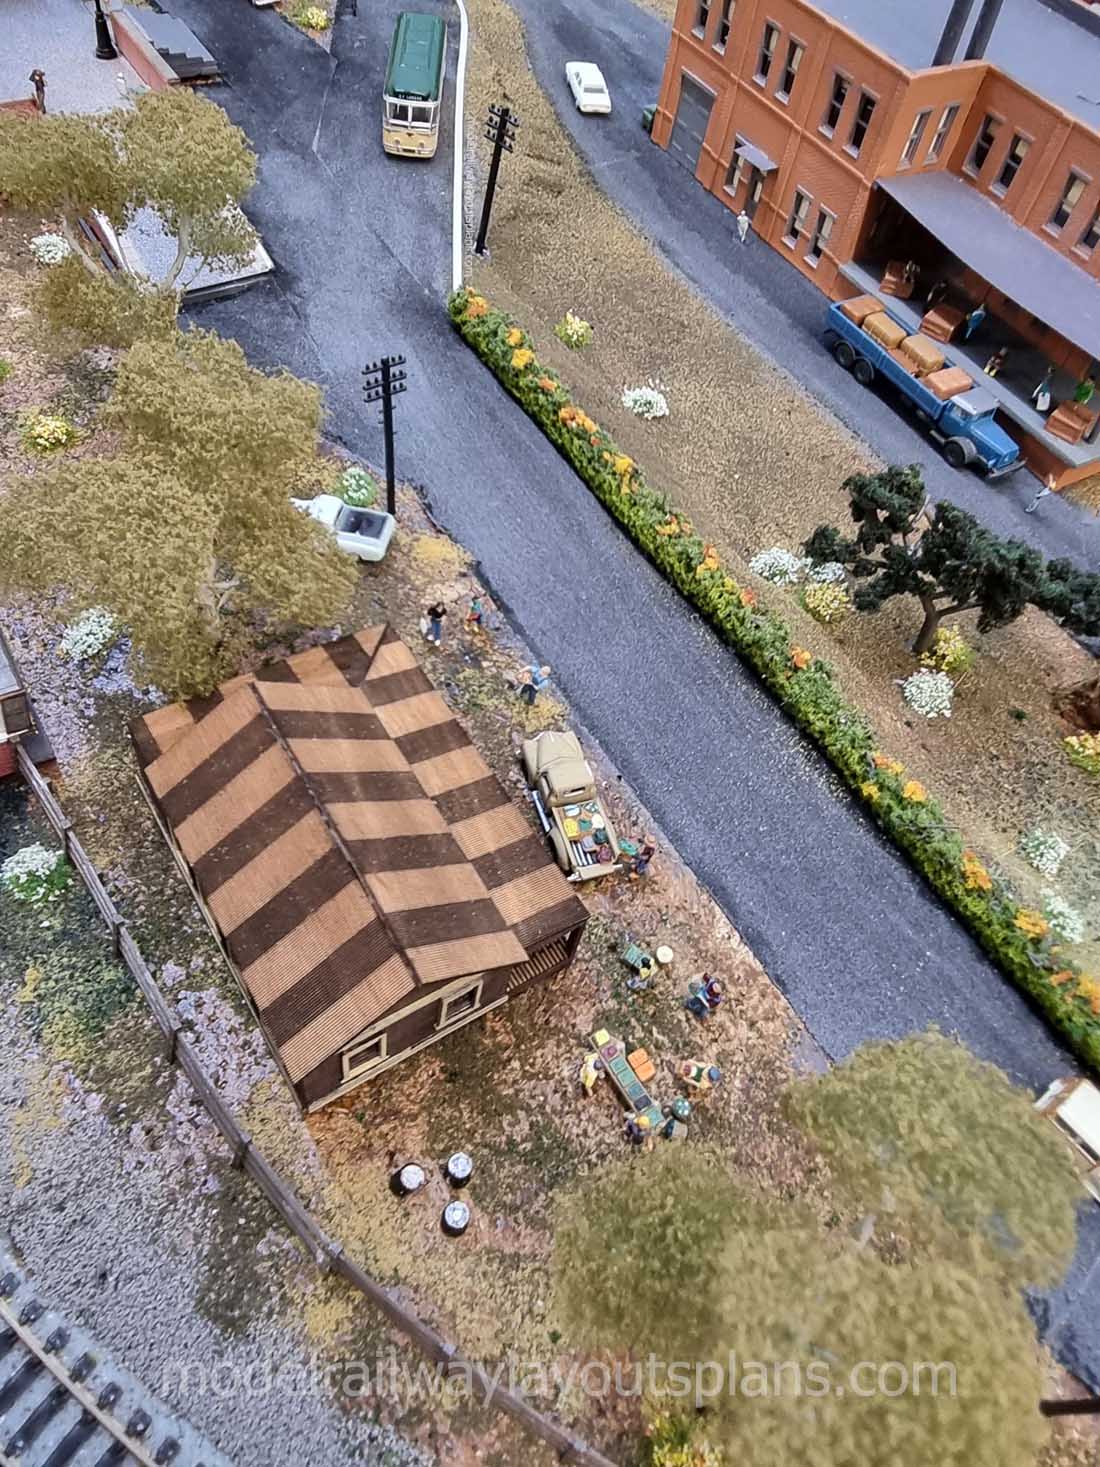
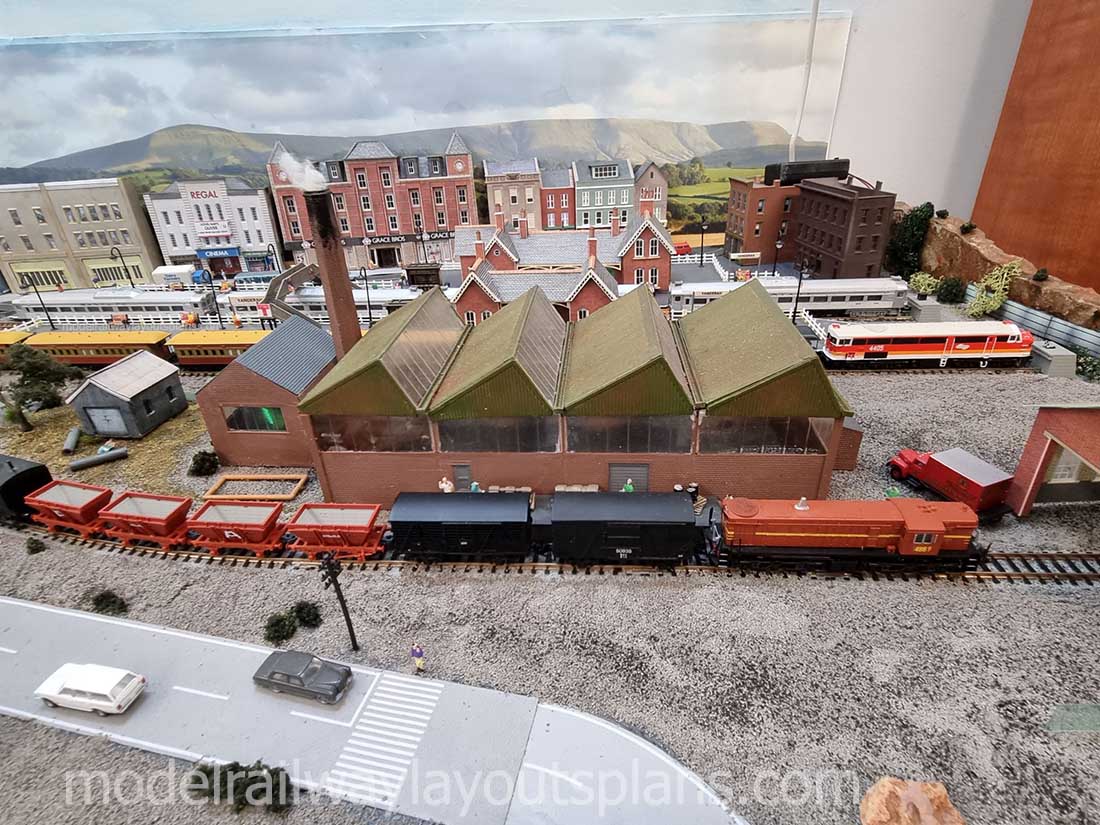
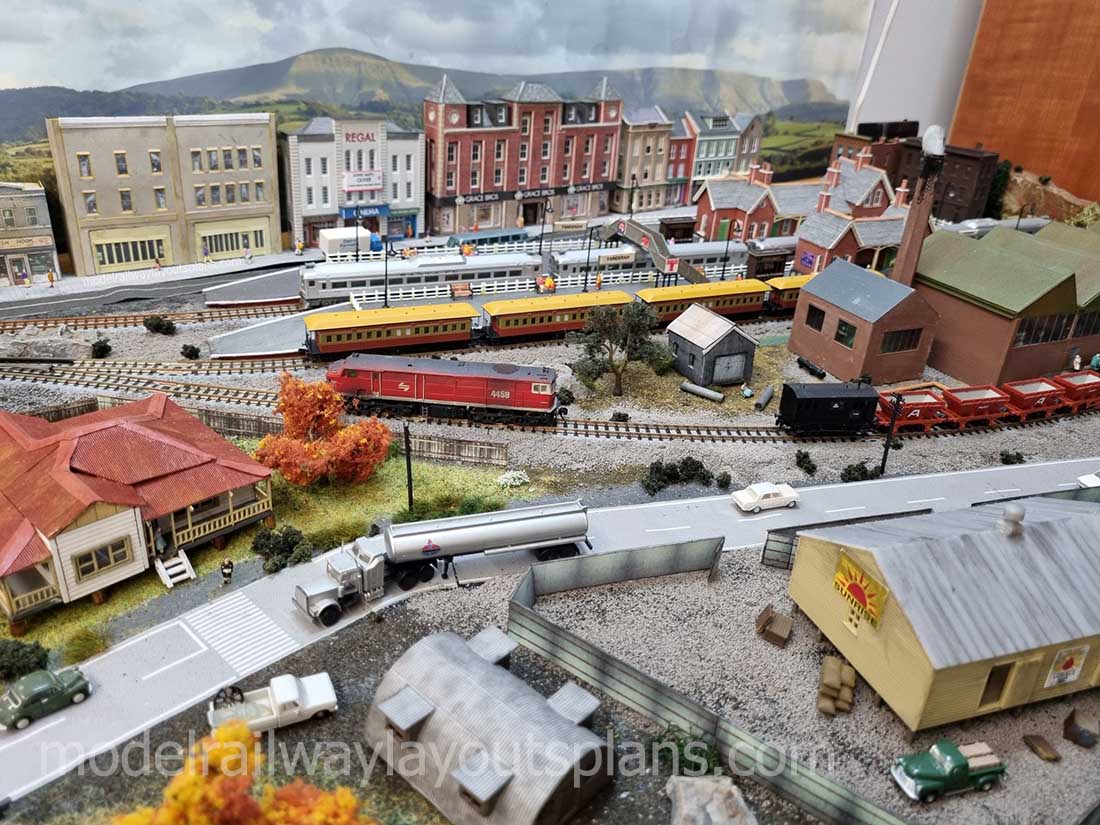
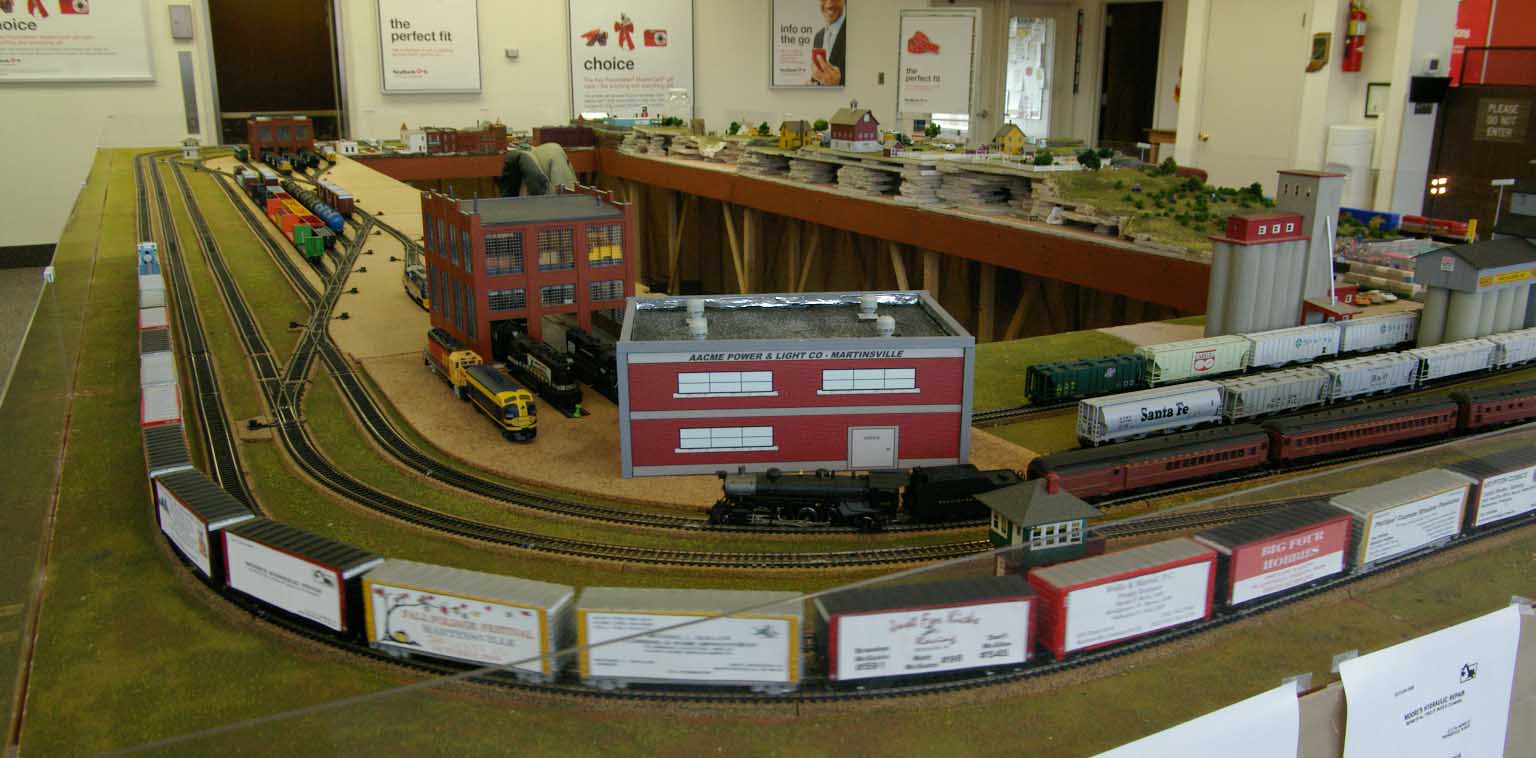
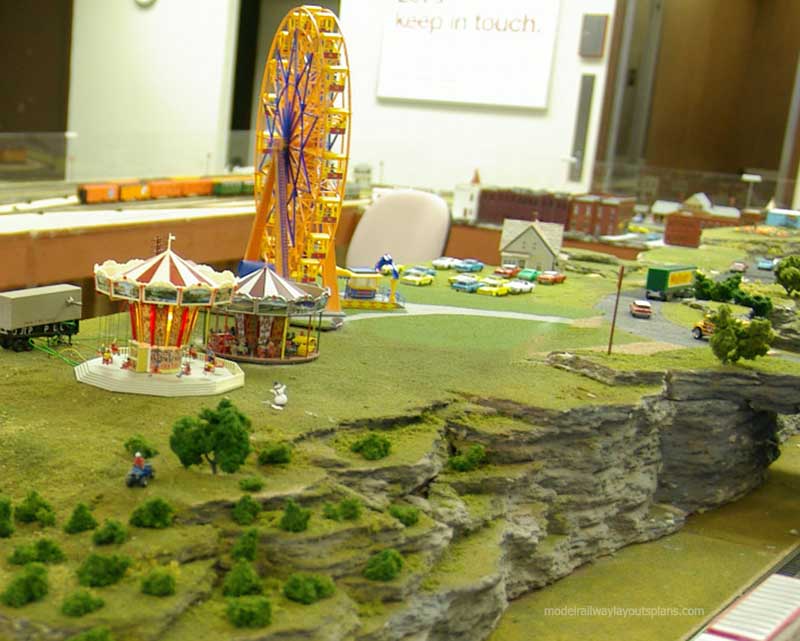
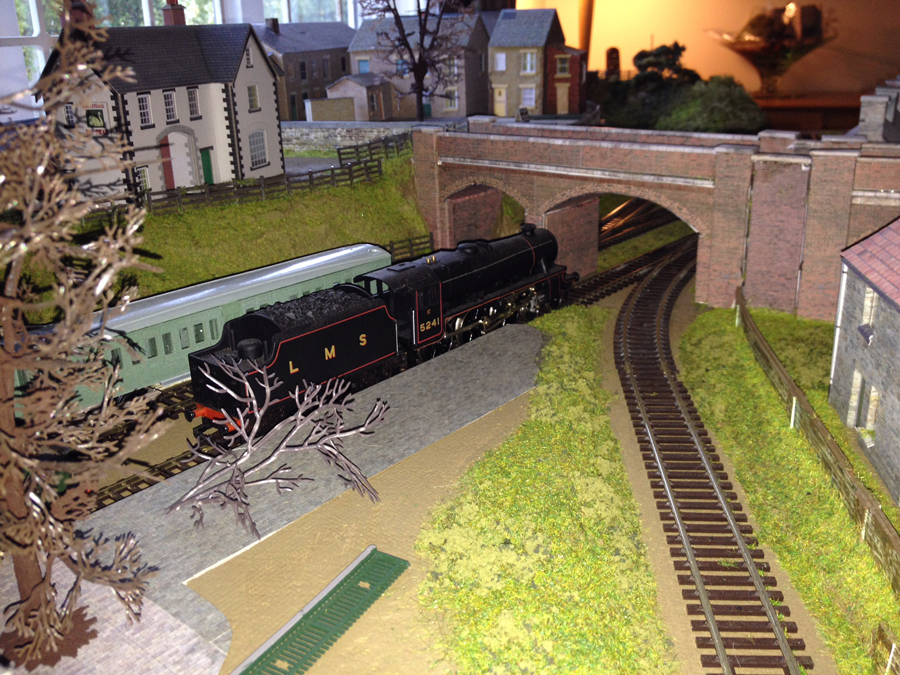
Here is the model train display I have been doing for 32 years now. It is in the lobby of a local bank.
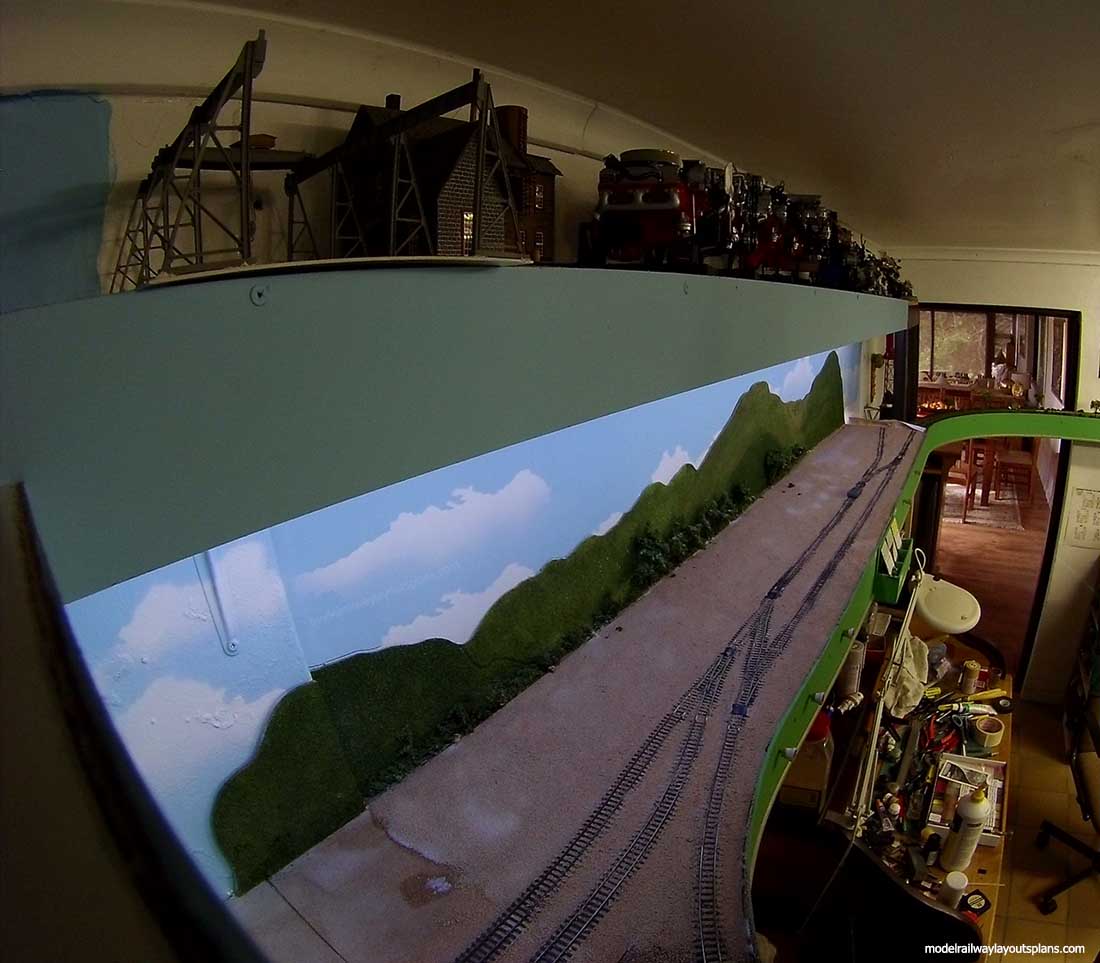
It is 20 by 12 HO. The bank lets me store it at the bank. My model railroad club and friends help set it up and take it down each year.
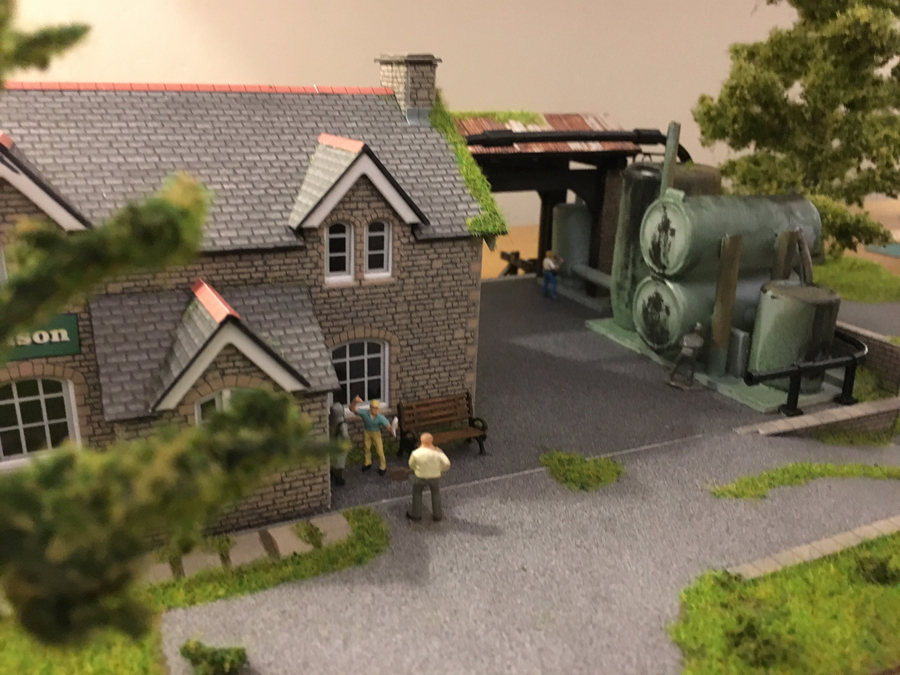
All scenery and buildings must be removed for storage. It gets bumped around some in the process.
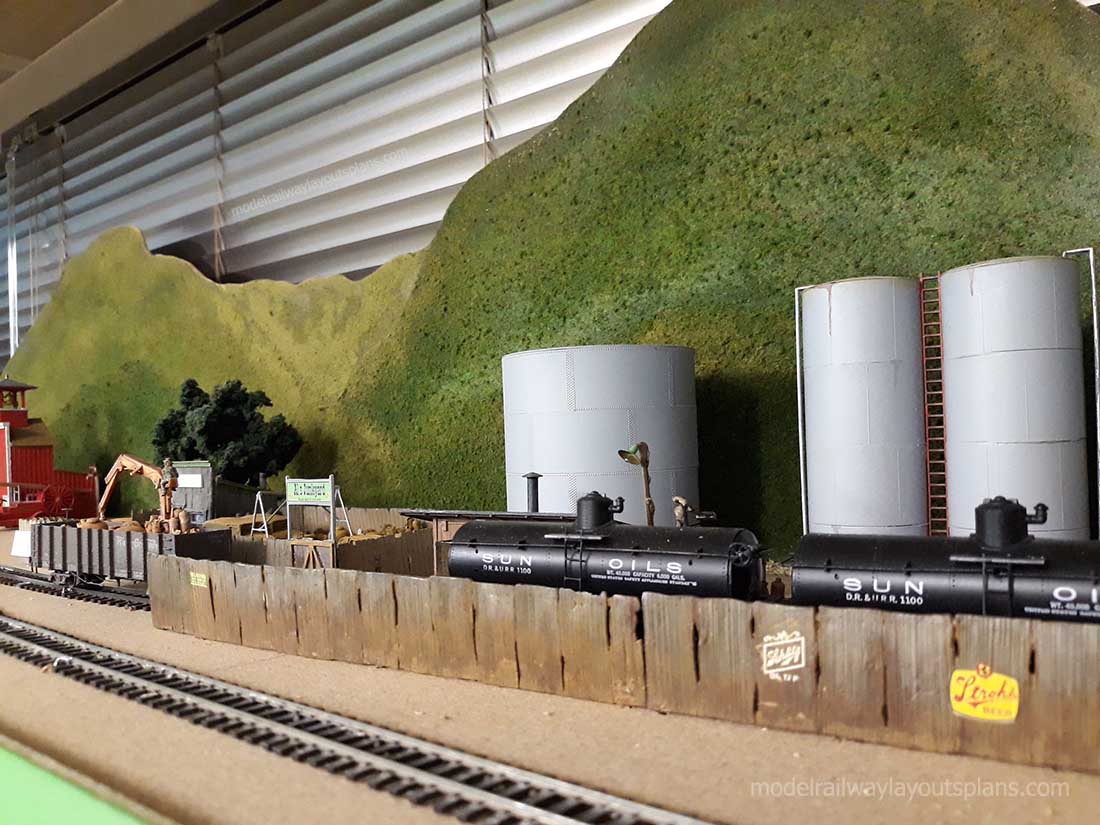
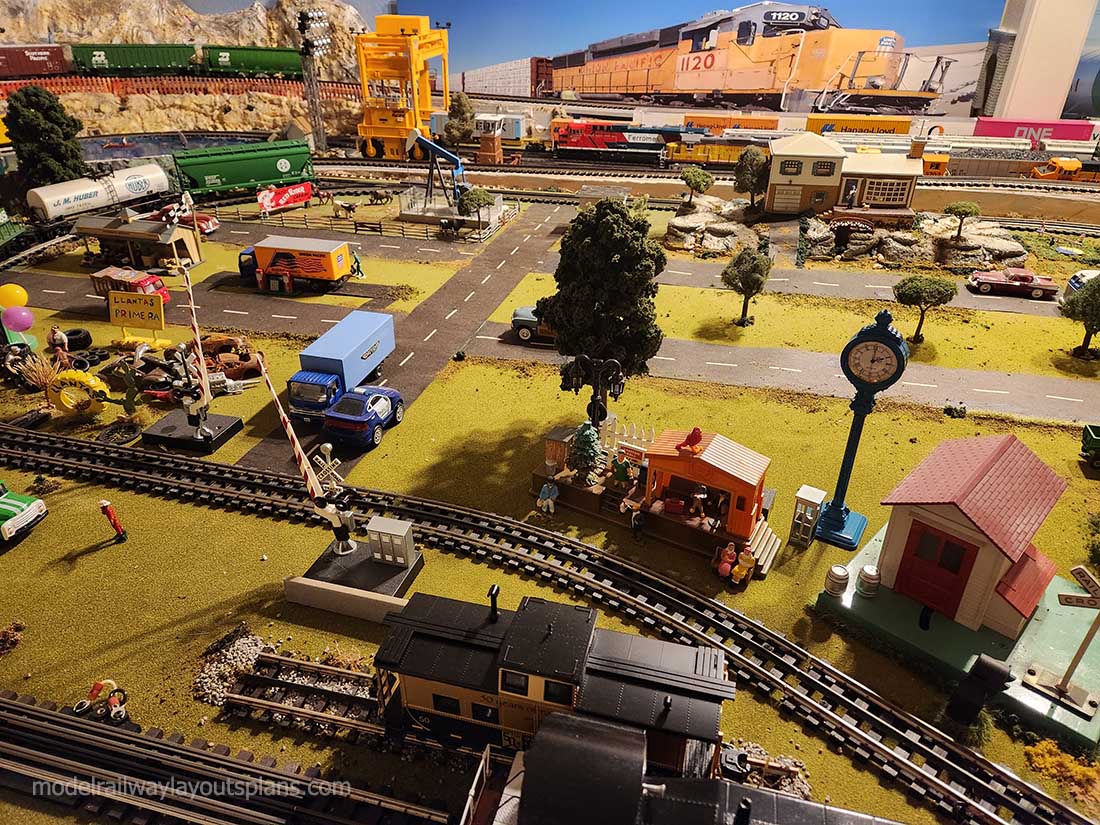
It is not a MODEL railroad it is a DISPLAY railroad. I have no idea as to how many have visited. They begin asking if the trains will be back in early October. I sold advertising to cover the cost to keep it running.
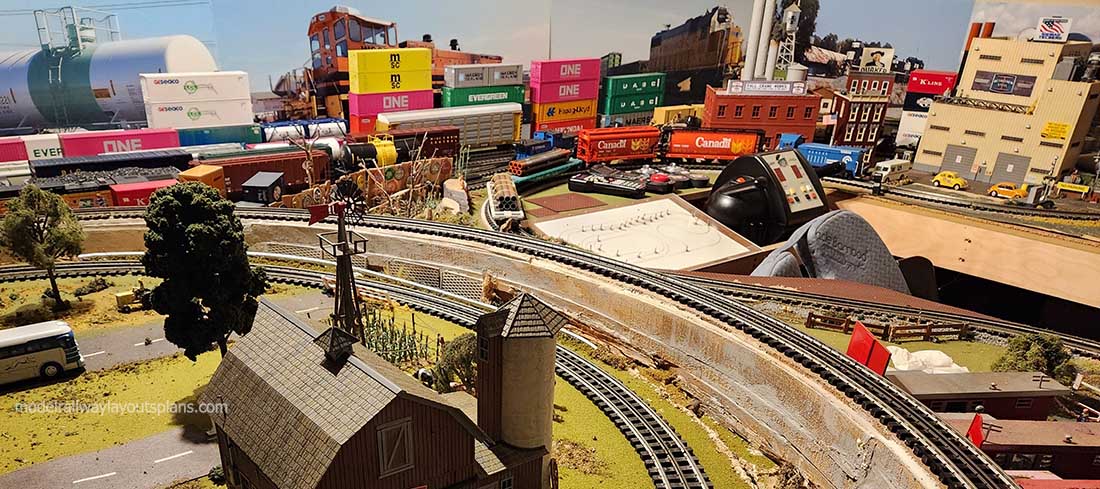
I have worn out over 30 locomotives over the years. We redid the outside rails on the curves once.
The trains run during banking hours. I calculated that the trains have run 500,000 scale miles over 31 years. The track is 1 scale mile around.
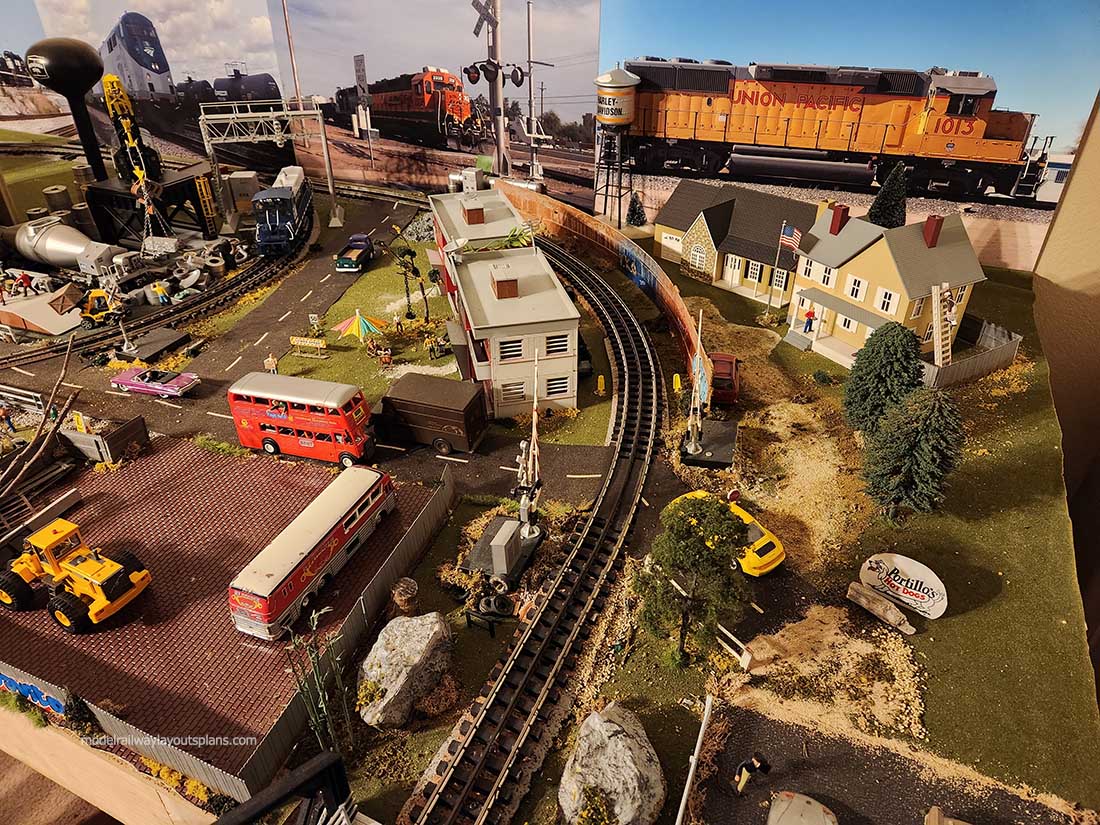
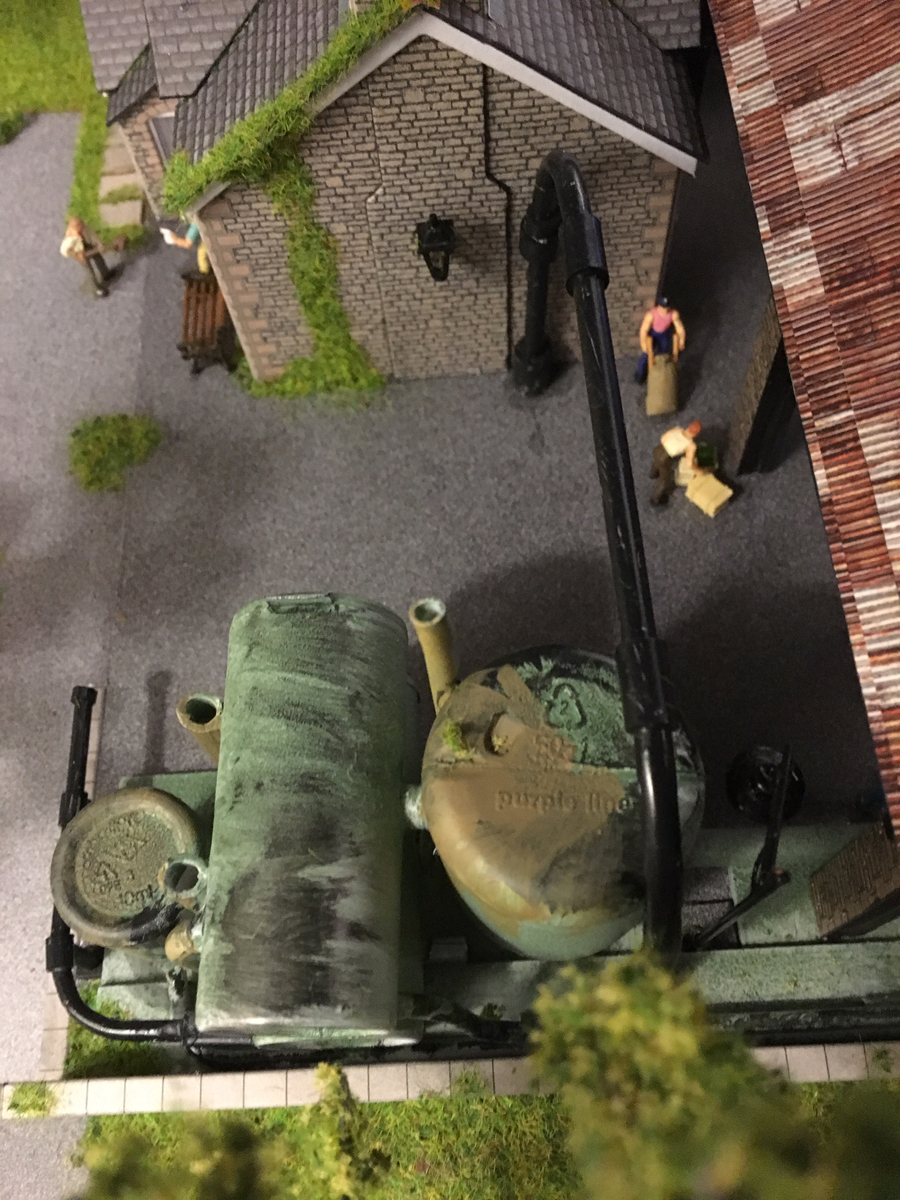
I have learned a lot about the black stuff that gets on the rails. It is micro-arcing caused by the plating on the loco wheels wearing off. The very tiny sparks produce soot. This requires constant cleaning of the tracks and loco wheels. See the photos.
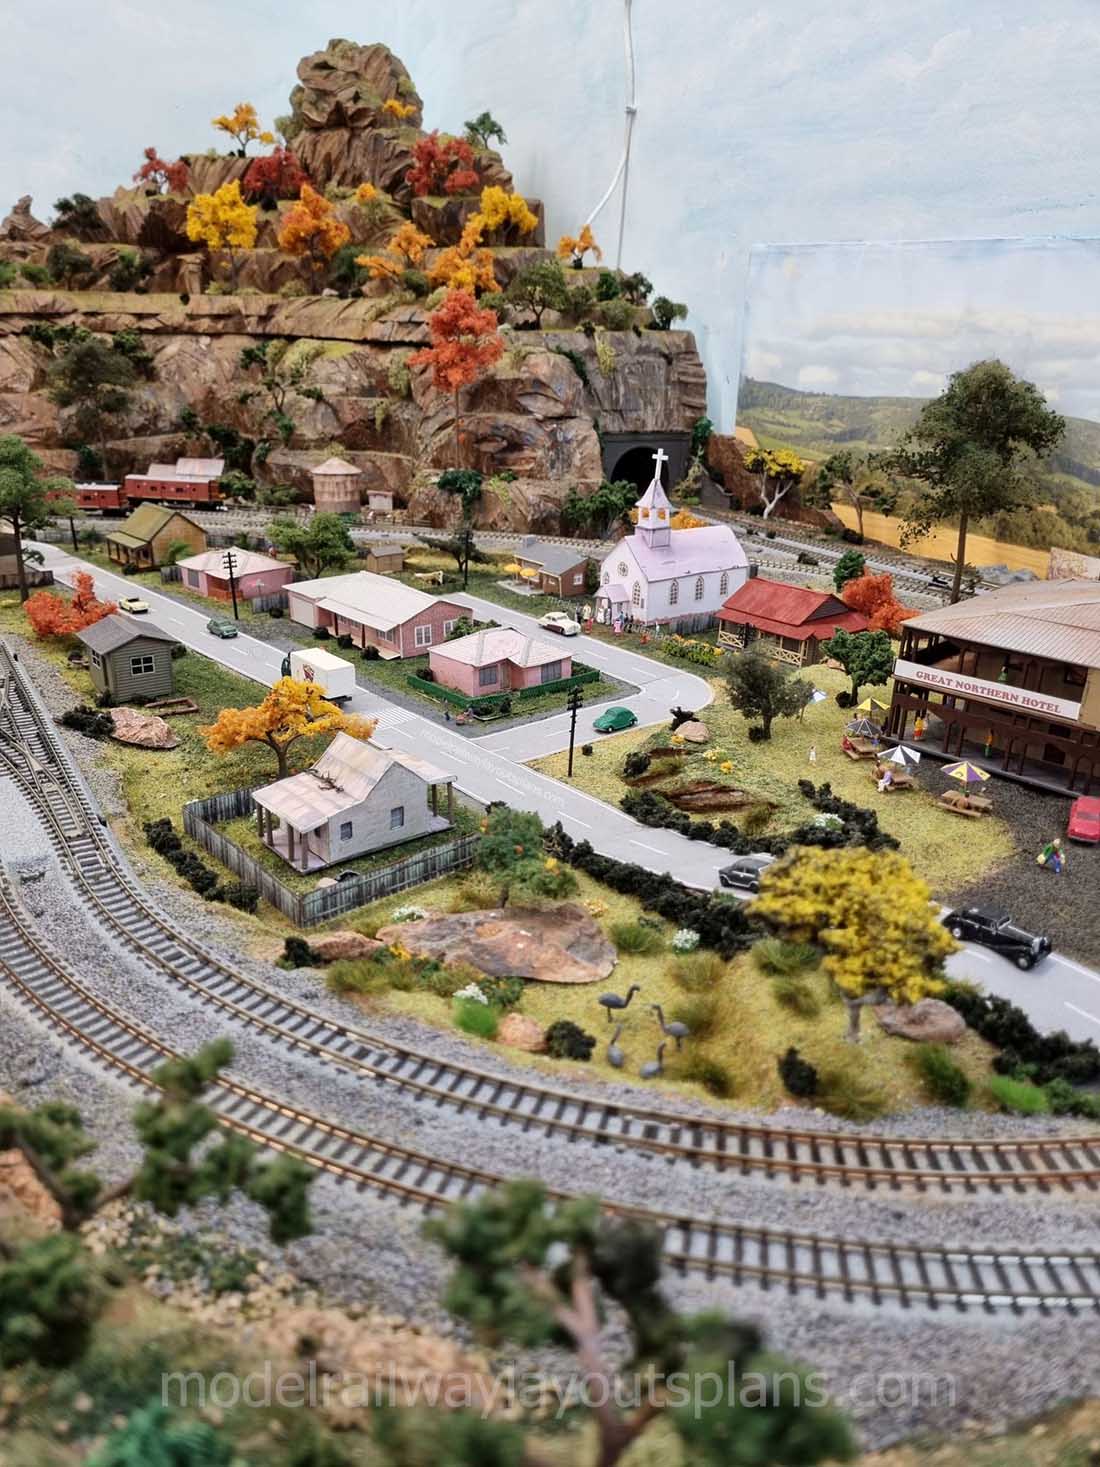
At the beginning parents were bringing their kids to the bank to see the trains. Then it was those kids bringing their kids. Now it is those kids bringing the GRAND kids!
The model train display track cleaning cars in use. I have had these for years. Walther’s has these I believe. The price is pretty high.
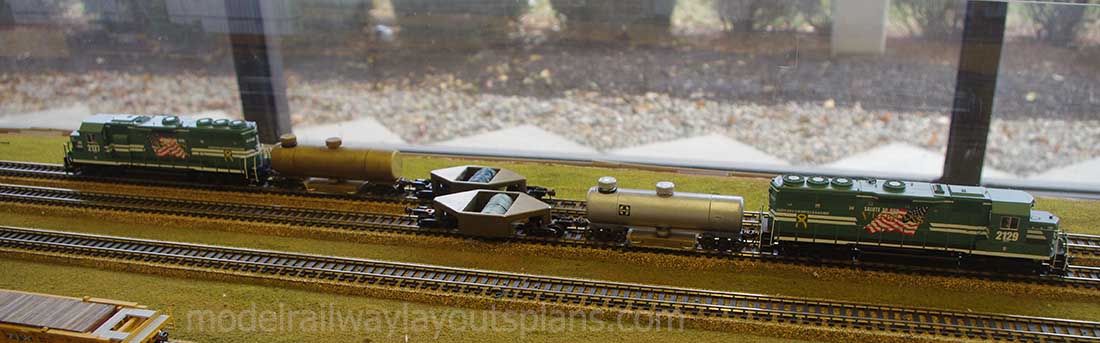
The tank cars have alcohol 70% that drips on to a pad. The odd looking cars have a roller that I employ to soak up the alcohol. Alcohol can be used with this car by it’s self. Either car can be used alone. I think this set up works best. There is NO abrasives used. Abrasives scratch the rail and gather more of the gunk shown in the next photos.
Here is what the cleaning looks like. I put alcohol on a paper towel. I run the locos front truck over the towel and press down lightly and run the loco back and forth by hand. I repeat with the other truck.
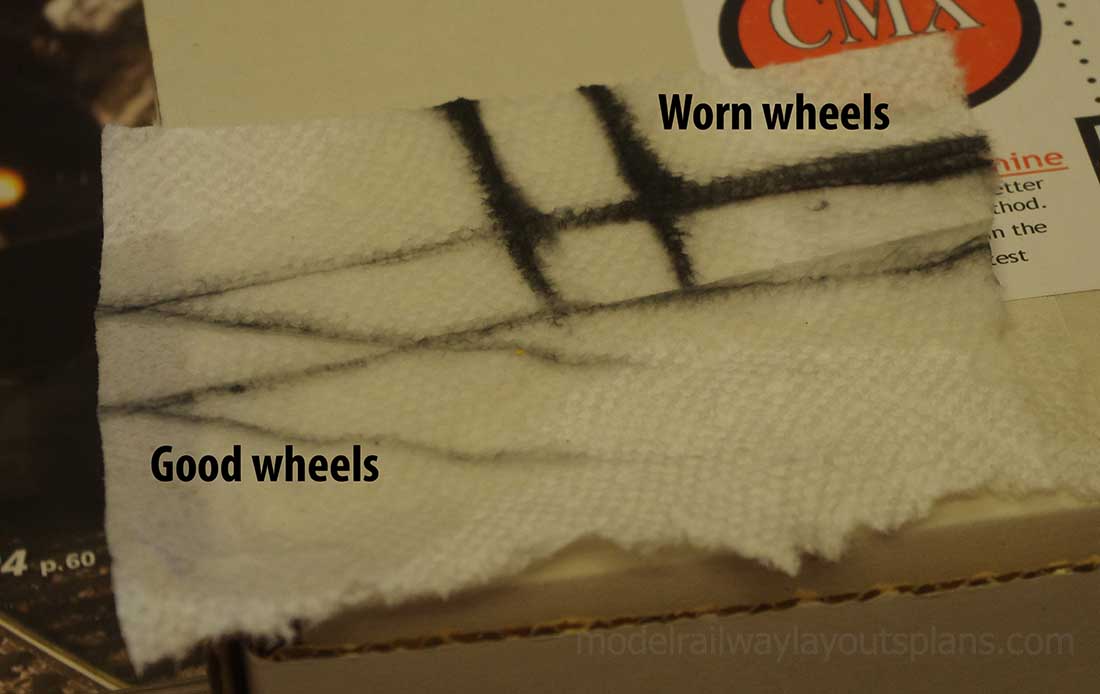
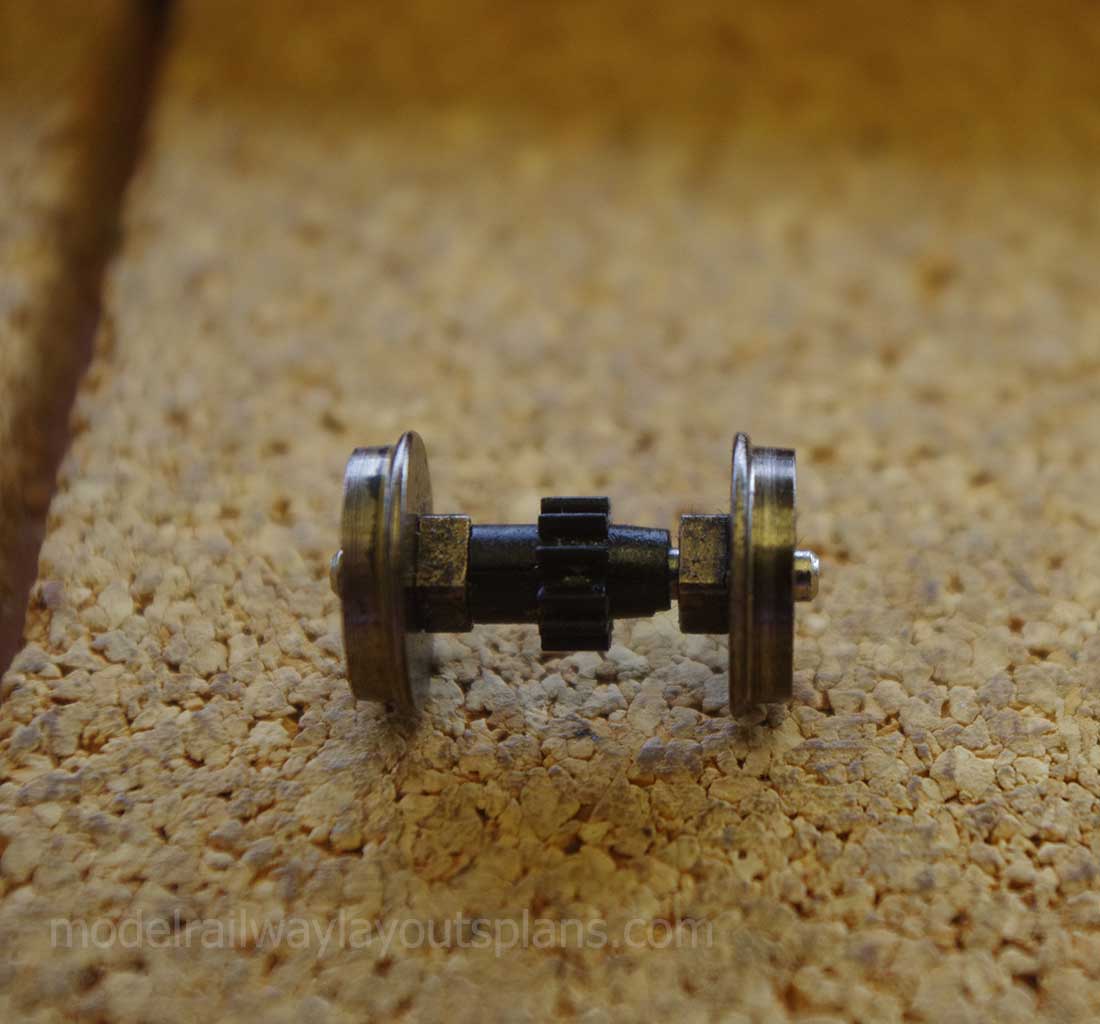
As I mentioned in the intro, there is micro-arcing causing the black gunk on the rails. The “good wheels” show a little of the black stuff that was picked up just while running. These wheels are rather new.
The worn model train display wheels show just how much the arcing has done. Both locomotives ran for just 1 hour.
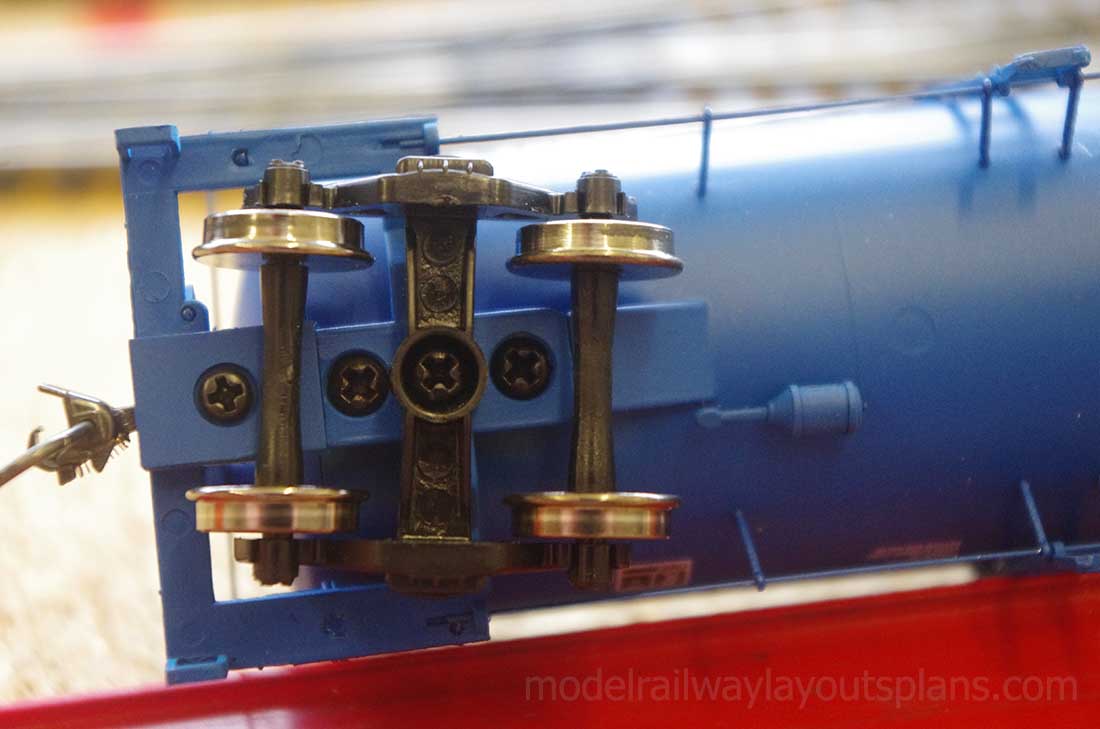
Here is a wheel set taken out of service after about 3 years. Look closely and you can see the plating is gone and you can see a brassy look to the worn areas.
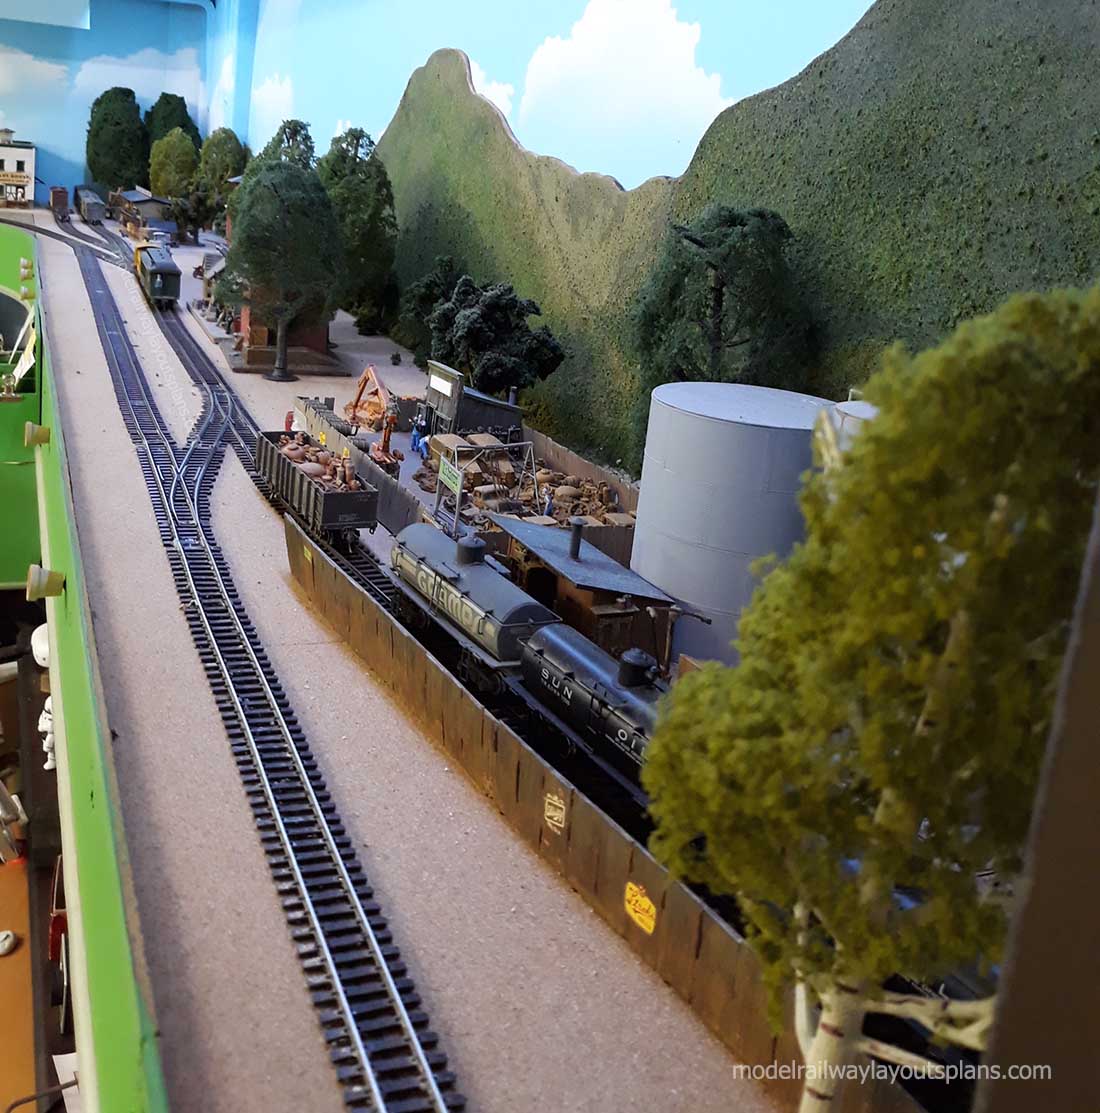
Model train display:
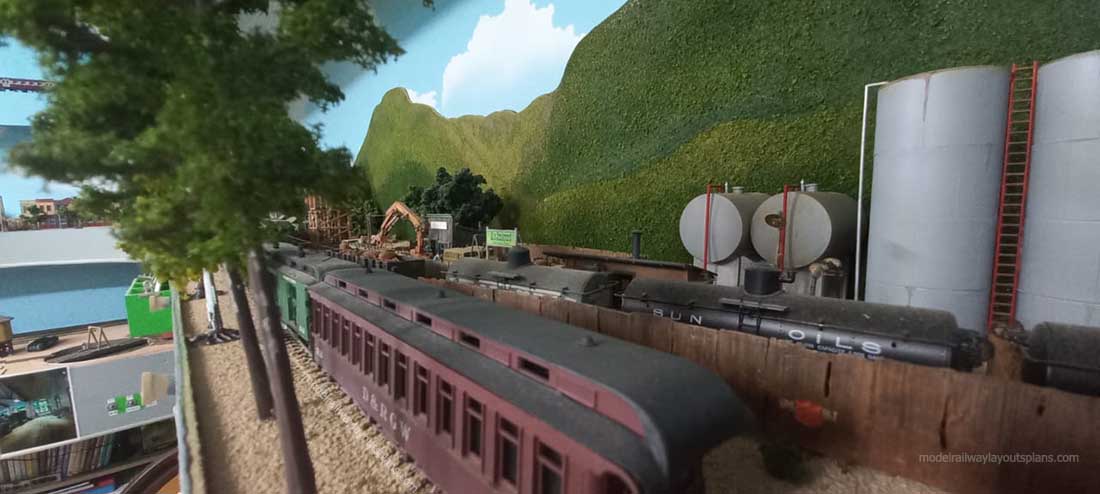
Metal wheel sets also get the worn look after a time. This tank car has been in service for 5 years. The advertising cars are worse. They run all the time. All of the other rolling stock is swapped out from time to time. Remember the trains run for 30 days during banking hours. That is 248 hours.
It is a long month. But it is worth it.
I have helped start many layouts. In fact, today December 6, 2023, I was helping a gentleman work out some problems with his track design.
Dan*”
A big thanks to Dan for sharing his model train display. It’s a wonderful narrative of how the attraction of trains stay with us all of lives.
Dan is our latest member of the Hall of Fame by the way.
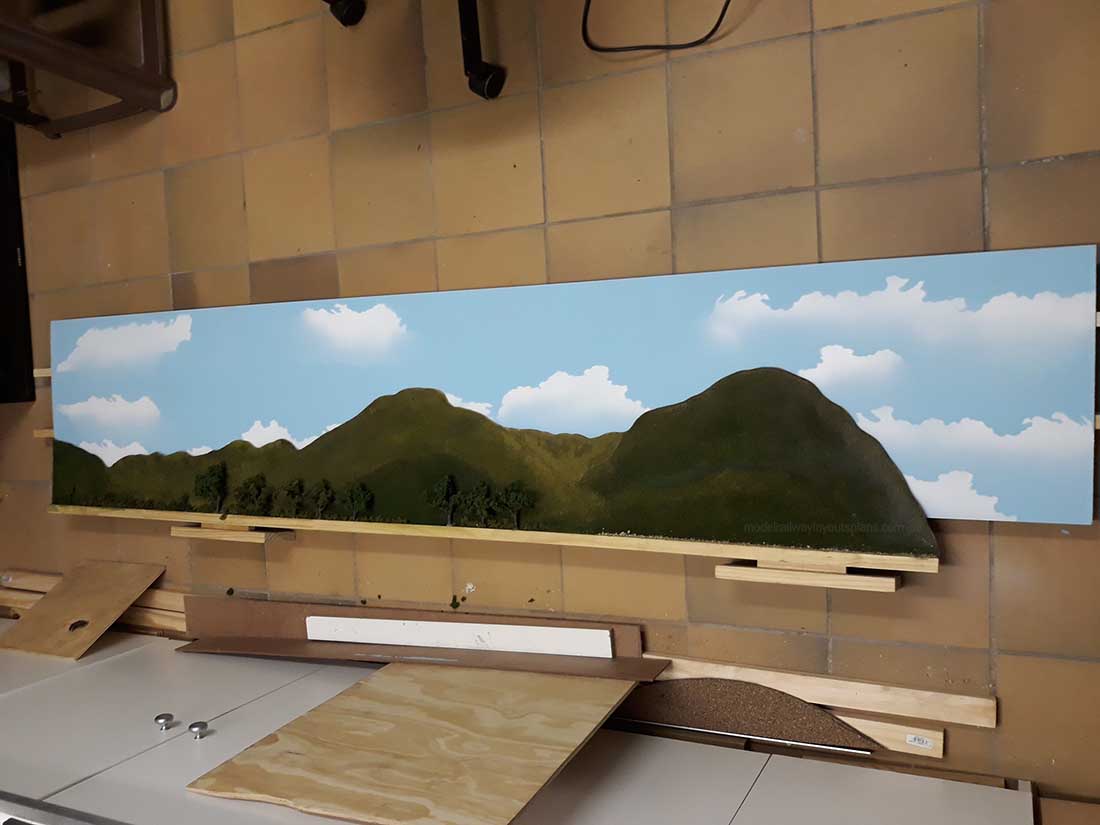
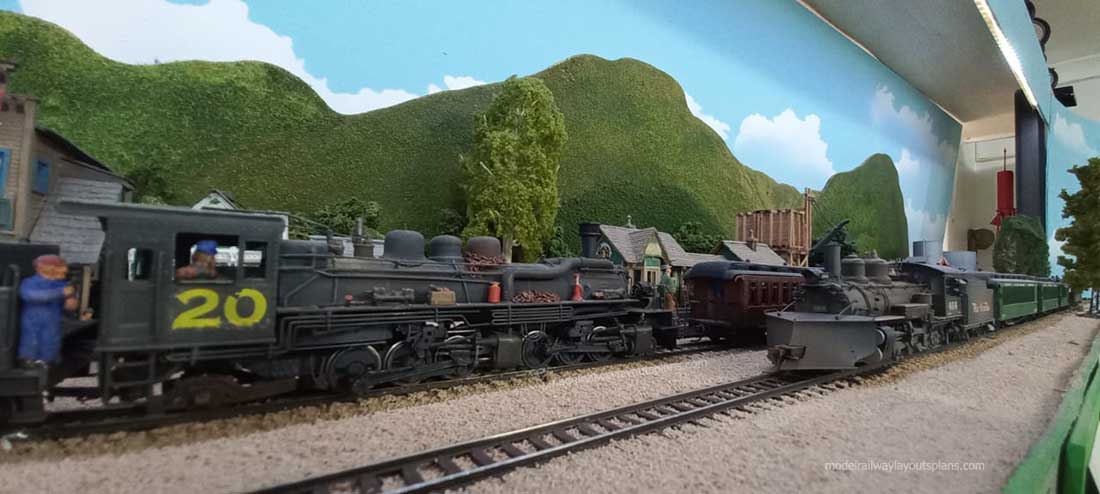
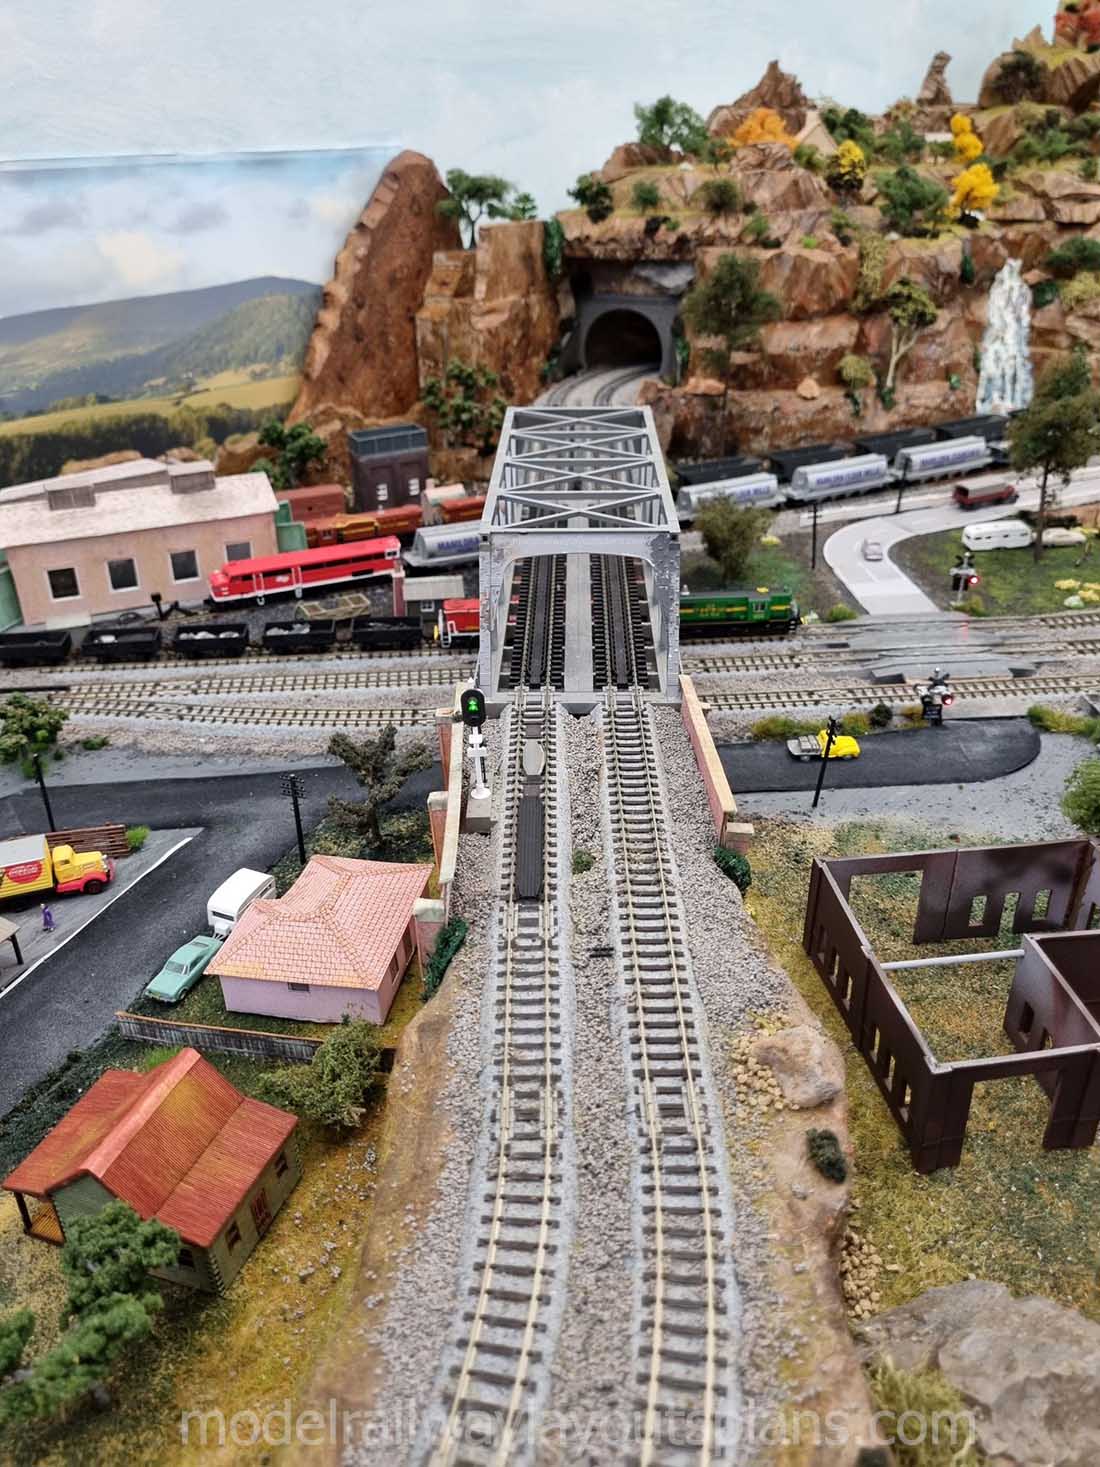
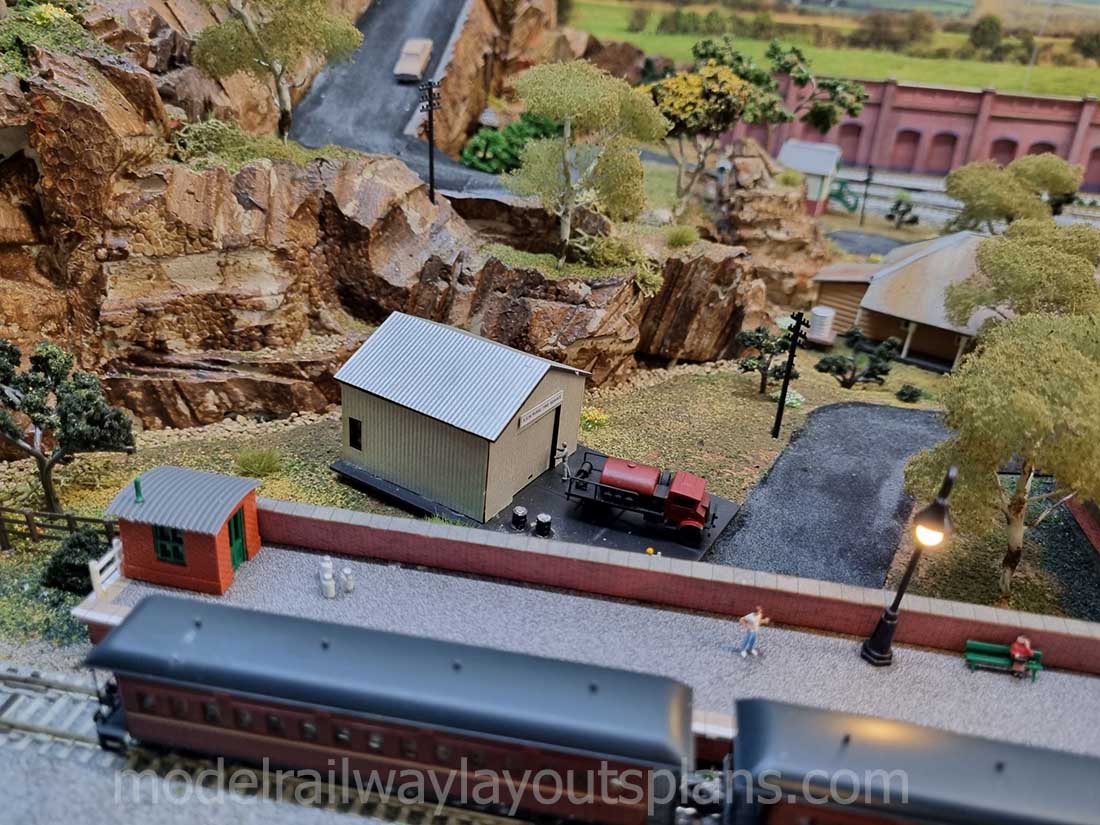
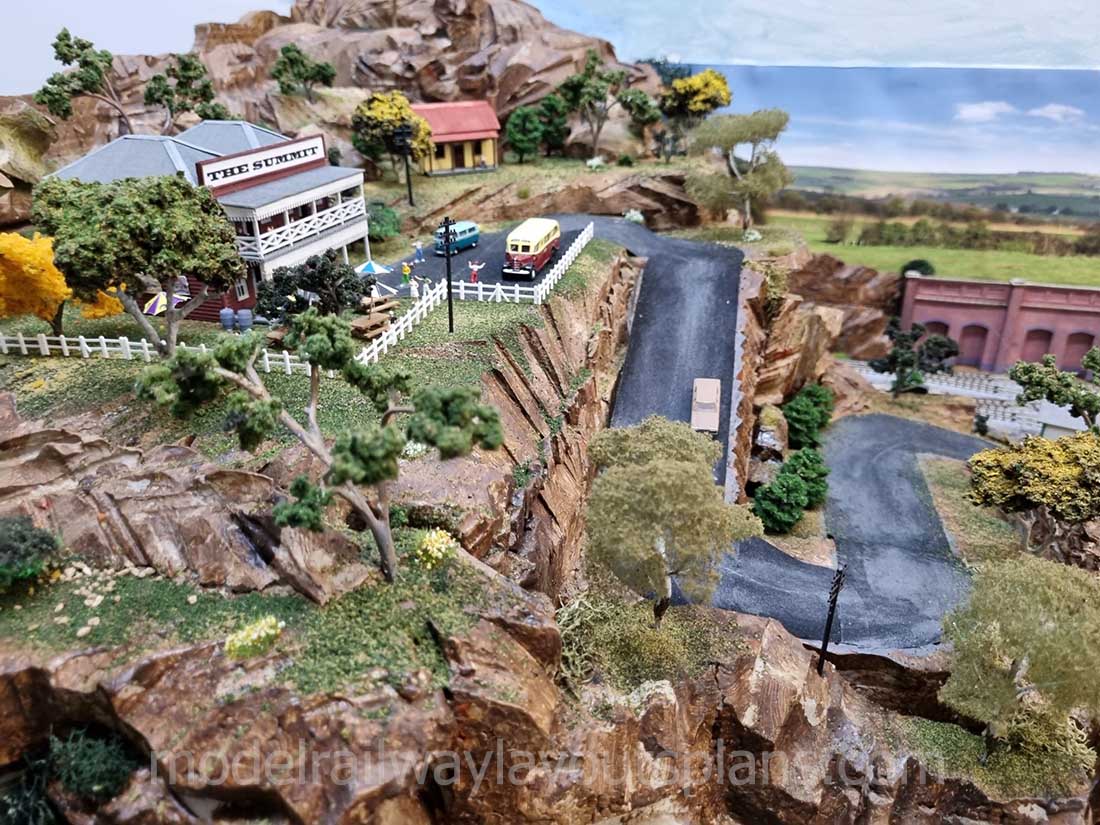
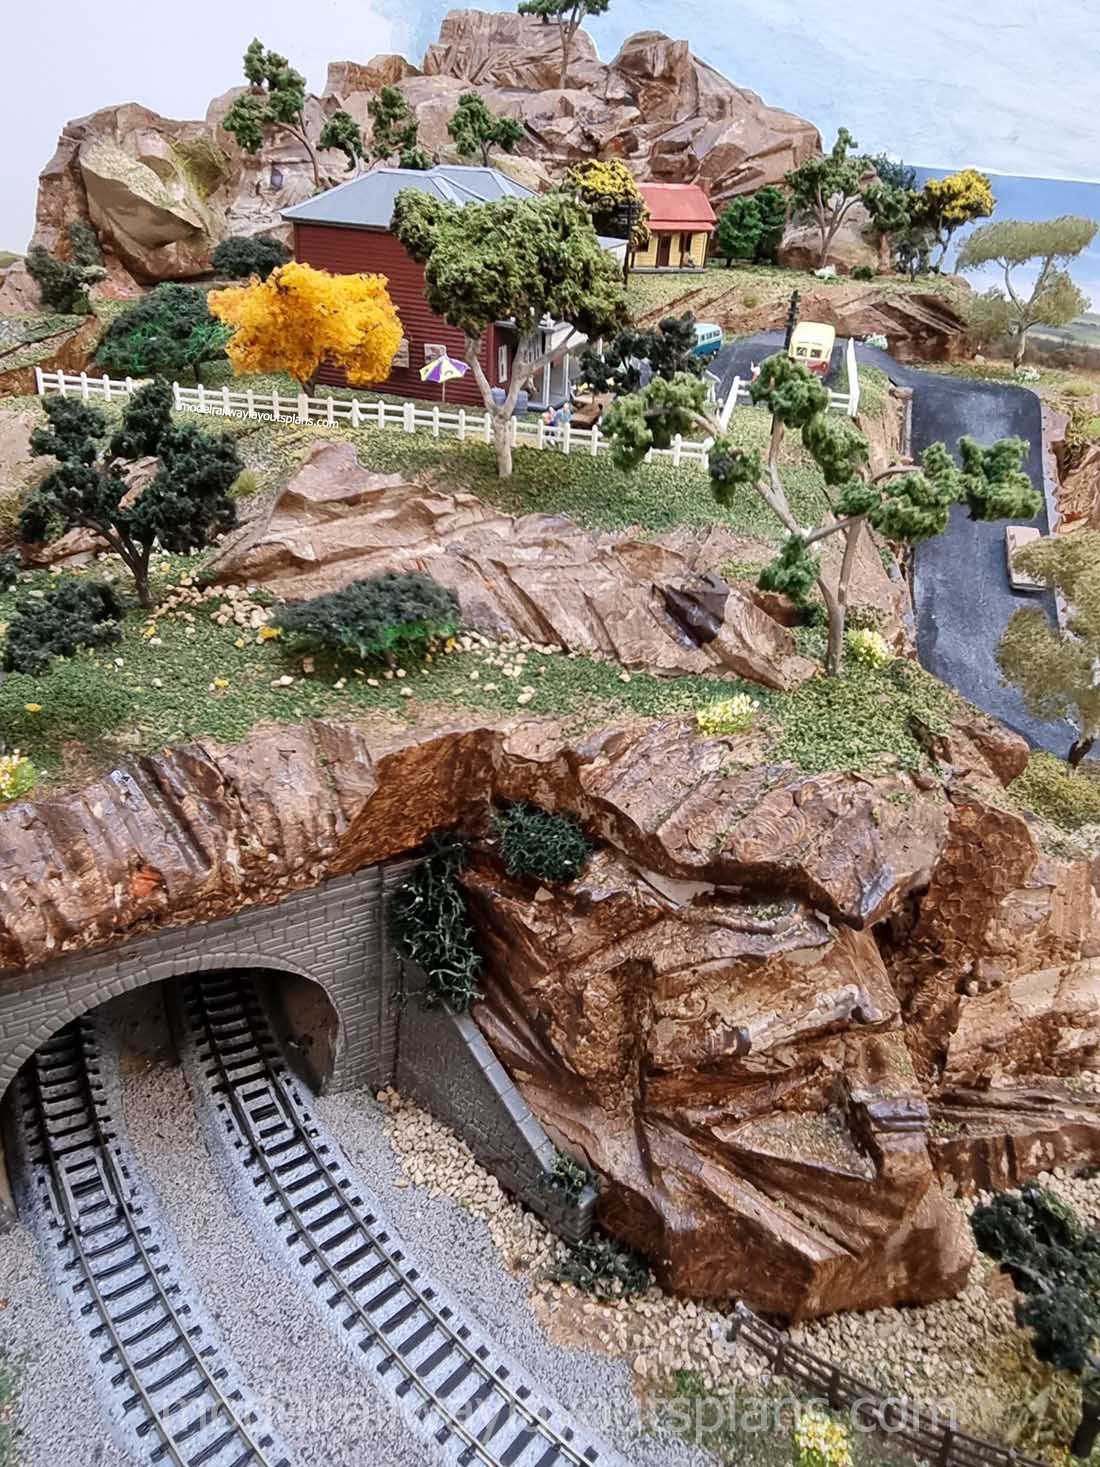
You can see on his model train display above his signature ceiling tile technique for the mountains. If you missed that ‘how to’, here it is again:
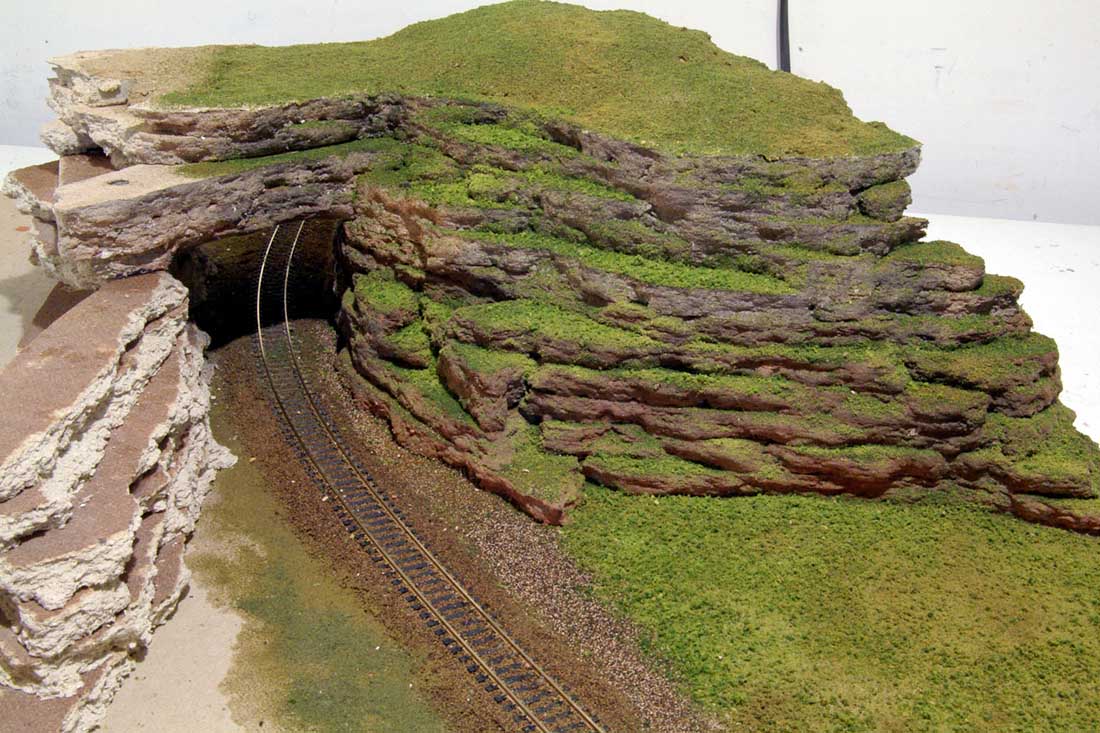
Here’s another good example of it as well, stunning stuff:

Dan’s post also reminded me of Cal’s track cleaning post:
And Brian’s, which is another display layout:
Now on to Julian:
“Hi Al,
Thanks for your great mail, and to your audience who make 85% of it happen!
I have had a model railway since I was 4 – first on the dining room table, then as we were banned, to the dining room floor, then a 6×4 ply sheet. I have to say the ubiquitous 6×4 is the worst possible size as when you are 6, you cannot reach the centre!
Then my parents moved around, so the rolling stock, layout, etc was sold as we moved with the Armed Services.
At University, a special offer on a narrow gauge set caught my eye, so I started to build again. I think I was the only student with a trainset!
Then more moving, marriage and moving conspired to see it sold.
My children and I built a large N-Gauge set in our loft – it was huge, but the loft was too hot in summer, and too cold in winter! A G-Scale garden railway was a better success. Again moves saw the set dismantled and sold.
Then since my wife decided to go on holiday with a bunch of ladies, what better time to start again, but with some firm outlines in place; it had to be modular, and the maximum width 1 Meter. Module 1 got built, then I suffered a heart attack at 62 – so to the disgust of my wife, and amusement of our friends, this built module sat in our lounge for a couple of years. A fire gutted our garage, and this was a perfect opportunity to turn it into a train room!
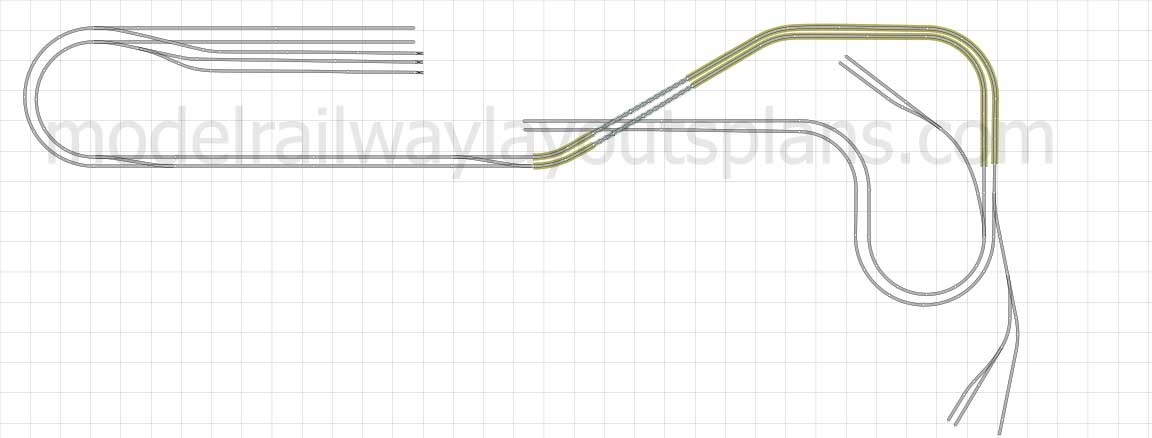
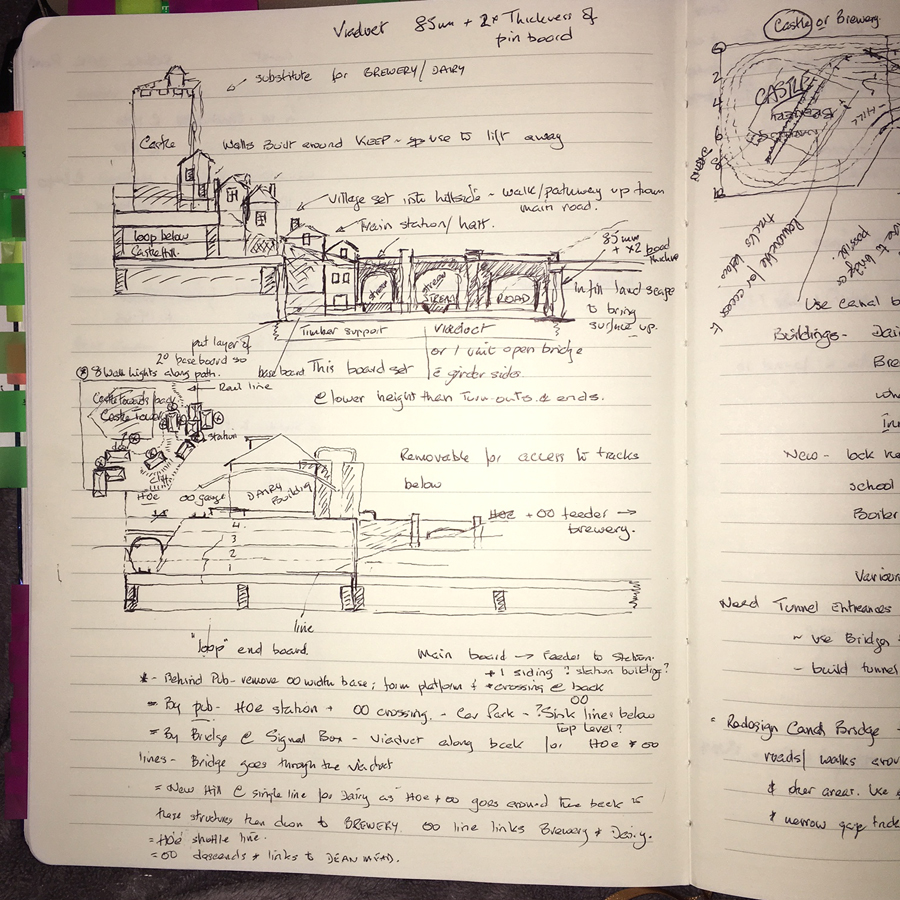
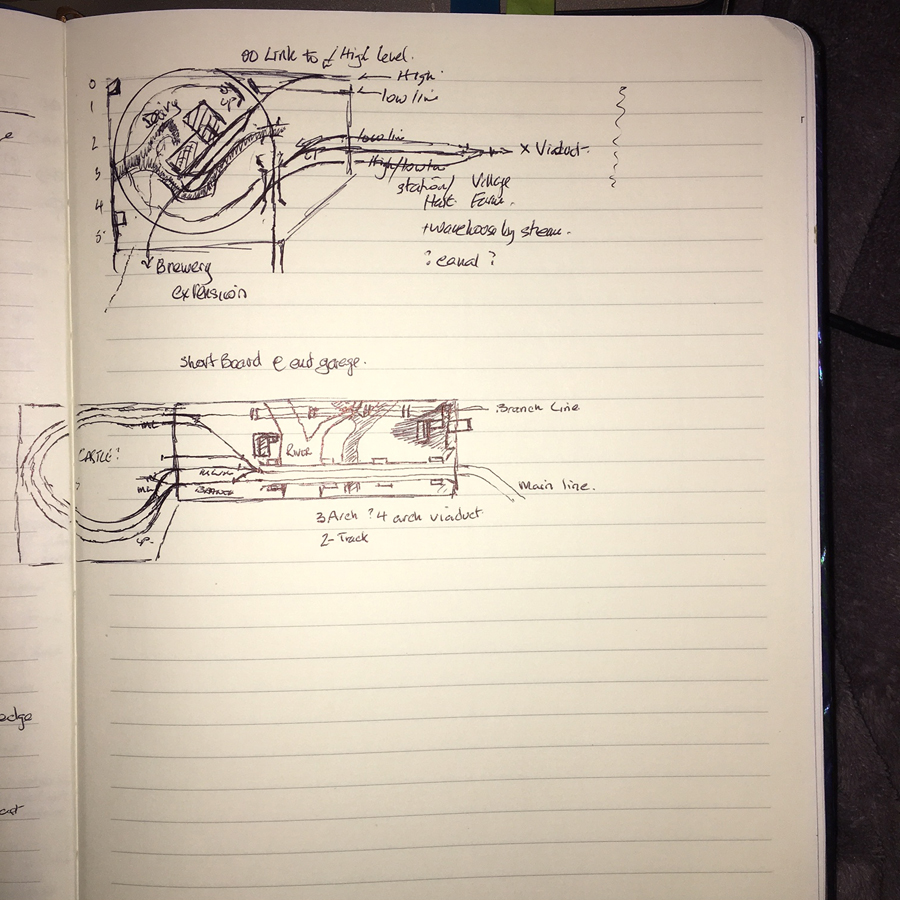
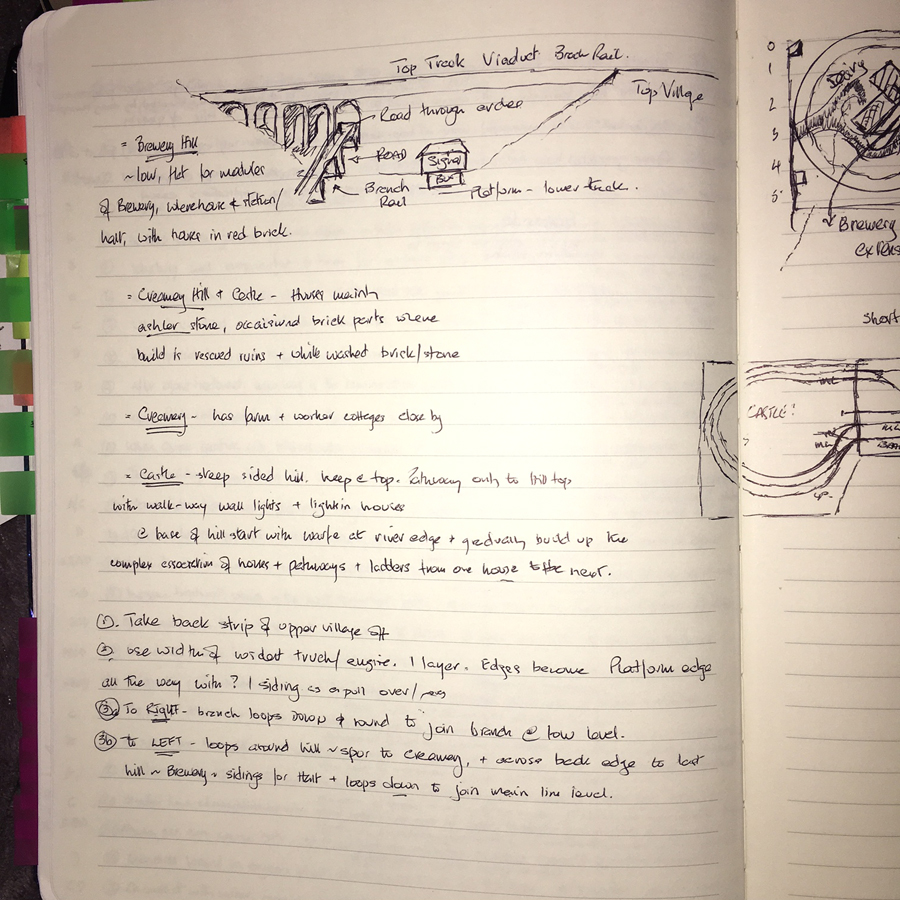
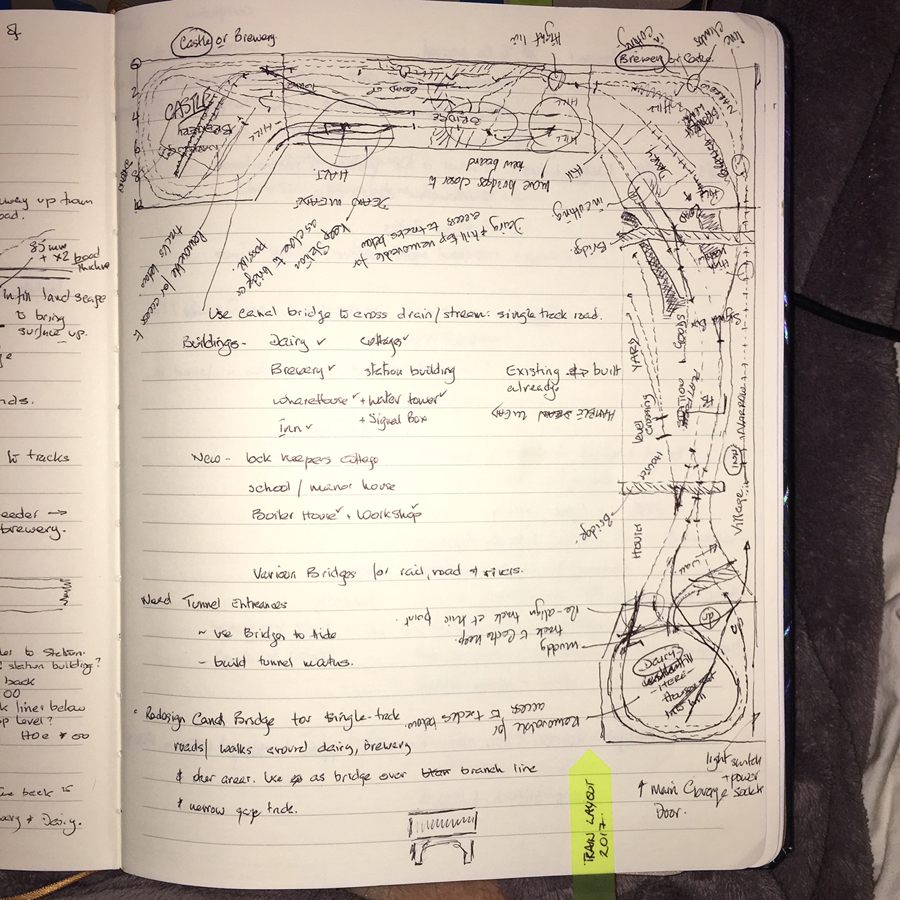
Instead of letting the set grow organically, I planned and sketched what I wanted to see. Its a mix of artistic creation, childhood memories, and manual skills I used to use as a surgeon!
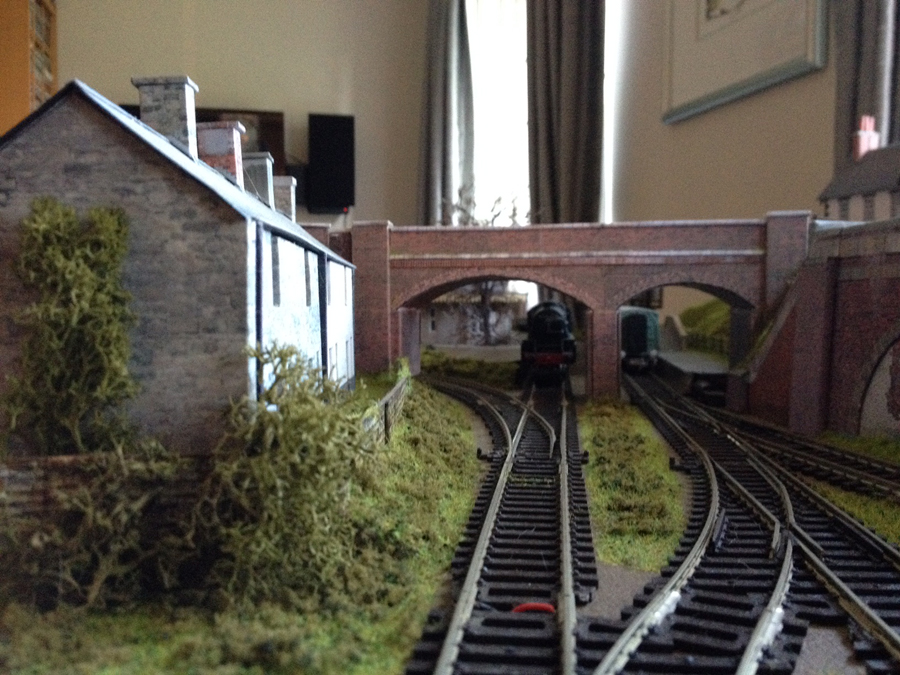
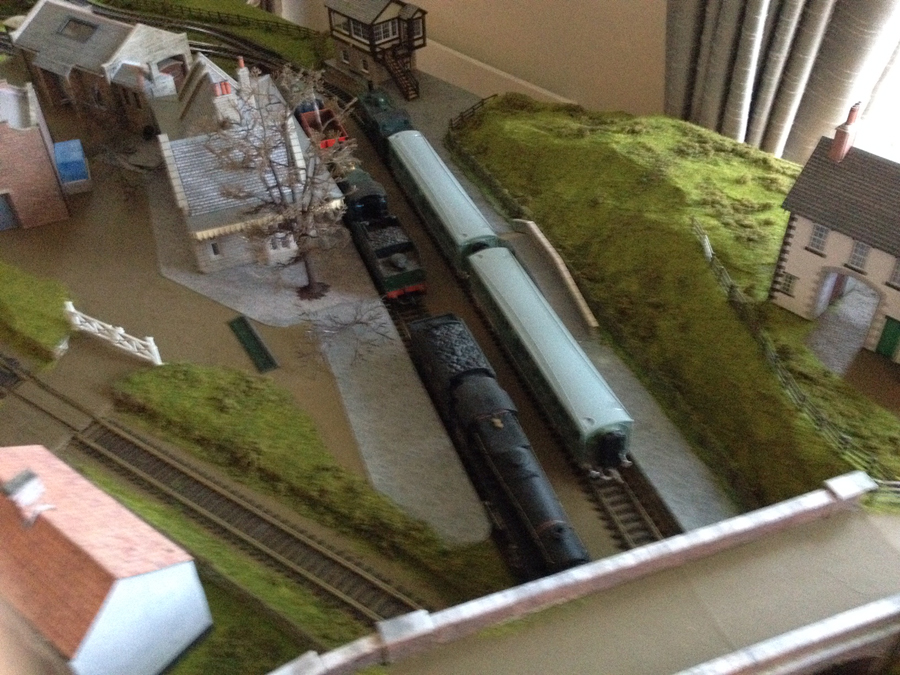
Here are the sketches, and a couple of views of Module-1. As the layout comes together, I’ll write some more.
Regards,
Julian”
That’s all for today folks.
Please do keep ’em coming.
And if today is the day you get started on your layout, the Beginner’s Guide is here.
Best
Al
PS Latest ebay cheat sheet is here.
PPS More HO scale train layouts here if that’s your thing.