Yale has been in touch with his HO scale layout 14×4 – he’s taking steps to make sure others enjoy the hard work they have put in over the years:
“Alastair there comes a time when we are no longer up to doing the things we enjoy.
I am now 85 and with the aches and pains that come with that age for some of us I can no longer maintain the Fairfield and Cheston Railroad.
I’ve enjoyed sending in photos of my progress over the years. I’ve also enjoyed drawing on the wisdom of others to help me with the challenges we often face as modelers.
So the question I was faced with was who would get my layout. Checked with family and friends and had no interest.
If I left it until I passed I had no doubt it would be dumped. I didn’t want 20 years worth of work by my wife and I, as well as thousands of dollars to go down in the trash.
I found that the Cape Fear Model Railroad Club was willing to take the entire layout. They have a store at Independence Shoping Mall in Wilmington, NC.
They are going to put it on display at the Club’s entrance. It will be seen by far more people than in the train room of my house. I am looking at the best way to dismantle it.
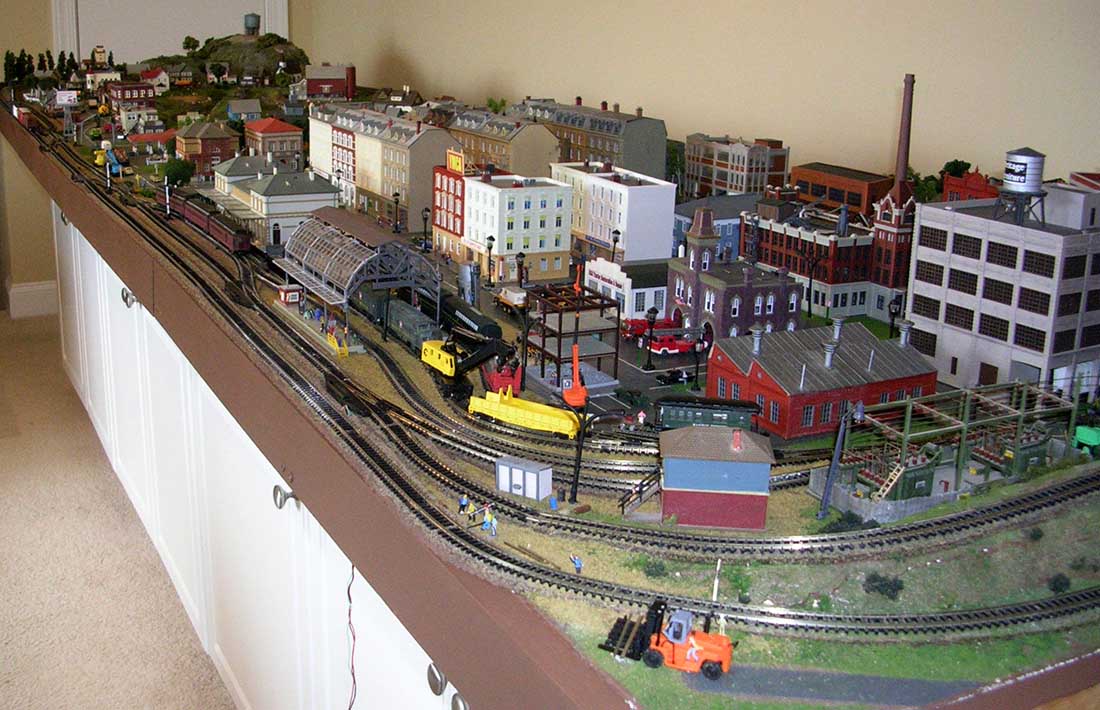
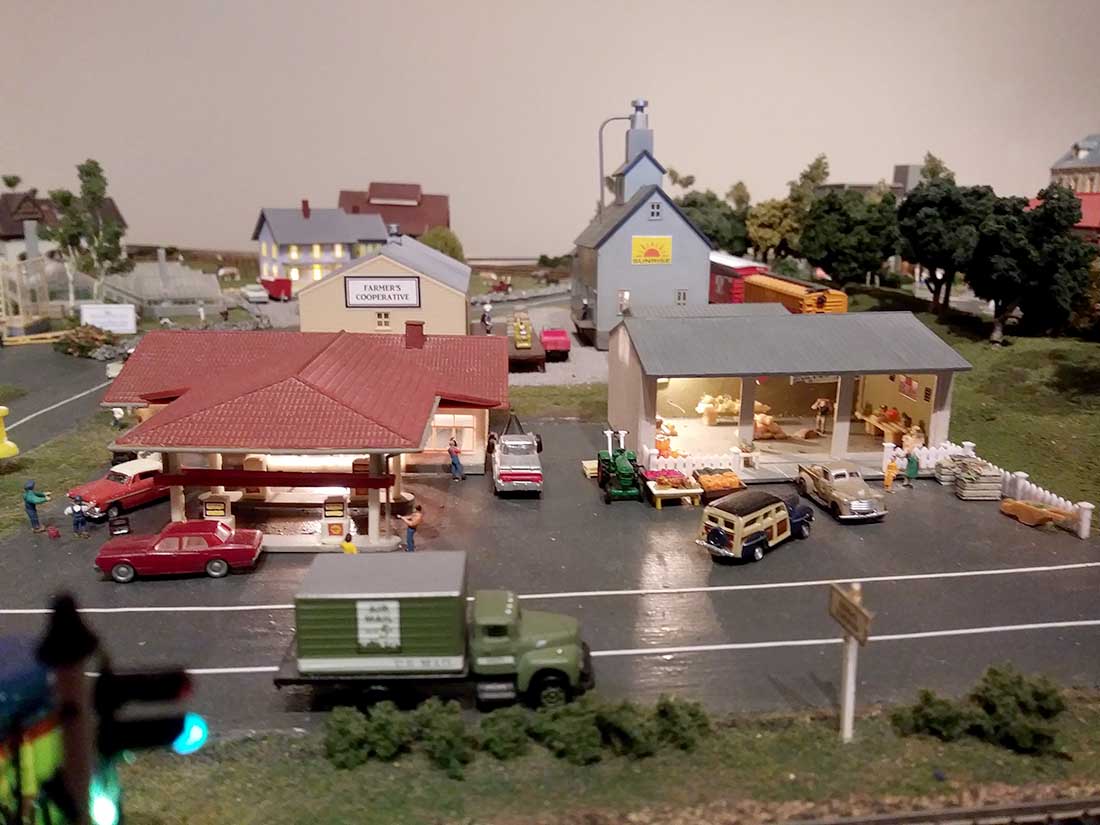
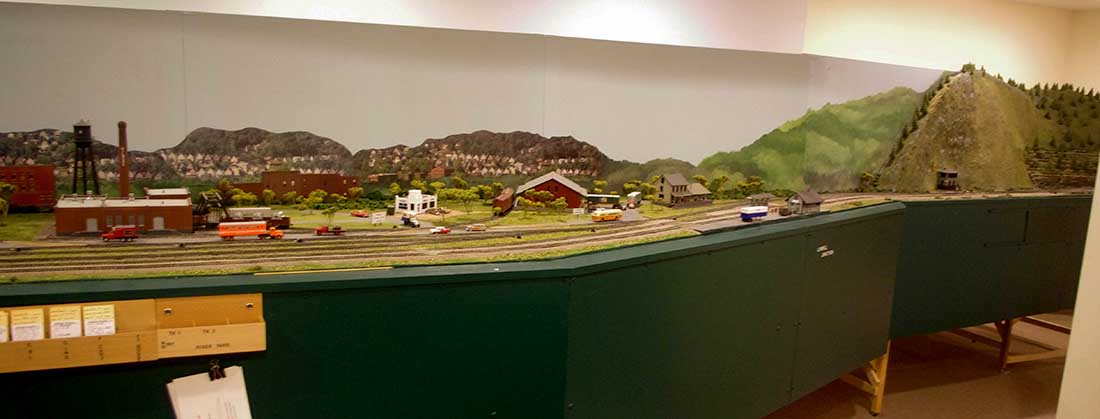
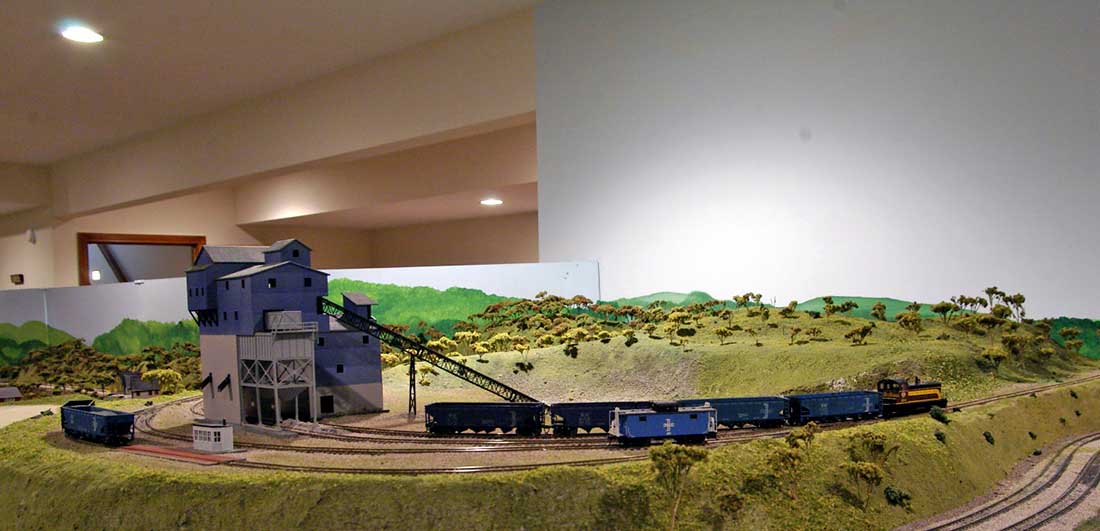
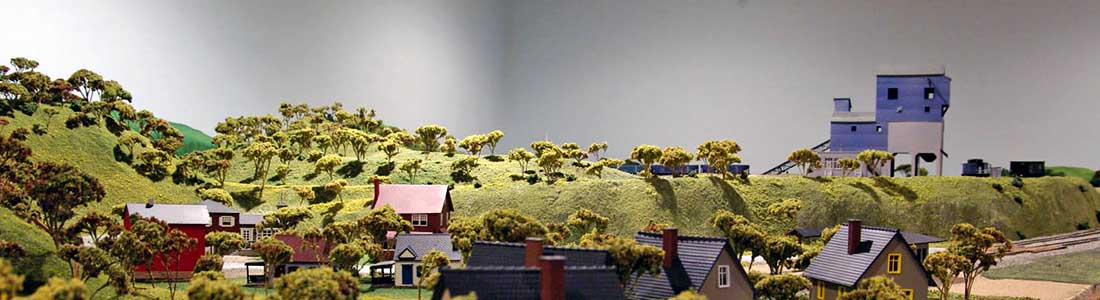
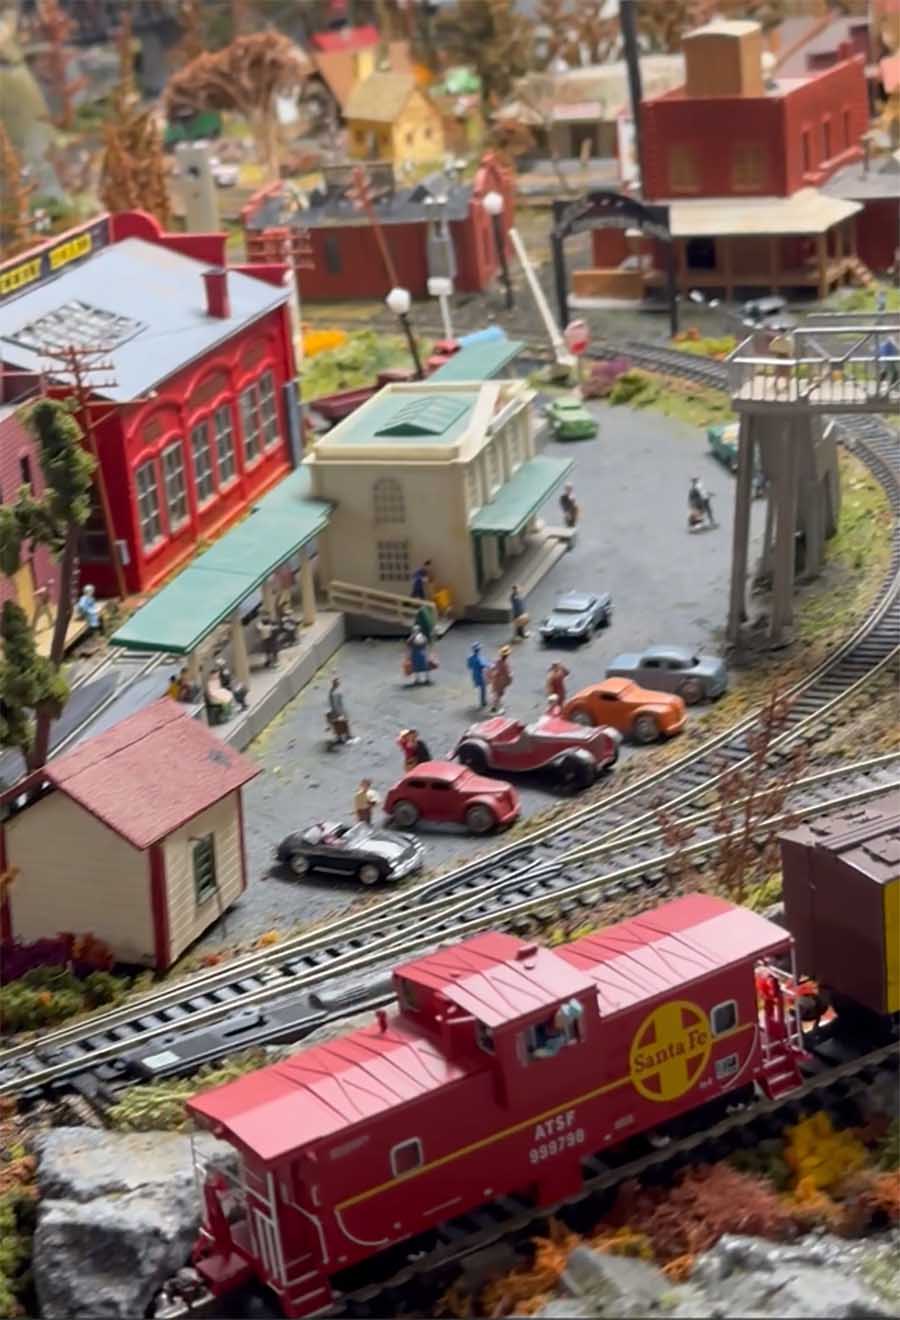
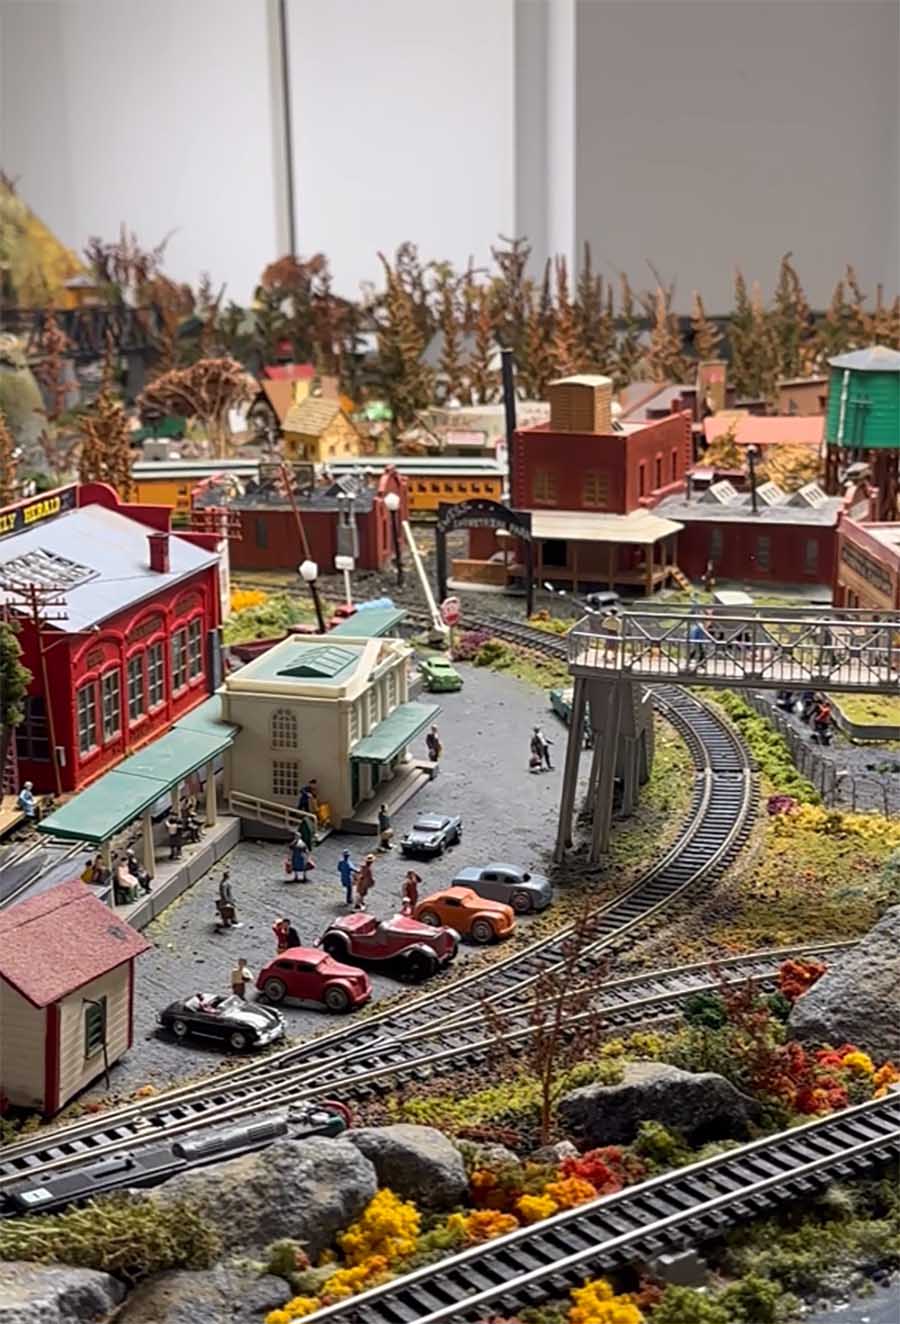
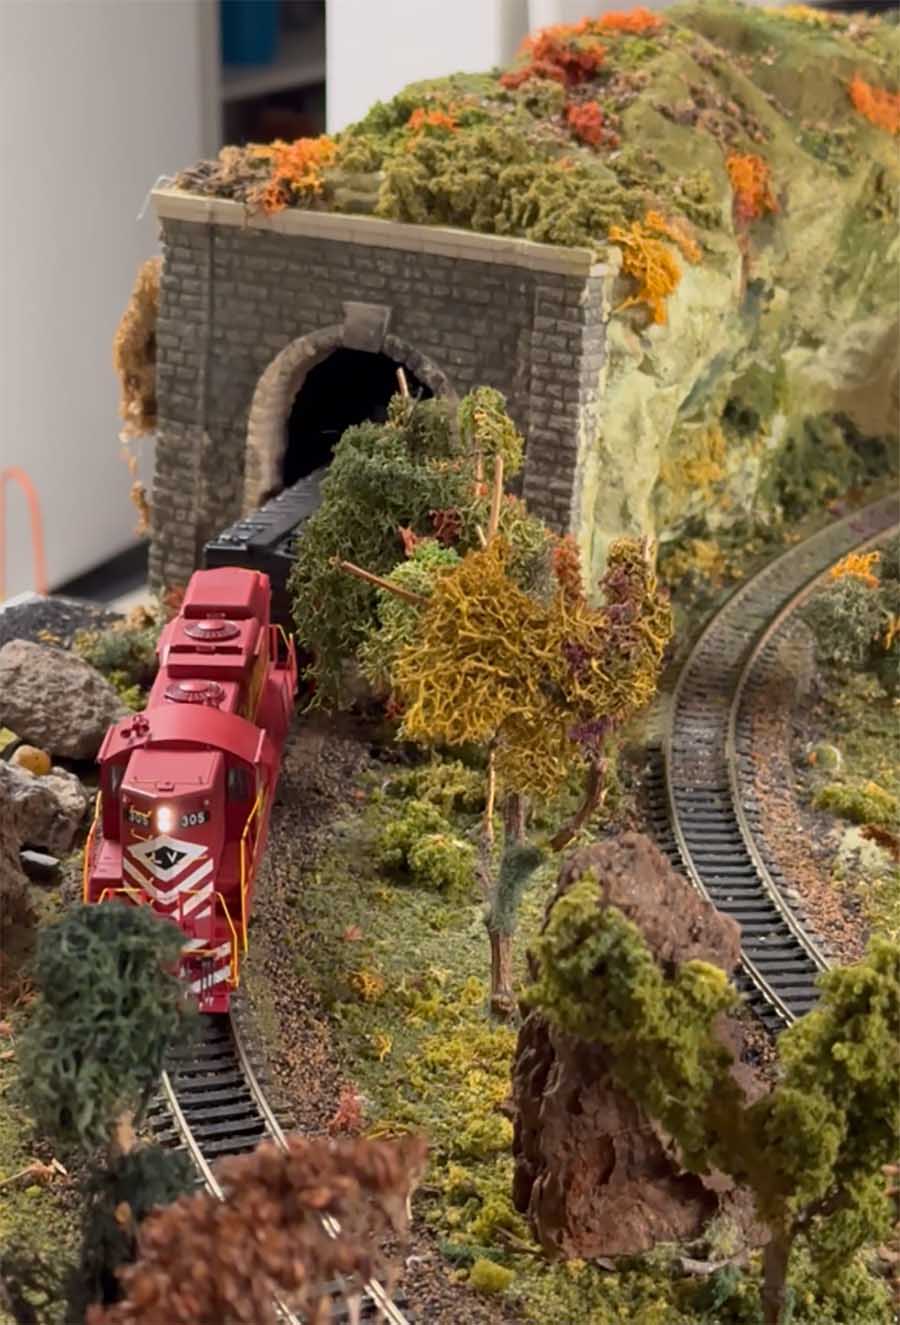
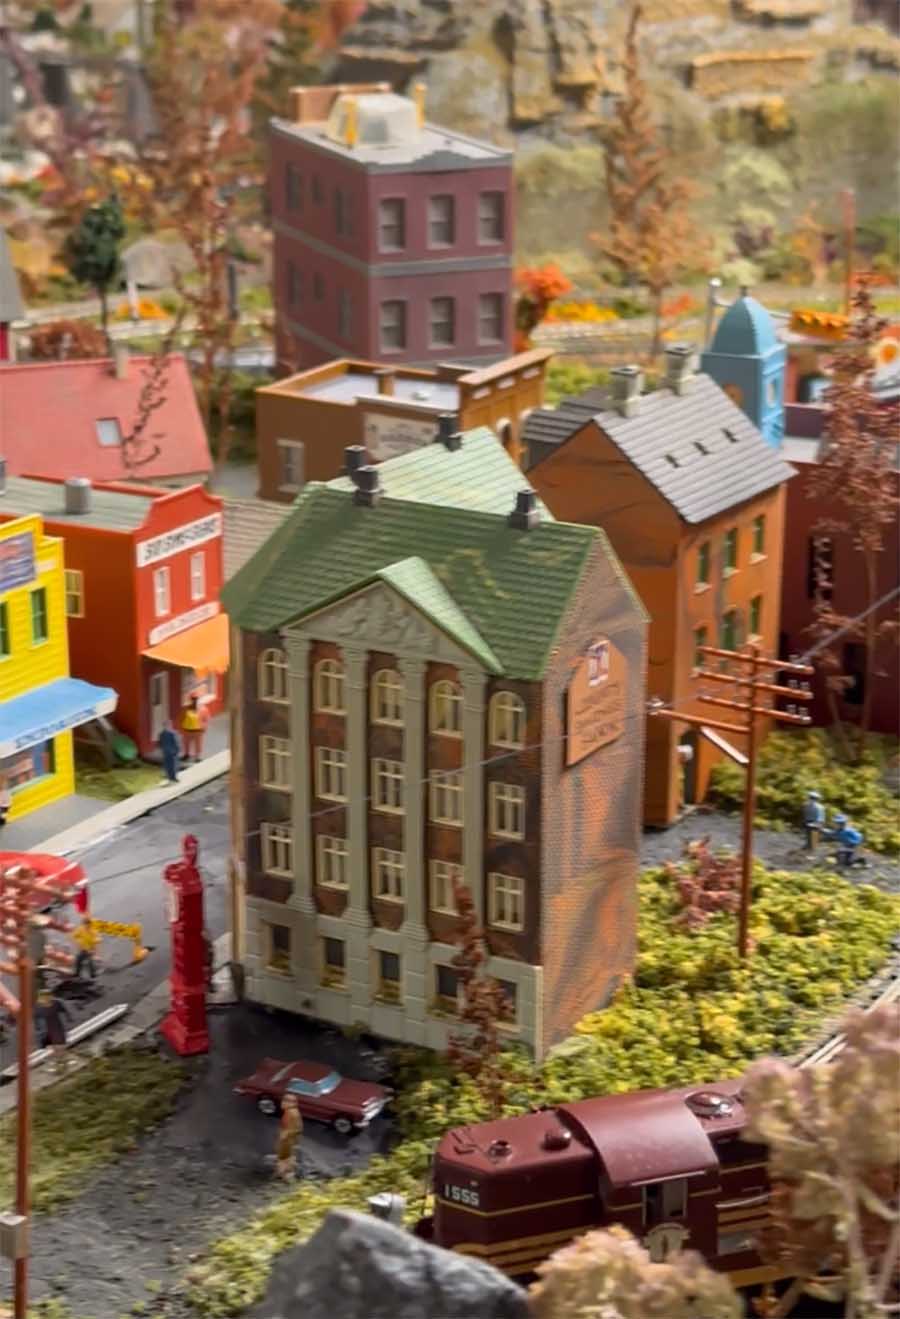
It is 14 feet long by 4 feet wide. It is fully digital with four DCC Locomotives. It is modeled after a real place, Fairfield and Gettysburg, Pennsylvania in the late 1950s and early 1960s. I’ve included a couple of photos to show the details we’ve included in our work.
I am documenting everything that they need to know. I have volunteered to supervise the rehoming project. Thought I would share this with your readers in the event others reach this stage in their lives.
Yale”
Now on to Dan – who’s sent in another missive on his layout:
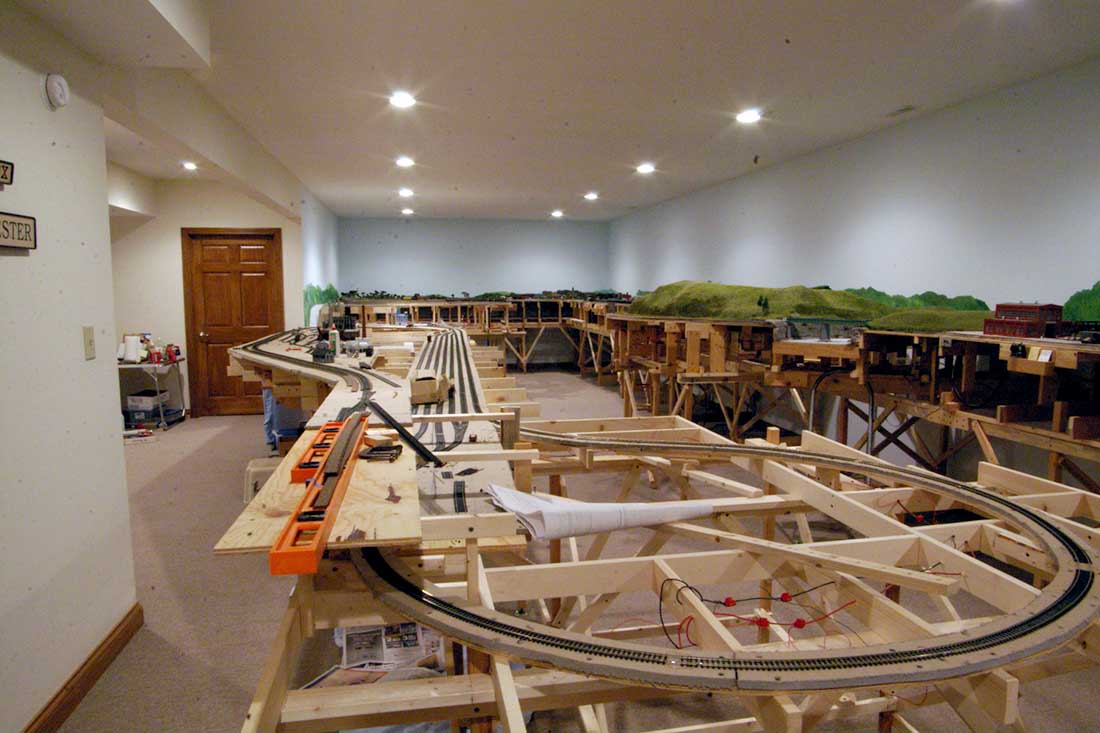
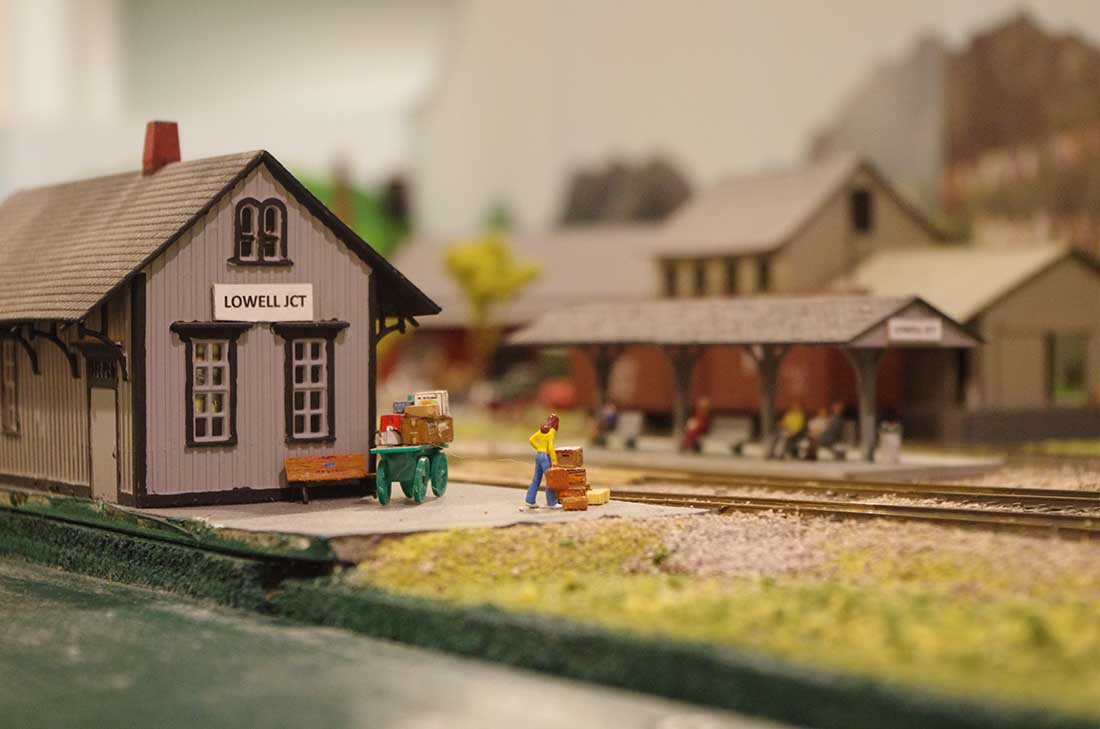
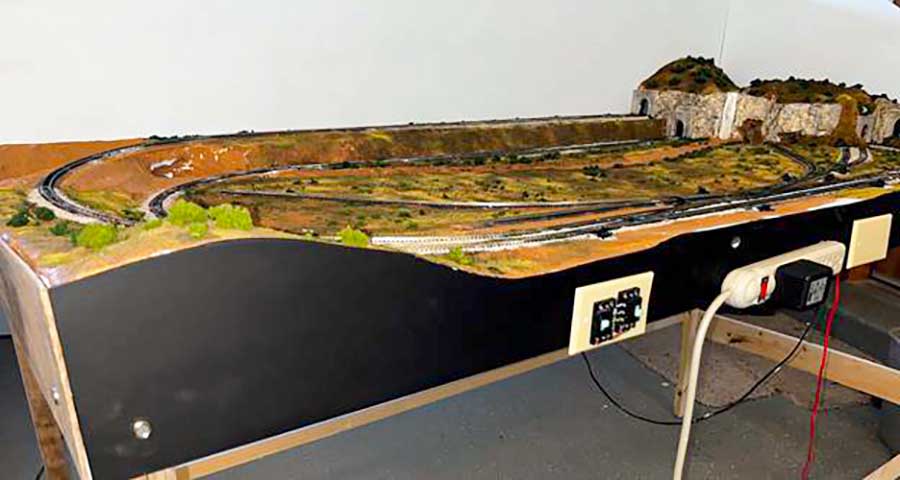
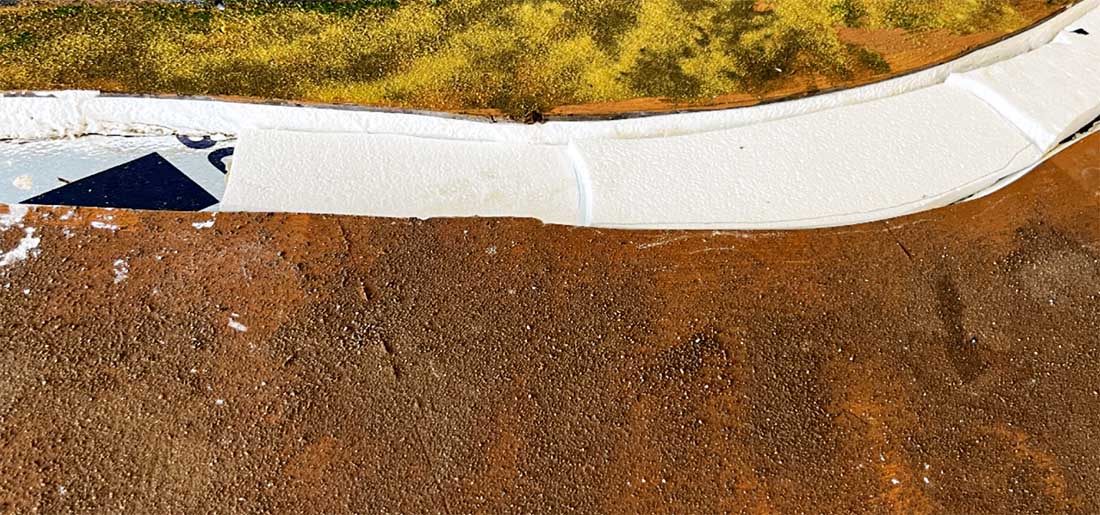
“In the post of the Lowell Junction Local, I showed the lower staging and return track. I used a mountain to cover the loop.
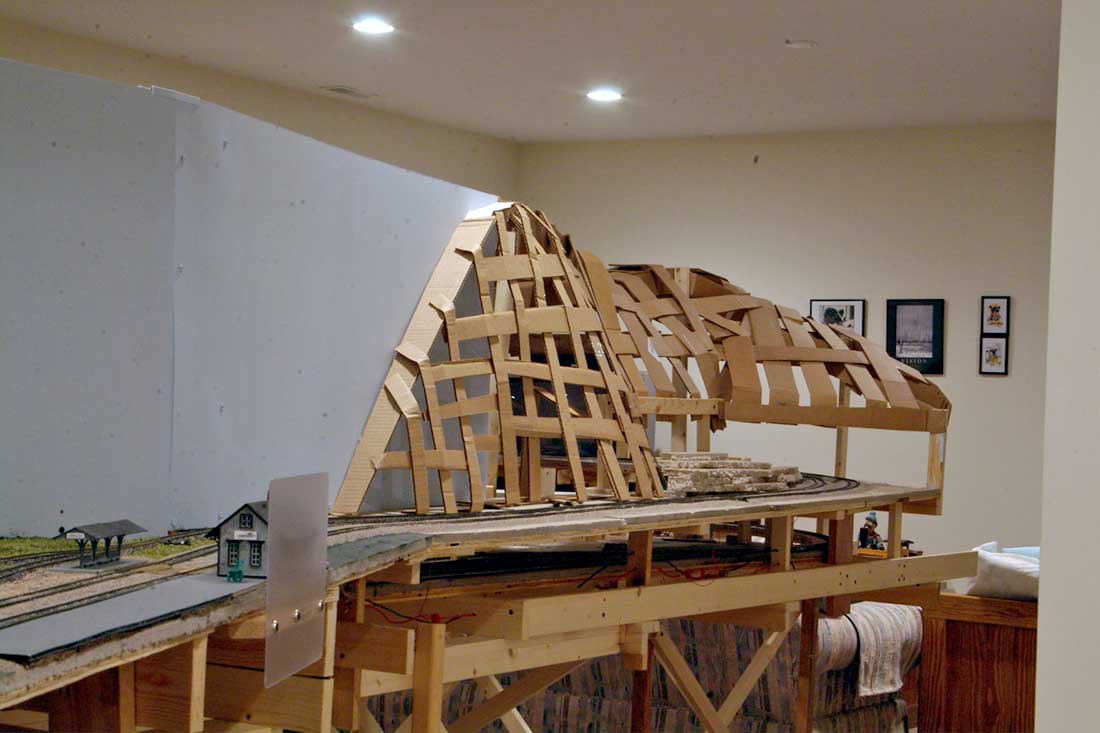
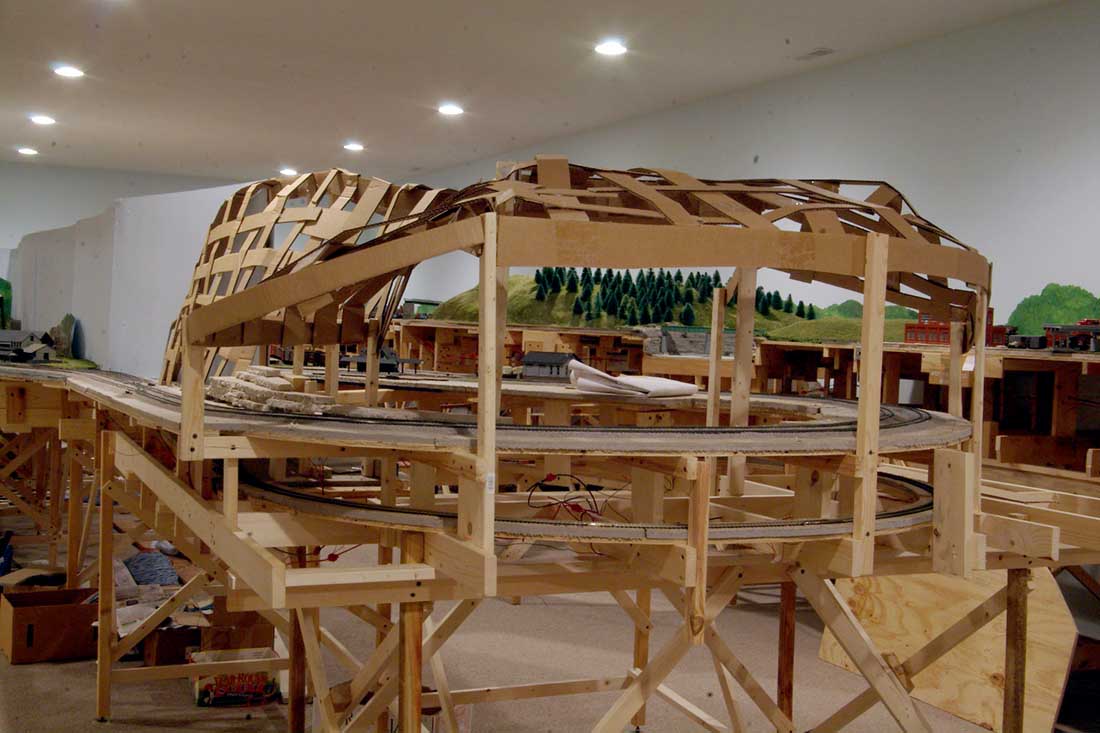
The gravel pit covers the Boston return loop. I just thought that two mountains was a little too much. So I made the loop a gravel pit. It is probably a foot or so deep.
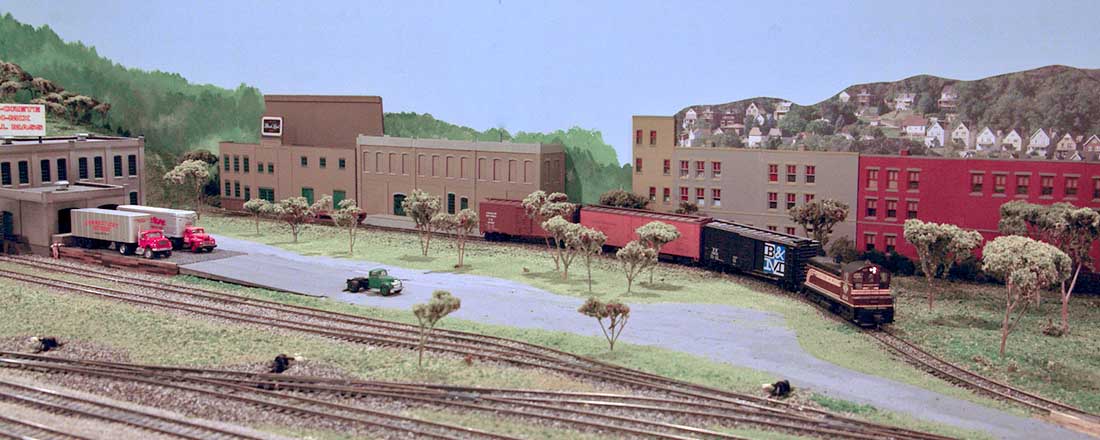
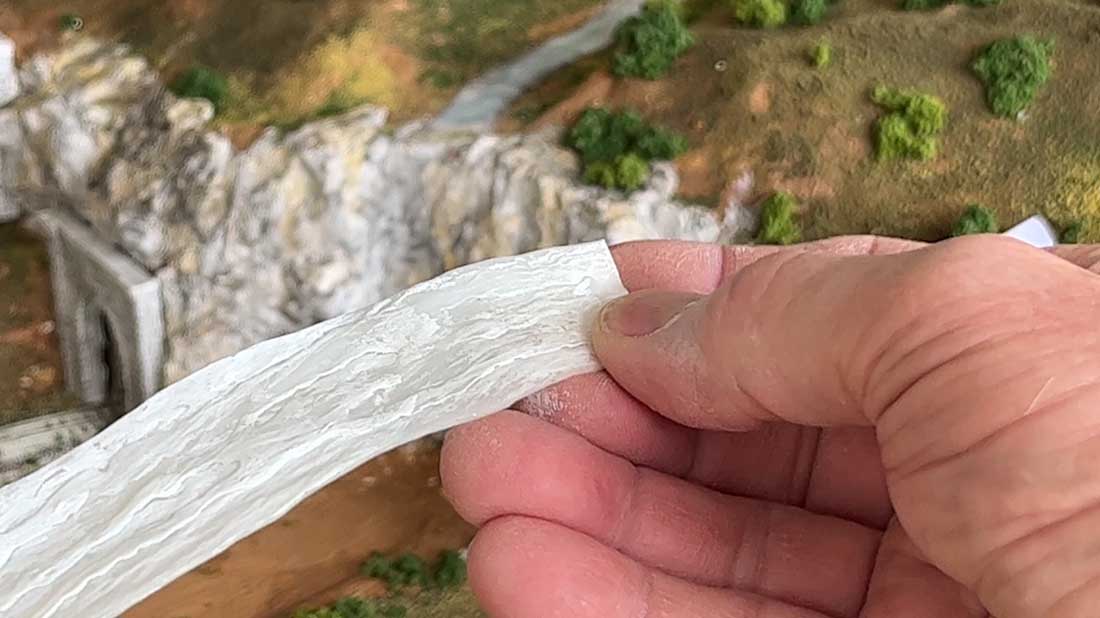
Location of the gravel pit to be. You can see the Lowell Loop and the Boston Loop which are at opposite ends of the layout.
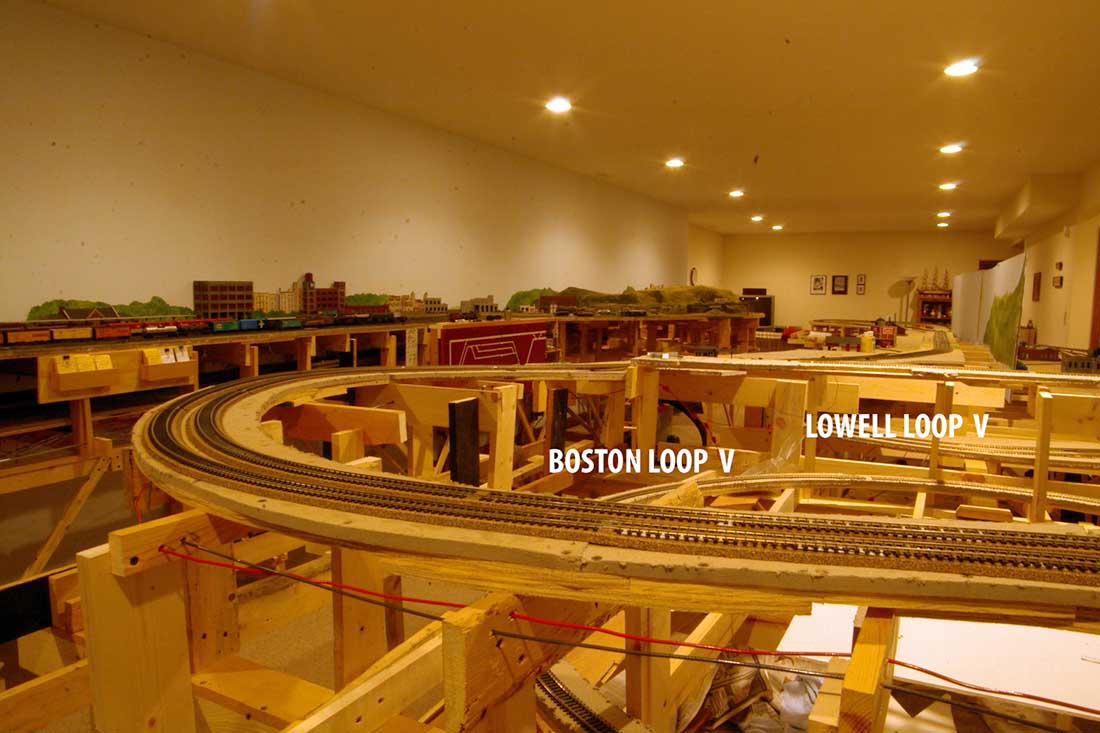
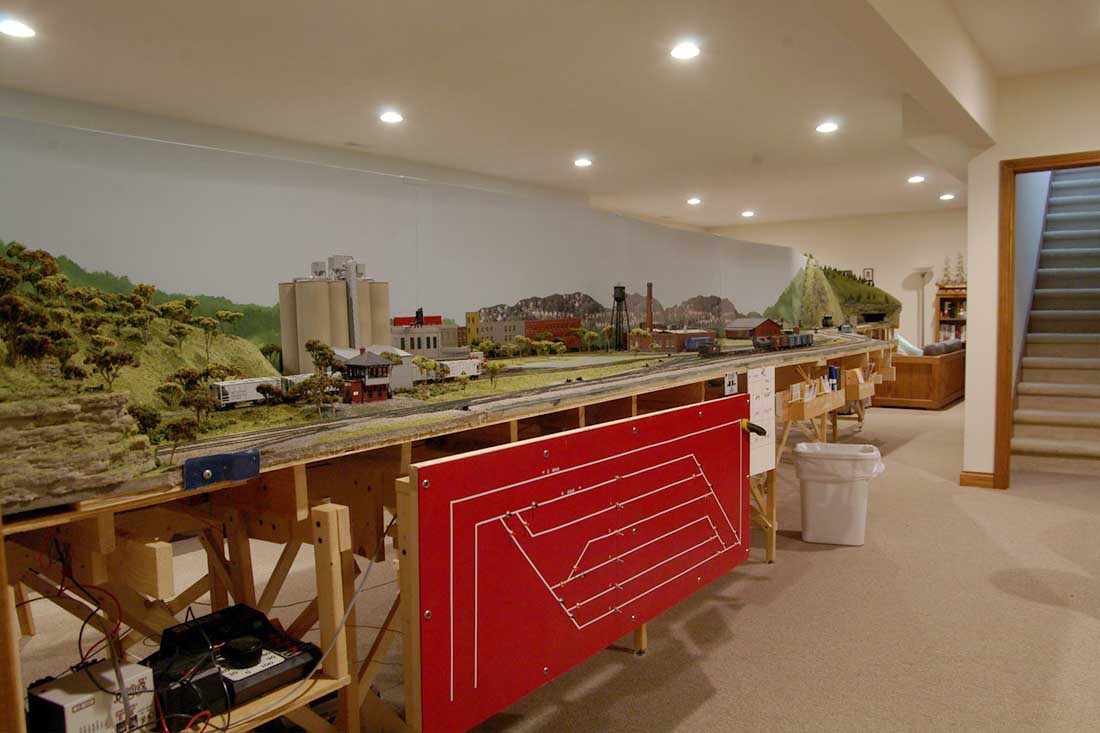
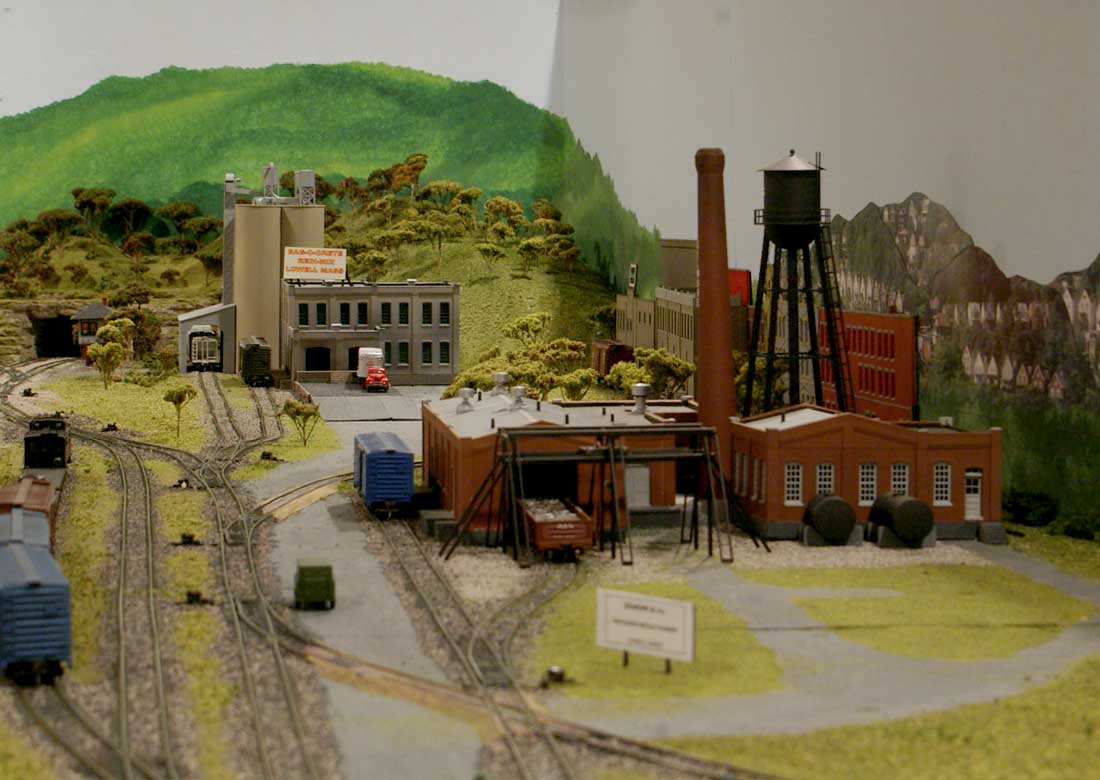
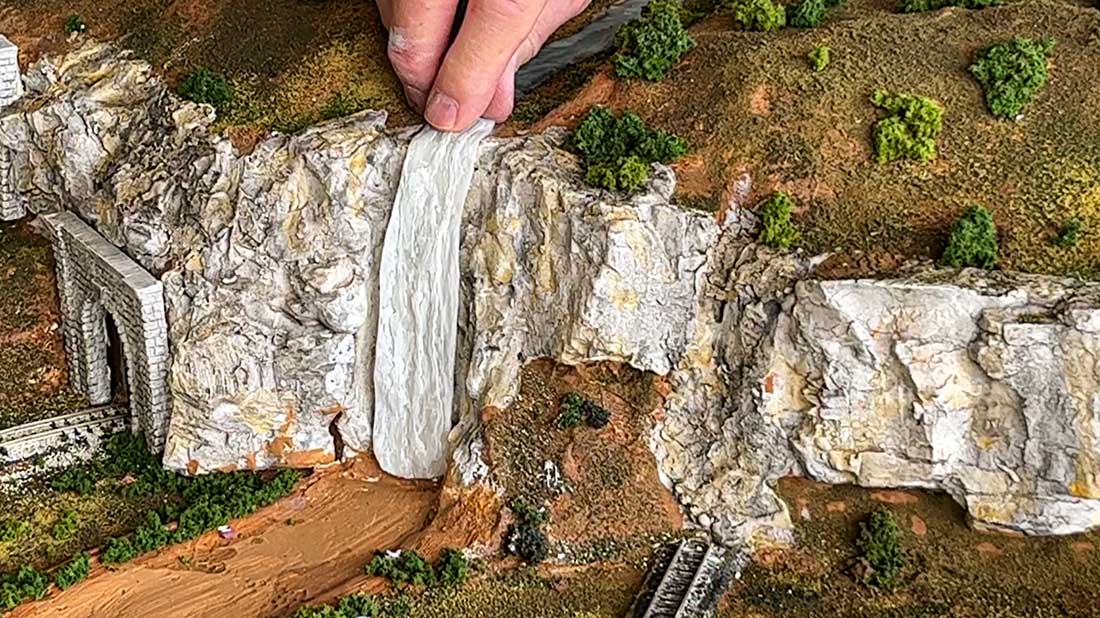
Placement of the processing plant.

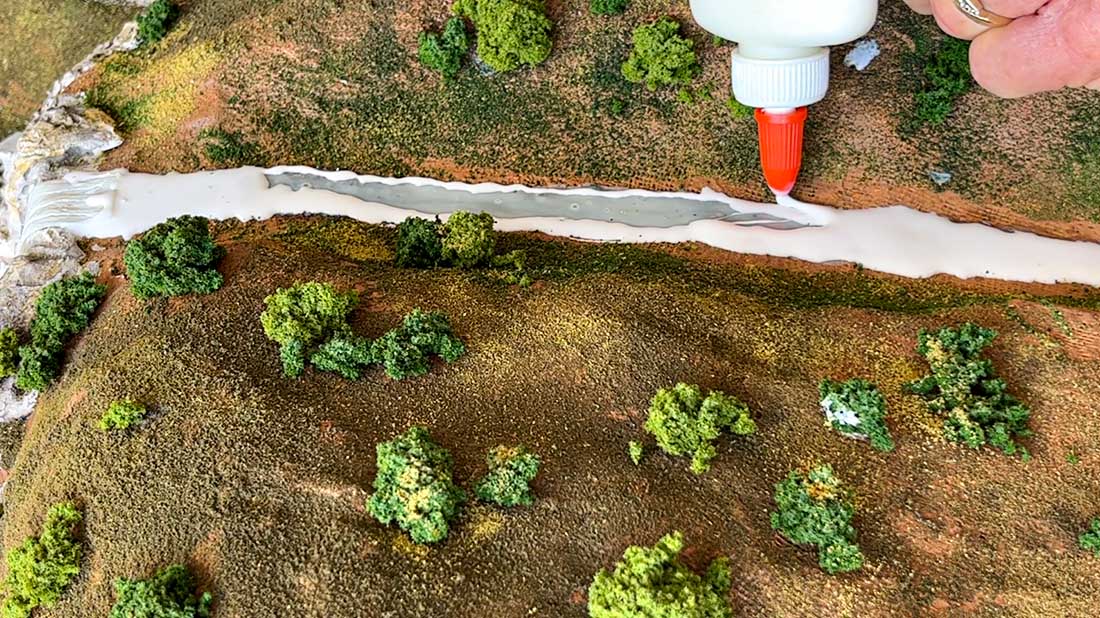
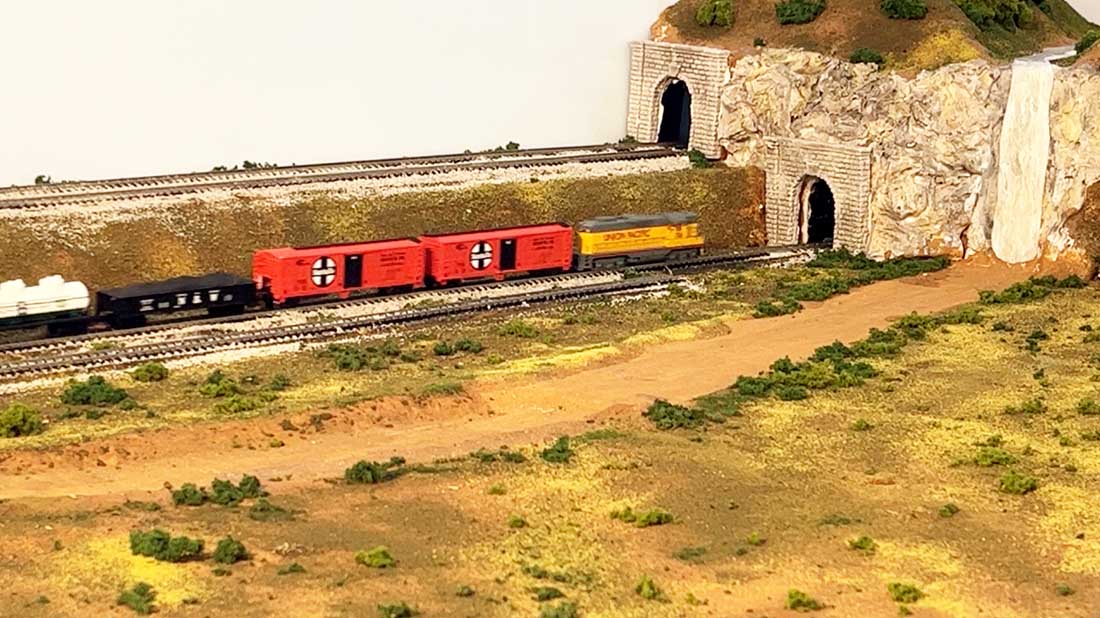
The Gravel Local at work. The empties are brought up from Boston and the loads must be weighed and then sent to Winchester for sorting. Some of the gravel goes to Bag-O-Crete and some goes to the Big Dig in Boston. We usually have the beginning operators start with this local.
The pit.
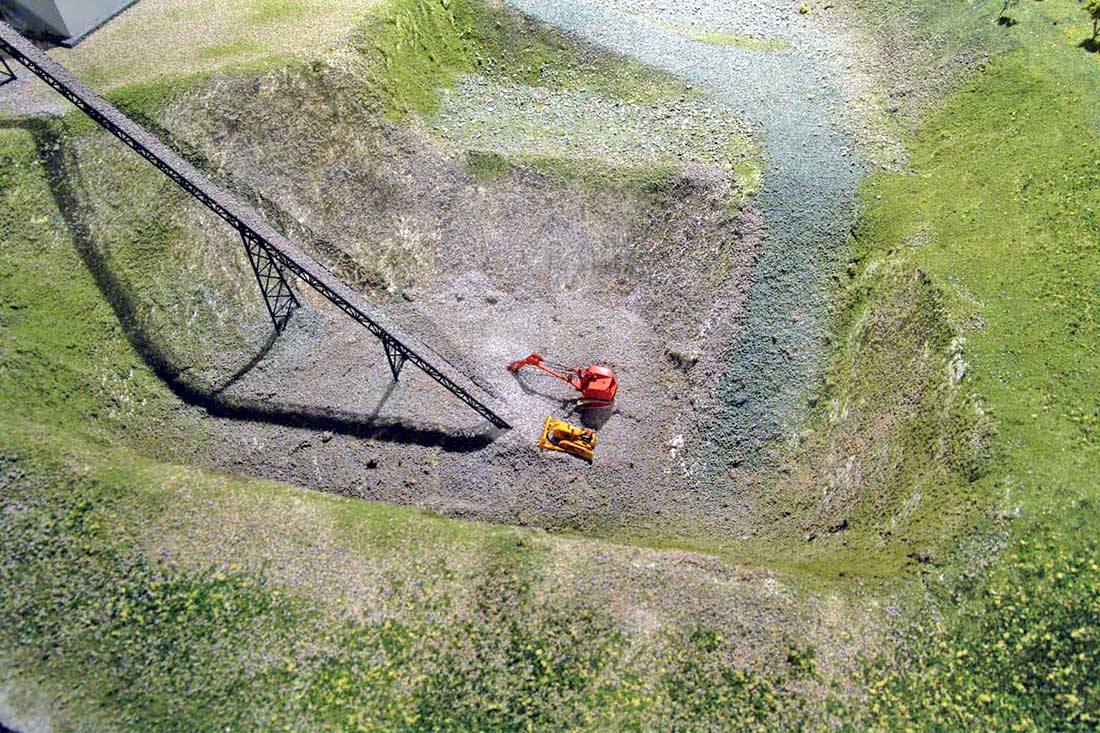
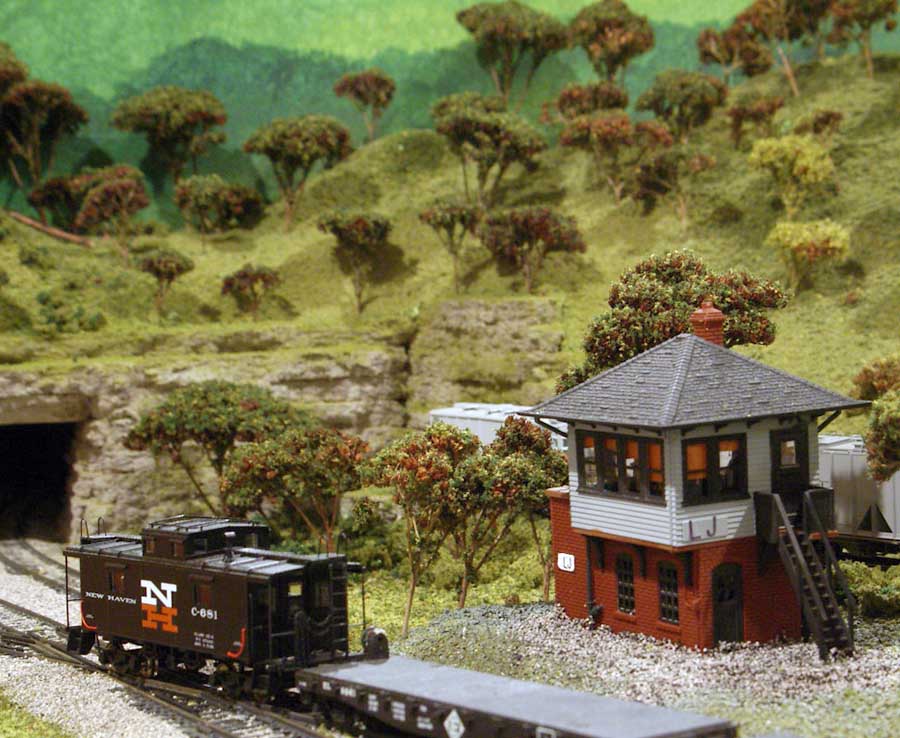
View for below the pit.
Dan”
Now on to Scott:
“Alastair: thank you for the great site you run for all of us aging train nuts.
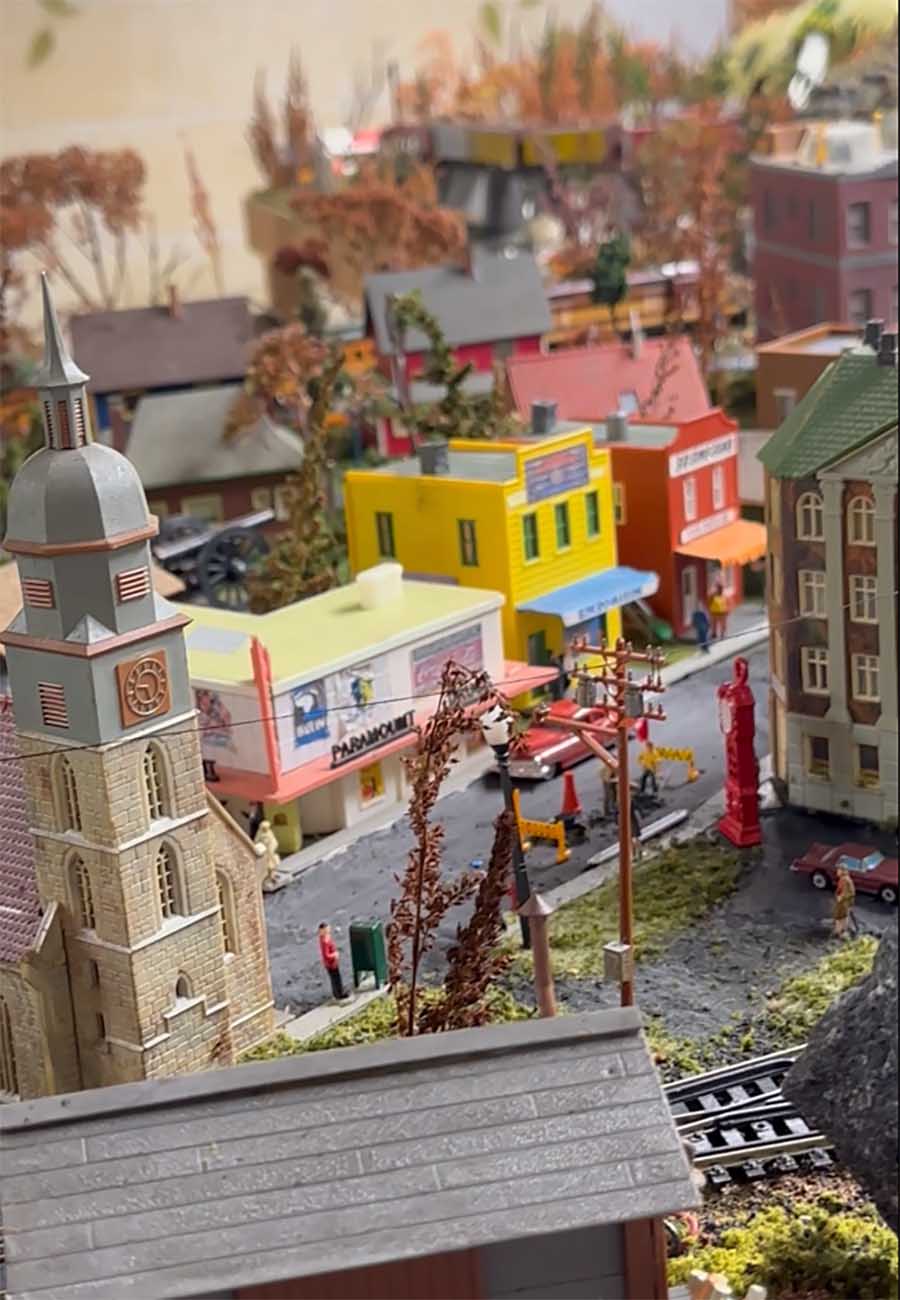
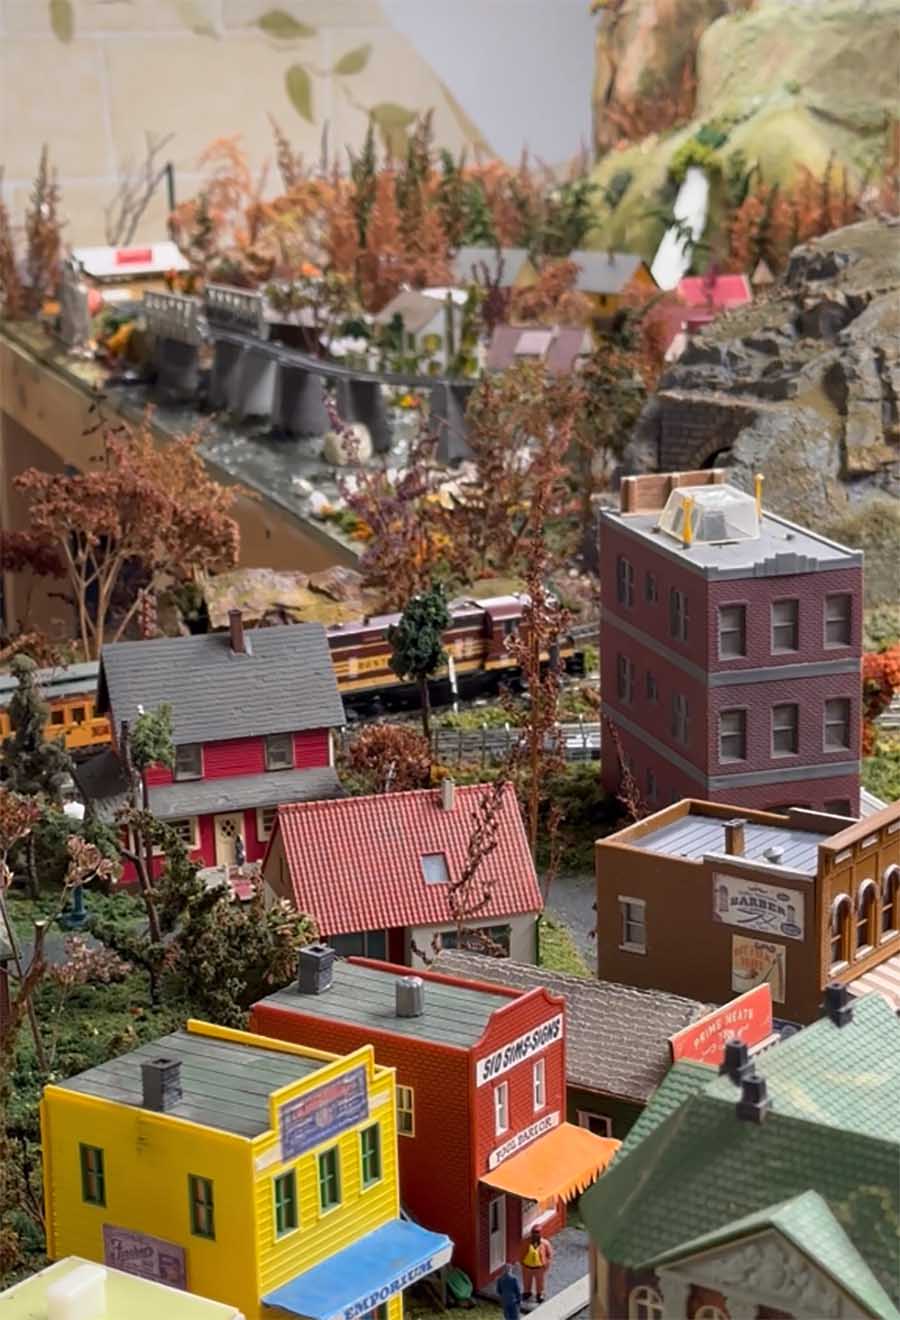
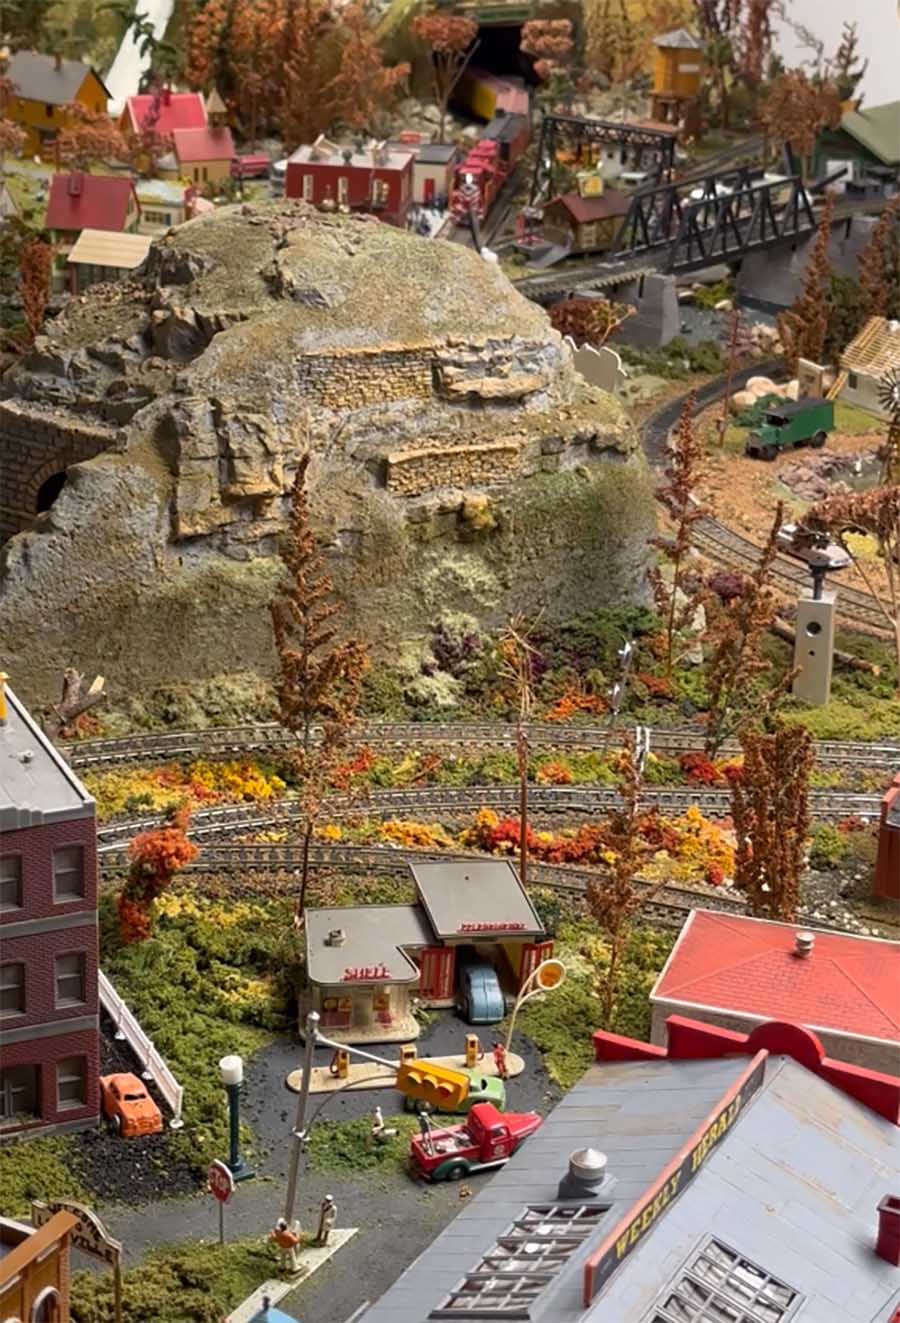
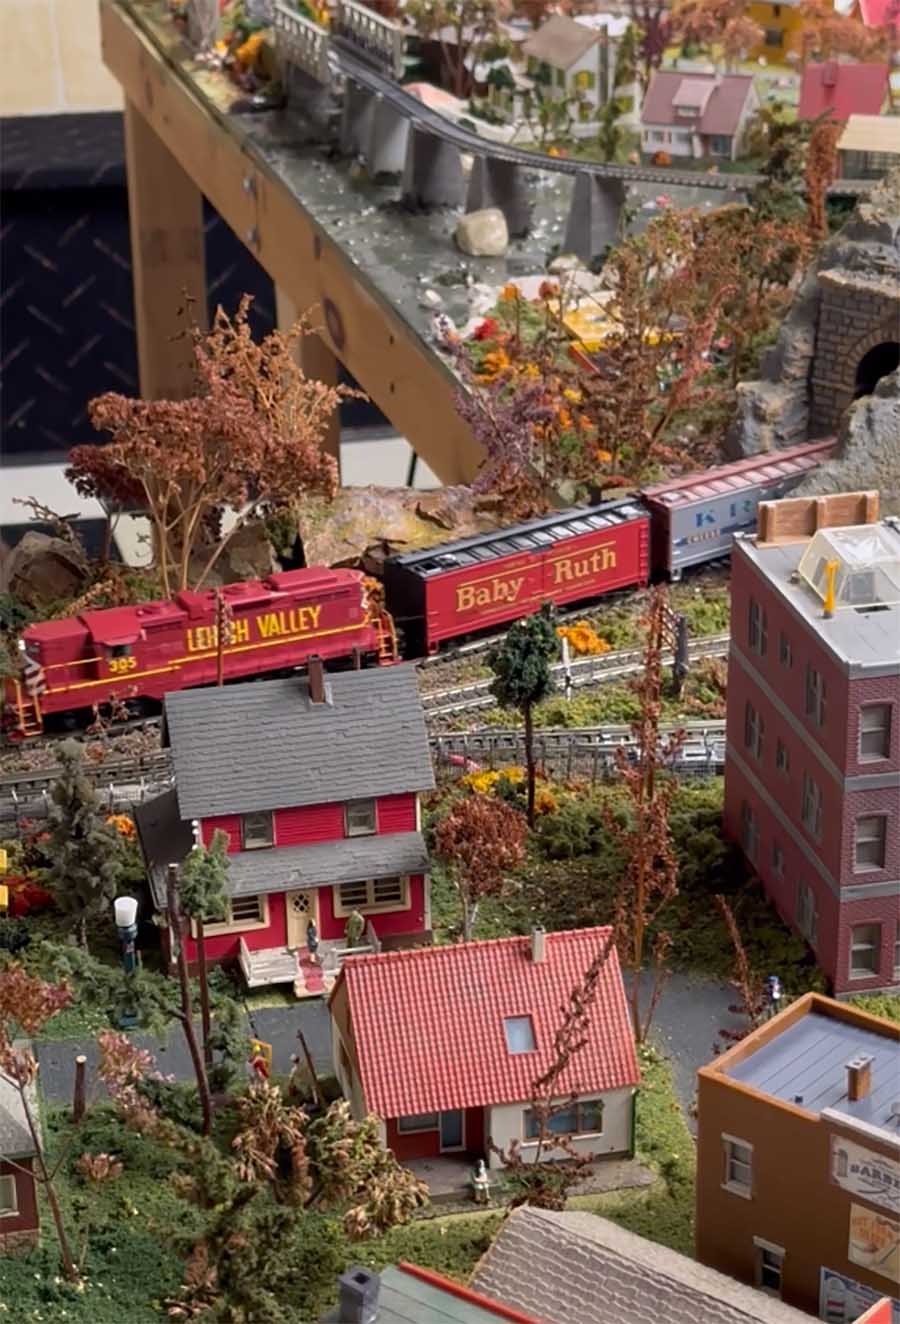
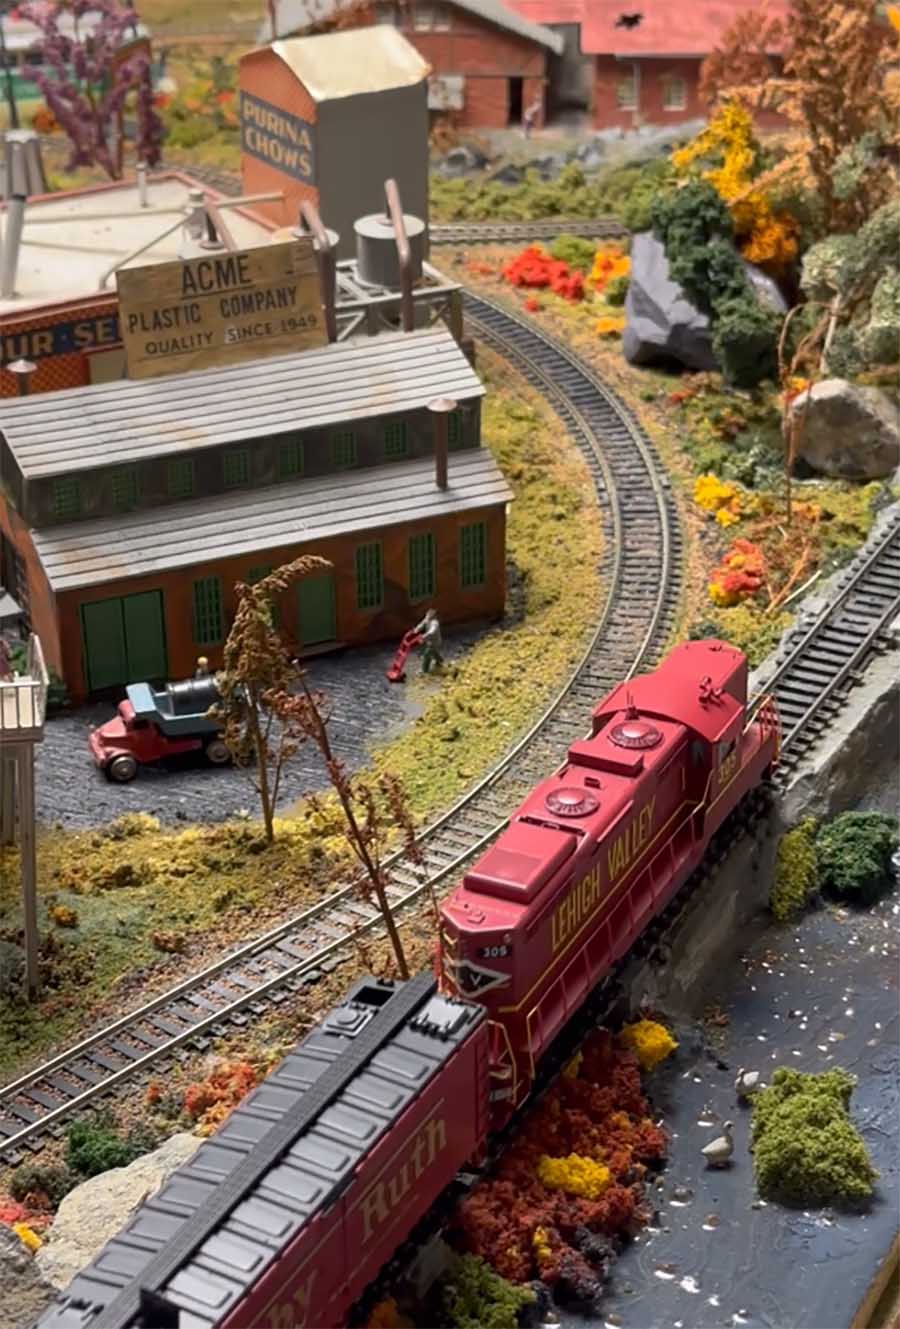
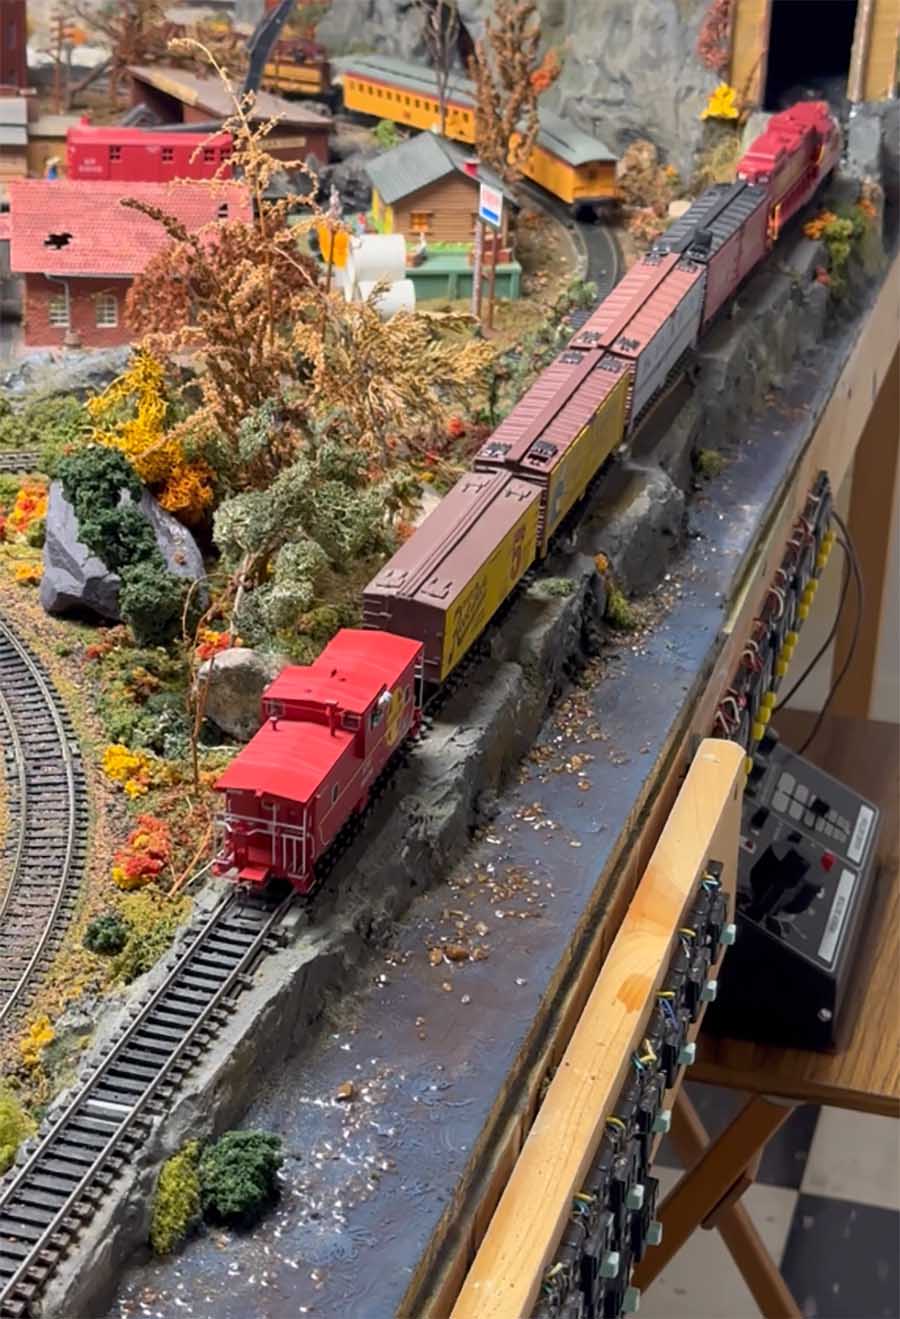
The last time I posted pics of our DCC HO layout some of the comments asked where the trains were so here us a video with new Aethern Lehigh Valley loco.
My wife and I fall in the scenery over train running camp but the people who live on the layout insist that the trains run on time.
Scott”
(Here’s the youtube link if you want a larger screen.)
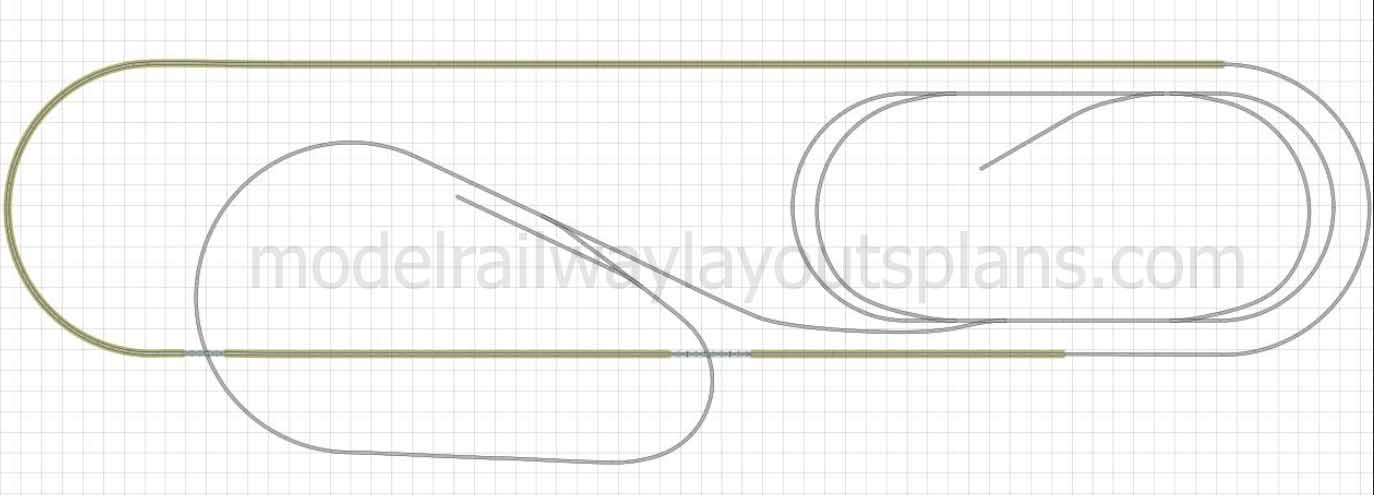
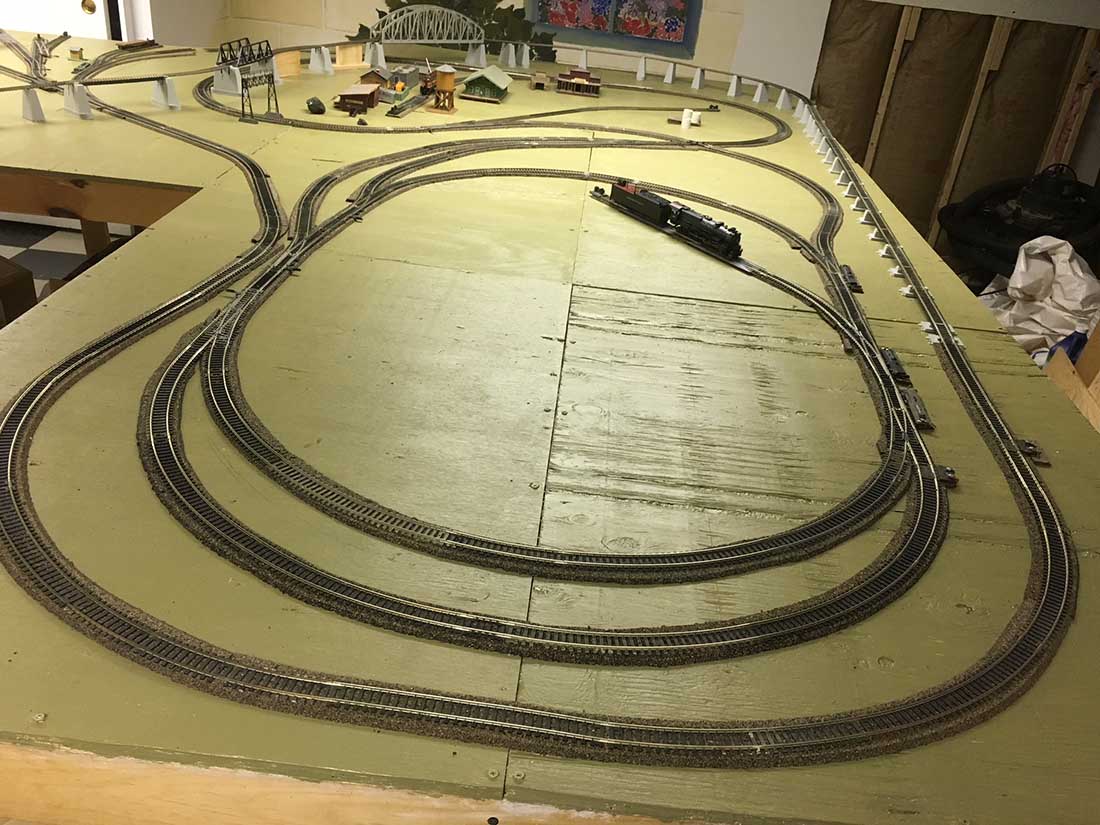
A big thanks to Scott – I really enjoyed the video. It’s also a really good example of how making that start is everything – here’s how Scott’s layout began:
And thanks to Yale for sharing his HO scale layout 14×4, and to Dan and Yale too.
It reminded me of David’s: HO scale 4×11 layout.
I really admire what Yale has done – a great way to pass on all that hard work for others to enjoy.
That’s all for today folks.
Please do keep ’em coming.
And if today is the day you blow the dust of your old locos and find some track too, the Beginner’s Guide is here.
Best
Al
PS More HO scale train layouts here if that’s your thing.
Need buildings for your layout? Have a look at the Silly Discount bundle.