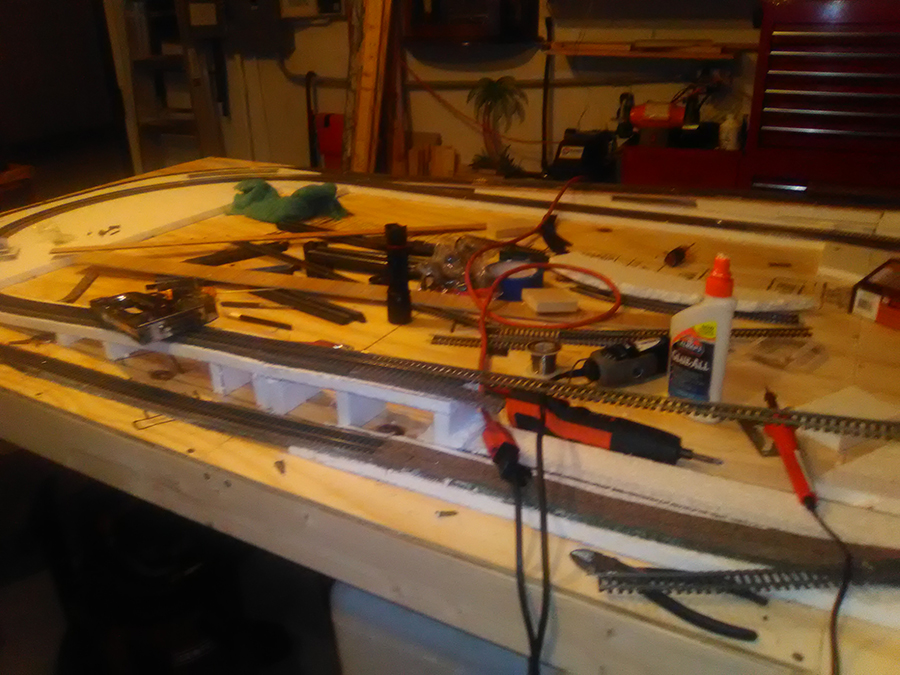
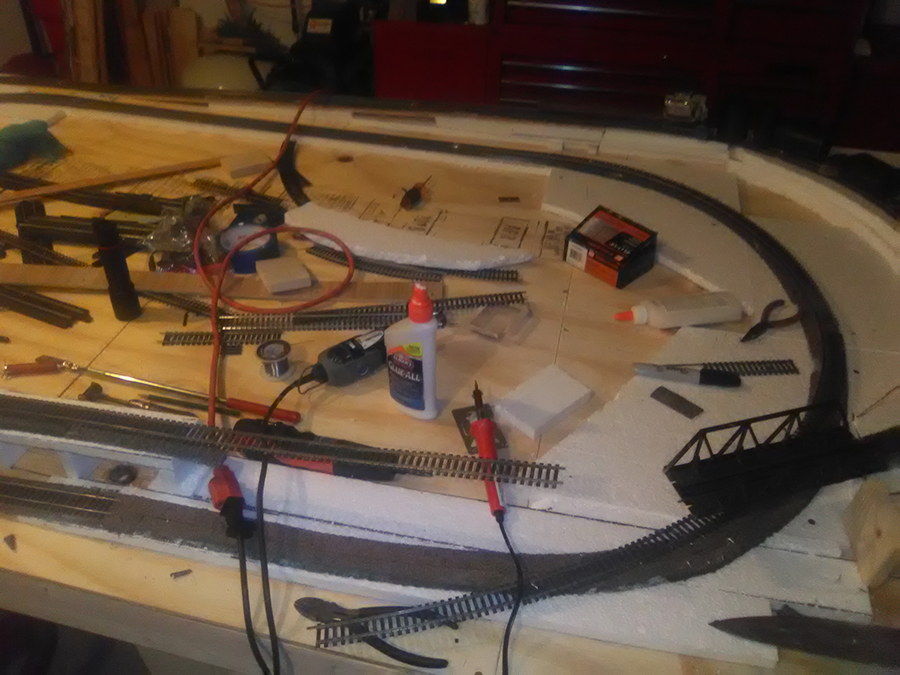
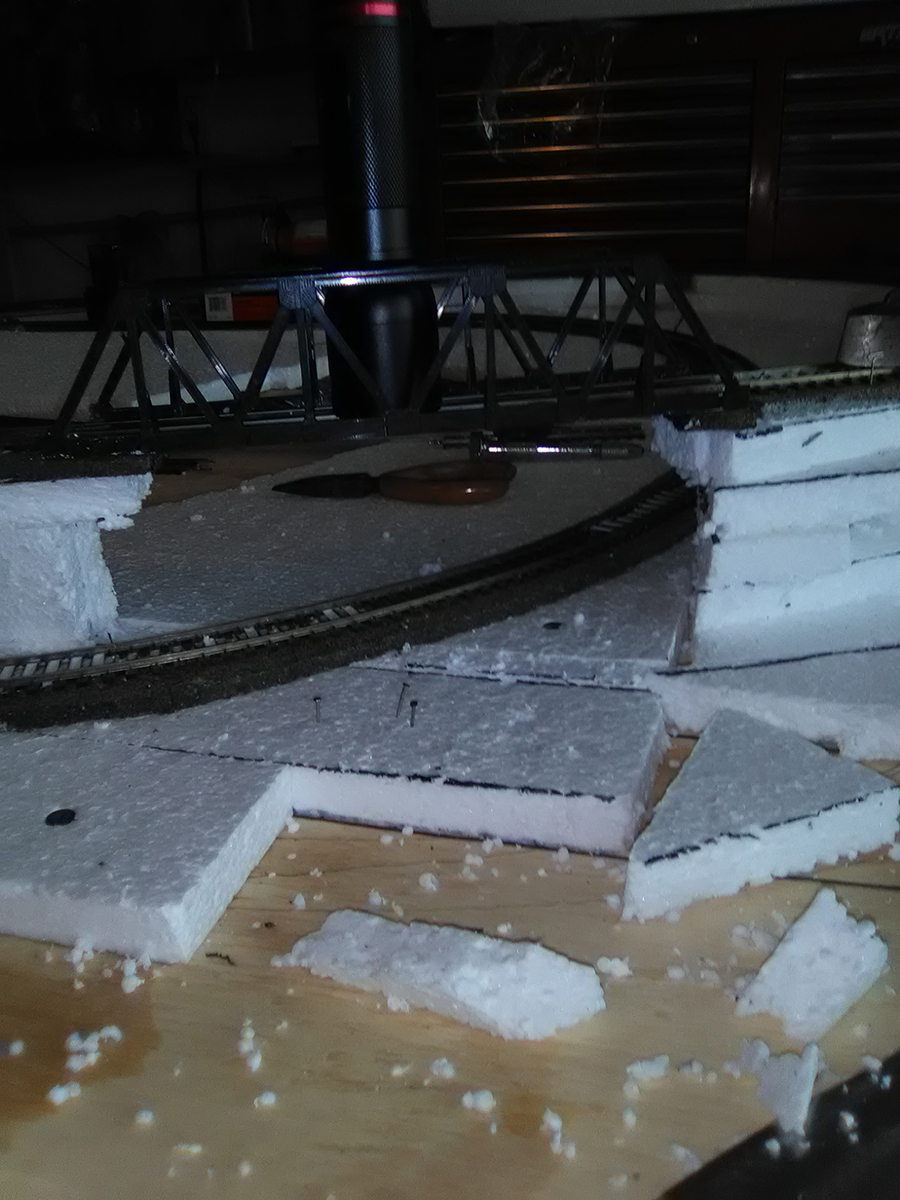
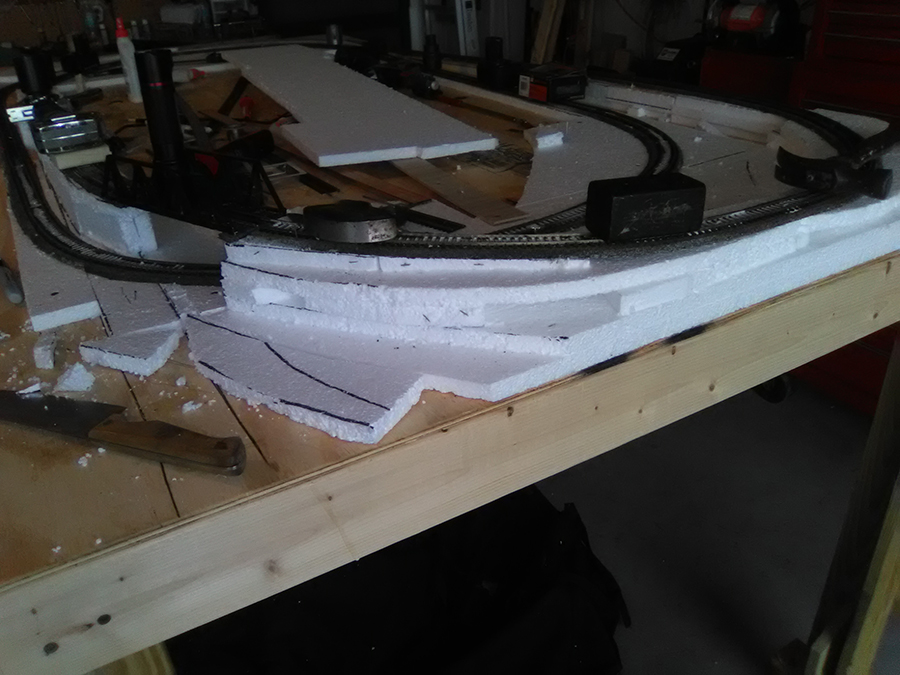
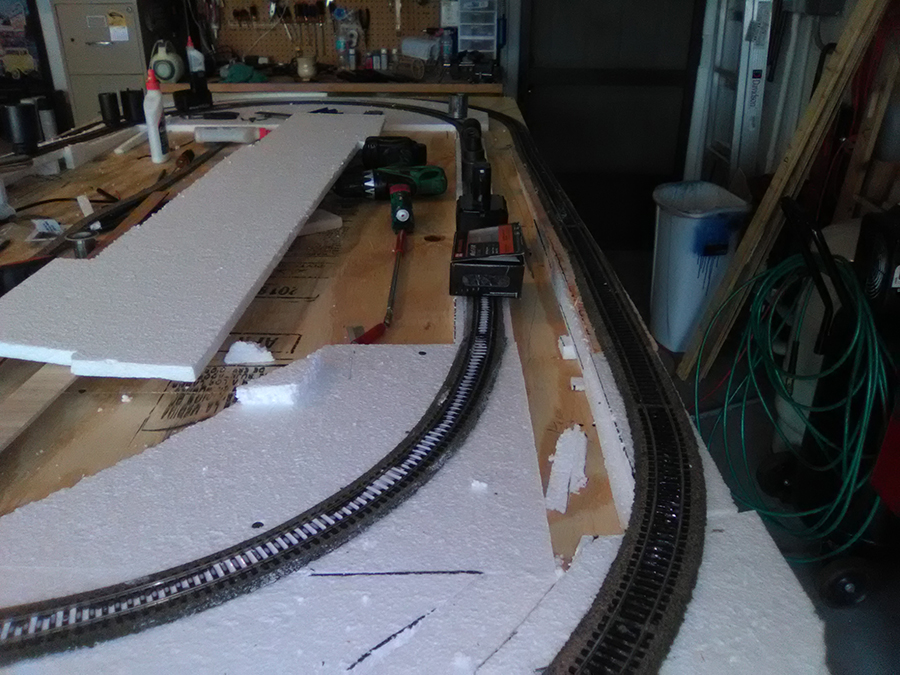
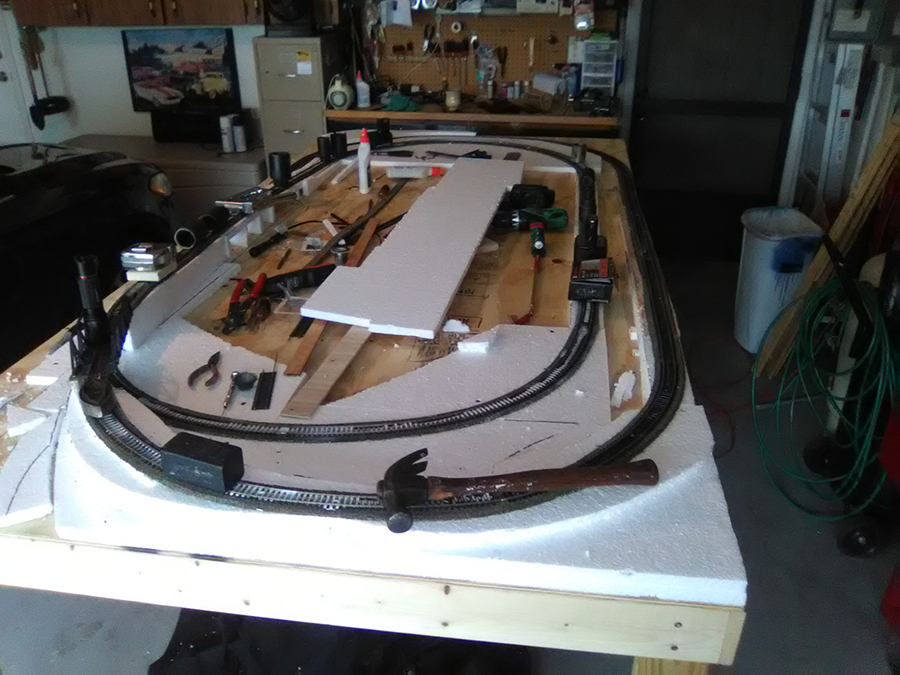
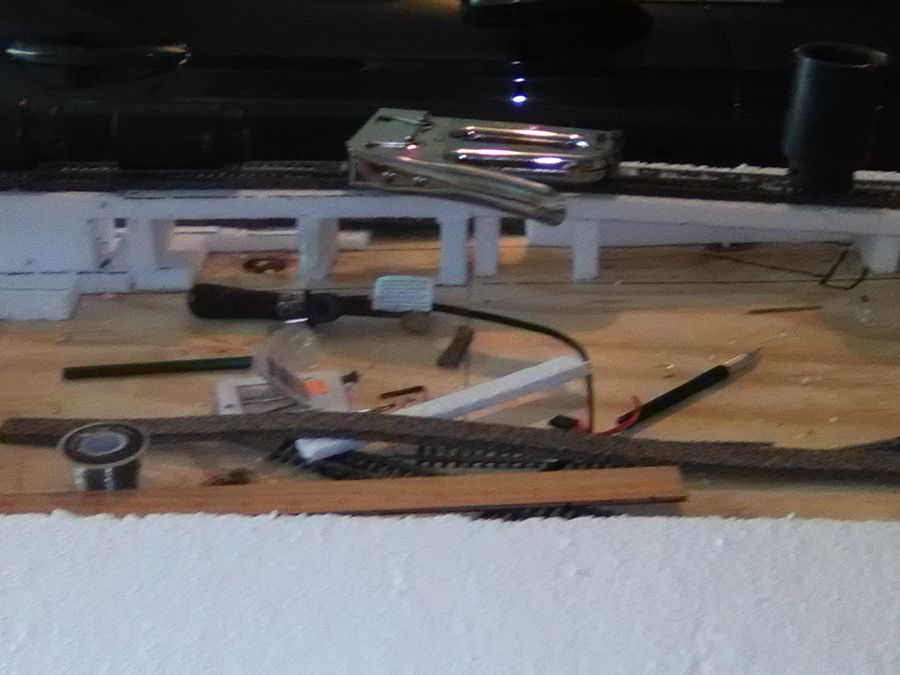
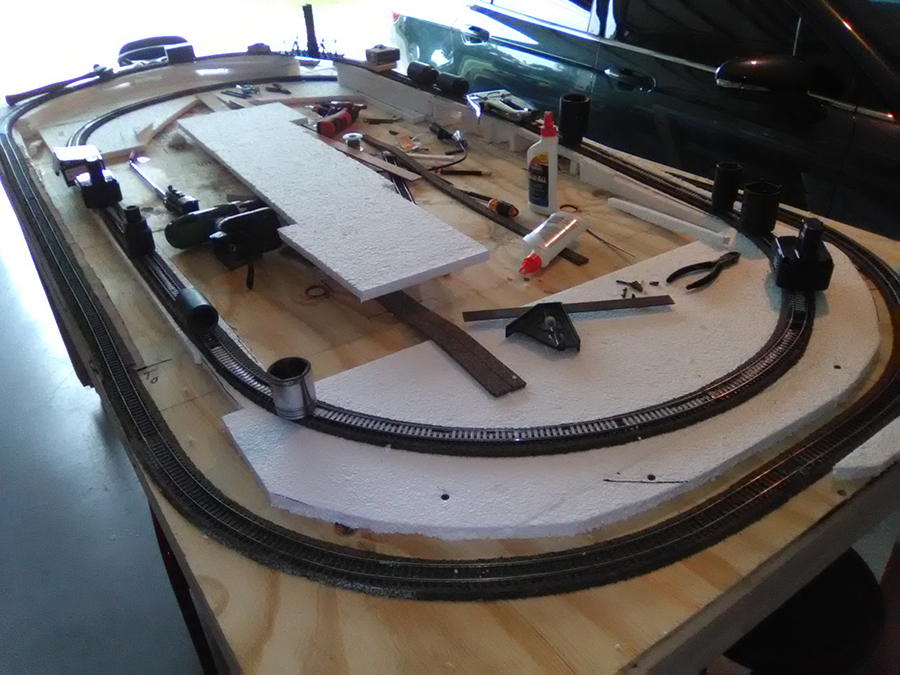
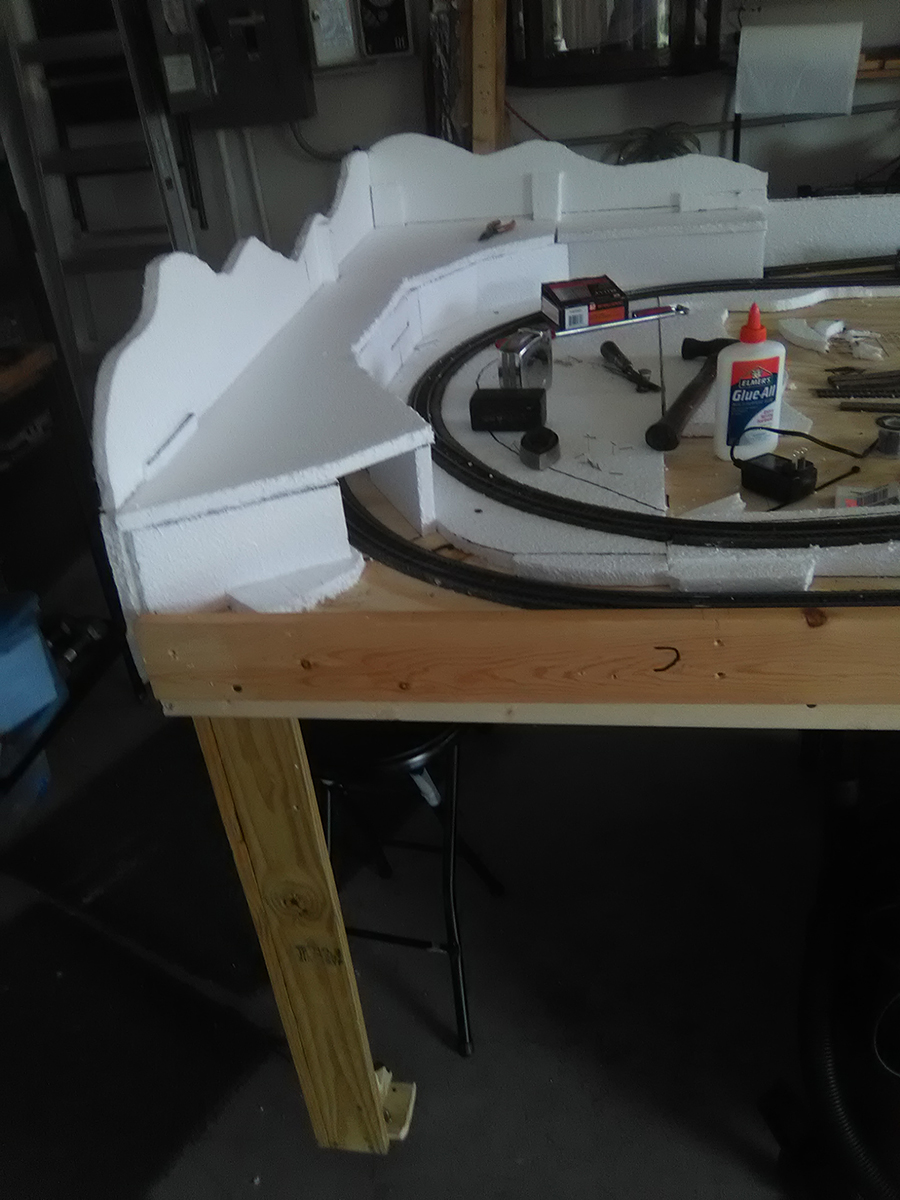
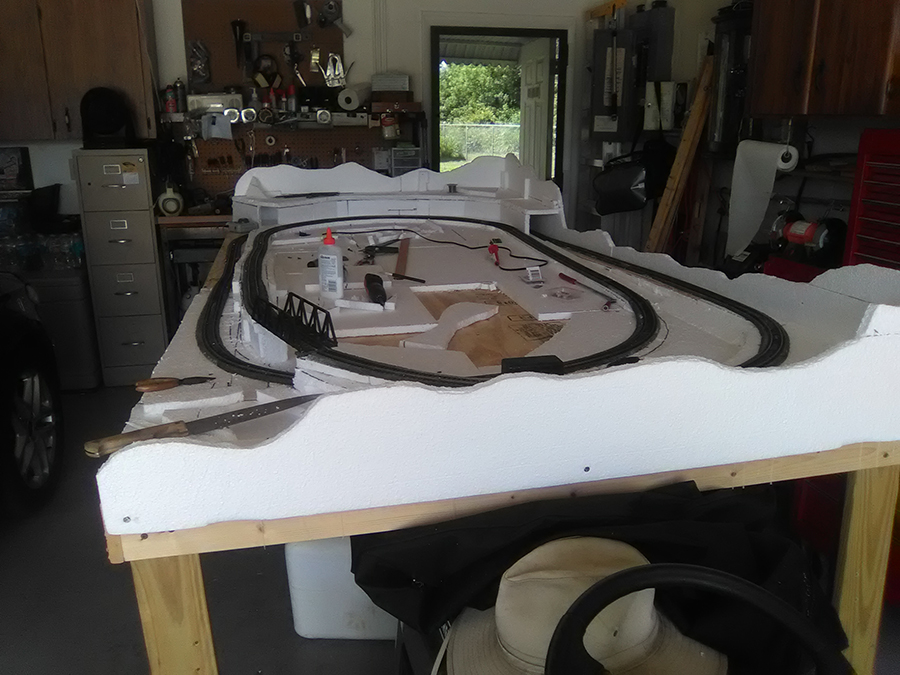
Lou has made a start on his double oval HO scale layout:
“Al we’re getting going on a new layout we took down the engage started out with a whole new table we’re going ho this time and fortunately I saved all of my old track and what I had of train.
This is how far I’ve gotten so far and I hopefully it’ll look really cool when we get done will keep in touch with new pics as we go then.
Thank you all
Lou”

(You can see Lou’s last post here.)
You can tell he’s having lots of fun – and when it comes to fun, I always think of Jim’s.
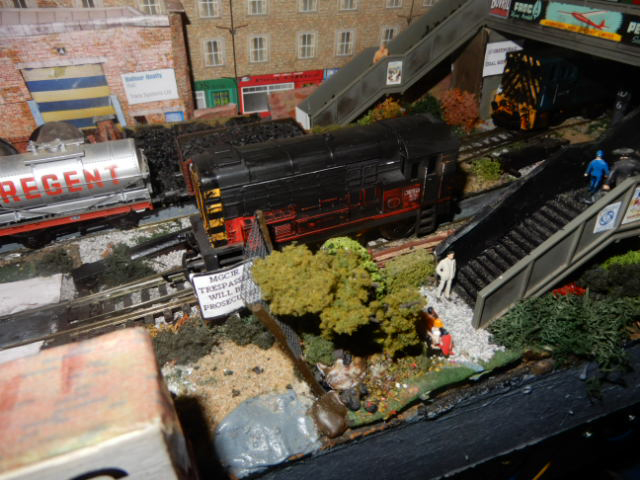
It’s a great example of, “My layout, my rules”: HO scale oval track.
“Hi Alastair.
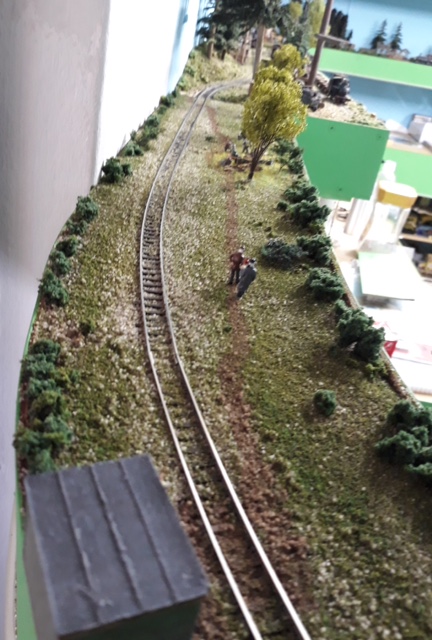
A few photos of my completed lift out “bridge” across the doorway to complete a loop around the layout. It has all the scenery on it including a small “hobo” camp.
The two Photos below show it during the scenery stage on the floor.
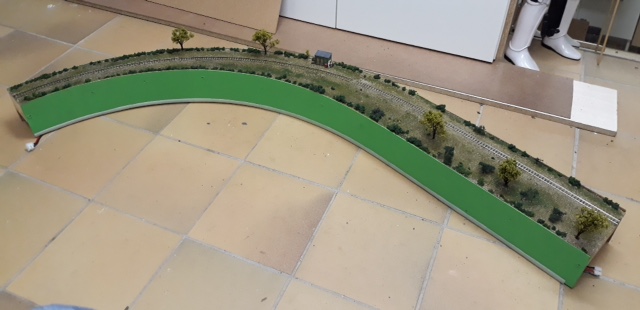
Photo below has two hobos walking along a path towards the others just behind the tree to join them for a meal and some music.
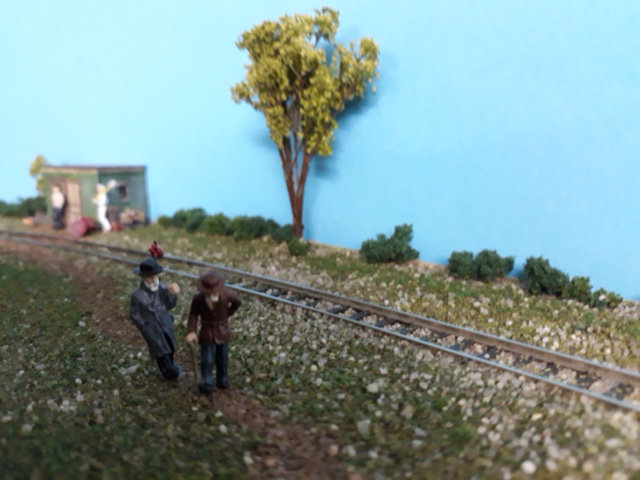
The hobos getting ready to settle in and enjoy a meal. The chickens had better stay out of the way if they don’t want to be the meal for tonight.
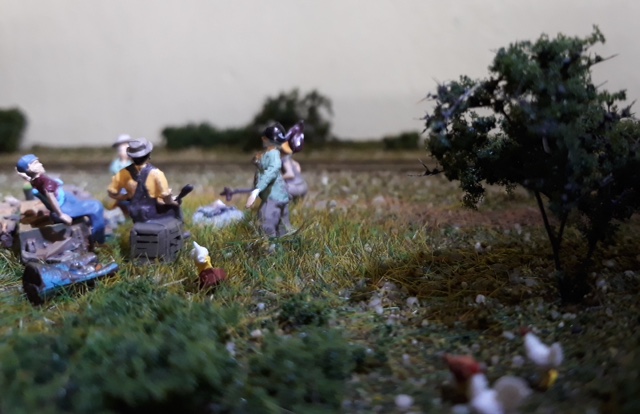
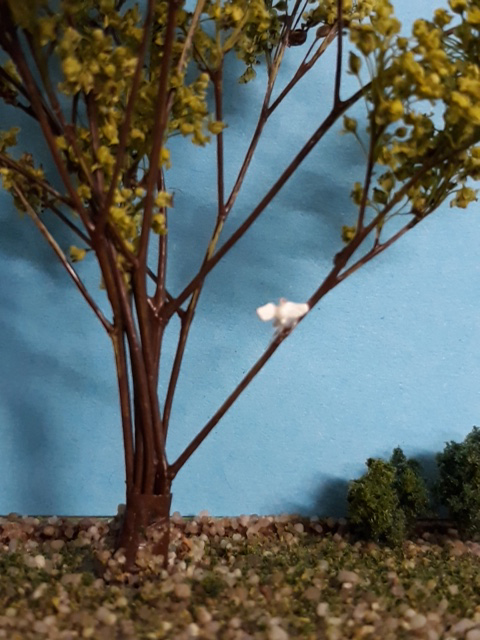
A bird landing on a branch in a tree to watch the hobos.
Better get a move on old man otherwise we will be late for the meal.
That’s all for now.
Keep up the excellent work Alastair.
Brian”
“Hi Al,
Here is a photo of my hornby railroad 08 shunter after I weathered with a wash of grey, black, and brown paint.
Most diesels do look dirty after they have been in service for a while.
Paul”
A huge thanks to Paul, Brian and Lou.
I know there isn’t much to Lou’s layout at the moment, but I like publishing the ‘work in progress’ layouts for two reasons.
Firstly, this hobby is all about making a start.
And secondly, I do like seeing the choas of a layout before it starts to take shape. All of them, every single one of them, look like that at some point. So if yours does, don’t despair – just crack on.
And also, it’s a double oval HO scale, which seems quite popular.
That’s all for today folks. Please don’t forget the Beginner’s Guide if Lou, Brian or Paul have inspired you to get going on your layout.
Best
Al
PS More HO scale train layouts here if that’s your thing.
Need buildings for your layout? Have a look at the Silly Discount bundle.

the start is lookin’ REALLY good! And some NICE Detail too!
A great beginning to a wonderful layout Lou, keep up the great work.
Excellent work on your lift out section Brian. An interesting way to have ingress and egress to your layout.
Nice weather Paul. Your 08 looks like a hard working machine.
All good examples of the modelers art. It is so true, you cannot have any sort of layout unless you begin. You may not have the greatest layout in the world when you are done, but good modeling like everything else takes practice so get going.
Rob McCrain – Farland Howe
All good, is it 1800 by 1200 or bigger?
I liked the N scale but can relate to the HO I used to have a large HO set up in an apartment we use to live in but then we moved into an mobile home with almost no room for a layout until I got hocked on the N scale stuff and have not gone back because of the cost of HO stuff around here .
Be well and stay safe all !
George
A nice thing about photos you take during construction is all the stuff just sitting there, favourite tools you’ll lose, products you won’t be able to buy, mugs that will be broken, your Dad’s old St Bruno’s Flake tins full of panel pins or woodscrews, the soldering iron you wore out… Great fun.
Rod
Lou, Your work looks great on the HO gauge; Just wondering if you are watching the radius of the curves? My Dad and I worked on a 4×8 ft HO layout years ago and ended up having to redo much of it because my Amtrak passenger cars were too long to make the curves! Hopefully you have it all under control, and as I said, you are doing very good quality work. David in Indiana, USA
Chickens?!?! Where on earth did you find chickens? I have been searching for some chickens for my coop for a few years now and cannot find any. HO scale.
The chickens (HO scale) are made by Prieser as are some of the figures. I think but not 100% sure that Woodland Scenics also make some. Brian – the HOn3 guy.
Great photos! The new layout of Lou’s is definite inspiration for me. I recently retired and I have the table for a 2’x8’ switching layout in storage. Time for me to get the lead out and bring it into the retirement home and get to work. I’ve bought Peco track and switches and I’m going to use the “time saver” plan of John Allen’s. Thanks for the inspiration and I’ll keep you all posted. I love seeing what others are doing!
So I’m a stickler for grammar and bright, well lighted photos. Lou’s first offering of his older N scale, for the most part, are very good. Clear and well positioned camera work. Can’t understand all the intricate work we do on our layouts, then take awful photos. I can’t learn from your great work if it is not brightly lighted. Slow down. And use the printouts. They take time, but worth every minute spent, in both satisfaction and results.
The lift out “bridge” is just amazing work….
The “mini-scene” really sets it apart.
For George Prinkey… I find N-scale too small for my eyes. I lived in an apartment for many years and moved into a mobile home about 10 years ago… Have always had an HO layout or an O scale narrow gauge (On30) layout.
For David Hodges… Most people start with a 4×8 for their HO layout… The challenge is that long equipment really does not like the 18 inch radius curves that come with most train sets. 22″ is better but if you like long passenger cars like the Amtrak cars… 24″ is almost an absolute minimum… You really want larger than that for good optics and good operation.
For Michael Dowling… The “Time saver” is a great plan and 2 foot by 8 foot is a great size to work with. That said, I would suggest you look up a layout called the “Time-saver Plus” by John Flann. It was featured in Model Railroad Planning about 2008 but has shown up many other places as well. It is an adaptation of the Time-saver” that has a much more prototypical look to it. John Flann’s layout was 18 inches by 84 inches (roughly 7 feet long) A slight adjustment to his runaround (on the left hand side) makes it a very enjoyable layout..
Lou……great start…..keep at it….. it will look great.
Brian…..great scene…… nice touch with the hobos and bird. Are those the wires sticking out from under the bridge to provide power to the track?
Paul…..nice job on the engine…….great detail in the scene…..nice job.
Like the scenery detail, especially the hobos. Good luck with your new build!
Could not tell from the picture. Make sure you can access your trains in the tunnel in case you derail one. If you don’t have a access now. Learned the hard way. Great start and keep on rolling. Leroy
ah,ah, need to see more before i criticize,That’s what I do.Carry on trimming your Styrofoam
The critic
Here is a scenery suggestion for everyone out there. I found a way to make very light , very hard shell scenery, from a 1995 Model Railroad magazine. Instead of plaster, or styrofoam, I use “Elmers Glue”. The method is similar to plaster sheets. Take an old bed sheet(one the wife will throw away), cut it in to one inch strips, and soak it in an old pan with straight Elmers. Squeeze out the excess glue and lay it down on the molded area you have created as your ground(like cardboard, or chicken wire). When dried, it creates a hard shell that will not crack, and it’s so light weight, you can take it anywhere. My entire layout is made this way, so I can carry it with ease. And it’s cheaper then plaster sheets, or styrofoam. A gallon jug is around $18-$20, at any craft store and will last if you do a little at a time. It’s perfect for those of us who create modual layouts.
Oh Luo, don’t you just love those little curly-ques from the white foam? Great job, keep up the good work. Please let us know how you are doing. We are all anxious to see your progress.
My father once explained what a Hobo is: A person who rides the rails traveling from town to town looking for work.
A Tramp however: Is a person traveling from town to town looking for a free handout.
Finally a Bum is a person who stays in a town looking for handouts.
Never, Never call a Hobo a Tramp or a Bum.
For tgood thorogood,
Loved the explanation of certain character types. Thought of my Dad, may he Rest In Peace, when I read it.
All stay safe!
Jon K in Jacksonville, Fl
To James Keister; Always dilute the white glue! Now that’s easier to squeeze out excess glue from the sheet strips and the results will be the same as you described Why waste the jug of $20.00 glue when you can use on dozens of projects.I do this all the time.
The Critic.
Lou, You’ve made a great start on your new HO layout. I really appreciate all the work in progress photos as they give me hope that someday I’ll get going on my own layout. It looks like you’ve accomplished a lot in a short amount of time. I never thought of using white foam for the profile boards along the edges of the layout. I’ve been trying to use 1/4 inch hardboard for the profile edges but it’s much harder to cut that foam board. Keep us posted on future progress.
Brian, That’s a pretty slick looking lift out section. I like how you’ve sceniced it. The hobos were a nice touch.
That’s a great start so far can’t wait to see the end product!!!
I have been waiting for how to assemble train tracks going from lower tracks with tressel to higher tracks . Your pictures showed me how. Thanks
The black photo are really good for showing the intricacies of the layout. A good incentive to continue working on mine.
nice detail, keep posting.
Great start to your layout Lou. Keep us posted as you progress . Very cool module as well Brian .
You can find farm animals at Ho scale at hobby lobby of all places , they have assorted farm animals . Ducks , chickens , geese cows horses and dogs
Hey Brian love what you’ve done with your space. I wonder if you would consider toning down your fascia color to blend in to the scenery beyond? Light brown, dark tan, or camo would soften the hard stop at the edge. It’s a pet peeve of mine. You could make the border blend in and enhance the scenes instead of being a distraction… IMHO.
Lou you’re off to a beady start for sure! Please check your incline …it appears to be a bit steep unless it’s just the camera angle I’m misreading. No more than 2 or 2.5% will work properly. Jus’ sayin’
Both layouts are showing good progress and I am sure that they will be fine once they are more on their way.