John’s been back in touch with some very good model railroad tips:
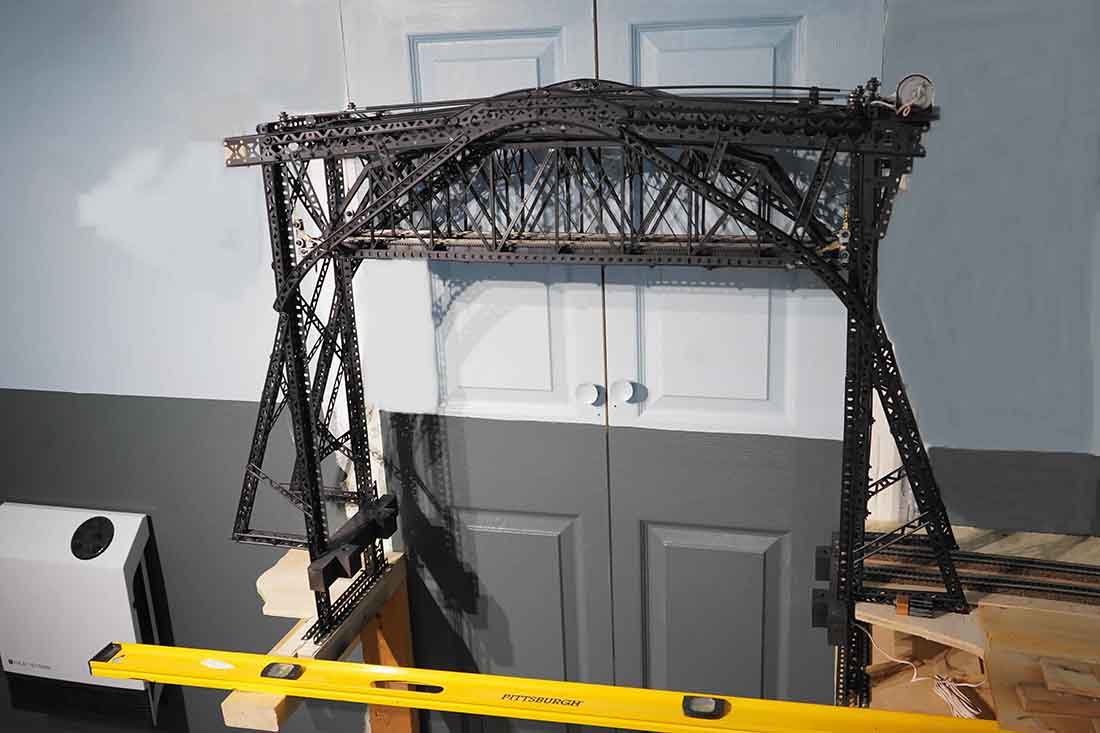
You’ll remember him from his last post, which included a very impressive lift bridge.
Here’s a pic to jog your memory:
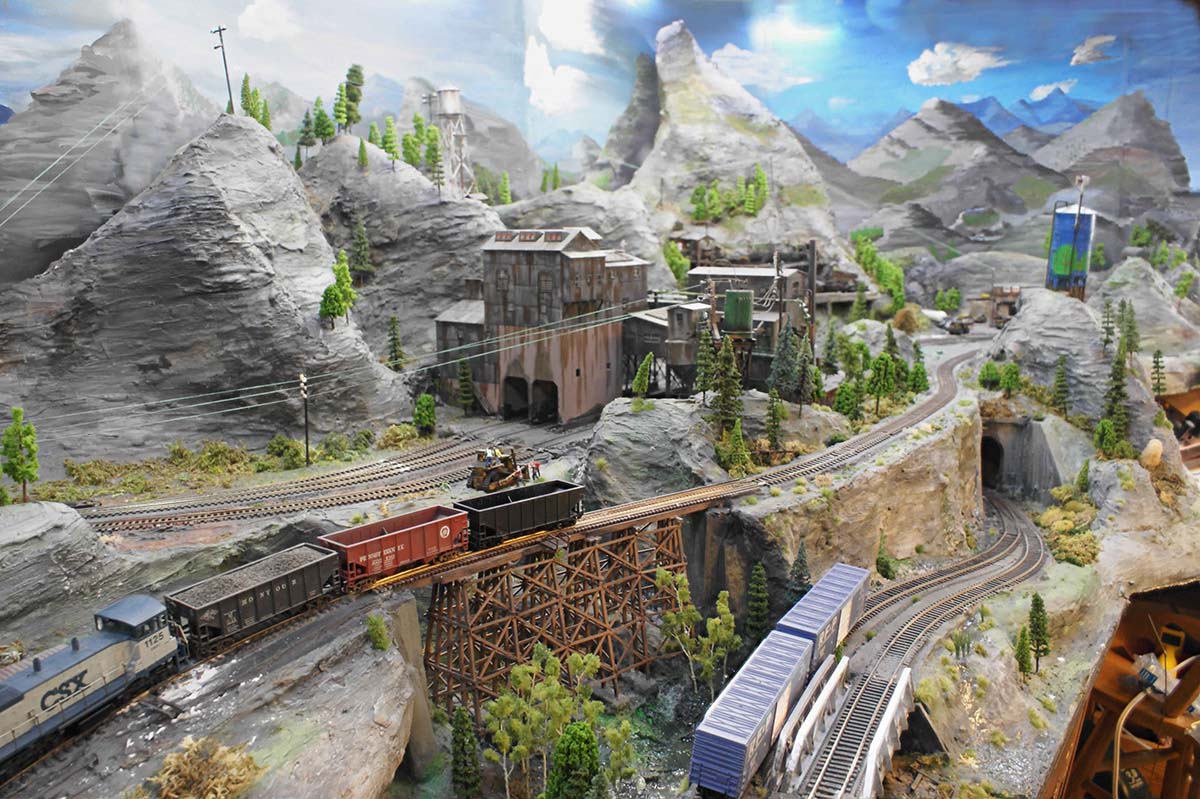
But perhaps you’ll remember him most from his previous mountain layout:
Well, he’s been kind enough to send in these tips after I posted things were a little thin on the ground this end:
“Al,
A couple of quick tips.
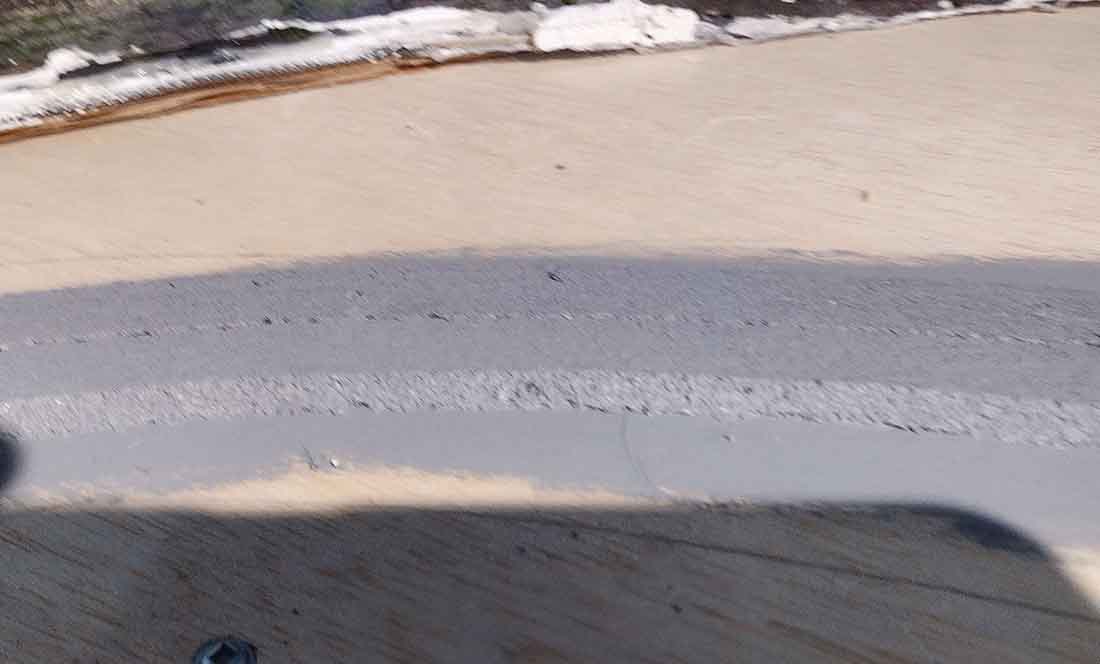
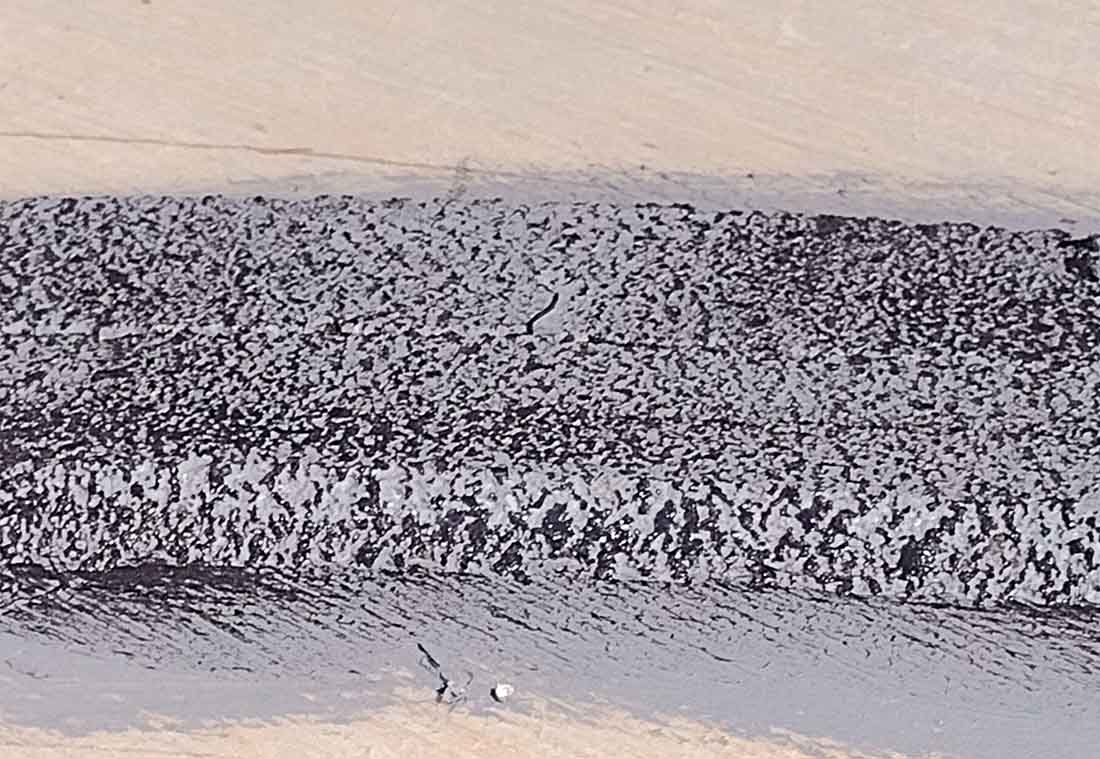
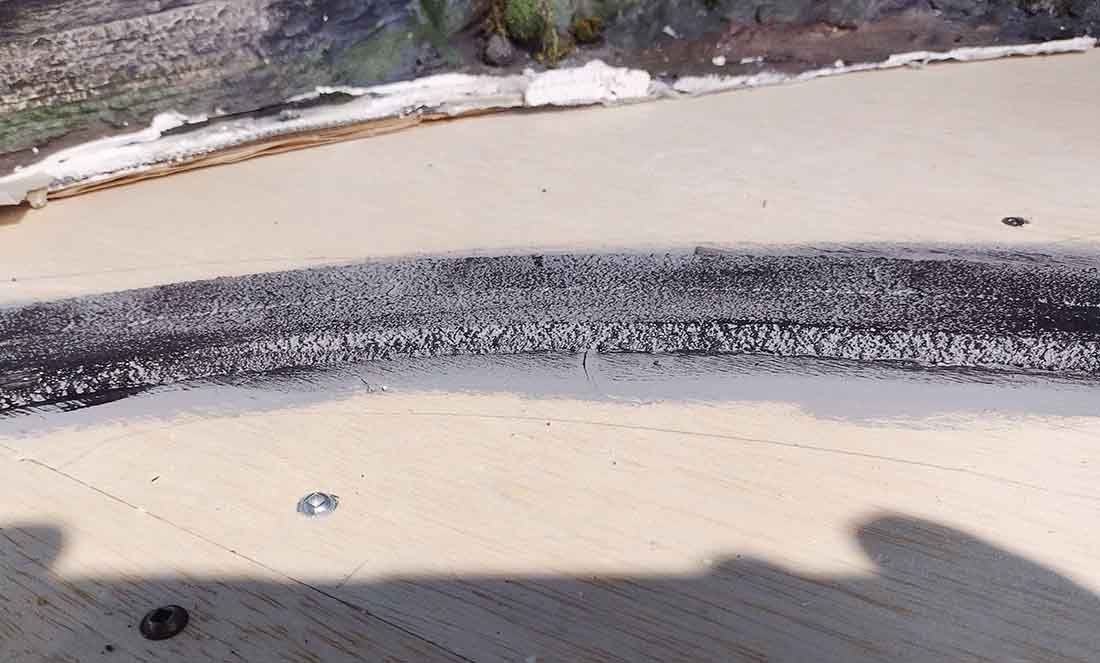
1) Tired of ballast sand going everywhere but in between the ties?
How about painting the cork roadbed to look like ballast – paint it all grey, then dry brush black.
Looks pretty good, and no sand in the points!
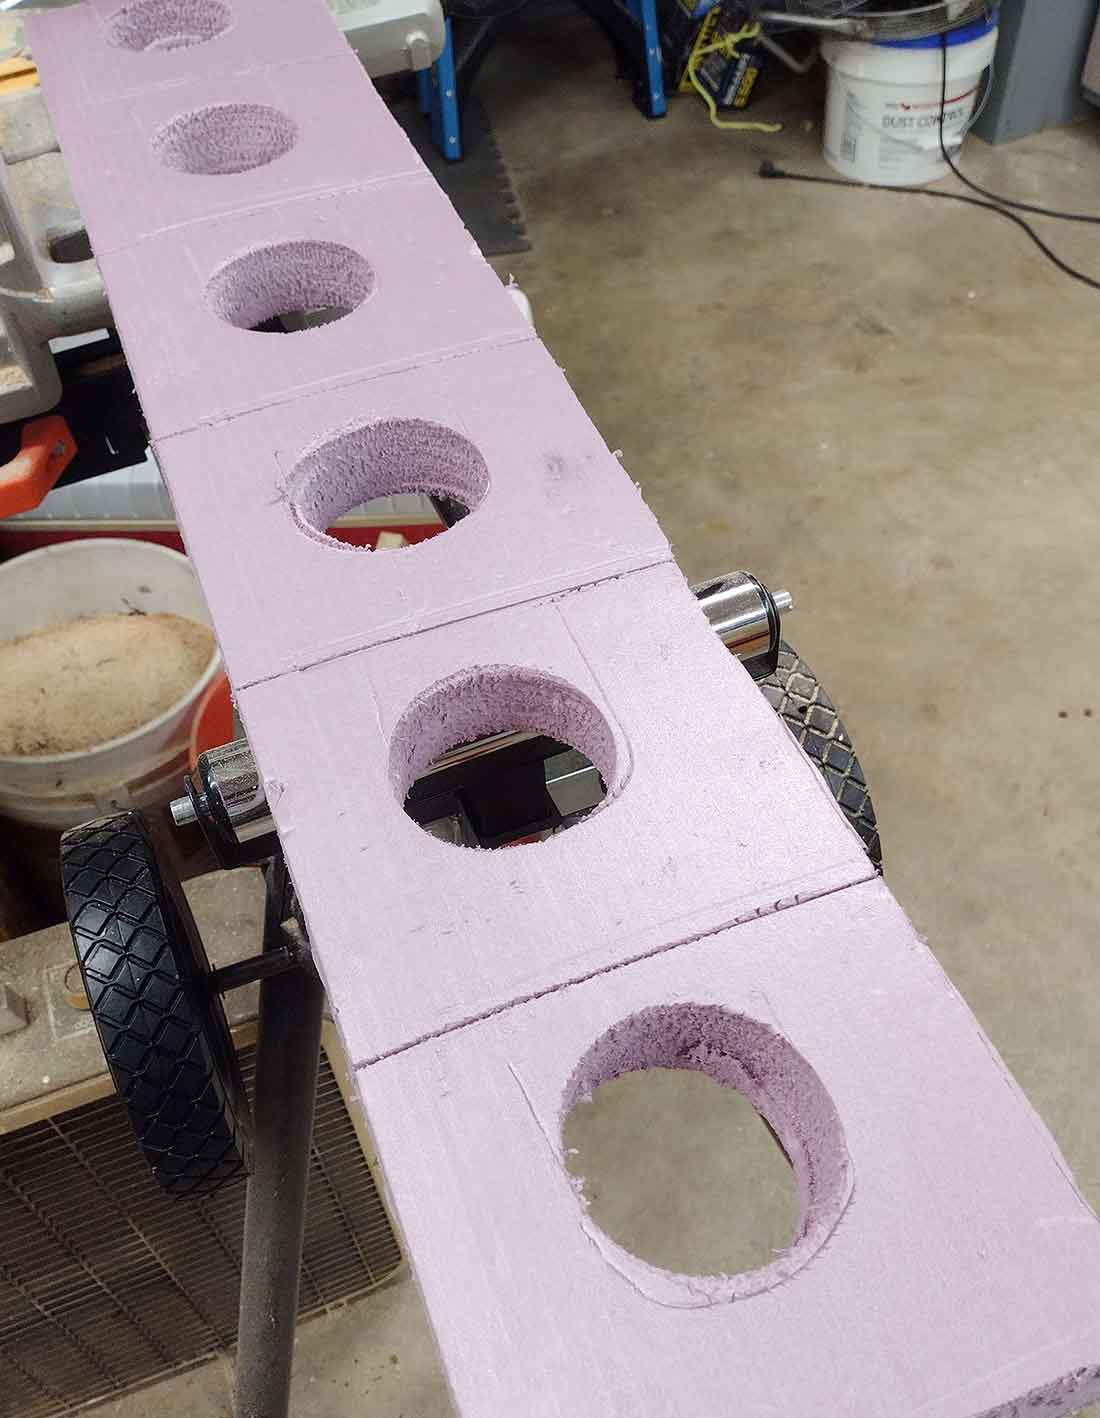
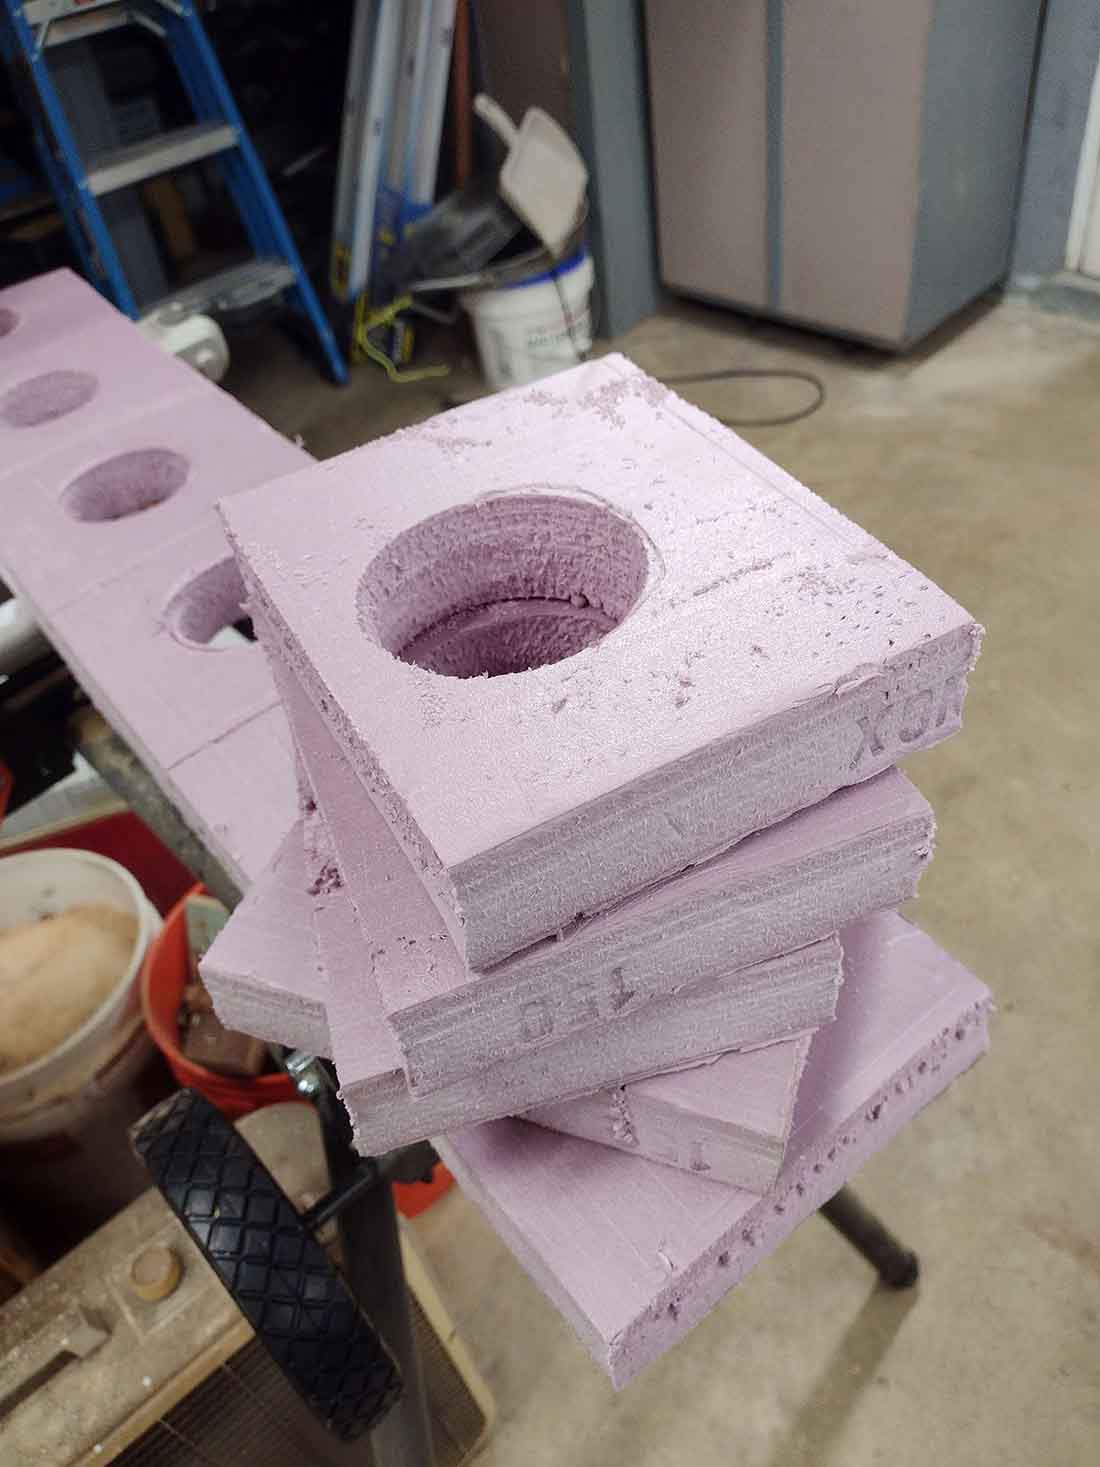
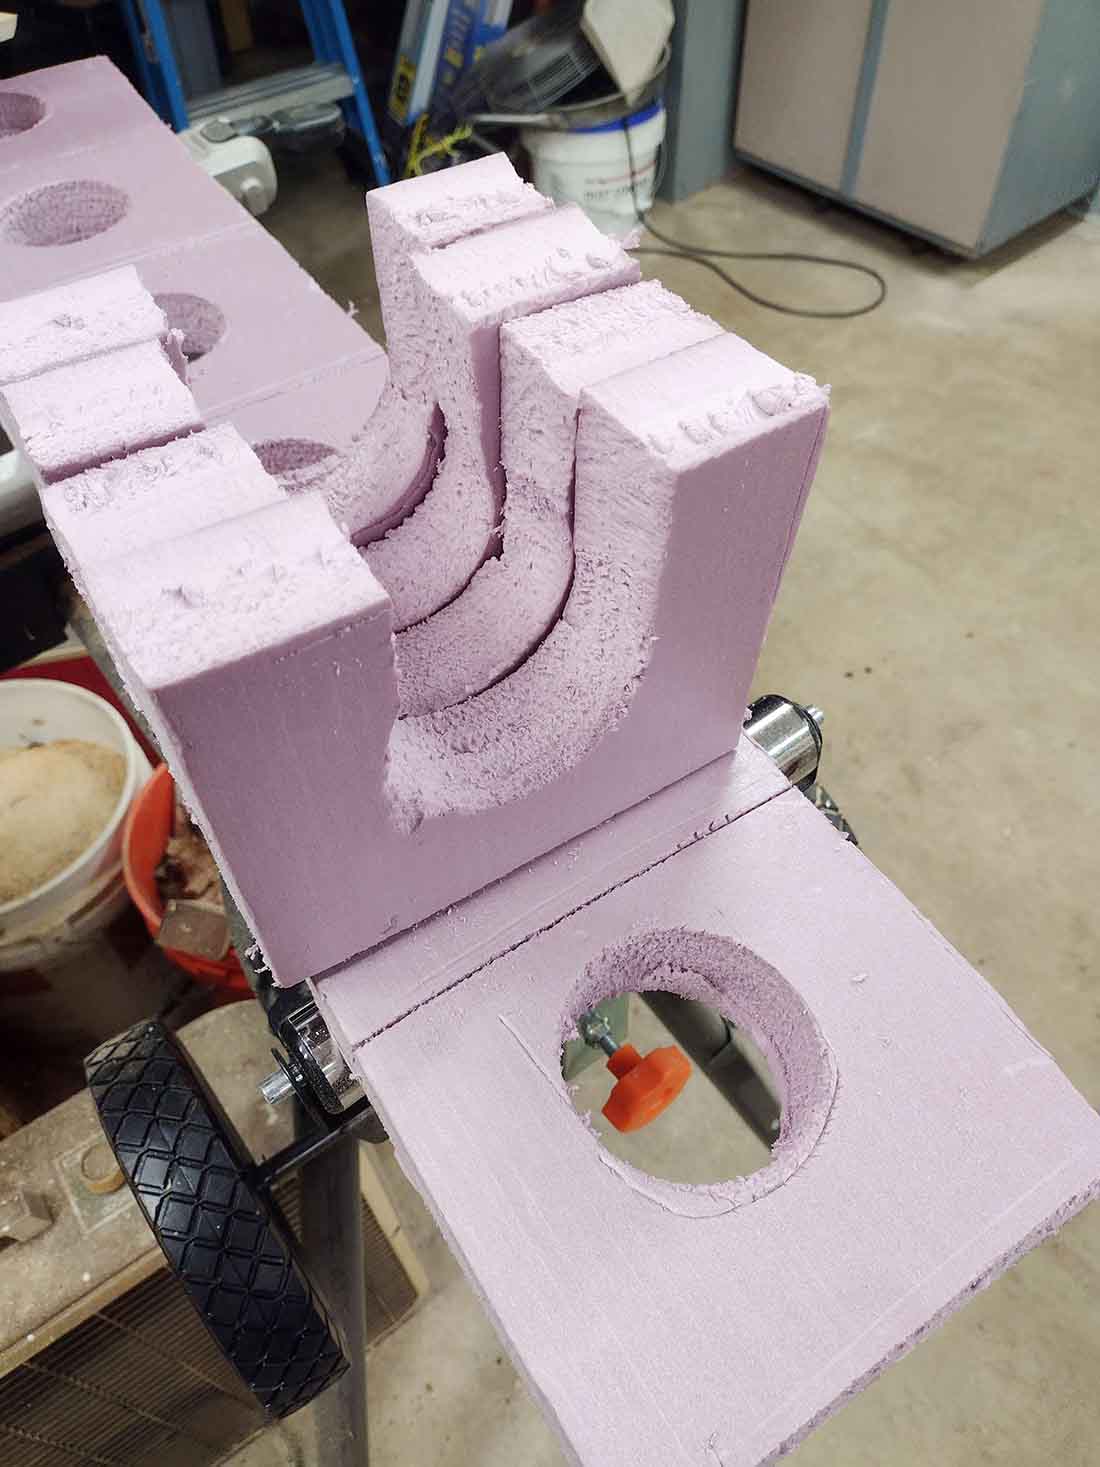
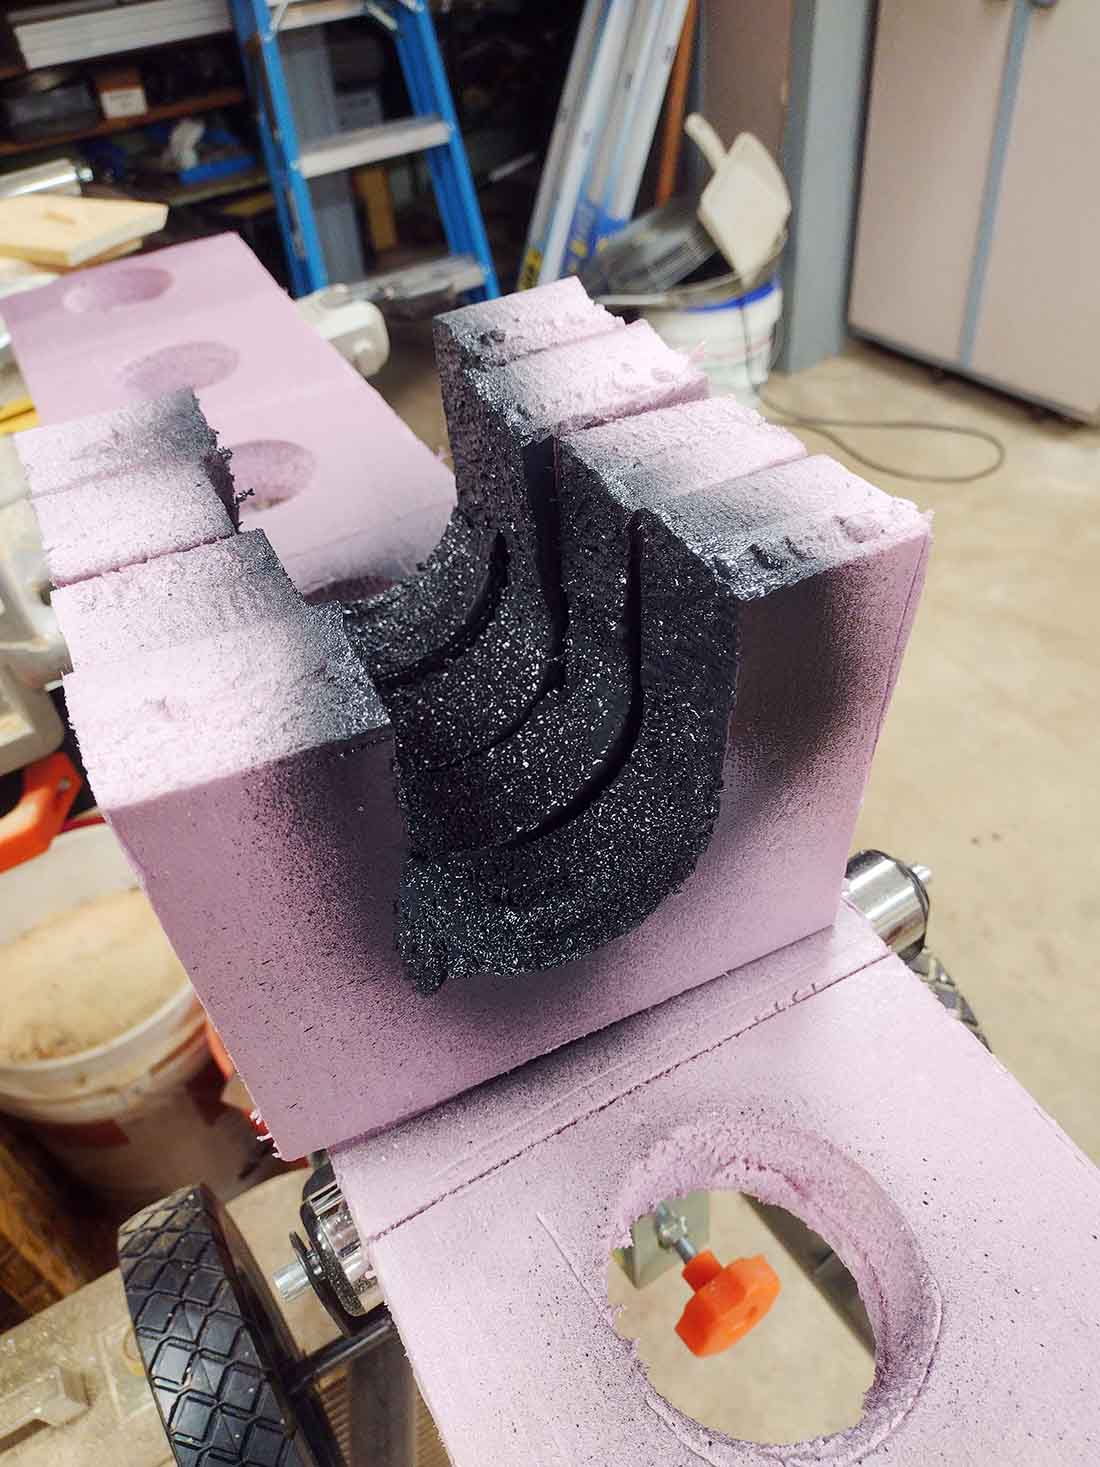
2) Need quick and easy tunnel liners?
I make mine from 2” dense insulation board, easy to punch a hole with a hole-saw, then trim with any saw.
Paint black and trim as needed, as an example on several on my tunnels, 2 sections cut in half (can’t see the side closest to the viewer), hot glue and done.
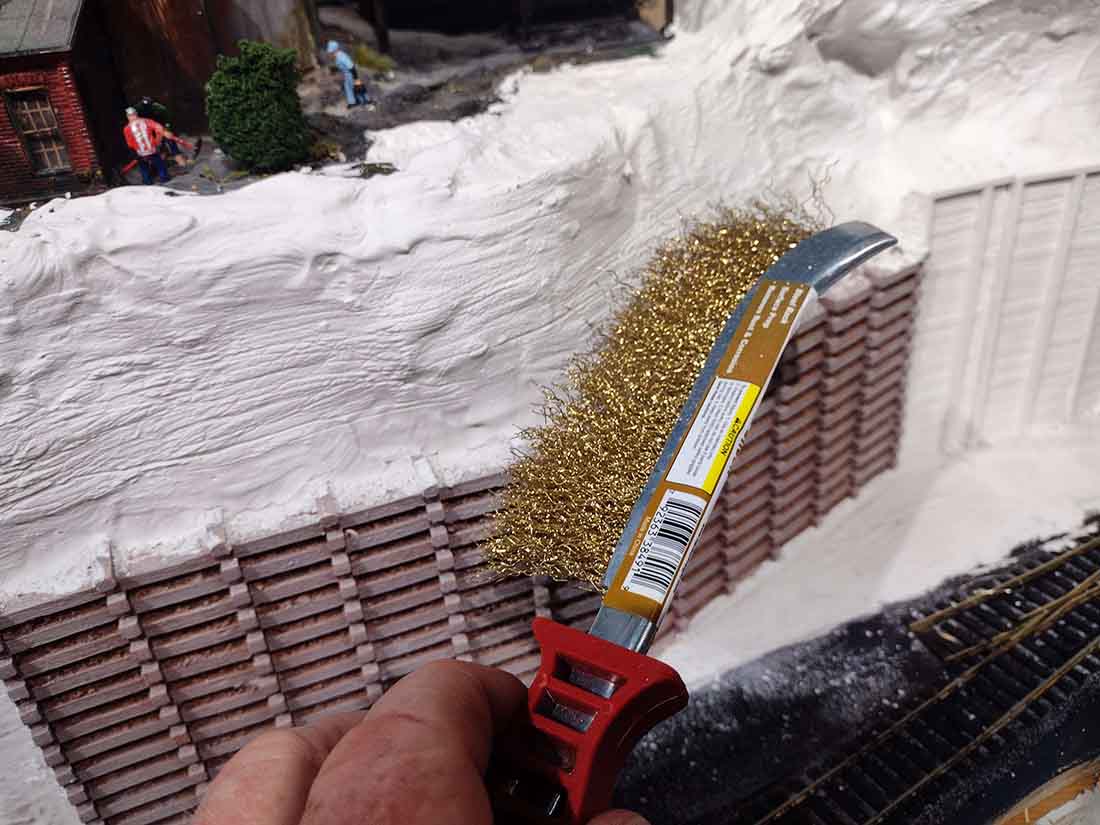
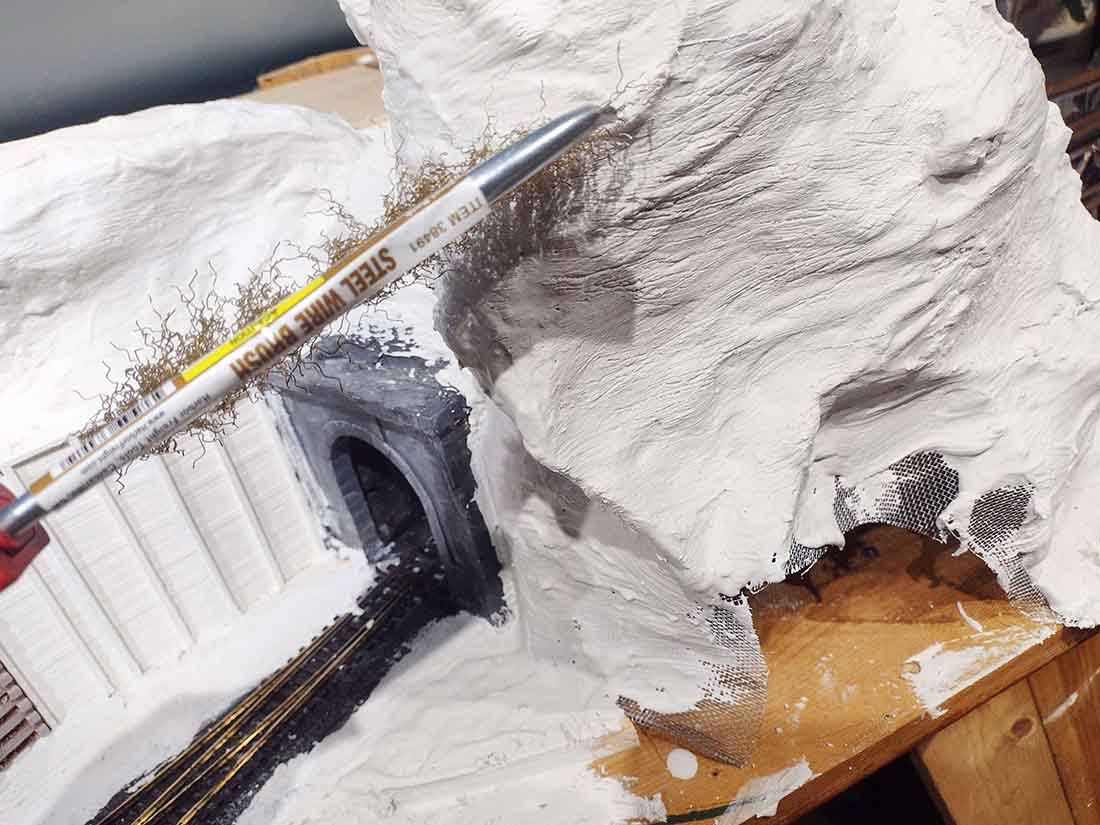
3) Need a quick way to carve in strata rock on a cliff?
I use a course wire brush, and try to time the drying of the plaster so it’s not super hard, but won’t clog the brush.
Works pretty well I think.
More later.
John From Baltimore”
A big thank to John – some very useful tips.
I have to agree as well, I think his rock faces look spot on. And so simple too.
Now on to Rob:
“Hi Al,
I’ve got another video for you.
This time I packaged up all the track laying wisdom I have learned over the last 12 years of building layouts and laying track.
In all I pass along 12 items of experience. It has proven very popular on my channel.
I hope your readers can find a nugget or two that will help them.
Rob”
Thanks to Rob and John for sharing his model railroad tips.
That’s all for today folks.
Please do keep ’em coming.
And if today is the day you stop dreaming and start doing, the Beginner’s Guide is here.
Best
Al
PS More HO scale train layouts here if that’s your thing.
Need buildings for your layout? Have a look at the Silly Discount bundle.

Great set of tips! Thank you Rob and John!
John
Mucho gracias.
Rob
Great tips and big thanks also.
Big Al
You da man
Very helpful video!
Nice set of tips. really like the idea of painting the cork roadbed. Wish there was a pic of track on top to see how it looks.
helpful tips
Rob always has good tips, but some caveats are necessary. When using code 55 track on cork roadbed, the idea of placing a rail jointer between the rail and ties is not a good idea. There is a vertical displacement of the rails at the joint. With form roadbed, Code 80, 100, etc. track, HO and larger, not as noticeable.
The slighting of rail jointers back from the joint does not work with isolated rail joiners and ties need to be removed. If you are going to use current sensitive block detection, isolated rail jointers are usually used (inserted styrene card can also be used.
As for soldering rail jointers. If you are using dropper on each piece of rail, then you will have good conductivity and there is no need to solder the rail jointers. The only exception I make to this is if I am going to using multiple pieces of flex track on a curve and cannot use the offset rail placement technique. This is particularly true with Atlas flex track. Atlas track has one rail locked and the other slides, thus making it hard to remove a piece of rail on the fixed side.
We used “rattle can” textured gray paint. All done in one swoop.
Thanks so much. I’ve been contemplating how I was going to make my tunnels look real inside. Your idea with the foam looks exactly like what I’m going for.
Model railroaders are ingenious, when there’s a problem or obstacle they have the best solutions .
Great tips today for any modeler to benefit from .
Thanks a bunch