Joesph has been back in touch – he shares his take on how to make HO scale utility poles with wires.
“Hi Al; It’s been a while and I don’t remember where I left off but here goes. I know I didn’t send these.
I spent most of the year finishing up my lighting projects.
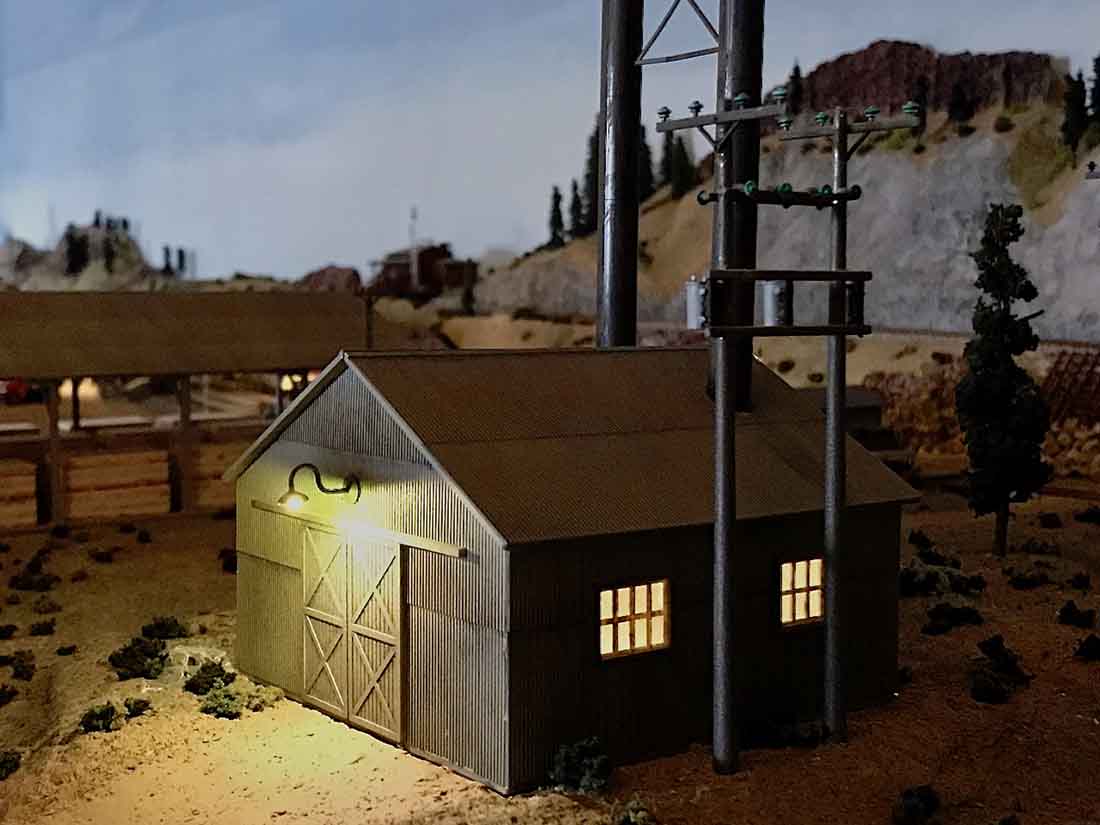
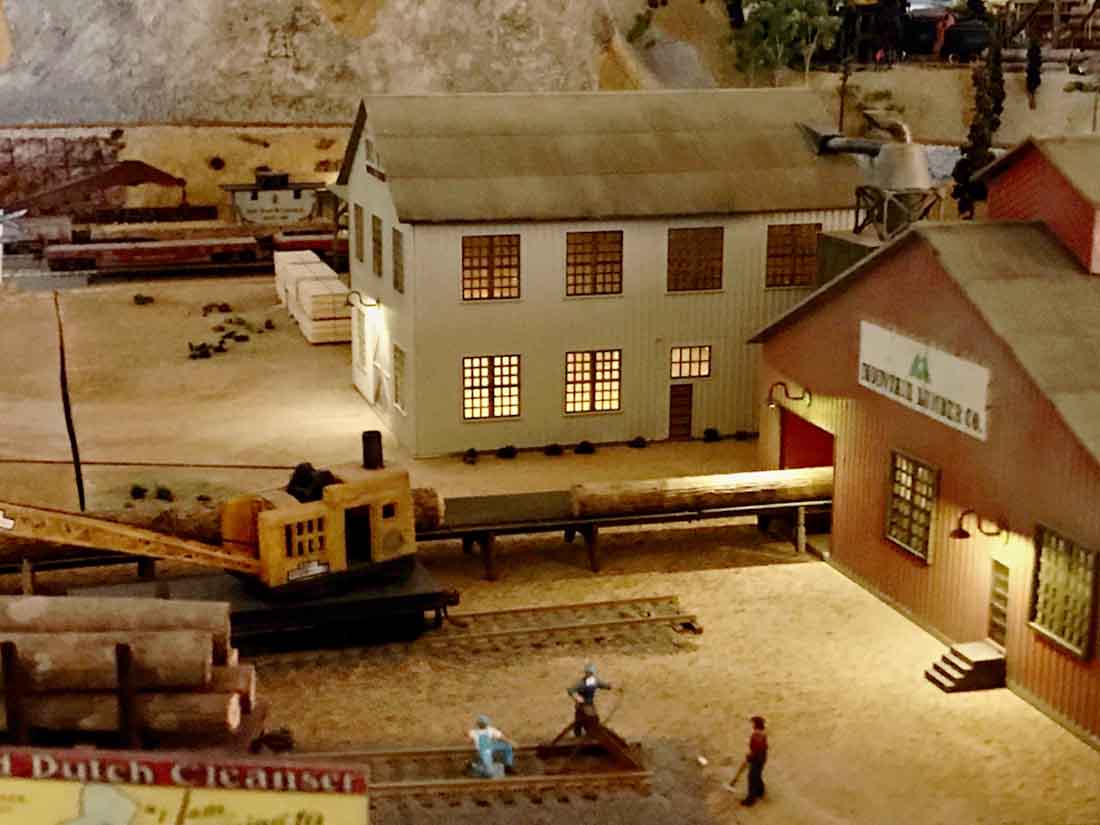
Below is the Power Generating plant for the Saw Mill and Planning facility.
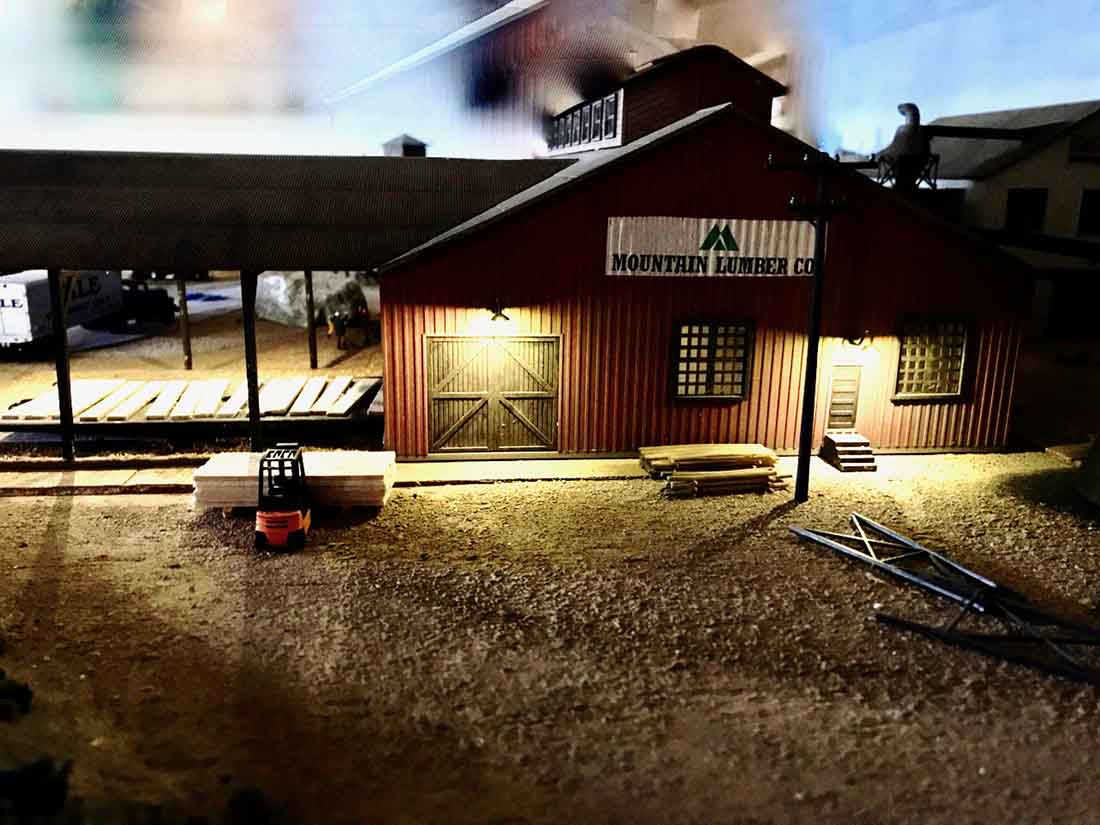
Saw mill
Overview of “San Juan Creek just past twilight
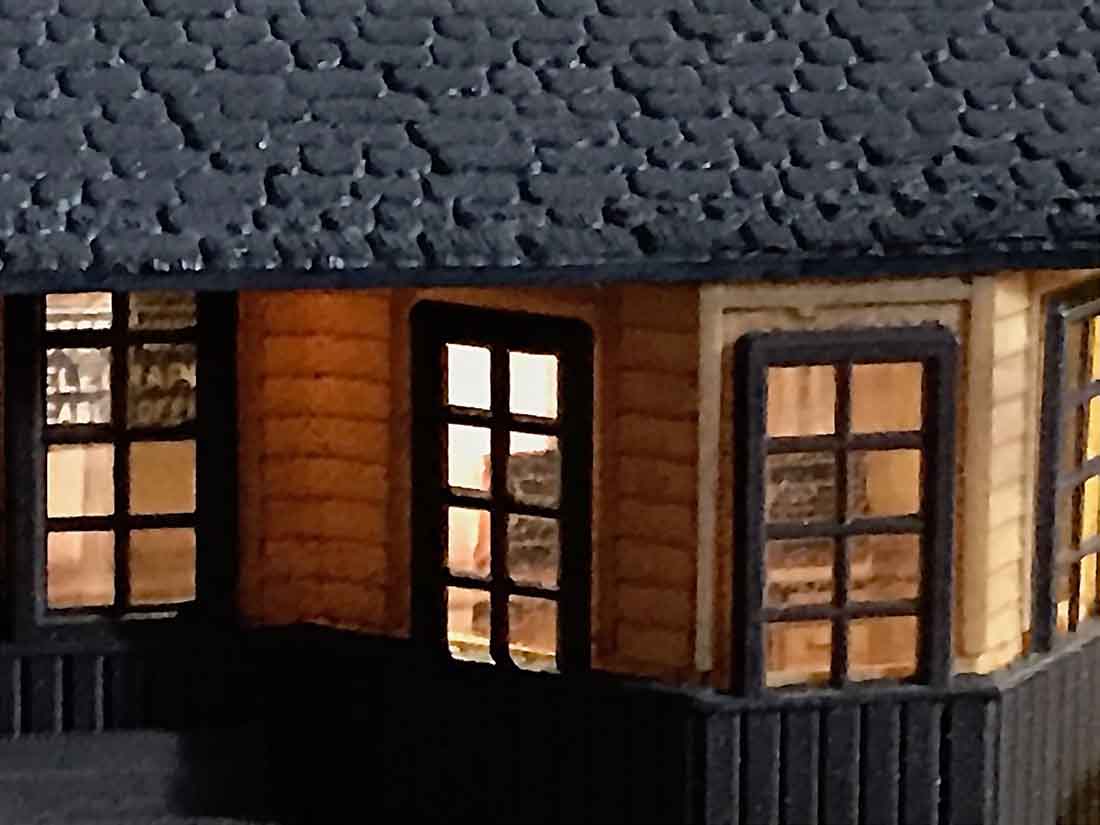
Inside detail of the San Juan Creek station.
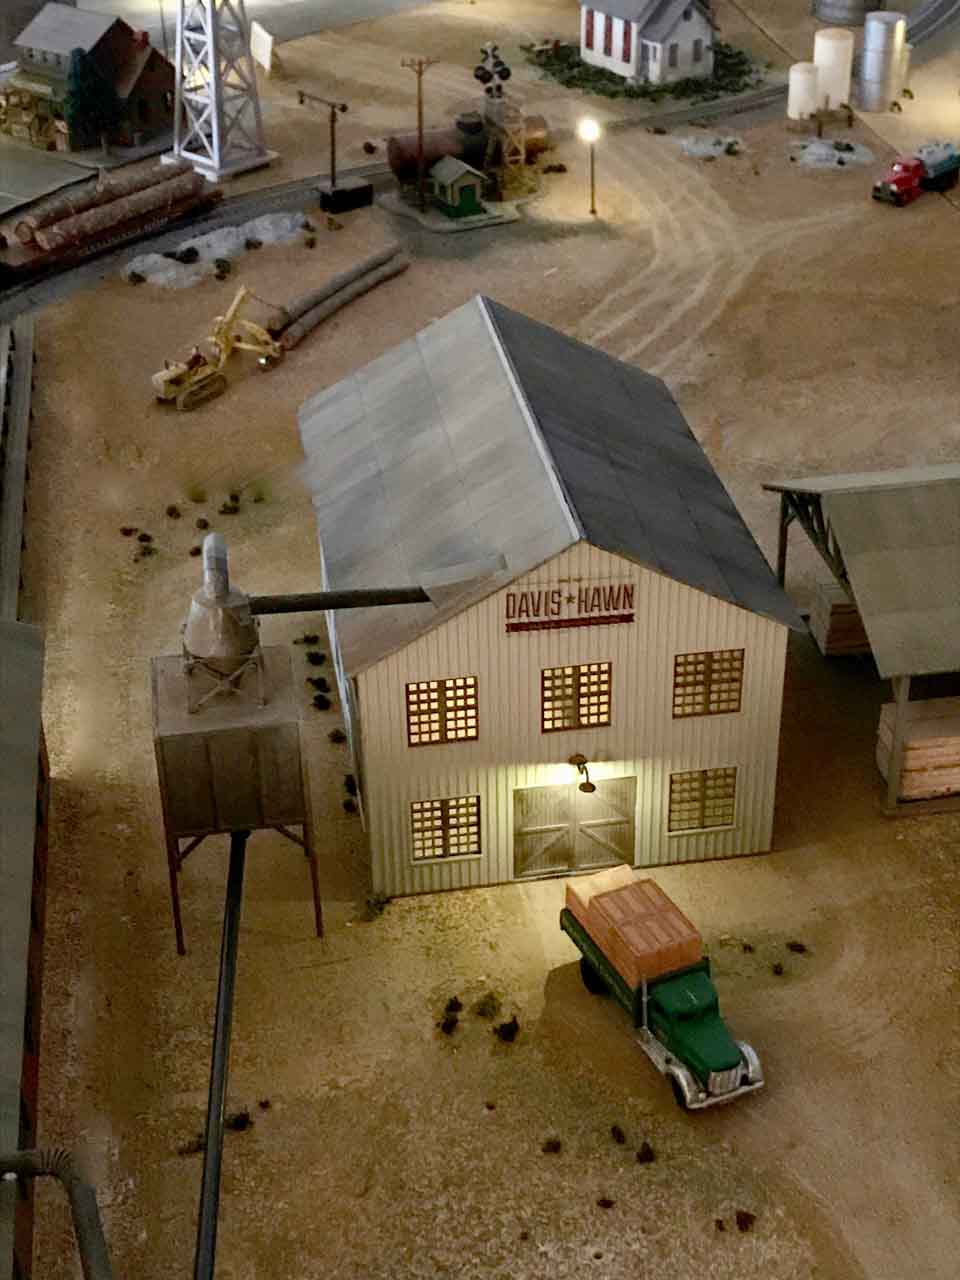
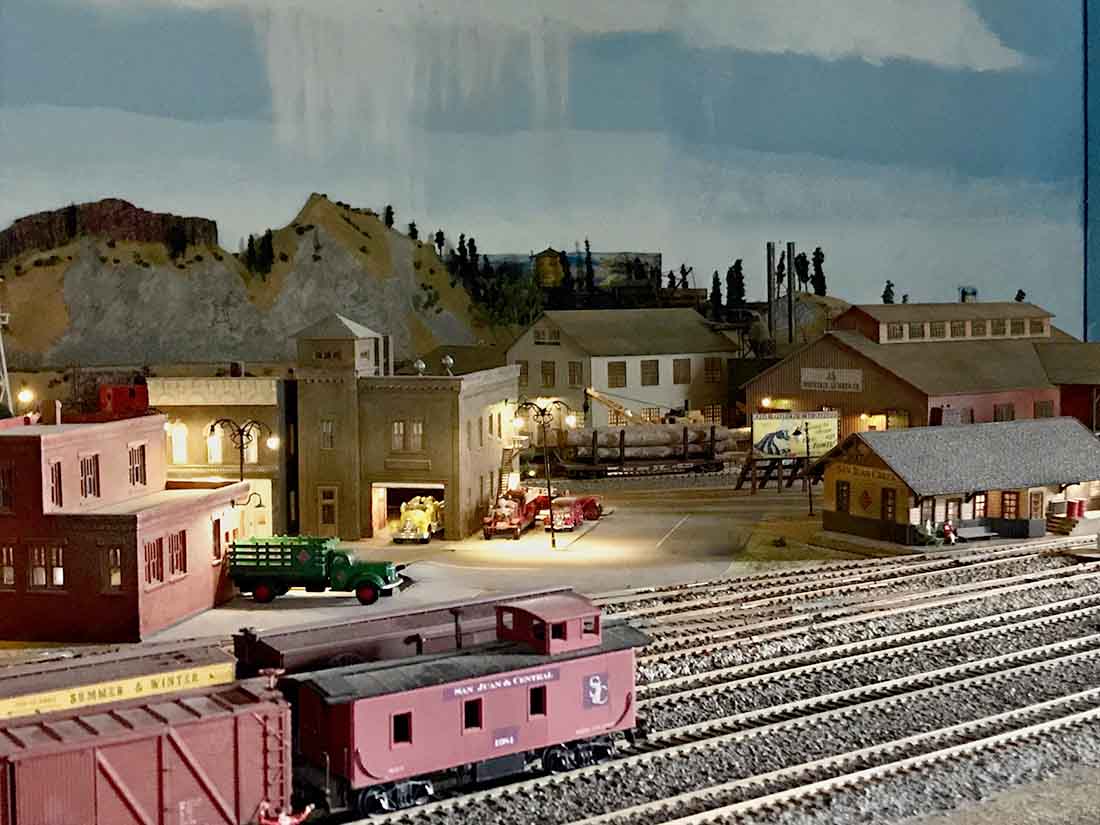
A lot of action around the saw mill and planning facility.
Another look at the planning facility.
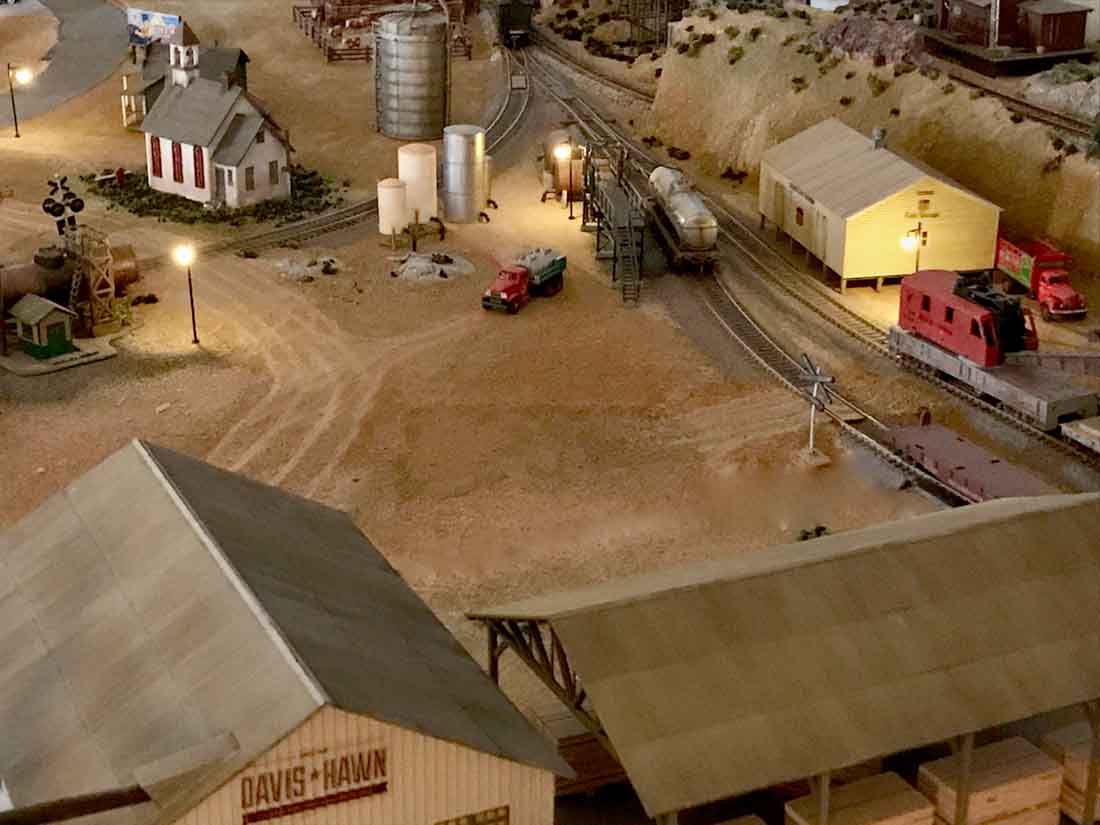
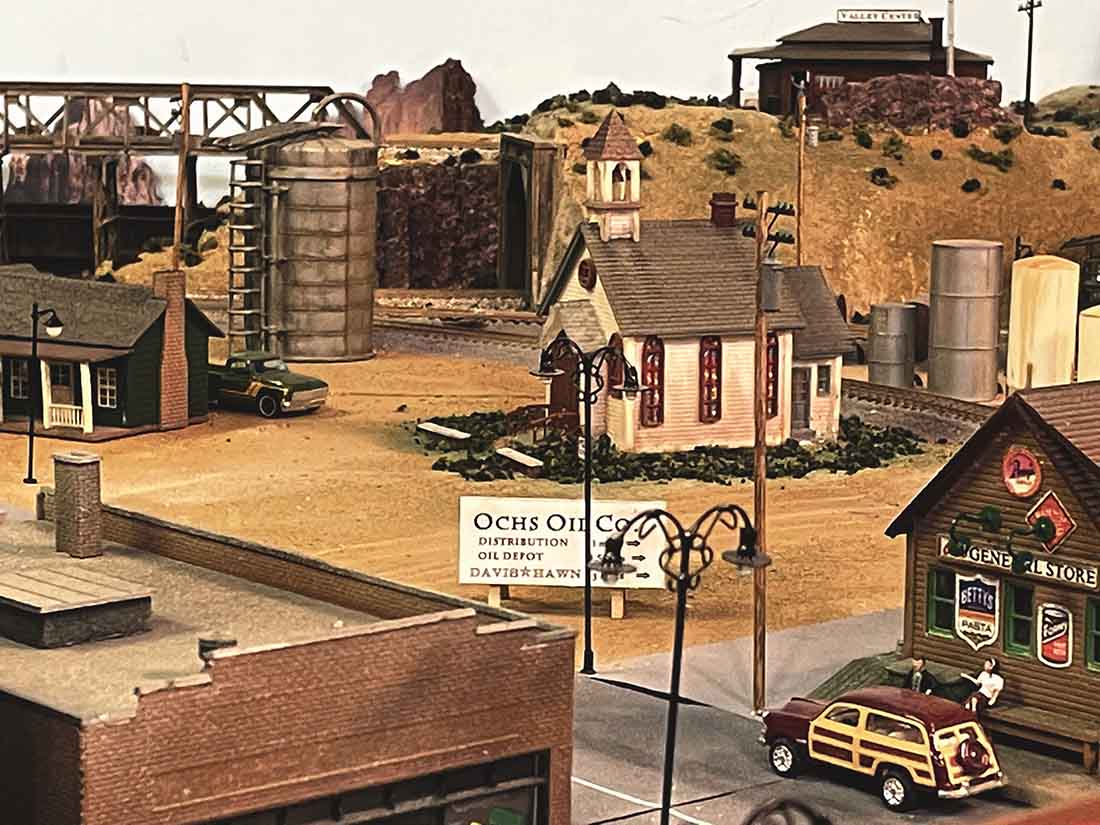
Looking westward to United Cold Storage, Ochs tank farm, the local church and Ochs Oil office. (Since this picture, power poles have been installed and the office has a light on the platform).
Another “touch’ was tp extend the background beyond the layout so it doesn’t mess up the photos as much. This is the west end.
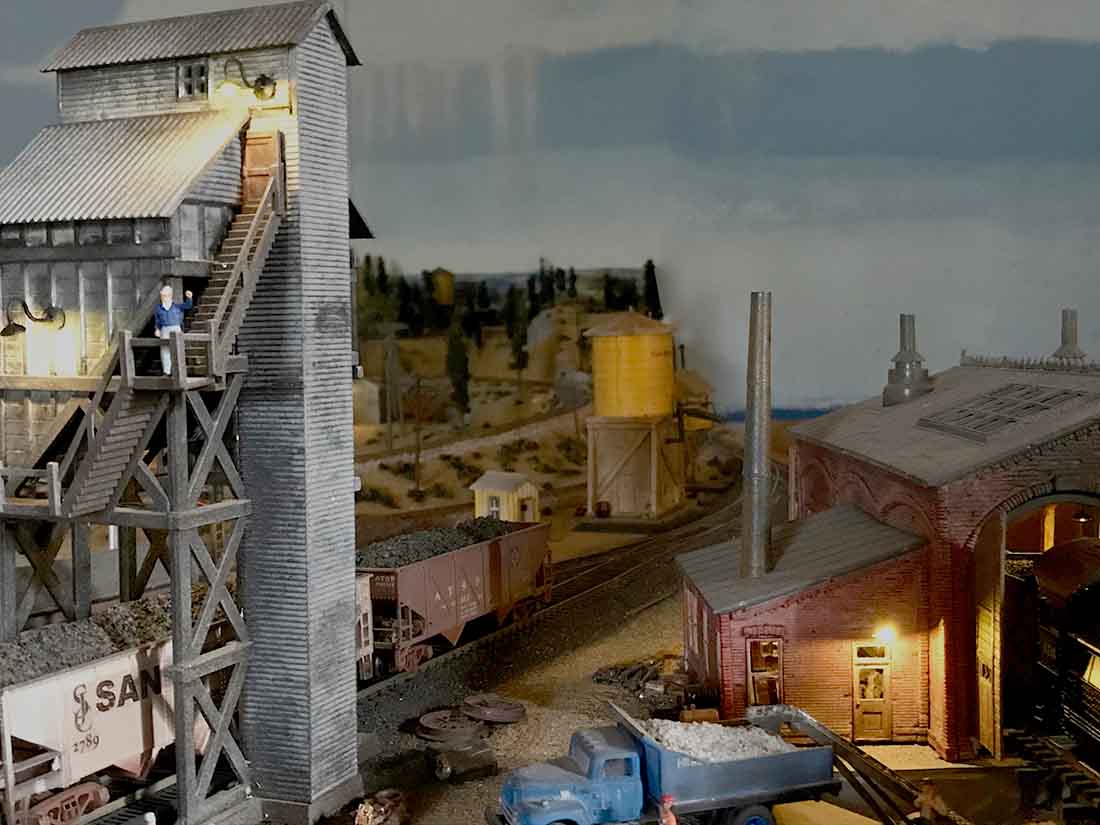
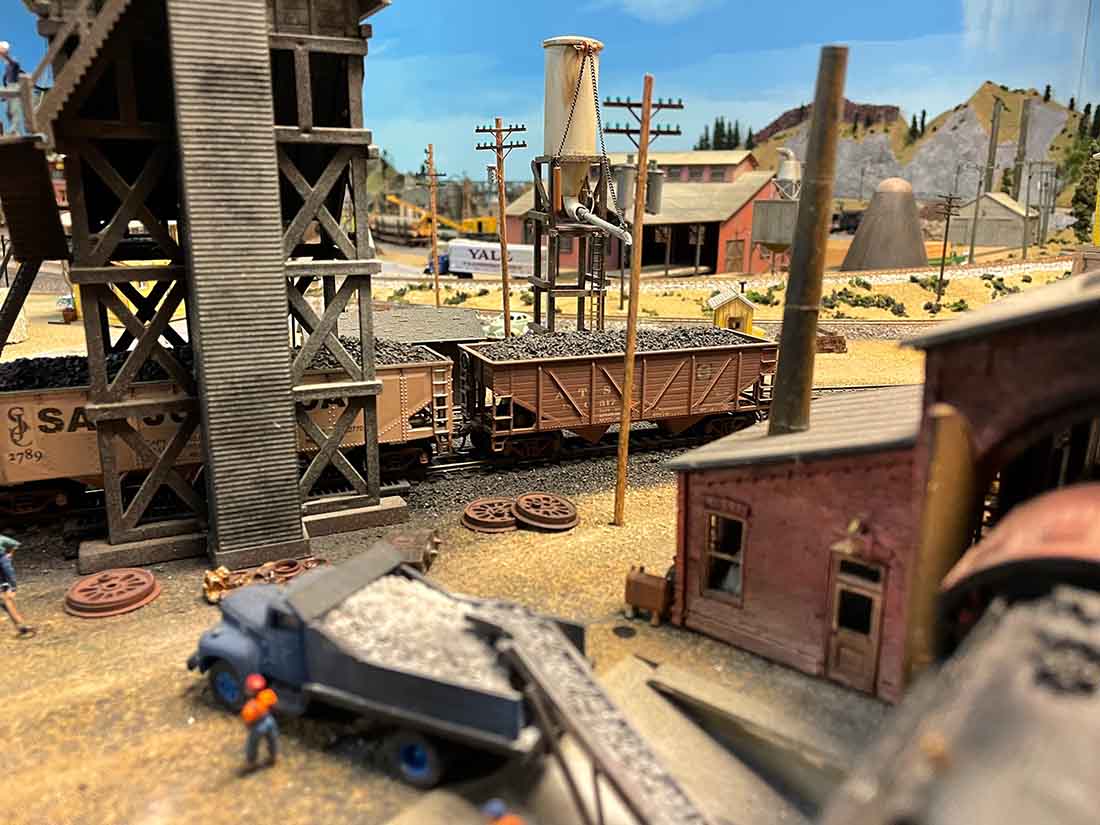
This is the engine yard with lights installed on the coaling tower and looking at the the background extension to the east. (Power poles have been installed since this picture).
Another shot of the background to the east. This shot also shows the interior detail of the fire station.
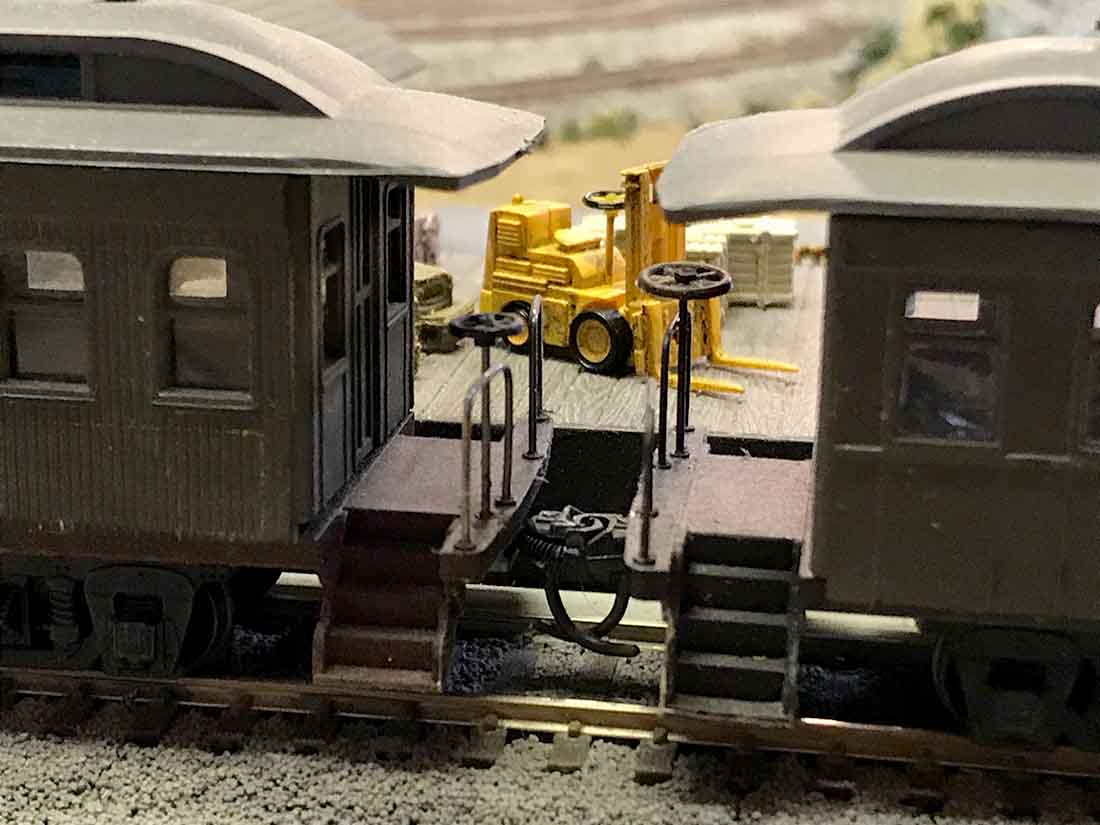
“New” forklift at the Grants, NM passenger and freight terminal.
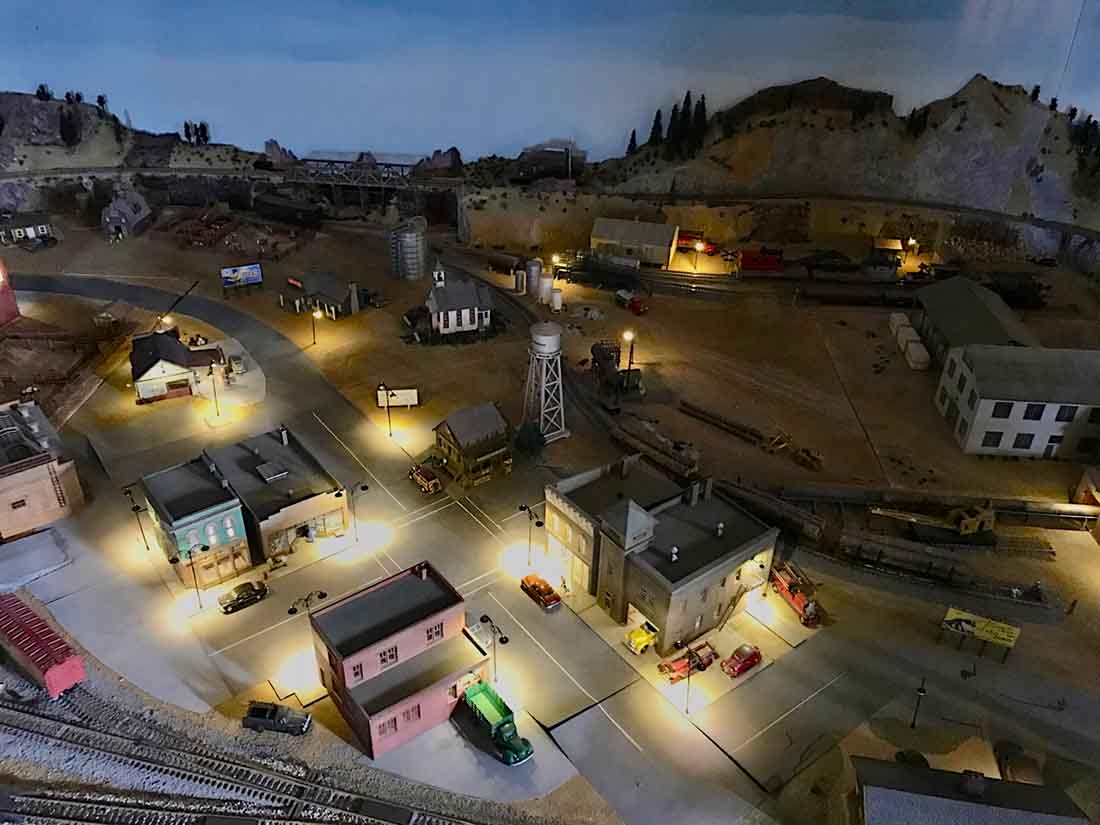
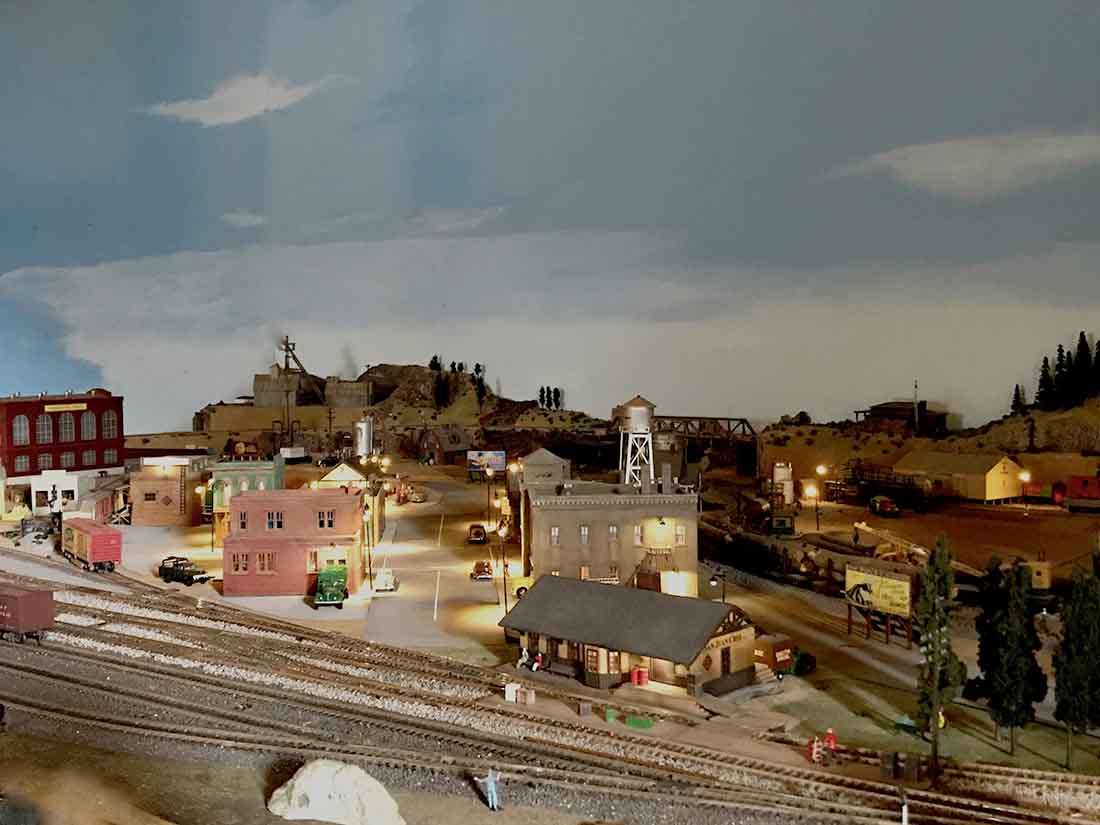
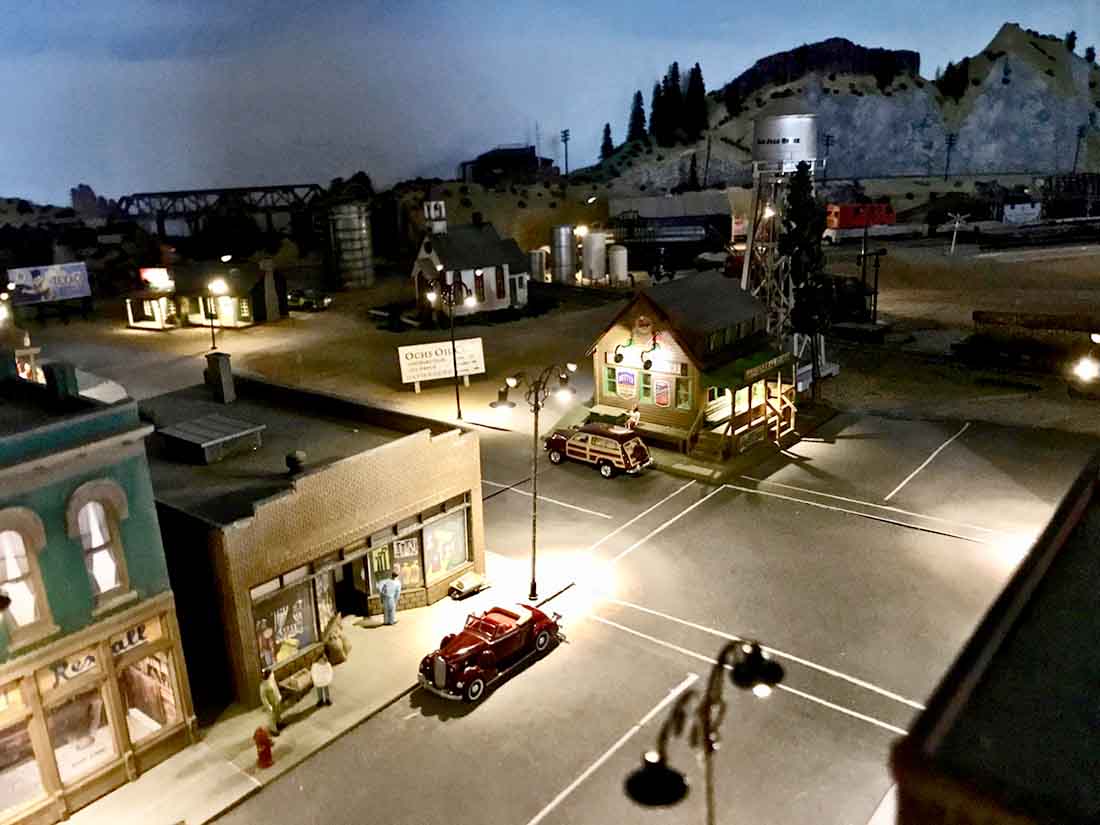
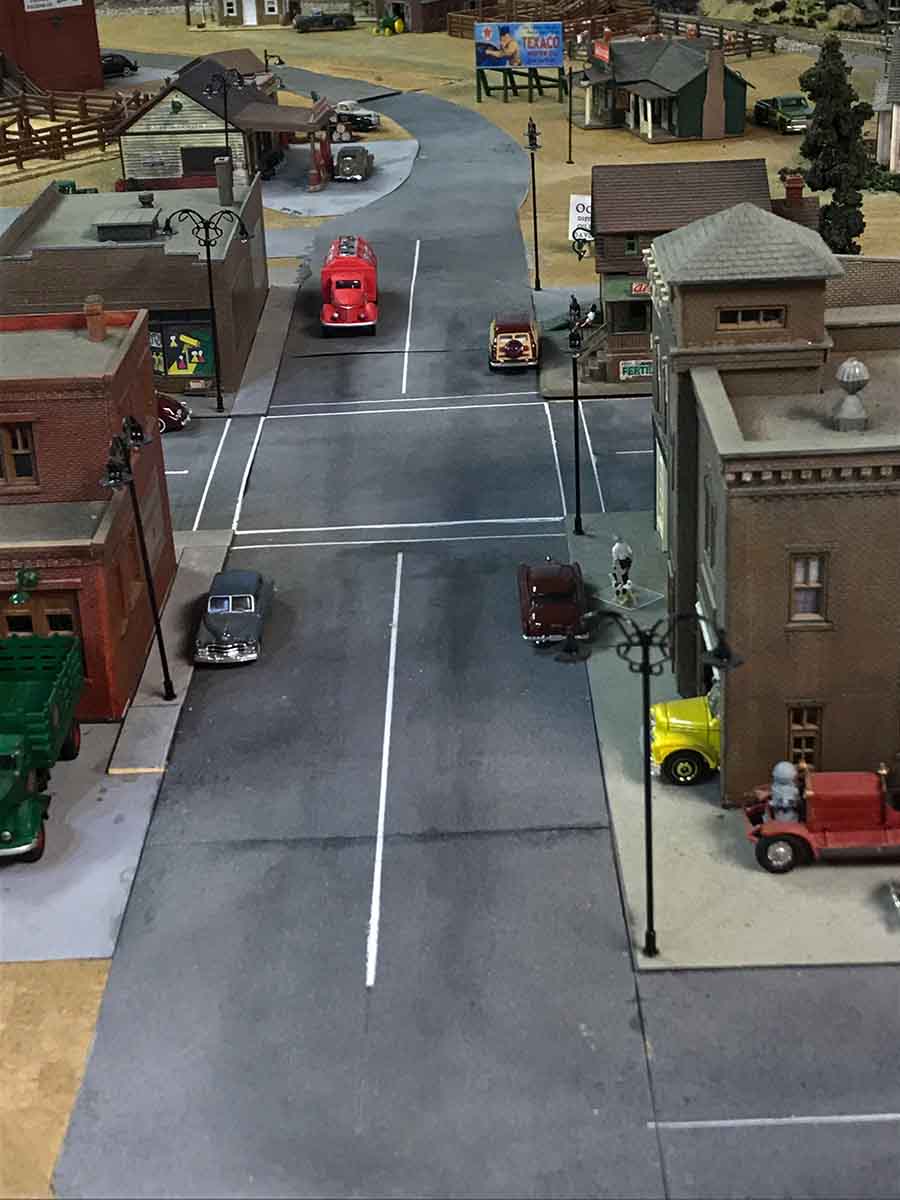
Downtown at night.
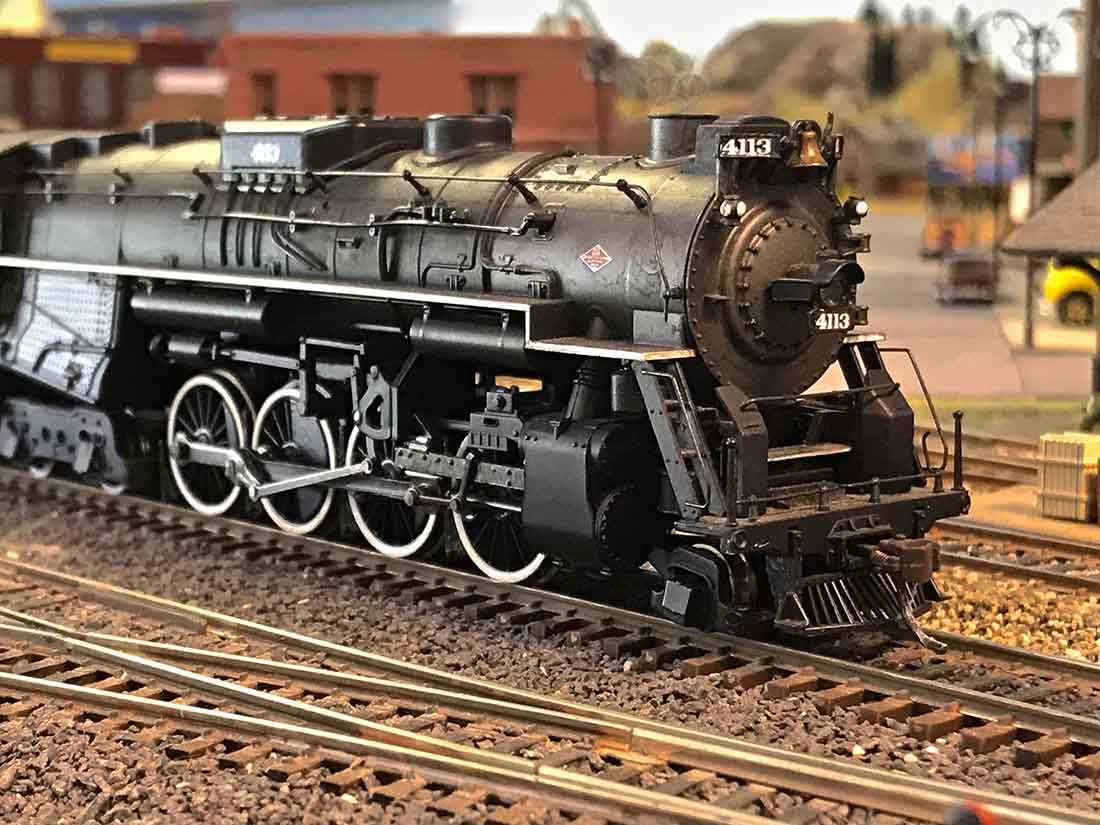
The San Juan Mountains area of NM has its own short line, the San Juan and Central. I needed to have a mainline pass through the area and the closest is the Santa Fe, hence, the depot at Grants, NM. I “re-branded” this Berkshire to Santa Fe 4113 (making all my own number board decals) as Santa Fe did use Berkshire locos for freight.
I also “re-branded” a Pacific loco to pull the Santa Fe passenger consist.
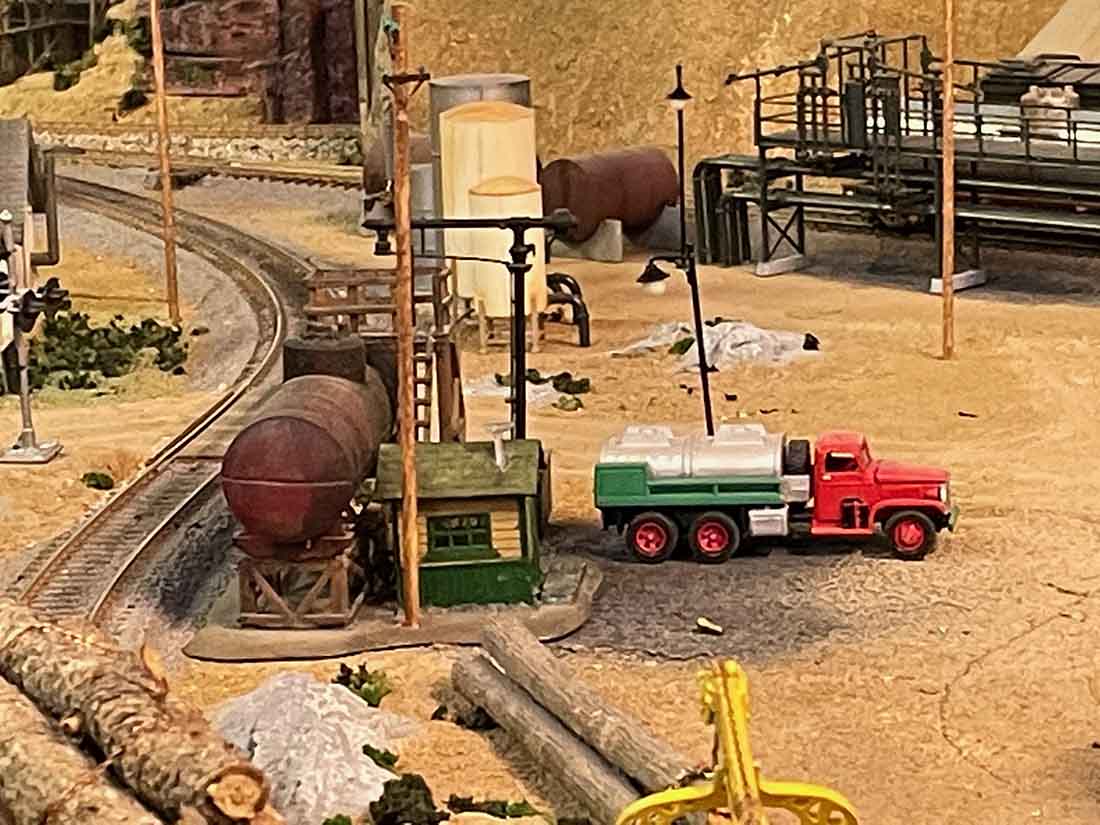
Another addition is “Sonny’s Texaco service station. Again, power poles and an additional sub-station have been added.
Twilight at the Grants, NM station.
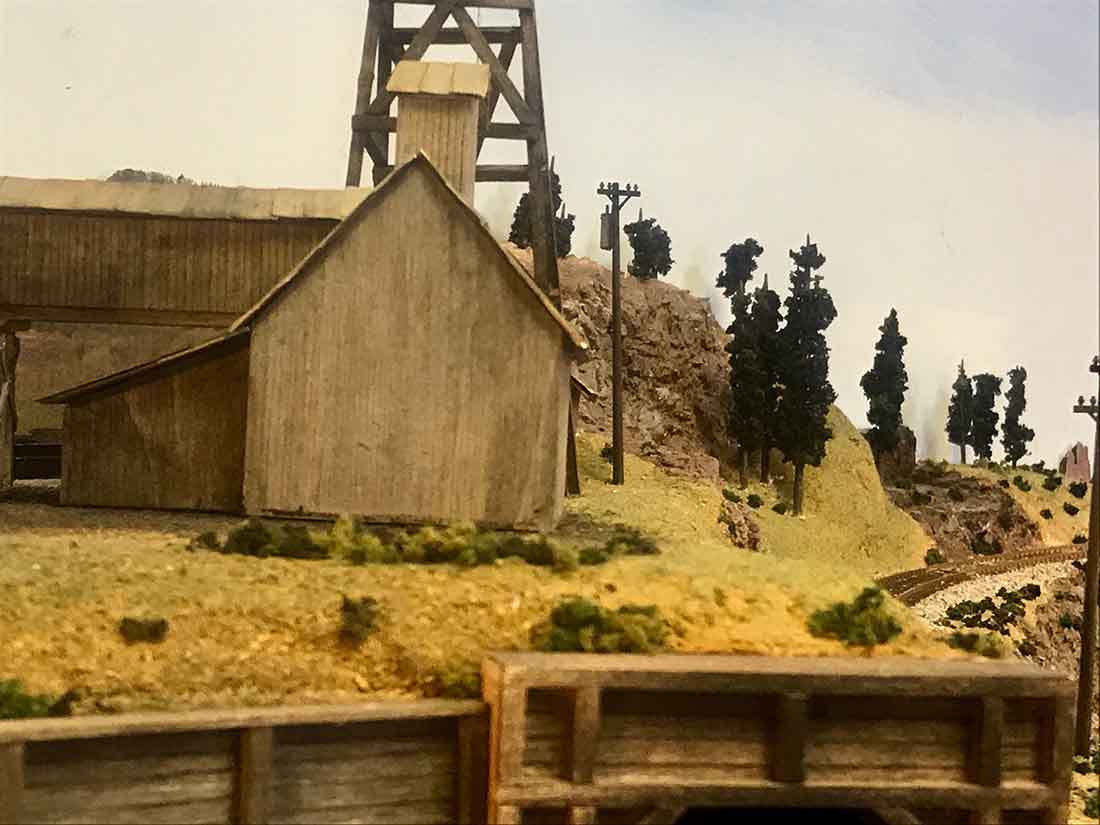
Power poles serving the San Juan Coal Co. mine.
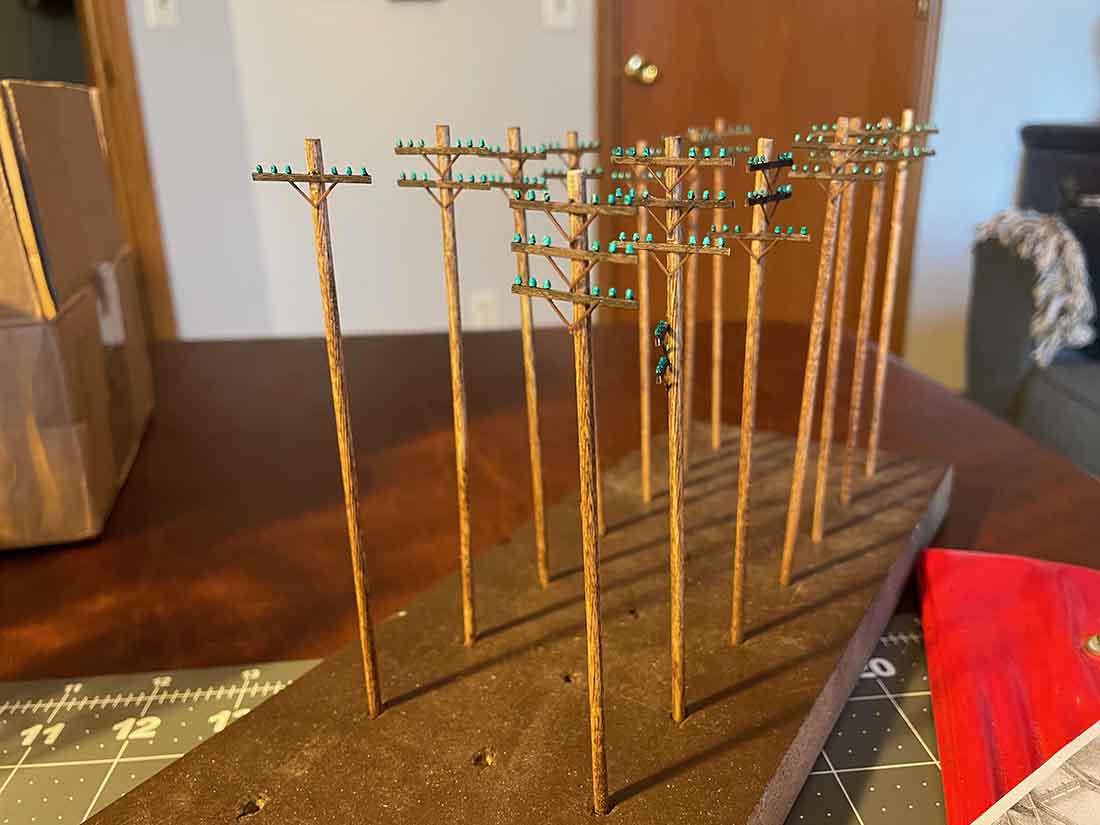
This is how I put the power poles together. Rix cross arms on 7/64” dowels.
Power poles installed at the engine yard
More poles installed.
And more.
The owner of “Ma’s Place” has a new, custom Chevy truck. It is larger than HO Scale but in the background, looks ok. And, yes, it IS out of era.
Jospeh”
A huge big thanks to Joseph.
If you’d like to see his first post – the very start of his HO scale, it’s here.
Joseph’s pics on how to make HO scale utility poles reminded me of one of Rob’s: Model railroad electric utility details.
And one of John’s too: John adds a substation.
That’s all for today folks.
Please do keep ’em coming.
And if today is the day you get stuck in, the model train Beginner’s Guide is here.
Best
Al
And there’s the Silly Discount bundle too.


Bravo, great layout Joseph you should be very proud
Wow! That’s tremendous.
Great photog, gives impression of realism. Very nice layout Joe.
The Critic
Beautiful!!
wow that lighting really adds a lot. “The devil is in the details” looks simple here but it is complicated for many to achieve. Looks beyond fantastic. I for one like it,
Looks great.
Are the power poles mounted on the base by drilling a hole and inserting them, as is done in real life? If so, how deep do you make the hole for stability?
Is there an alternative way to mount the poles?
I could not see on the pictures; did you string wires on all the poles?
Thanks.
Joe
The layout is really coming together and the lighting looks great. Sure would like to see a video of the trains running.
Best
George from LI, NY
beautiful layouts. Very professionally done a master piece.
Thanks for sharing this work of art.
Wow Joseph, what a great use of lighting.
Wow, terrific lighting. Would like details on bulbs, voltages, connectors, etc.
Also what you used for insulators on the power poles.
Terrific detail, I like the way you just keep adding things
Al, Thanks again for all the work you do which causes a lot of positives to happen
Al, If you will allow me to send a message to one of your fans, I would like to
address my question to Mr. Robert Brady who likes to be called “The Critic”.
Dear sir..I have seen many of your posts which seem to have a common theme.
My question is,….When are you going to show your layout on a track plan and
control wiring diagram post so we all can share some of your expertise?
Thanks again Al, .I’m glad you listen as good as you talk…..My Best to you and
yours
Joseph,
Looks great!! I have two questions. 1 Where did you get all the wonderful ERA vehicles? 2 Are you going to run wires between the power poles?
Dan
Wonderful Work!!! I echo all the positive comments here!!!
PS Those poles you modeled are not power poles! The insulators on the cross arms are designed to accommodate telegraph and telephone wires, not power lines!!
Great layout lighting! Can you share what you used for all the lighting fixtures, and how you did it?
what a simply GREAT idea using dowels in creating those power poles . . .
Nice array of photos and your modeling skills are truly first rate. I really like the street scenes and the lighting effects. The roads and buildings are detailed with realism and scale in mind. Great job.
Jim AZ
Outstanding Joe
Great Layout.!!!! I hope mine turns out that good.
Awesome, It Looks so real
THXS for sharing
Excellent!!!!!! Great pictures!!
Boy if I can make any of my scenes look like this with lighting. Wowow
The lighting effects are superb and make the scenery simply “pop”! The shadows formed are nearly artistic on impact and absolutely dramatize the surroundings!
I too would have enjoyed seeing trains running and also gained wisdom viewing the “Critics” layout.
Very beautiful layout my 4 year old great grandson found his fathers steam engine in my attic so we sat it up and rest is history we now have a HO lumber company with side track for unloading trees we have hours of fun deciding what else we can build together for our train now it’s on a 4×8 plywood in my small basement but hope to put it in a add on to my garage next spring but it will never look good enough to show but we love it.
My favorite steam locomotive, the Berkshire (2-8-4) and is a classic to the nth degree. This is really a neat layout. Congratulations
All I can say is WOW! What a great effect. Thanx for sharing. JF
That is tremendous. The skills demonstrated are first class. Would love to see more.
To: Peter Hubbard – I drill 7/64″ holes into the ½” plywood tabletop. I drill all the way through. Then I “hand- ream” for a perfect fit so I can adjust the final height. No wires — yet!
To: George Zaky – Videos coming.
To: Dewey Reinhard: 12v. “white” LEDs from China run off a 12 v. adapter.
To: Don Williams; Era vehicles are really hard to find – 4 or 5 sources. I don’t know if I will run wires or not — yet!
Incredible detail. I’m afraid I’ll never get there!
Top notch work.
I am part of a small group working on the lighting on our club’s layout. It is so much fun and very rewarding. You have to be quite proud of your results.
thanks for the lighting info – it really makes a difference so i have a lot of work to do.
ive always like a good lighting scheme, very well done.
Very nice layout with a very nice selection of scenery details, very well done !!!
Awesome layout with a lot of nice scenery details. Very well done, looks great !!!!!!
Terrific detail and great lighting. Also, the amount of detail is just right, not over done.