Brian’s been in touch with his HOn3 shelf layout update.
(Scroll down for the larger pics, some of the higer pics are a tad small.)
“Hi Alastair,
Here is my write up of my HOn3 shelf layout from the start in May to the current date.
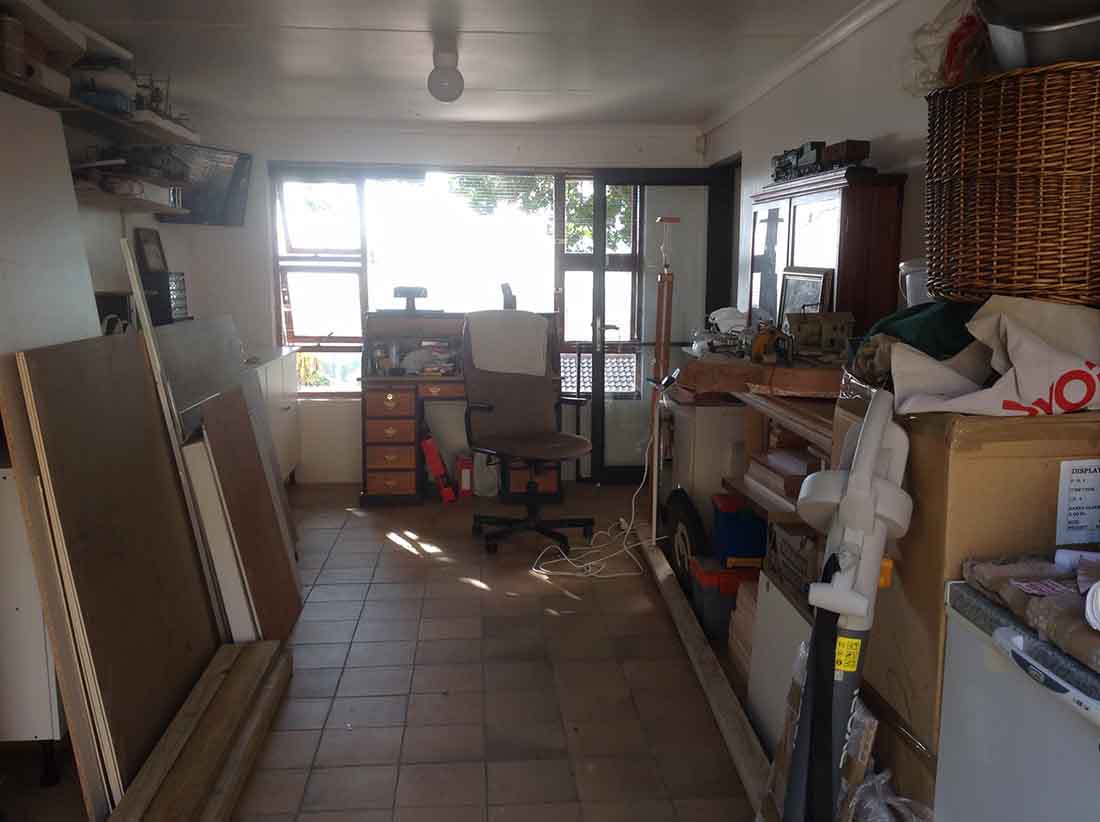
Below is a photo of the garage that will house my layout. All the wood for the bench work ‘shelving’ can be seen here. This photo was taken from the garage door side looking in.
Bench work in place ready for adding the LED strip lights under the valance’s.

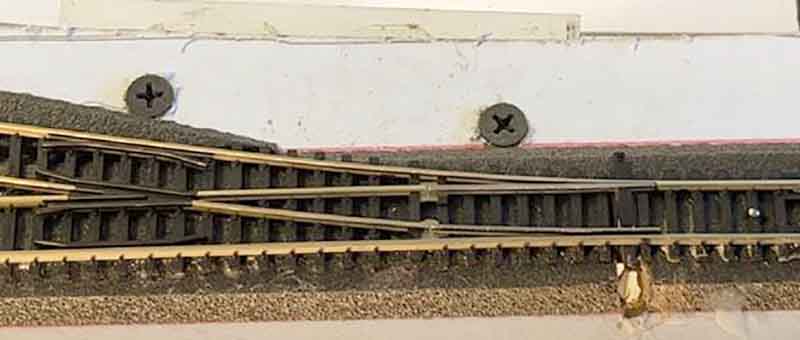
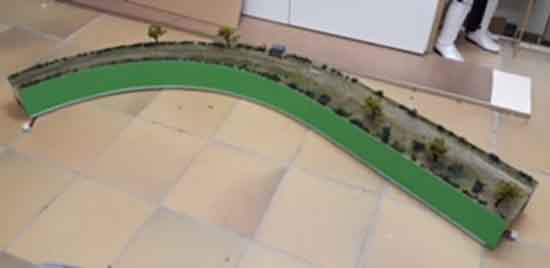
Layout size in the converted garage is 14ft by 11ft. This was before the continuous loop on the upper shelf was added.
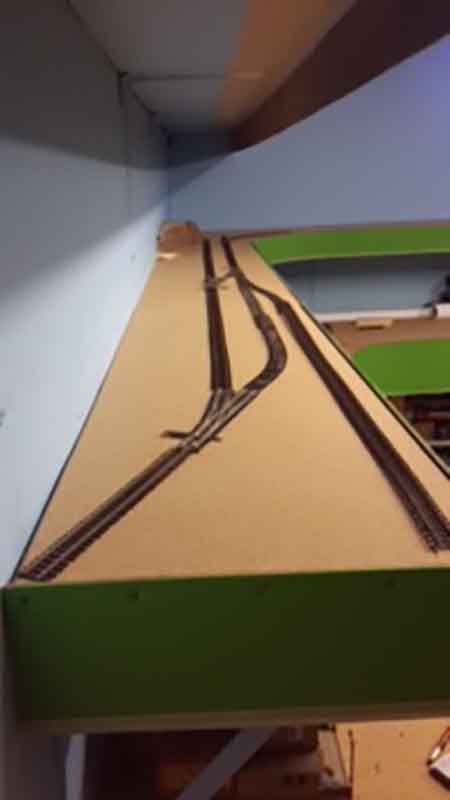
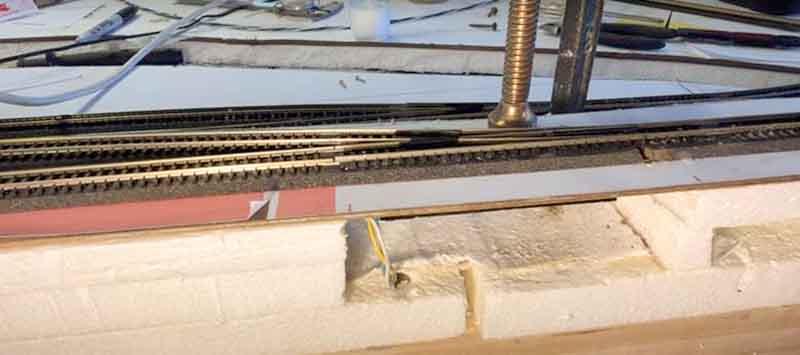
Temporary track placed in the logging area a the upper shelf before adding the LED lighting strips.
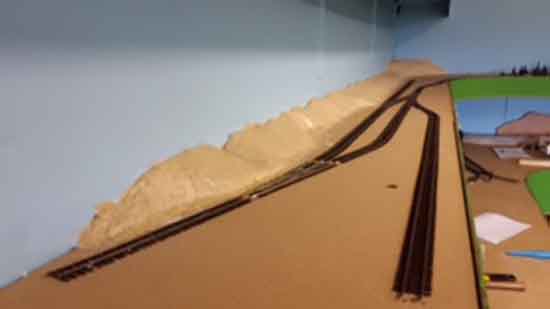
Scenery added behind the logging area and track fixed in place. The hole on the cork is where the Spar tree will be mounted for the loading of the logs.
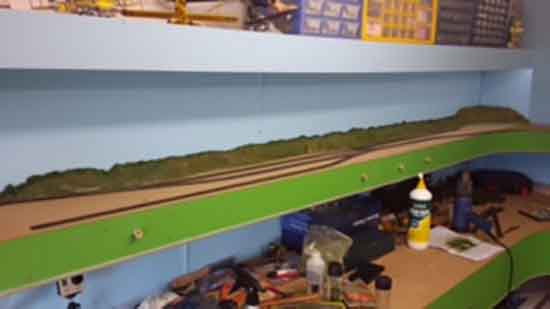
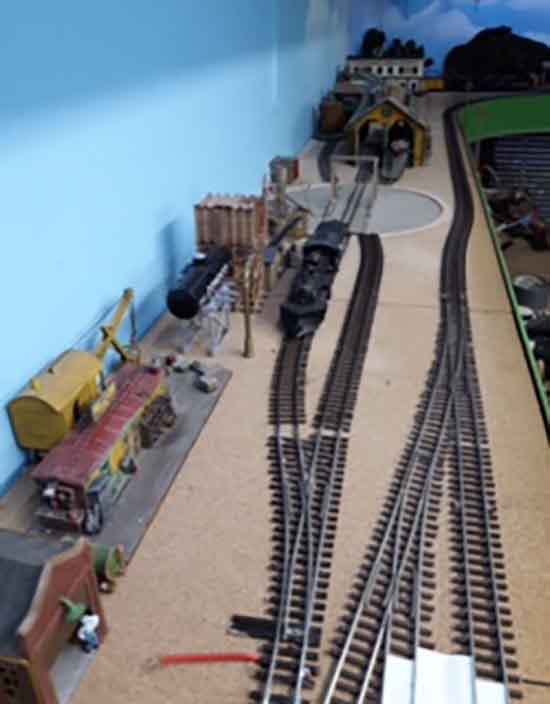
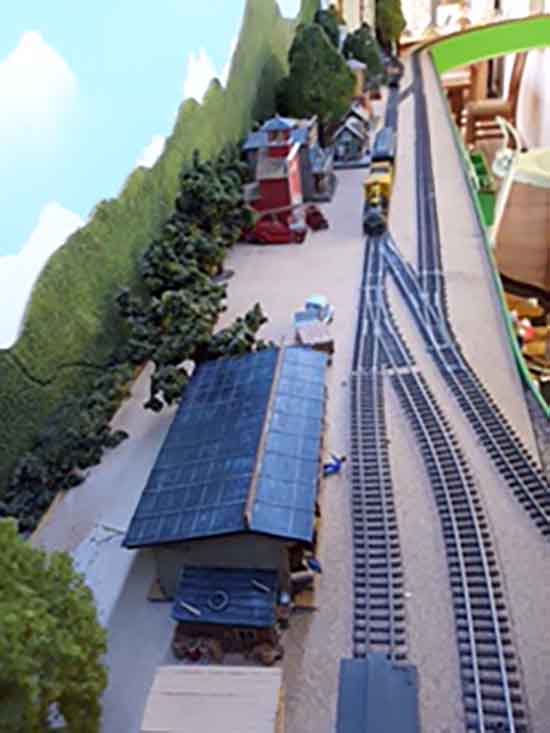
This photo shows the full length of the logging line on the upper shelf.
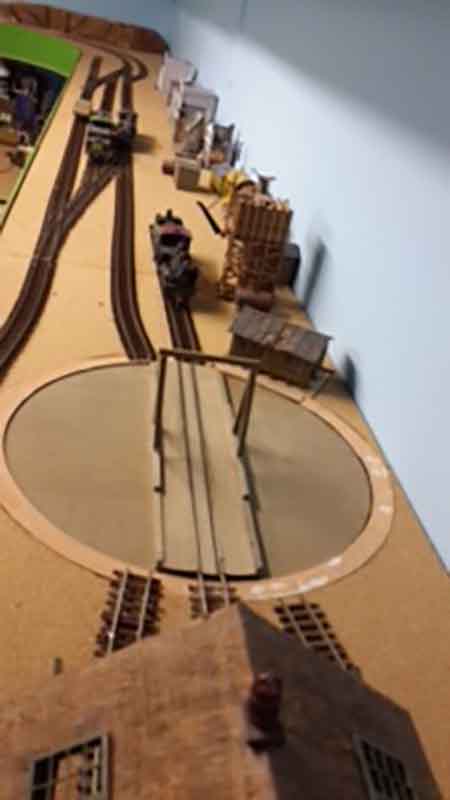
This is on the opposite side showing the yard area at Cascade Creek and where the engine terminal facilities will be with the turntable in place.

This is the shelf in front of the window above my workbench, this will complete the circle for the top shelf to allow for a continuous run.

A section of 3mm thick Masonite used for the mountain backdrop with different colours of scenic material added giving it a 3D look. Clouds were sprayed on the blue backdrop before the Masonite ‘mountain’ was added.
Below is another view of the town of Hillside with most of the industries shown. Also shows the Masonite mountain thickness of 3mm still giving the 3D effect.
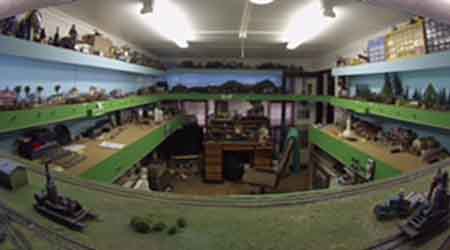
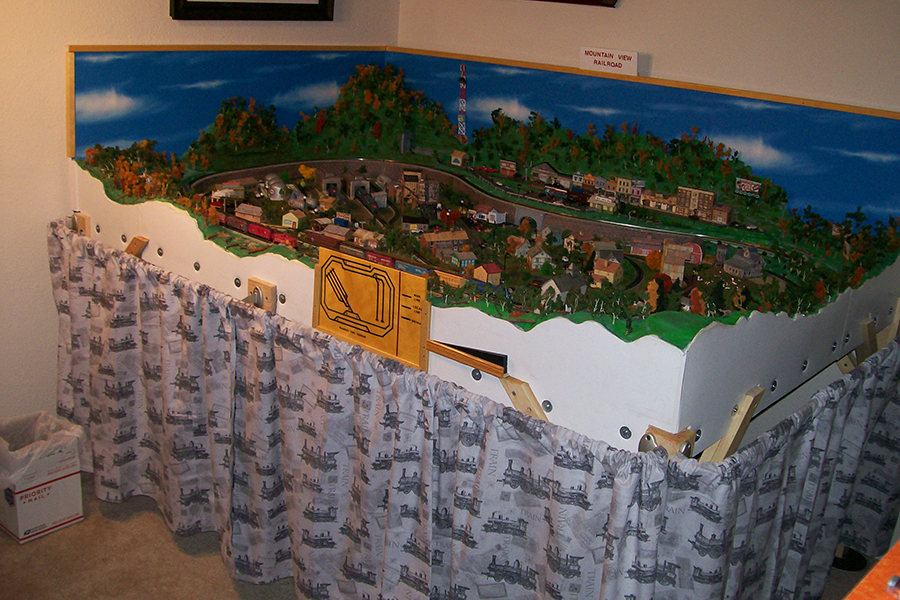
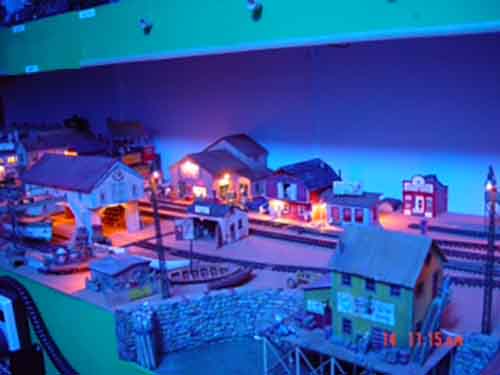
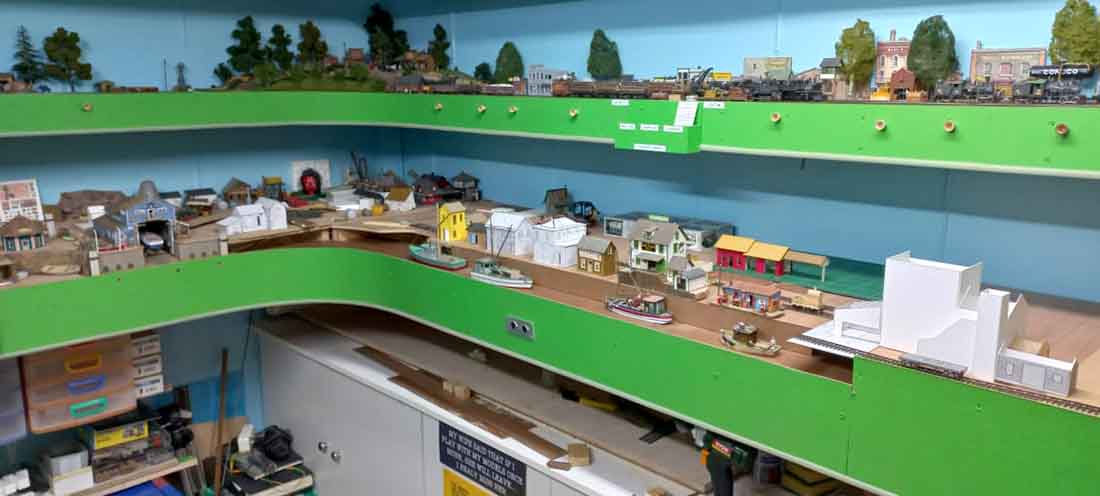
This is an overall view of the layout looking towards the window area. The door in top right is the entrance to the train room.The harbour will be on on the lower right hand side at the end of the shelf where a lighthouse can be seen. (Not it’s final position)
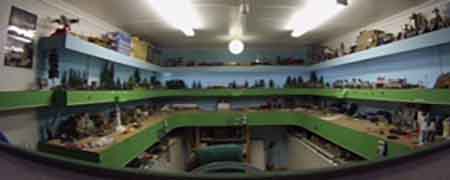
A view from the opposite side also showing where the harbour will be on the lower left. The lighthouse is the giveaway.
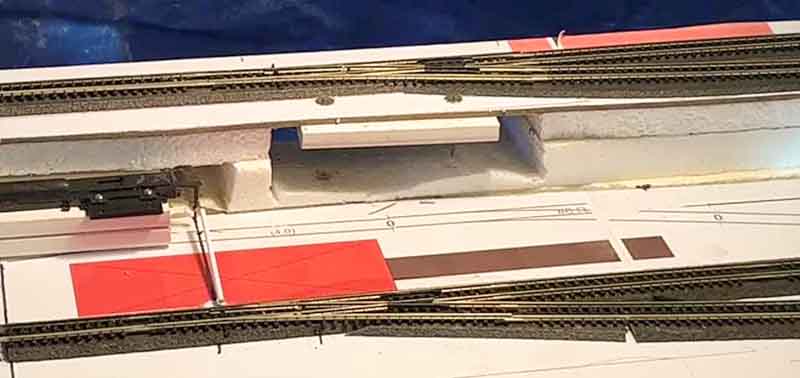
This is the removable connecting piece that will add the continuous loop on the upper level.
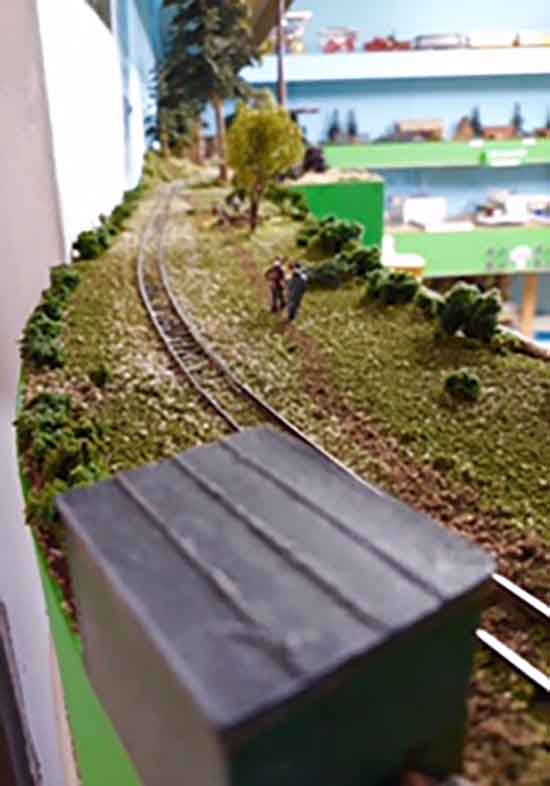
Here it is in place and fully sceniced. Two hobos are walking along the tracks to the hobo camp under the tree in the distance.
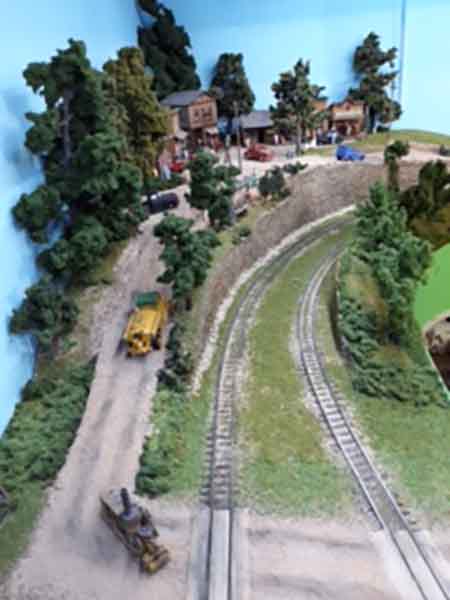
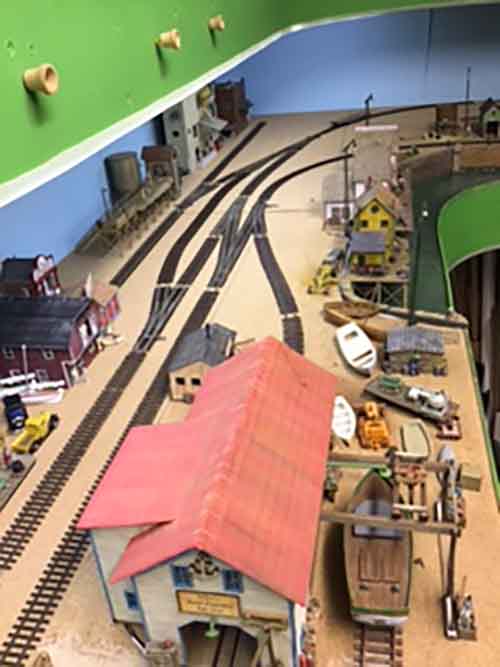
This is the town of Cascade Creek filling up a corner on the upper level.
A view from the opposite side of the HOn3 shelf layout showing the industries on it.
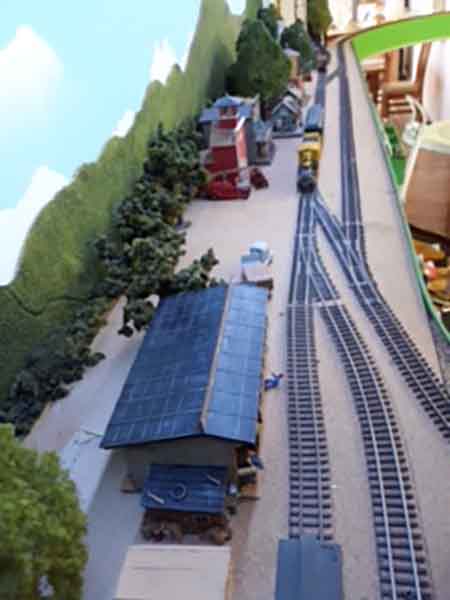
A full yard at Cascade Creek terminal. All of the buildings shown here are Woodland Scenics metal and wooden kits in the process of being built, painted and all will have interior lights and details where applicable.
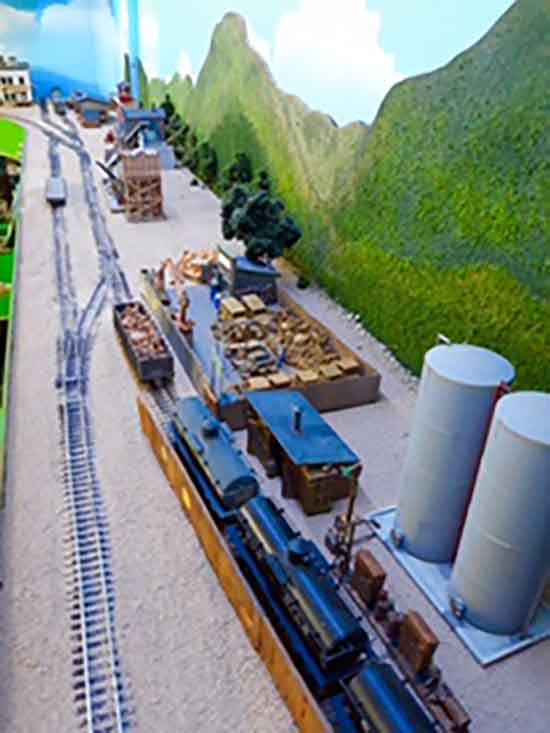
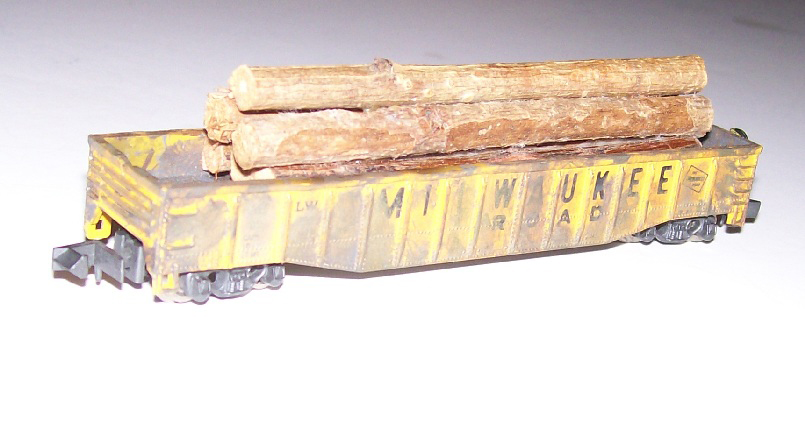
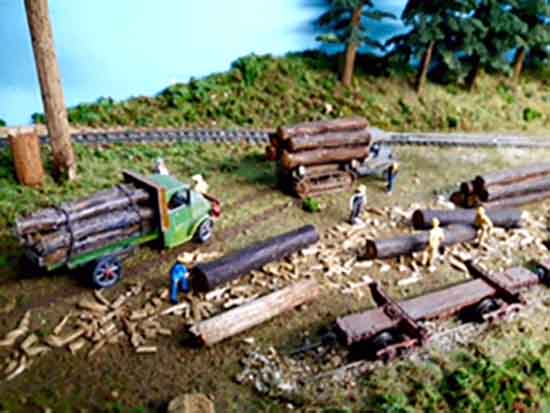
This is the log loading area at Camp 4 on the upper shelf. Vehicles are kit bashed Woodland Scenics and Jordan. Log cars are resin castings with added trucks, log bunks and Kadee couplers.
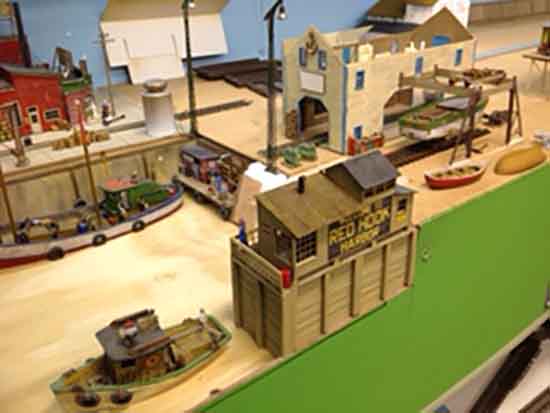
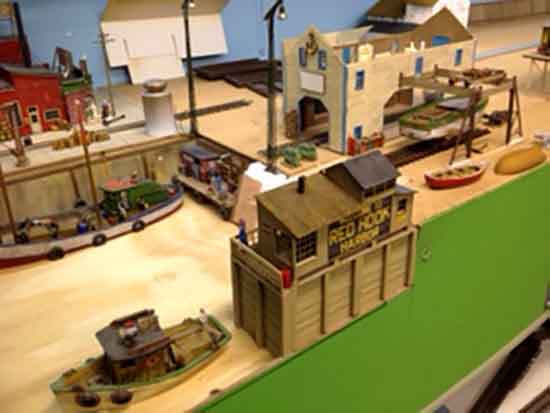
The start of Red Hook harbour on the lower shelf.
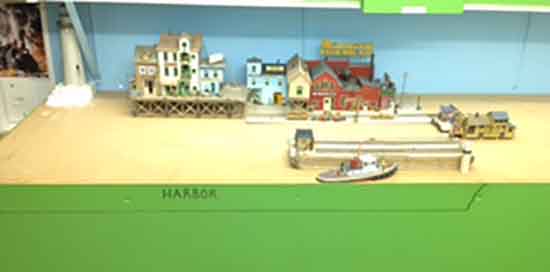
Some of the industries at Red Hook harbour.
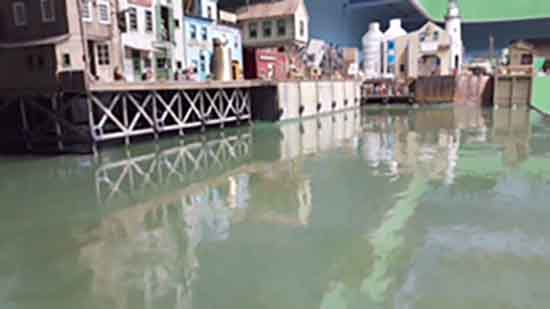
First layer of Woodland Scenics realistic water in the harbour. Still have to pour 3 more layers 3mm at a time to get it to the right height.
This view of Red Hook harbour shows the position of the working lighthouse and a fishing shack on the left hand side.

A small boat hire industry at the water level in the harbour.
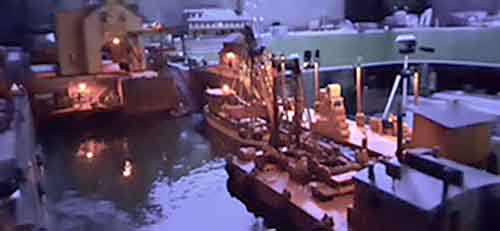
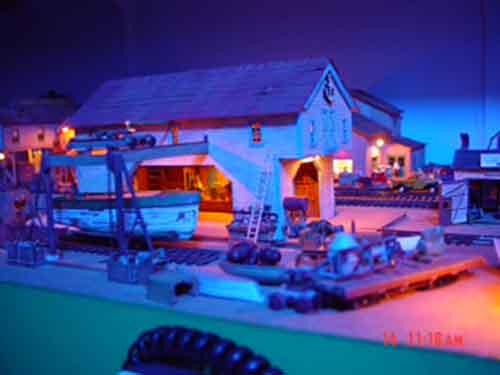
A night time view of Red Hook harbour.

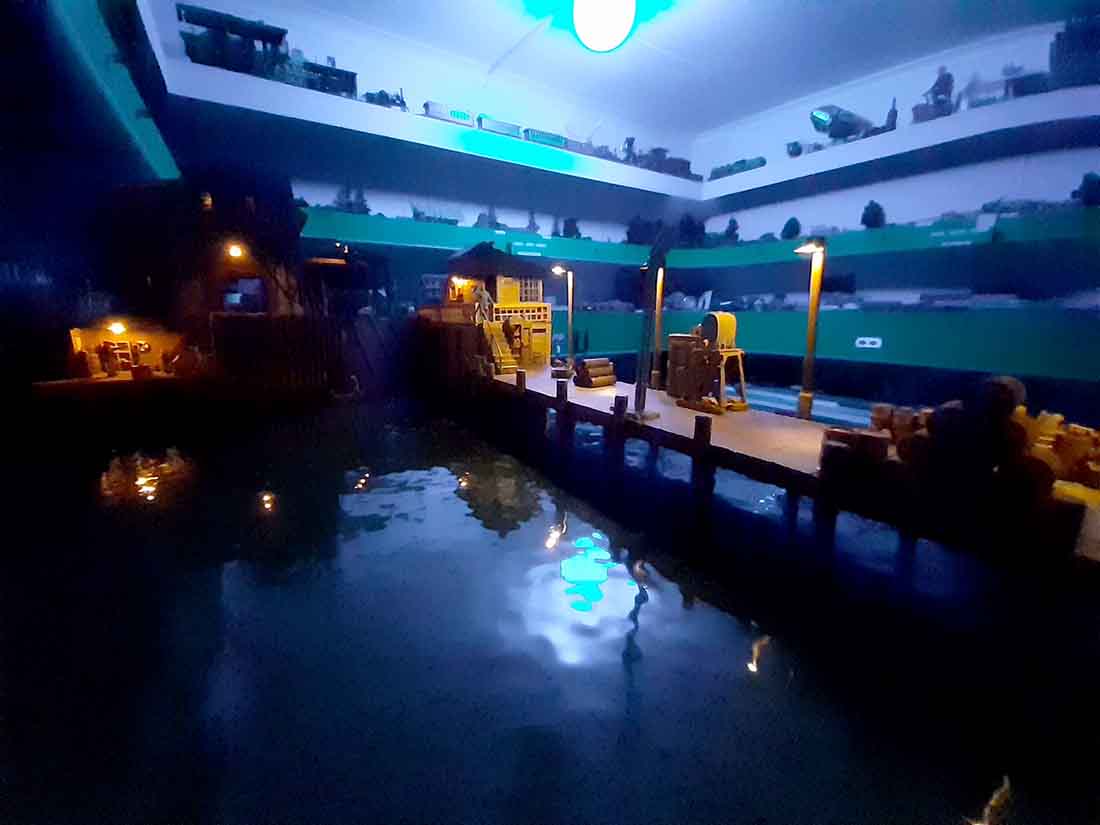
A small wharf in the harbour taken at night in this view.

A fully operational harbour with a boat being off loaded at the wharf and the contractors barge being readied for a night shift.
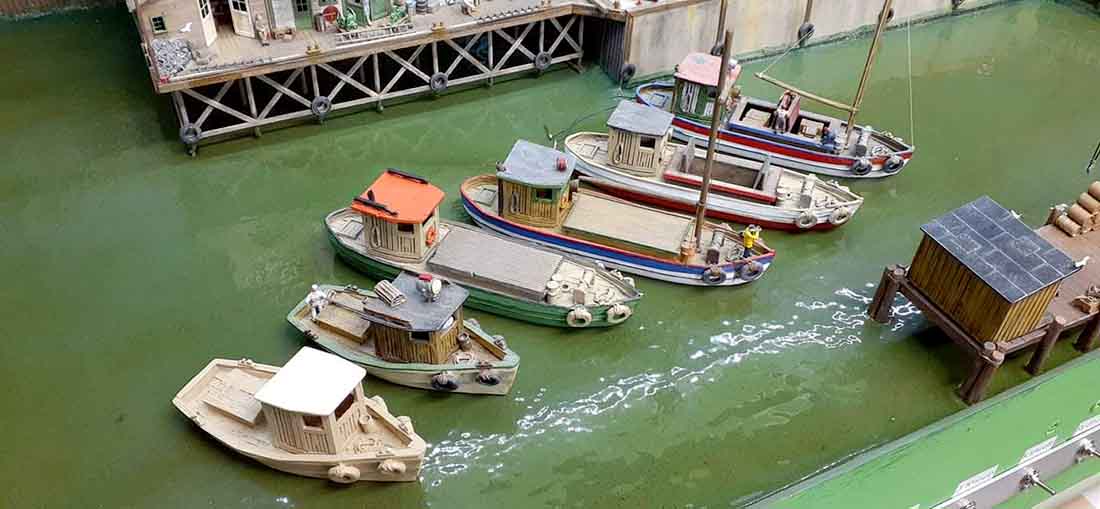
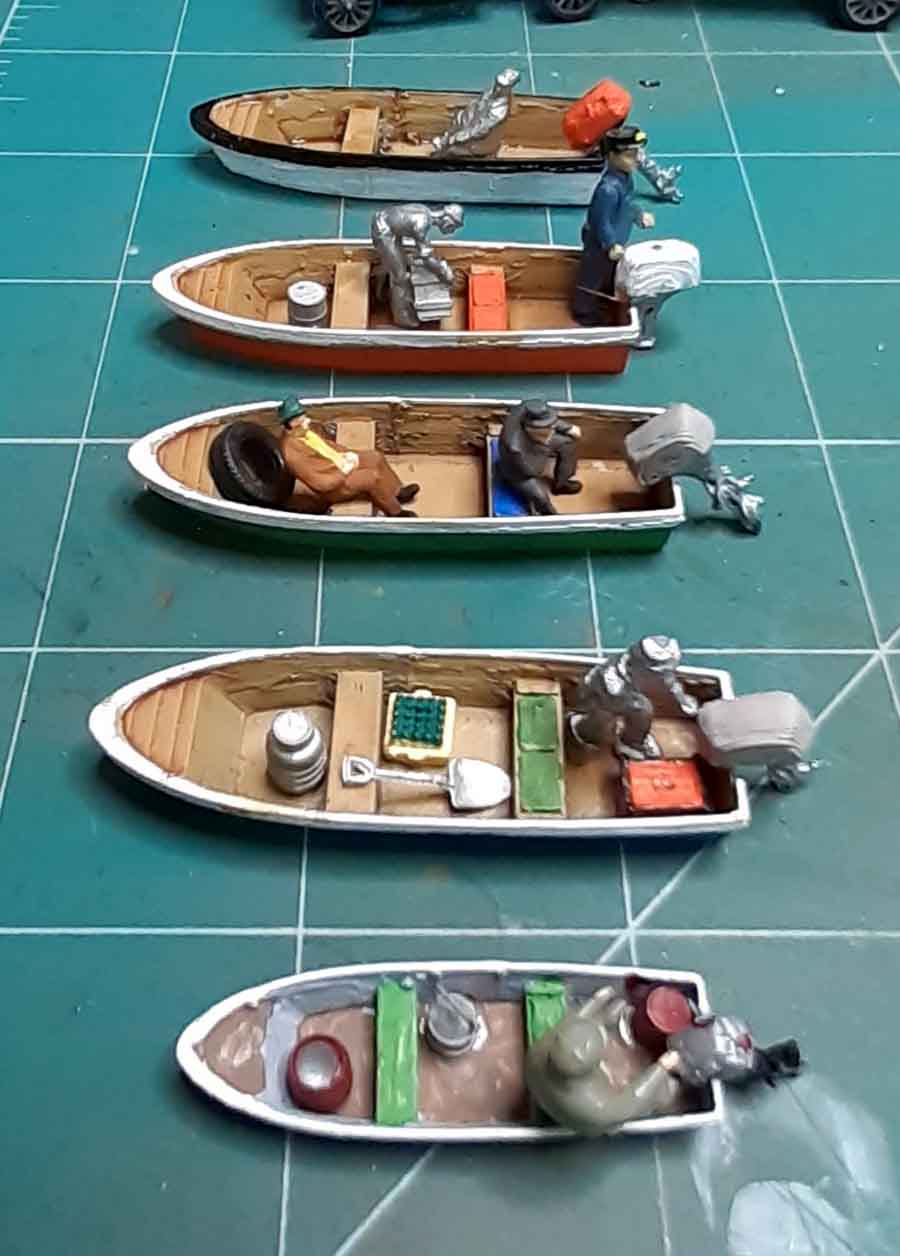
A few of my boats that are ready to be placed around the waterways on the layout. The orange roofed one is an original ‘as is’ resin casting – painted and weathered and the other 3 have been modified by milling out the holds and filling them with details.
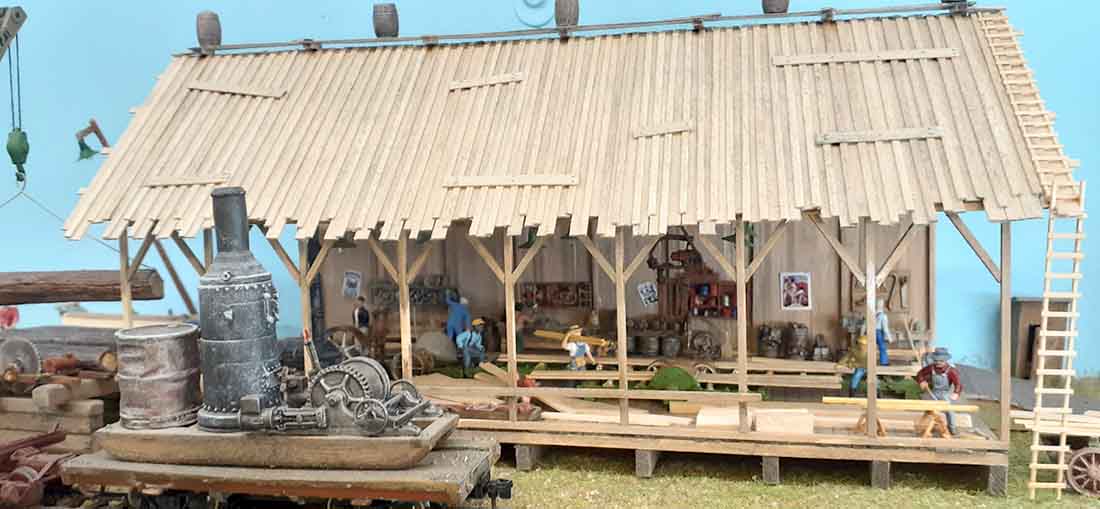
The kitbashed Fine Scale Miniatures sawmill with full interior detail and lights.
A night shot of the industries in the harbour area.
The night shift working hard to get the boat ready for its next sailing.
Track work being laid from the harbour area around to Pelican Bay.
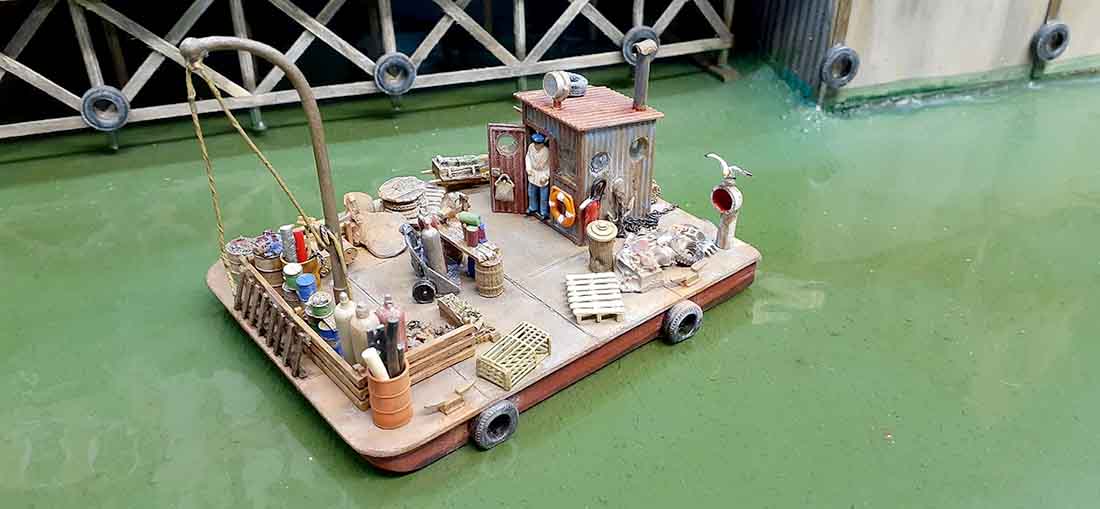
A scratch built barge cleaning up the waterways in Red Hook harbour.
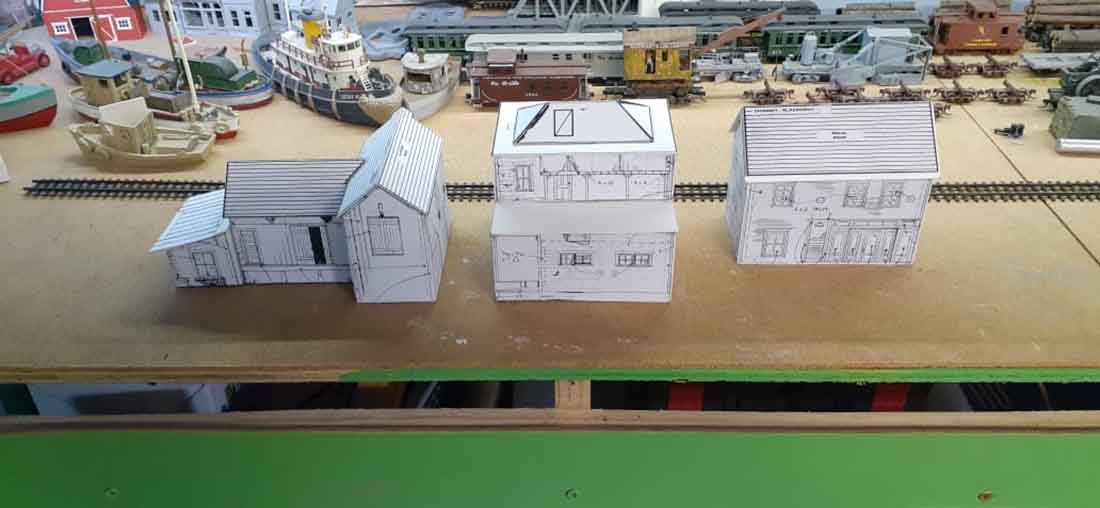
Card stock mock-ups of some of the kits yet to be built at Pelican Bay. Photo copies are glued to the card stock which then give me an idea of where the finished product will be placed.
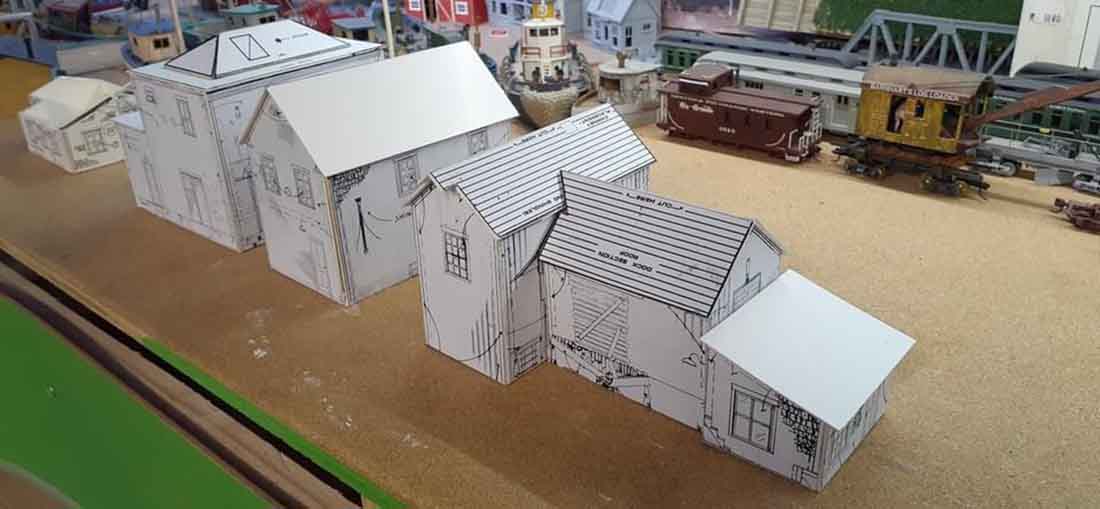
Another view.
Some of the 3D printed boats, painted and detailed that will populate the waterways around the layout.
The boat builder and repair shop at Pelican Bay. (described in a previous post).

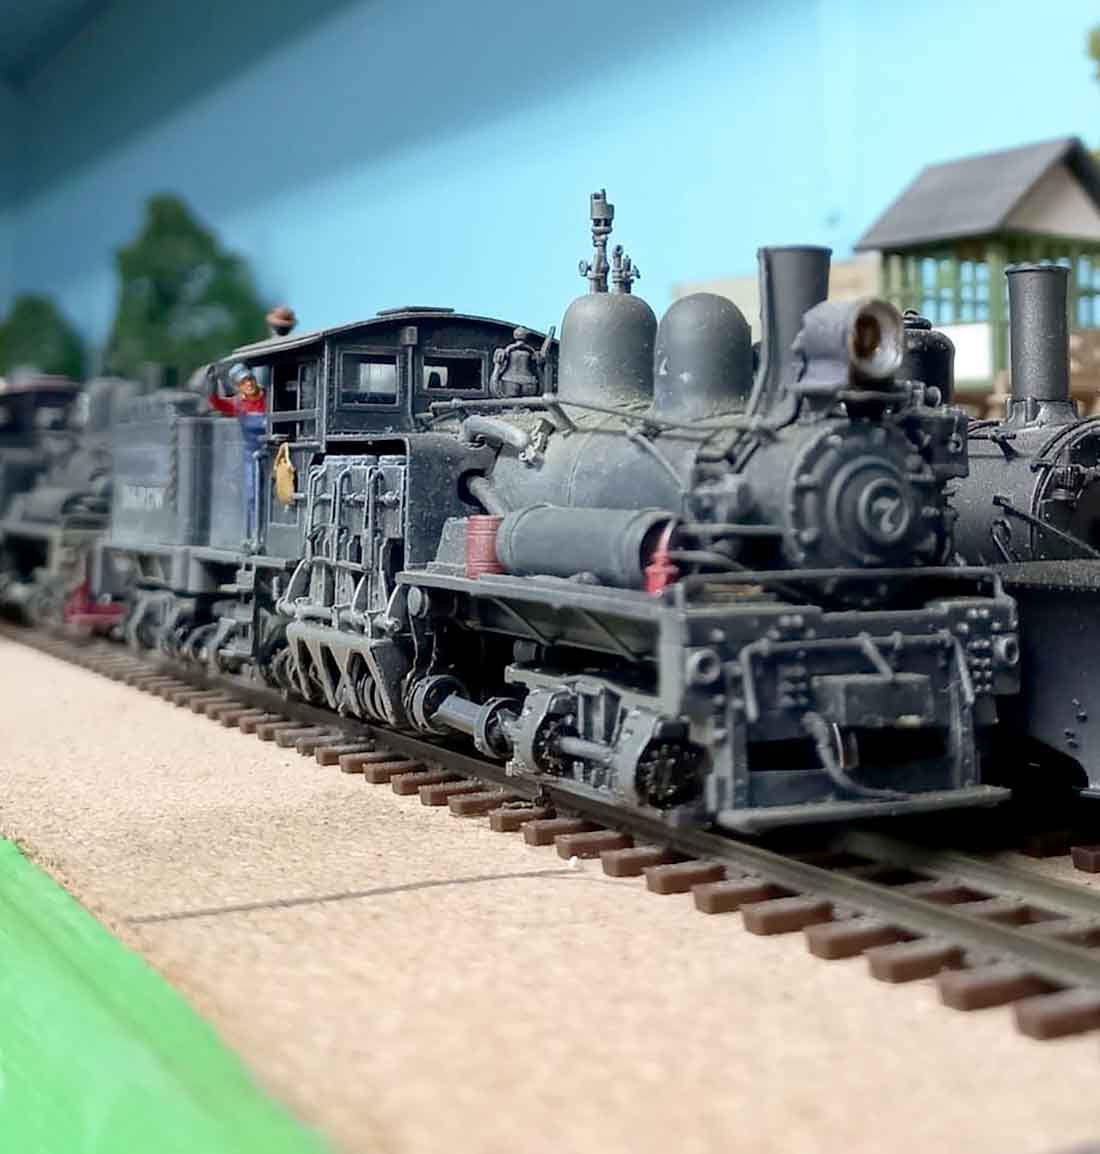
A Shay logging locomotive bringing in a log load from Camp 4 and will be delivered to the sawmill.
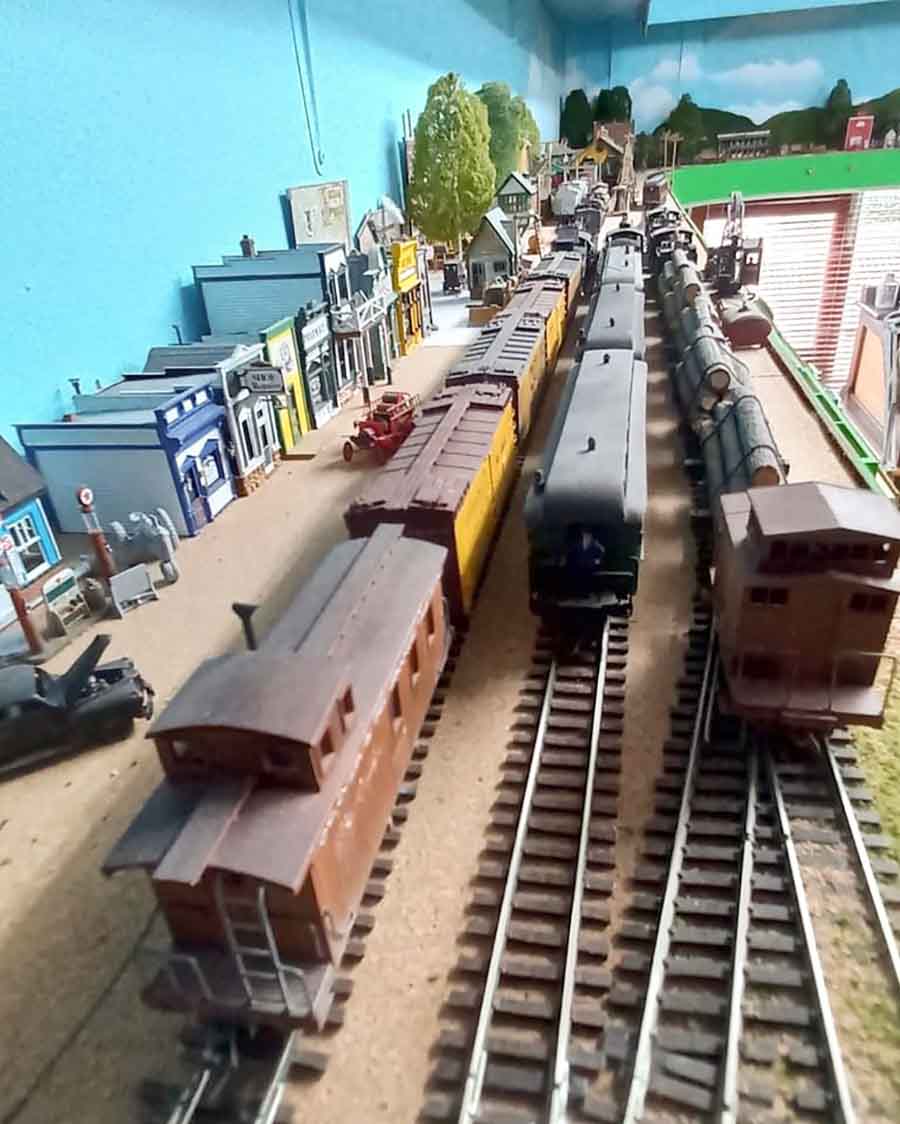
A refrigerator train ready to depart, clearing a track for the log train on the right hand side to be delivered to the sawmill. A Passenger train is waiting for clearance to leave.
An overall view of the Pelican Bay extension on the lower level. On the right is the white card stock building mock-up of the Seafood Emporium.
Some of the machines that will be used in and outside some of the kits. They are Scale Structures kits assembled and painted. The vehicle is a Woodland Scenics kit.

One of my latest kit bashed kits, the Fine Scale Miniatures Seafood Emporium.

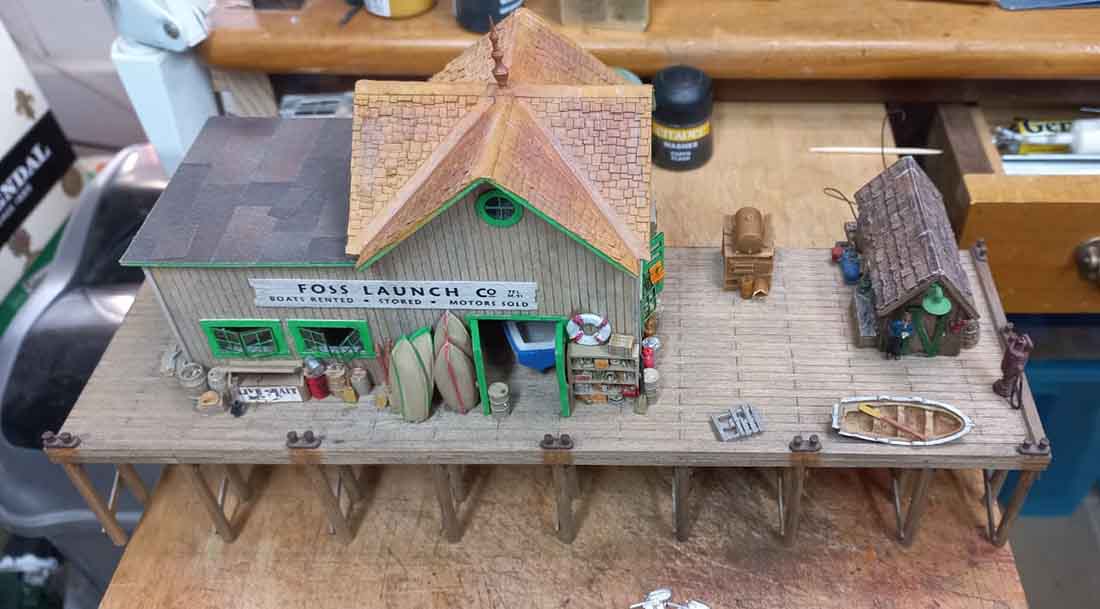
A Sierra West kit of Foss boat launch company.
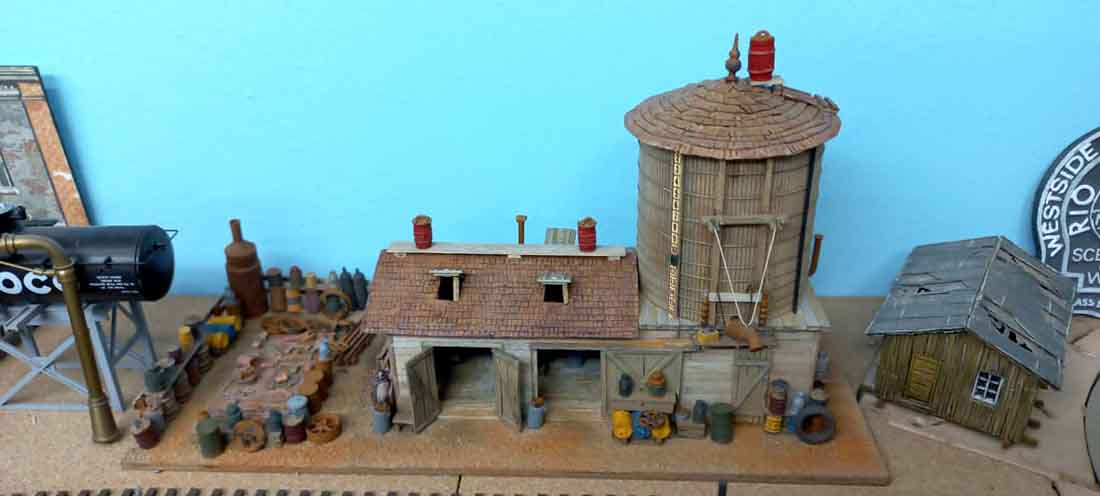
A Fine Scale Miniatures Water Tank and Tool shed for the upper level at Cascade Creek terminal.
A footnote: all of my buildings have full interior details and lights where possible.
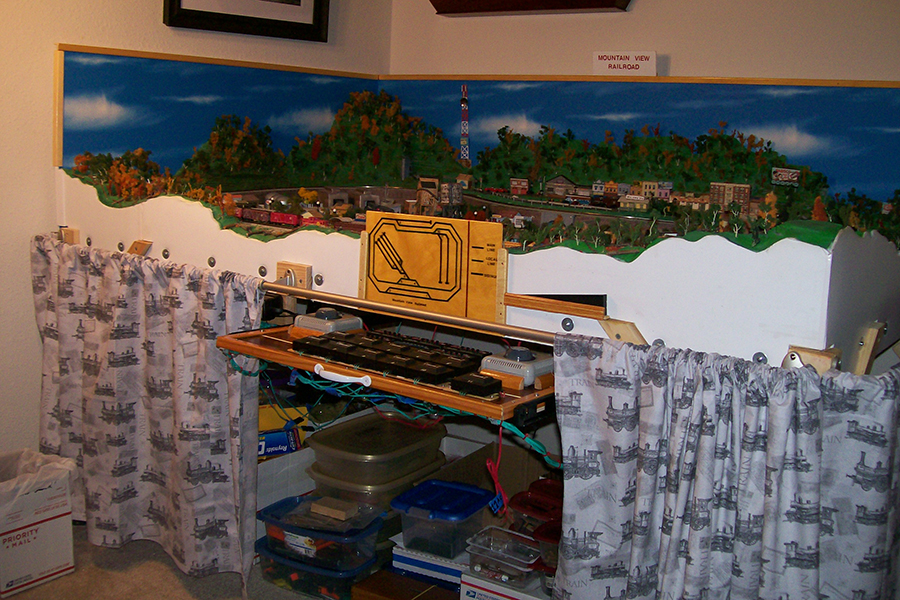
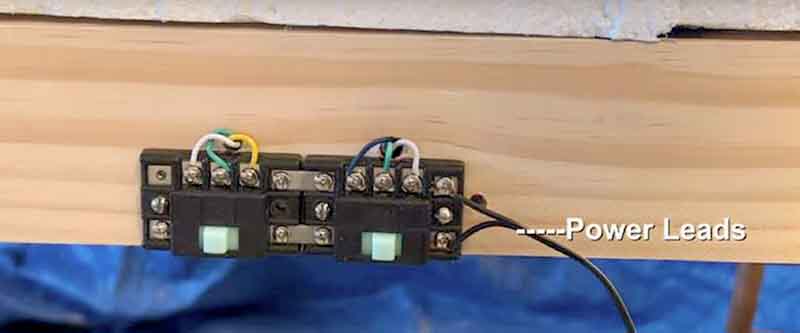
The HOn3 shelf layout is all DCC by Lenz and has three hand held controllers.
In quite a few photos it can be seen that there is still a lot of ground cover and scenic material to be added and buildings bedded into the ground.
The night shots were taken with the blue ceiling light switched on and all other ceiling lights switched off.
All of the above is a work in progress.
Kind regards
Brian”
A big thanks to Hall of fame member Brian, it’s always good to see a layout grow from the ground up.
That’s all for today folks.
Please do keep ’em coming.
And if today is the day you get started on your layout, the Beginner’s Guide is here.
Best
Al
PS Latest ebay cheat sheet is here.
PPS HO scale train layouts here if that’s your thing.