George has been in touch with his S scale model train layout – he’s found out a few things about his double loops:
“Hi Al
Hope this finds you well.
This message is a little different. It’s about what I built, was unhappy with, and then I dismantled it for bigger plans.
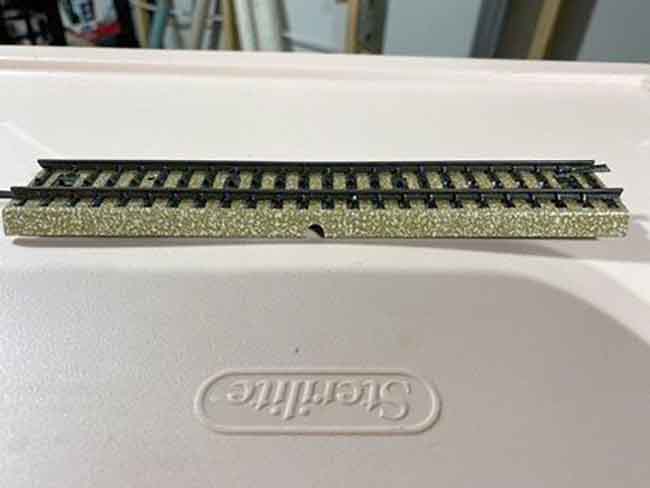
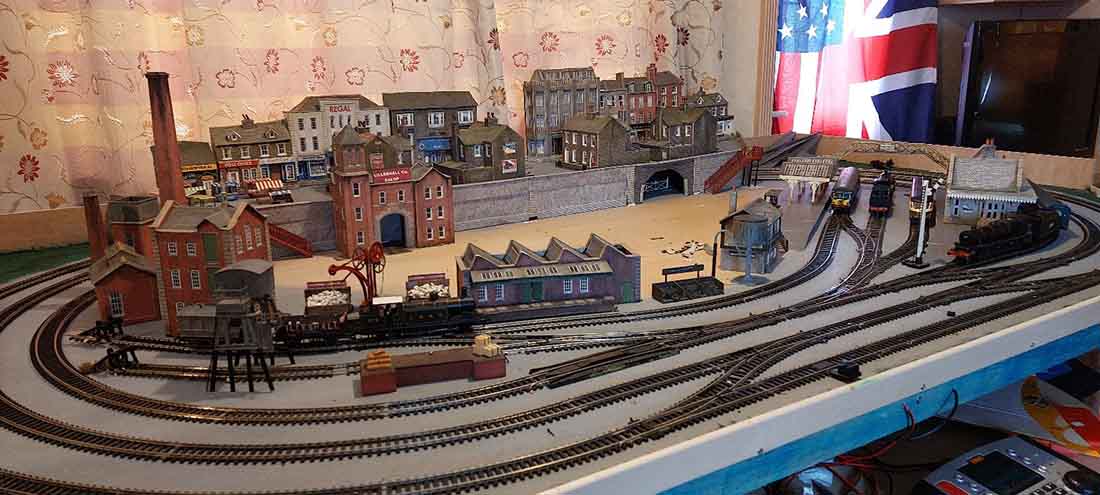
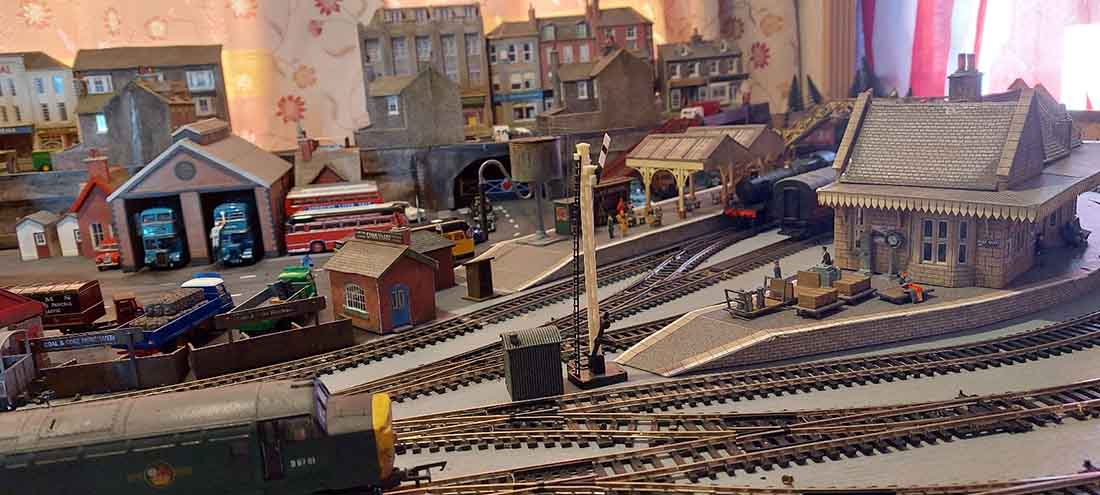
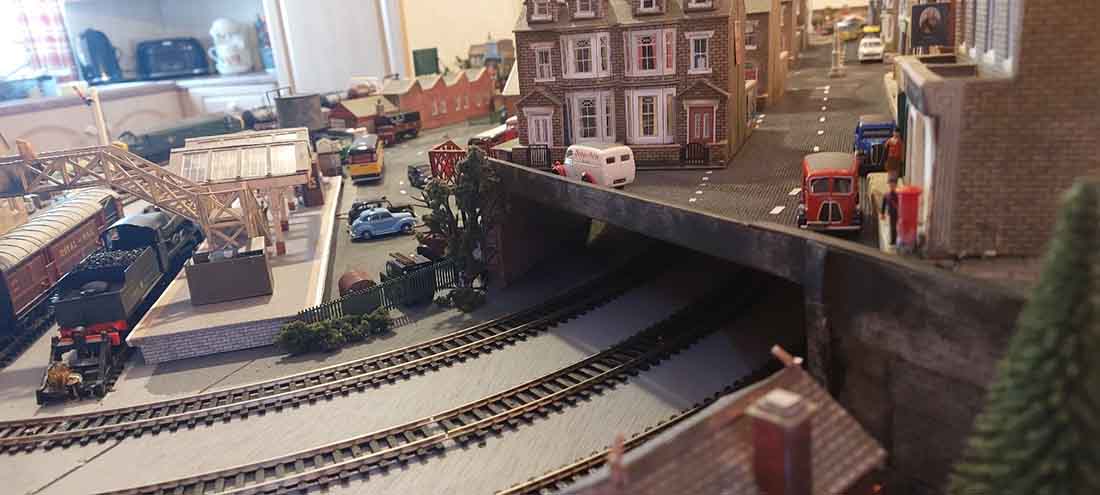
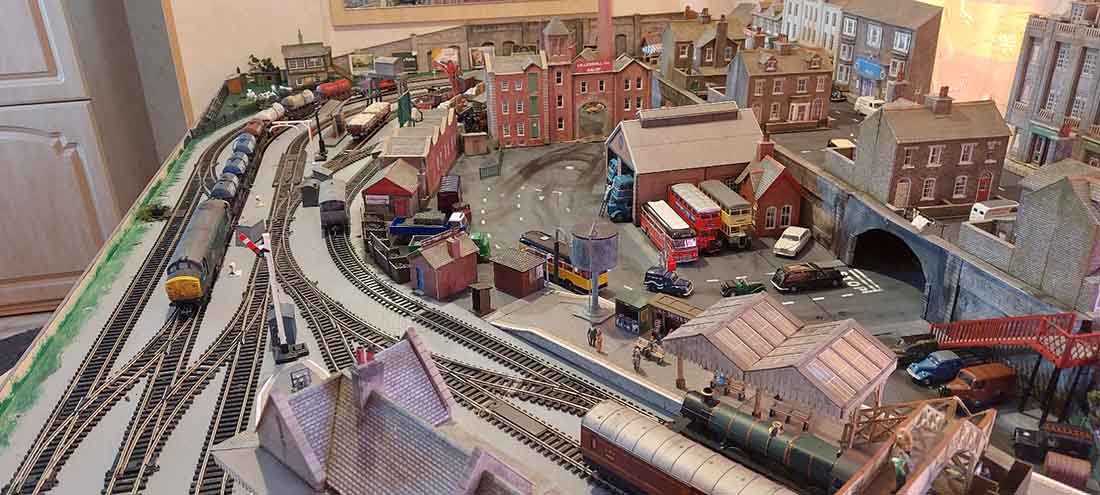
First this was an S scale layout on a 9×12 base. The scheme was an over under outer loop and turn-outs to an inner loop.
I was so excited about watching the trains run the big long loop and I was happy about that. When it came time to add scenery the high outer loop prevented me access and I quickly became discouraged.
I also saw that the passenger trains did not do well on the inner loop and that was to be the station location. I became very unhappy with those awful Lionel turnouts- too tight and soon defective- and the track with cast ballast grew boring.
What I learned was the inclines were just too much, the valley in the middle was inaccessible, and there are such better ideas than this one. I still like the loops that “keep em rollin”. I treasure that Polar Express but it flew off the Christmas layout and is in for major surgery.
This is very far from the wonders you bring to light but I need to share some things that just might be useful to others.
Hope you “ keep em rollin”.
George”
And now on to Bill:
“Al
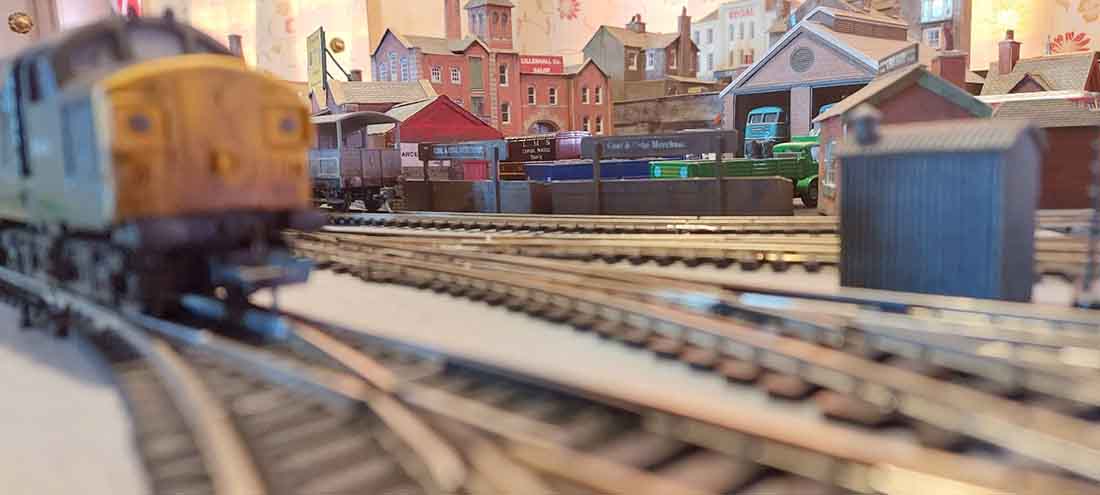
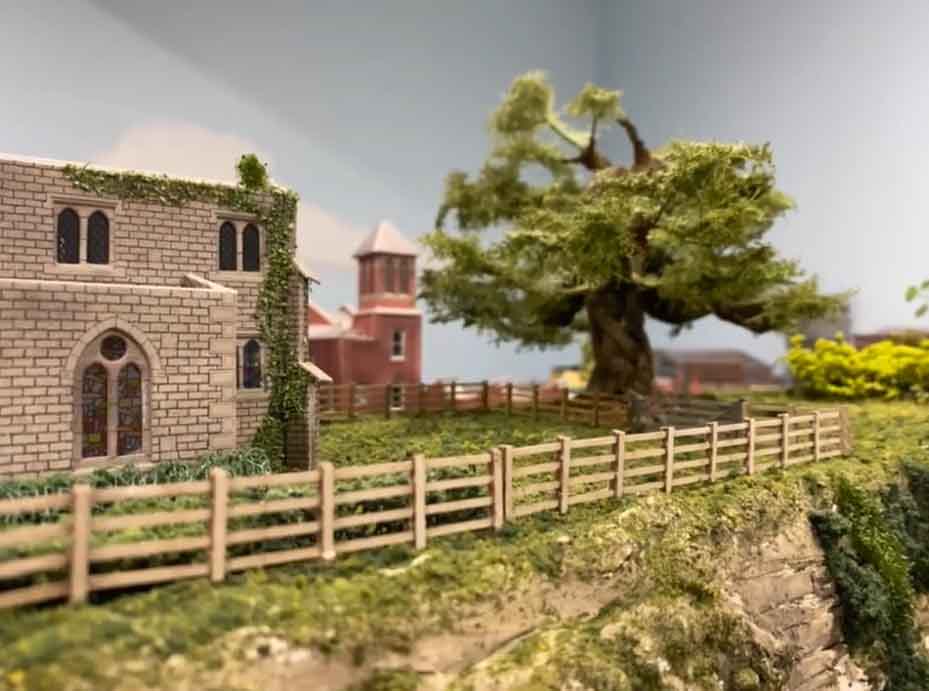
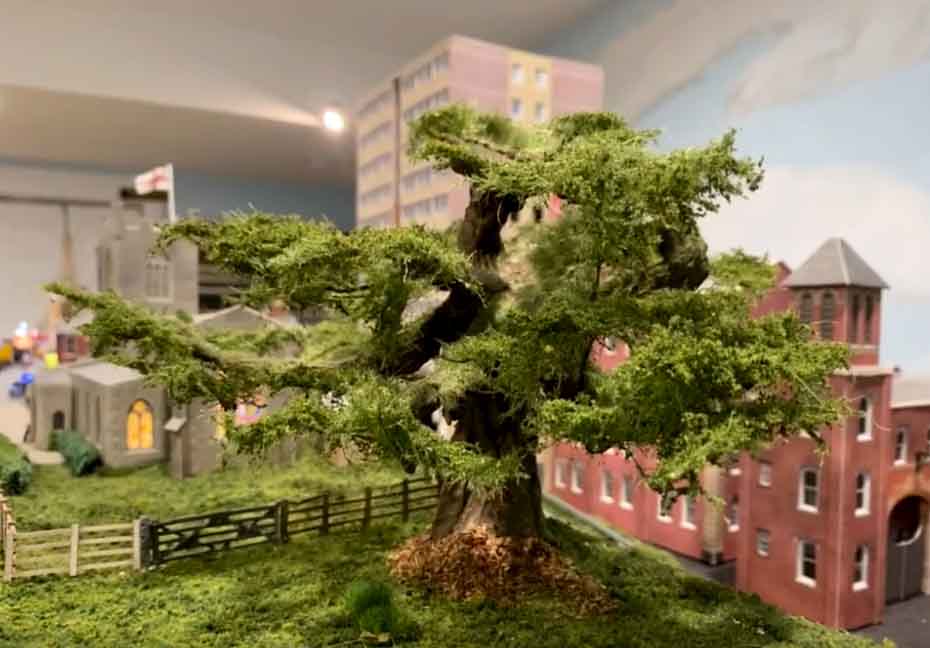
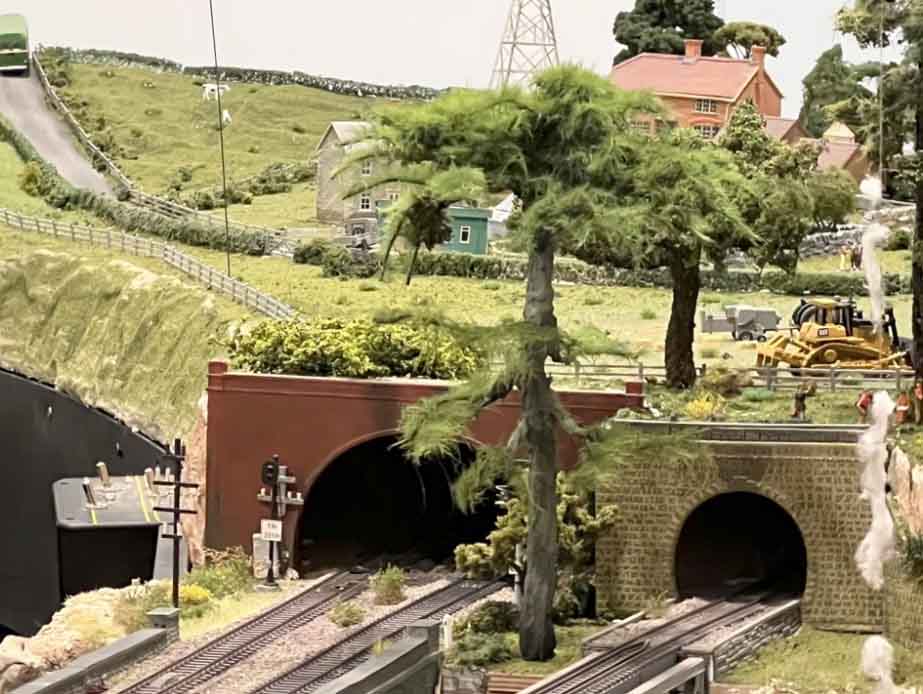
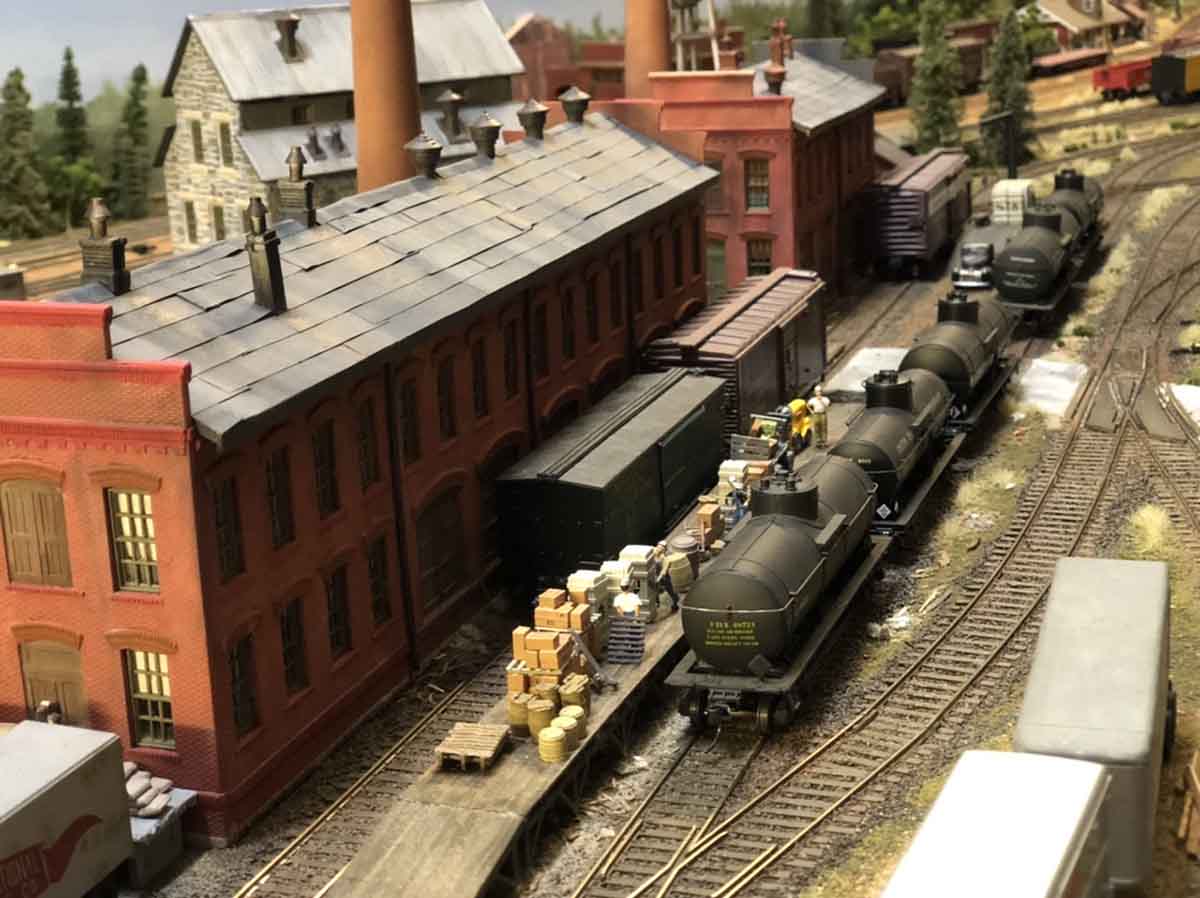
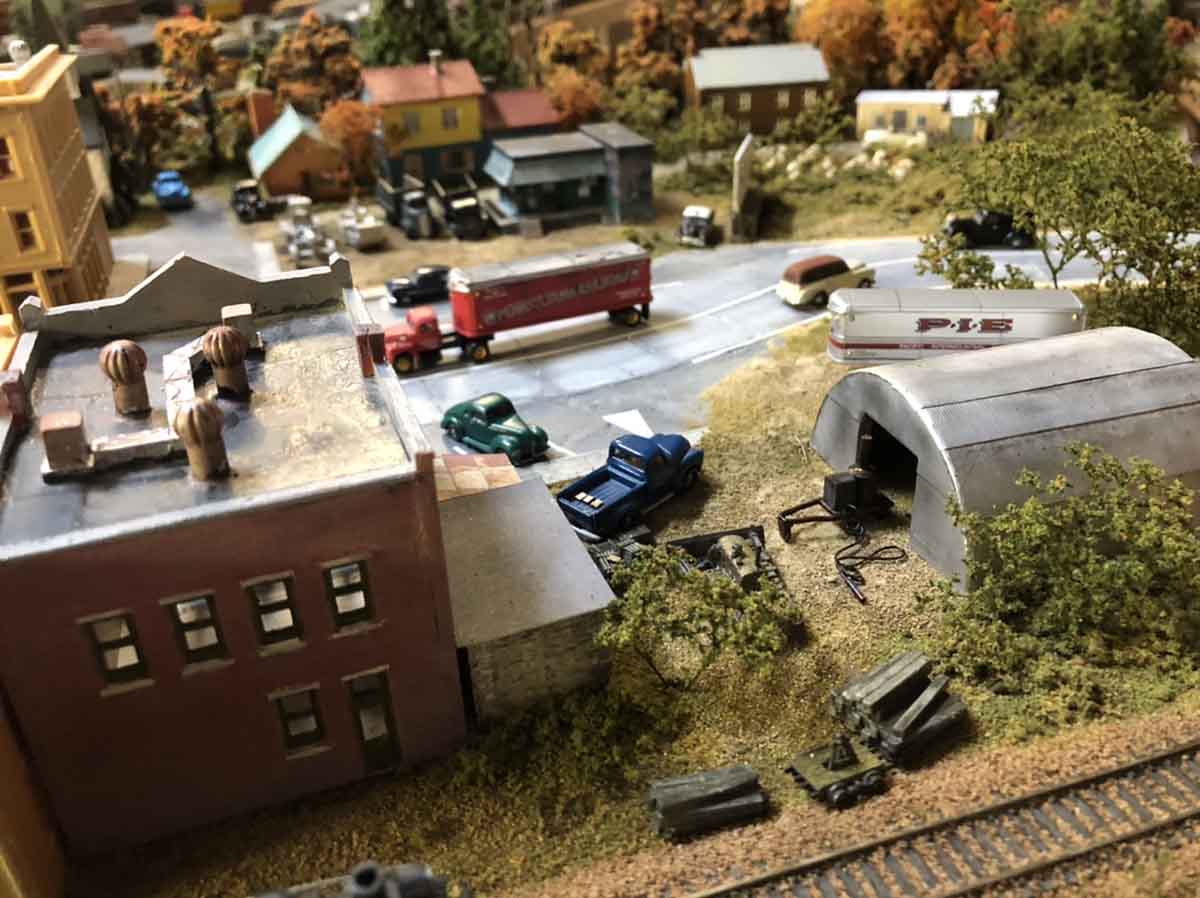
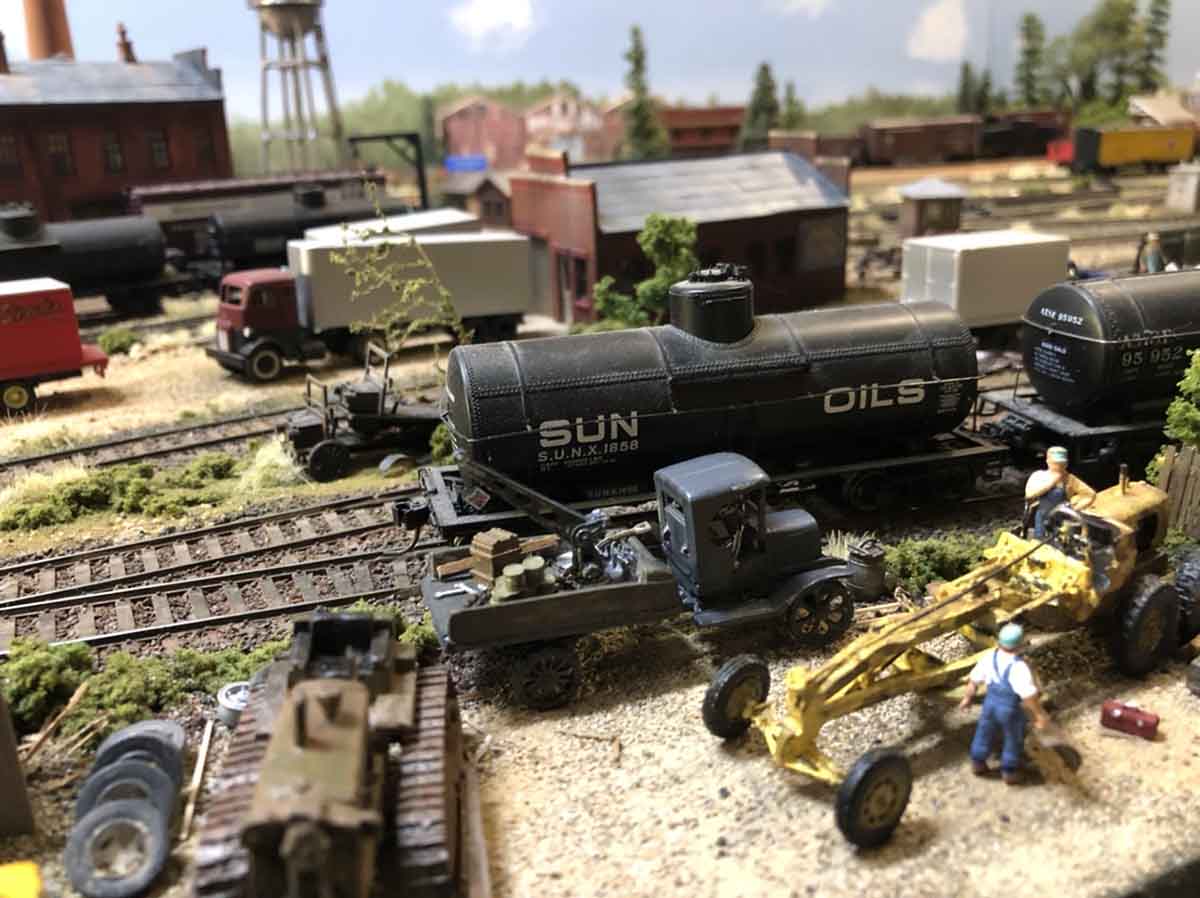
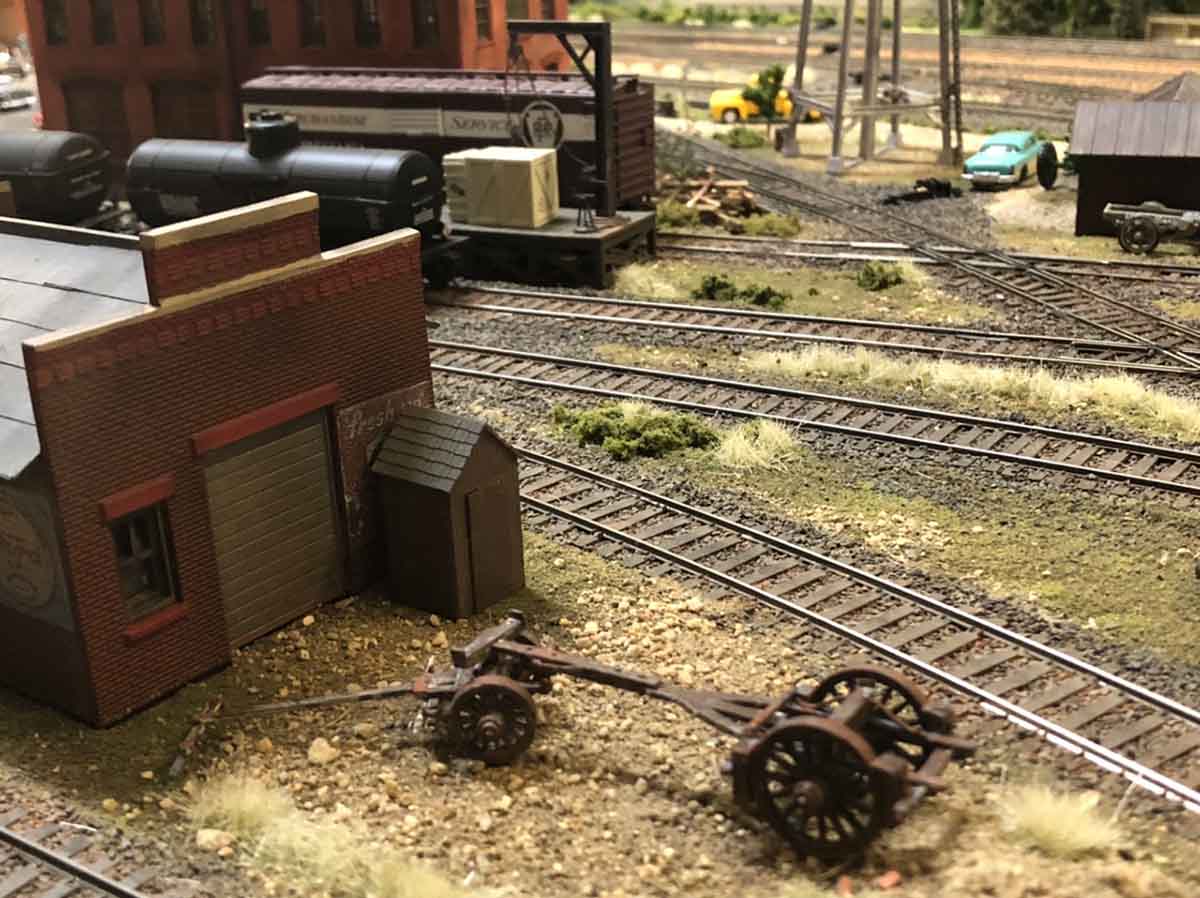
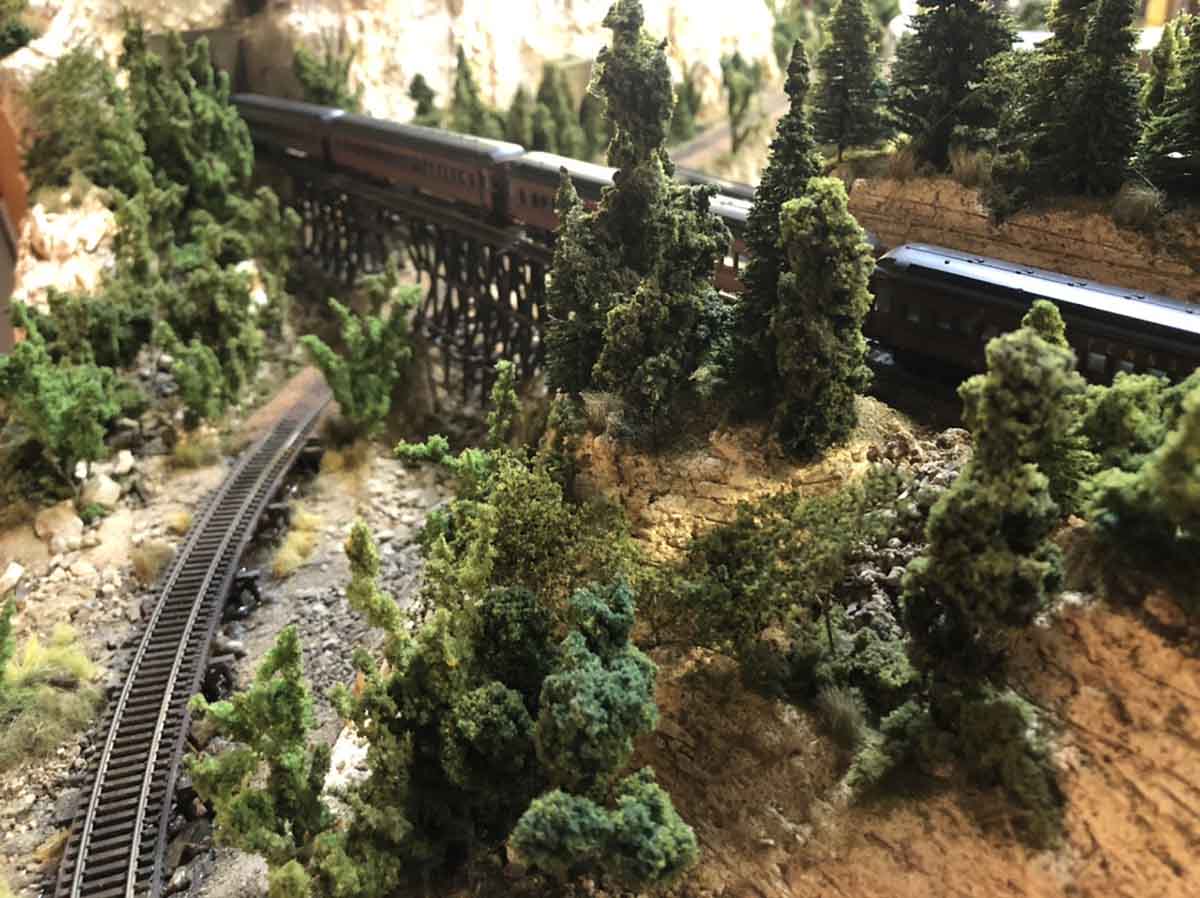
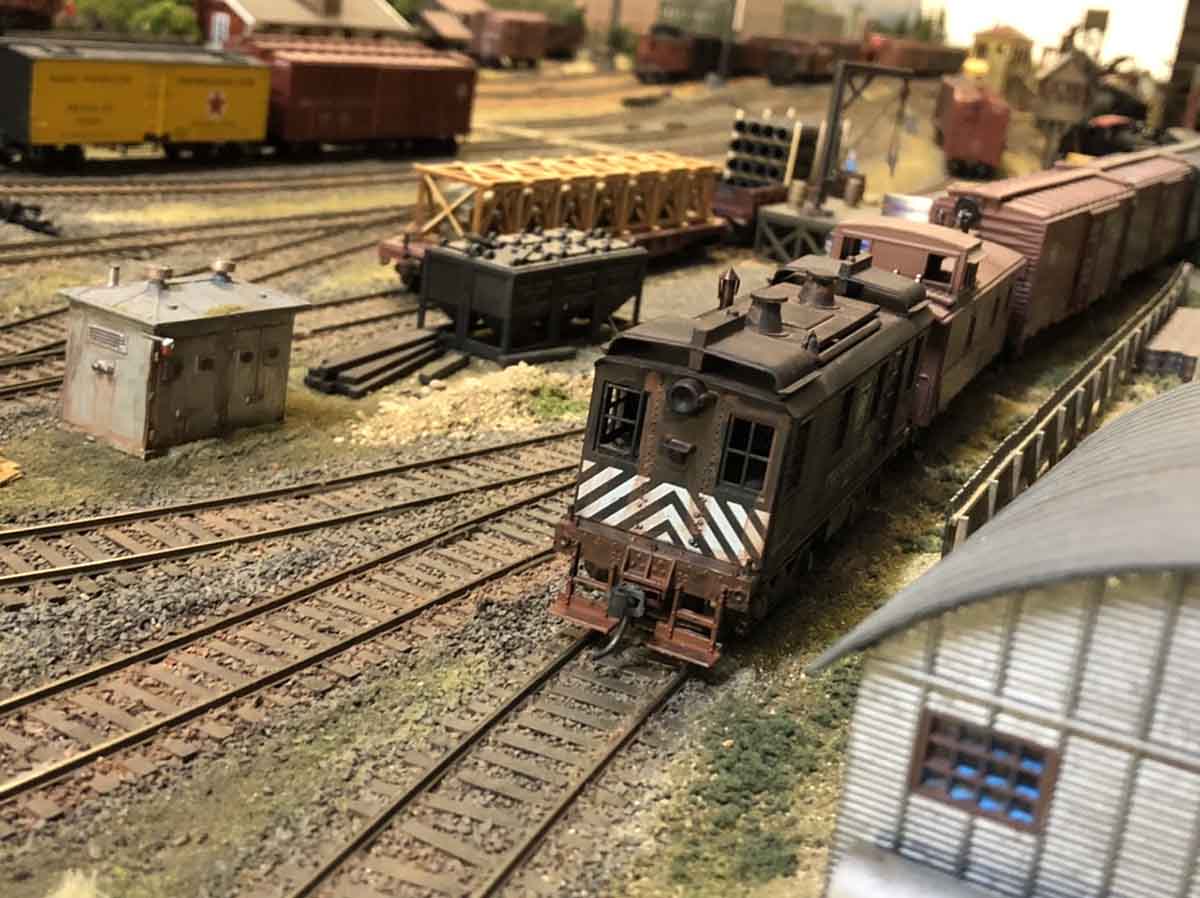
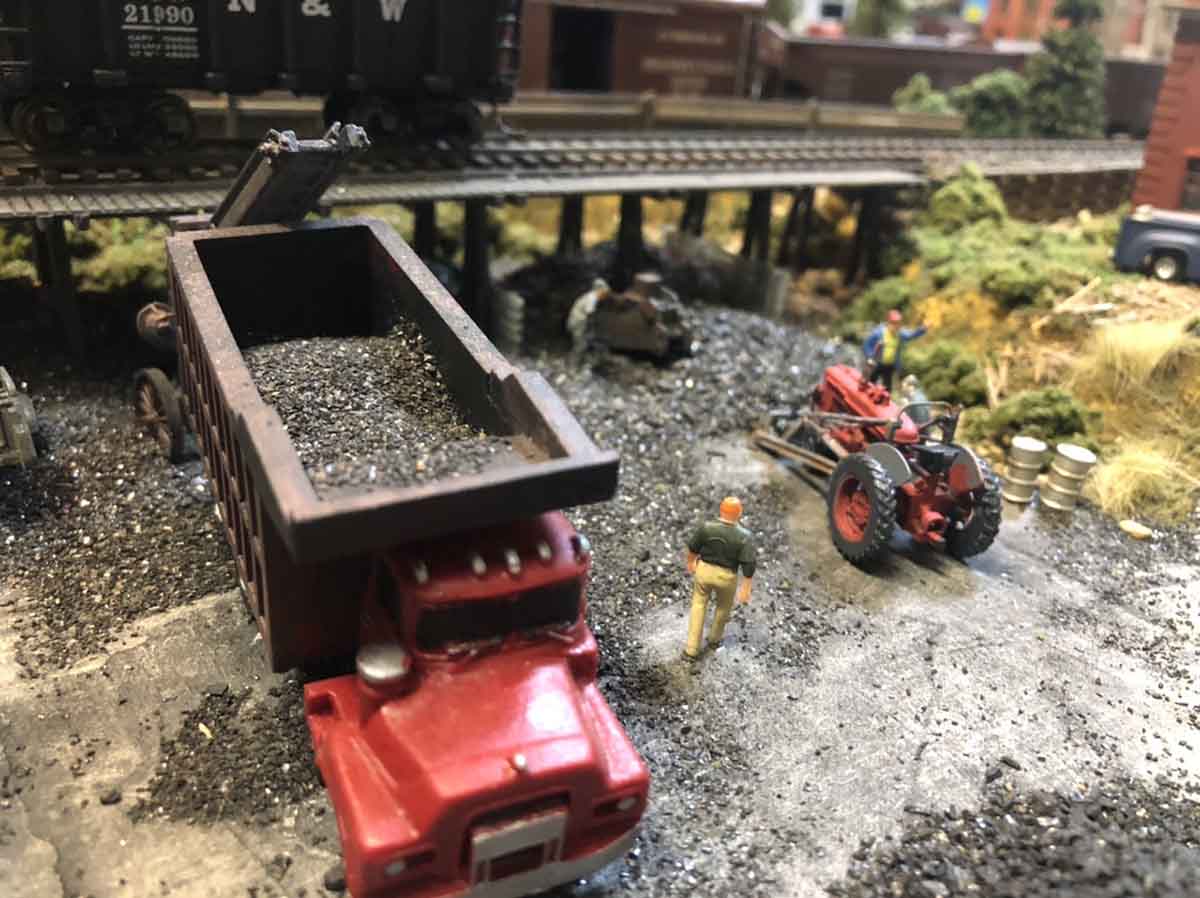
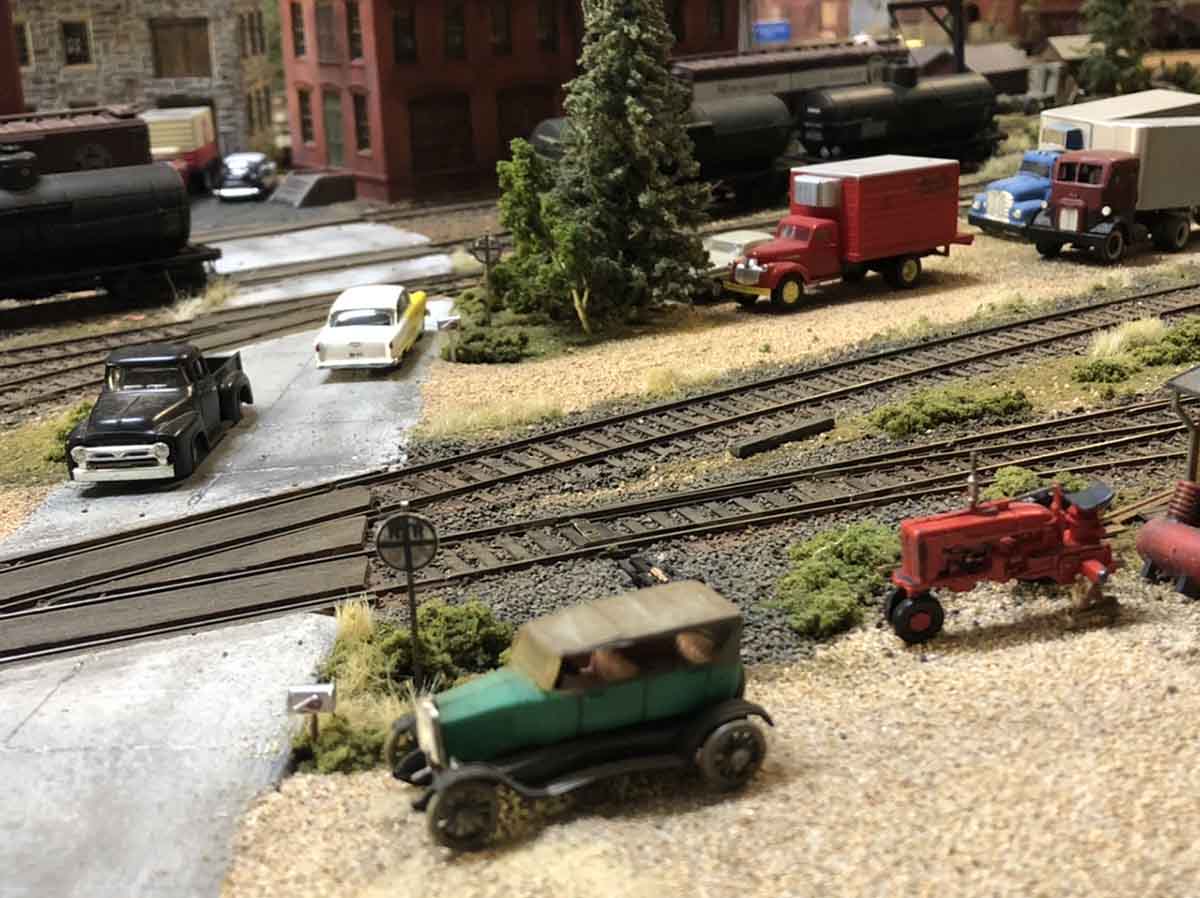
What I have included today are a variety of pictures from both the HO switching layout and my N Scale layout as well. The past month or so I am enjoying running both layouts and also adding in new details.
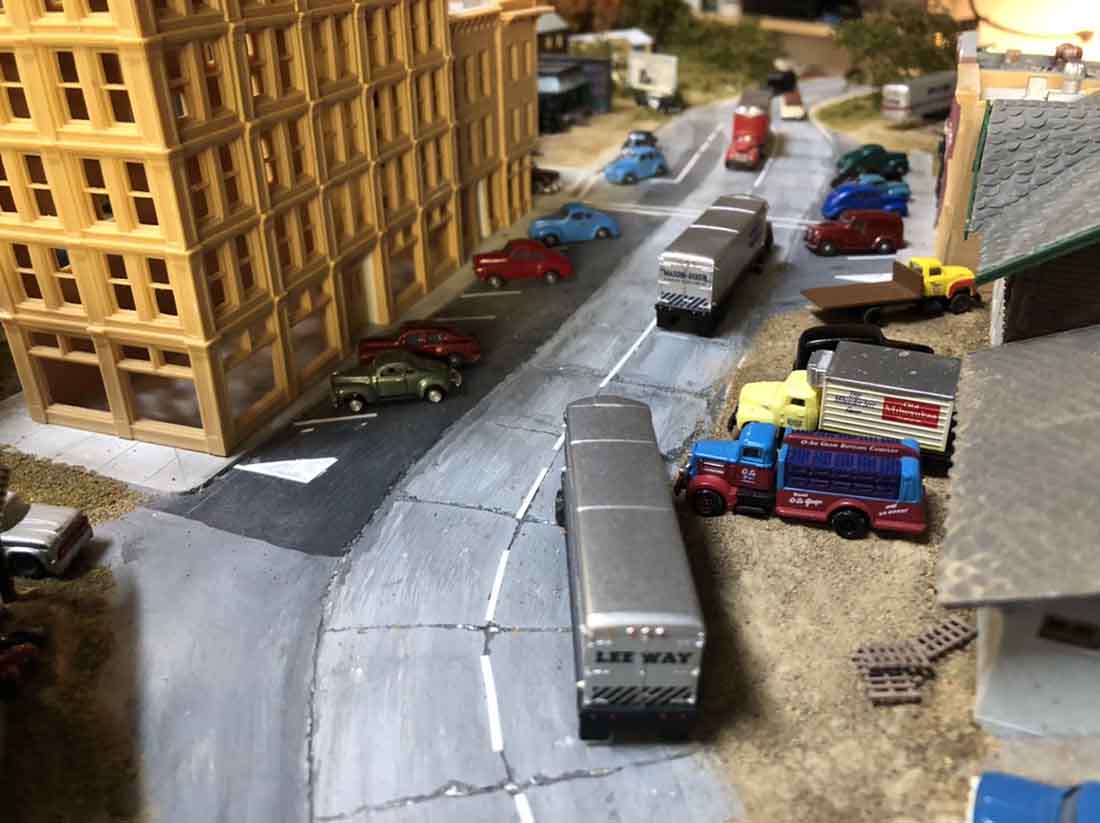
I have picked up numerous automobile kits in both scales as well as different road construction equipment.
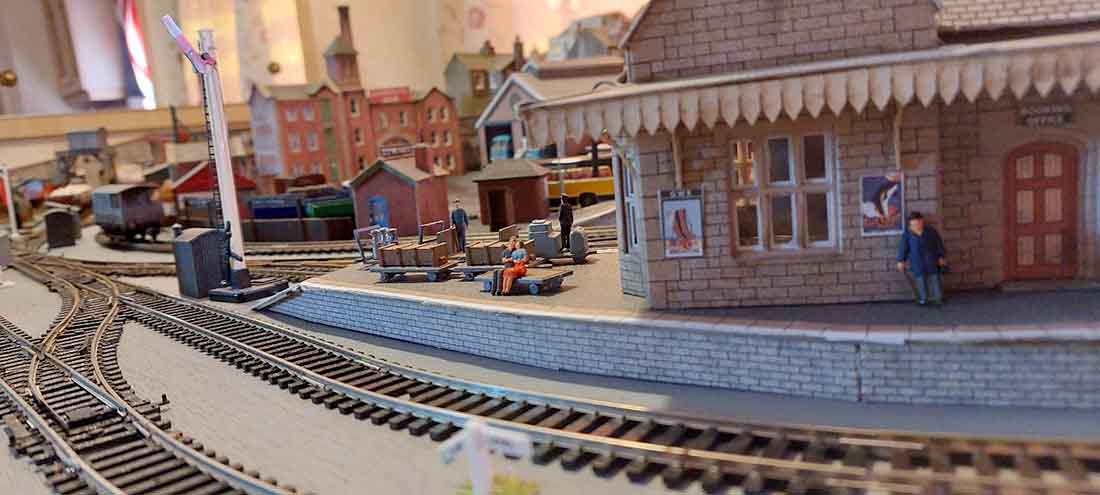
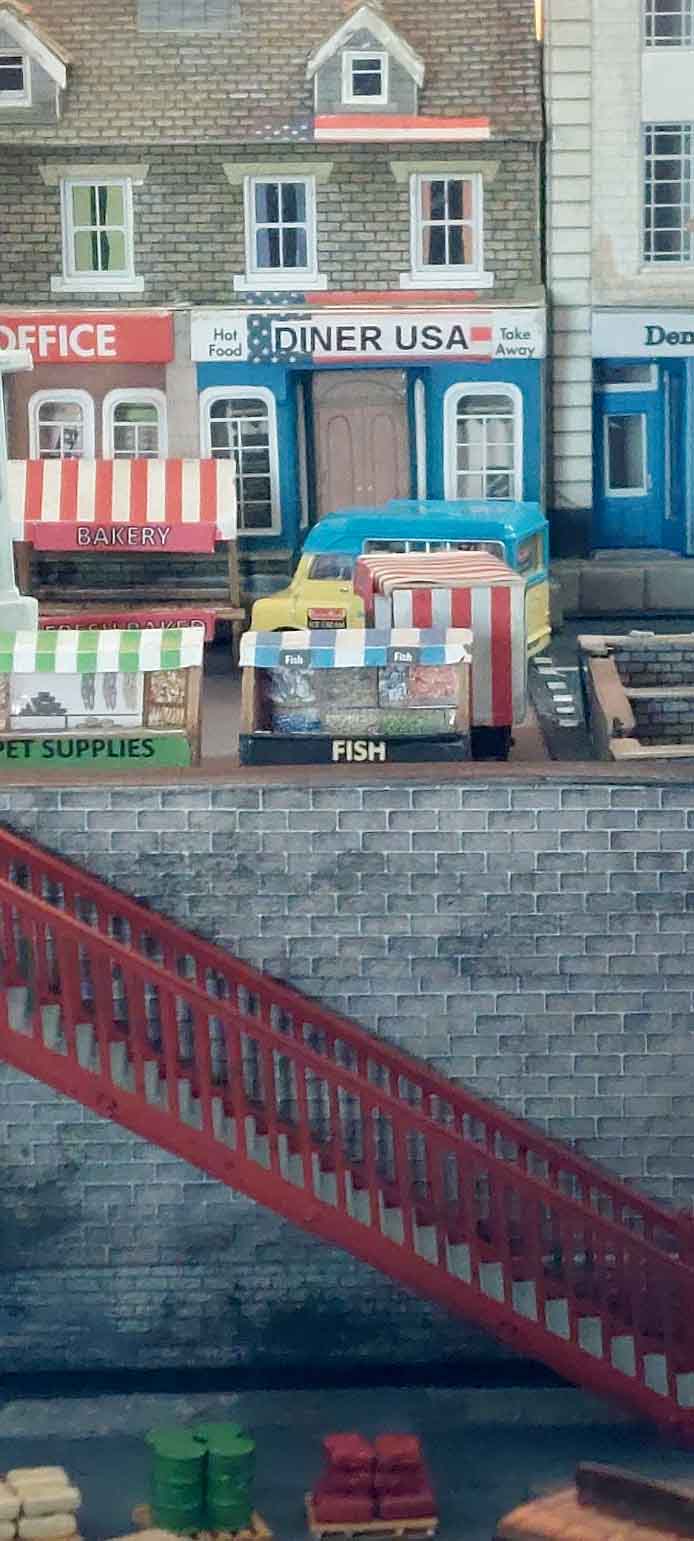
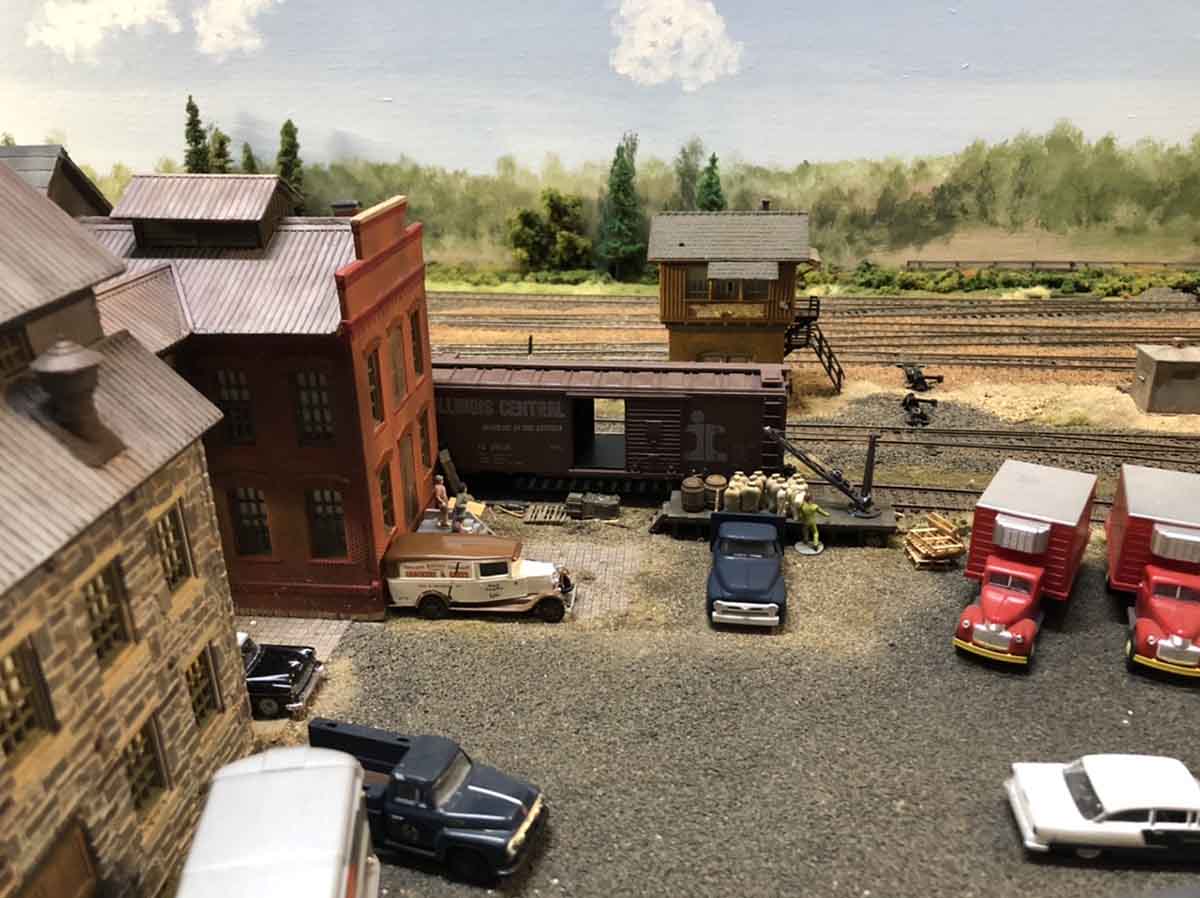
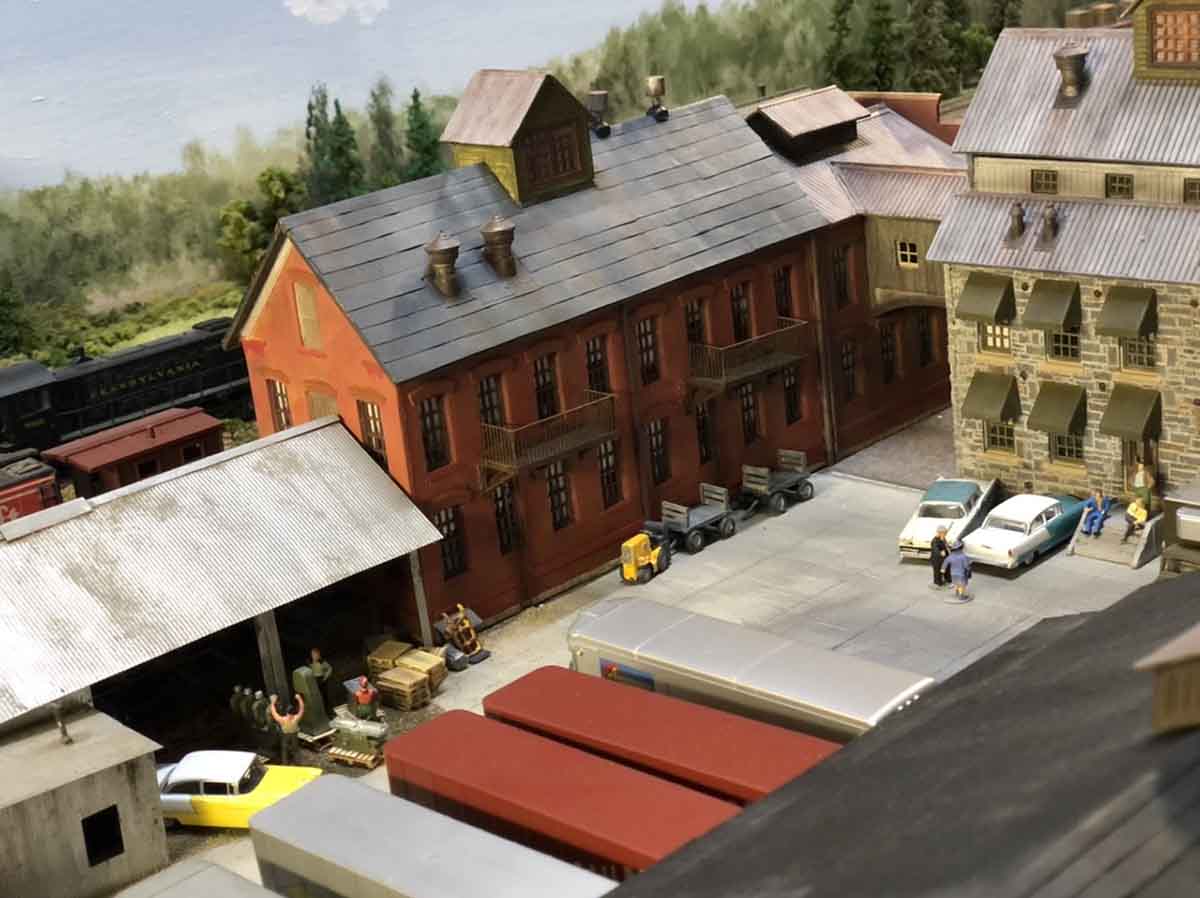
Another area of focus for me has been building and detailing the city of Alta on my N Scale layout. Basics are completed and soon I will turn my attention to completing the building that remain.
I have also started to repaint N Scale people I have. I am close to populating the N Scald layout but I wanted to give a more realistic paint job to many of the lower cost people I have. It’s actually easy to do just takes a little while. More in that maybe in my next submission.
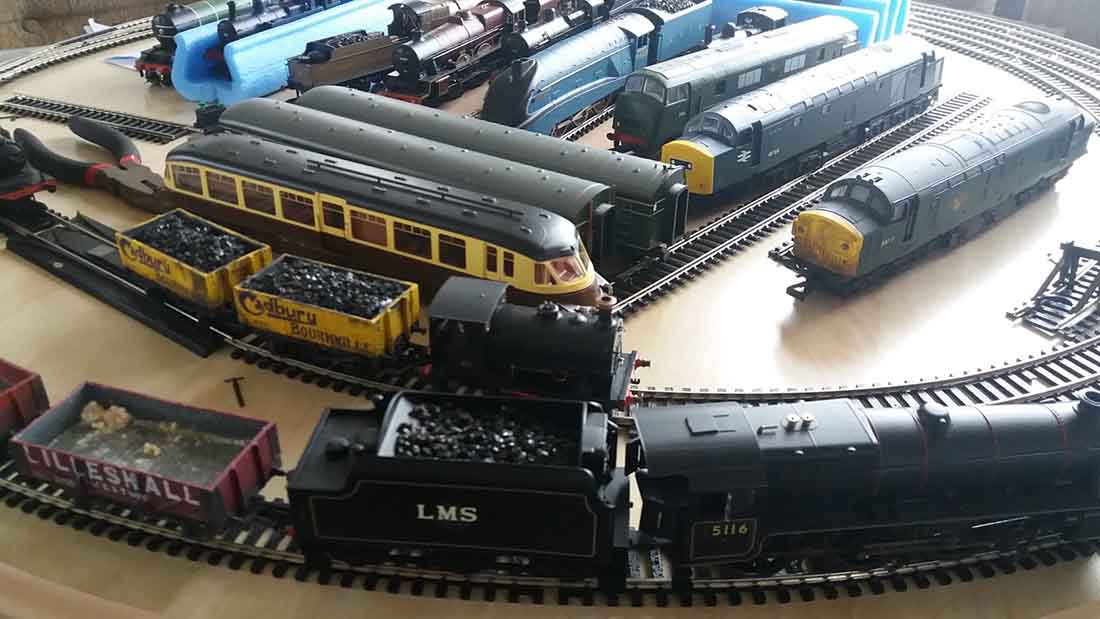
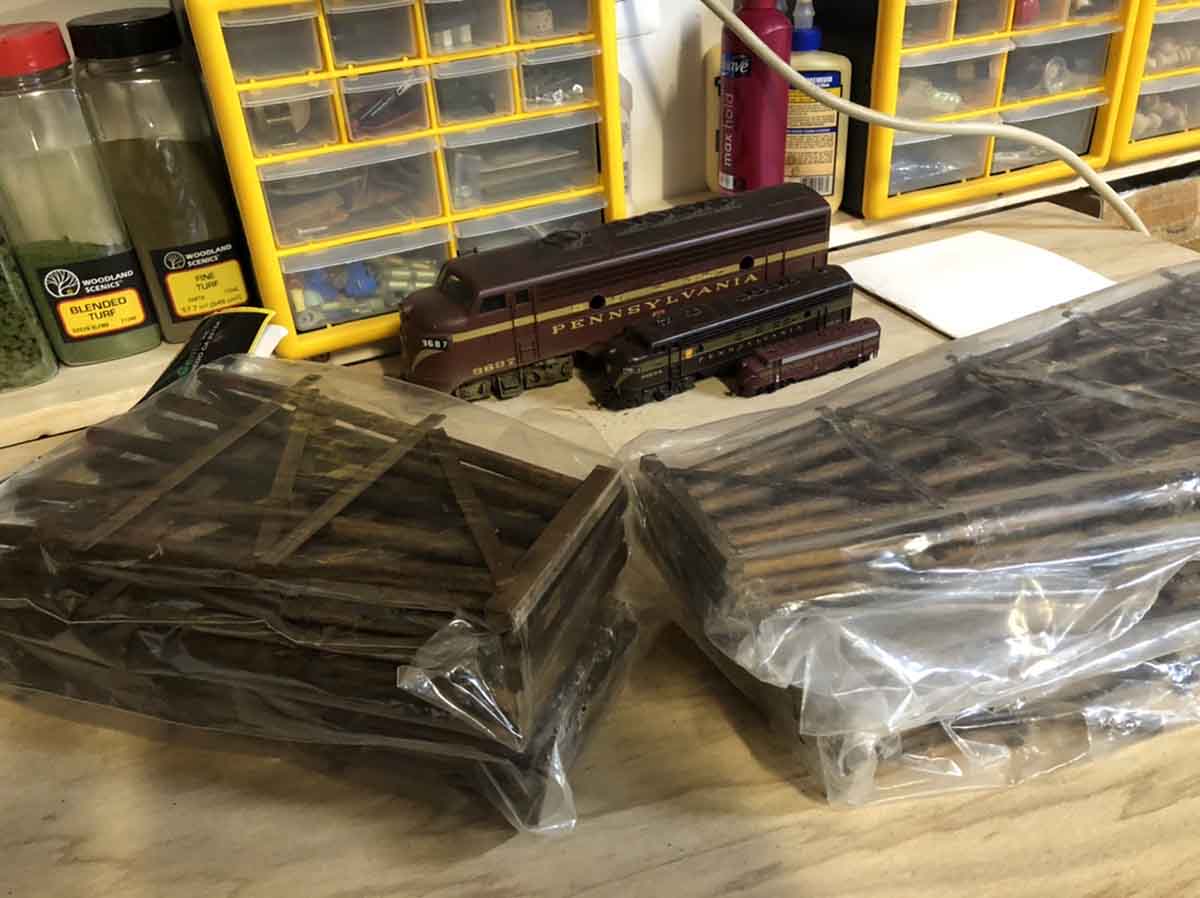
One picture shows three F7a’s – different versions but all Pennsylvania Railroad.
I am close to starting a two rail O Scale & ON30 layout in the garage to join the HO and N Scale layouts.
A car will never see the inside of my garage again I think and I’m ok with that. Someone else is begrudgingly ok with that. At least she always knows where I am when she can’t find me.
Layouts are never finished. There is always fun little things we can do to bring our worlds to life.
To all modelers Keep Having Fun on Your layout’s!
Cheers!
Bill in Virginia”


A huge big thank you to Bill and to George for sharing his S scale model train layout.
That’s all for today folks.
Please do keep ’em coming because it’s ghostly quiet this end.
And if you feel like you’re missing out on the fun, the Beginner’s Guide is here.
Best
Al
PS Latest ebay cheat sheet is here.
Need buildings for your layout? Have a look at the Silly Discount bundle.