Taz has been in touch with his Christmas model train layout.
I don’t which I enjoyed more – his narrative or his pics:
“Hi Al in all of Al’s followers
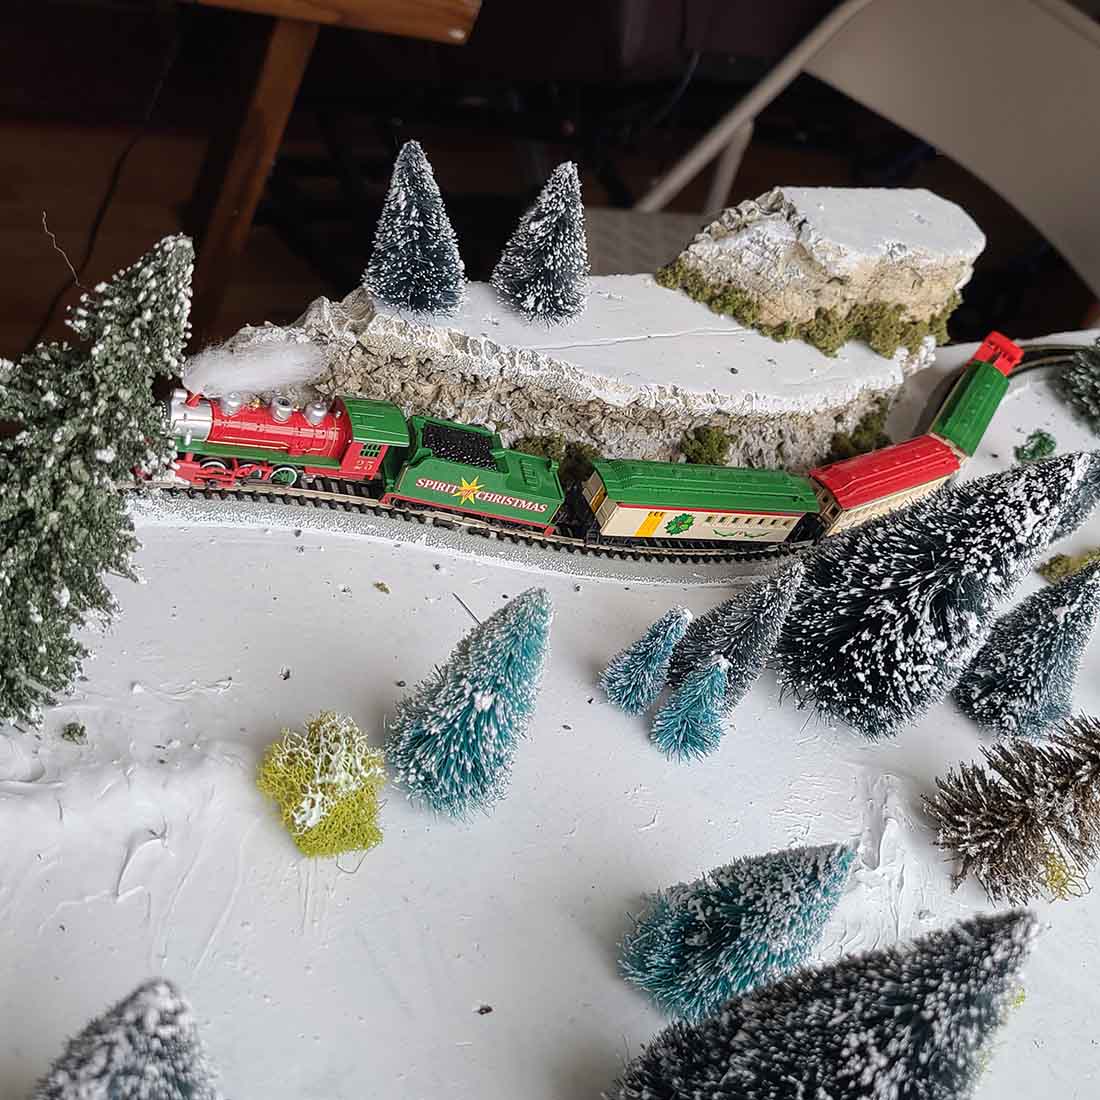
My wife bought us a new Christmas train (she thought it was cute) actually I think it was because I gave away the one, we’ve had for three years.
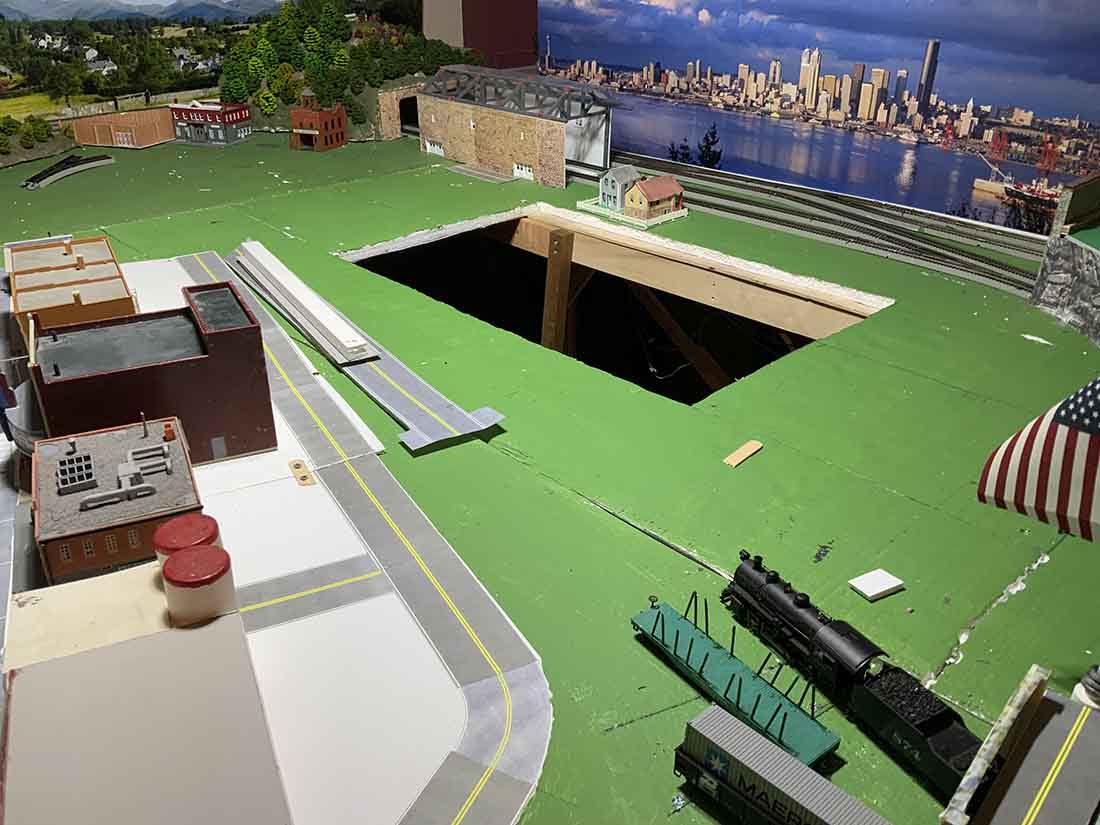
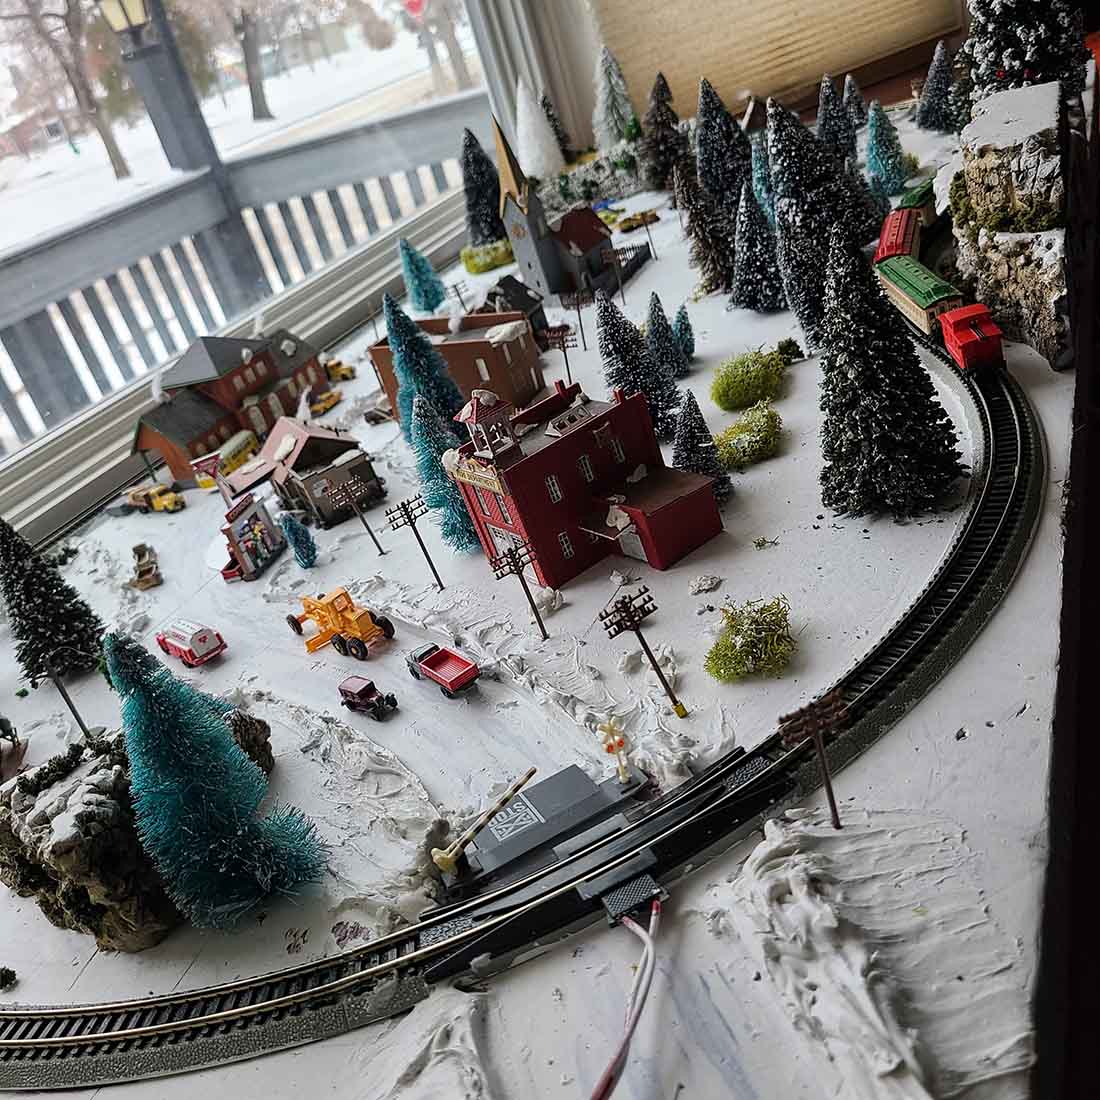
Here’s a little story about a town approximately 20 miles South of Whiskey Run. It is called Pleasant Valley.
Pleasant Valley was on the main run through this state as a water stop. As the state grew the lumber companies moved in and made Pleasant Valley loading station for their logging company.
During that time the little town grew slowly. Railroad figured there was going to be quite a town there, so they built a nice station.
Then the logging company called Z Timber lost their lease and moved out. When they moved out, they neglected to take a 0-6-0 engine with them.
The people of Pleasant Valley heard of it through hunters that had seen it up in the timber. Several of them got together, went up looking for it, found it and brought it out.
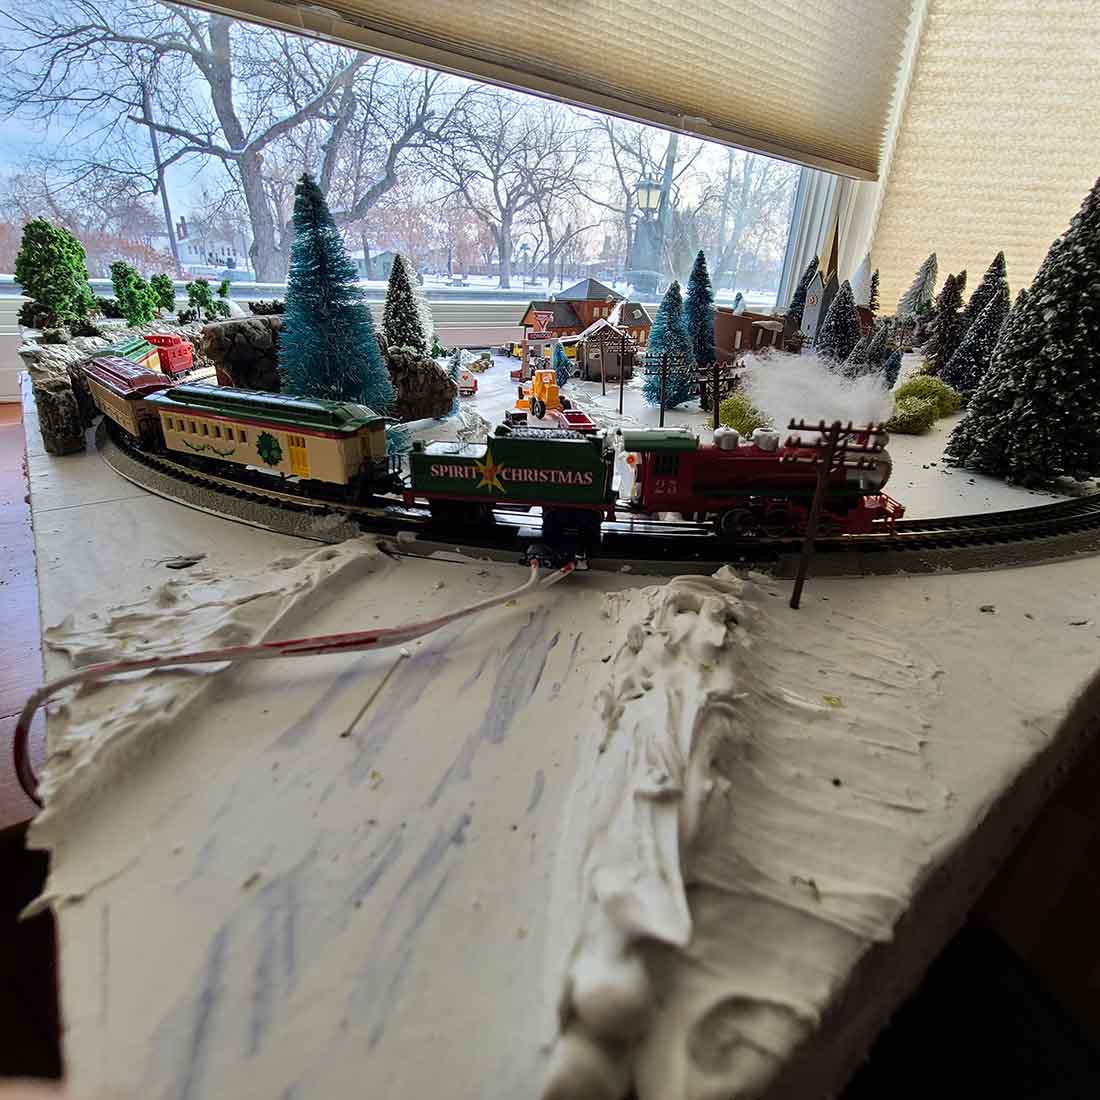
A banker from New York that comes out here fishing a lot. Heard what they were trying to do with it and found some backers for them. They restored Eileen to its original specs.
They called it Eileen because it leaned to the right just a little, which they could never figure ou why. So that’s how she got her name.
They bought 3 old time passenger cars from a collector up north. Restored them to pristine shape. You know out of all those investors they all want to pay their way when they use Eileen except for one who I don’t want to give you his full name, but his first name is Mike. When he brings his friends out here it’s all for free.
What were they going to do with Eileen in these cars? When the logging company moved out some investors bought the lease and made a ski run where they had been logging trees. You can’t get there from here by automobile, but the old train line runs down through the valley and up the other side of the mountain and back down to Pleasant Valley.
In the wintertime Eileen makes a trip up to the ski lodge three times a week for three months. In the summer she makes that trip three times a week for four months during the heavy vacation months.
From here the run takes approximately an hour and a half to the ski lodge. Then from the ski lodge back to Pleasant Valley is approximately an hour. Going up you go through a valley next to the river. passed and under waterfalls here and there.
Coming down is through heavily forested mountains. If you watch hard, you’ll find deer, elk, squirrels, bears occasionally and if you’re lucky you may see a mountain lion.
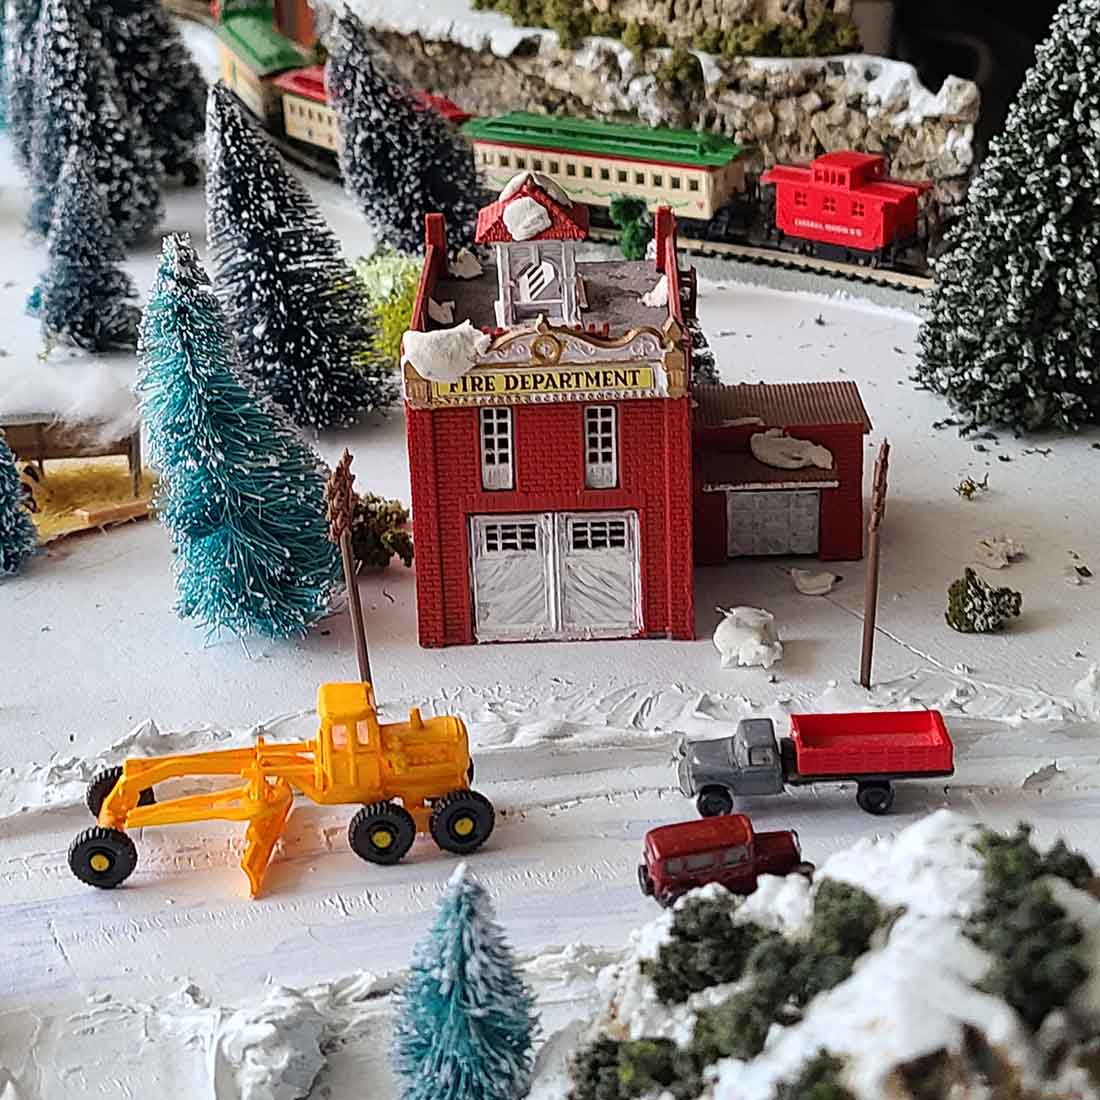
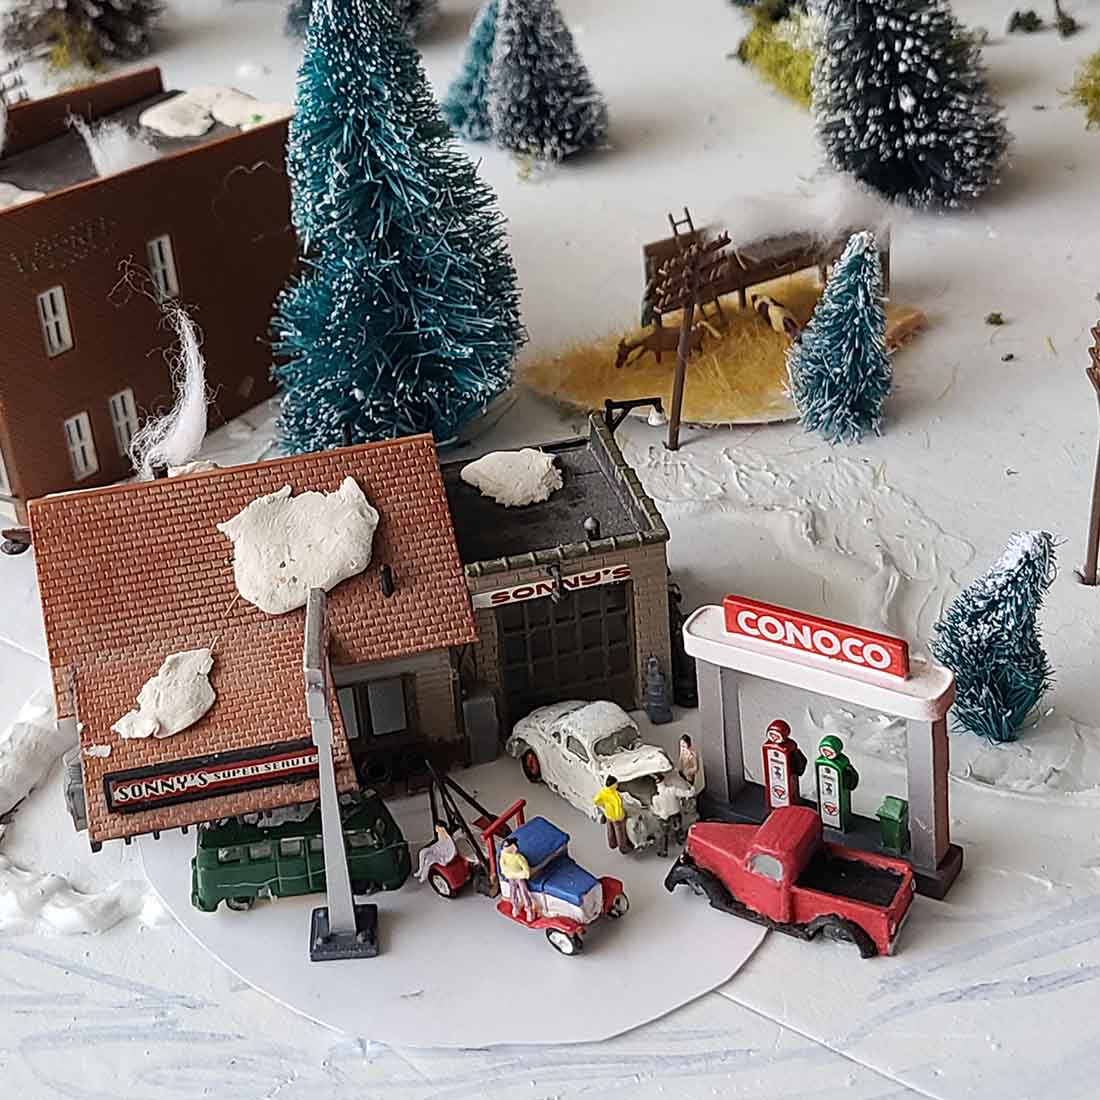
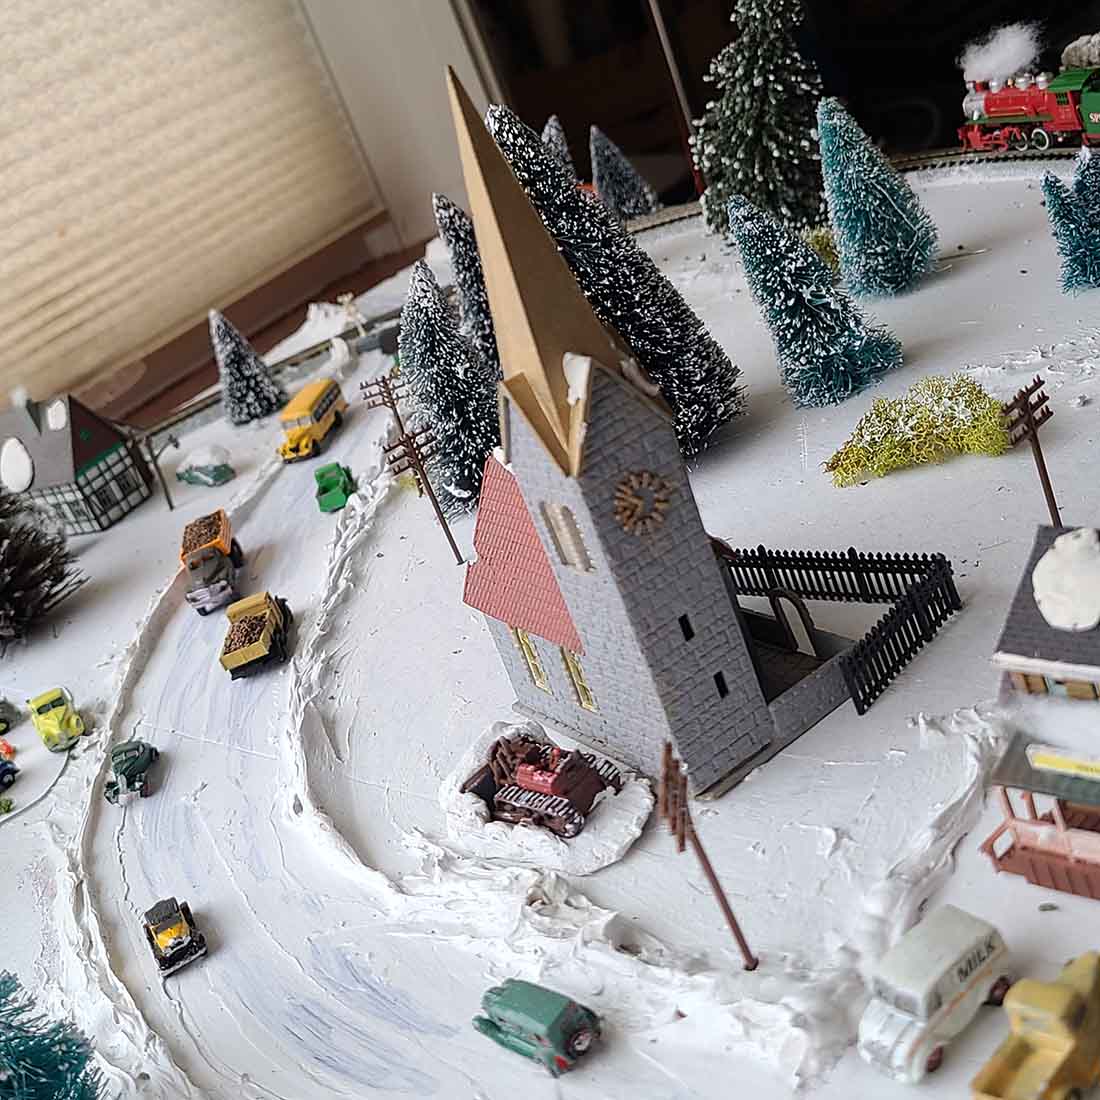
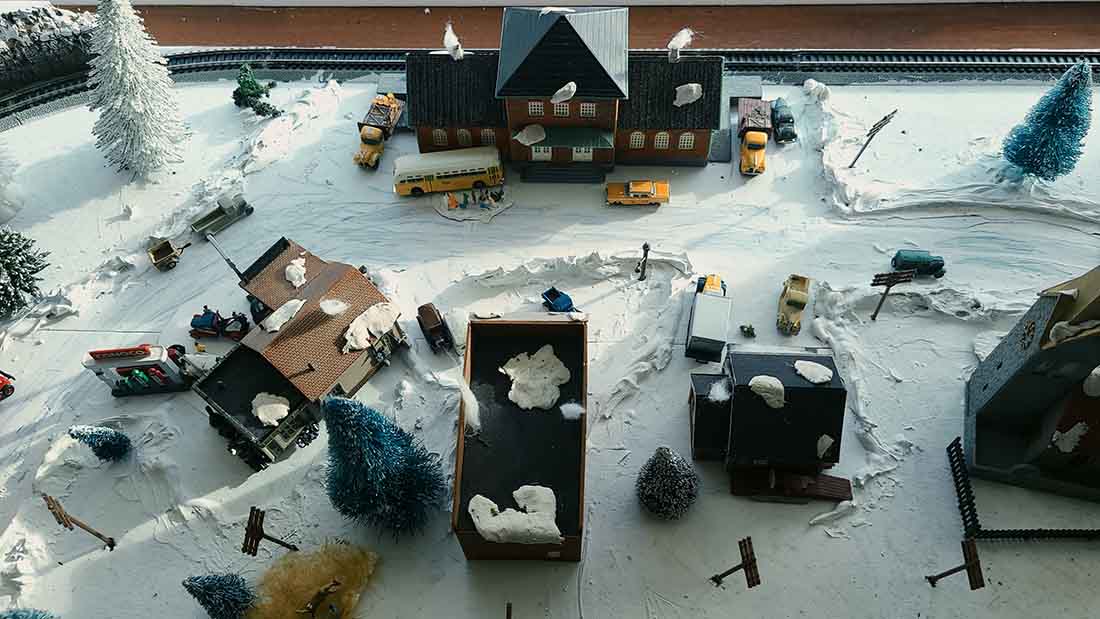
In Pleasant Valley you’ll find an old fire station that one of the colleges in the state bought and completely refurbished it.
Students from several colleges in the state come down and put on dinner theaters through the summer months, to help with their college expenses.
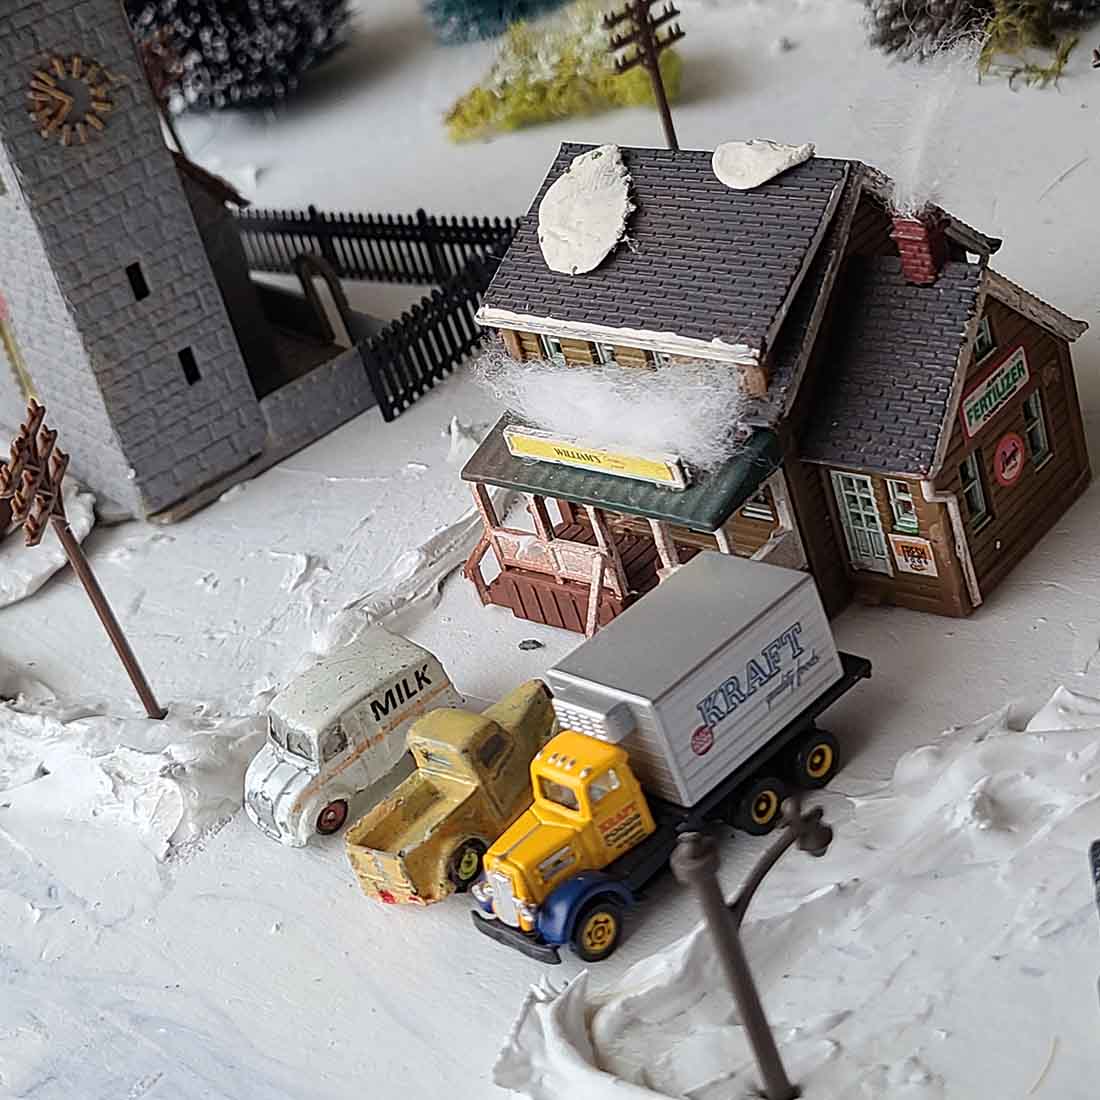
You’ll find a small shop owned by the Will twins Zeke and Zach. Their mother had had eight kids and Zeke was supposed to be the last one. That’s why he was named Zeke. But lo and behold he was in there with his brother, so she named him Zach.
If you can’t find something that you need or want, you go to the twins, they’ll find it for you. You need a stick of dynamite to blow out a deep beaver dam or some shotgun shells for your domestic shotgun, they’ll get it for you. If you’re looking for some wacky tobacky they know where it grows. It’s still there in some places from when the railroad was originally built.
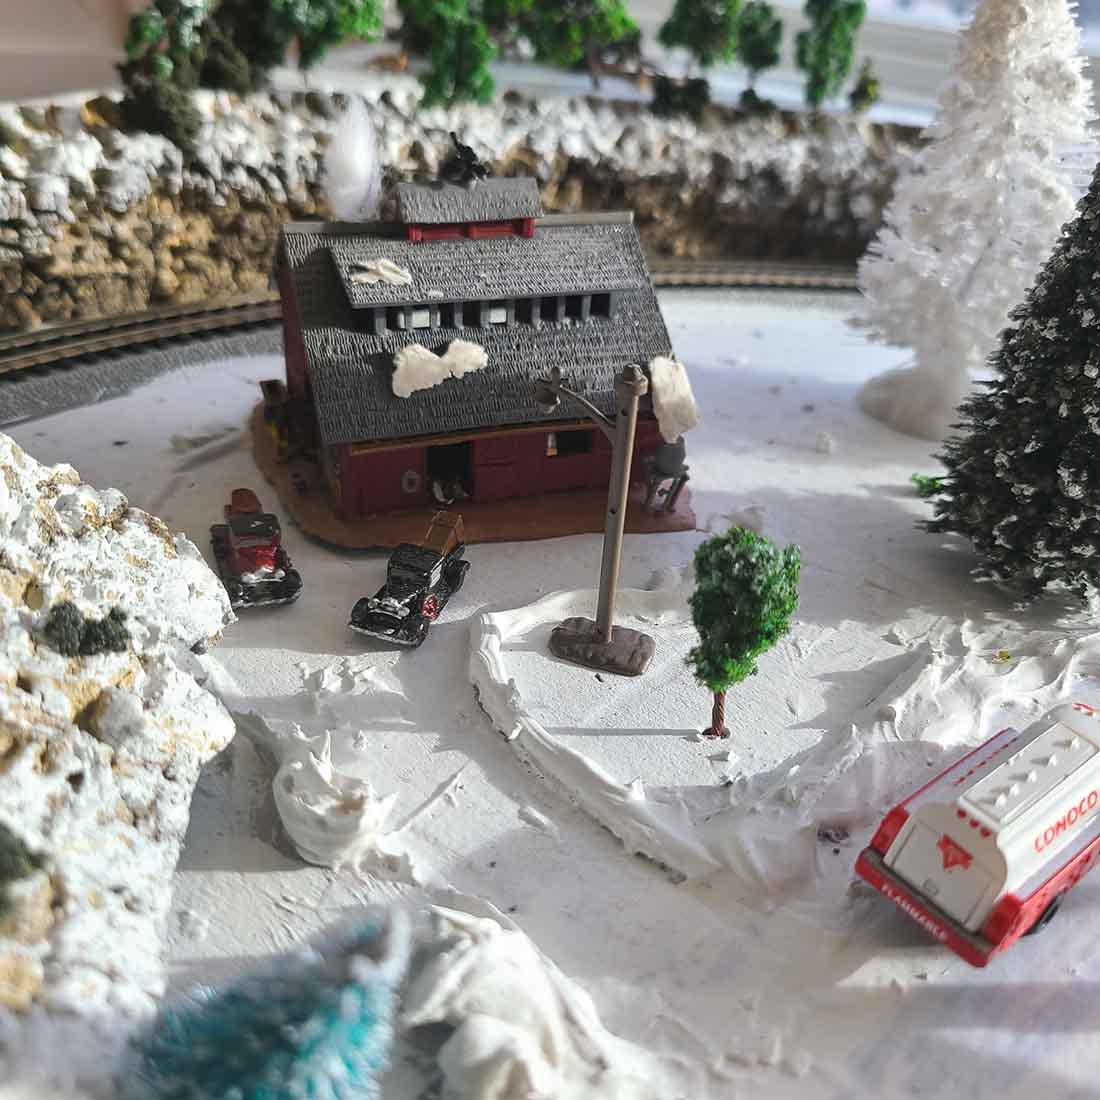
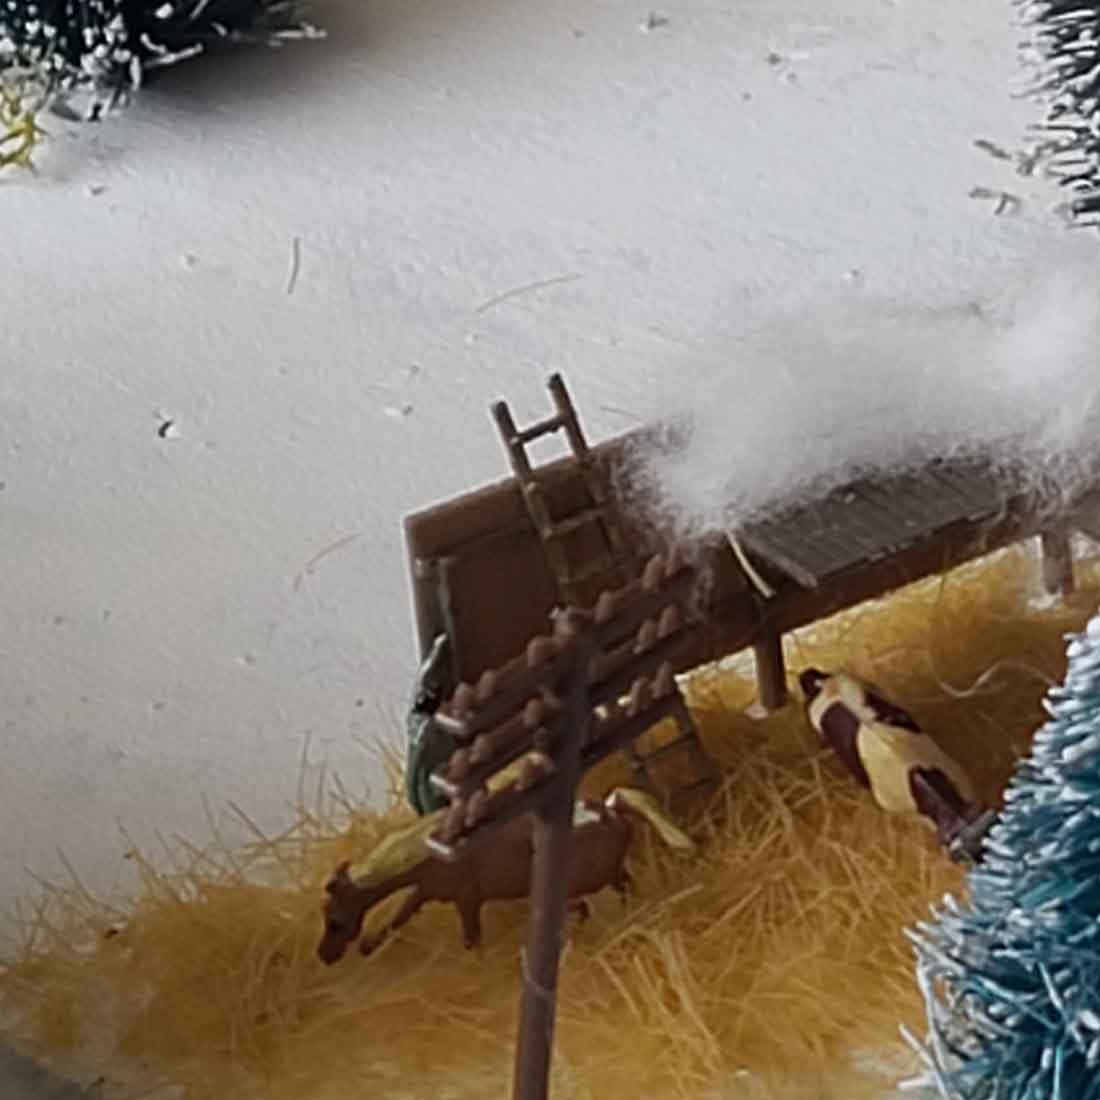
Theodore Torrents owns the hardware store. (We call him TT for short) went out to check on his horse and found that he had gained a cow. Must be Mrs. O’Leary’s cow, she lives up in the valley, In an old log cabin with a burnt-out barn.
She must get lonely up there because she comes down occasionally. (The cow). She had 15 of them before the fire, once in a while the hunter would find one up in the timber someplace.
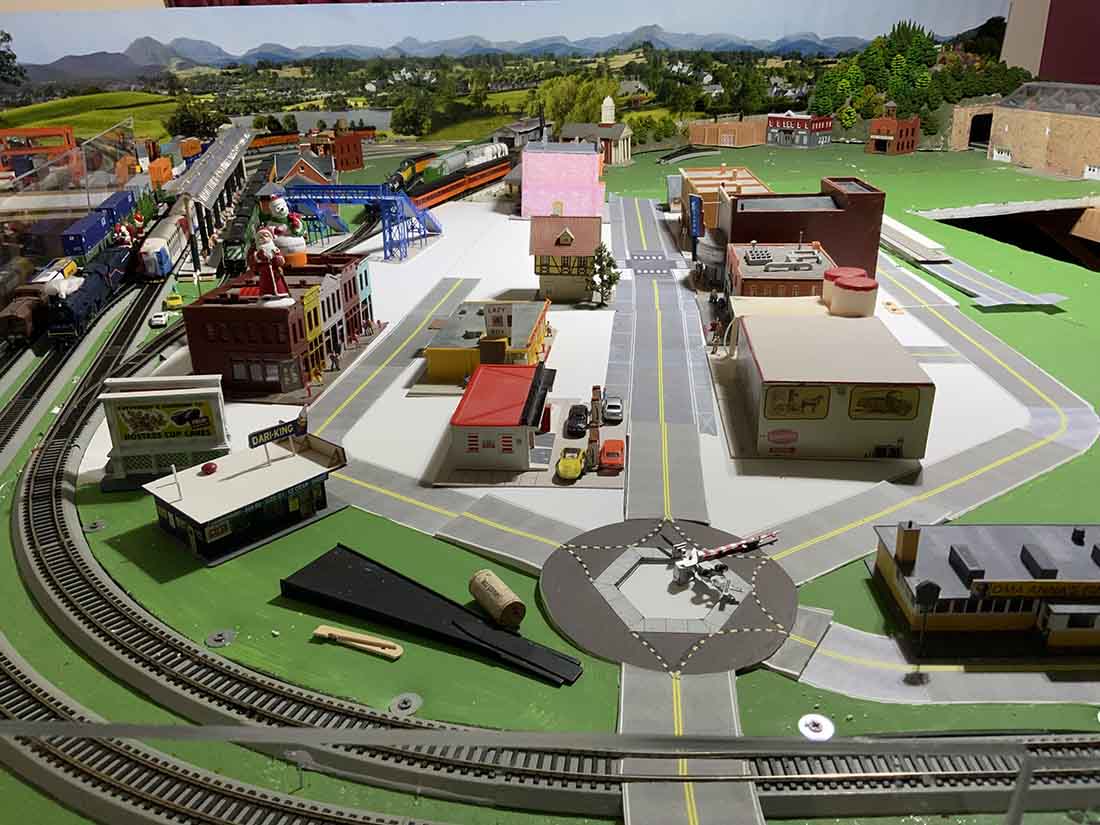
Looks like the gas stop is busy today. This cold weather rings in the business for Eddie and his dad. His grandfather started on that corner when the Z logging company was here.
At the old gas pump, you had to pump the gas up into a glass cylinder to tell how many gallons of gas you were selling, then drain it out into the automobile. They had only gas for 20 miles. Eddie and his dad could fix anything that had wheels.
There was a story about an old man White who brought his wagon in to town for supplies. One of the wheels was so loose that it wobbled as he came in.
Eddie’s grandpa took that wheel down to the river threw it in for two days to soak up then brought it back up to the station on and made oak shims to tighten it up and sent old man White on his way. (No charge) Thay get to hunt old man Whites ranch whenever we wanted to.
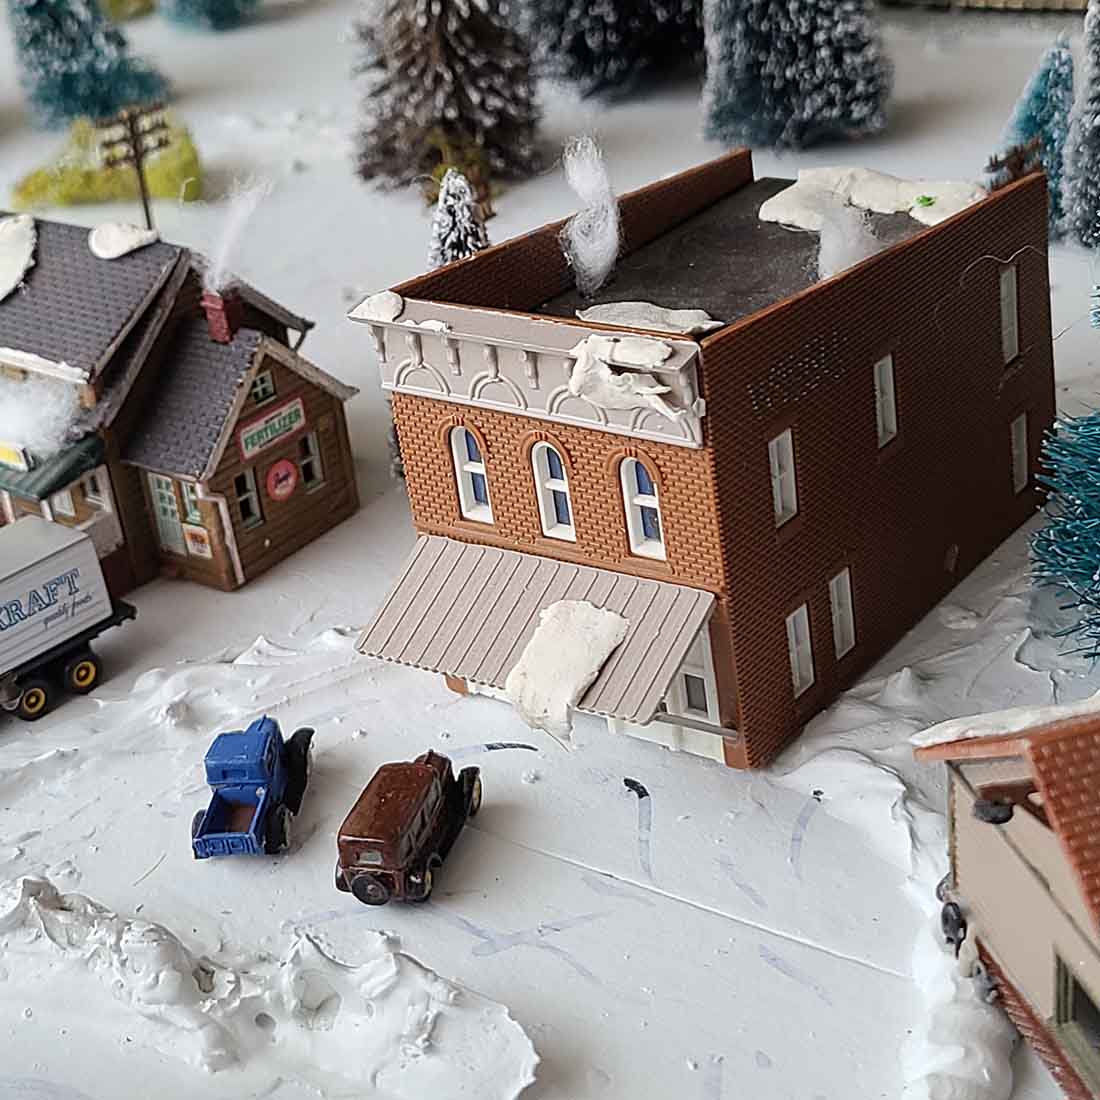
The hardware store is owned by T T. He carries almost everything for the farmer and rancher. He sold the Wilsons a nice riding lawn mower last year.
Mr. Wilson kept bringing it back in and said that it was quitting on his wife. T T went out to the house had Mrs. Wilson got on the lawn mower and started mowing. Sure, enough it quit. Mrs. Wilson said that lawn mower doesn’t like me. TT said you just don’t weigh enough to keep the safety down on the seat. I’ll adjust that. No more problems.
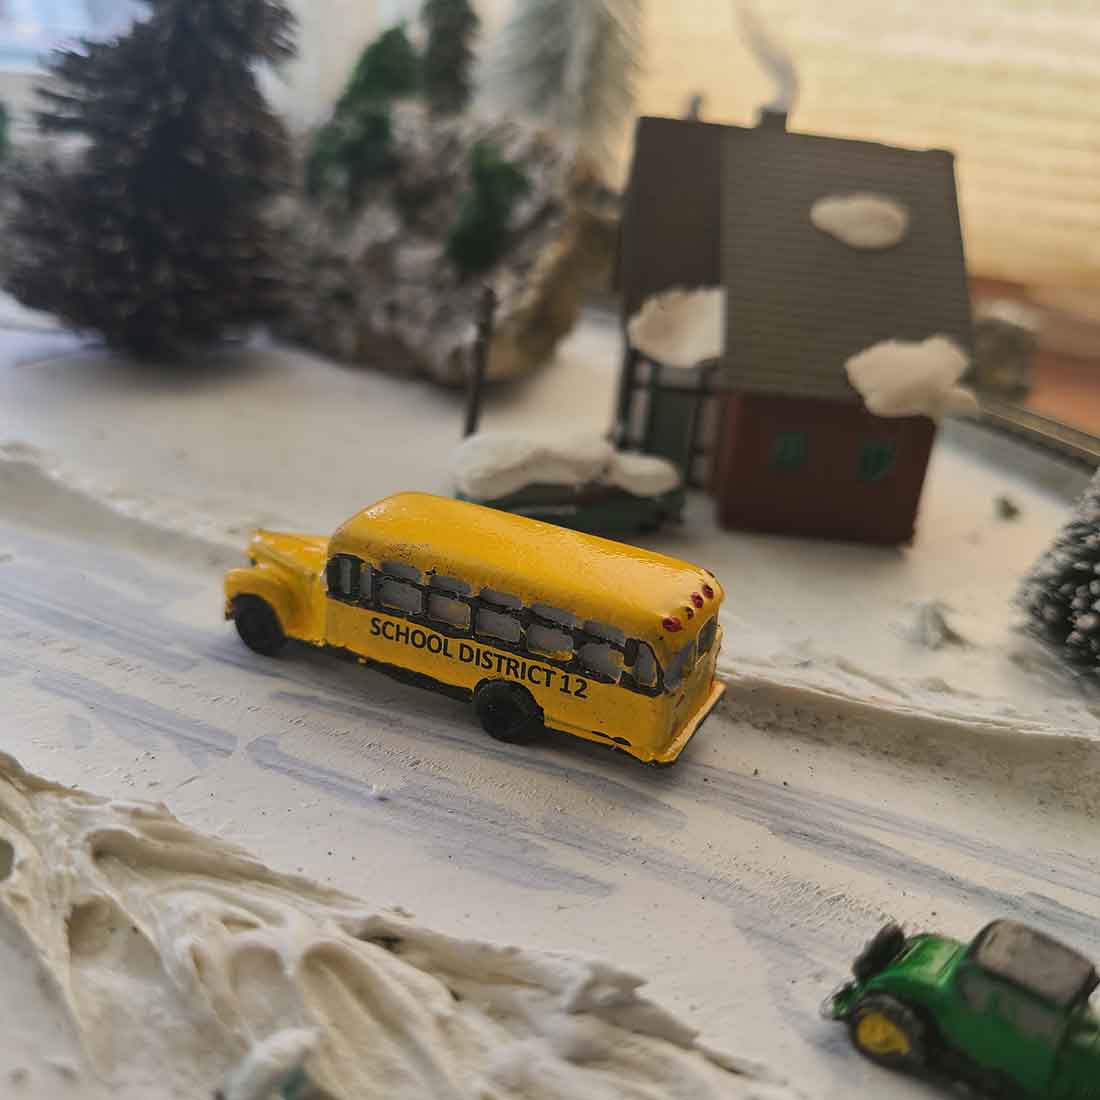
There’s a bus that comes down from Whiskey Run twice a day when Eileen is running. Instead of driving 150 miles around the mountain people come down and ride Eileen up to the ski run in the morning and back down to the depot in the evening.
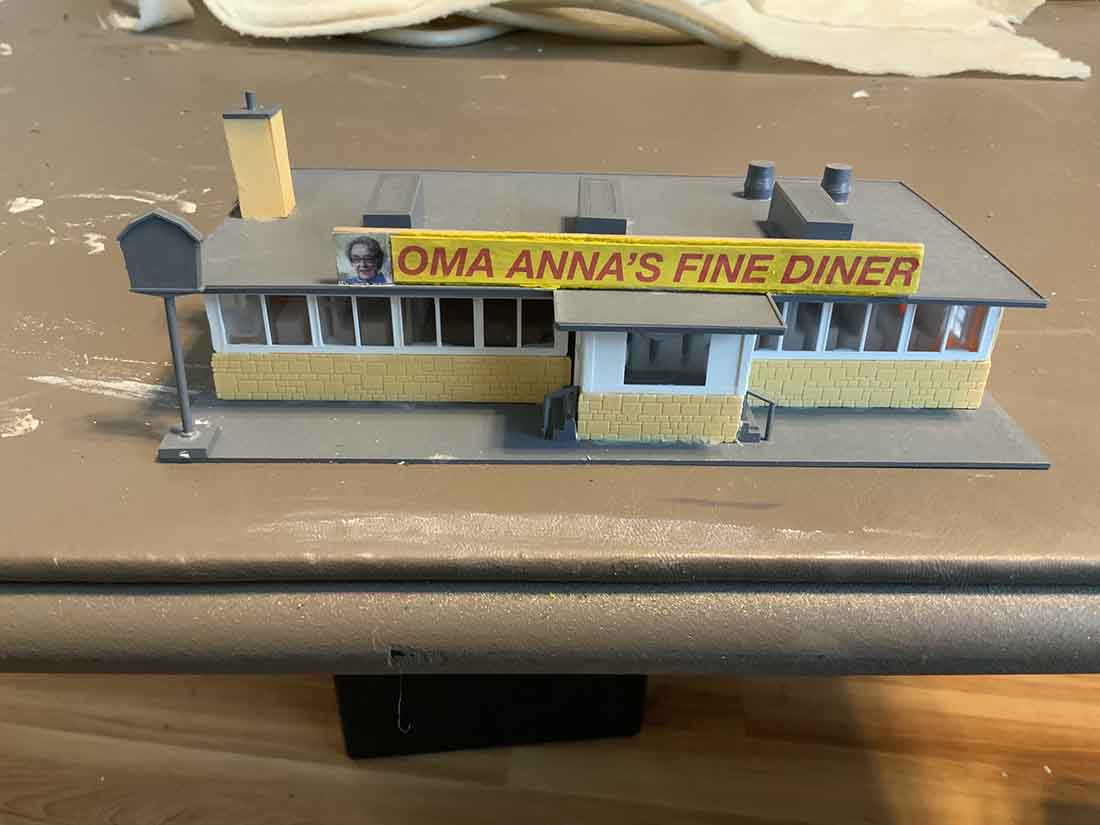
The general store also has been here since the logging company. It probably had about 5 owners. They try to keep up with everything. Like virgin olive oil, really hot sauce, pizza dough and the like.
They used to get fresh milk from Mrs. Oleary till the barn burned down. The owners say they’re glad that Whiskey Run has kept the box stores out of their town. It makes for better business down Here.
I see pastor’s out there with his bulldozer cleaning the parking lot off for Sunday. He lives in Whiskey Run. He comes down here on Sundays with a very good sermon.
He’s also the bartender at summer theaters for the college people. He also runs the patrol when we can’t find anybody else to. He has a small contracting business in Whiskey Run. Very busy person.
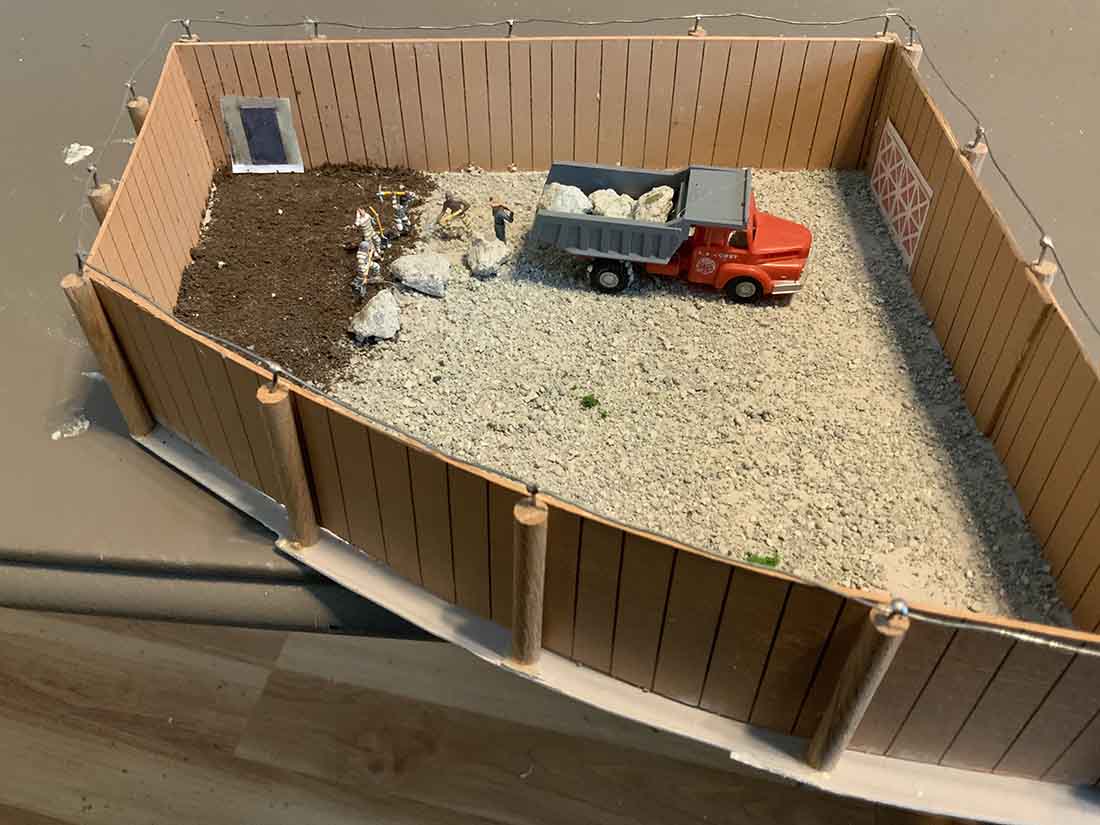
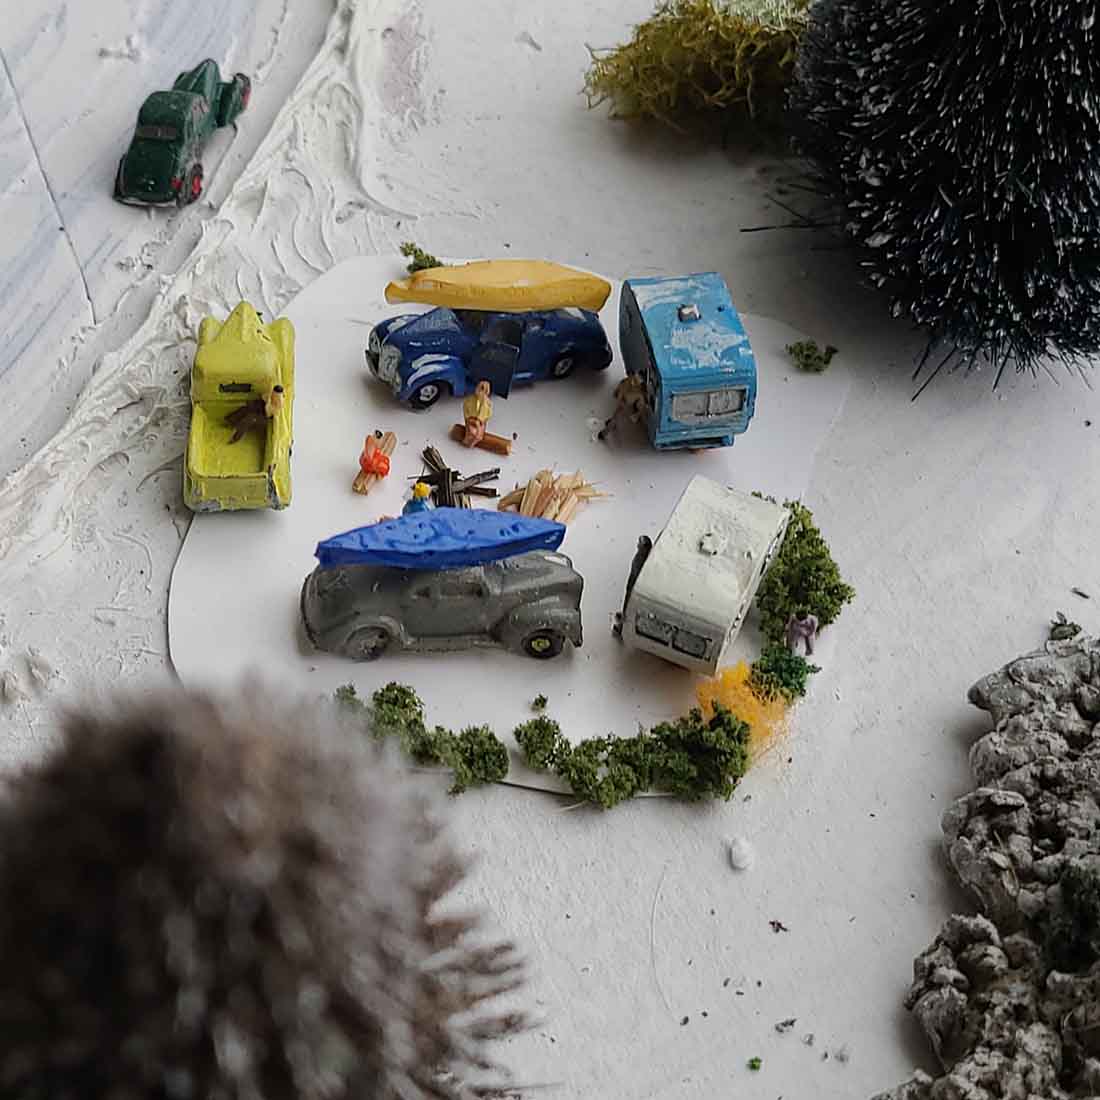
It seems that we can’t keep the fly fishermen off the river during any season or any weather. They just keep coming. They’re good for business though usually they’ll forget something and must get it at the store, or they come down with nothing and clean the store out. What’s that guy doing behind the trailer? You could get fined for that. I would not want to turn one of those canoes over in that icy water.
Then there’s the weed house. James Weed is a weird real estate person in Whiskey Run. He built that little house down here to get away from everybody. Got married in the church last weekend just before the storm came in. Haven’t seen him or his bride for four days. But they must be OK, there’s smoke coming out of the chimney. My wife told me that she wouldn’t take his last name because she did not want to be called Mary Weed. (Her last name is Thistle).
So that’s Pleasant Valley, Hope you enjoyed it. I have!!
Merry Christmas to all and to all a clickety clack
OLDTAZ
PS I ran out of white out can’t see my screen anymore”
A big thank you to Old Taz for sharing his Christmas train layout. Hope you are all feeling festive!
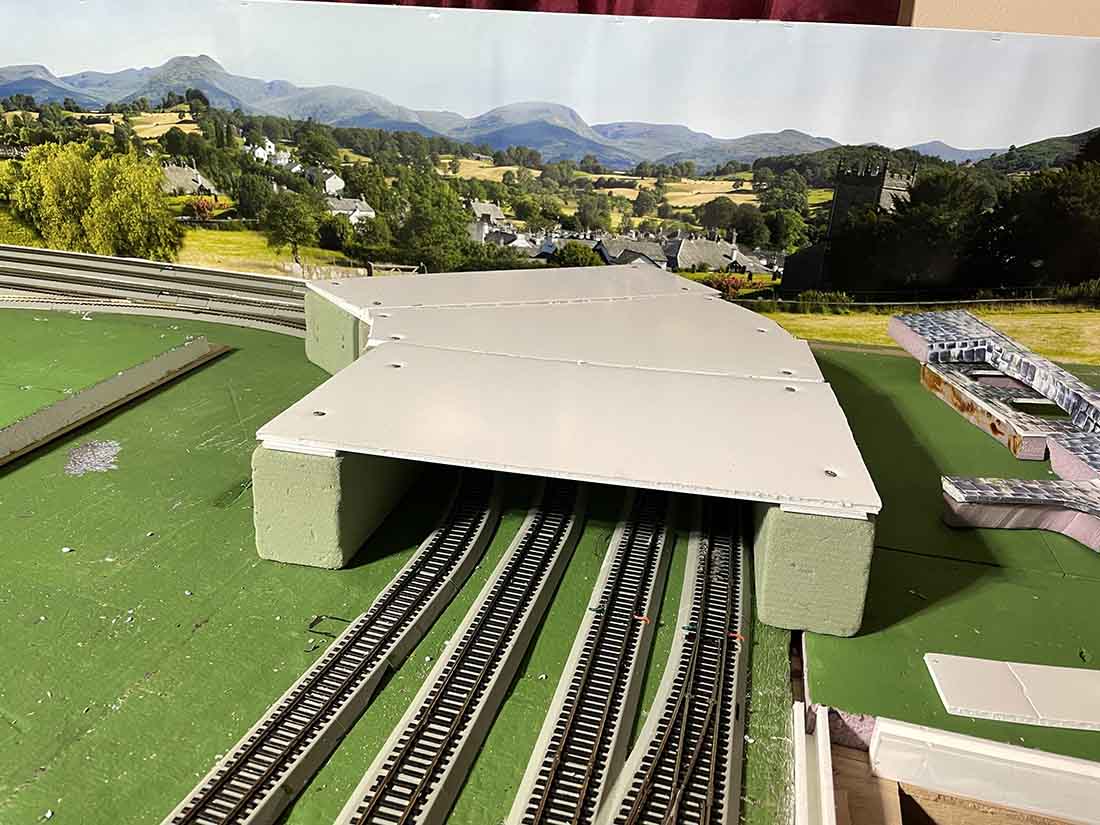
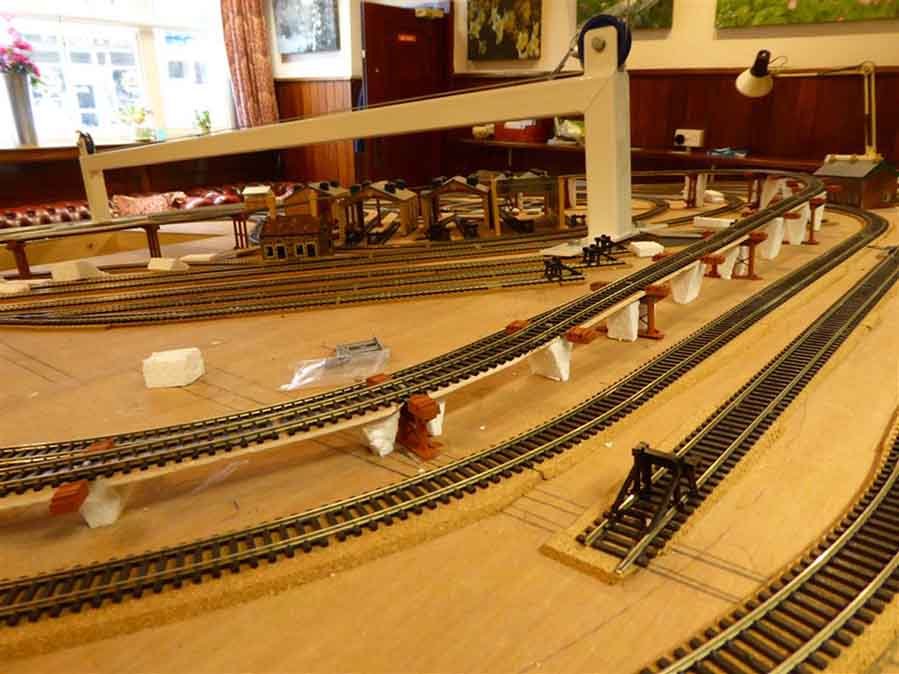
Peter’s been in touch with his suspended model train track:
“Good morning Al,
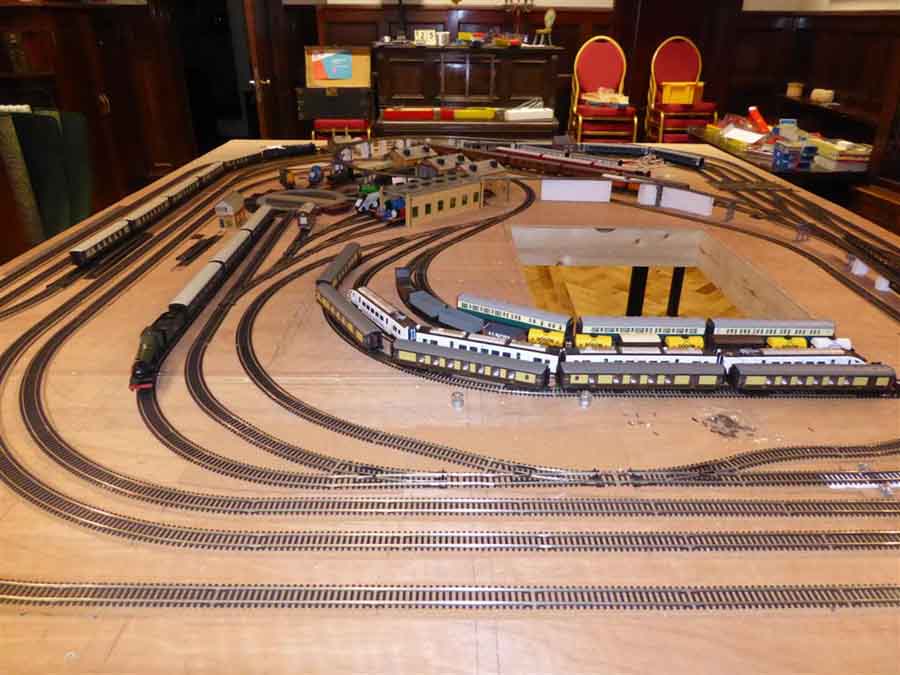
Last year I bought your Beginners Guide – very useful, thank you and each day when I receive an e-mail from you I look with interest as my 10′ x 8′ layout is just starting to take shape.
So my plan is to construct a railway with all rolling stock bought with grand-children in mind (or by them) so the theme has to be from all ages.
We have a hall that is multi-functional (dances, meetings etc) but I have ceiling space for the track.
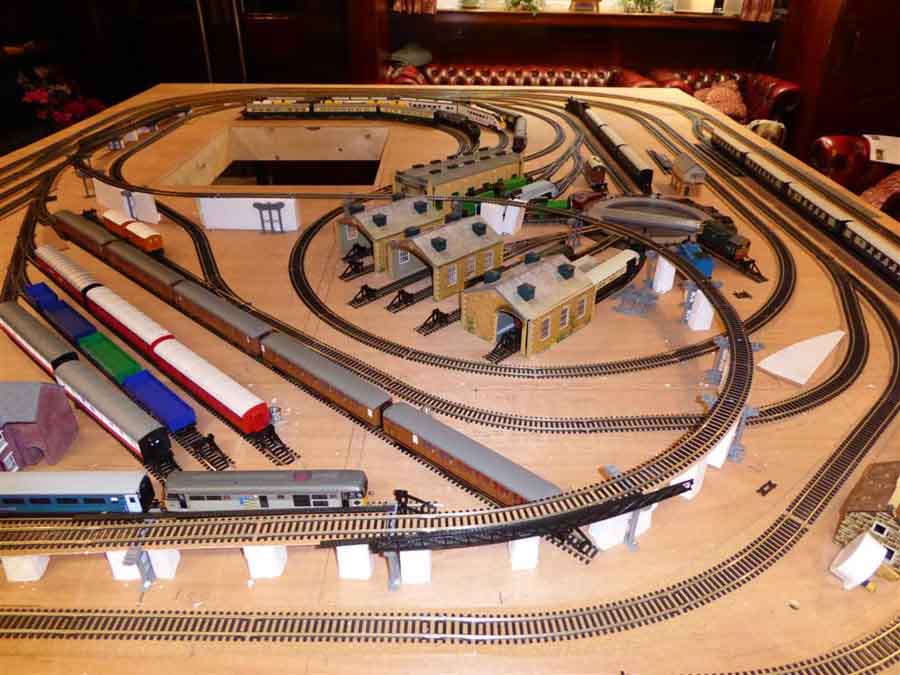
Tomorrow I plan to start wiring all the points, I am trying to leave wiring the track until later – play time would be too tempting!
Later I will try to find some theme park rides (fun fair), but that could be a good year down the line (Ha!).
Look forward to hearing from you.
Cheers,
Peter”
And now from Peter’s suspended model train track to Gary and his ‘grass how-to’:
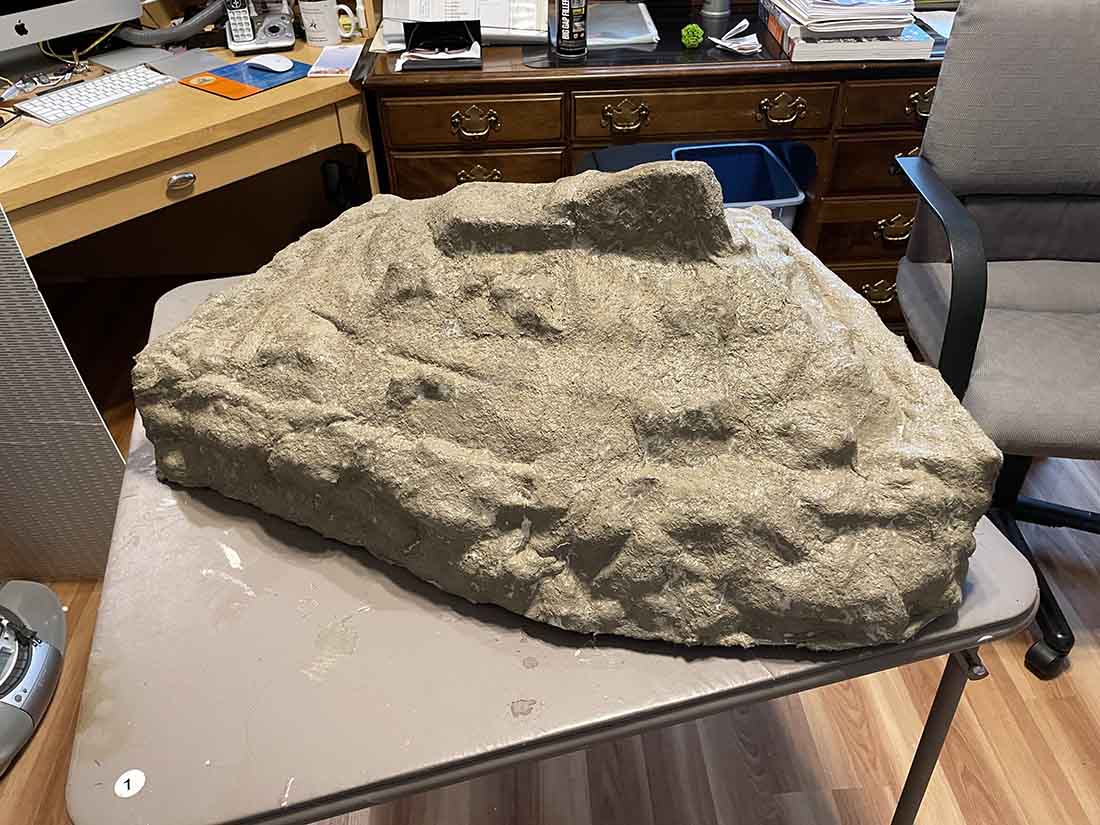
“About 4 years ago I started making my own ground foam. Found that the process was very simple and inexpensive to to do.
I use it for making my trees, bushes and grass on my layout. Most of the tools needed I was able to buy used.
I picked up my food blender at a yard sale. Got my cookies sheets at Goodwill. I did purchase my Magic Bullet eBay new.
I found a local upholstery shop a bought a large garage bag of seat cushion foam for $20.00.
I have also used, used foam that I found from chairs and couches people had put out for trash. Although I recommend inspecting them before you use them for pet or food stains.
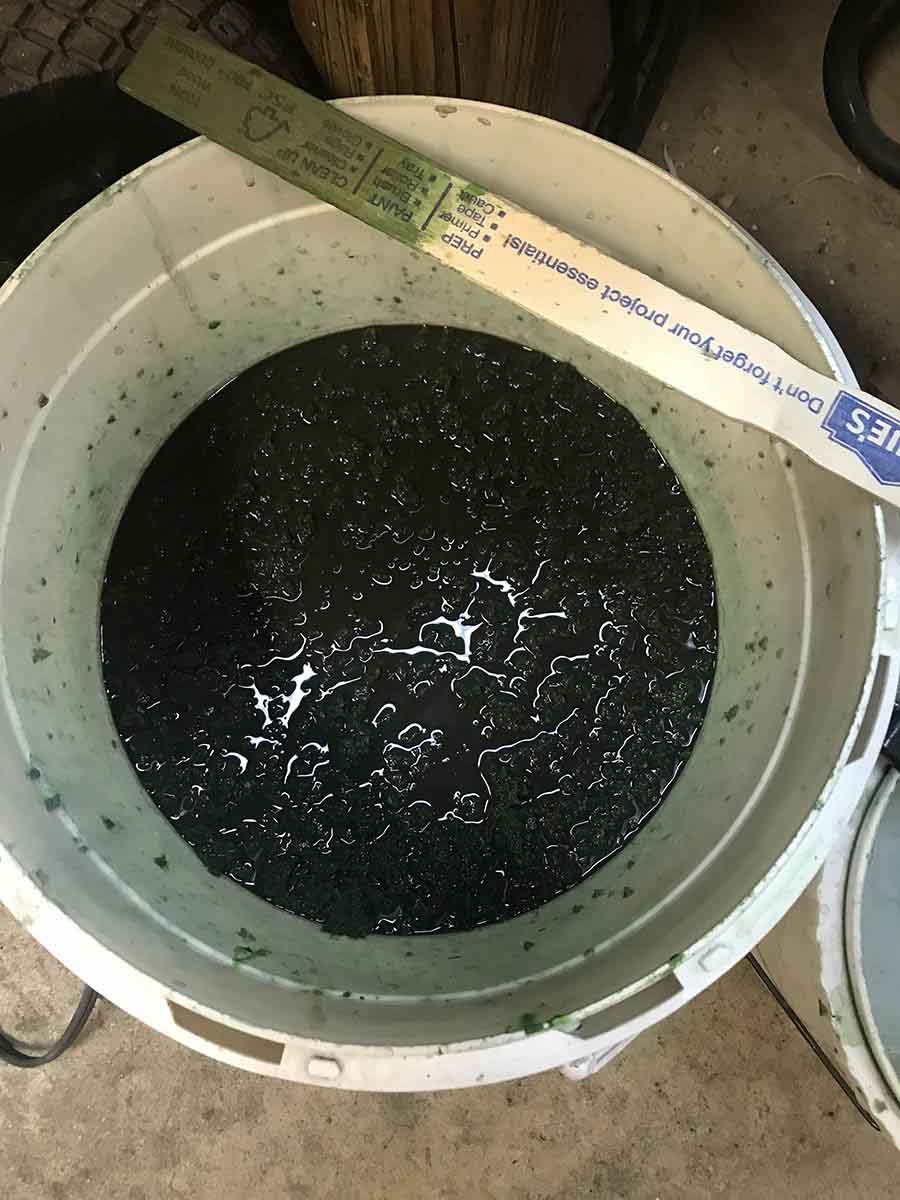
I mix up a batch of stain in a clean 5 gallon bucket. I have used latex paint, and Rit Dye. But I have found the best thing is a product called “Tints All” (which I purchased on EBay)
It’s available in a variety of colors. And I have found adding a little latex paint helpful for changing the color.
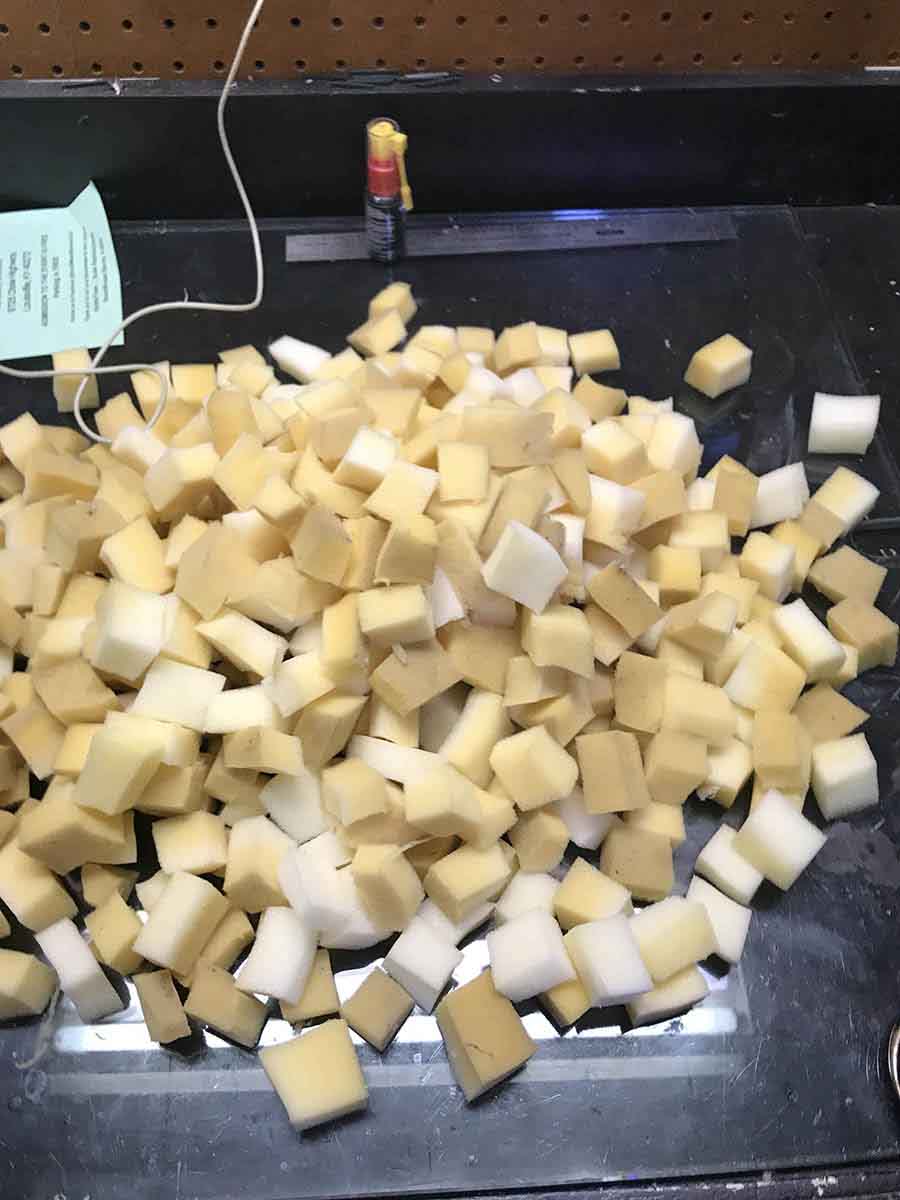
Then I take the ground foam and cut it into small pieces. Usually about 1” x 1” squares.
Then I put them into the blender. Filling it up about 1/2 full. I then add about 1 1/2 cups of water to start and turn the blender on high for about 10 minutes.
I sometimes remove the little cap on the lid to add more water if I notice that the water has soaked into the foam so much that it’s blending up well.
After the foam is blended good I drain the water off of it and then remove it from the blender by hand squeezing it in my hand to remove as much water as possible.
I then dump it into my 5 gallon bucket with the dye in it. I usually put 5 to 10 blender into the bucket before continuing on.
Once I have enough I then stir it really well and let set in the bucket for 2 to 3 hours. I have just left it in the bucket over night.
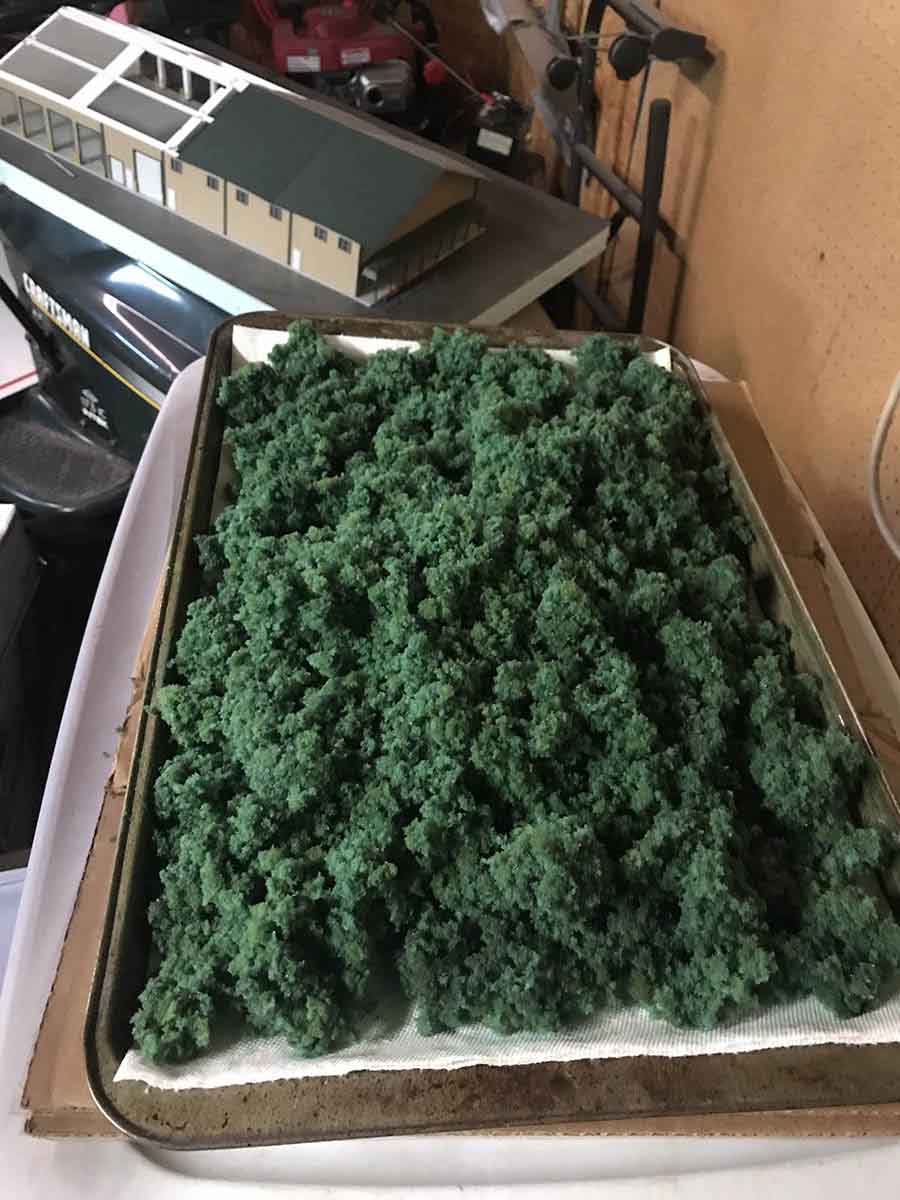
I then start removing it from the stained foam from the bucket with latex gloves. I wringing the excess dye out back into the bucket.
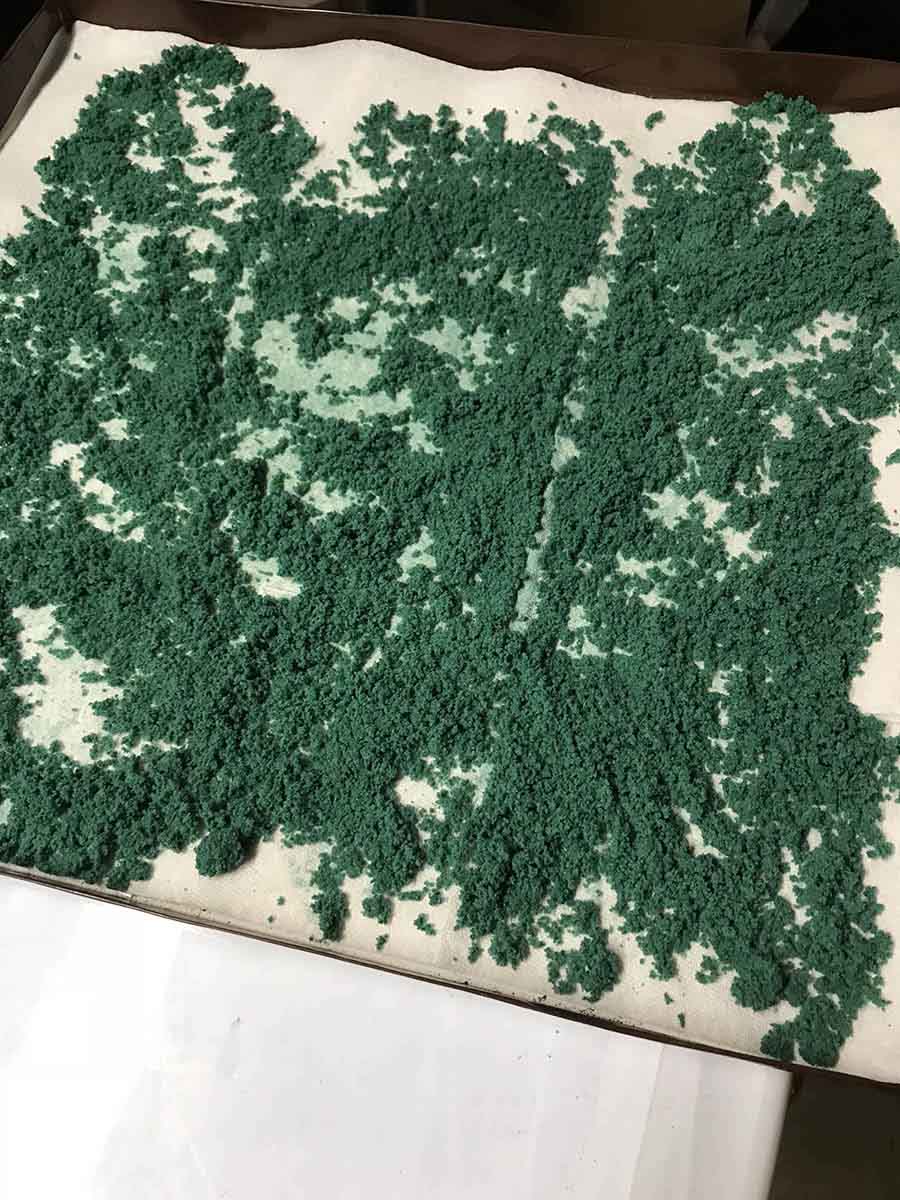
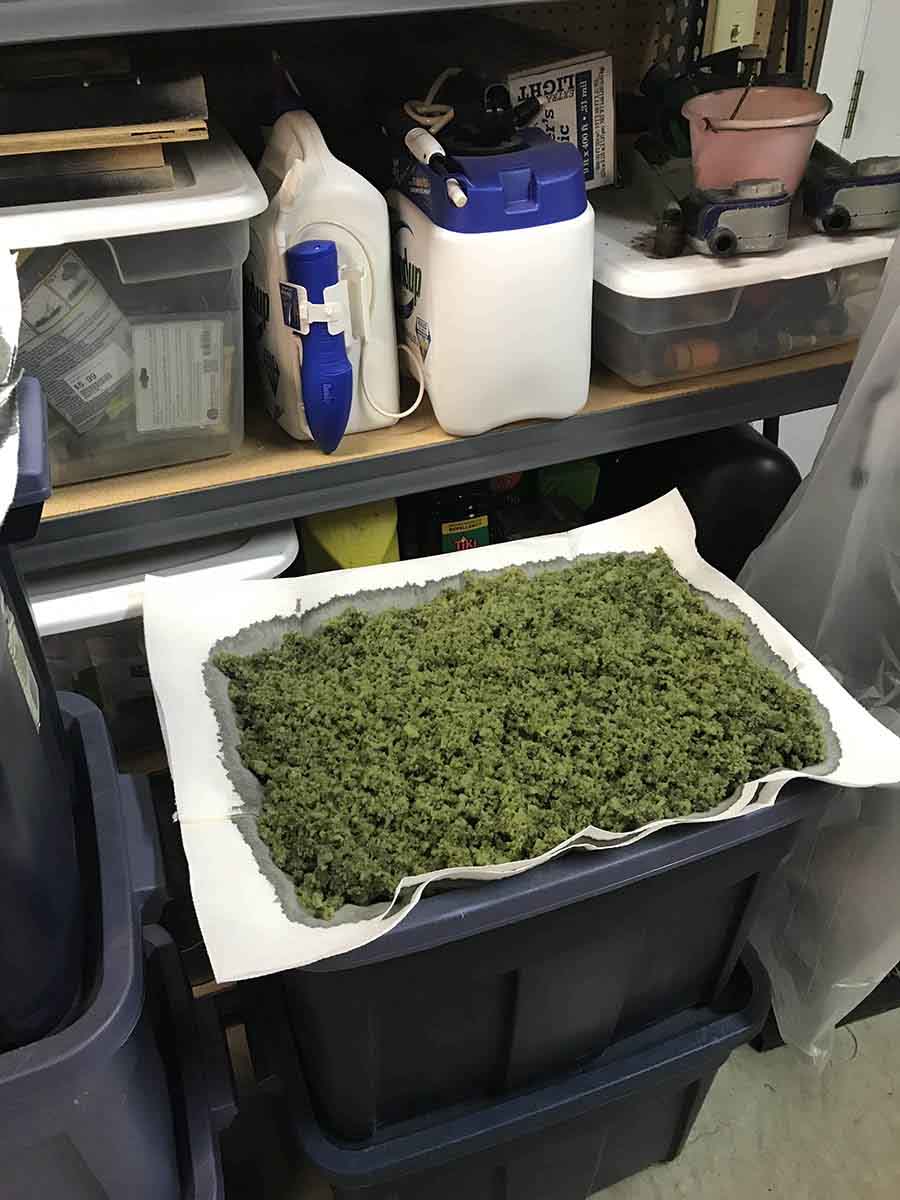
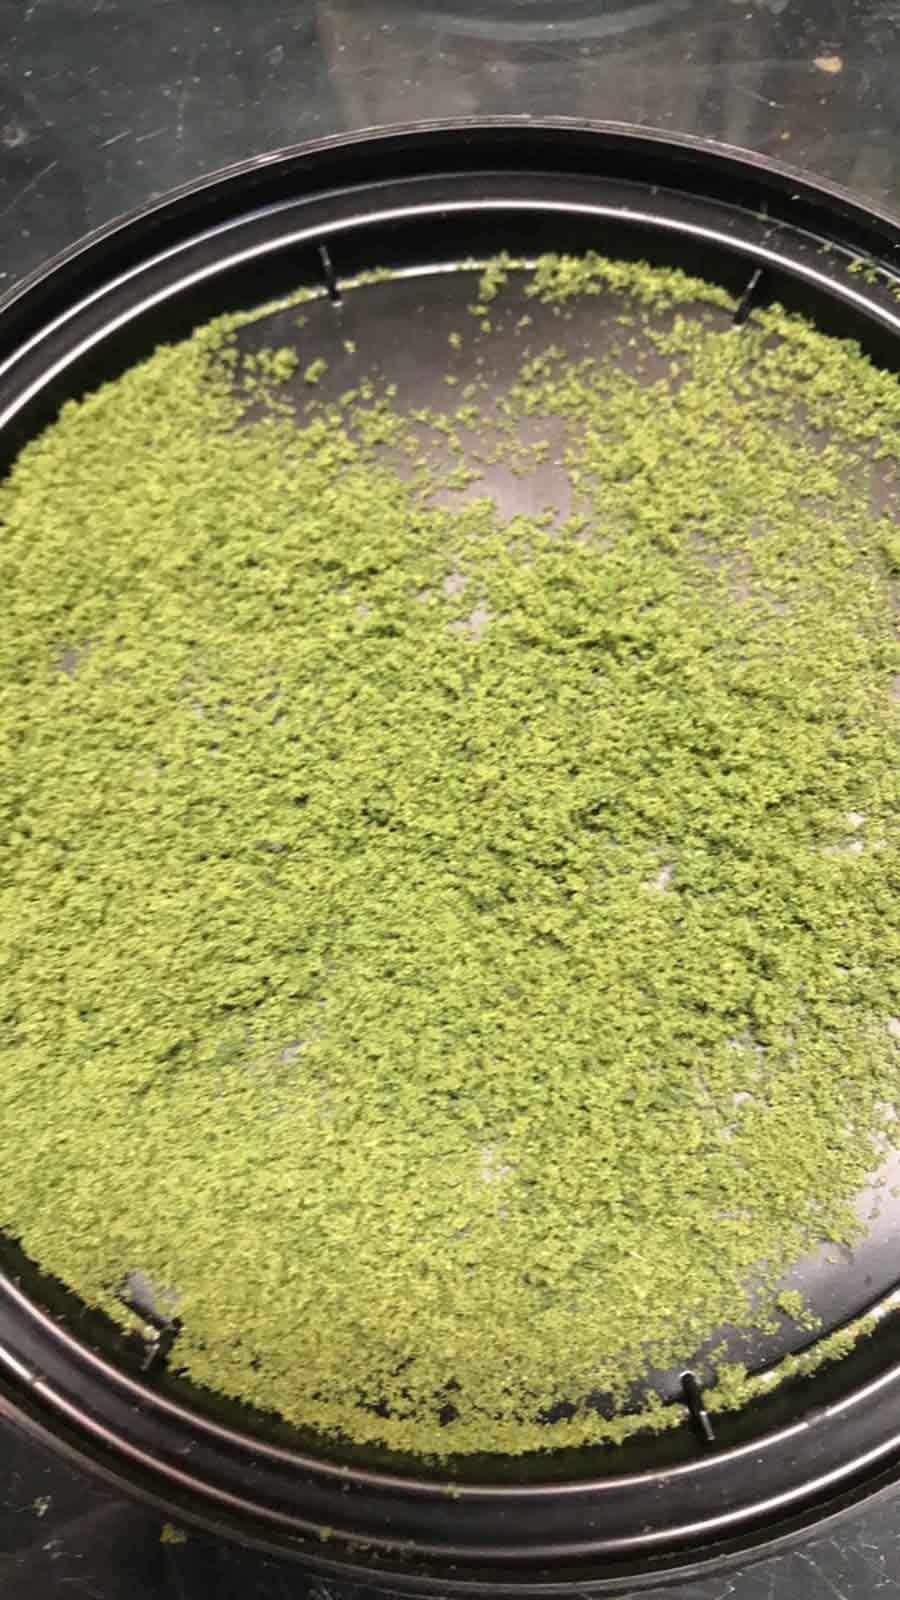
I then place the foam on cookie sheets that I had already prepared with layers of paper towels on them. And leave the out overnight to dry. I have also put them out side in the sun. But, you need to make sure it not going to be windy. Because as the foam drys out it becomes lite enough that it can blow of the cookie trays.
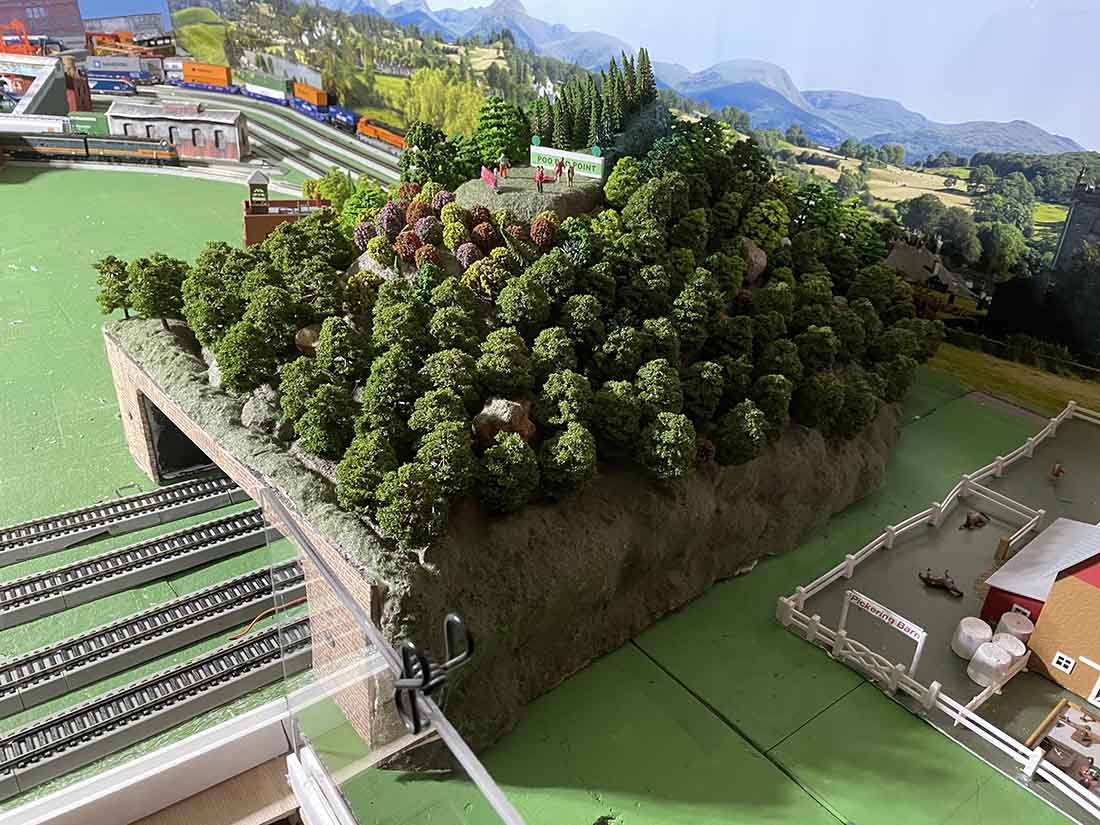
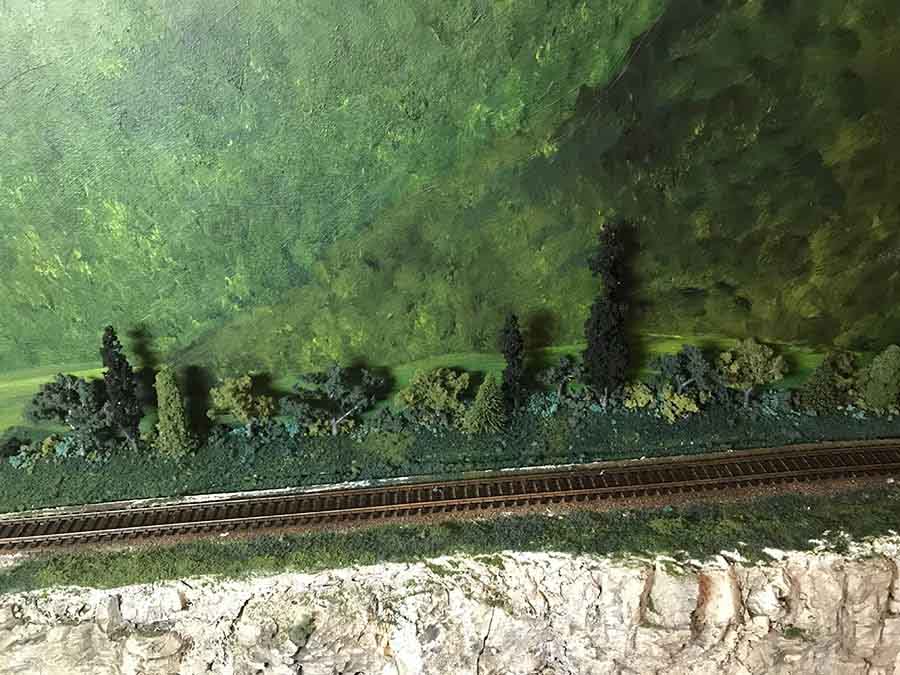
It’s not just for model train grass – this size will work great for using them for bushes and trees.
For bushes I set some to the side and put them in a smaller bucket and add some Elmers glue and mix throughly. When that drys, you end up with a product very similar to Clumped Foliage from Woodland Scenics. Which you can easily tear apart as needed.
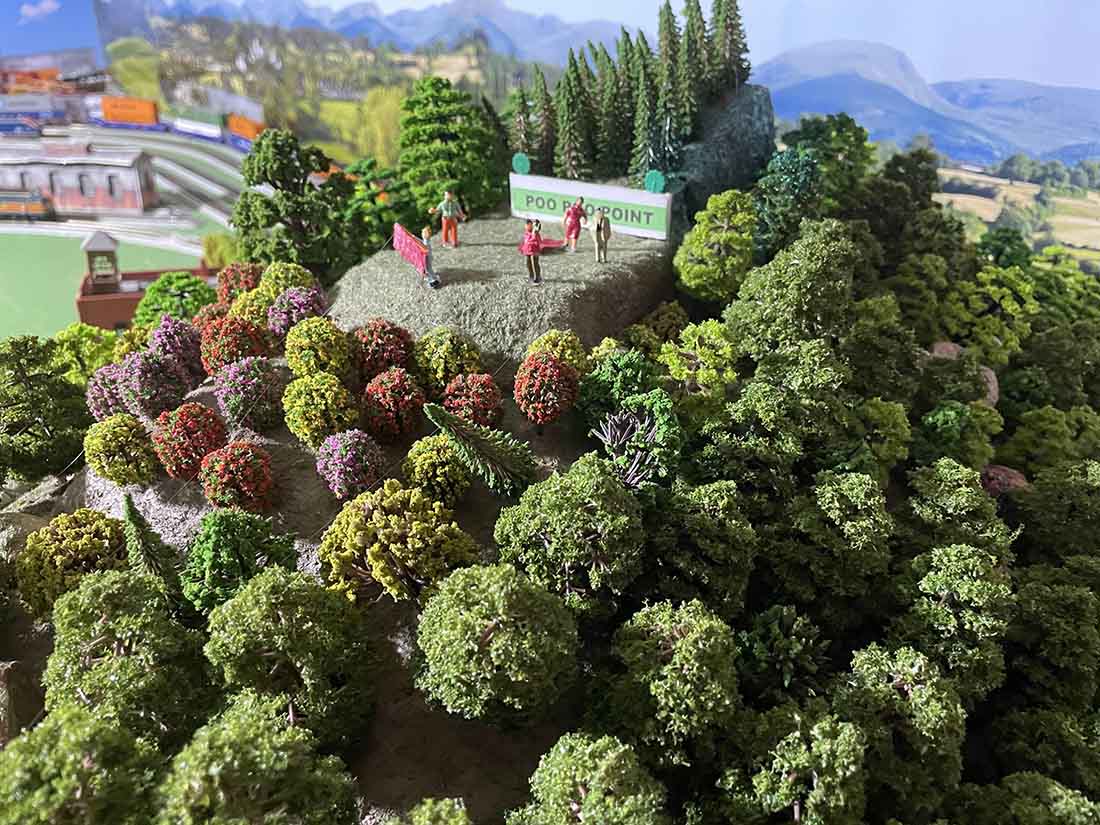
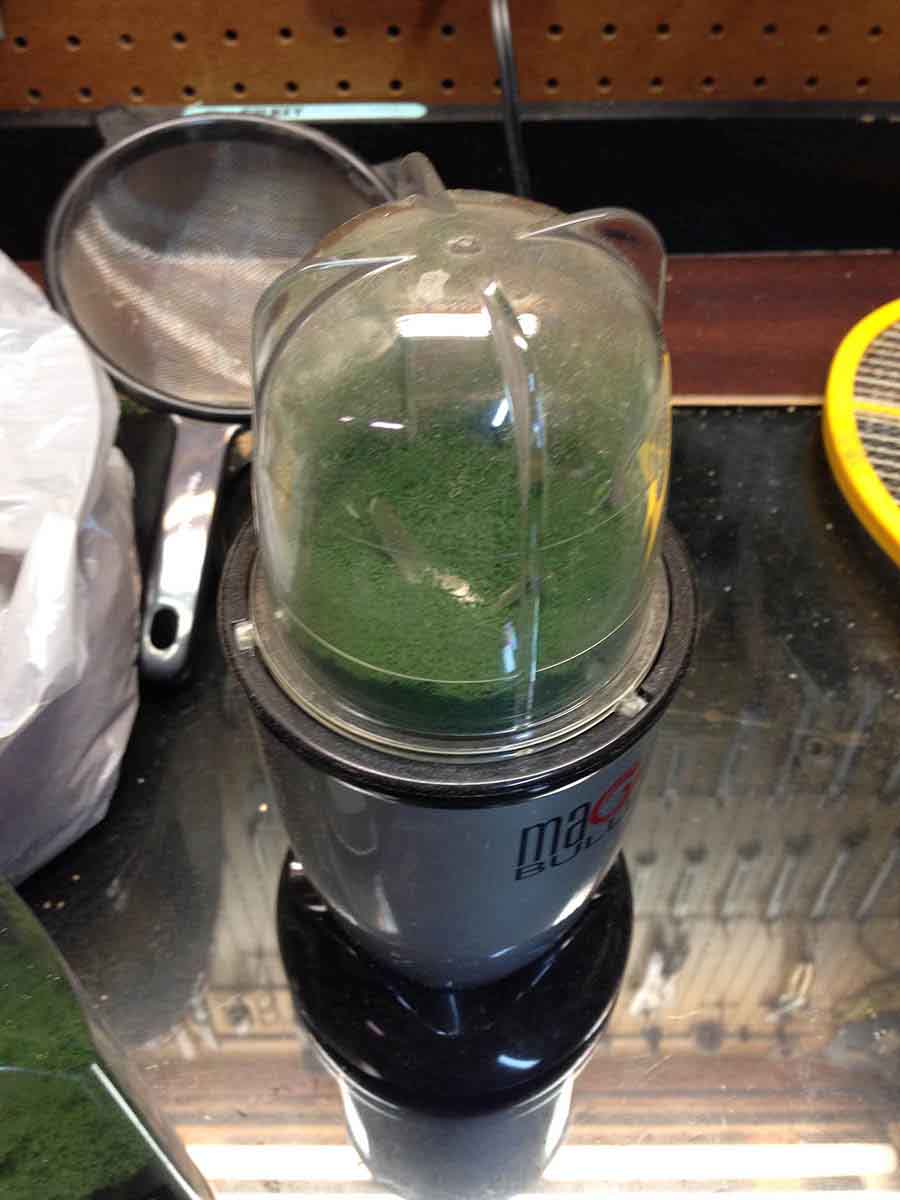
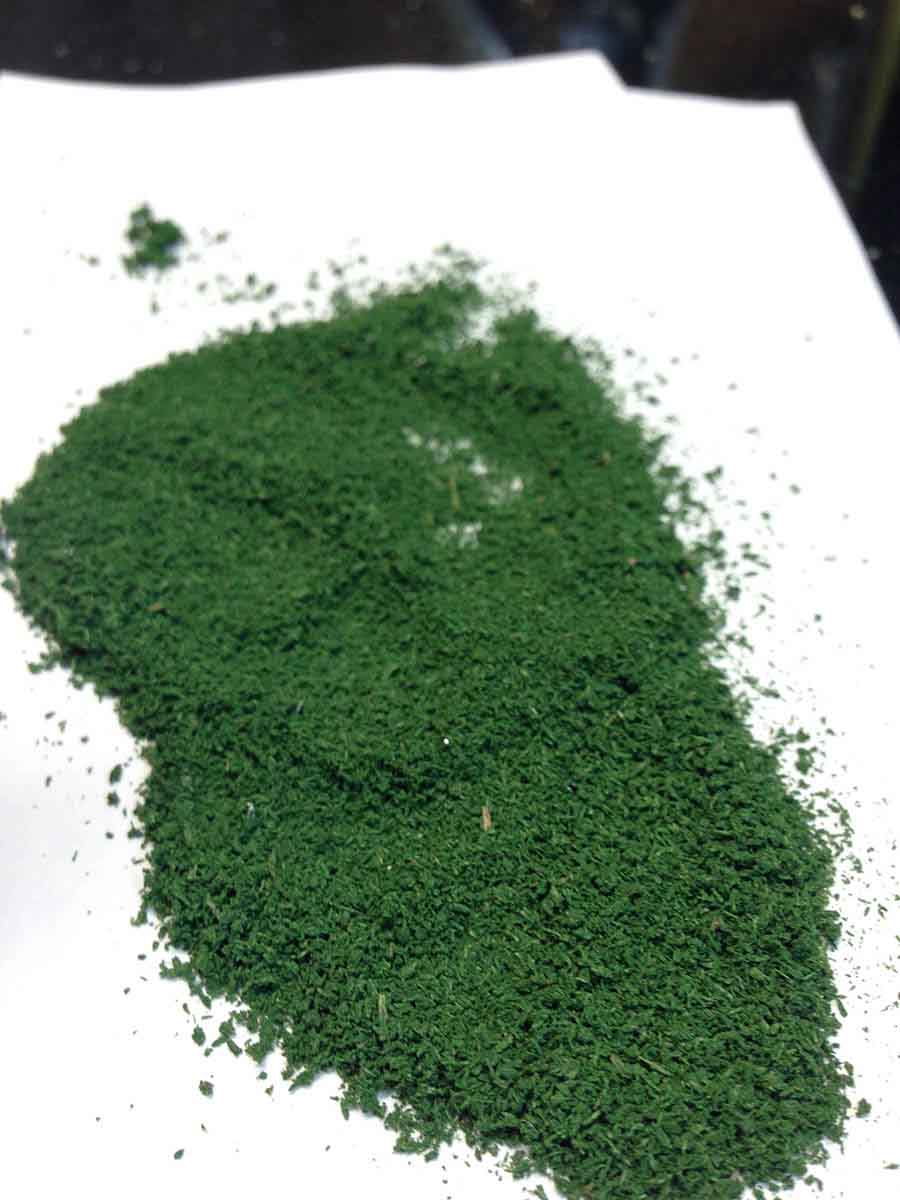
For Fine Foliage I put some of the dried foam into the magic bullet. It grinds it up and makes great Fine Foliage
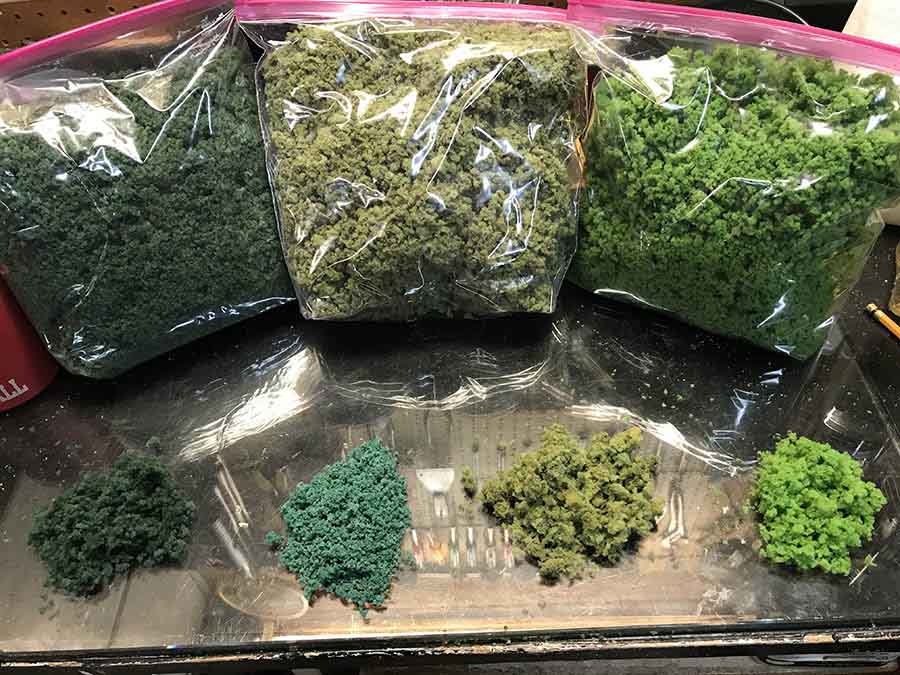
I then put it in old Parmesan cheese containers. Which work great for storage and applying it.
I also use ziplock bags to store the clumped and coarse in.
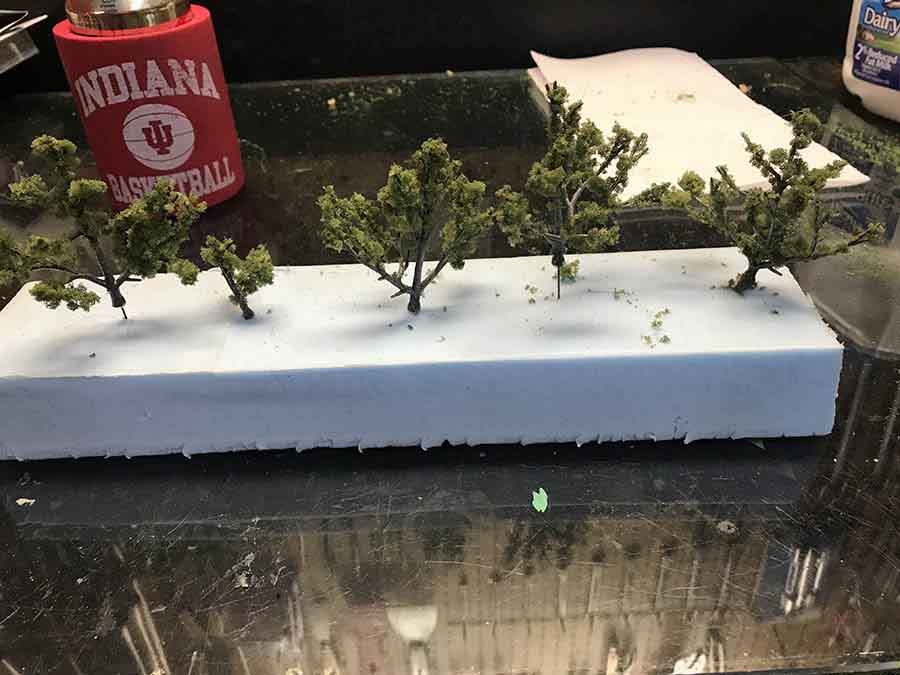
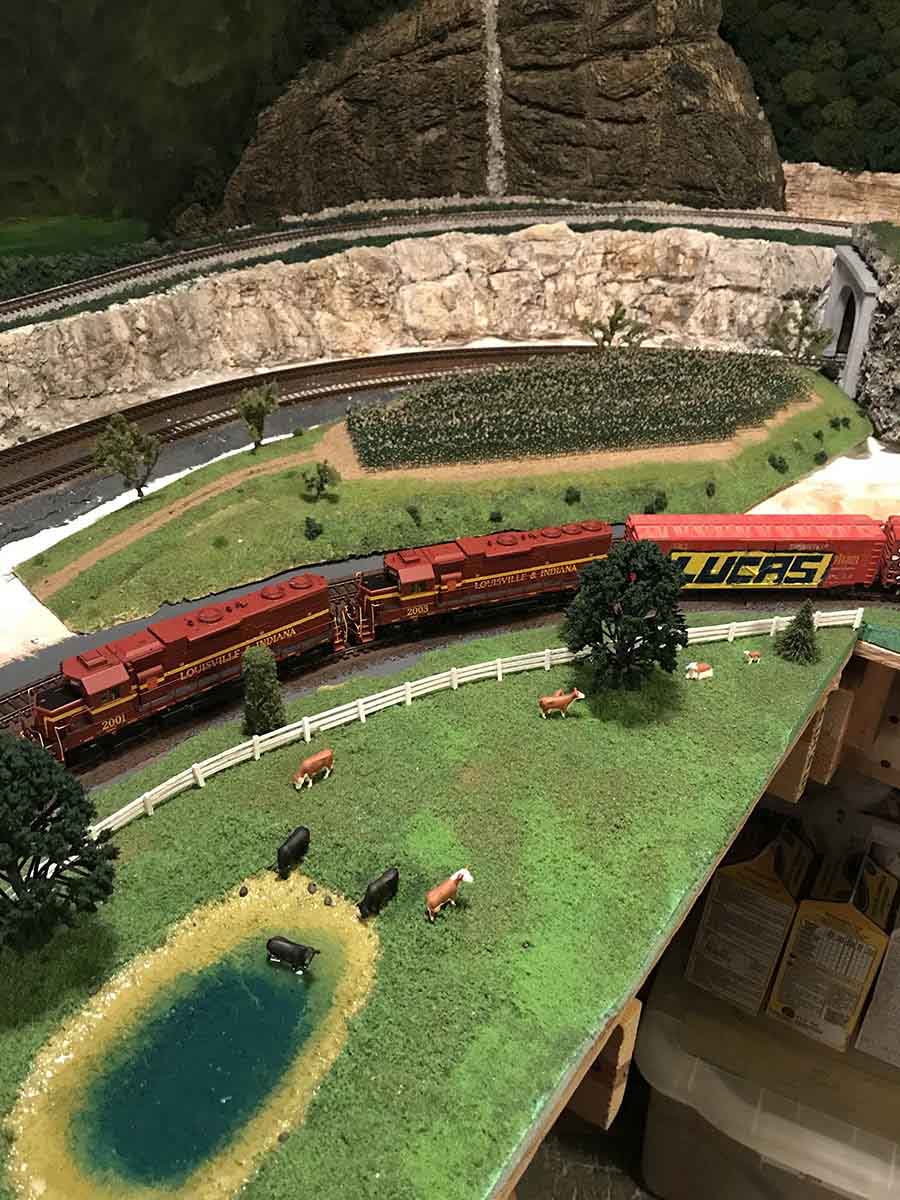
Trees in the cow pasture picture are from Menards and not ones I made.
Always enjoy your emails. This is such a fun Hobby. Just glad a can share a little knowledge with others. And hopefully some will enjoy it and find it useful.
Gary
Indiana”
A big thanks to Gary and to Peter for sharing his suspended model train track.