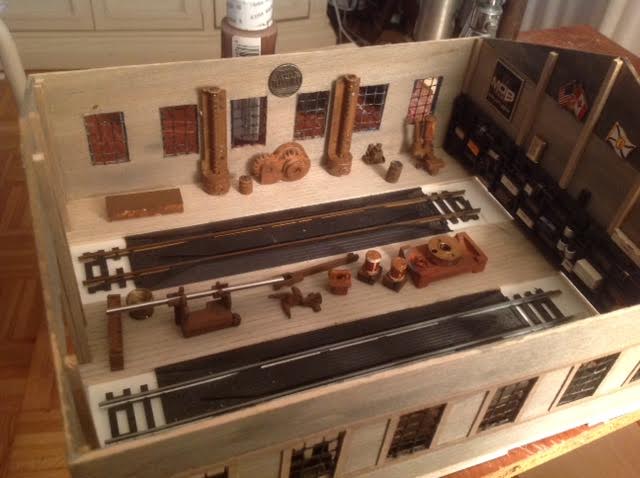
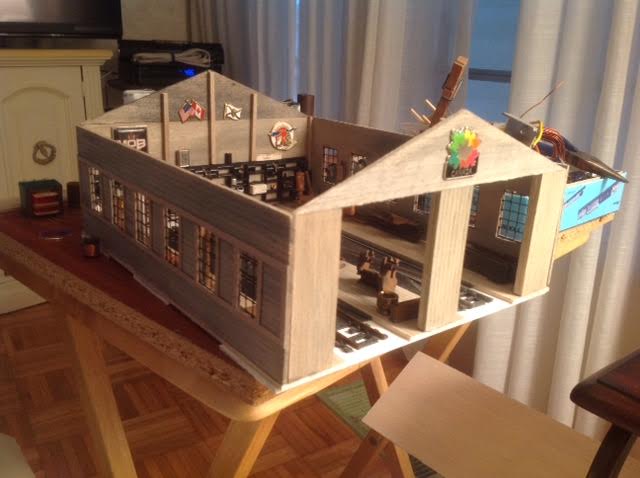
It got me thinking and scrounging and for $3 ….probably less… I got a good start on mine.
Here are a couple of photos.
All the best
Rolland”
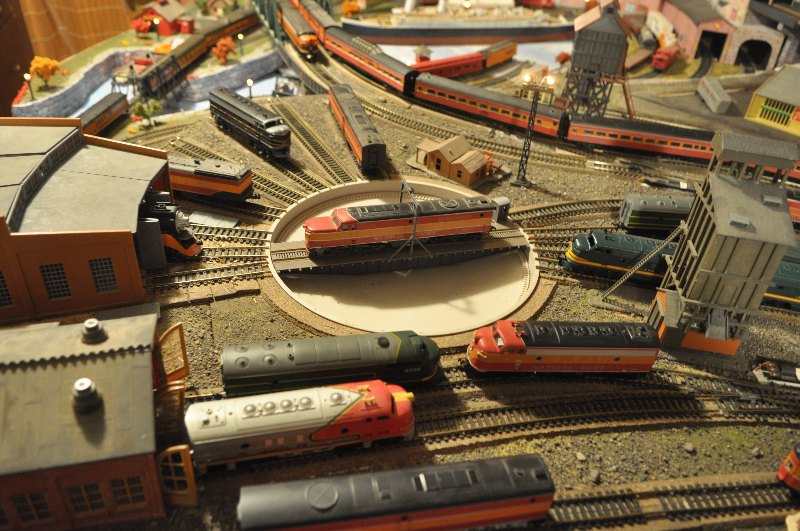
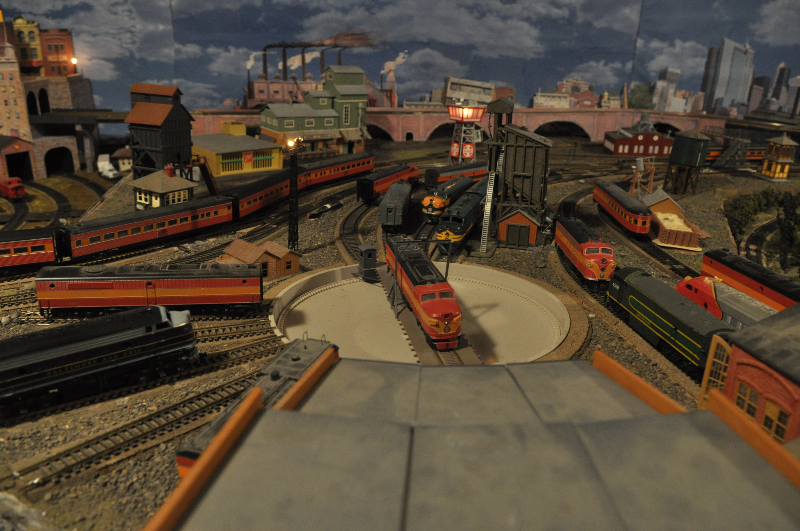
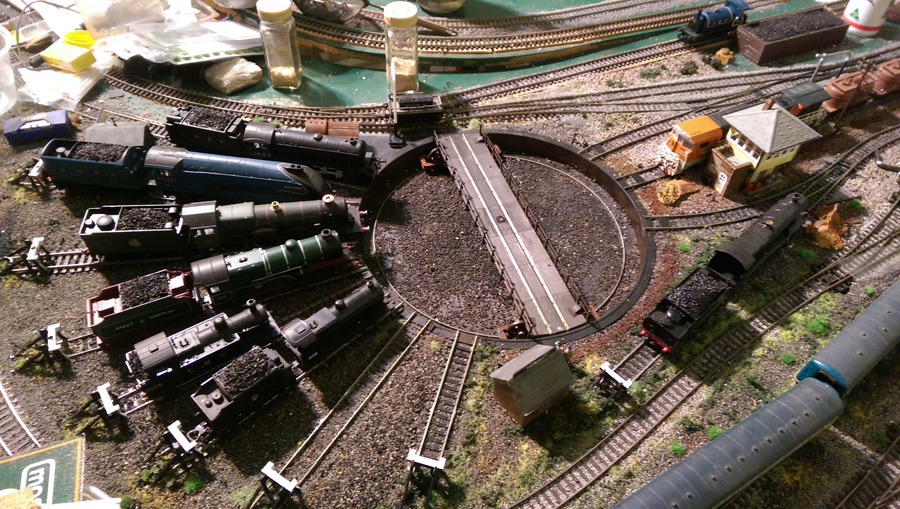
“At one time I had a huge ho layout and needed a lot of ground cover especially in the railroad yards.
Being cheap I wasn’t about to go to the store and buy packaged ballast/rock materials so looking around I realized that the rocks/and that the city uses on streets to make traction in snow easier, I simply took a bucket, walked out to the curb and scooped some up. Voila! easy, right scale, and FREE.
You can take advantage of this either in the winter when they first sand the streets, or in the spring after they sweep the stuff clear. There’s always some left near the curbs.
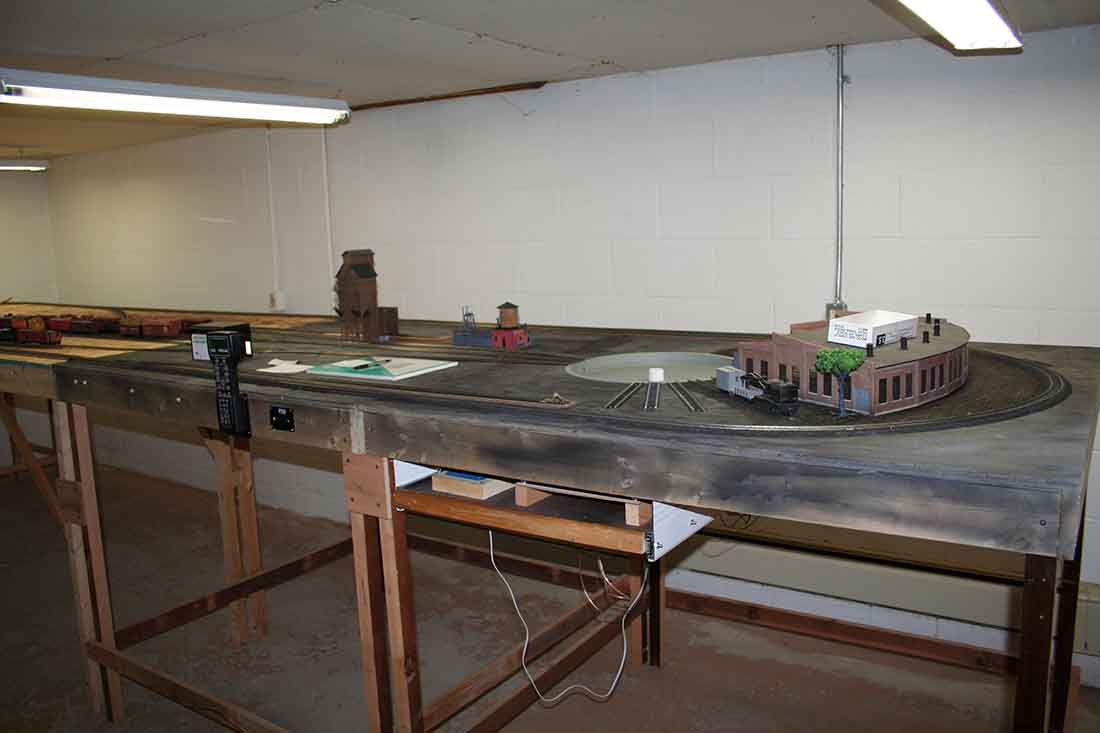
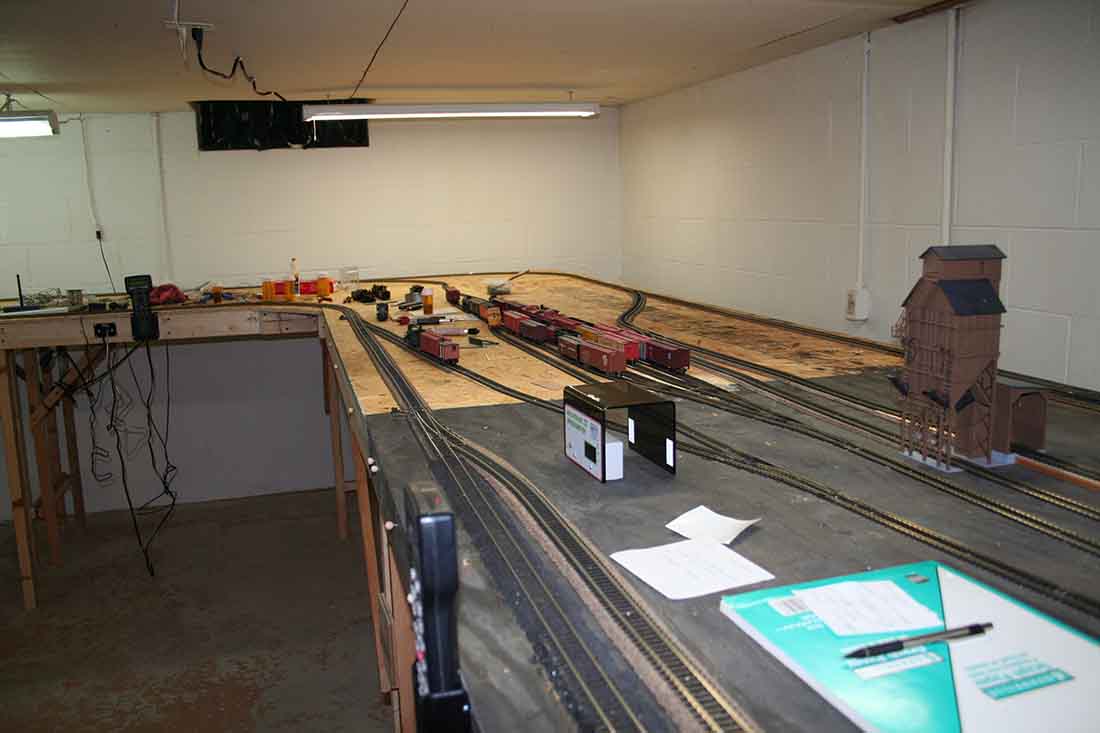
Here’s a couple of shots of the roundhouse area of one of my previous layouts to show how it looks:
Terry”
Now on to Raymond:
“Sorry I haven’t been in touch haven’t had much to ask show of my layout,but I’ve finished a couple of sections.
Raymond”
Now on to Mike. Some of you will remember him because he builds a new layout every year for a show.
Here’s his second last post, when he’s still on the thick of it.
We’re starting with Allen today because today’s post is all about starting a model train layout.
He’s shared pics of something I am always banging on about: making a start.
It’s probably the most important part of any layout.
You can sit there day dreaming, cogitating or planning – but until you grab a table and start putting track down, it’s all pie in the sky.
That’s why I happily post pics and narratives of half built layouts (and it’s also good to see the journey – I do love an update).
Just remember, it’s the start that stops most people when it comes to a model railroad.
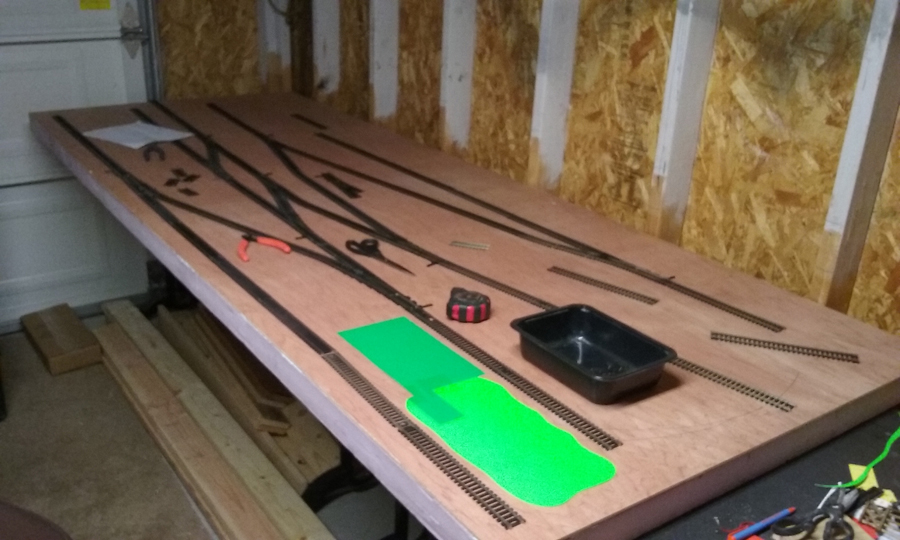
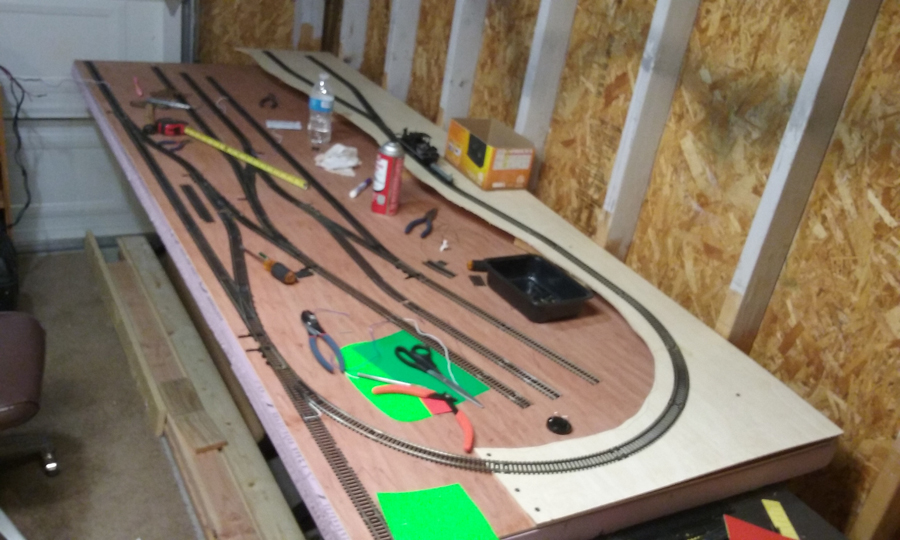
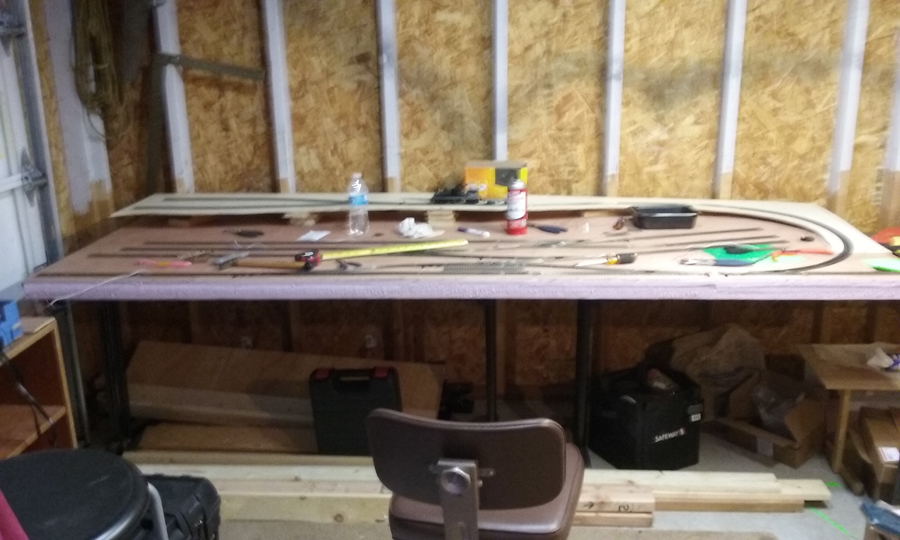
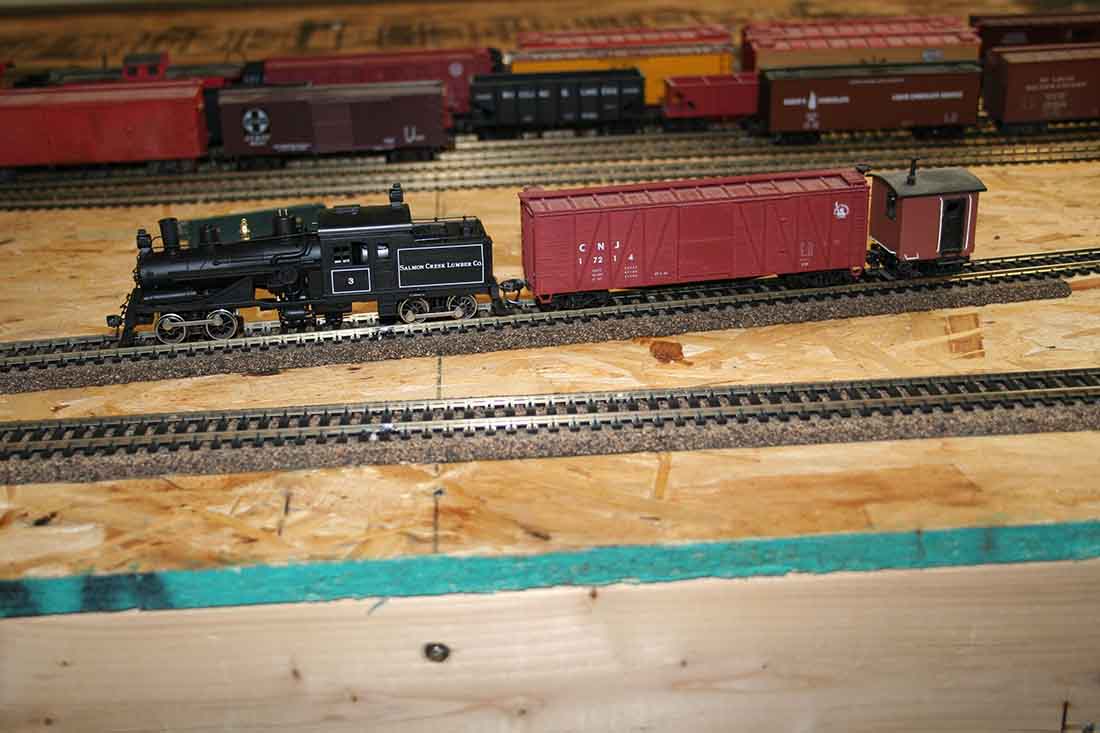
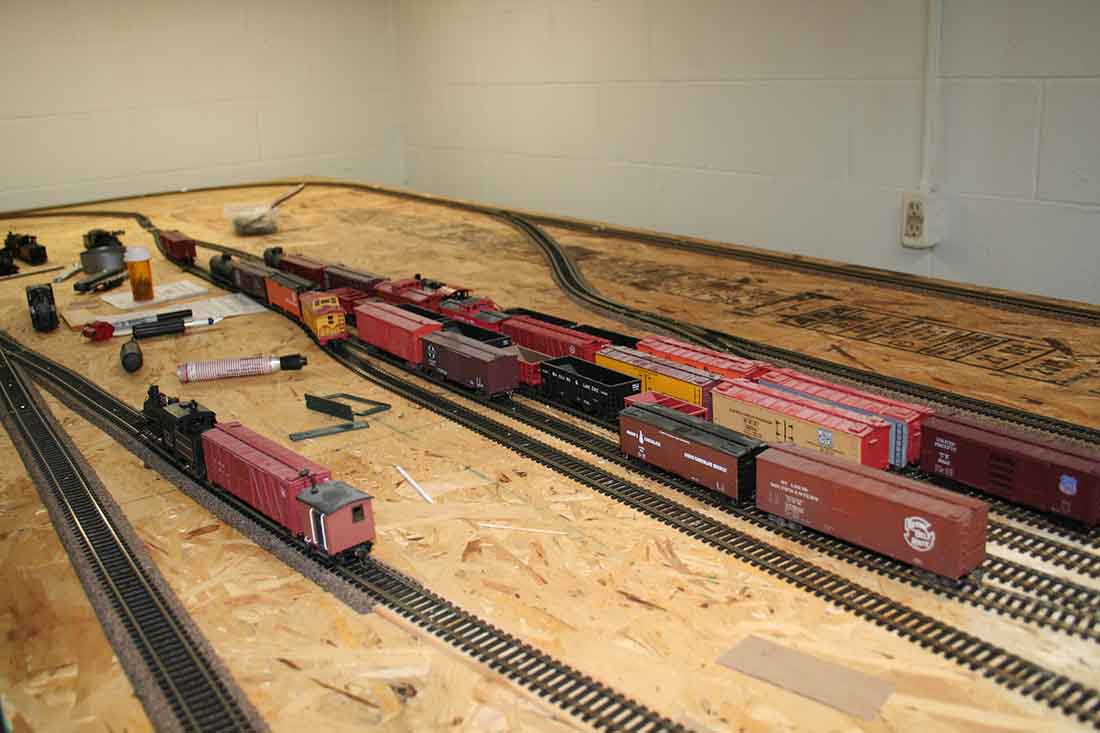
Take Allen, for example. There’s not a lot to see on his layout so far, but he’s made that start. He’s up and running!
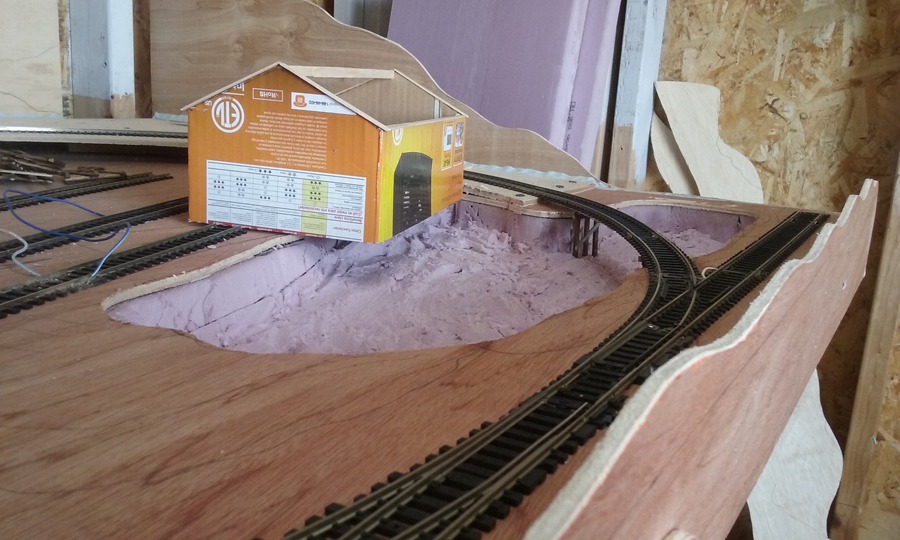
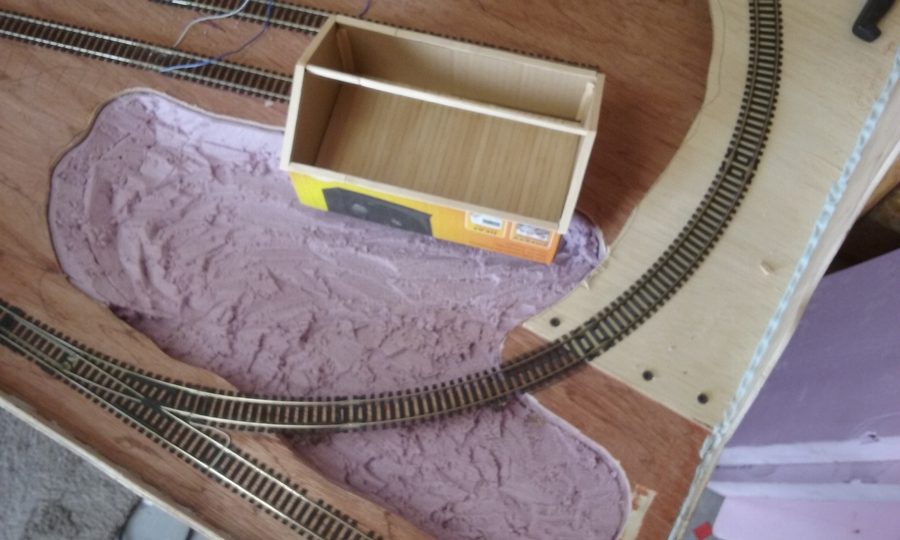
“Hello Al.
i am sending a couple pictures of my ho model railroad i have most of the track layed and now the hardest part the scenery!
Allen”
Now on to Henry:
“Hello Alastair
Thank you for your daily emails, I always look forward to seeing them pop up in my inbox.
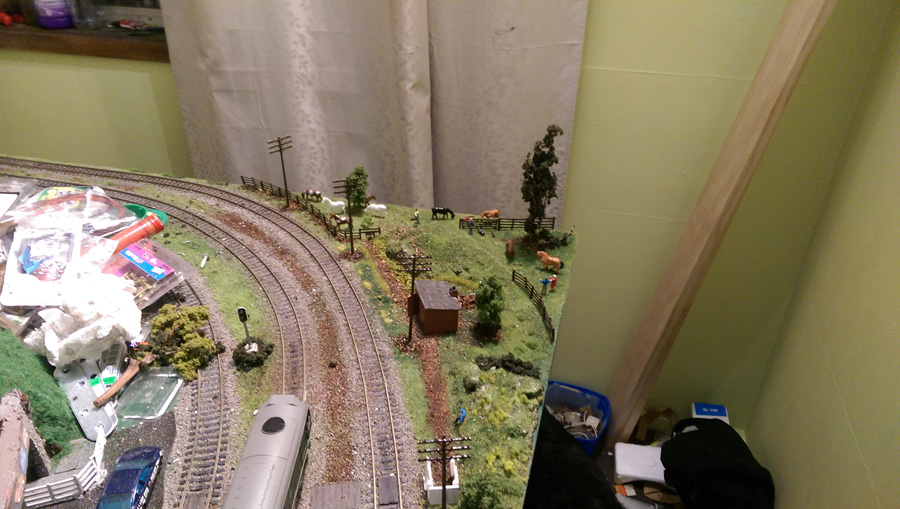
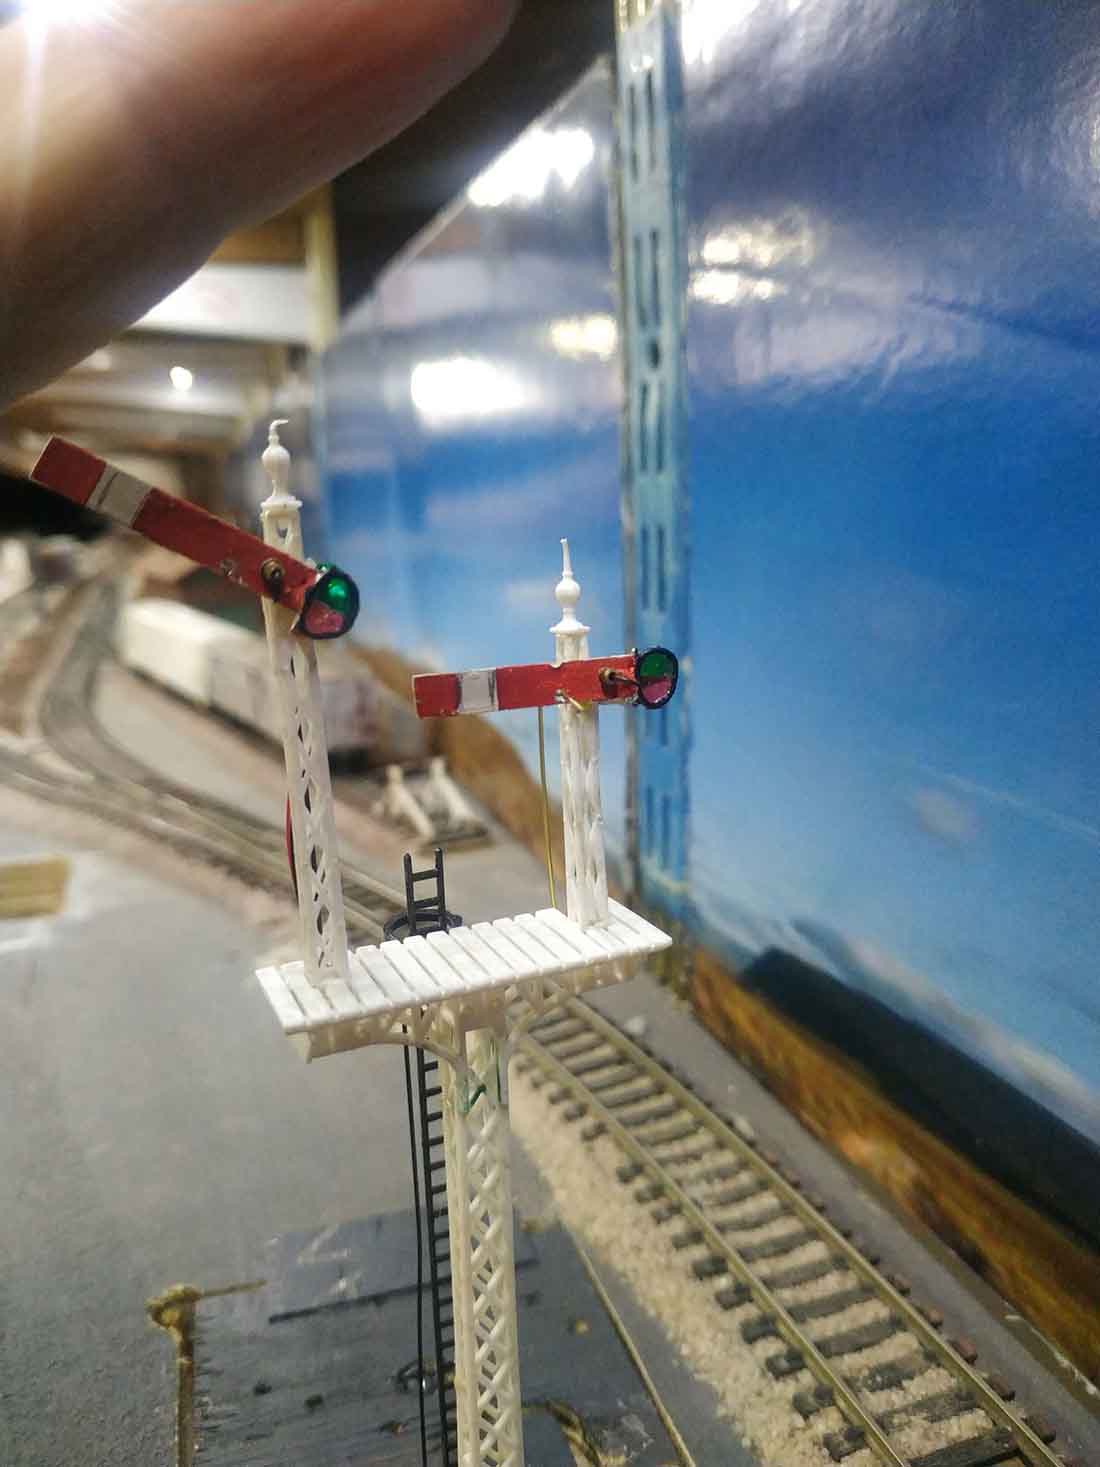
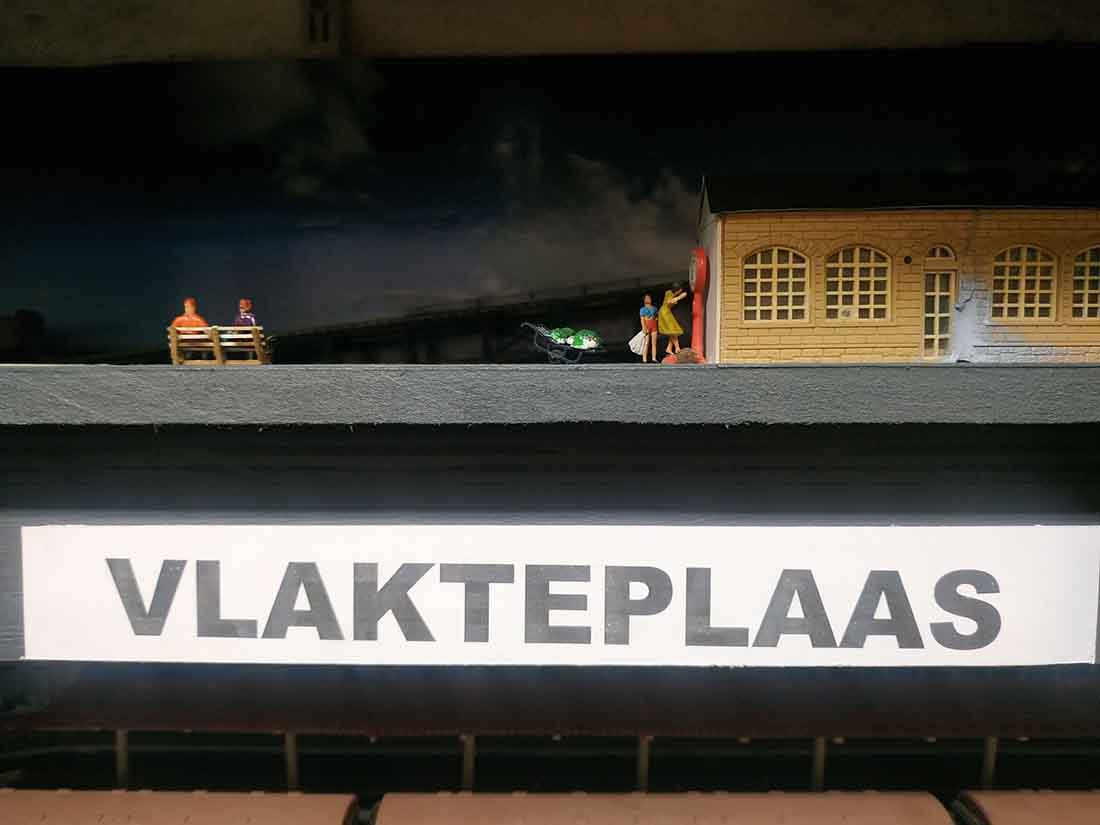
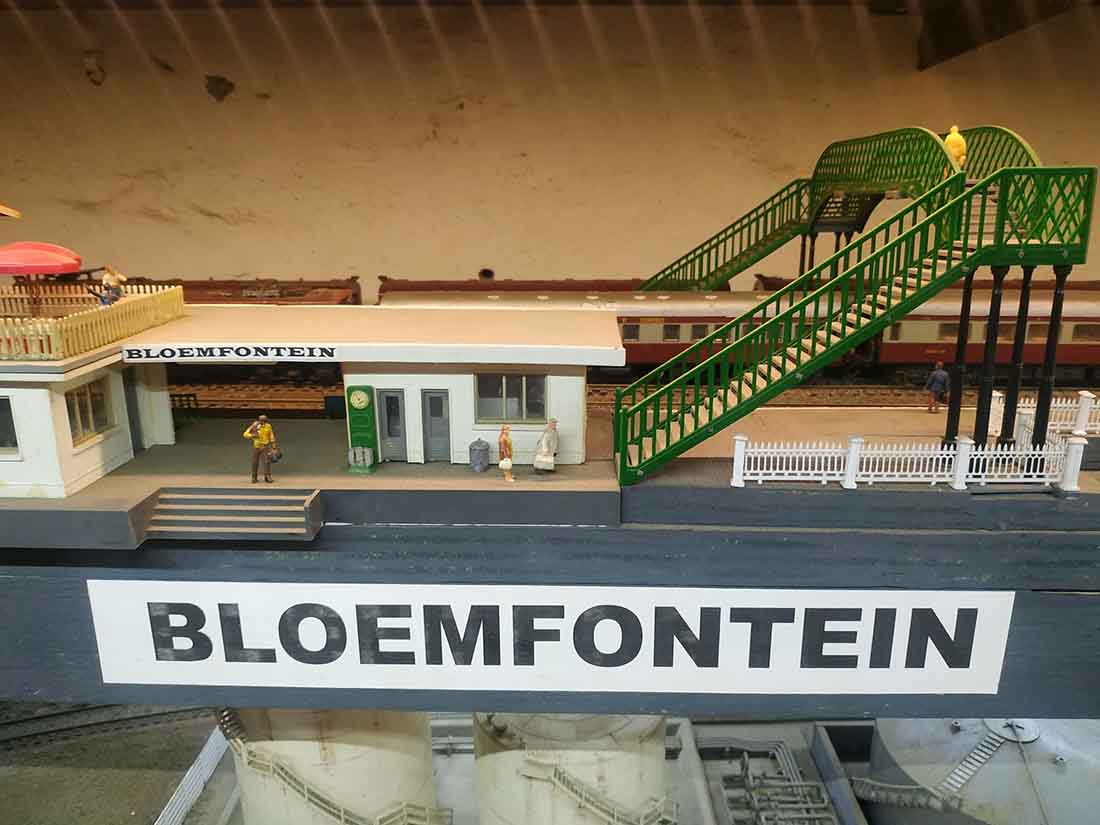
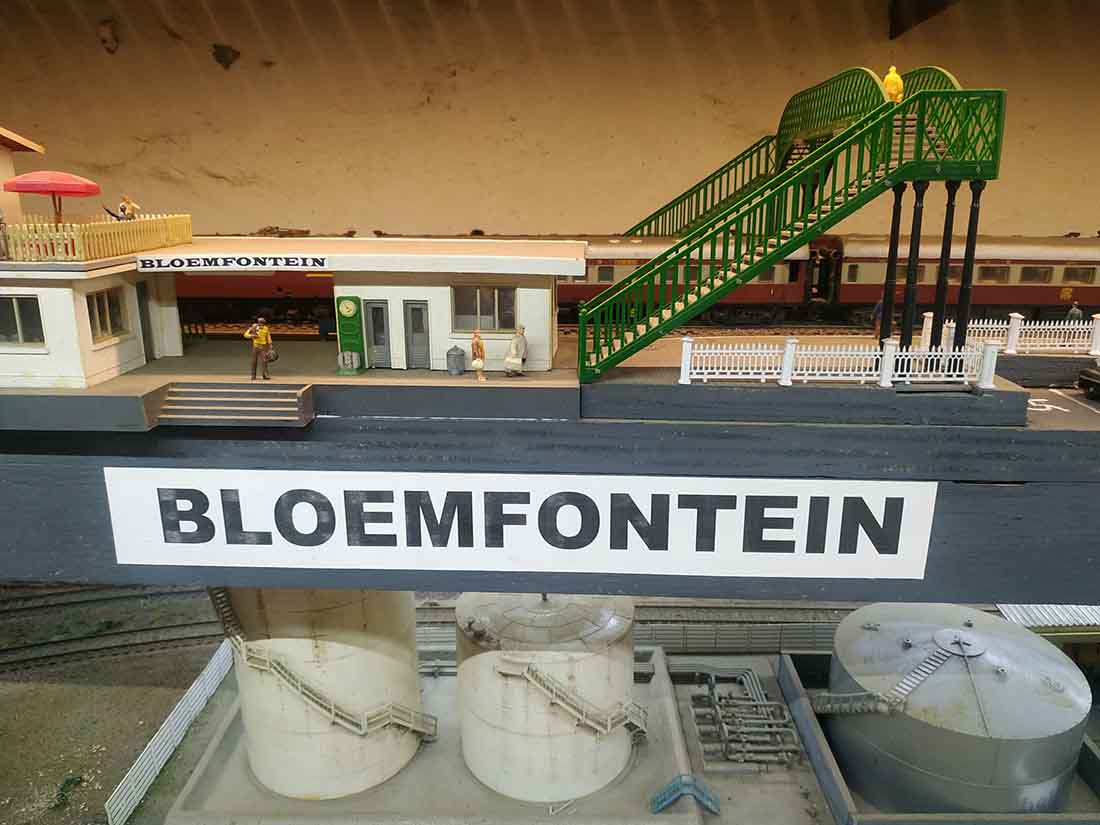
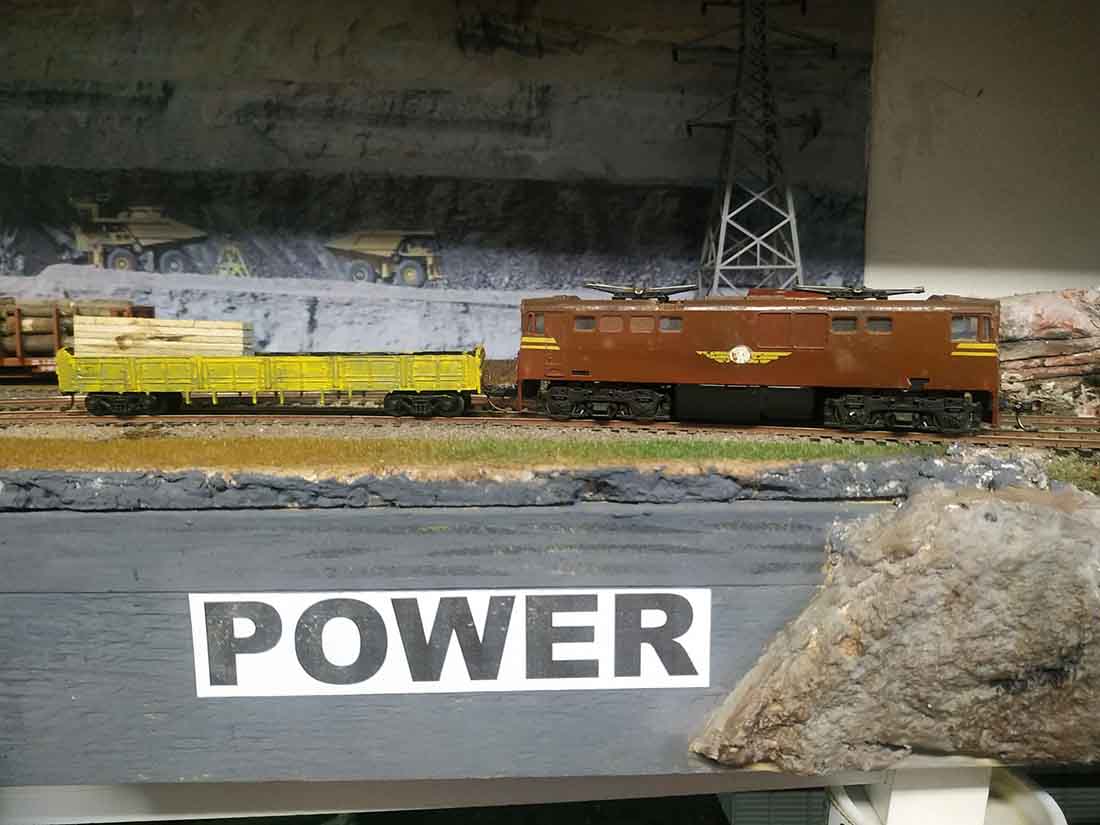
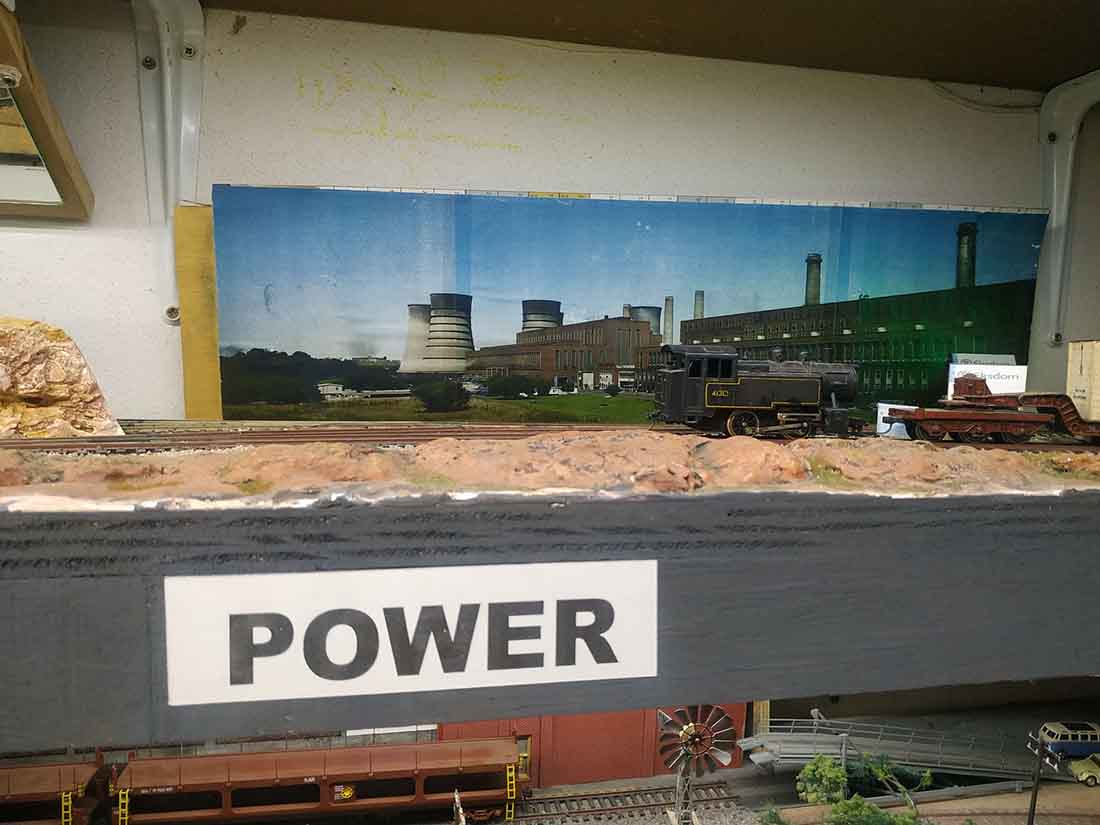
I have added names to all the towns represented on my layout, and in one of the small towns, semaphore signals are still in operation, so I had to add some LED lights so that it can be seen during the night time too.
The semaphore signals have a red and green lens, so depending on the position of the blade, the light either shows danger/red and when the blade is in the raised (upper quadrant) position, it shows green.
I would like to share a few photos and a video tour of my layout.
Regards
Henry”
A big thanks to Henry and Allen who have shown what starting a model train layout is all about – stop dreaming, start doing!
Steve’s been in touch with some model train workmen pics – and a strange blue light too…
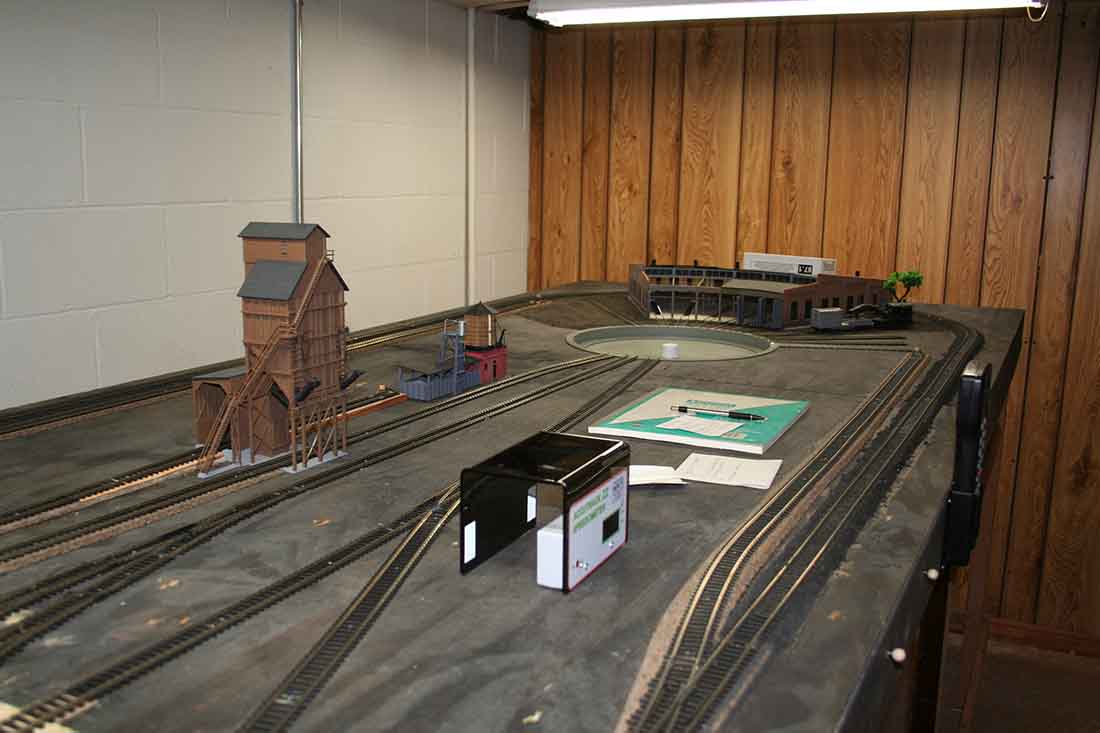
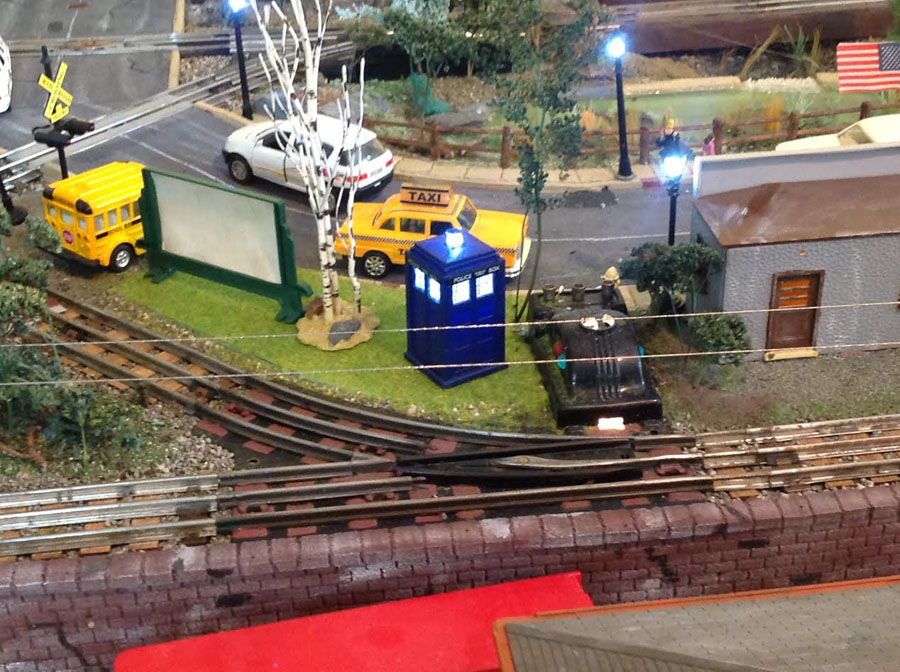
“Just a little surprise on the layout.
The other day I heard a grinding noise coming from the train room so I went in to see what was going on.
Well I found a blue box all lit up. The strange part is I never put it there. I am still trying to figure it out. Pictures attached.
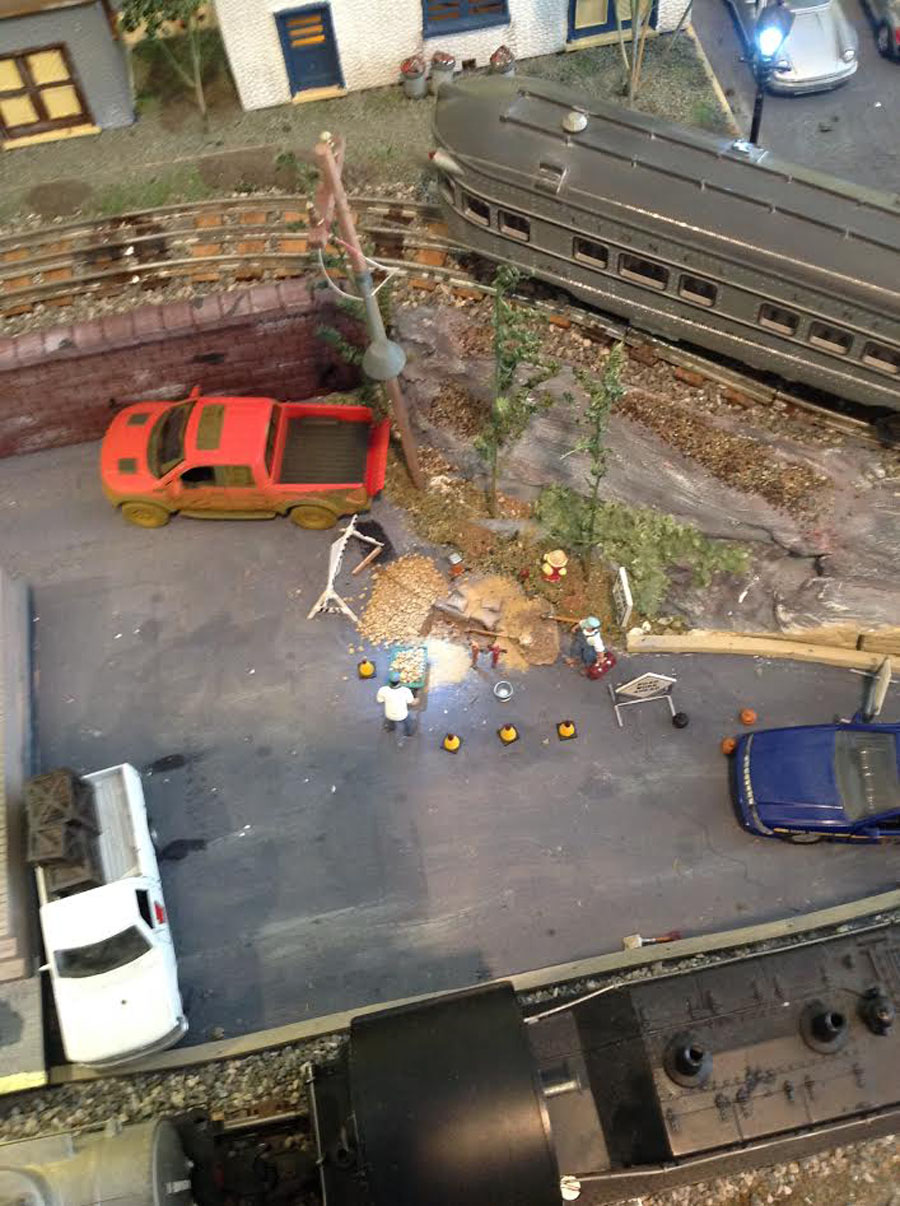
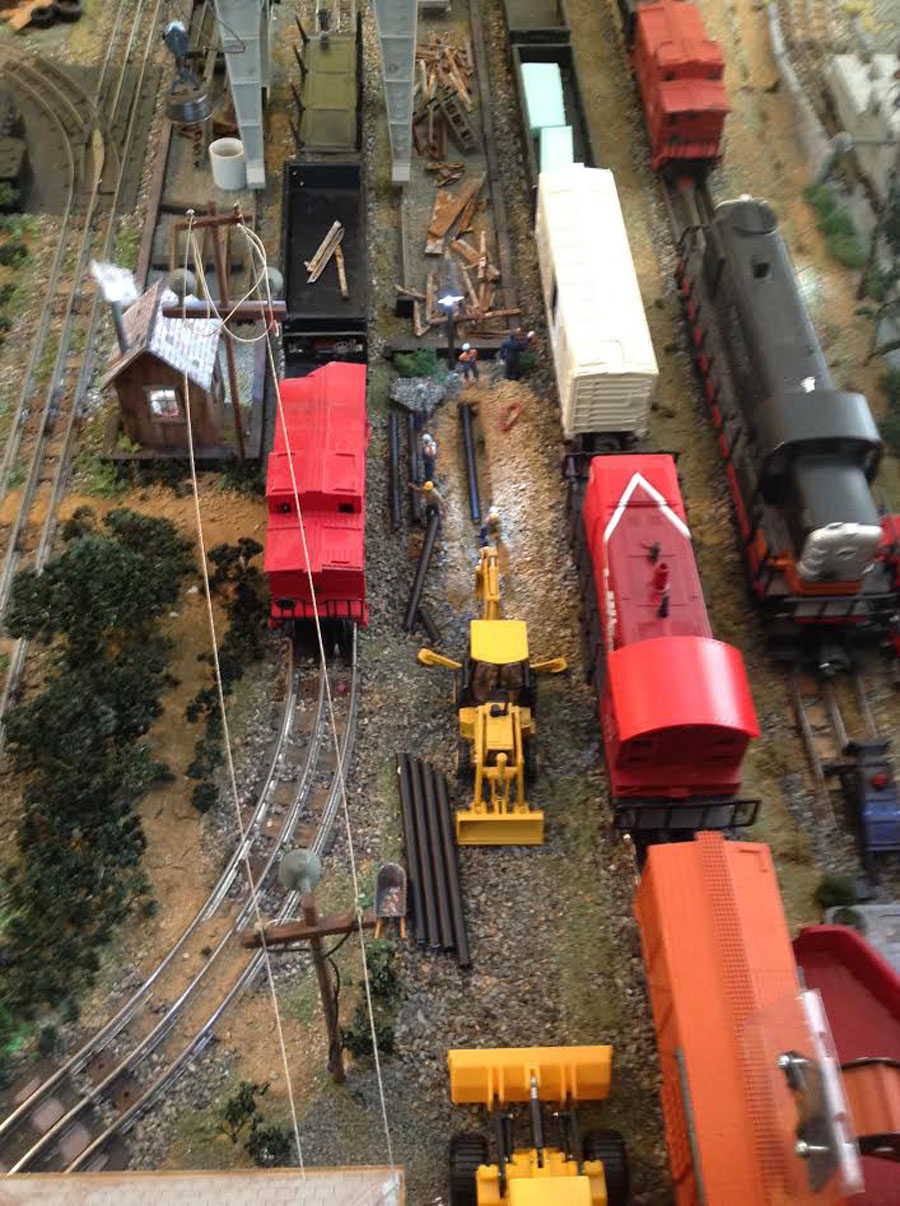
In the meantime I have some crews running water lines to the community.
Will be sending more soon
Steve from Toms River.”
Strange blue light? I had to look at Steve’s pics twice before I twigged. Did make me smile though.
Liked the model train workmen pics – a nice scene.
Now on to Rob:
“Hey Al,
Loving your website. It has been very inspiring! A lot of great folks with great ideas. Thanks to everyone.
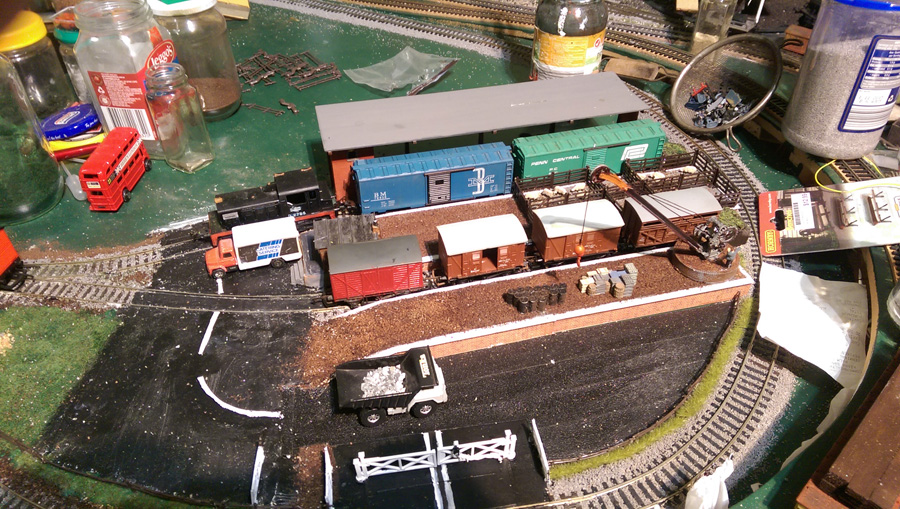
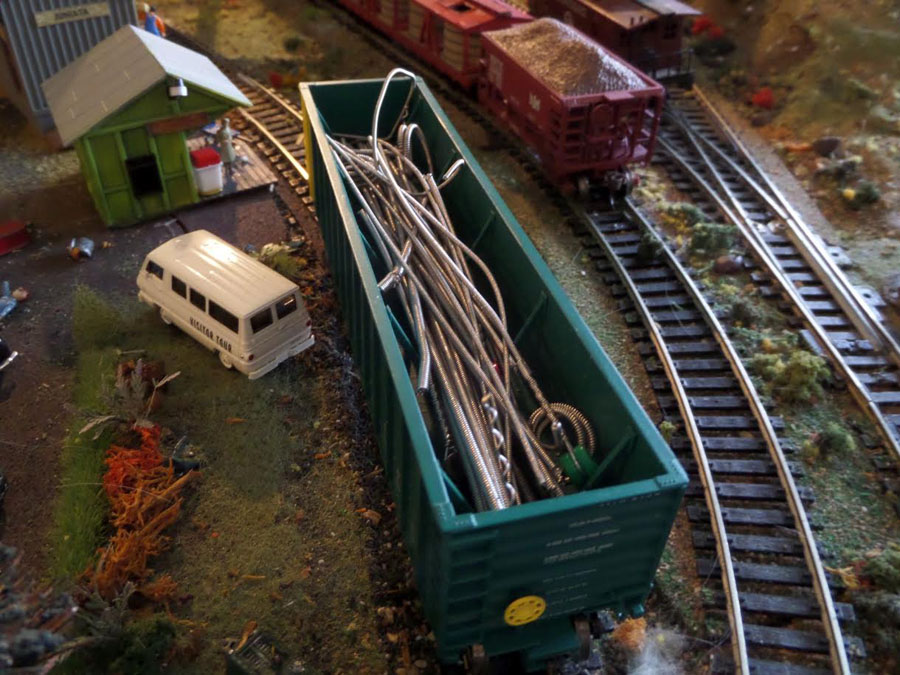
I have attached a photo someone might find amusing. First I must apologize for some flaws in the photograph (ie: no balast yet, etc.).
When I was changing my bass guitar strings I was thinking what a waste to throw these away. So for now I chopped them up as a junk load. One could do many, many different things with this so called garbage. And in my case they are about 3 feet long. And guitar players have much thinner strings so there is even more options there. That’s all for now.
Cheers and thanks again,
Rob!”
“For N-Scale lighting I use the chip LEDs. With a handriveting tool and a rivet, I can punch exterior light shades out of a brass strip. Predrill the center of the light shade before punching it out, then solder the shade to a piece of 1/16 X .014 round copper tube. The wire from the anode of the LED goes down the center of the tube.
The cathode gets soldered to the underside of the lamp shade. So the ground wire from the power supply gets soldered to the tube, and the hot side goes to the wire. The chip leds are great for interior or exterior lighting. I’ve used an Arduino computer to adjust the intensity of the LEDs for indoor and outdoor lighting to make them more realistic.
Ben”
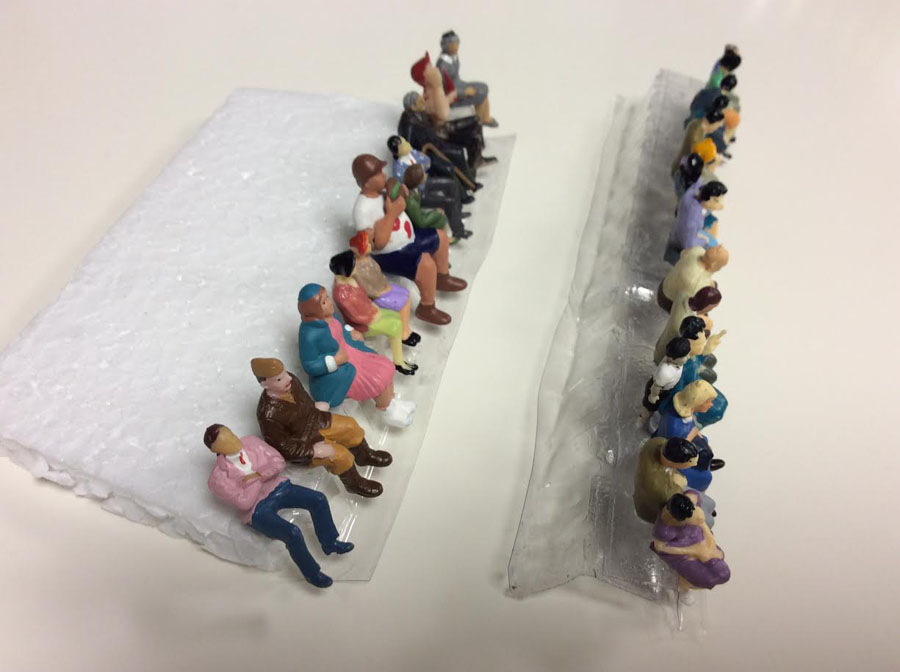
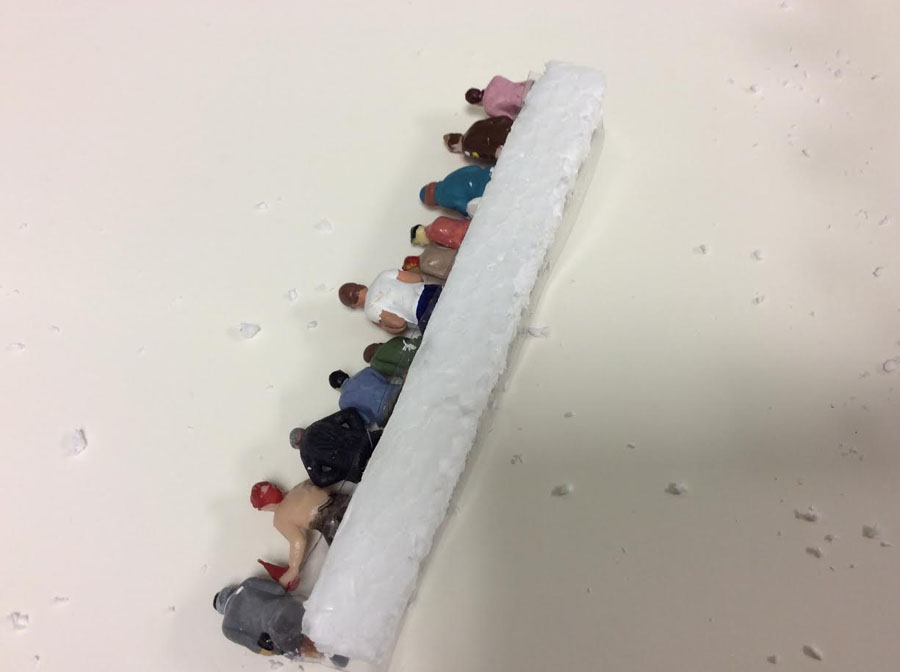
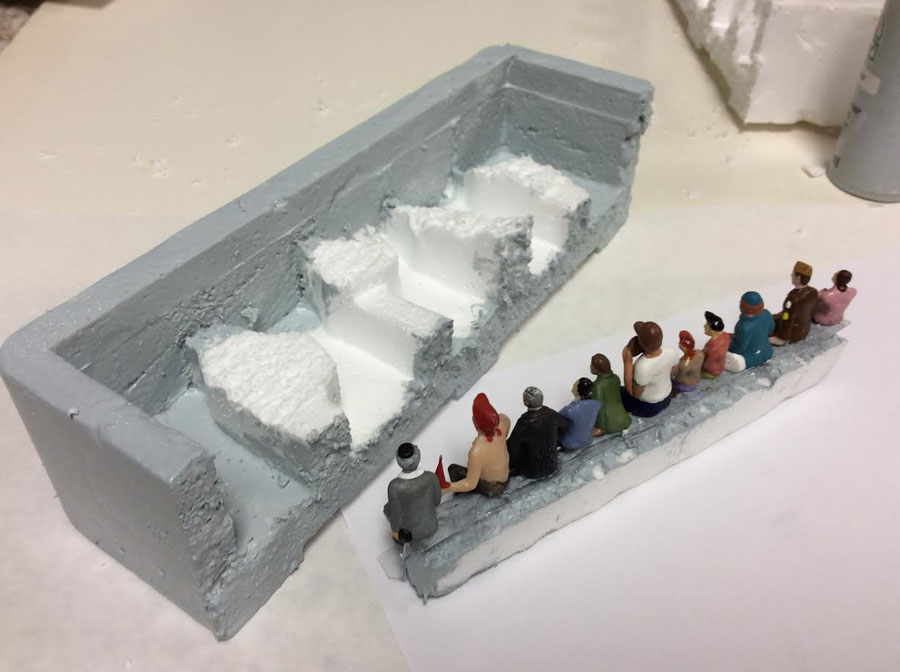
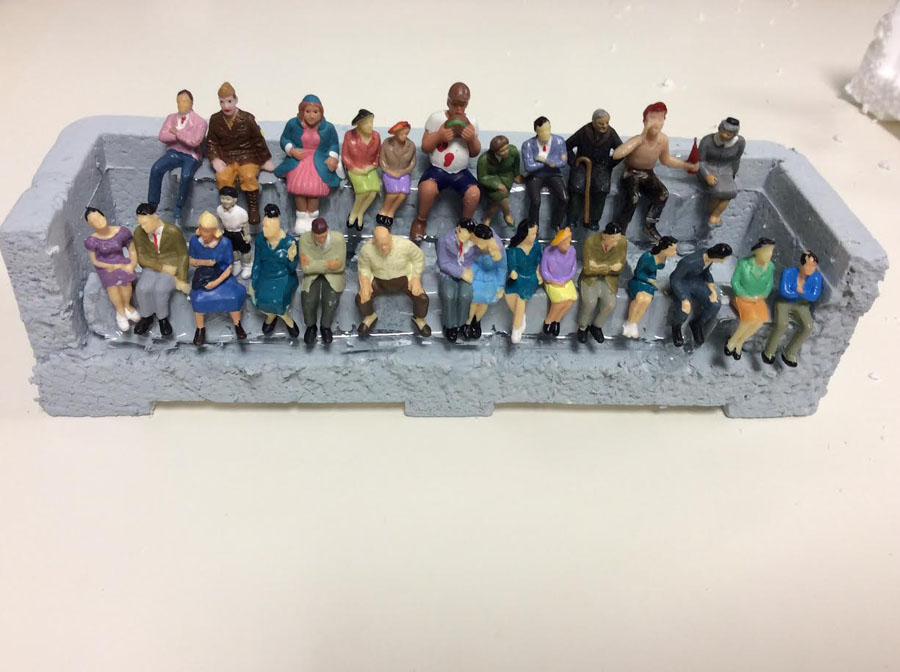
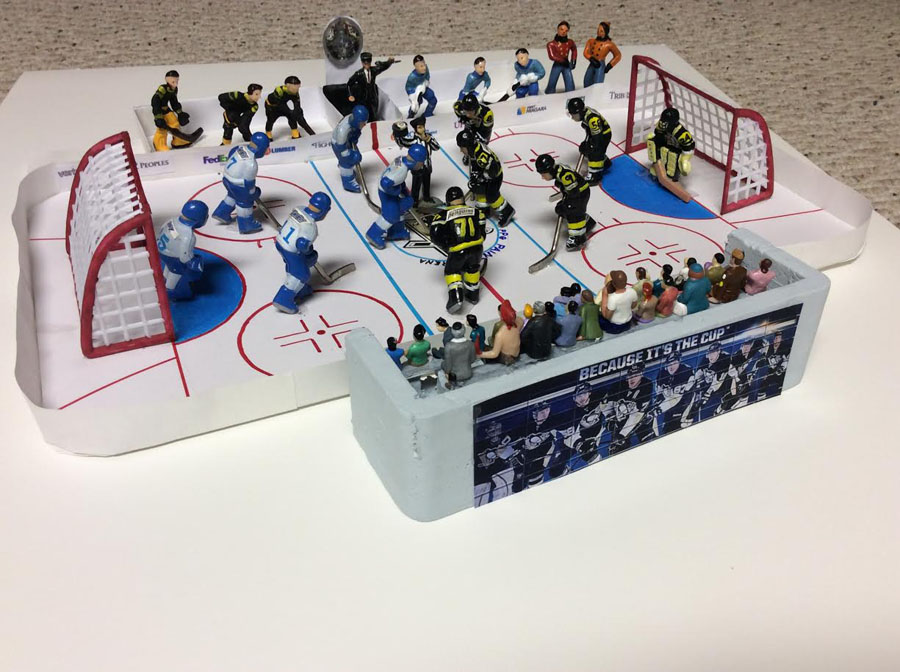
“Hi Al,
I just finished building a grandstand for my hockey rink. For once I remembered to take pictures as it progressed. I took half a styrofoam box that a building came in, cut it to fit, painted gray for cement. Glued the people onto plastic strips then glued the strips onto smaller strips of styrofoam, painted then glued in place. Glued a picture of our Pittsburgh Penquins on the back. Here are some pictures.
And now on to Kevin, who asks a question that I really thought worth posting:
“Hi Mr. Lee:
Kevin here, from Savannah, GA, home of the Kamikaze mosquito.
I’m not an experienced modeler, nor am I officially a train layout guy… yet.
Briefly, my wife and I lease our home and we’re not rich. I’ve been sketching out ideas for a modest den, 10′ x 15′. Needless to say, I must design a modular system that can be moved at some point.
Being I am on a poor-guy budget and coming from scratch, I have an idea of documenting the construction and sharing what ways I am able (and not able) to save money.
I want to go with detail that would have Luke Towan nod approval while sharing where I could economize, and sources of savings I find.
For instance, I found a great guy in Minnesota that is very helpful and pulled a bunch of new and used Atlas track for me at a huge savings.
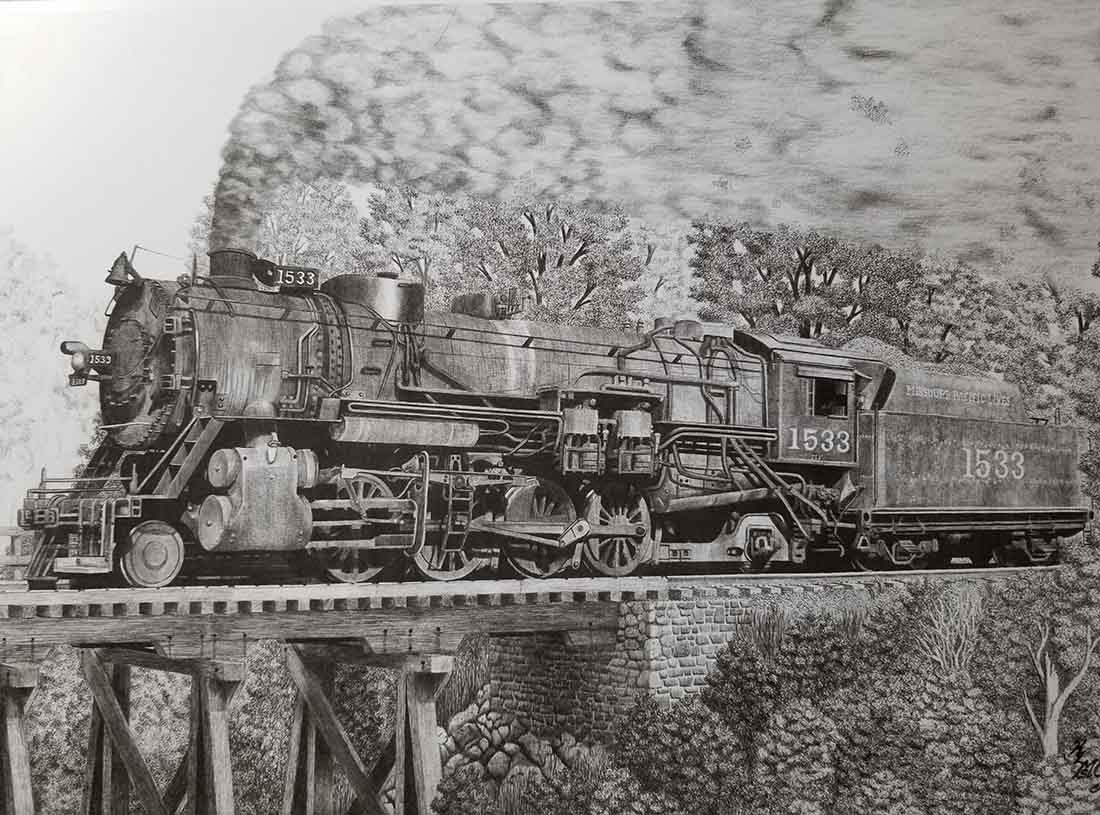
(I’ll attach a picture of a pen/ink I did to demonstrate the detail I can at least put on paper).
So, I am curious of your opinion on this best bang-for-the-buck approach.
Thanks,
Kevin”
All I can say, Kevin, is if your layout is as good as your drawing, I can’t wait to see it.
But who can help answer his question? Please do leave a comment below if you can. I’d love to hear your thoughts on this one.
A big thanks to Steve for sharing his model train workmen pics, also to Lind and Rob too.