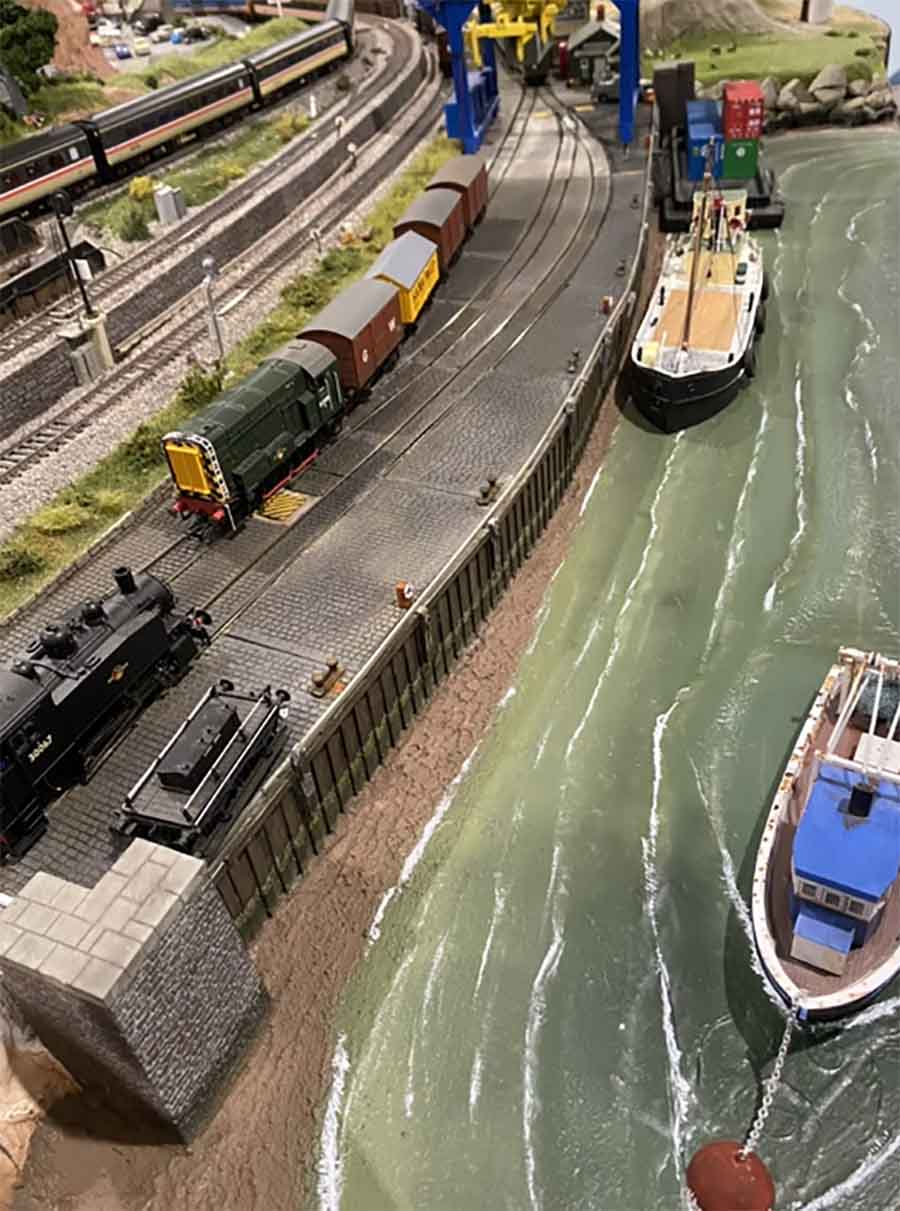
Rob’s been back in touch with his model train water effects.
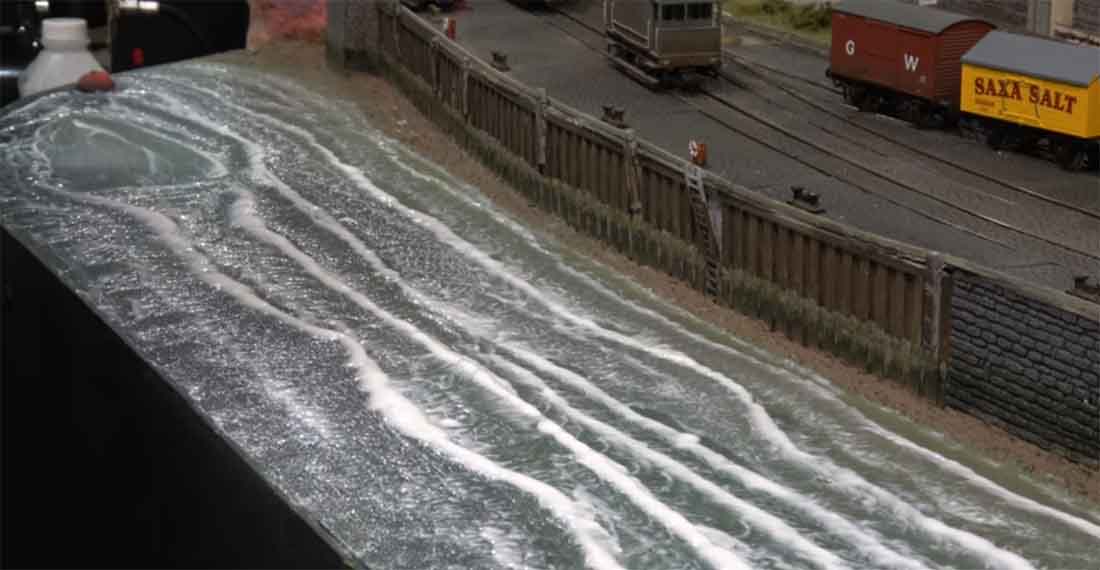
This time he shares how he made the waves on his harbor wall look so realistic:
“Hi Al,
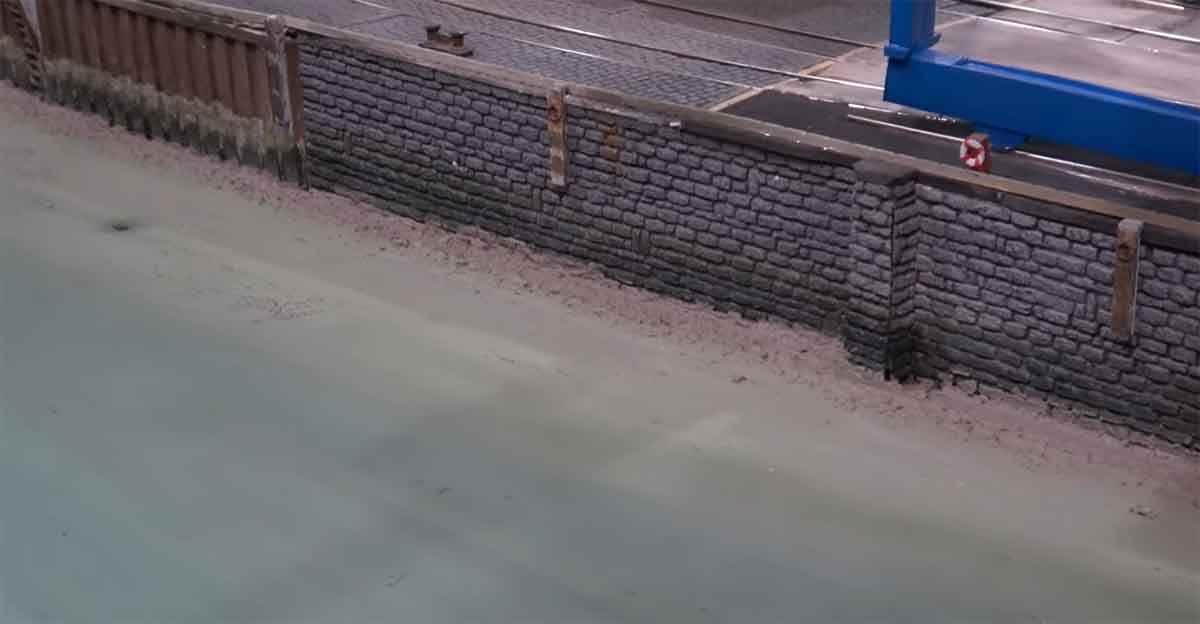
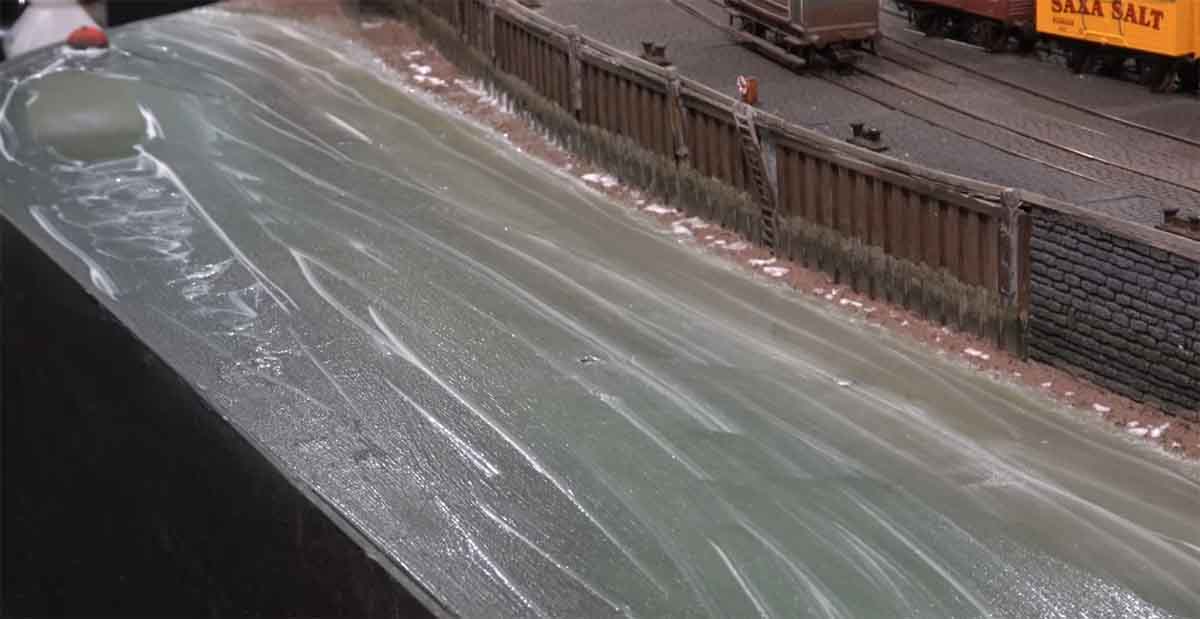
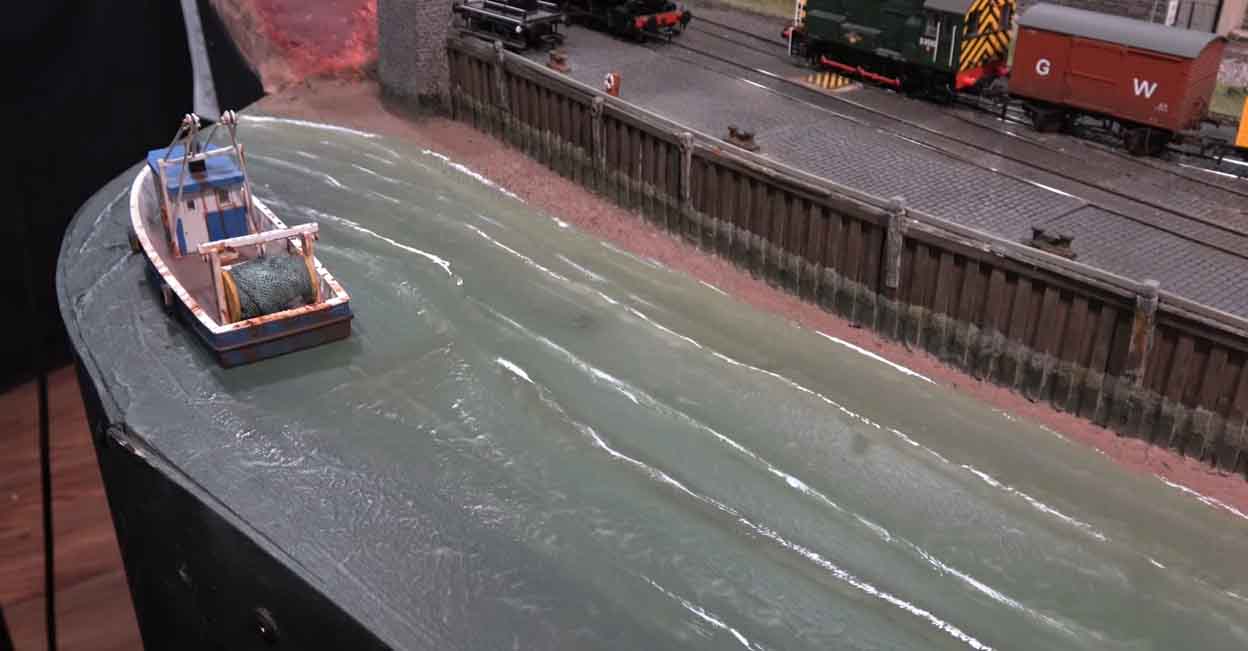
This video is about painting and adding a little relief to my harbor water element. It was easy and fun to do. It is a method that is for anyone.
You do not need a high skill level to manage this method so it is for beginners and advanced hobbyists.
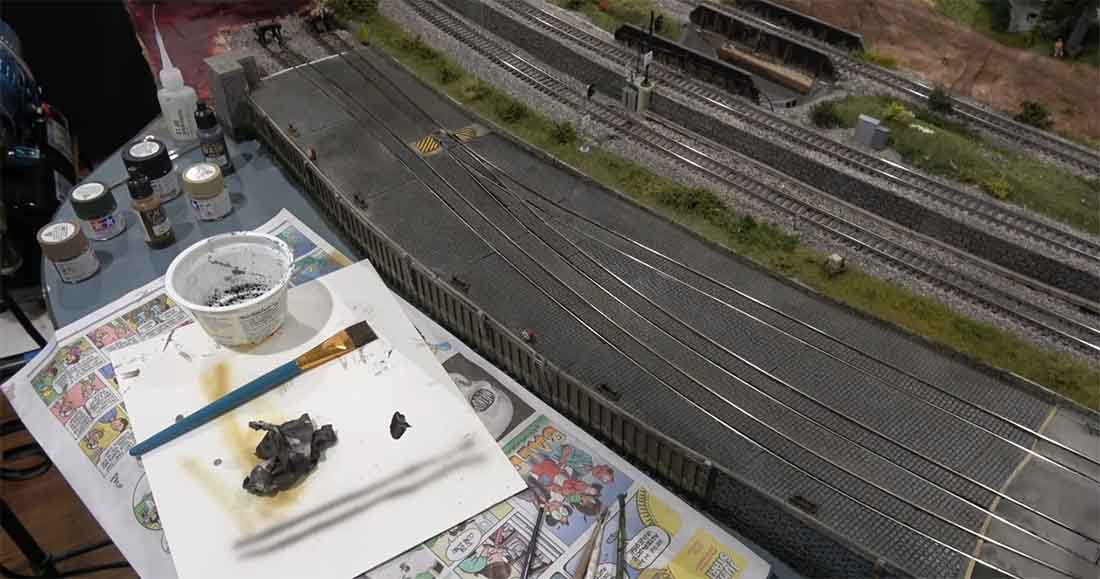
I used a product called matt medium. It is generally used for thinning acrylic paints. If used for that it does not thin the color as water does. It just adds liquidity to the solution so it applies and brushes more easily.
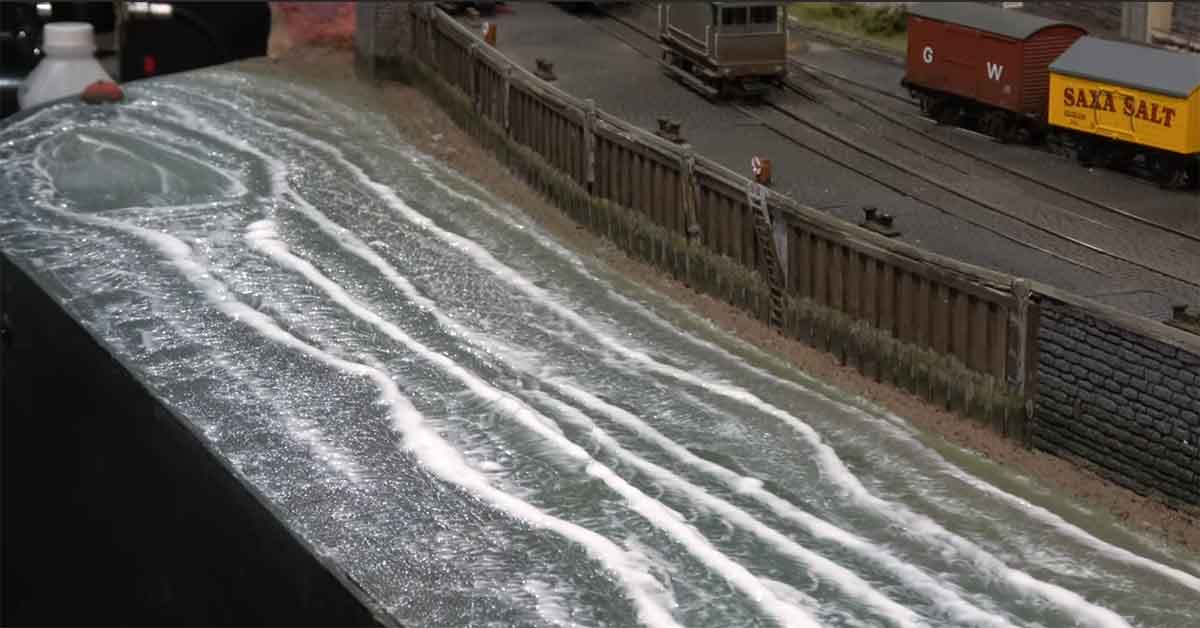
I used a graining brush to apply the white foam accents but any brush would work as long as you wiped the excess paint from it before you touched the waves.
The graining brush offers more delicate bristles at the end and that is why I used it.
I wanted to be sure the traces of white paint were very fine and my graining brush worked a treat.
I also use a graining brush for certain aspects of weathering rolling stock so it is a good tool to have in the toolbox.
Thank you so much for your daily email. I know sometimes it probably seems like a bit of a grind to get one out every day, but I and your other readers really look forward to seeing what other modelers are up to.
Thank you so very much,
Rob – Farland Howe”

A big thanks to Rob for sharing his model train water effects. Stunning stuff.
Now on to Andrew:
“Dear Alistair,
It is always a pleasure to open your blog every morning to see other peoples layouts and receive tips and guidance to improve our modelling skills.
I was puzzled when I first saw this post as a platform to me is the raised area beside the track at stations to allow passengers to embark/disembark from trains. Much higher in the UK when compared to many European mainland stations and some in USA.
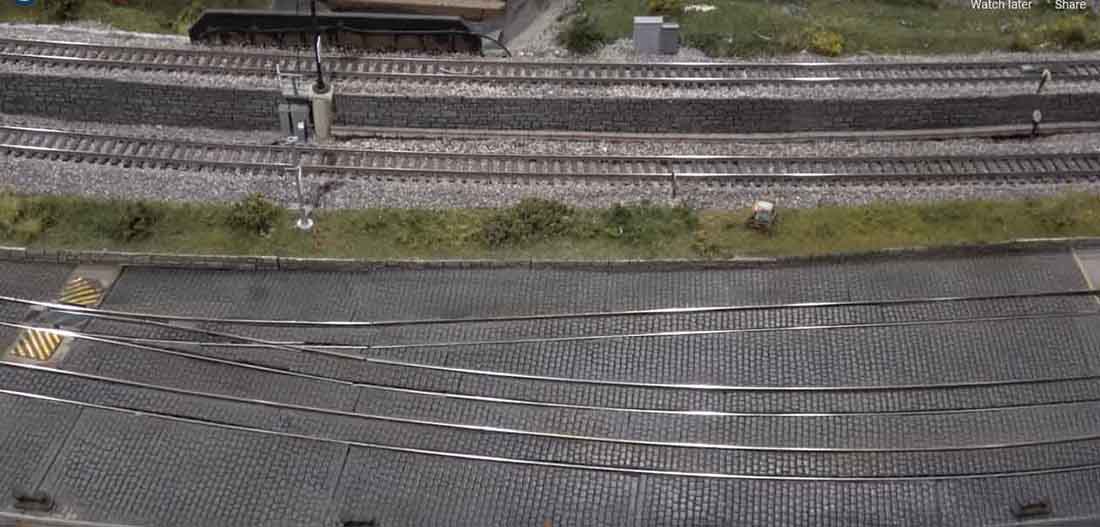
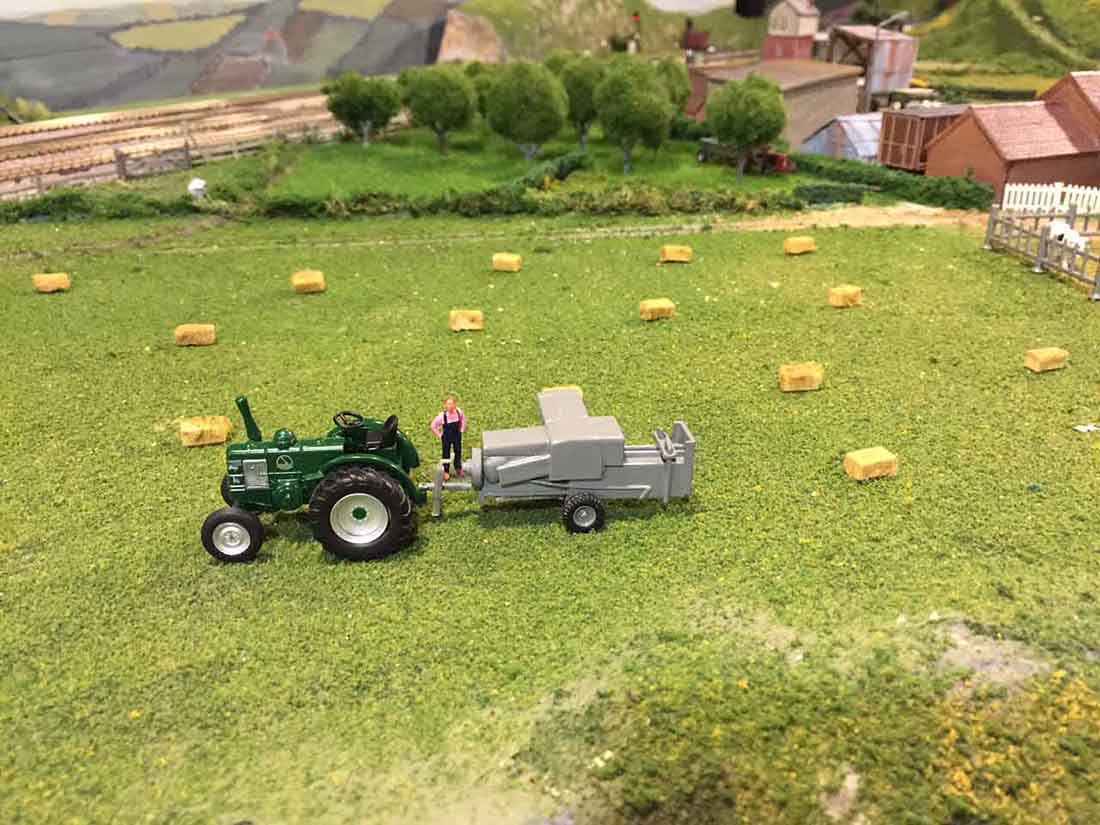
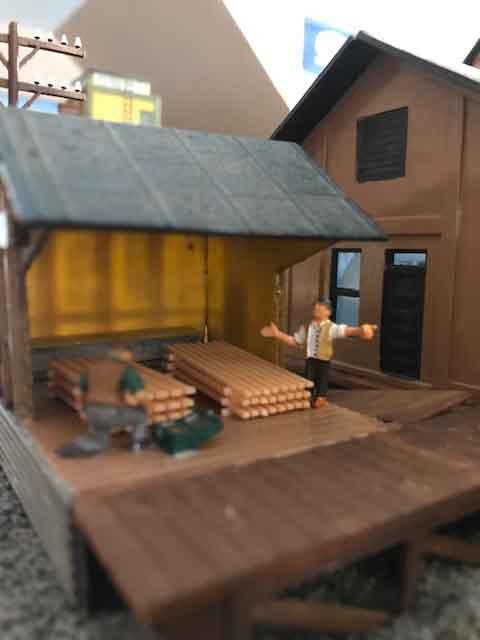
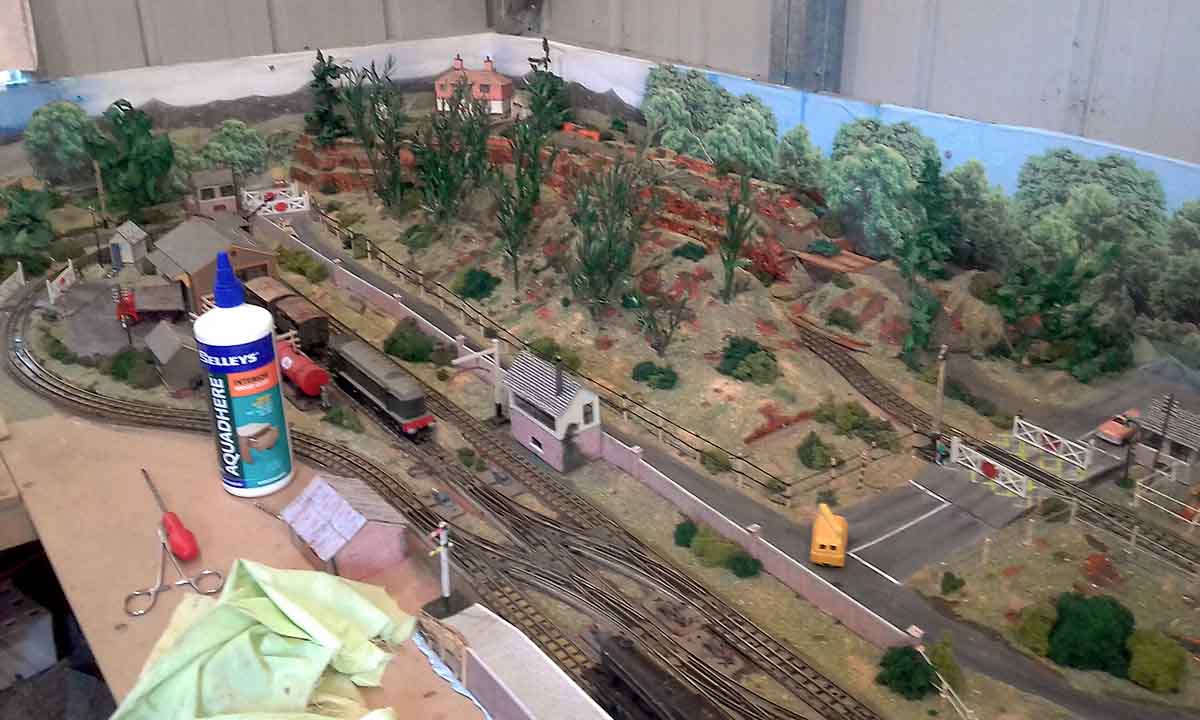
Having said that I also use platform modelling as described by Gary. Building scenery on a workbench which allows easy viewing, sculpting, and painting from every angle without getting mess on the track or layout. Something advantageous when the layout is against a wall as is the case with my layout.
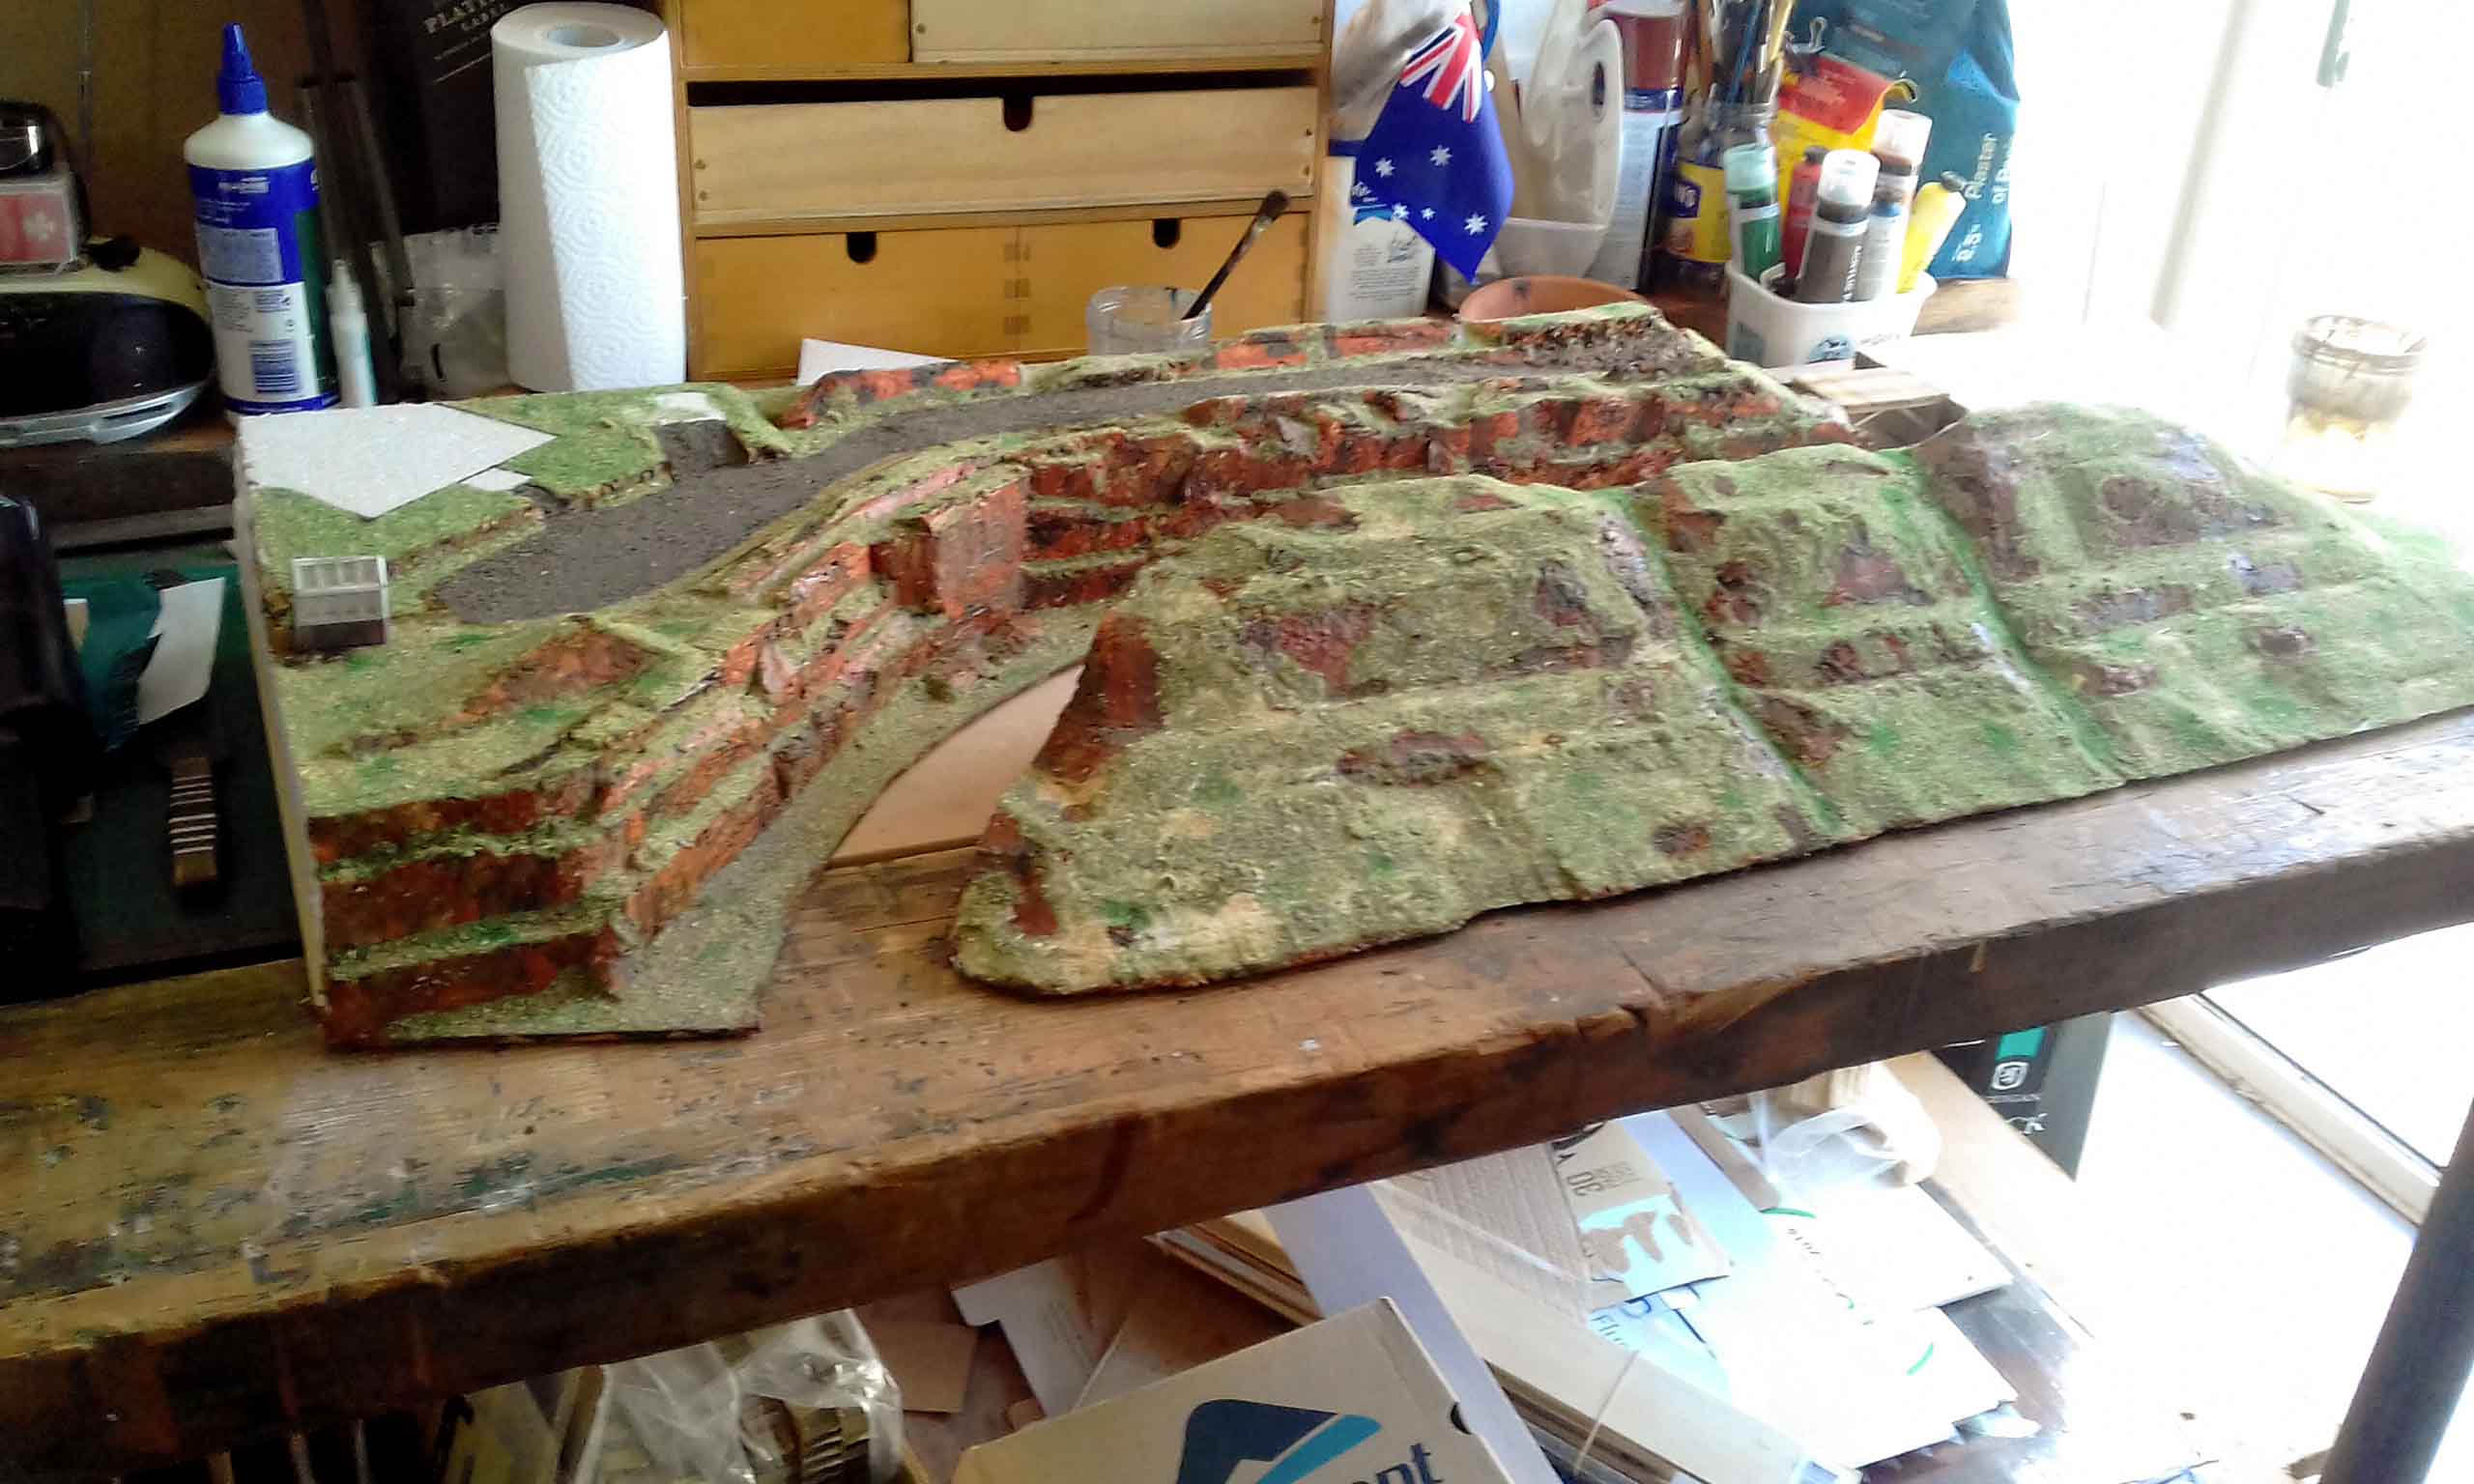
Please find attached a railway cutting built to fit into a corner of my layout.
A paper template is made of the area to be modelled and transferred to a thin ply or MDF base on which the scenery is constructed with sufficient rigidity for transport onto the layout.
Thought has to be given to hiding the joins between the baseboard and the platform and there are many creative ways to achieve this.
Thank you and best wishes to all you contributors.
Andrew”
A big thanks to Andrew, and to Hall of Fame member Rob for sharing how he created his water scene.
I’d like to think of a word besides stunning, but I’m struggling to do so. Leave a comment below if you can!
Rob’s post also reminded me of Brian’s tips on water effects.
That’s all for today folks.
Please do keep ’em coming.
And if today is the day you stop dreaming and start doing, the Beginner’s Guide is here.
Best
Al
PS More HO scale train layouts here if that’s your thing.
Need buildings for your layout? Have a look at the Silly Discount bundle.