Dan’s been in touch with a model railroad based on the Northern pacific railway:
“The Inland Pacific Railway is a “what if” HO railroad. It connects Cincinnati Ohio and Denver Colorado and points between.
The color scheme is based on the Northern Pacific Railway. The owner of the layout (Terry Gilmore) worked at various capacities at one time for the NP.
Terry designed the layout to be a realistic working railroad. It was a three level layout with storage and run through on the lower level.
The basement room size was 45 feet by 30 feet. (Alas, it no longer exists. He moved to another city.) You will get some idea as to size from the photos.
We used car cards, time table, phones and track orders early on. We had a dispatch room with a functioning dispatch board. It normally took 5 operators and a dispatcher for a session.
Once it was fully signaled, the aspects of the signals governed train movement. We had a company rule book to explain the functioning of the railroad.
There was a functioning hump yard for classification of trains. The various industries often had a complimentary industry to eventually report to. The locals would return with the cars that were picked up and then broken up for the destinations needed.
For example, the cars might be for the next session’s locals, or off line cities. Off line cars become trains in storage for the next ops session. The car cards had 4 destinations for the routing and industries on the layout or which “off line” industries the layout served.
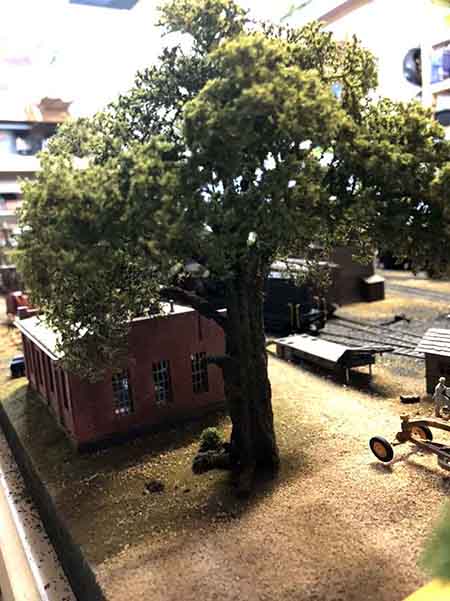
My contribution was 99% of the scenery and some of the buildings and flats. I had one constraint, I could not change the track plan.
This was a real joy to operate and run as a “real” railroad as much as you could.
This is part 1 of the IP. The second part will be the upper level.
The Inland Pacific Railway.

The track diagram. The spirals show the helix.

The town of Savannah. The hump yard is on the left and the town is to the right. The upper level is not up yet. The hump yard worked well.

The hump tower. We had two KD magnets to uncouple the cars. There was switch panel with a matrix to direct the cars to the proper tracks.

The complete hump yard with a repair facility to the right. Also, at track under the hump to get locos in position.

The beginnings of the helix.

Here it is easier to see the early work.

Construction farther along in this section.

More along this section.

Farther along.

More progress.

This takes us to the far end of photo 8 where the track curved right.

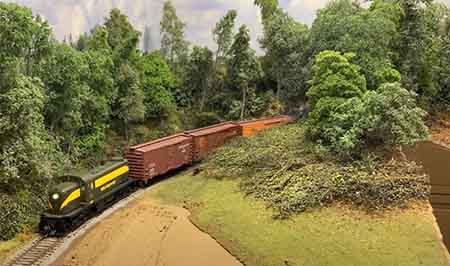
From photo 13 the tracks work their way around to the right. The track with the train on the far fright actually came from the Savannah side of the layout via hole (not ever seen) in the backdrop/wall. It will pass behind an auto plant and then show up at plants yard.

A scene near the far end. The back drop is 2 inches from the track.

The beginning of the long river. I have posted this and all of the rivers on this layout in another post.

The finished river.

The basic floor plan. The levels were the same basic plan.
A big thanks to Dan for sharing – I do enjoy seeing his stuff.
You can see more of Dan in the Hall of Fame.
That’s all for this time folks.
Please do keep ’em coming.
And if today is the day you get started on your layout, the Beginner’s Guide is here.
Best
Al
PS More HO scale train layouts here if that’s your thing.
Need buildings for your layout? Have a look at the Silly Discount bundle.