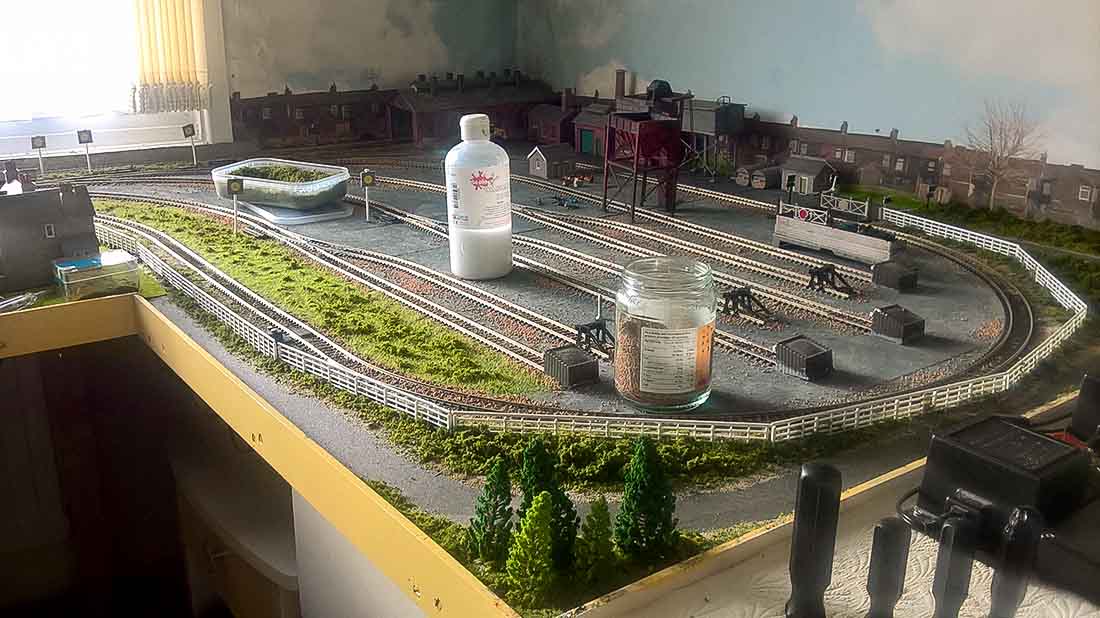
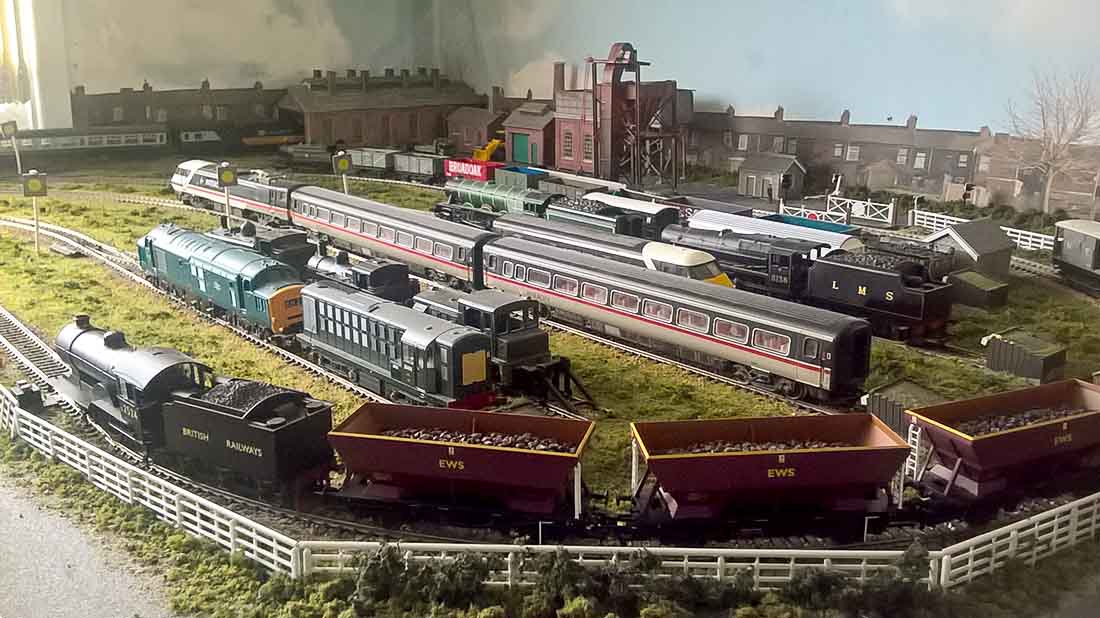
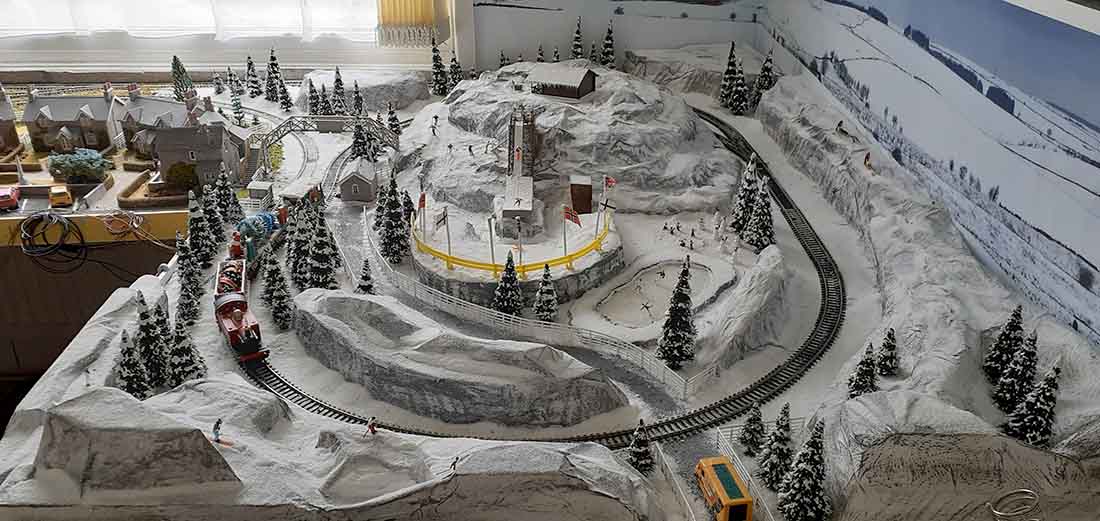
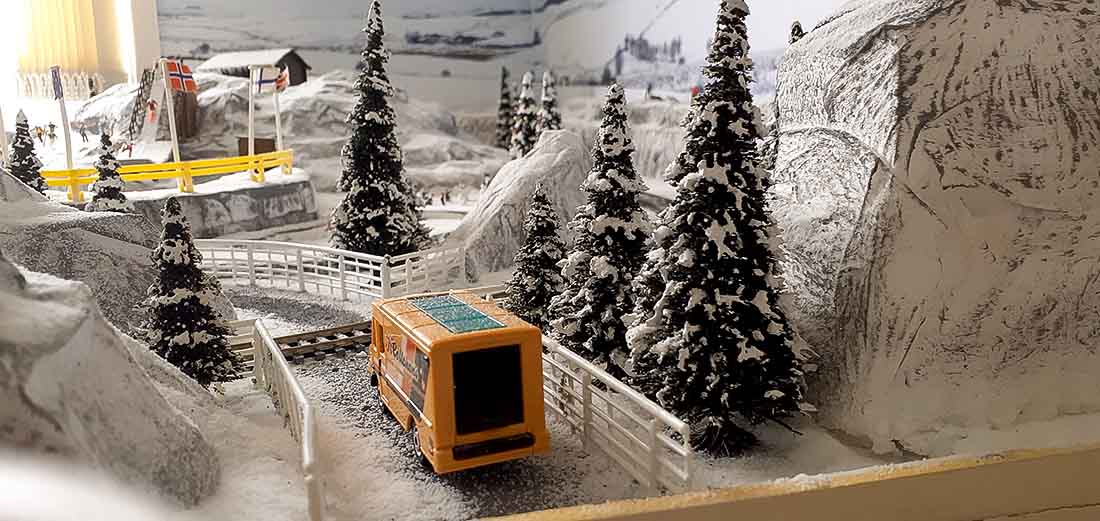
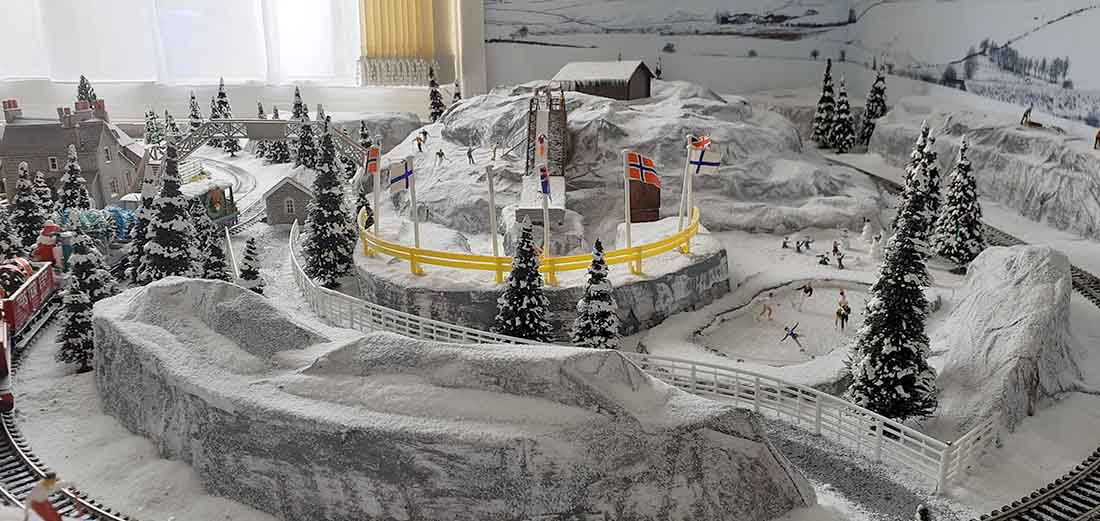
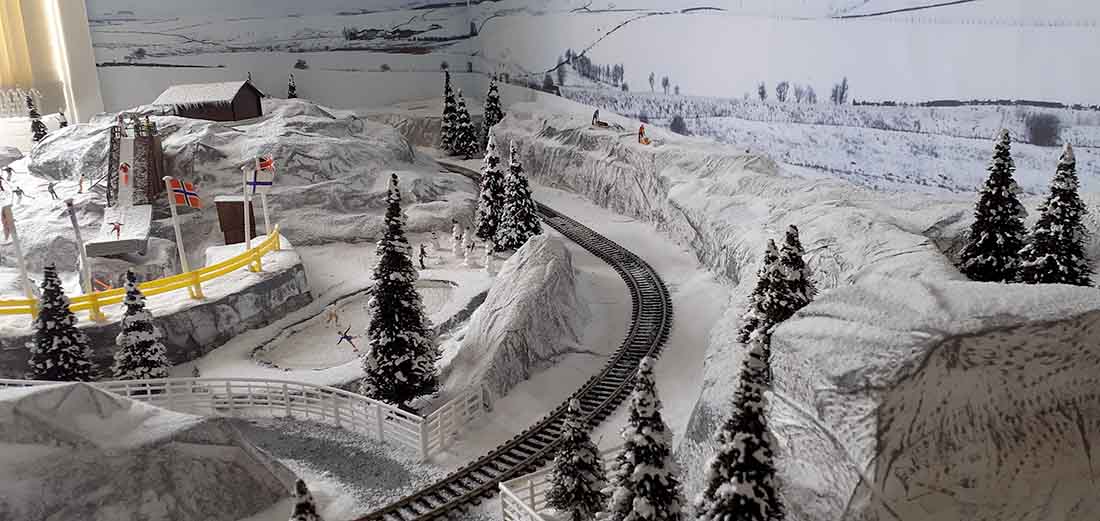
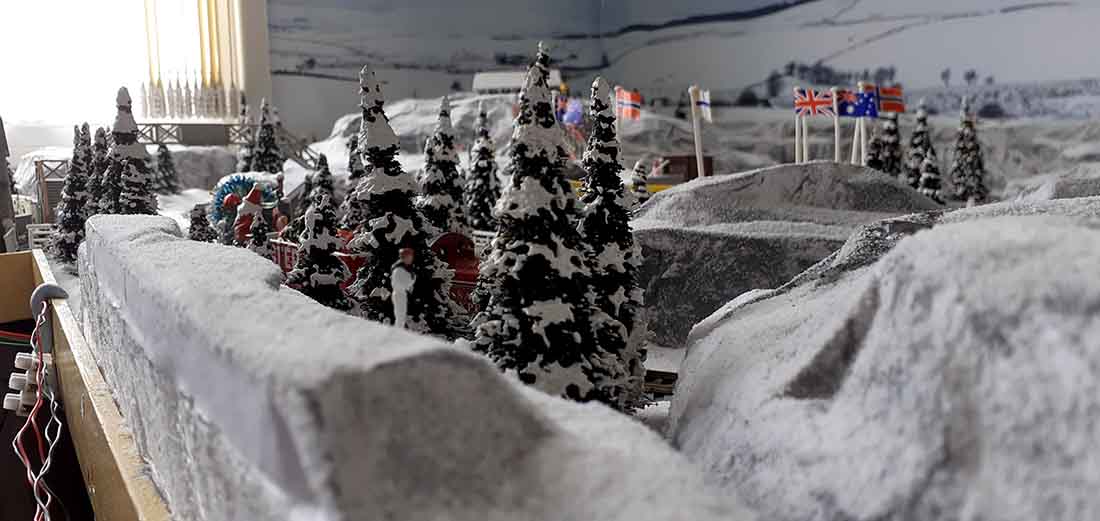
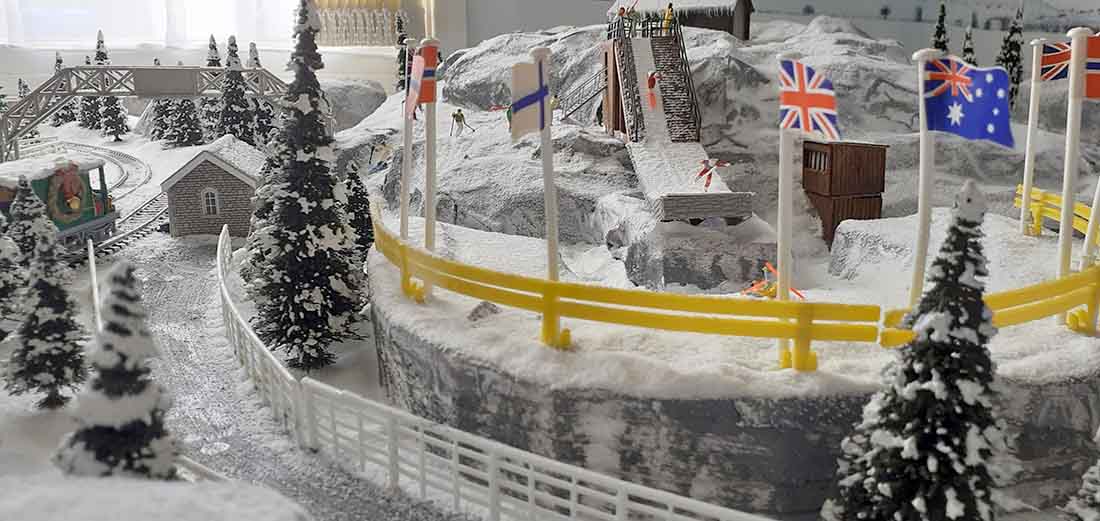
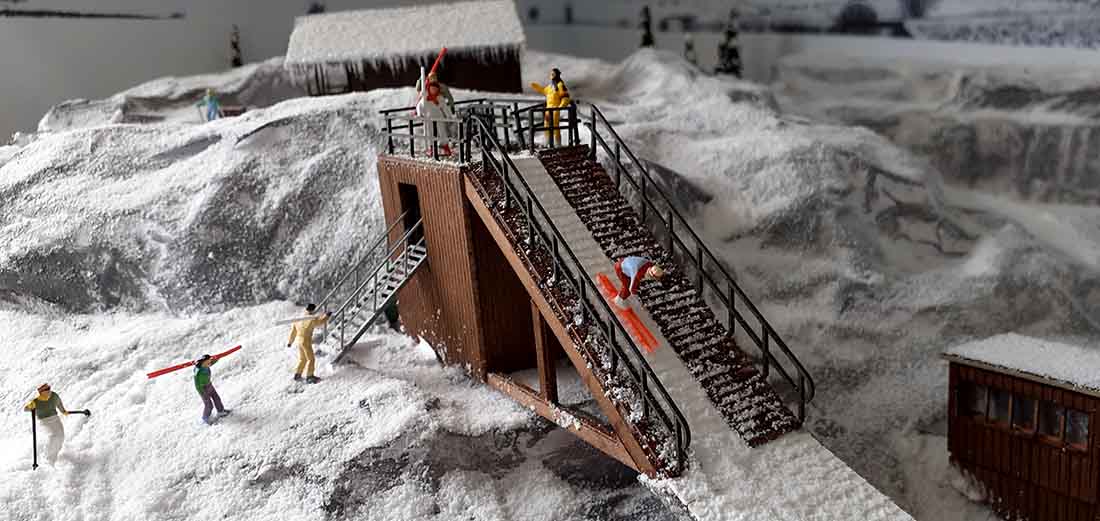
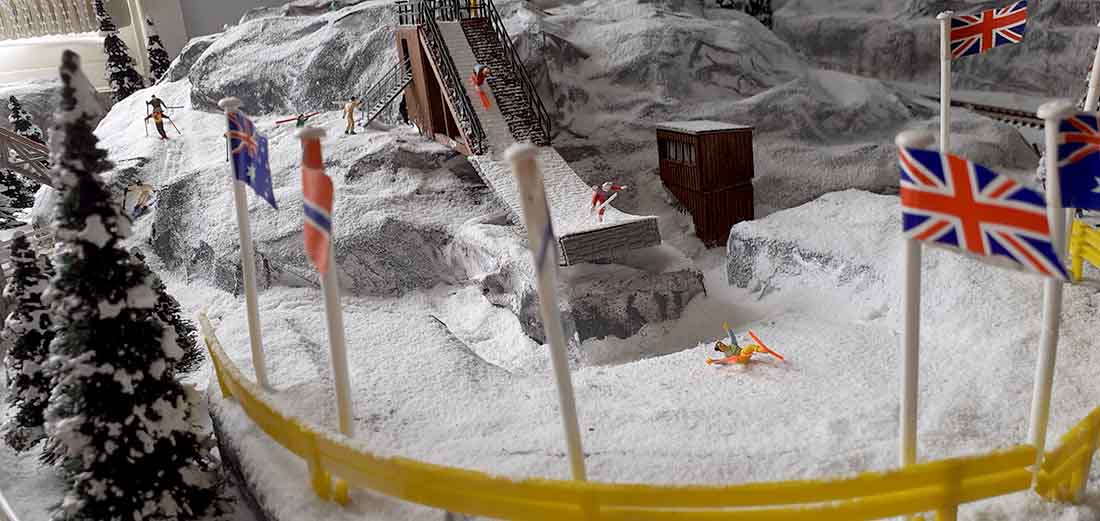
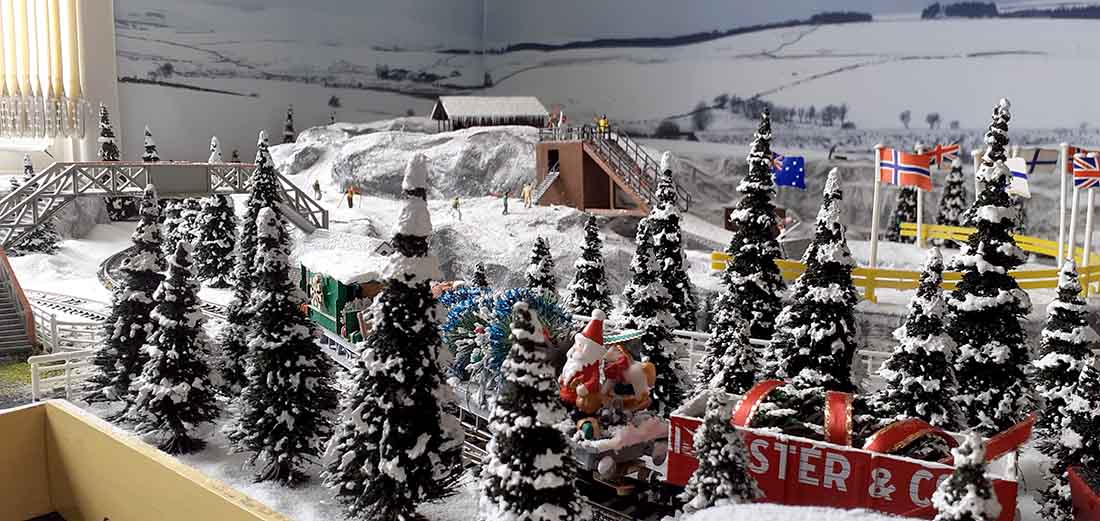
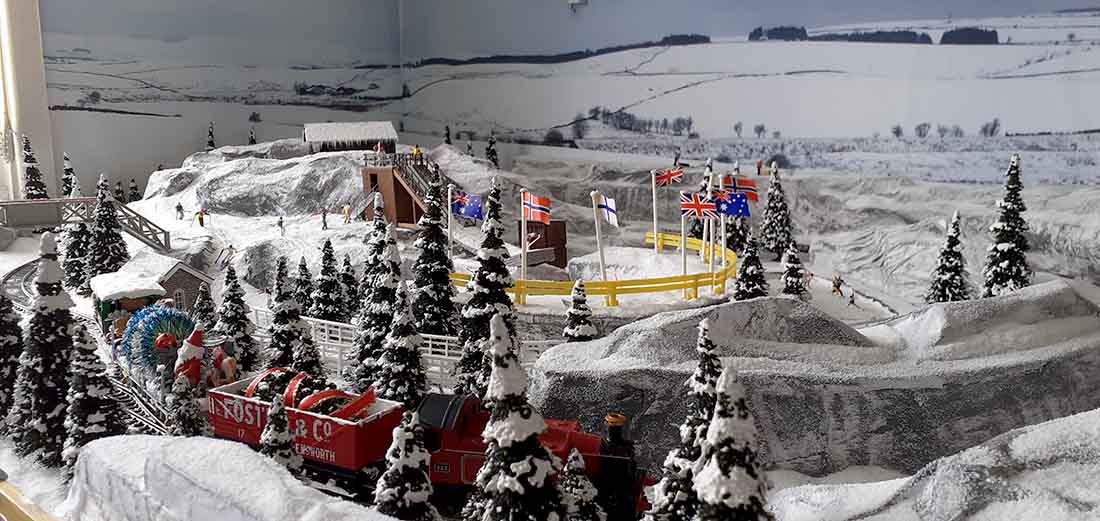
Bill’s been in touch with his N gauge model train layout:
“Hi al.
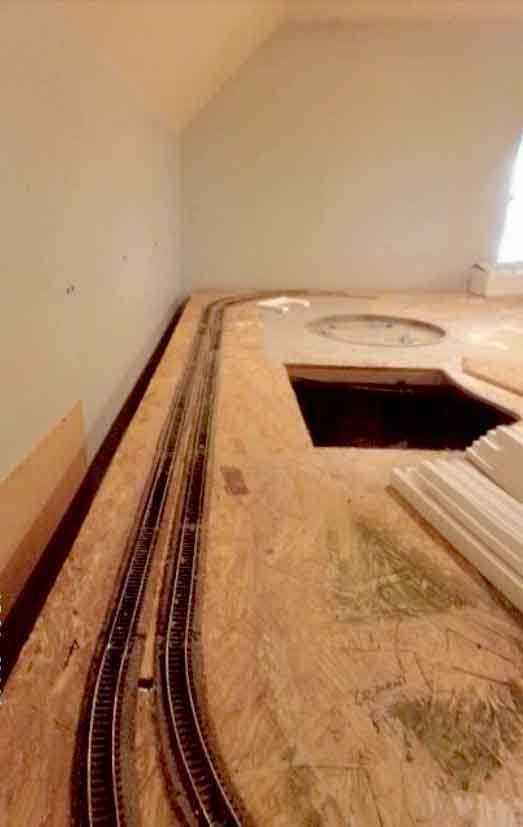
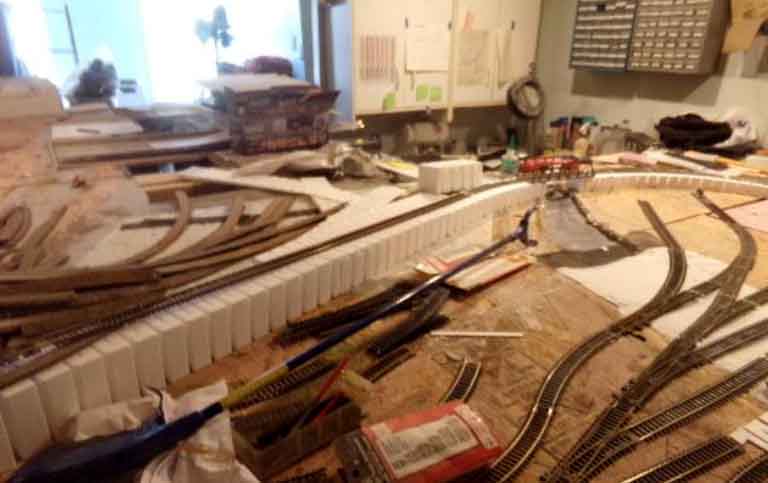
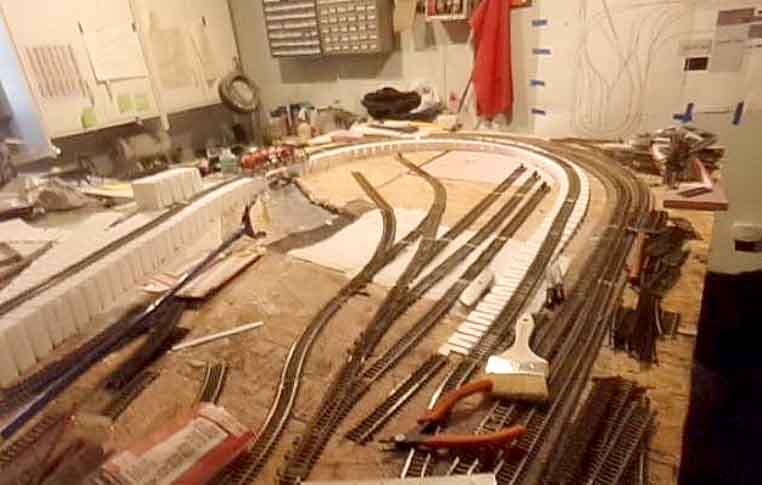
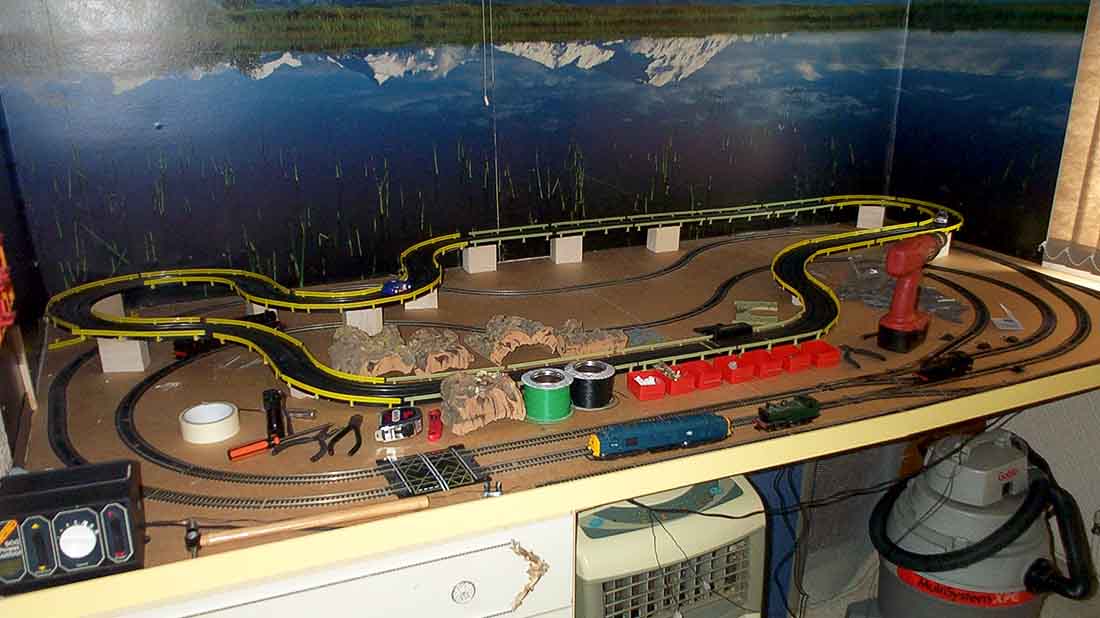
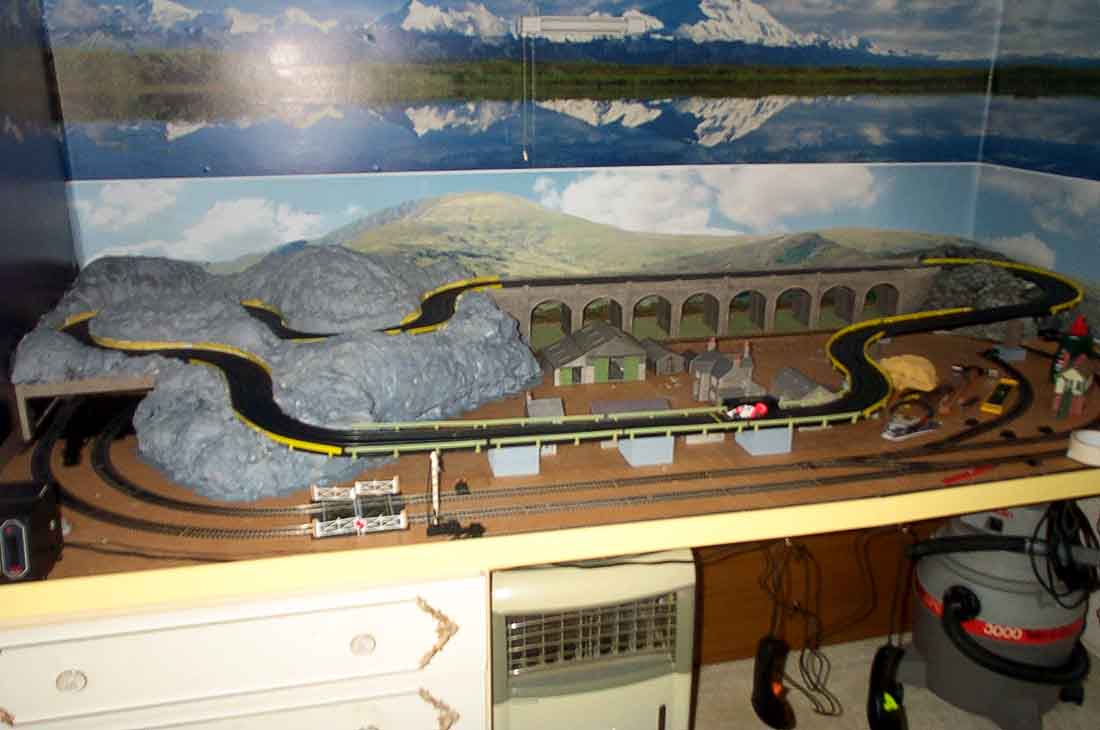
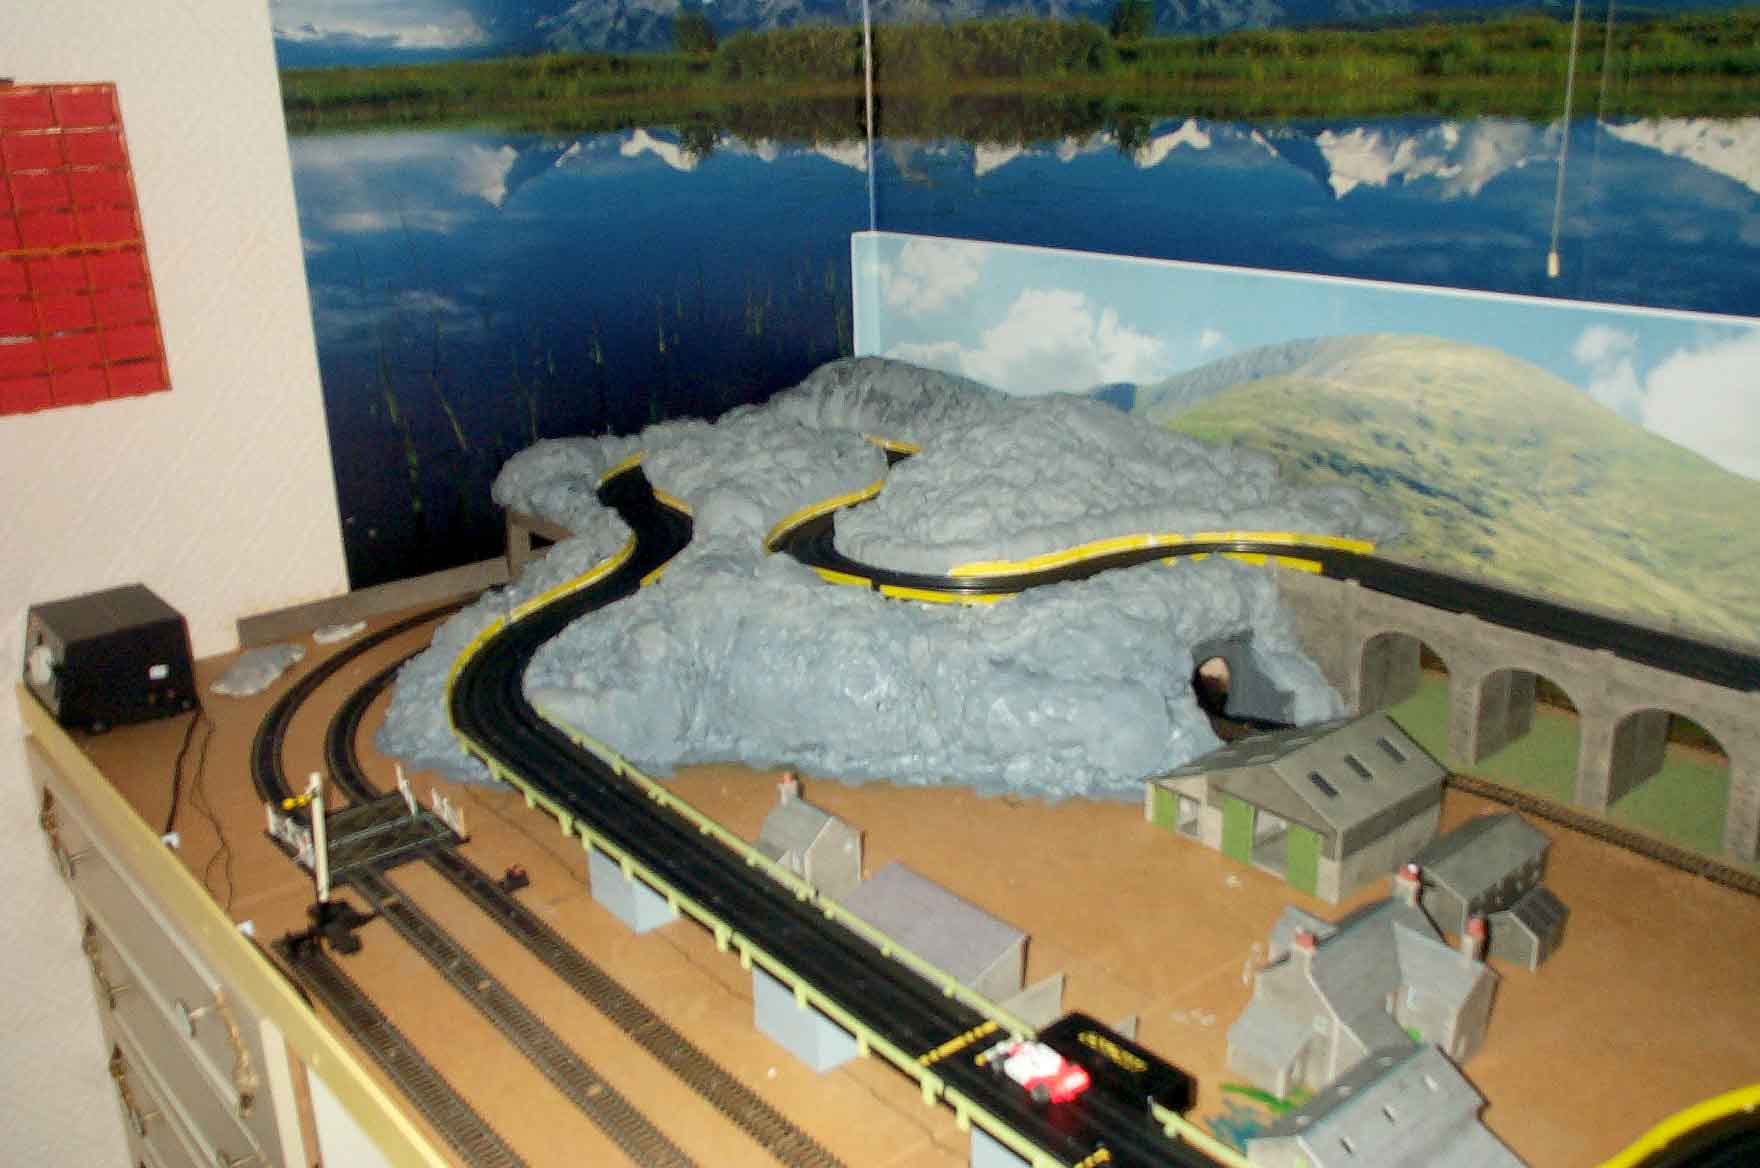
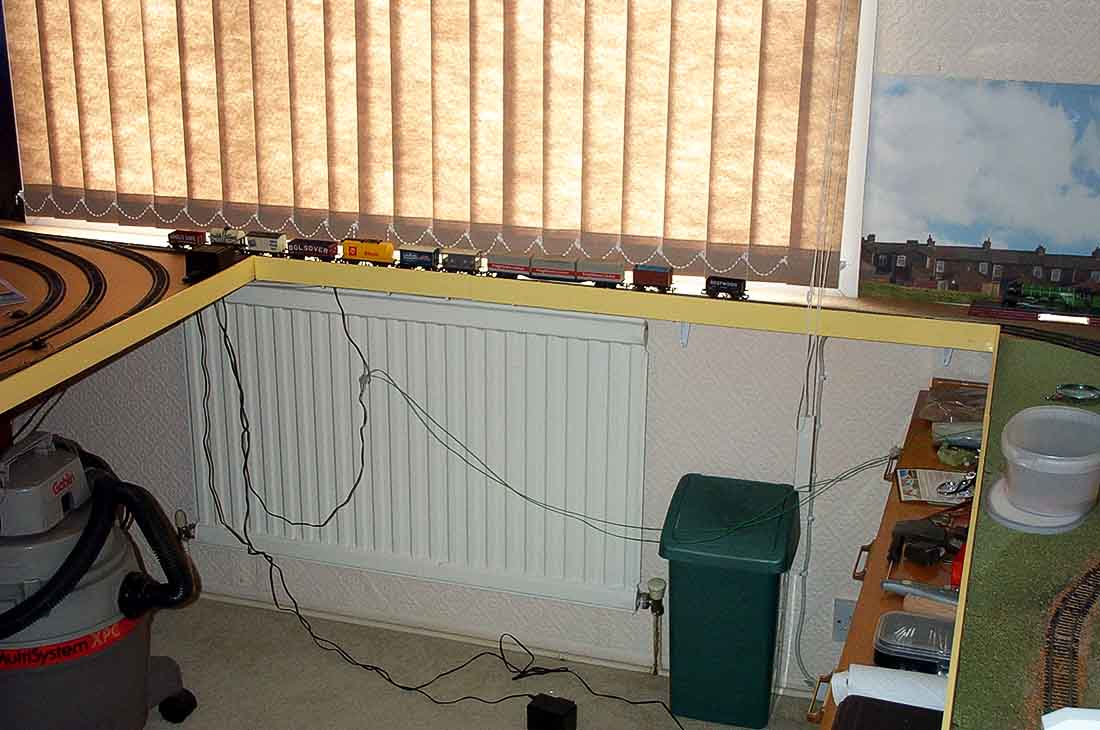
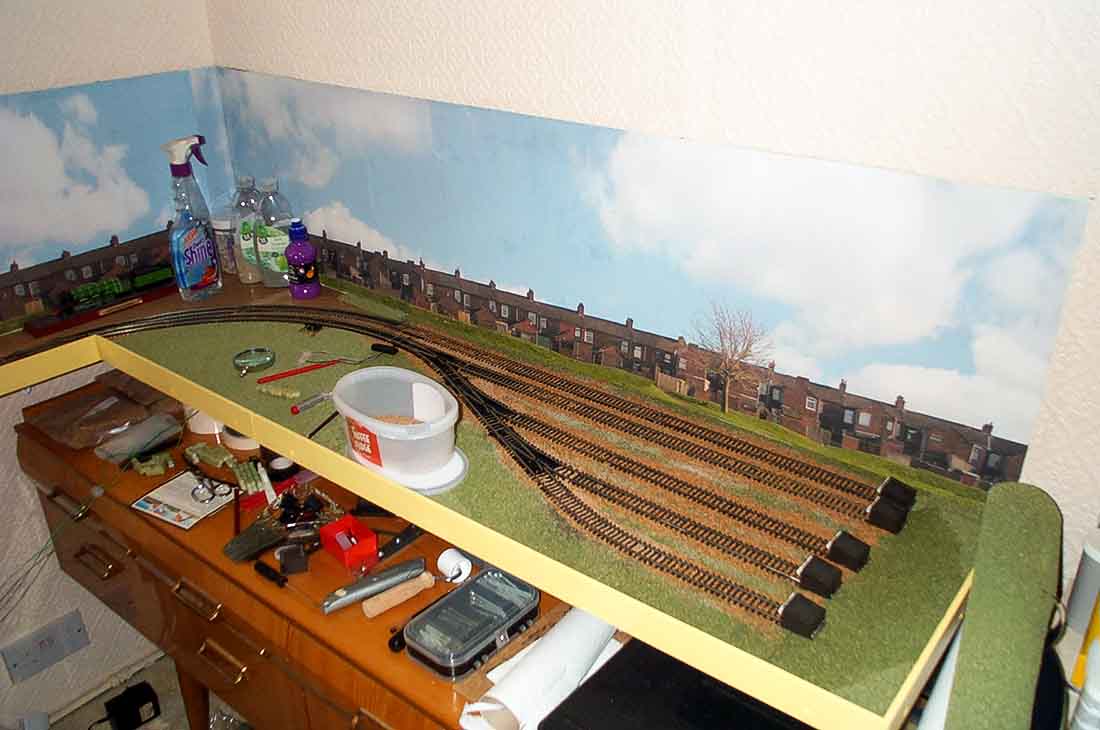
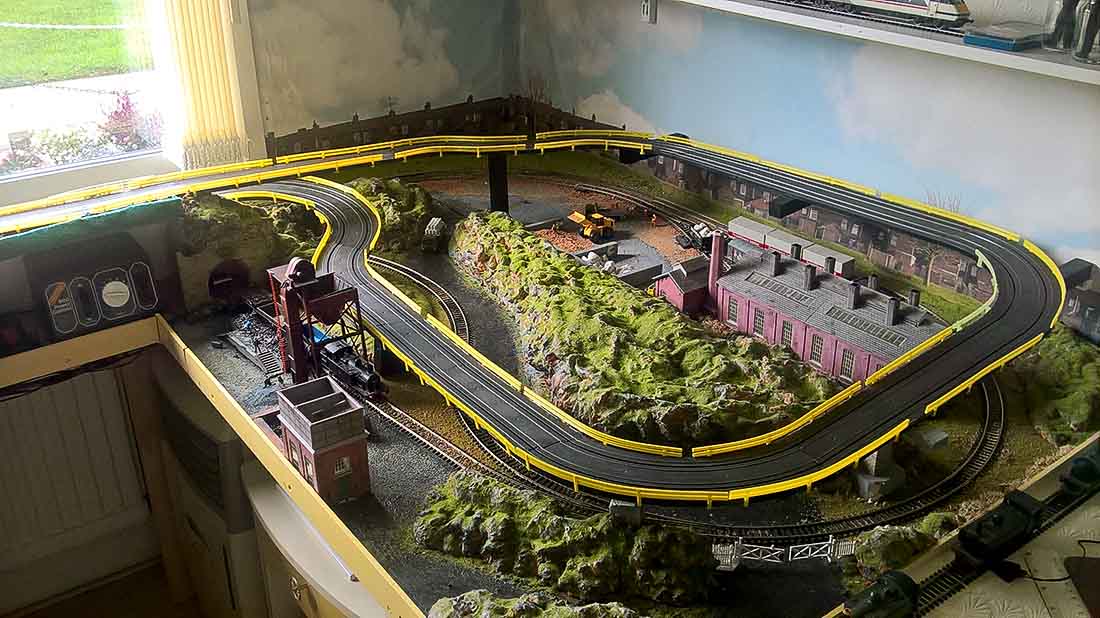
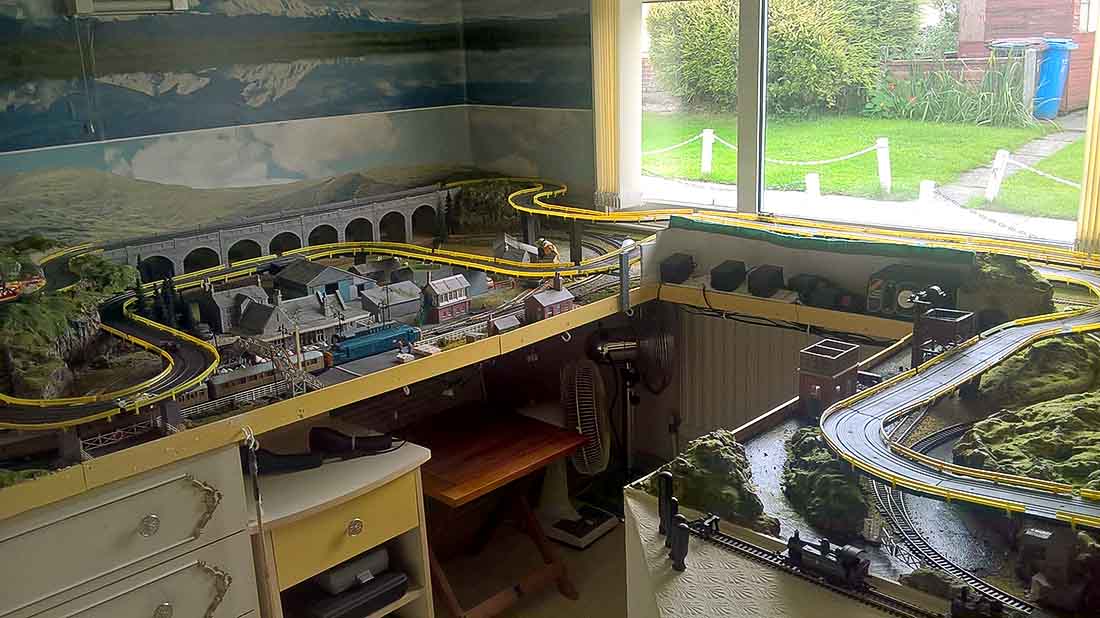
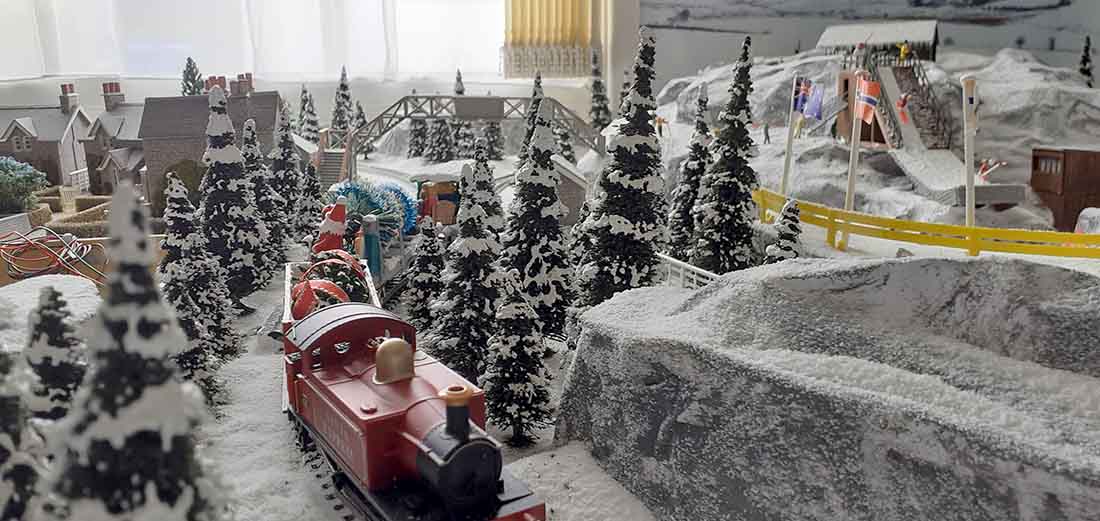
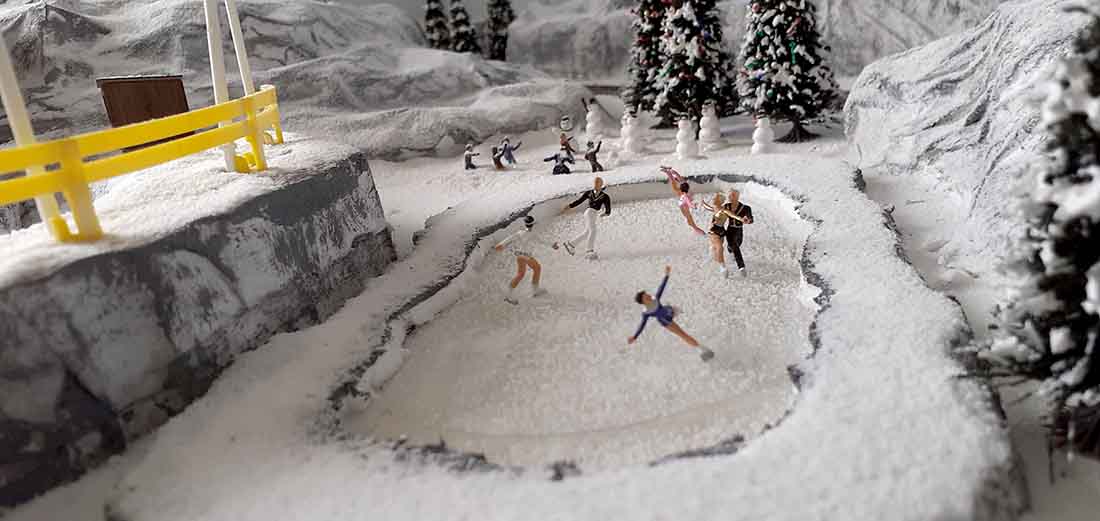
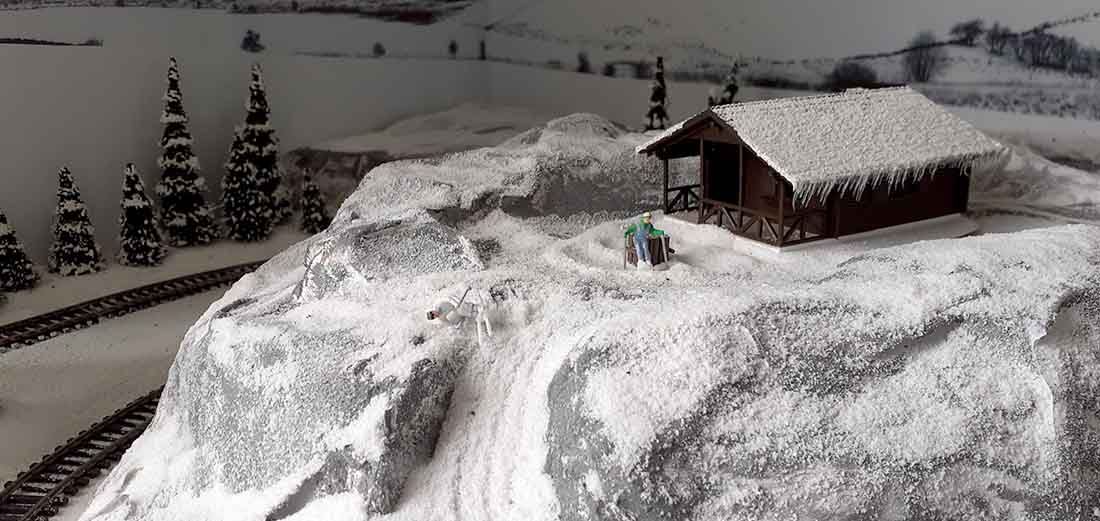
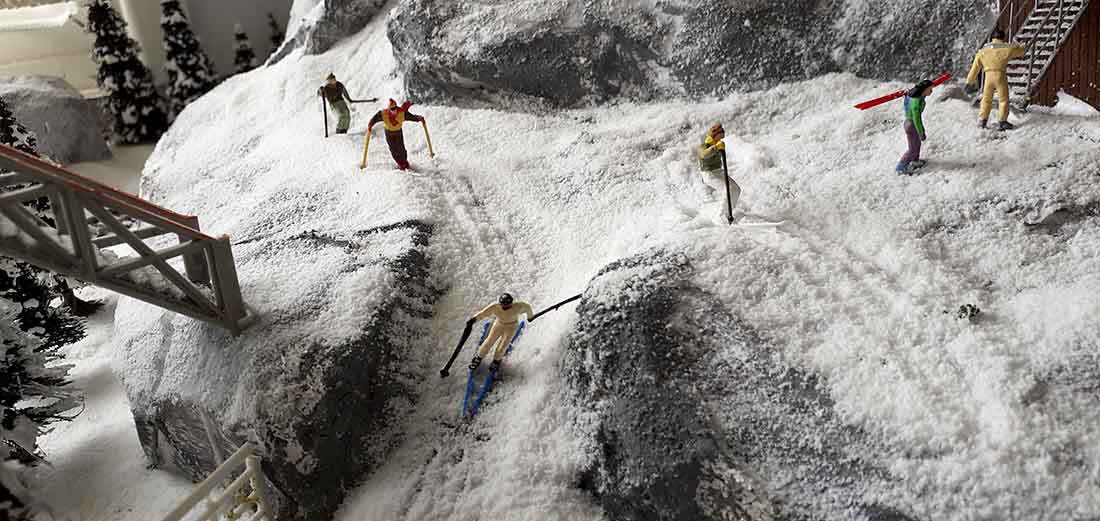
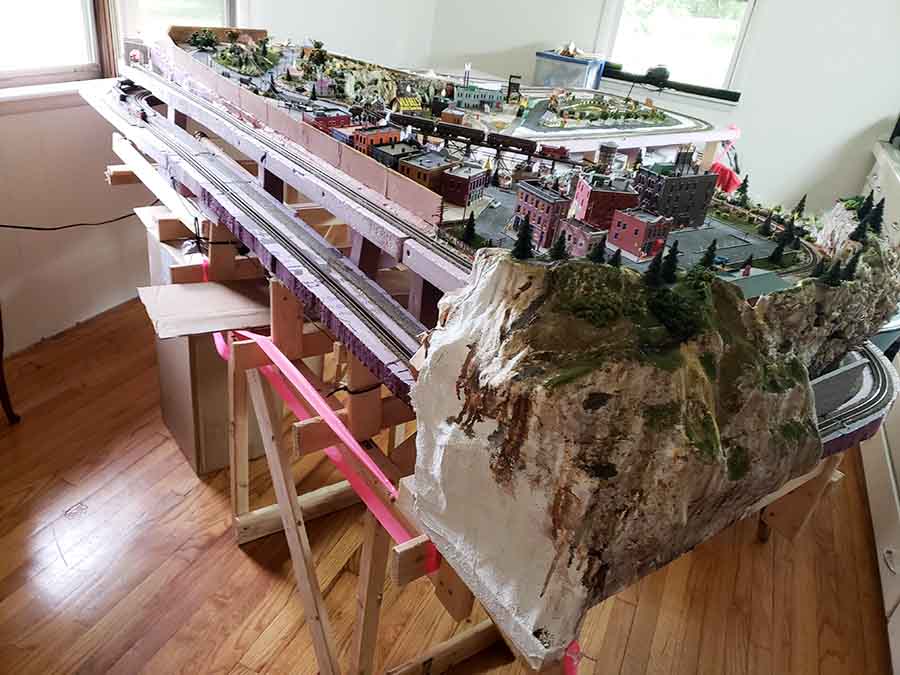
It’s been about a year since you heard from me about my n gauge model train layout. If you’ll remember it’s called Gerskyville. Its come a long way of just wood and styrofoam.
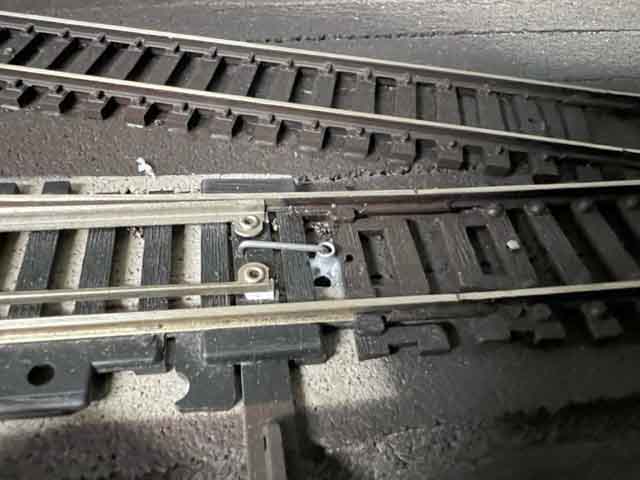
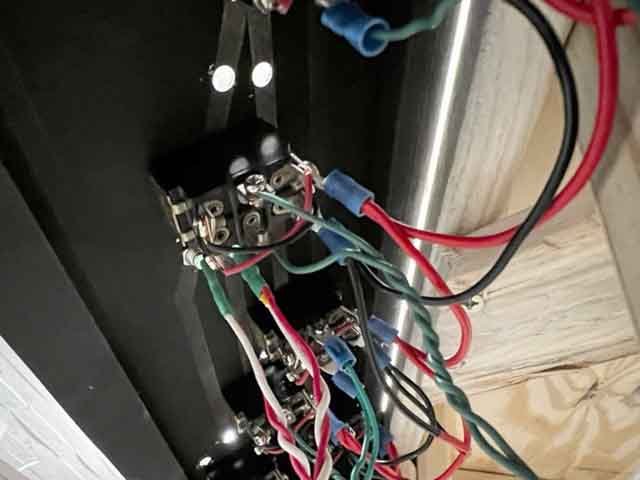
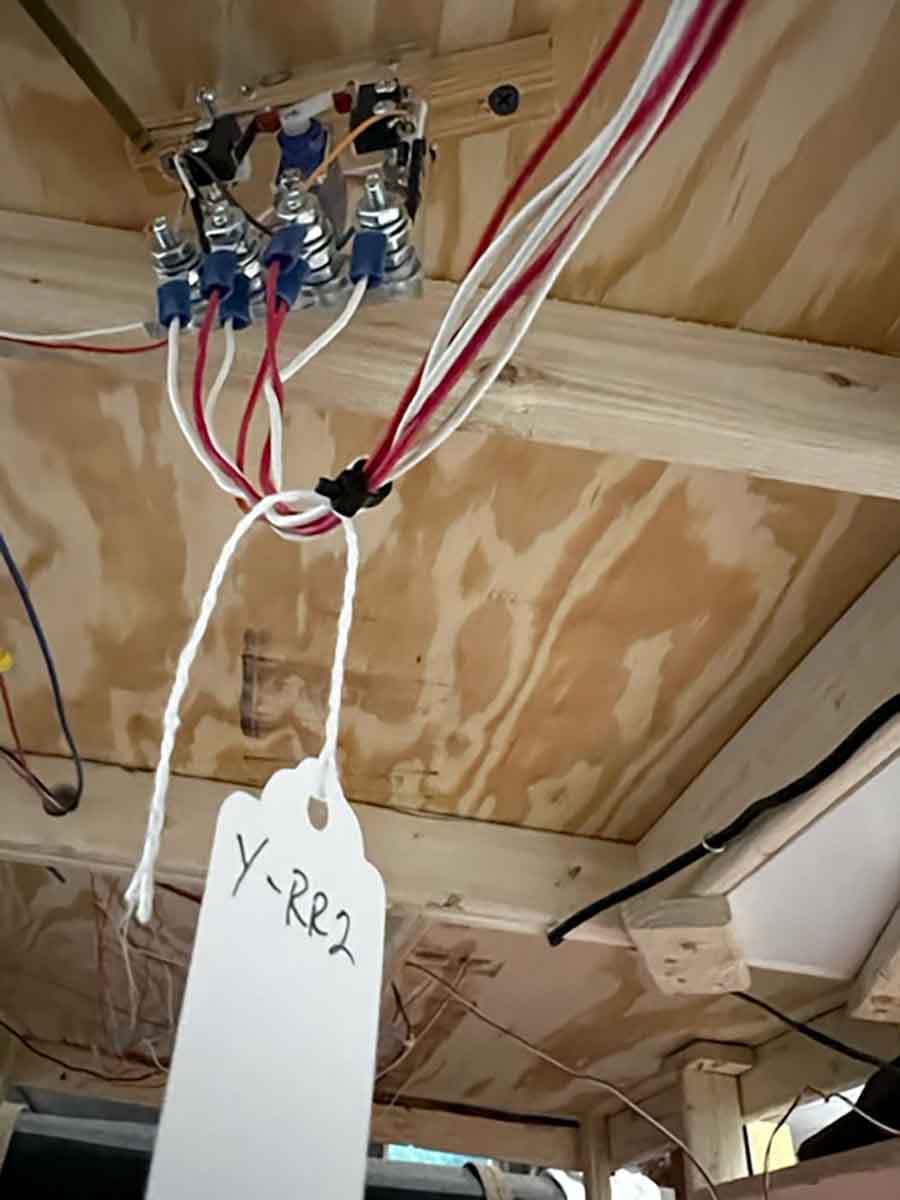
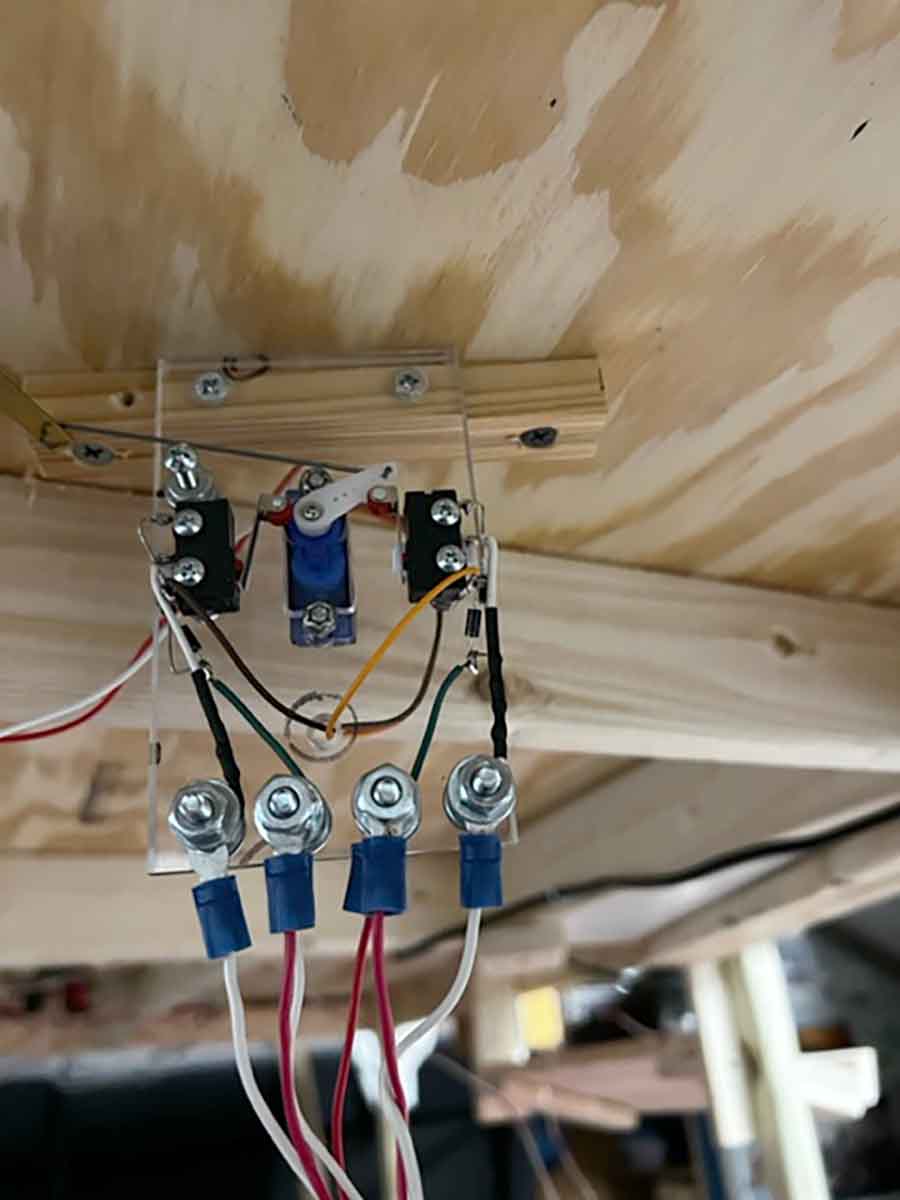
Theres shots of unfinished areas yet.
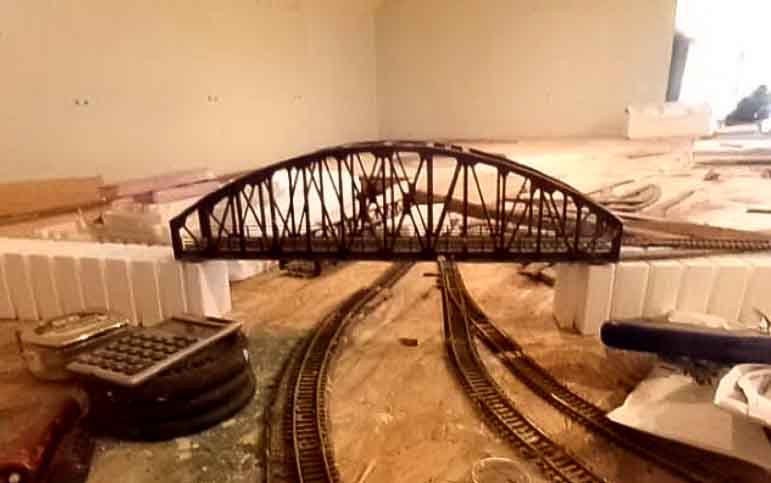
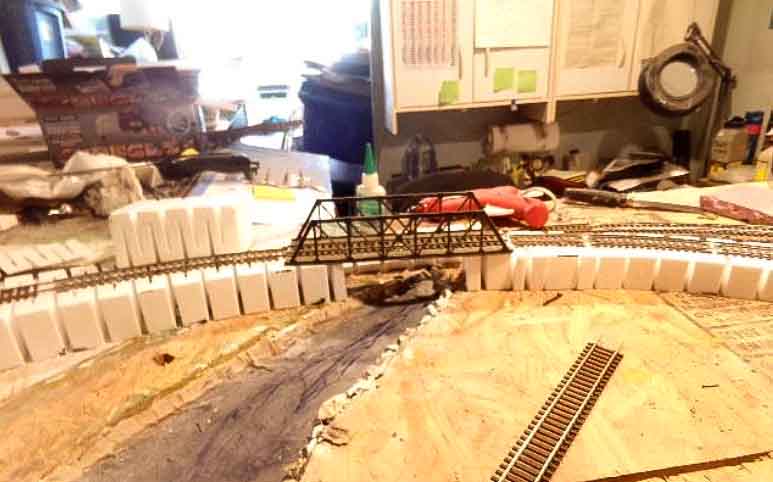
Along the long backside will be two arched bridges on each end leading to a 3 foot by 4 foot yard.
I’m not good at story telling so that’s up to you. All the layout was built, painted and assembled by myself , I purchased no already finished biuldings.
The race track on the layout is built after a track in indiana that my whole family raced at, up untill they closed down. Broadway speedway, the fastest track on earth.
How you all enjoy.
Thanks
Bill G”
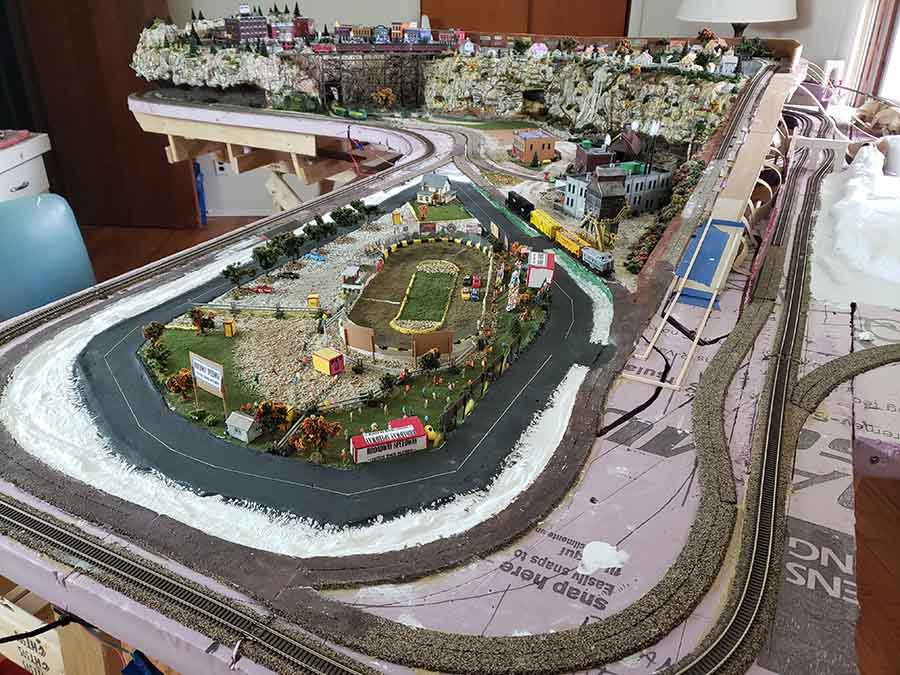
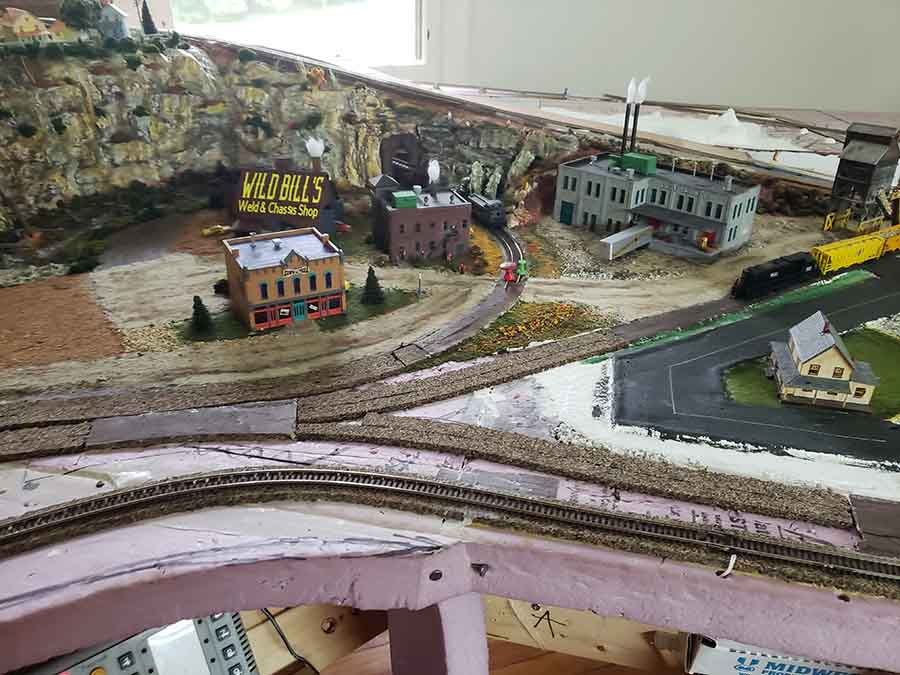
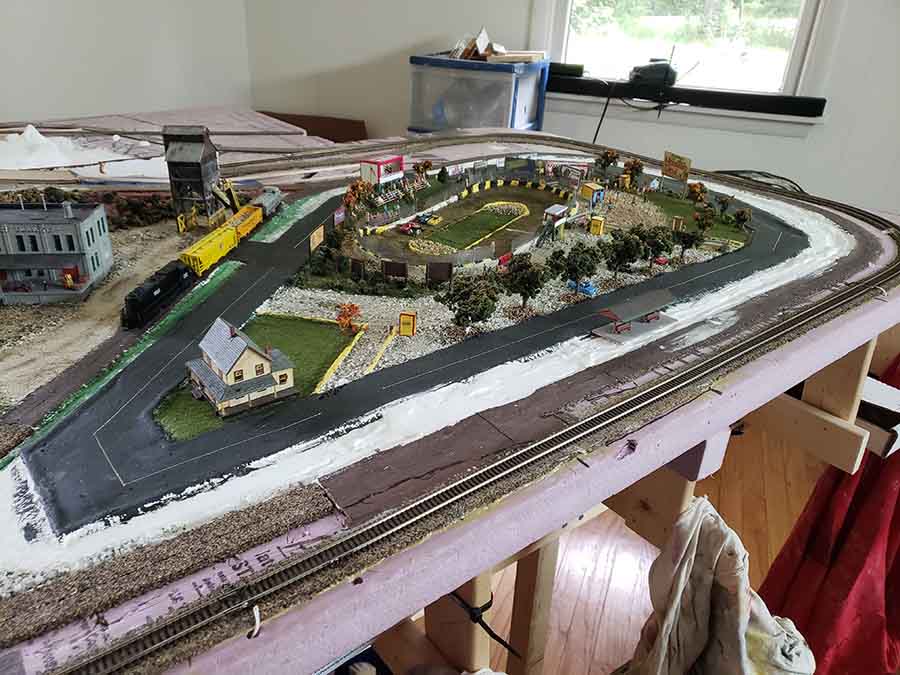
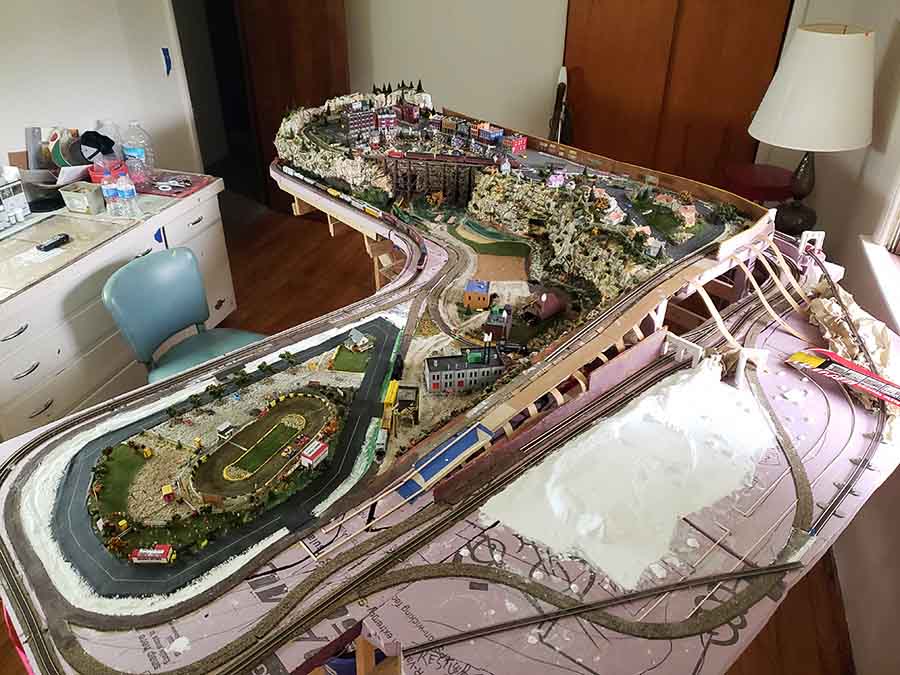
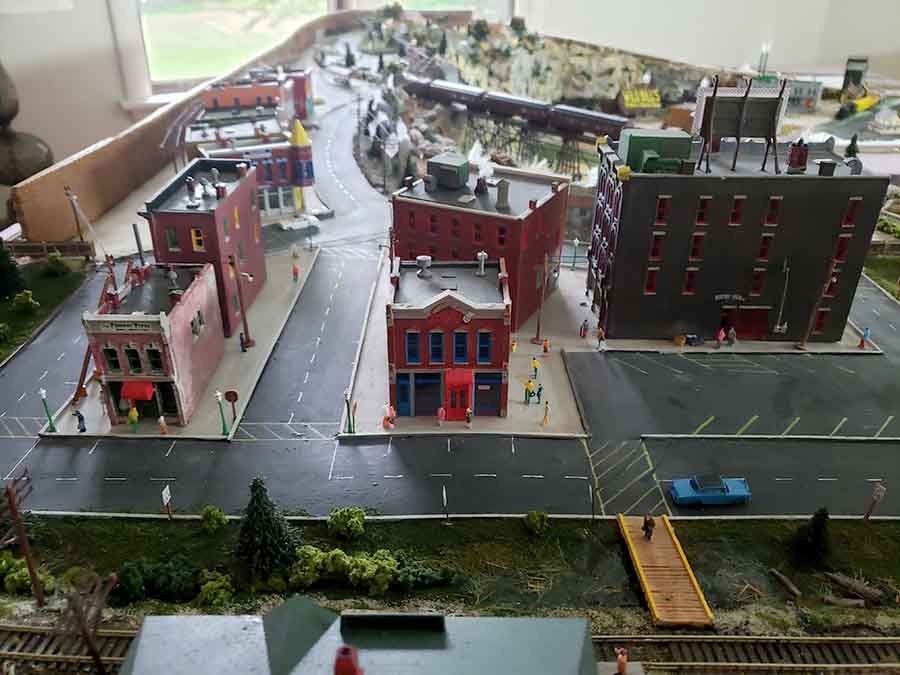
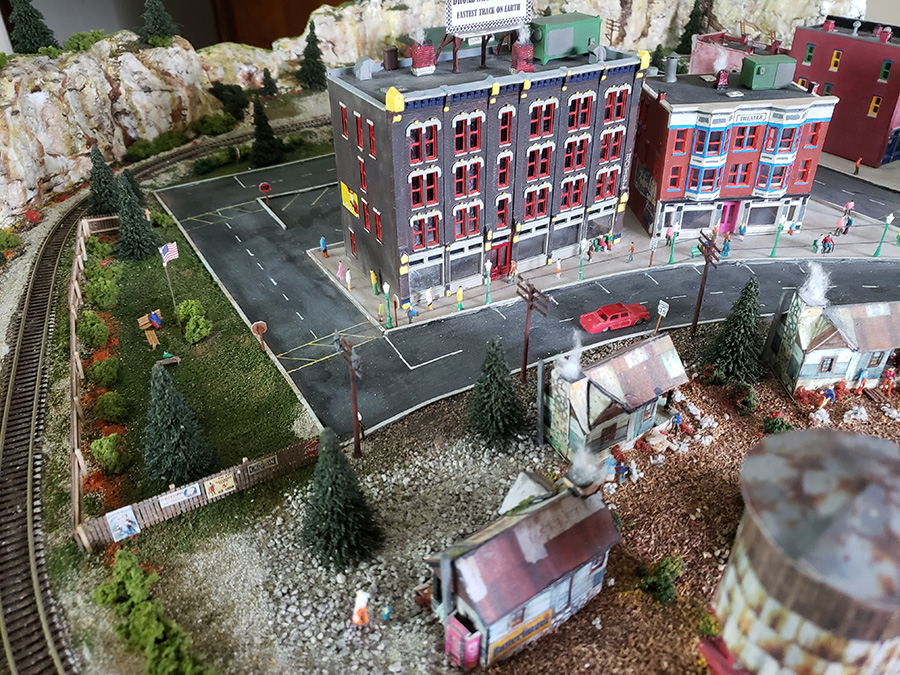
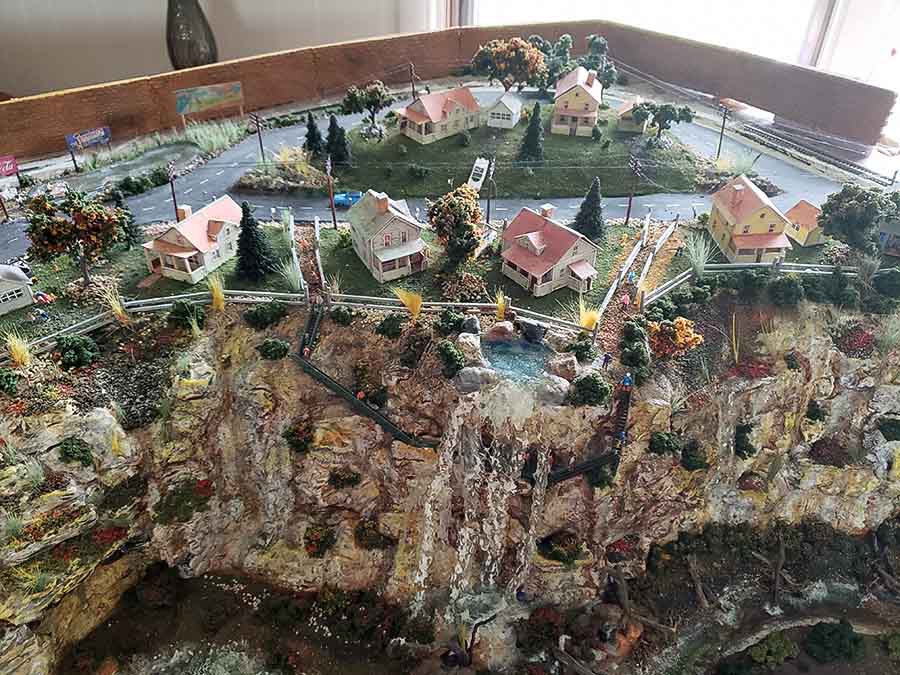
I do love it when I see some of the print-out scenery on a layout. Bill’s done a fab job with his houses.
And if you want to see just how much Bill’s layout has come along, his last post is here.
Bill’s pics also reminded me of Ed’s: N gauge track plans.
“Hi Al,
Thank you to all your readers and to you for sharing good ideas.
I saw your recent post from Roberto with recycled tracks rails as a cargo for his wagons.
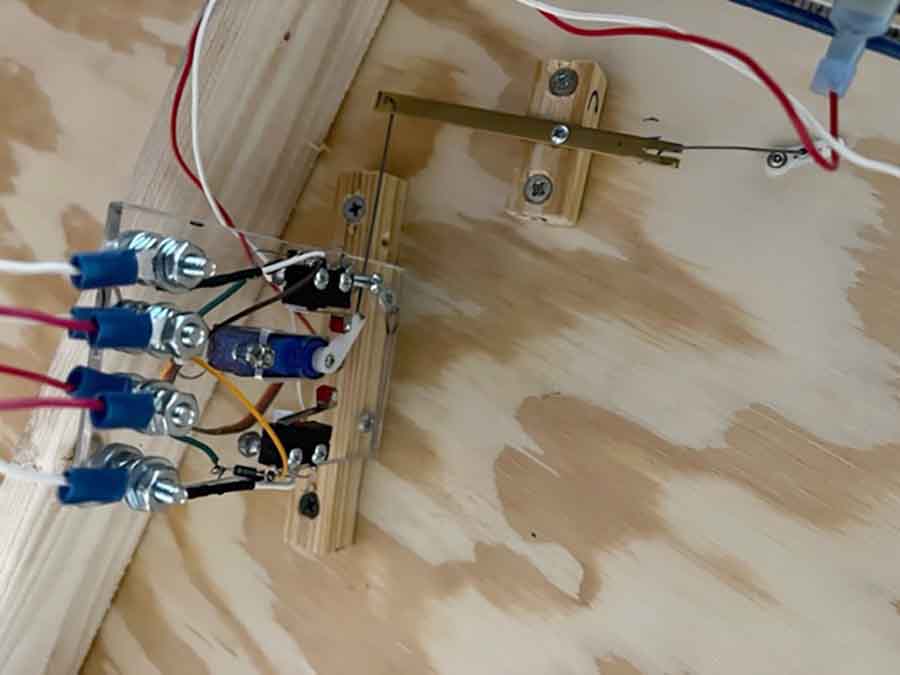
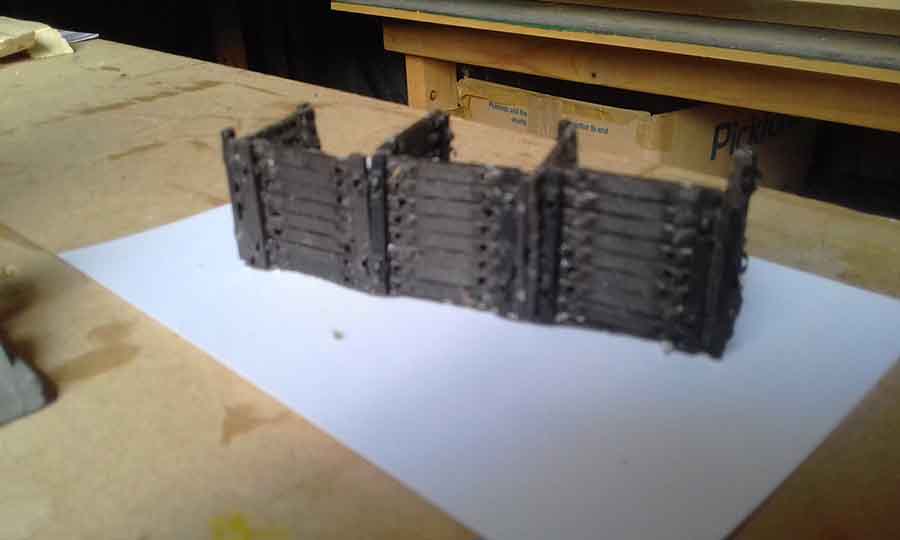
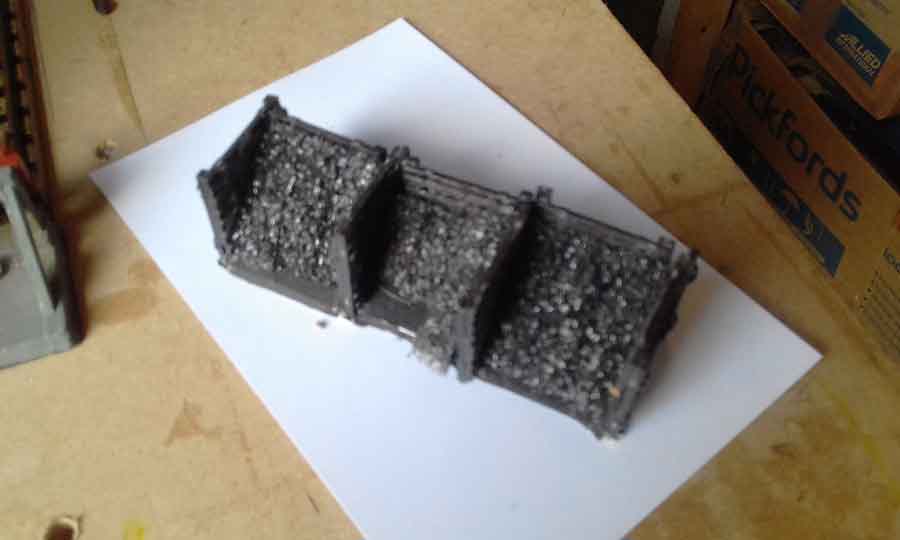
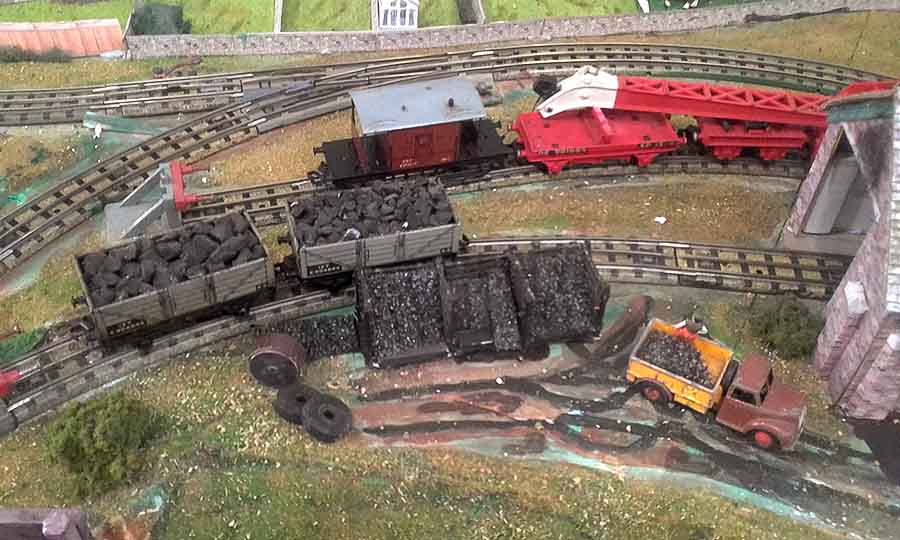
Attached are some photos of my use for the spare sleepers. I made coal bunkers with the redundant sleepers and coal from the foam that protected my last computer.
Coal in the trucks is random lumps off the sole of old flip-flops (thongs in Australia)
Best wishes to you and all your readers
Andrew”
And now on to Brian:
“Hi Alastair.
With regards to your post on the Galloping Goose with a Pierce arrow power unit at the front.
Rio Grande Southern RR had 7 in total and some of them had the 2 different power units attached to the ‘Passenger’ converted box car or refrigerator car.
Here are some of my Galloping Geese models made by Con Cor in the USA showing the two different types of motive power attached to a converted box car.
Both are 3 foot narrow gauge – HOn3.
Both of them are powered and have DCC motion decoders in them. (No sound)
The first photo has a Wayne Bus body as the power unit, Numbered 5.
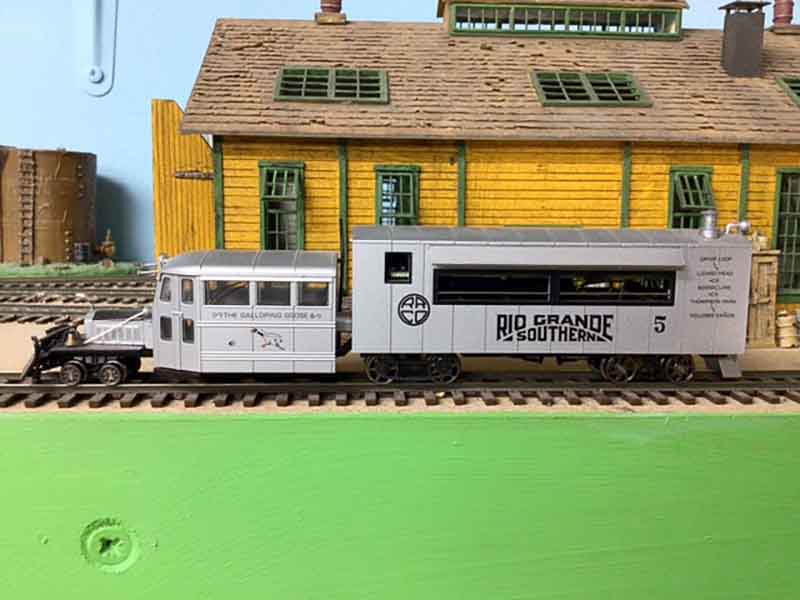
The second photo shows a Pierce Arrow power unit. It was used for less than car load service. This model has the power/DCC unit in a trailer the sits behind it.
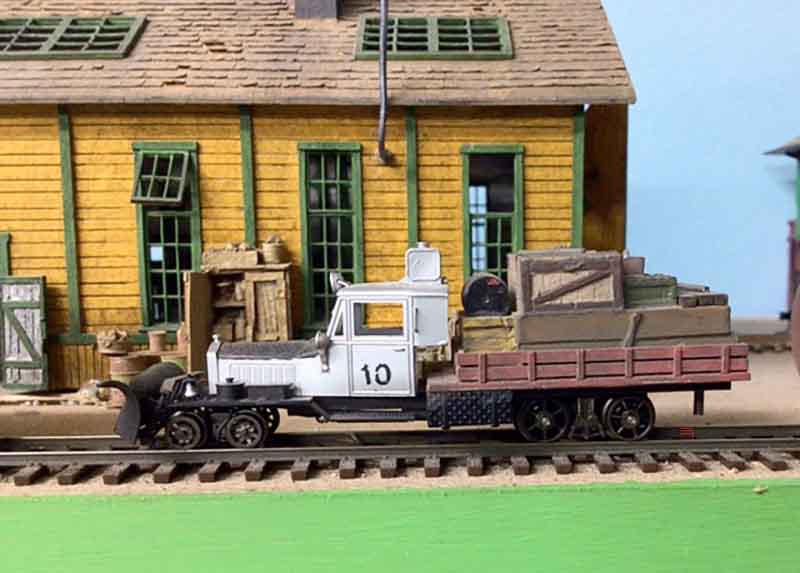
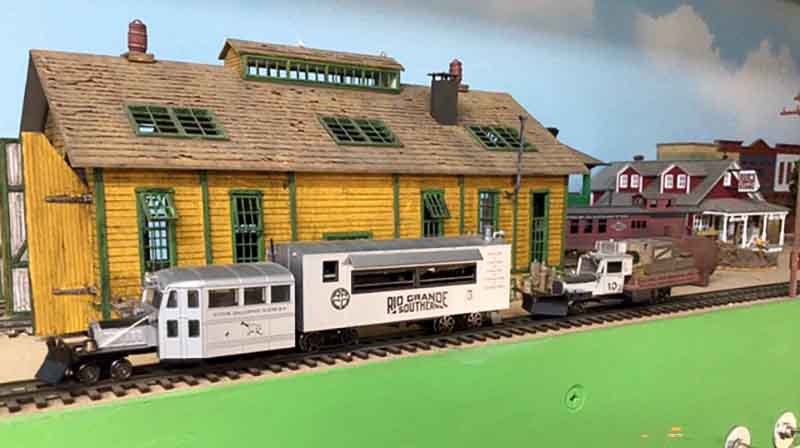
The third photo shows the difference between the the two.
I hope this helps in explaining the ‘Galloping Geese’ for you.
I have never sent your site any photos of these.
The photo below was taken when I was in Durango – Colorado USA in 1982 where I rode in it as a passenger. Excuse the poor quality of the photo. (40 year old photo)
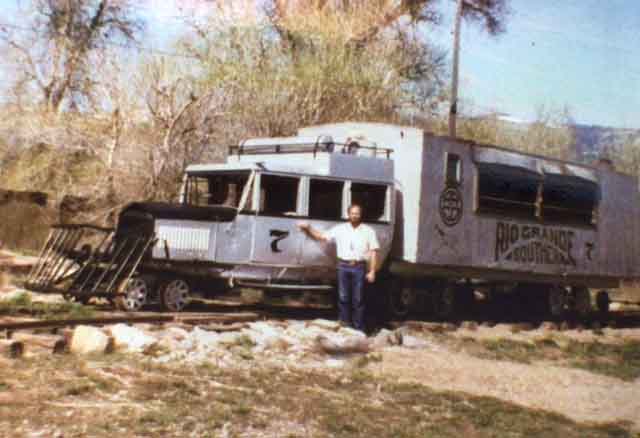
Kind regards
Brian – the HOn3 guy in Knysna RSA”
A big thanks to Brian, Andrew and Bill.
That’s all for today folks.
Please do keep ’em coming.
And if today is the day you stop dreaming and start doing, the Beginner’s Guide is here.
Best
Al
PS Latest ebay cheat sheet is here.