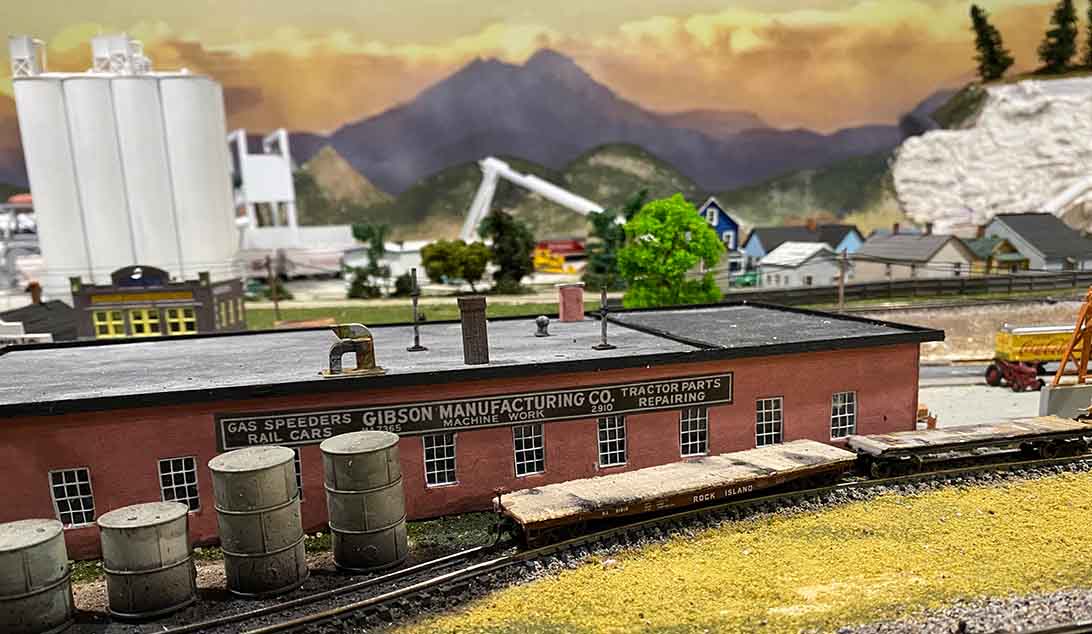
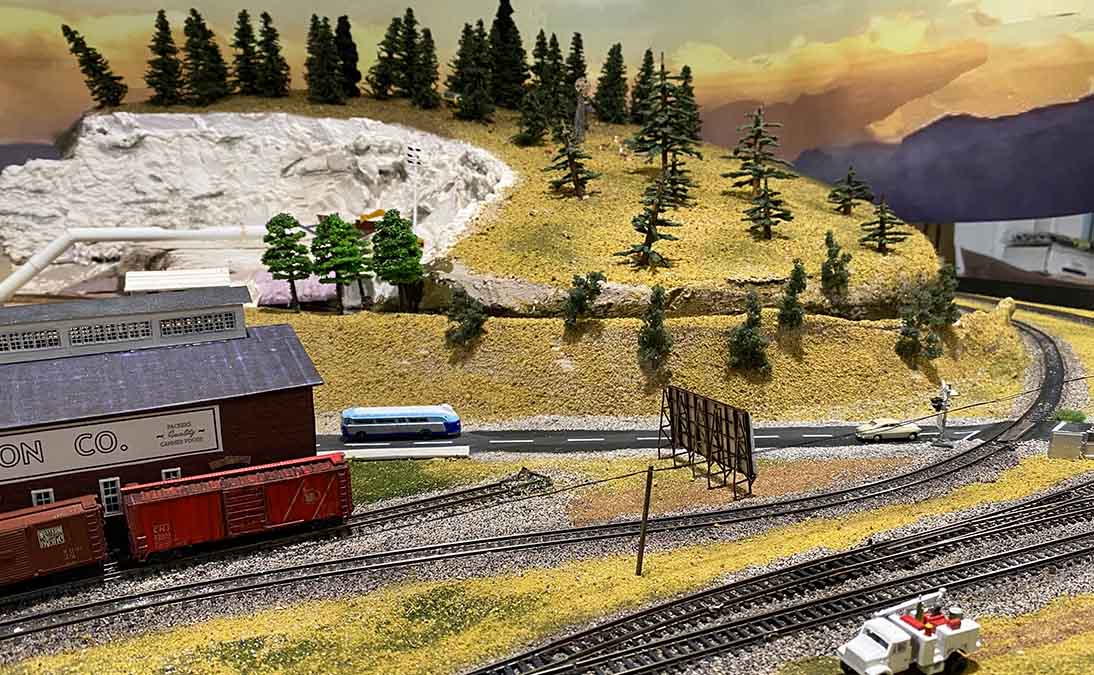
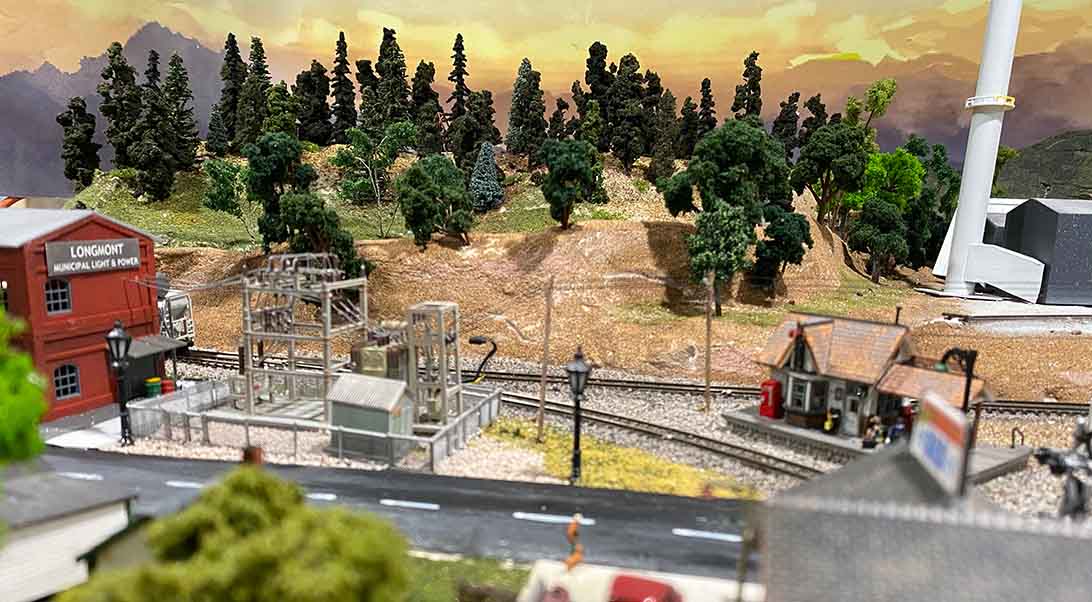
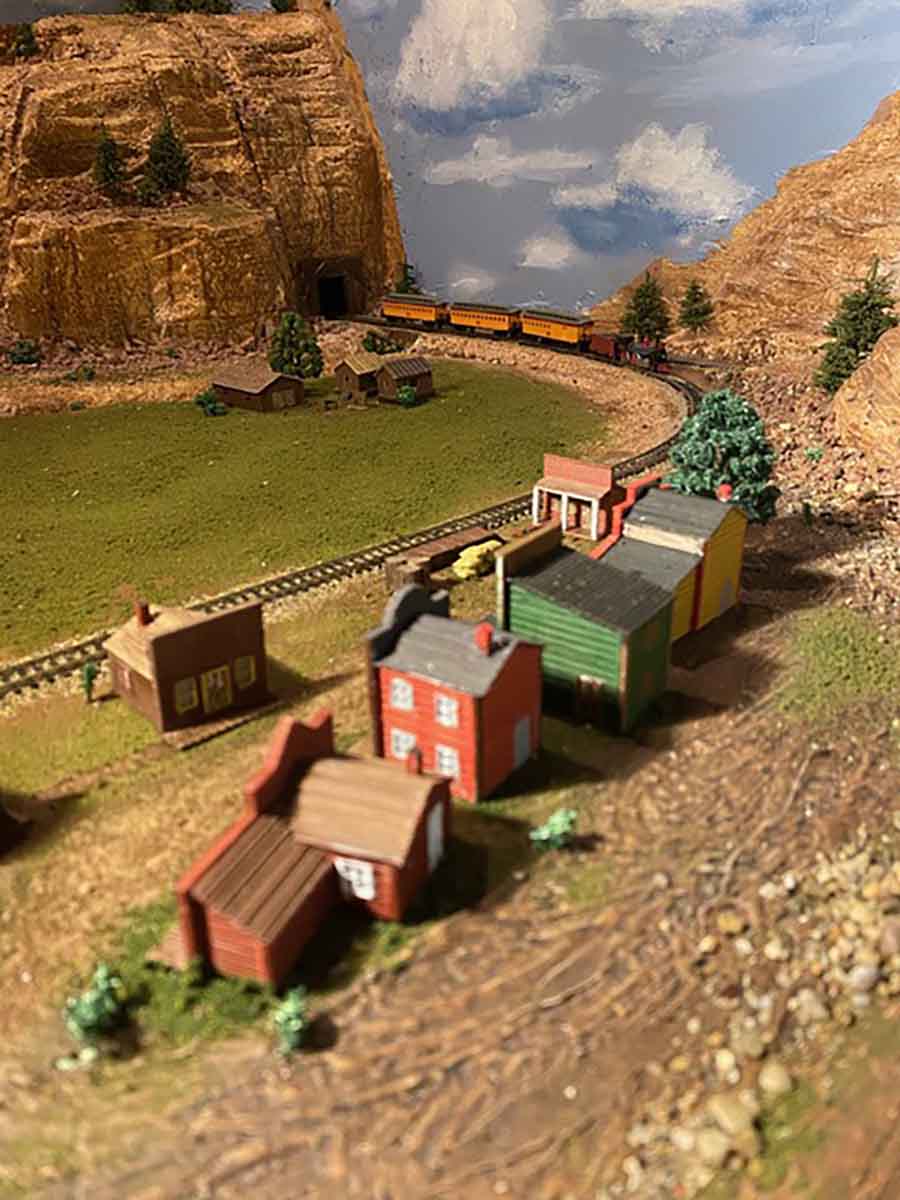
Mike’s been busy on his N scale 2×3:
“Greetings Alistair,
I’ve been an armchair modeler and avid reader of your blog for 3 or 4 years, and finally decided to “make a start”, as is so often encouraged by you and your contributors.
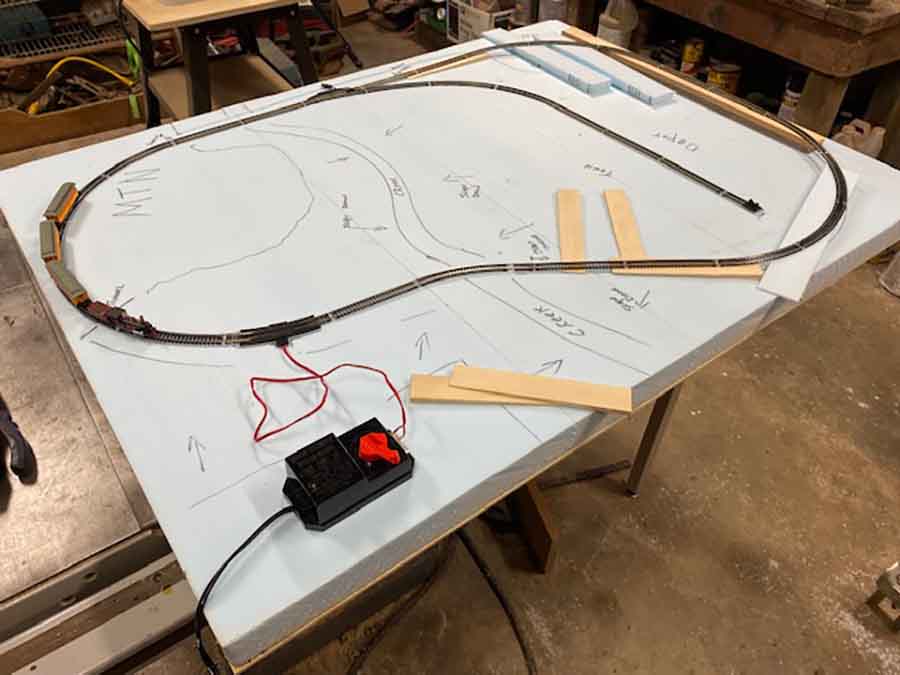
I’ve got an idea for an HO gauge project in a big spare room, but being a sort of “learning by doing” guy I built this diorama to just see how it would go.
I figure I would make plenty of mistakes and better to do it on a small scale.
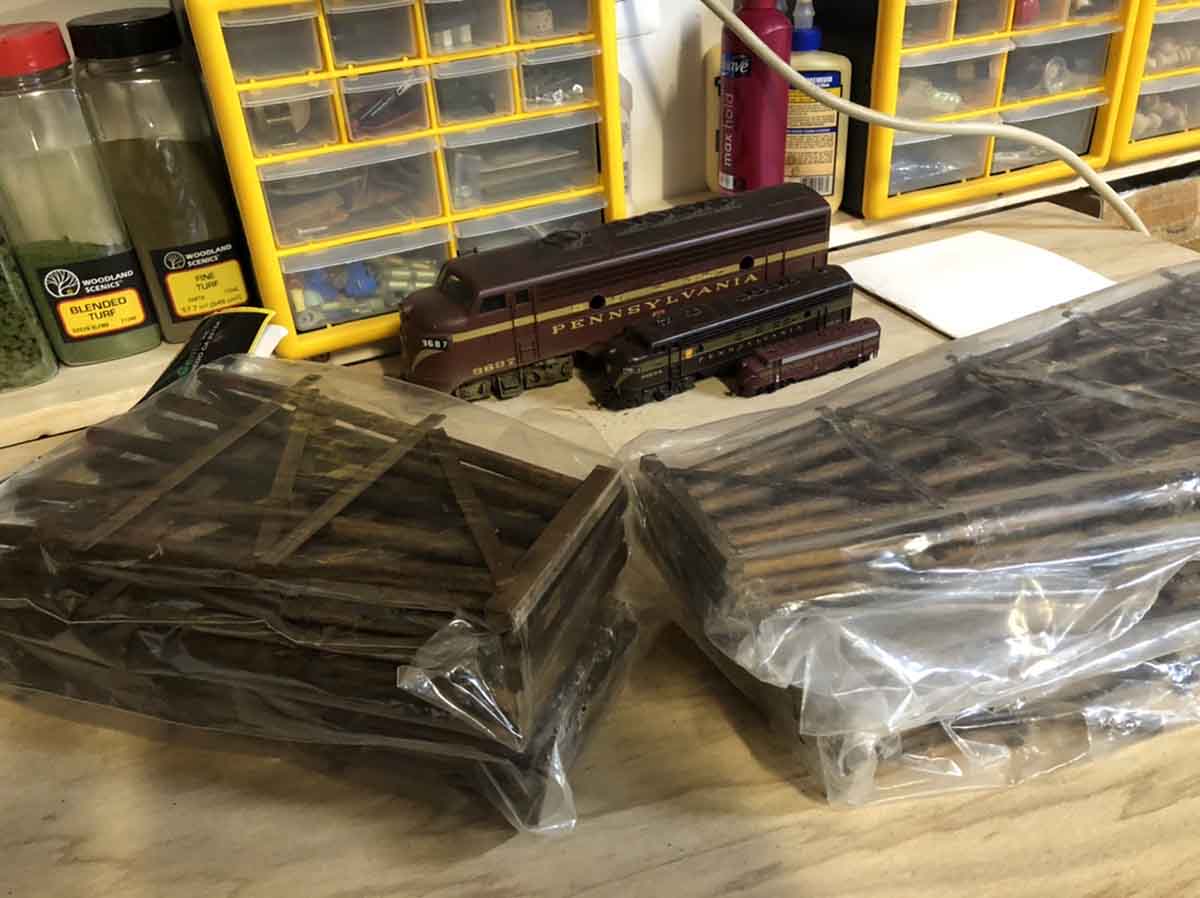
I bought this little used N scale set on Ebay for short money and added some extra track and a switch, went to the lumberyard for foam board and adhesive and just went after it. What a blast!
I read lots of tips and advice before, but not until I really got my hands into it did it sink in: My #1 lesson?
Make absolutely sure you have your track work right before you go any further. If the train doesn’t run right it isn’t much fun.
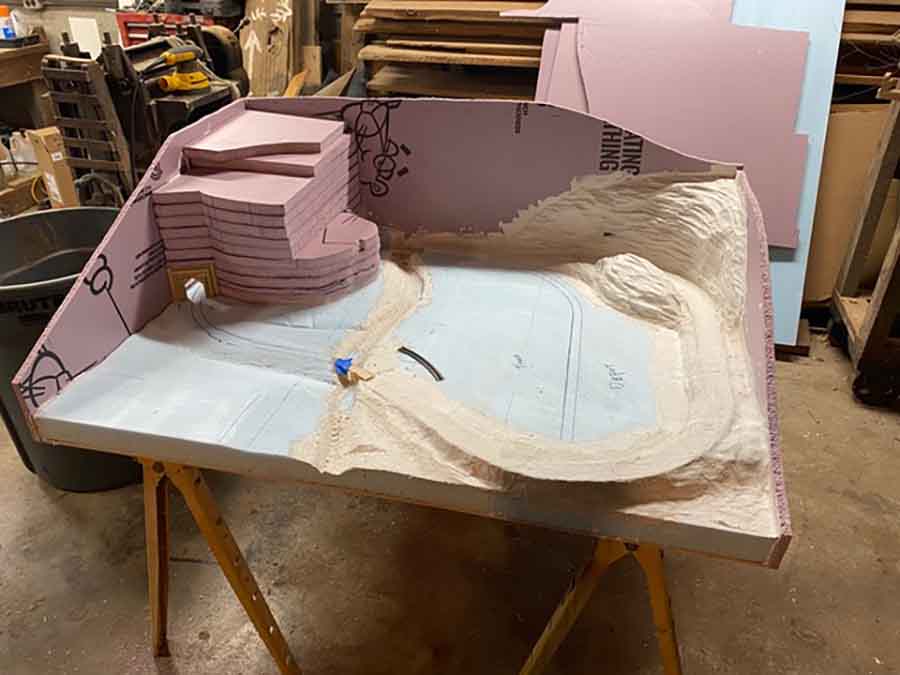
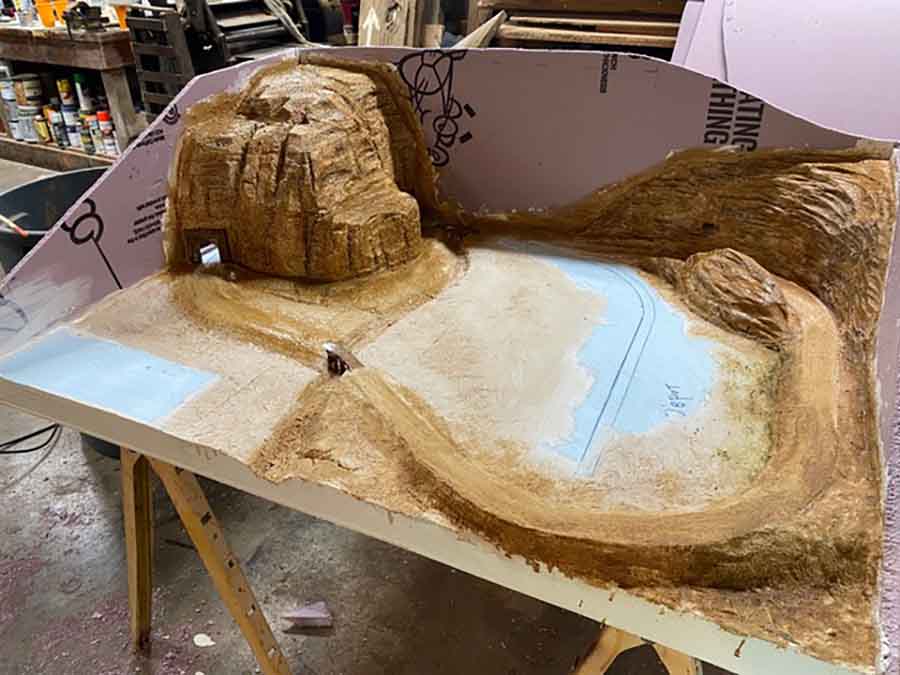
The other thing I learned is that I, personally, really like the landscape part of the hobby and not so much the technical and wiring part.
I envision my bigger layout being long runs and great scenery, with only enough sidings and switching to make it interesting. And I want to learn more about painting clouds and sky. The concept of dead rail layouts using a battery powered r/c locomotive bears further study…
It still needs some finishing touches- I have some 3d printed livestock, wild animals, figures, wagons, etc. ordered to add some interest.
But anyway, here’s a quick video of Dry Creek Junction.
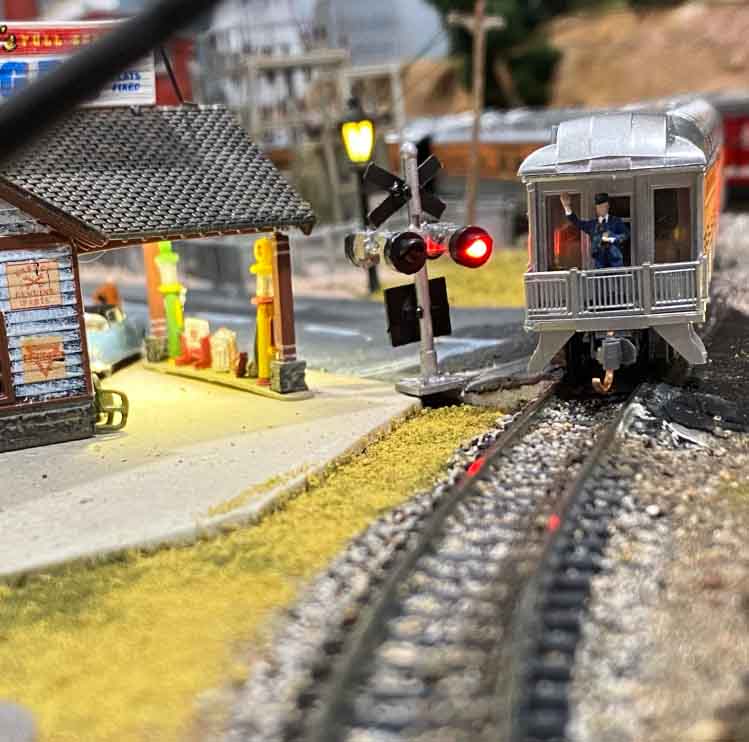
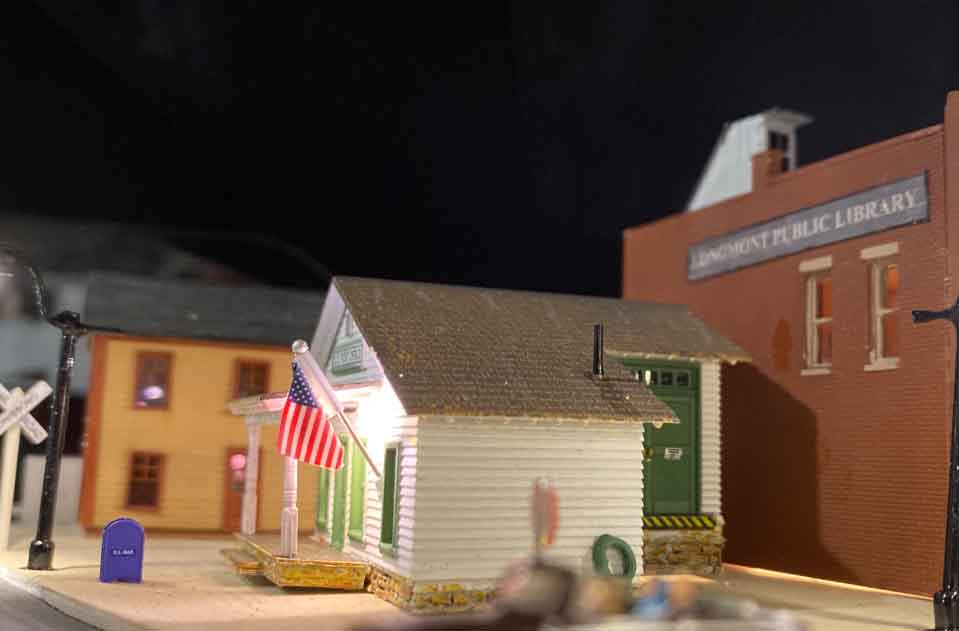
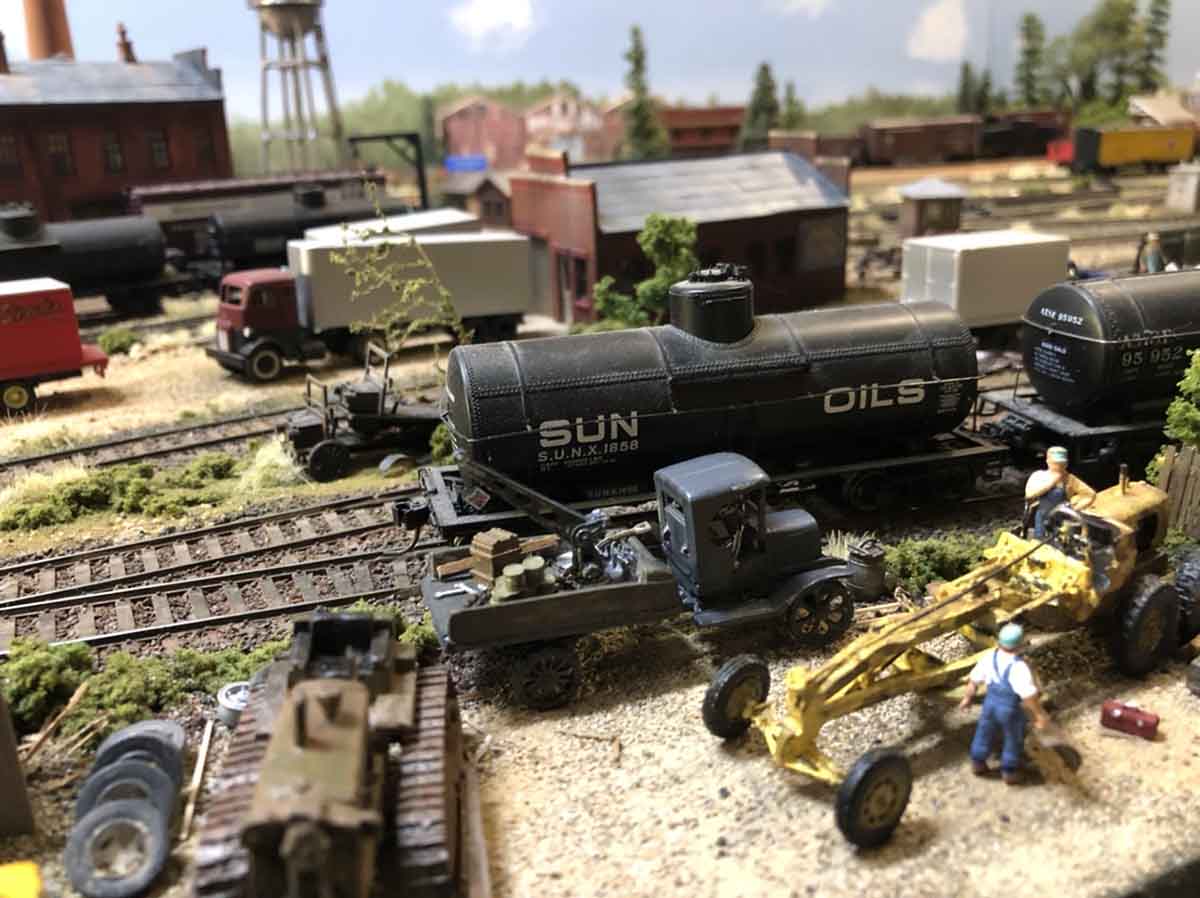
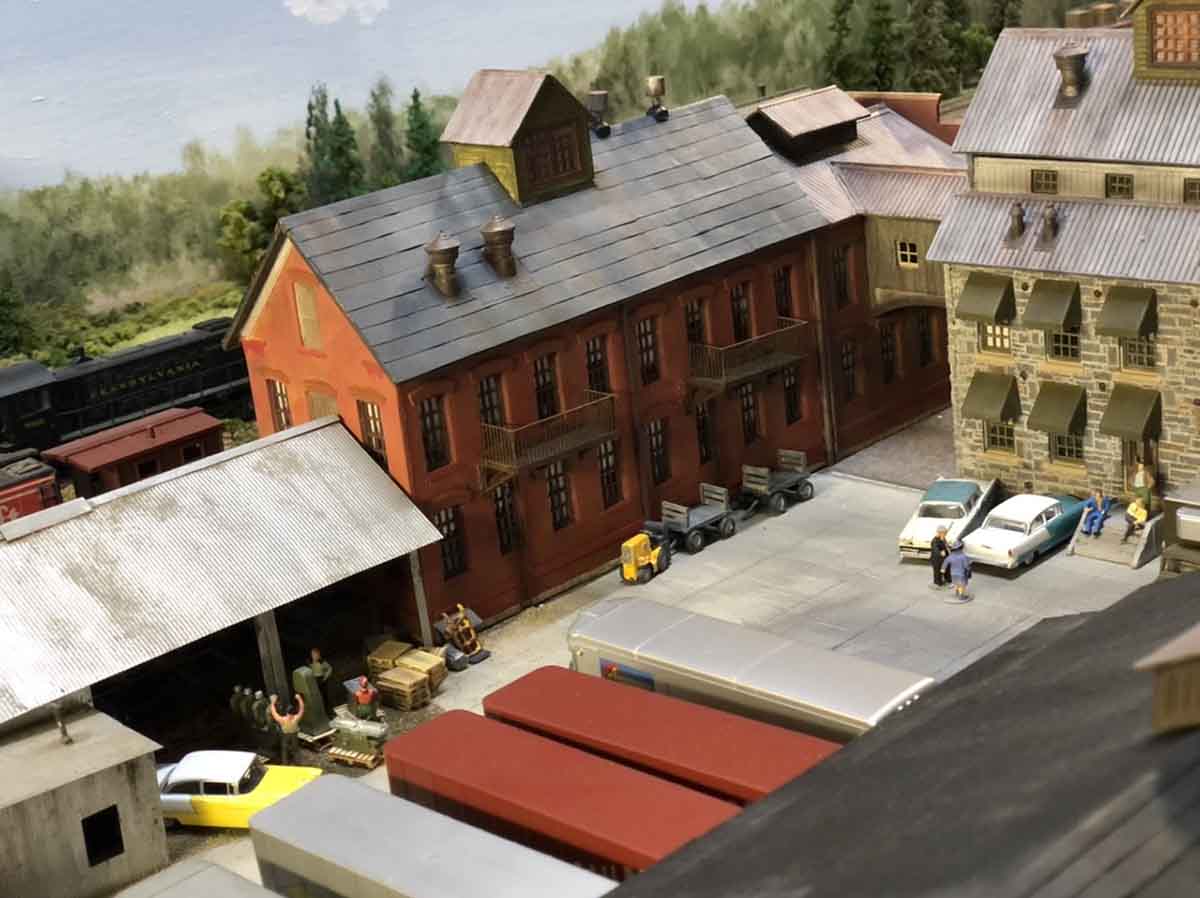
The narrative: In about 1885 some forward thinking and influential ranchers near Rawlins, Wyoming persuaded the Union Pacific railroad to put a spur line into the little town of Dry Creek.
The intention was to start breeding Hereford Cattle which could be shipped via rail car to the Eastern markets via the recently opened line to Kansas City.
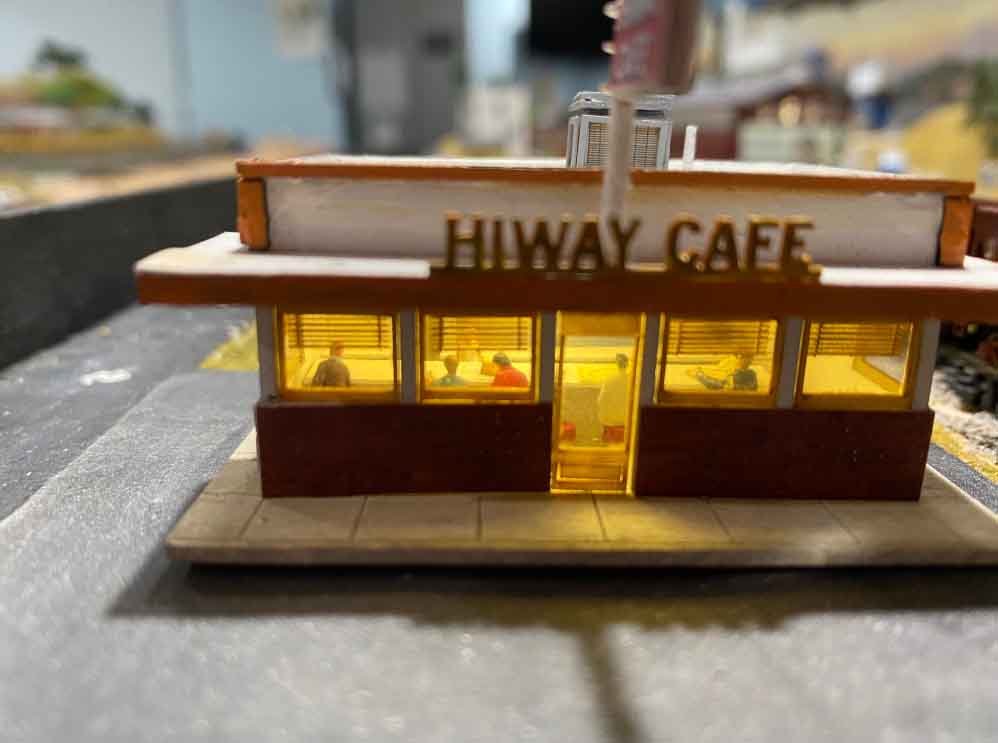
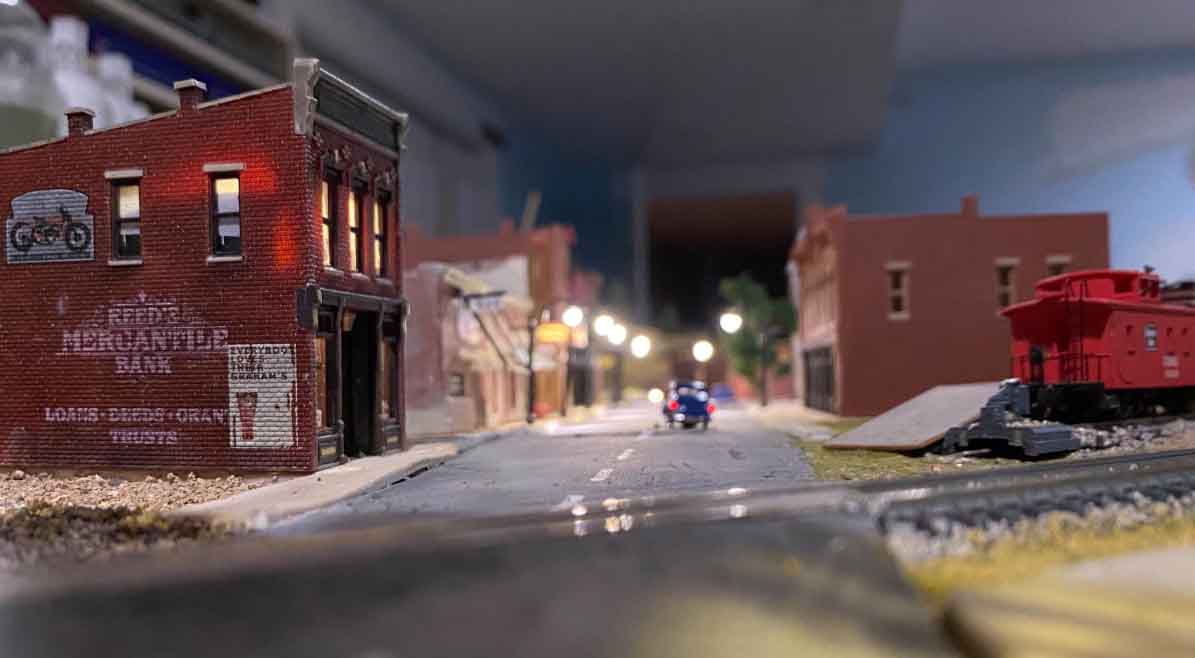
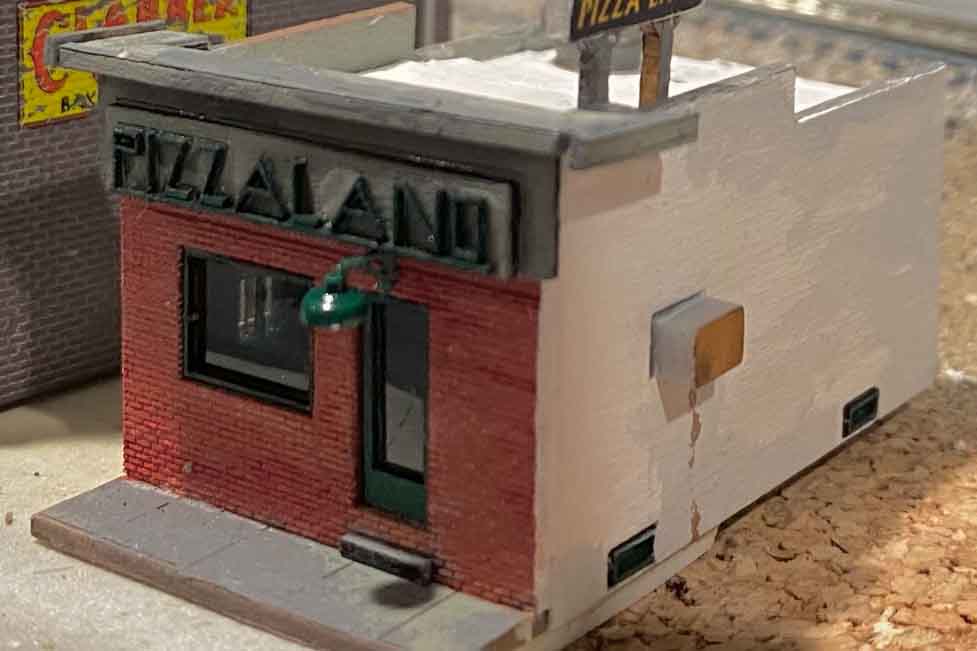
The little town of Dry Creek, which was before just a single dry goods store and saloon for local ranchers soon became a gathering and loading place for this expanding cattle market and grew to include a hotel for travelers and cattle buyers, a restaurant and a much bigger saloon and brothel for cowhands and drivers, The railroad was bringing commerce and prosperity.
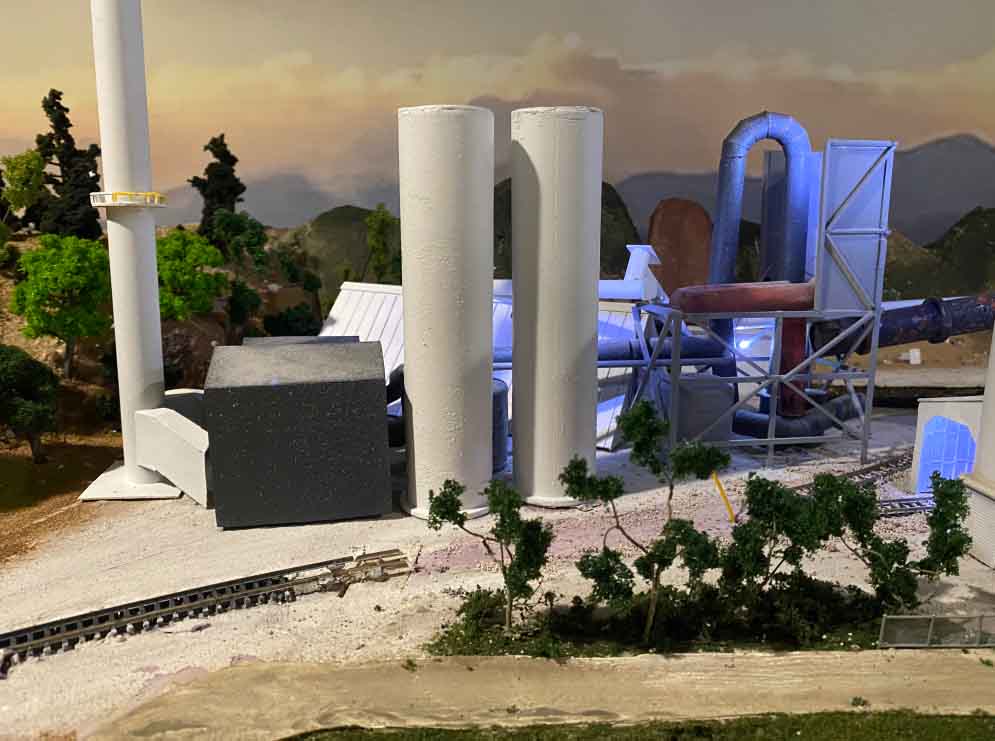
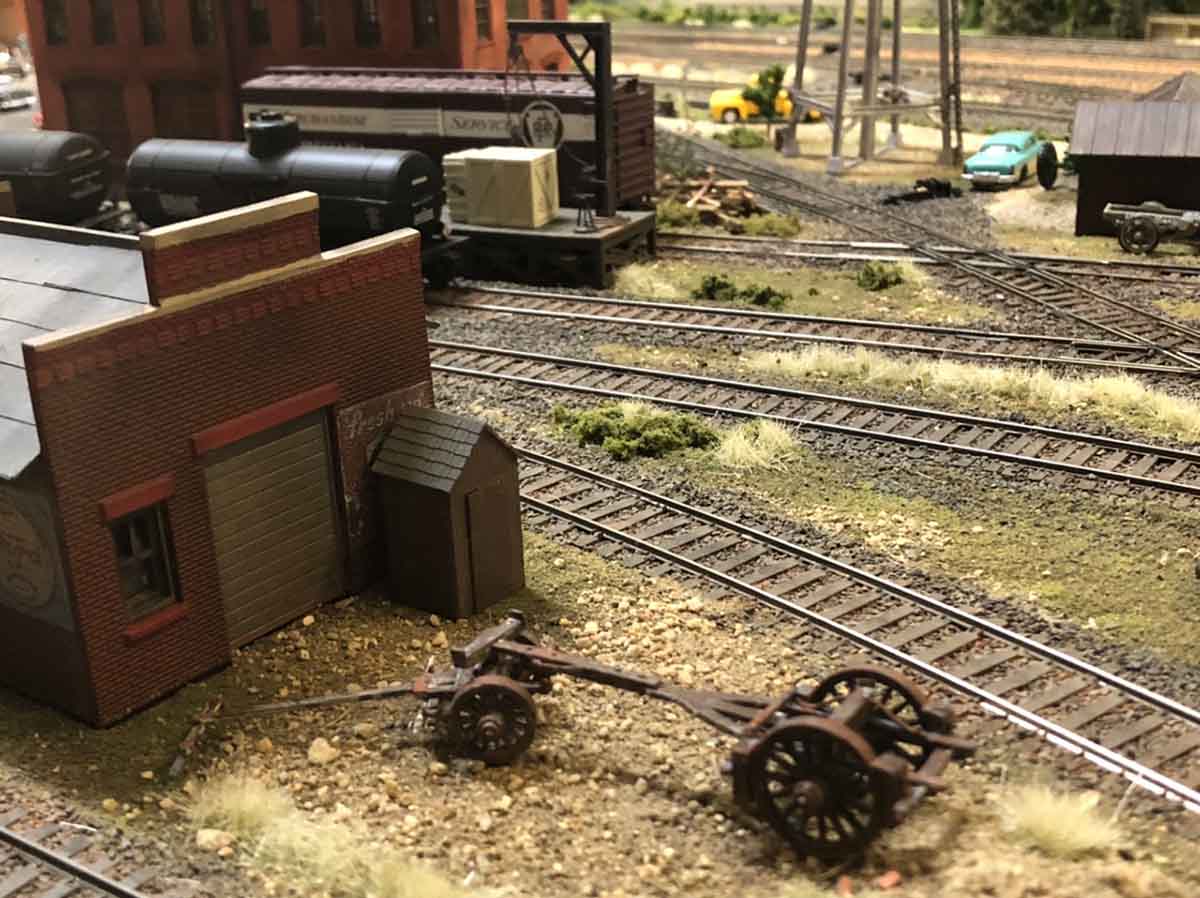
Note: The cattle sorting and loading facilities are yet to be constructed- its that big open space near the headquarters of the old Dry Creek Ranch.
A layout is a process, right? Still sorting out how to build an authentic period buck and rail fence and corral in N scale. My prototypes in round toothpicks don’t cut it! But what a lot of fun figuring it out. I’d be open to any good fence advice!
Mike
Griffin, Indiana and Dubois, Wyoming.”


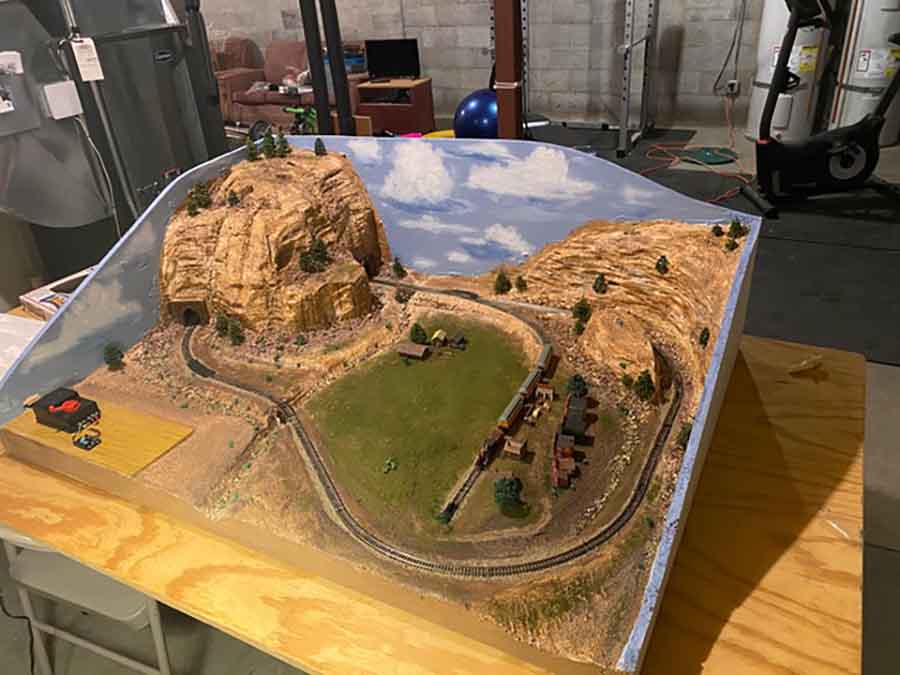
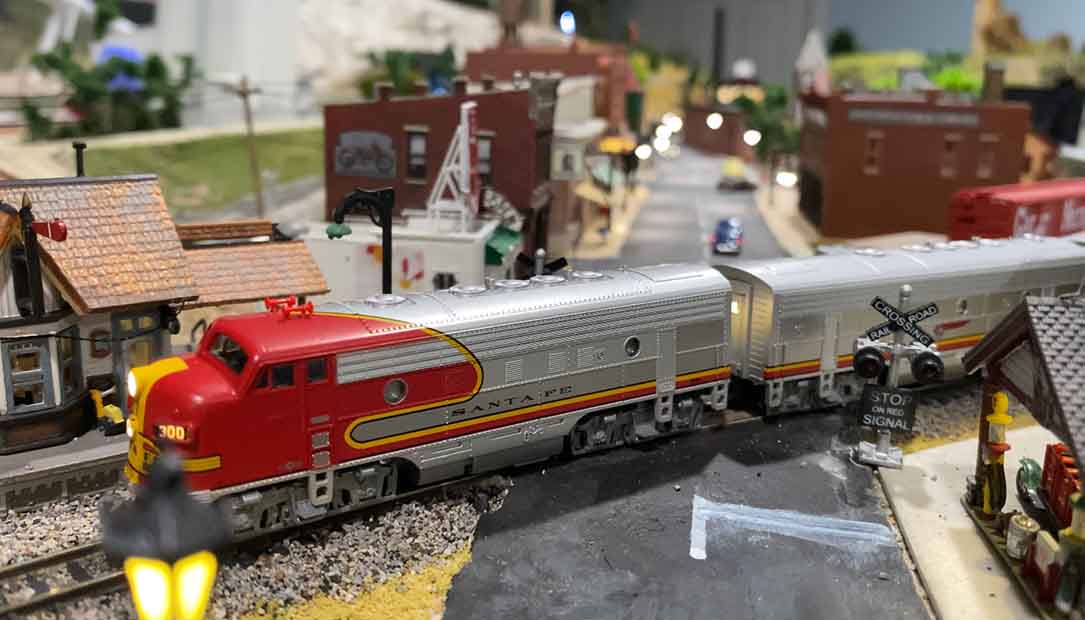
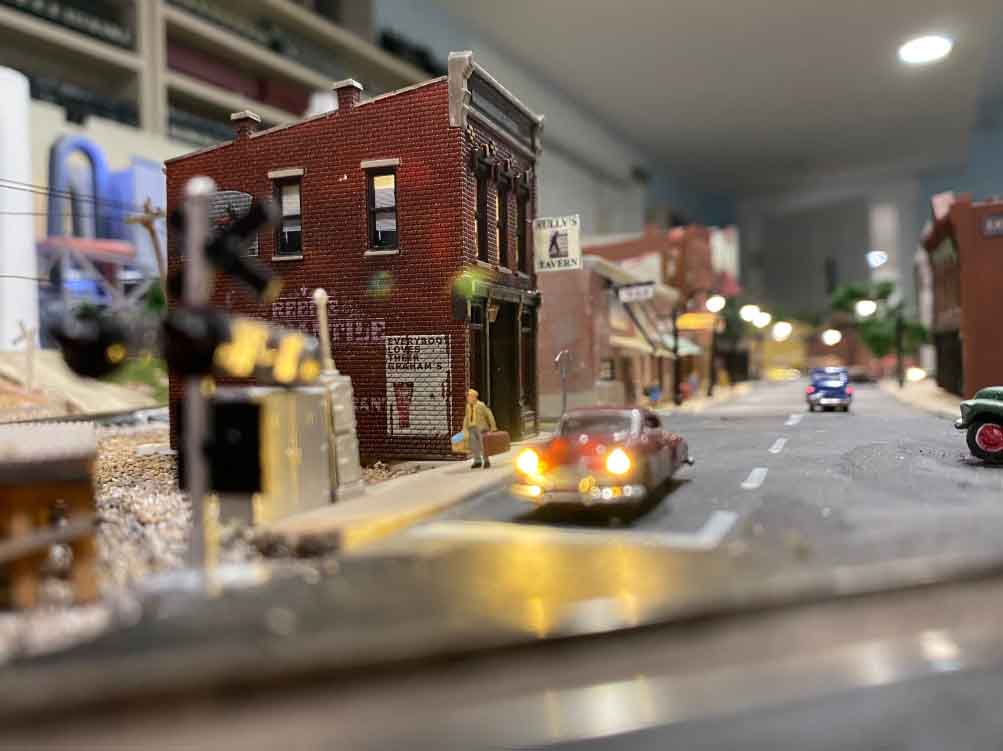
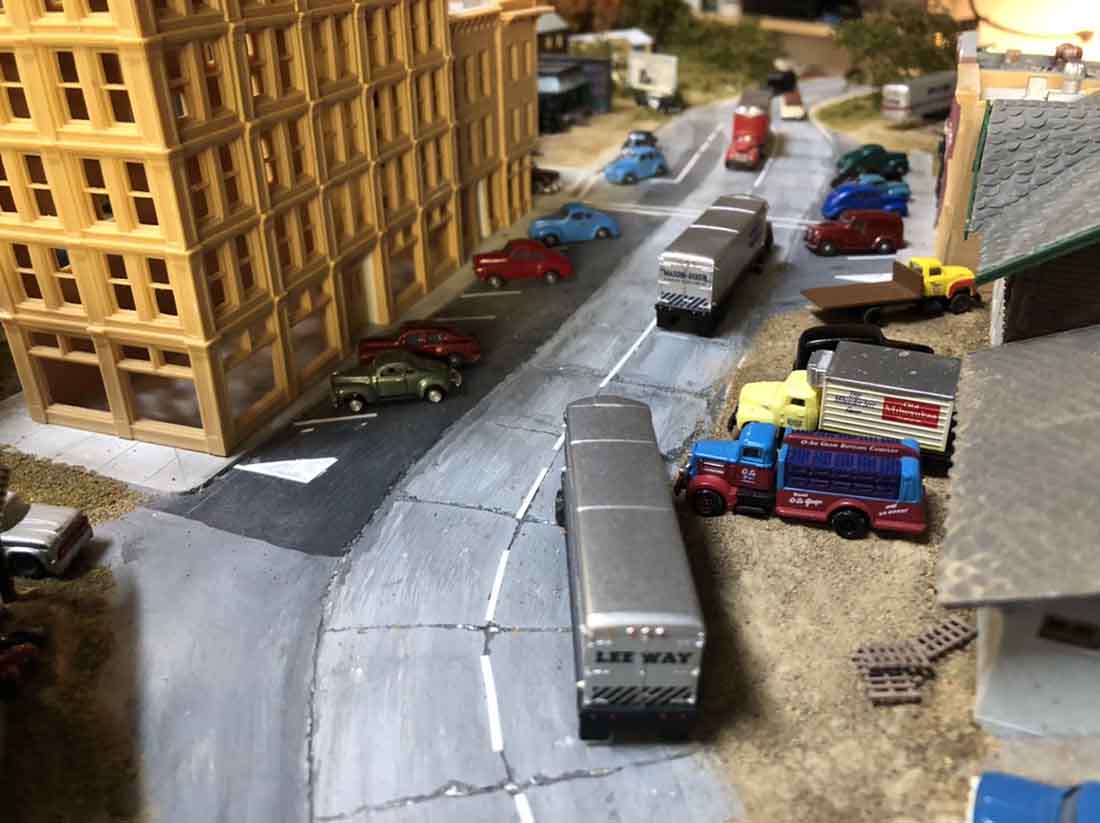
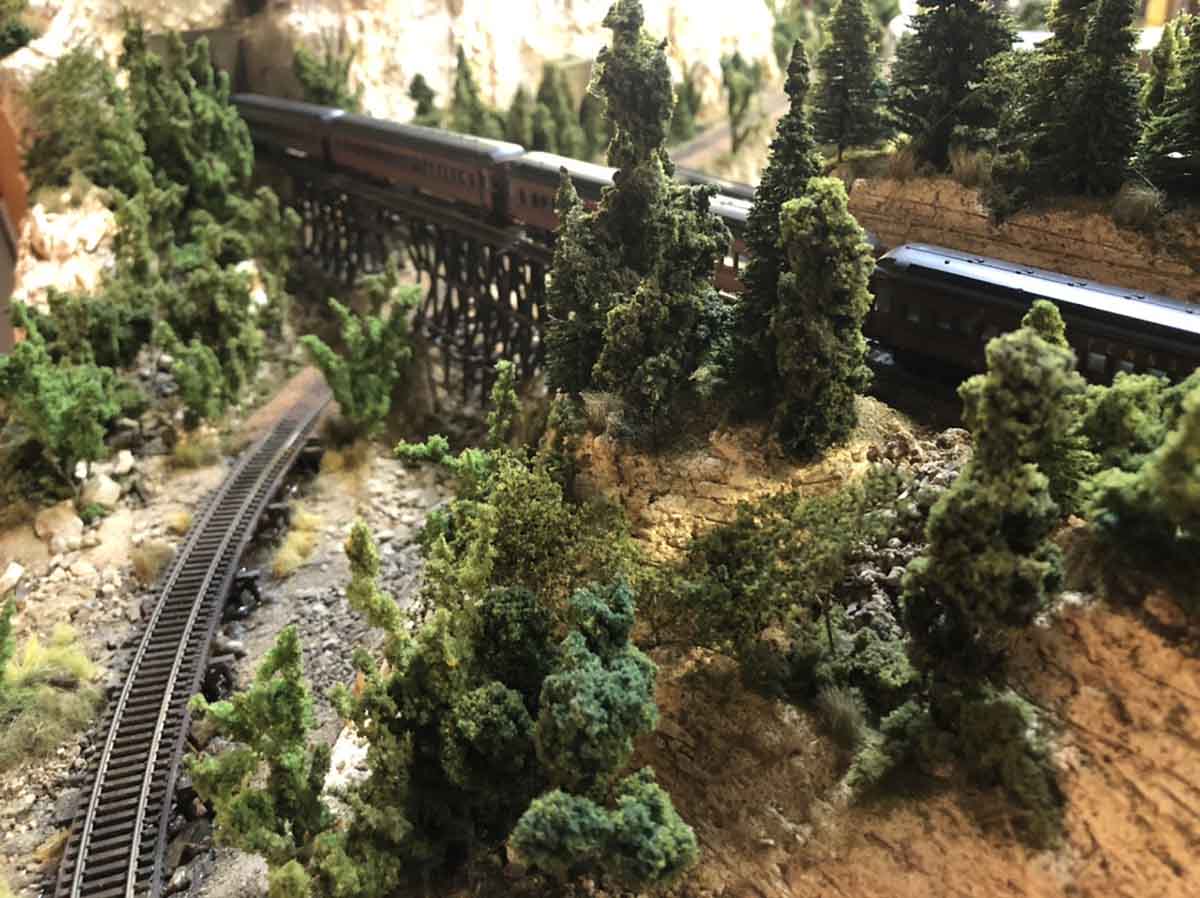
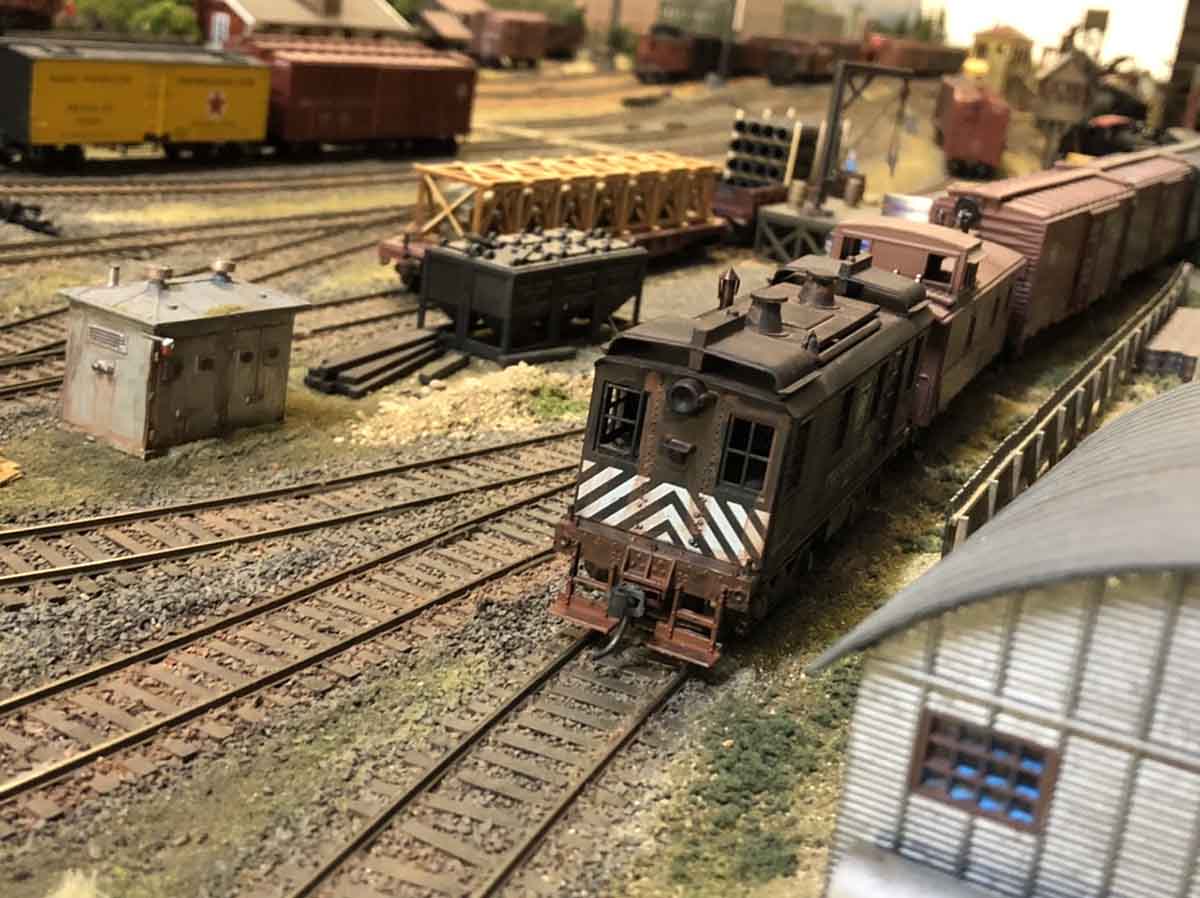
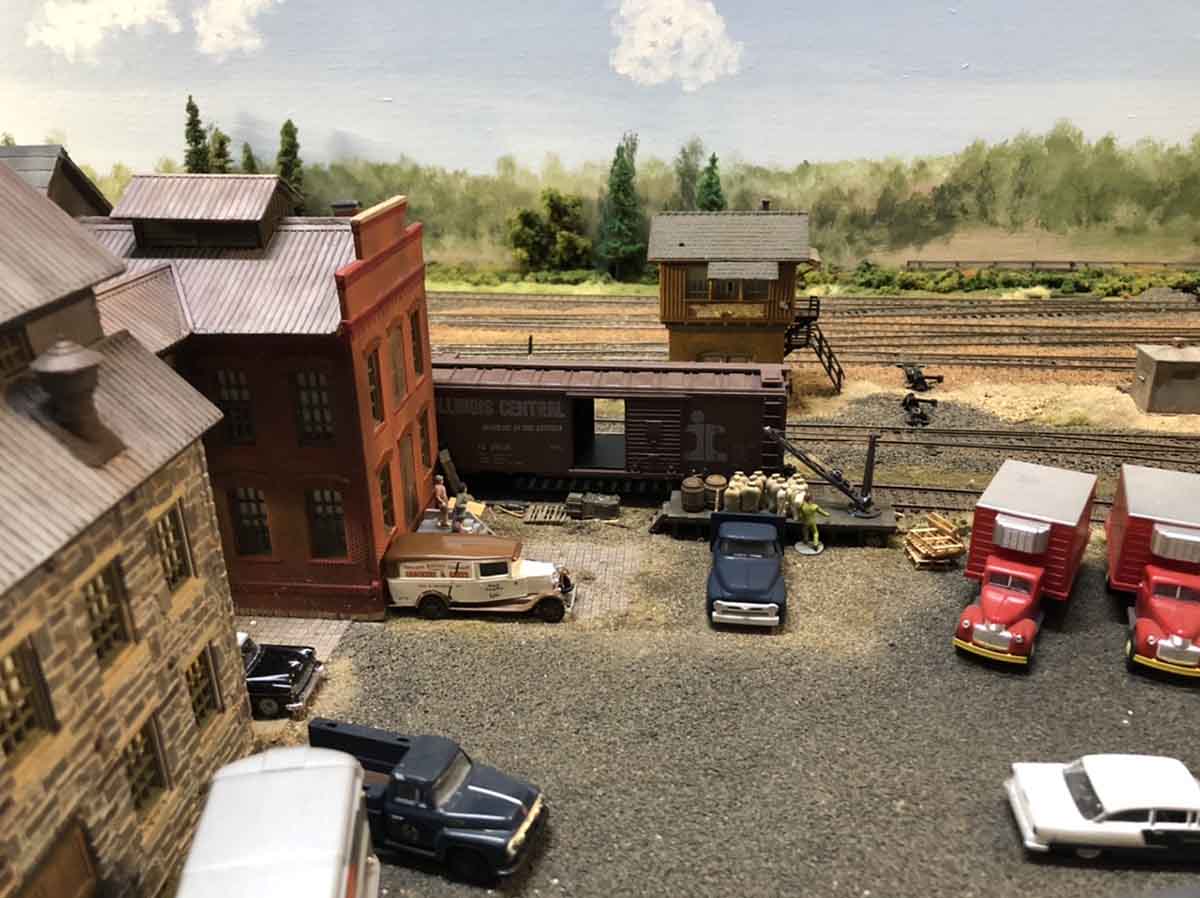
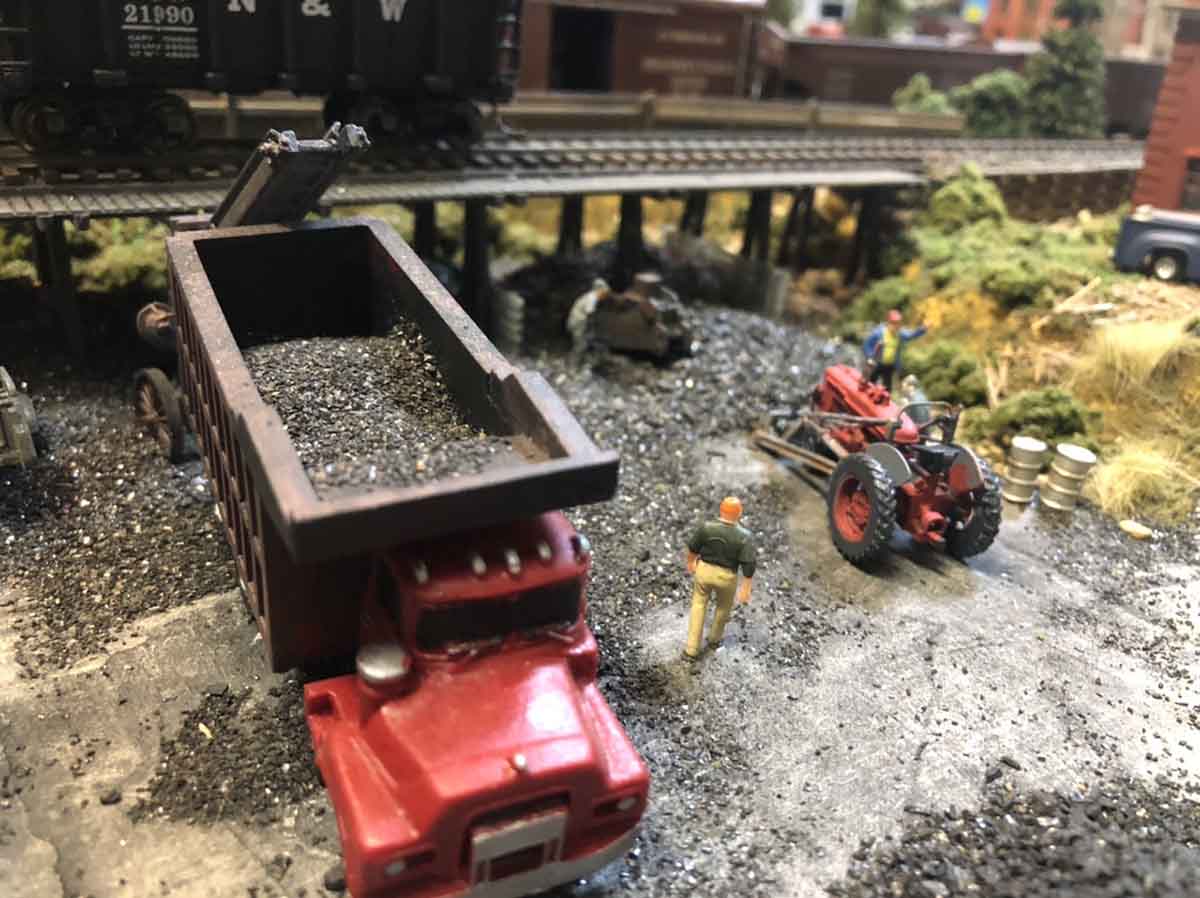
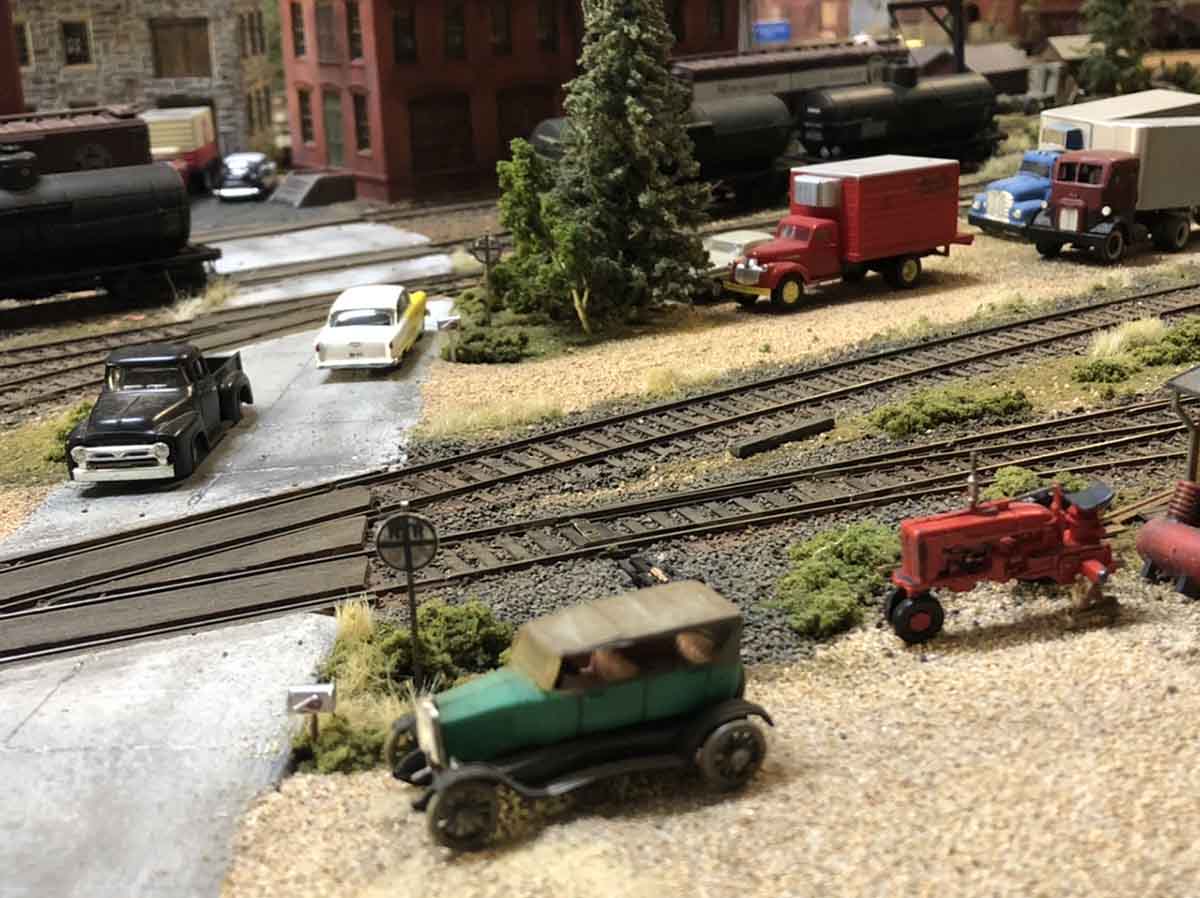
There’s something about Mike’s N scale 2×3 that has bags of charm.
Now on to Jeff:
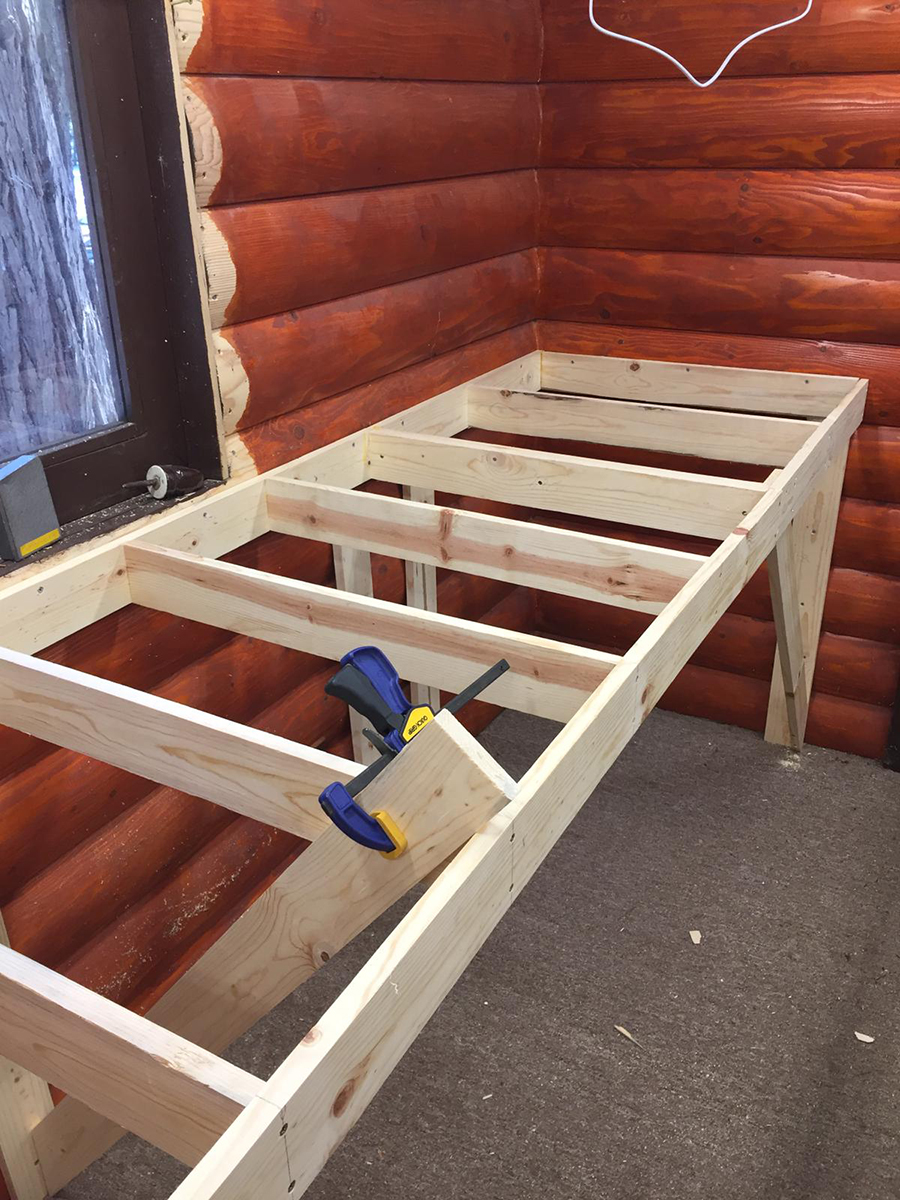
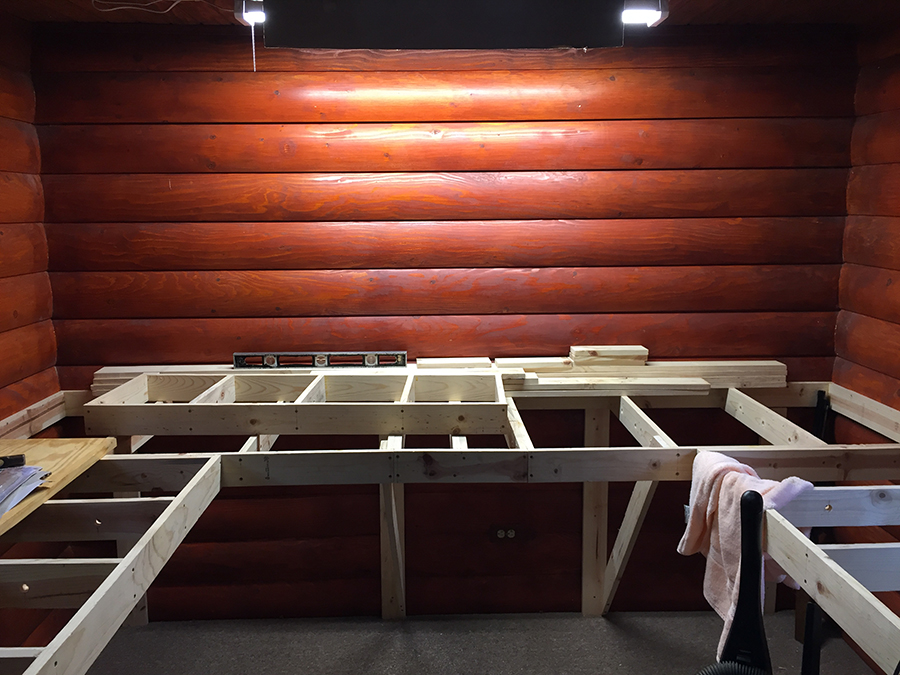
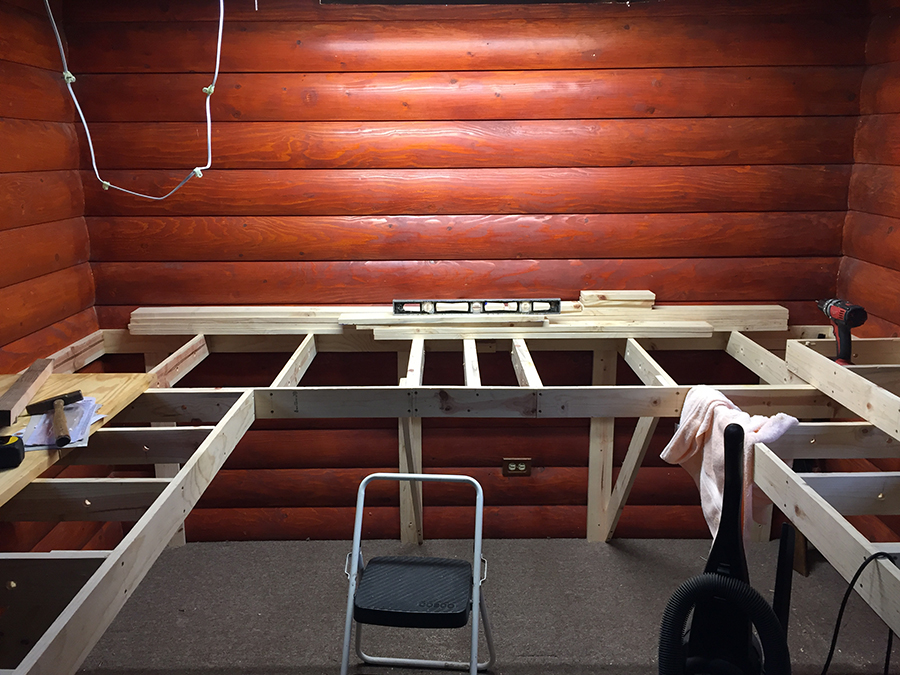
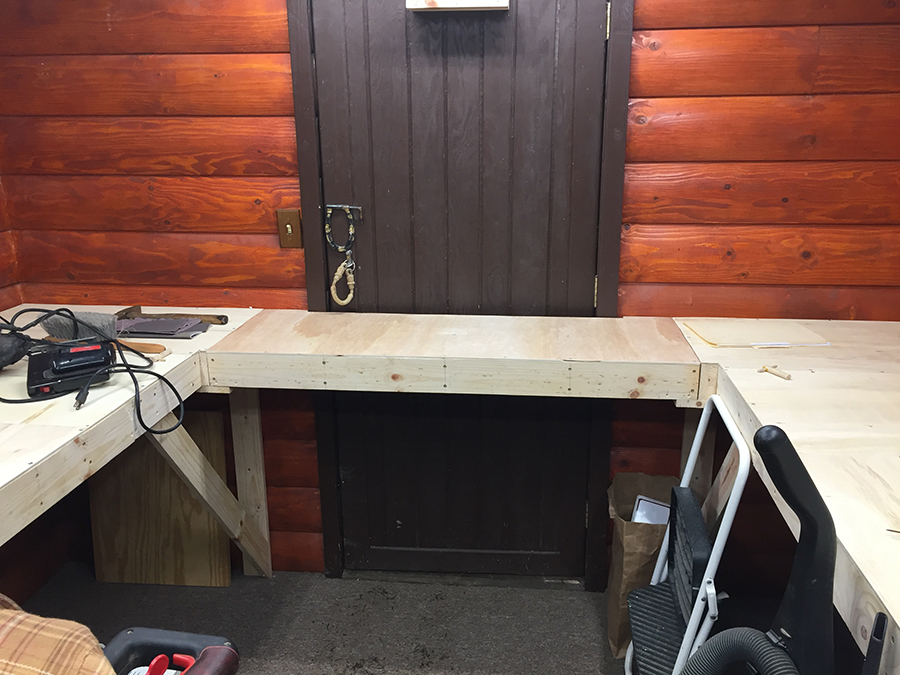
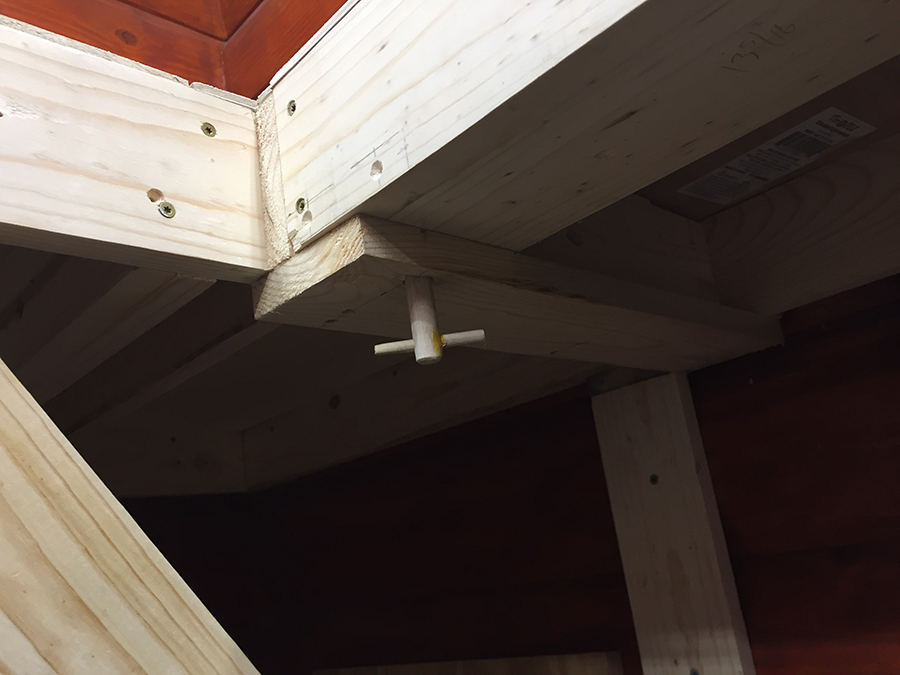
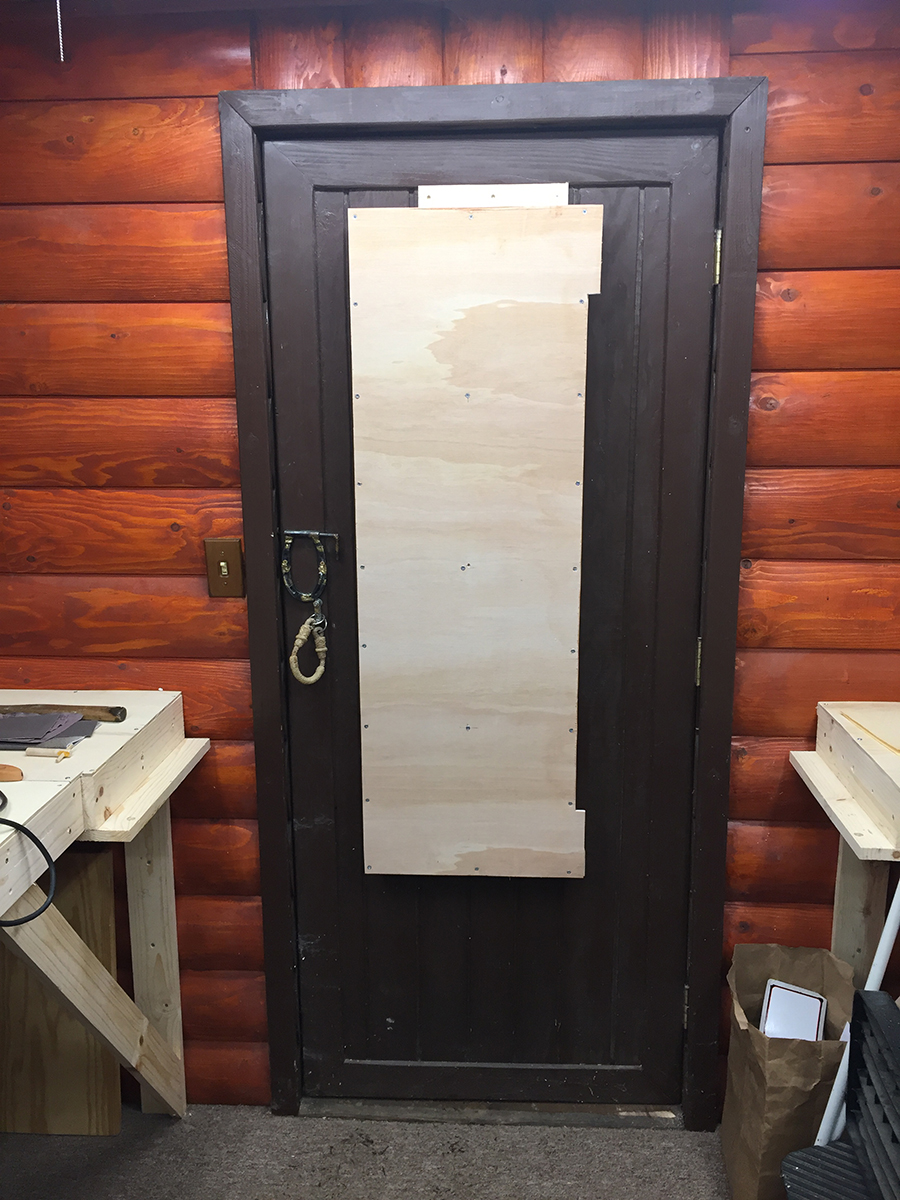
Gerald has been in touch with some sturdy benchwork.
I absolutely love what he’s done with the door area – very clever!
“Hi Al, this is a 9’2”x11’ stand alone room we were using for storage now turned into a train room.
I inherited four large boxes of trains consisting of twenty engines and numerous chars of all kinds. This has been a winter project that I will pick up again this coming winter.
We get lots of snow then so nothing else to do. I’m seventy years old now so it’s down to doing this.
The lift out section is 48 inches by 16 inches and locks in place with dowels on each side as shown. I’m almost done with preliminary track layout. Will send picks of that later. Thank you for a wonderful web site for all of us to view and get ideas.
Gerald in Northern California.”
A big thanks to Jeff and Mike. Love what Mike has done with his N scale 2×3 – such a simple layout but looks great.
He’s made a start and that’s what it’s all about.
If you fancy following Mike’s lead, making a start and joining in the fun, the Beginner’s Guide is here.
Best
Al
PS More N scale layouts here if that’s your thing.
Need buildings for your layout? Have a look at the Silly Discount bundle.