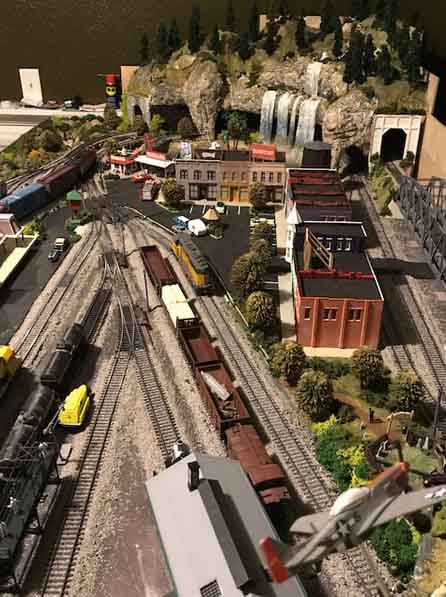
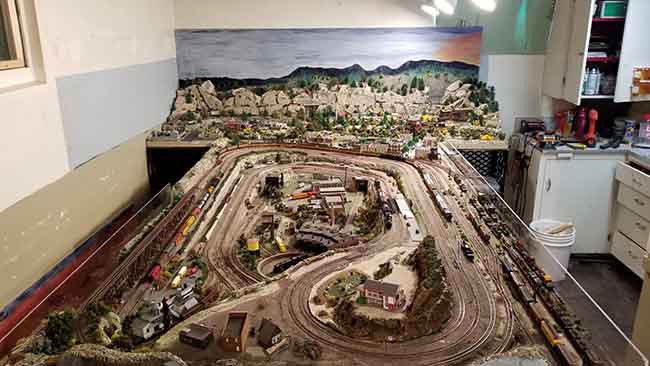
HO train layouts – are they the most popular scale?
Have a look at some of the train layouts and make your own mind up.
Frank’s HO train layout:
“I ordered and assembled about a “baker’s dozen” pre-fabricated tables; purchased boxes of 4 by 6 foot sheets of 2 inch thick, blue foam boards; boxes of HO scale flex track, boxes of cork track bed; scores of turn-outs, many boxes of track, additional transformers, rolls of various sized wires, etc. etc.
Frank”
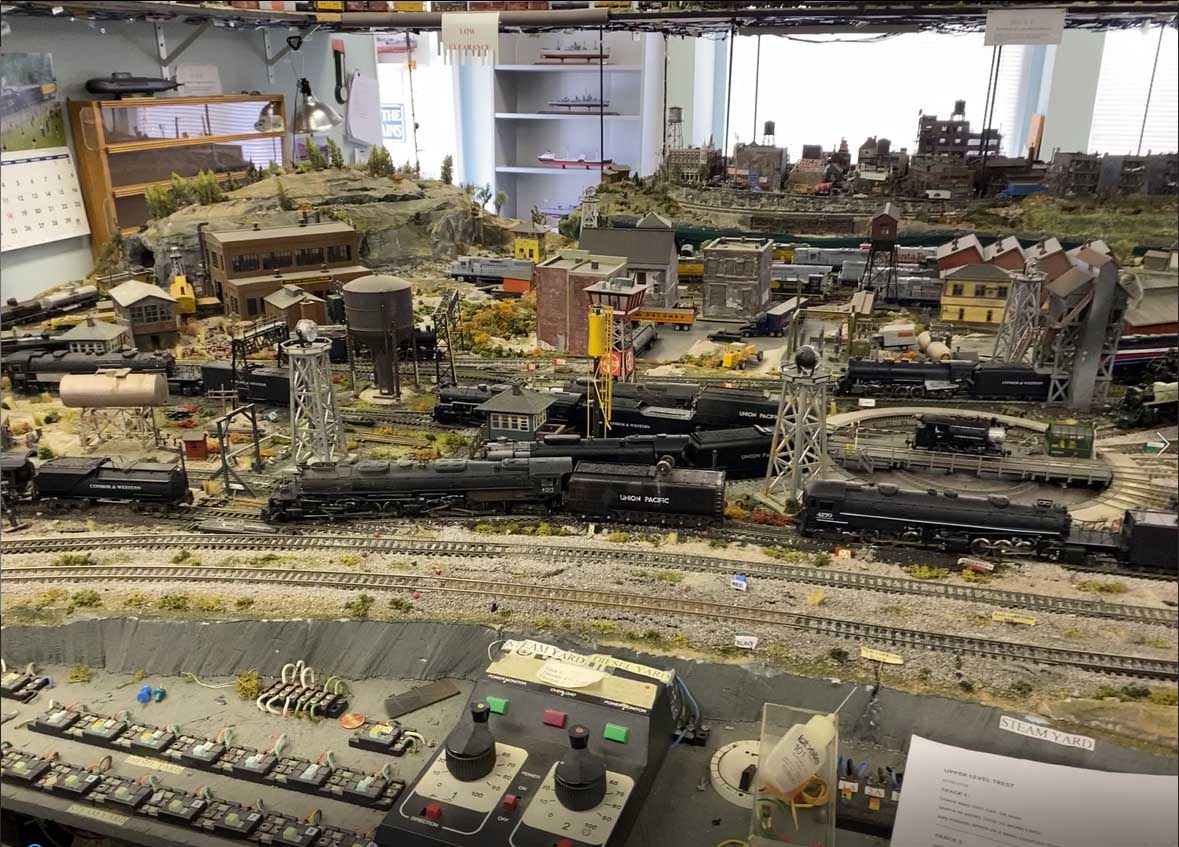
You can read all of Frank’s excellent narrative and see his stunning pics here.
Now on to Brent:
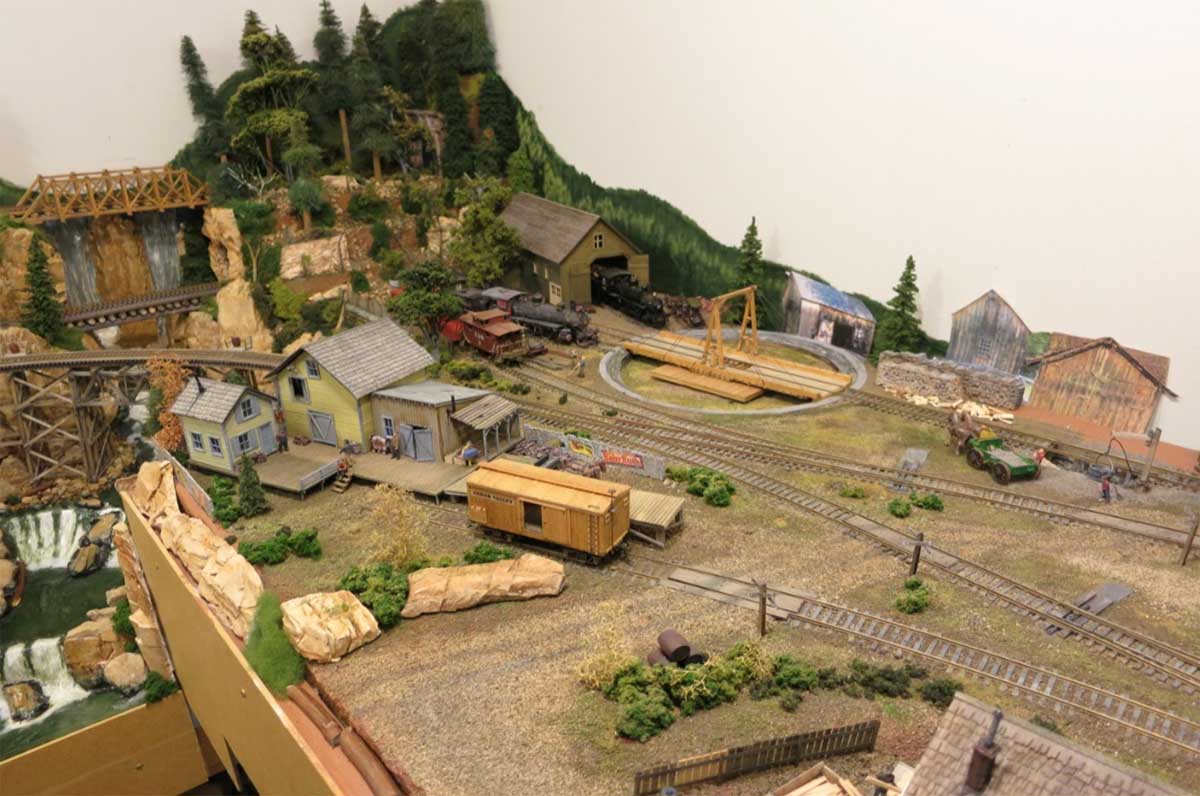
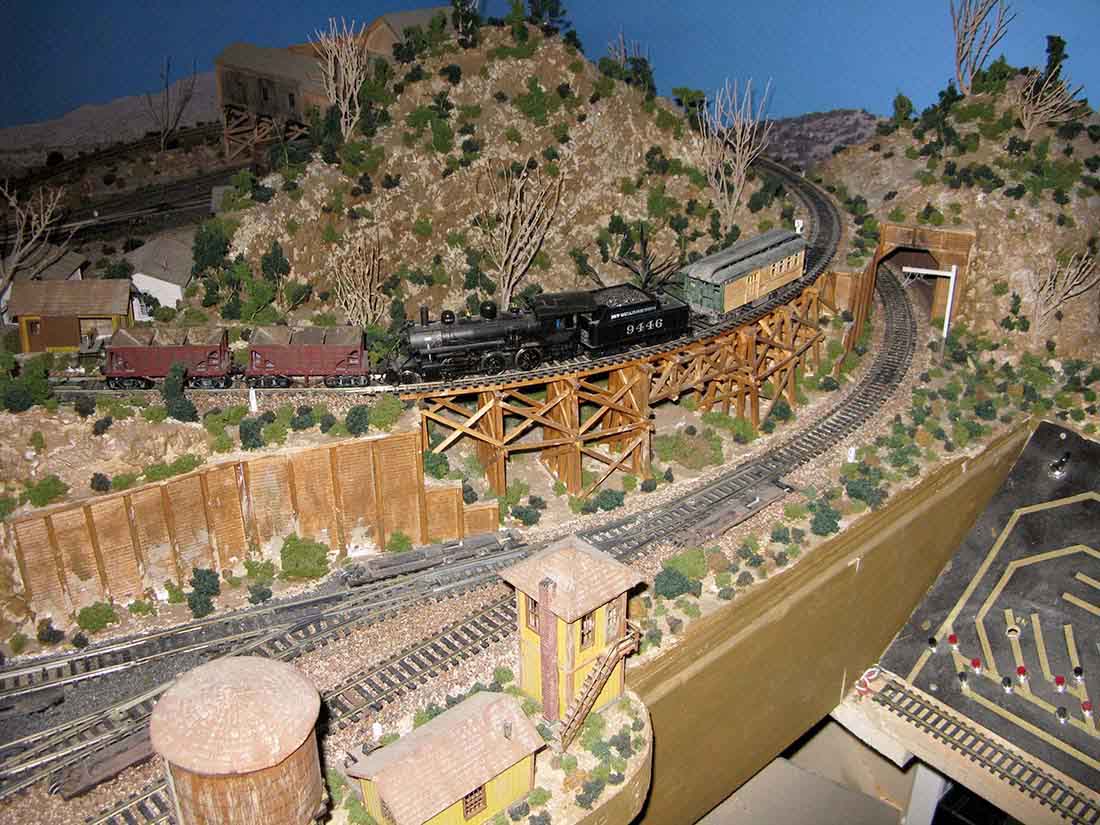
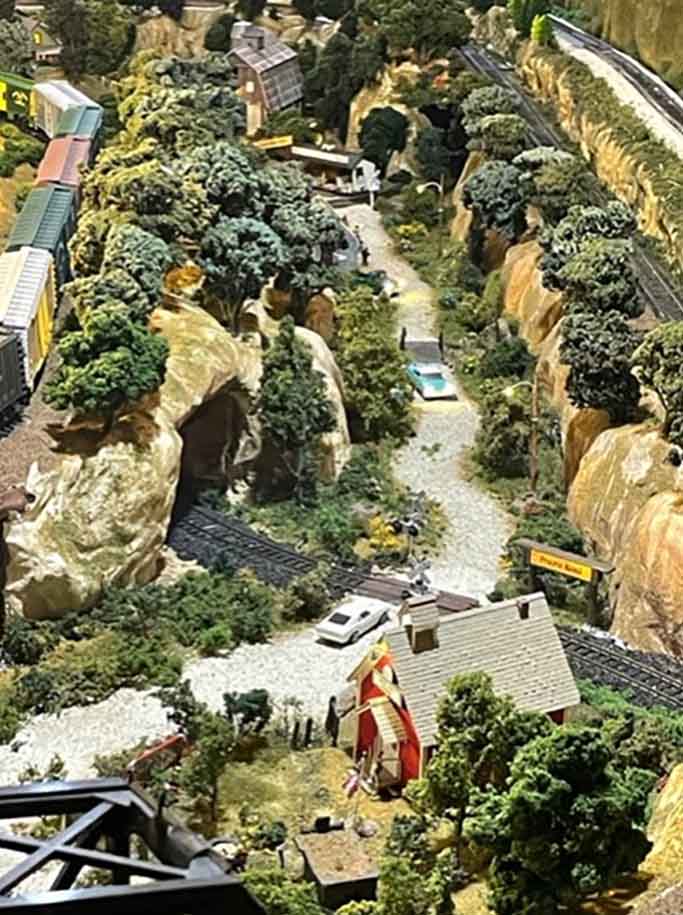
“Here’s my little 4×8.
All of the trestle, bridge work and engine houses are scratch built.
I found the saloon and train depot kits (Ayres) I purchased years ago, they are in various stages of completion and will be added soon.
Brent”

You can read all of Brent’s narrative and see all his pics of his HO scale layout here.
Now on to Dave’s HO scale:
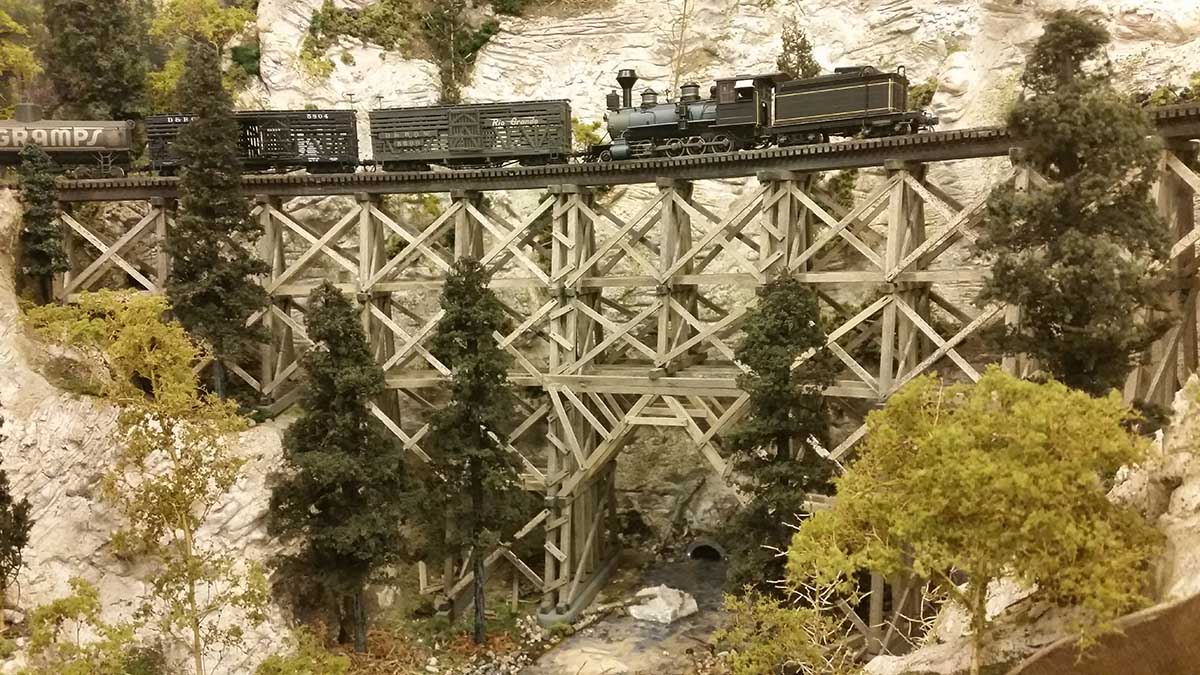
“My HO layout is 6.5ft x 4.5ft approx and was constructed using Peco code 100 set -track mainly to be able to shunt etc, using #2 curves as the smallest radi.
I started the layout with the river taking a lot of space and found I had to make many bridges to fit track in. All trestles are a different height and grade and constructed from the Vic Railway drawings to scale.
Dave”
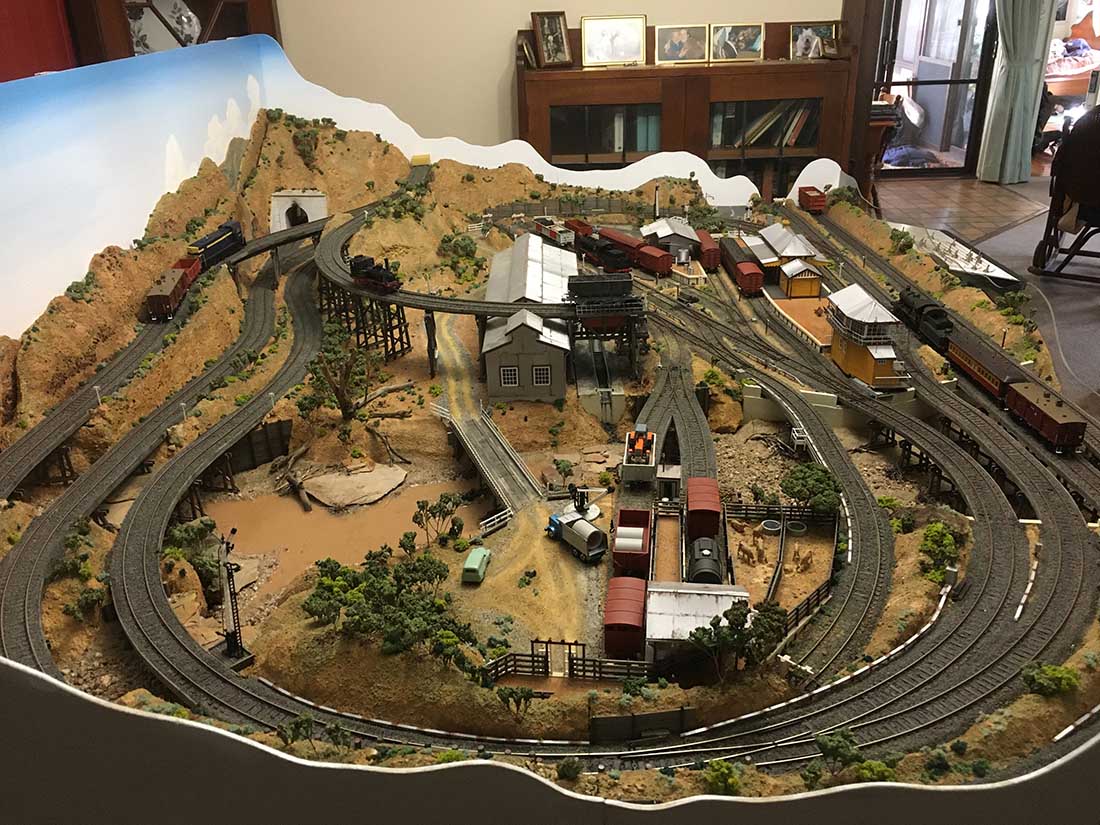
You can read all of Dave’s narrative and see all the pics of his HO train layout here.
Now on to Bill HO model railroad
“For the HO train layout I have scenery basically finished and now I’m going into detail mode and will be weathering cars and engines and finishing up a variety of small projects. While it’s mostly done it’s never done and Ive been enjoying operating the layout.
Bill”

You can read all of Bill’s wonderful narrative and see all of his pics here.
Now on to Rich:
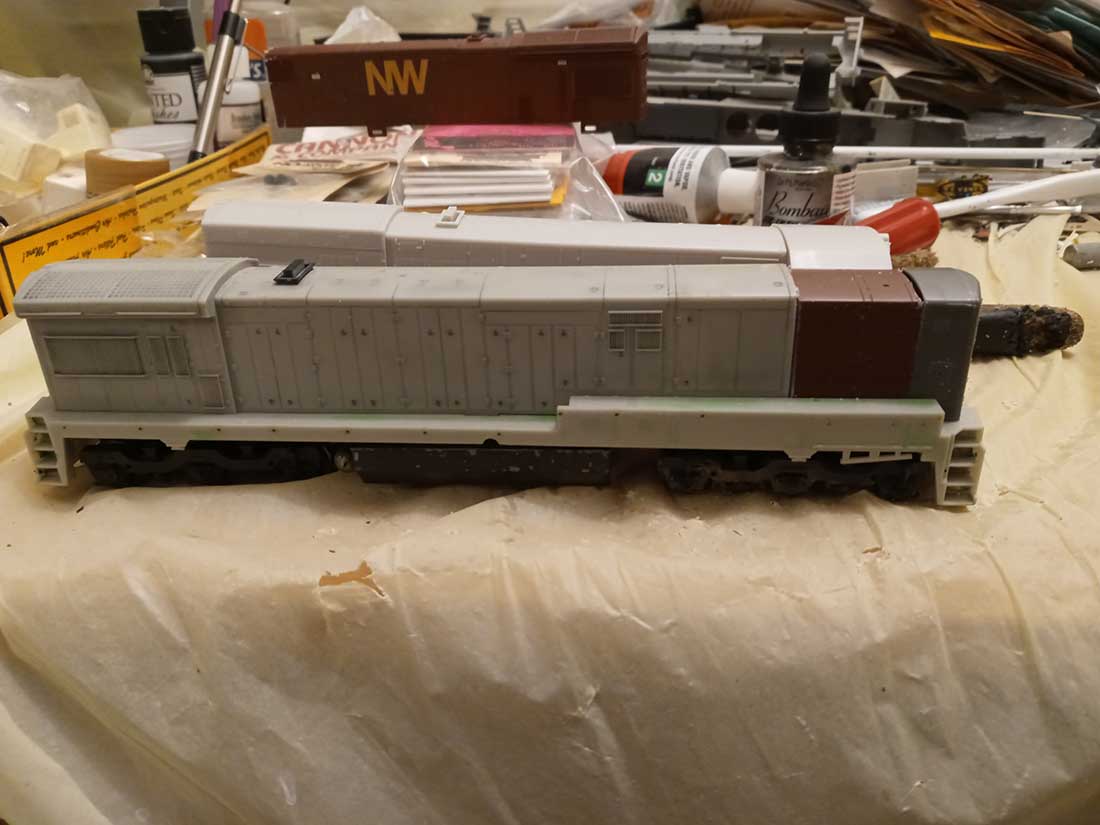
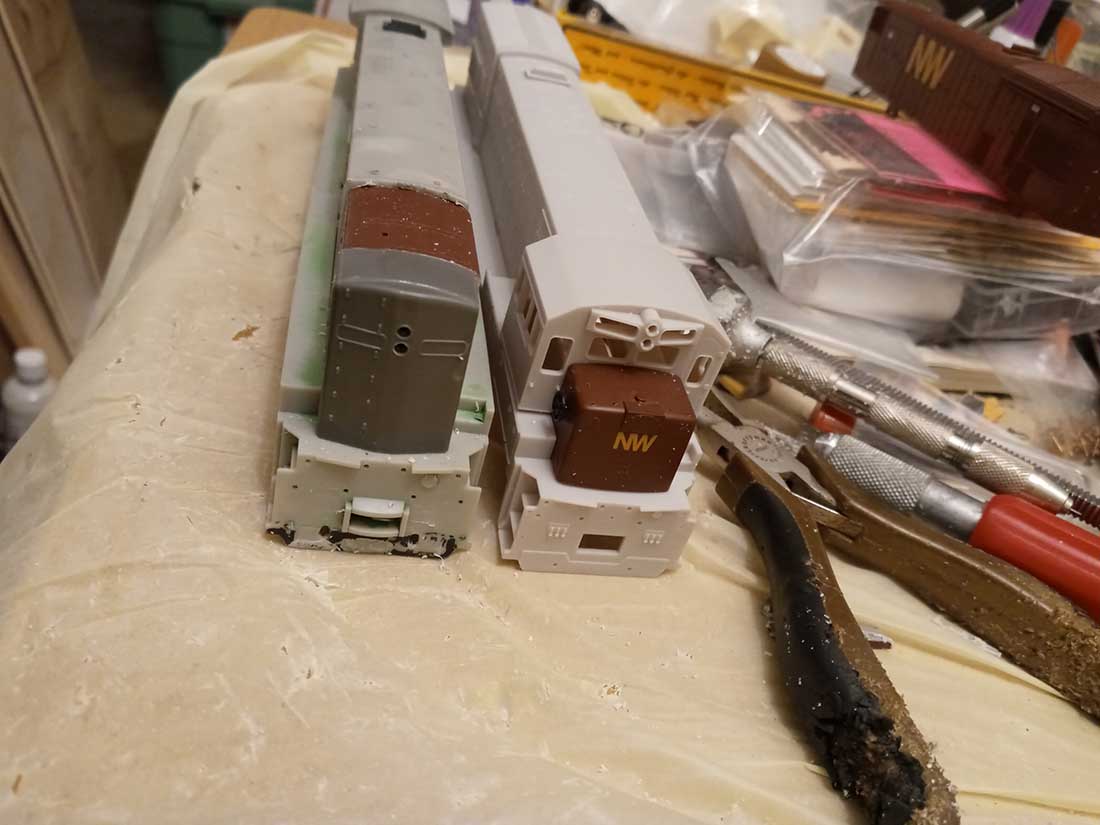
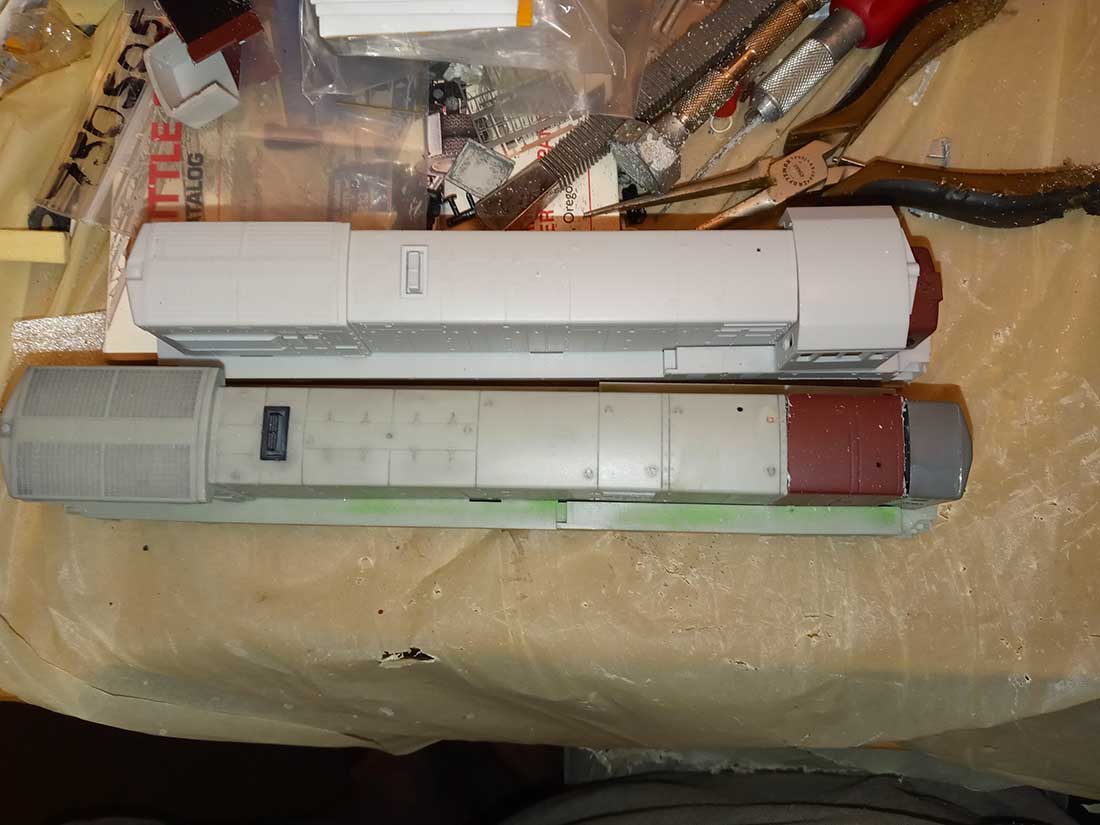
“All the locomotives and rolling stock have been saved. Some of the locos and rolling stock are sixty years old.
All rolling stock is either scratchbuilt or built from LaBelle, Central Valley or old Roundhouse kits. All Locomotives are DCC conversions, some of which are old Mantua kits from the 1960’s.
Rich”

You can all of Rich’s narrative and see all the pics of his HO train layout here.
Now here’s Joe’s HO train layout:
“I spent time during the winter putting lighting in building and around the ‘town’. This is the power plant for the saw mill and planning mill.
Joe”
You can see all of Joe’s pics and narrative here.
Scott’s HO scale:
“The table is designed to be seen from a height of three feet and the top is 5/8″ plywood squares screwed into 3/4′ x 34′ planks with 36′ x 1 3.4′ wood legs (unfortunately i did not install screw in spacers and has to use shims to level the table on the tiled basement floor.
The table surface measures 13 3/4′ x 5′ plus 7′ x 5′ for total area of 104 sq. ft.
The track is old Atlas brass code 100.
Scott”
You can read all of Scott’s wonderful narrative, and see all of his pics, right here.
Dave’s stunning HO train layout
“My space is a very small spare bedroom. I had considered HO to be my ideal scale to work with, but I figured that the broadest curves I could have were based on an 18 inch radius, due to the need to round a peninsula. So, it was N scale that would work perfectly with that radius limitation. It was far too sharp a curve for HO.
So, I spent several months learning different aspects of N scale and creating possible track plans all without any real understanding of how real railroads work, or what their operational needs were.
I then started to gather more photos of scenes that I liked and found a common theme to most of them. Nearly all of them were of narrow gauge railroads. I didn’t even know what that was. Once I had looked into it I found out that I could indeed model in HO scale and still stay within the track radius limits of my room by going with HOn3.
Dave”
Richard’s HO train layout:
“One of the more unexpected things to happen to me has been the amount of interest shown in my 4 x 8 project.
This was originally started as an answer to a negative comment on cheap 4 x 8 layouts with sectional track.
I was in between railroads at the time with no room for anything larger than this. What started out as a crude drawing quickly turned into something more than what usually comes to mind when the terms cheap, 4 x 8 and sectional track are mentioned.
Richard”
You can see all of Richard’s train layout here.
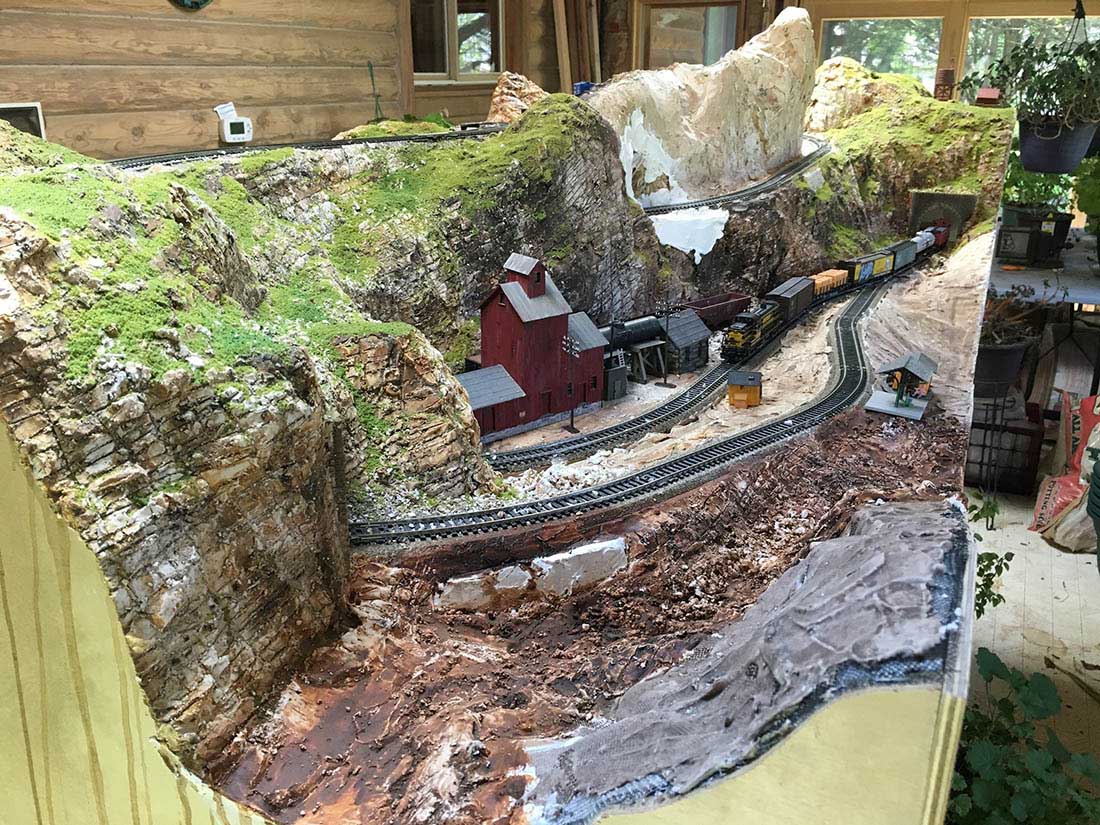
And here’s another Richard with his HO scale logging and timber layout:
“This is actually my 3rd HO scale layout, it consists of Peco Code 100 turnouts and flex track, set later than the transition era.
All buildings are kits that I weathered and assembled.
The scenery is 1inch foam boards covered with plaster cloth and painted… the favorite part of the layout is the drainage area from the mill pond.
Rich”
You can read all of Richard’s excellent narrative, and see all of his pics, right here.
John’s HO scale train layout:
“I have included my HO layout built in Pennsylvania (USA) from 1993 and dismantled in 2013.We moved to California with no logistical way of moving it so I donated it to a model RR club that had to move and start anew.
The overall dimensions were 12′ x 16′ with 3 lines and a trolley (not shopping cart) line.
Many of the buildings are from the 4’x8′ train set my father built when I was about 8 (I’m 72 now). He was a painter so he made these out of illustration board and painted the detail – sort of a precursor to your printout buildings.
John”
You can see all of John’s pics and read his narrative here.
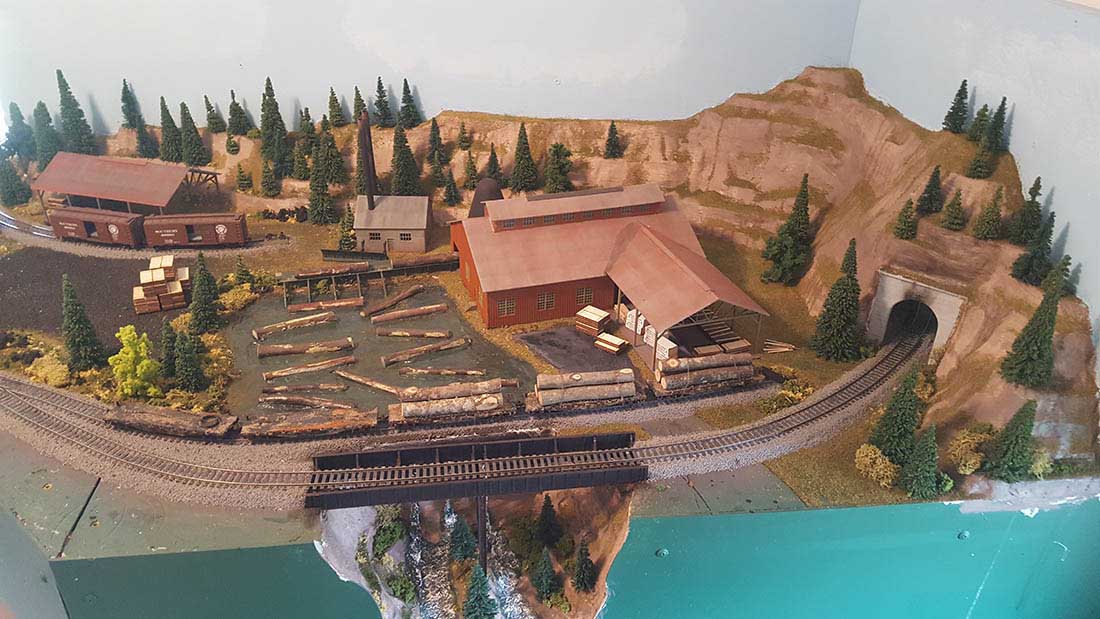
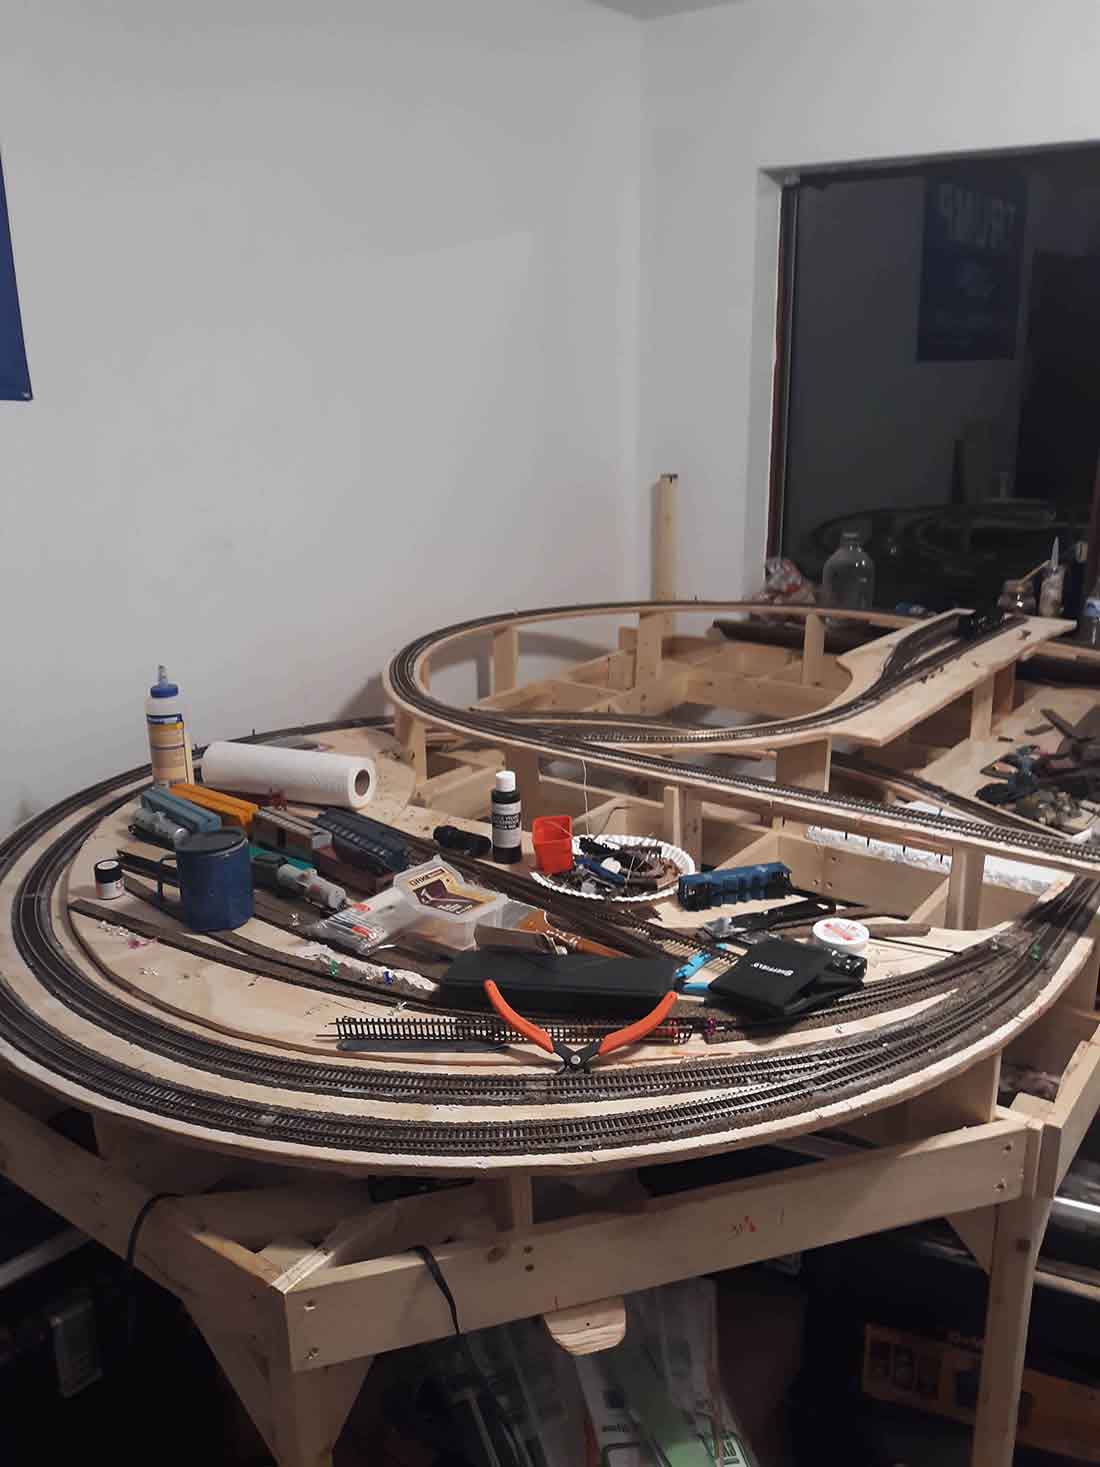
Jim’s stunning HO scale logging and timber layout:
“I should share with you and your readers my layout. I have a HO layout that
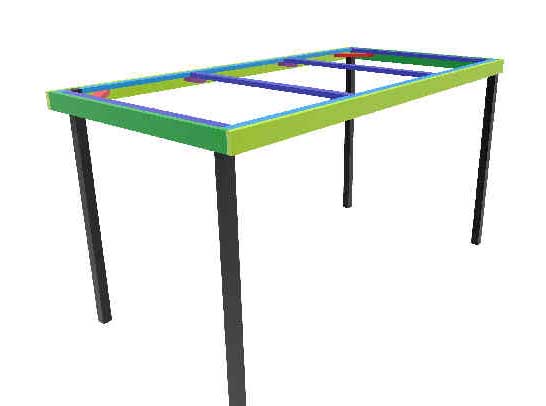
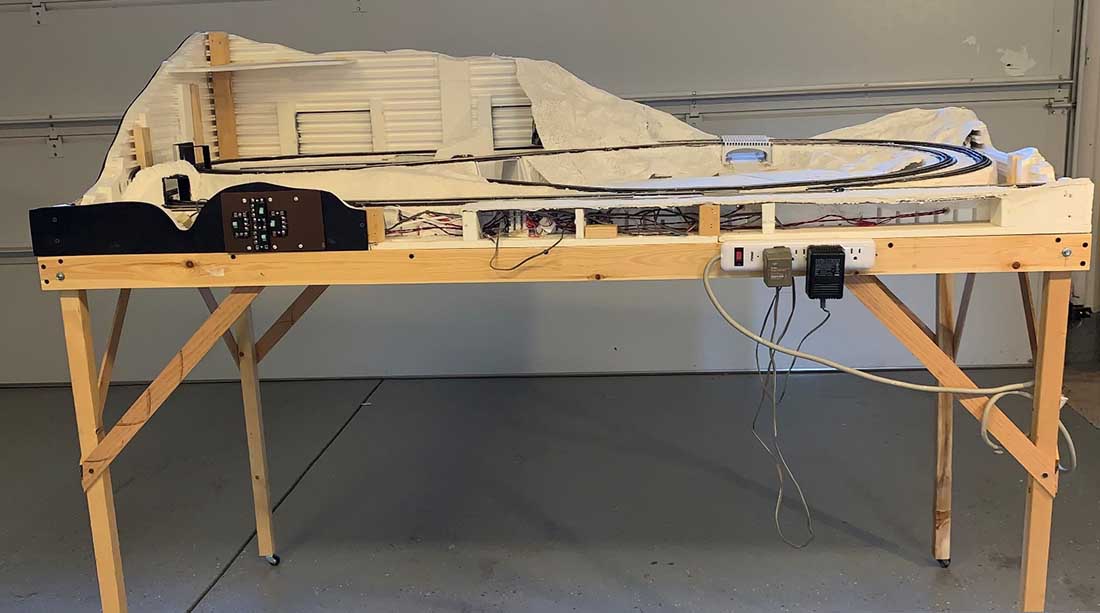
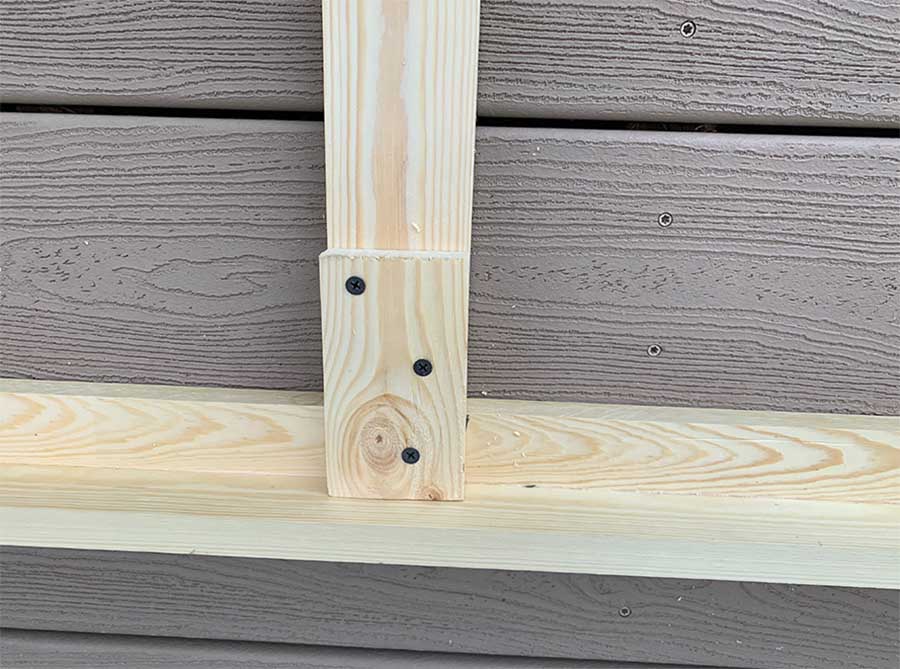
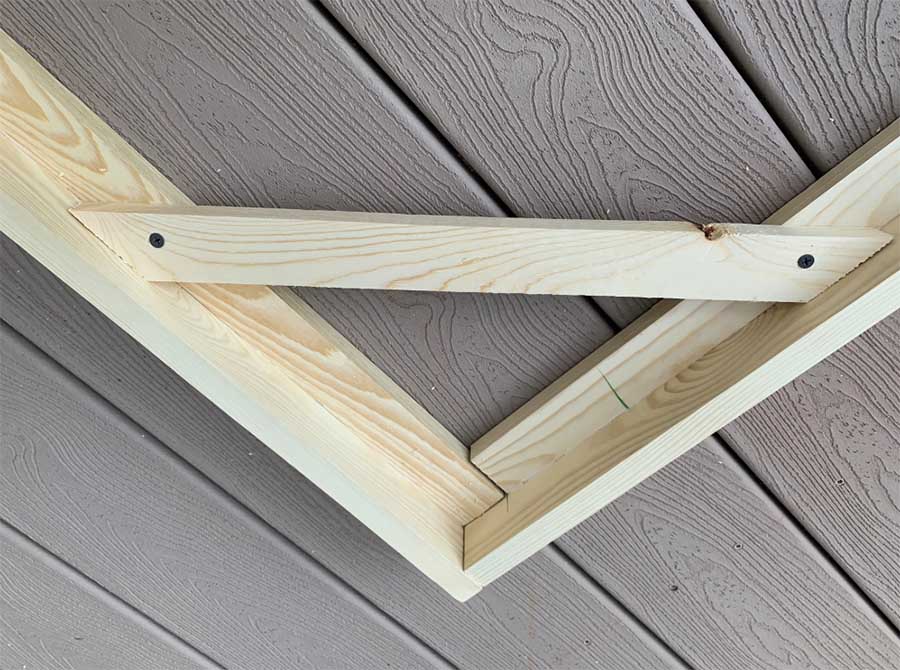
The bench work is 1”x3” wood frame built in sections with 2”x2” legs. The height of the layout is 40”.
Foam sheets are then glued on top. The flex track is glued right on top of the foam board. The track work goes up to height of 46” at the mine and lumber camp.
Jim”
You can see all of Jim’s stunning pics, and read his narrative, right here.
Wayne’s HO layout:
“A good one is to cover every thing befor you start slinging plaster, or you will be picking plaster out of the stonework on your portals.
Also dont put your cast rocks befor you plaster. They kind of go away. There is a number of things I have learned the hard way, but I am haveing fun.
Wayne”
You can see start Wayne has made right here.
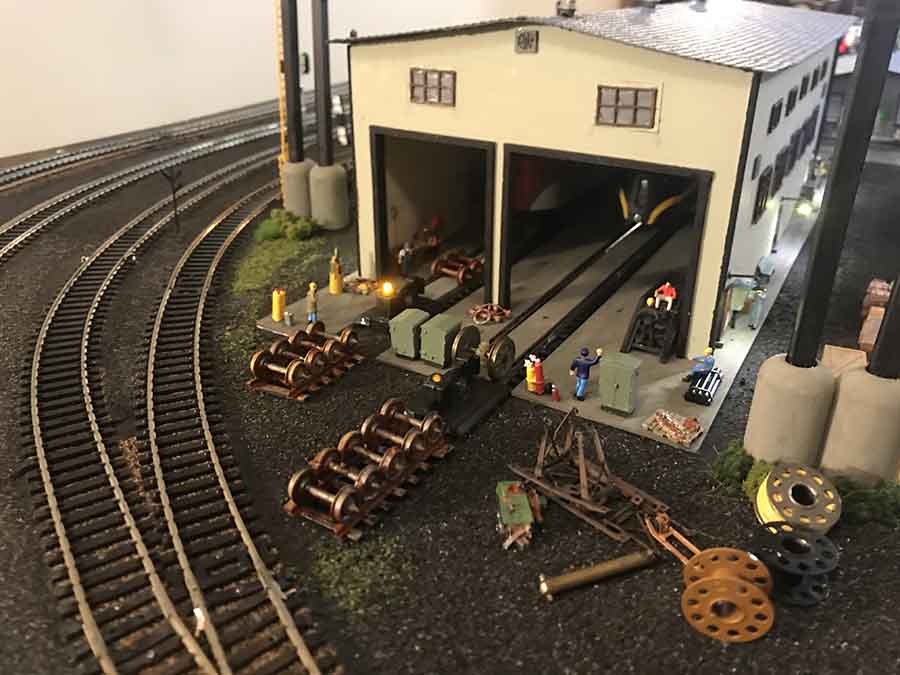
Gary’s HO layout update:
“I am about 95% finished with the engine yard for my Sunnyside yard layout and thought I would send you an update..
I am going to use this rail to display some engines and also create a track crew scene working to link up this rail with the work train rail.
Also, I have to fix or replace two turnouts. I have learned the hard way that the under table switch machines are the best.
Gary”
You can see all of Gary’s HO update here.
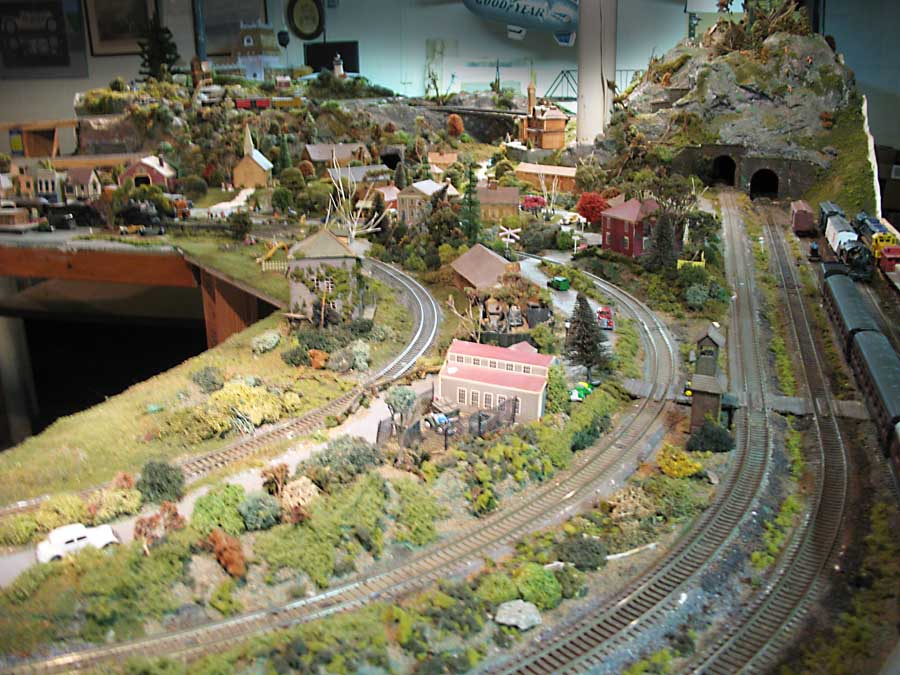
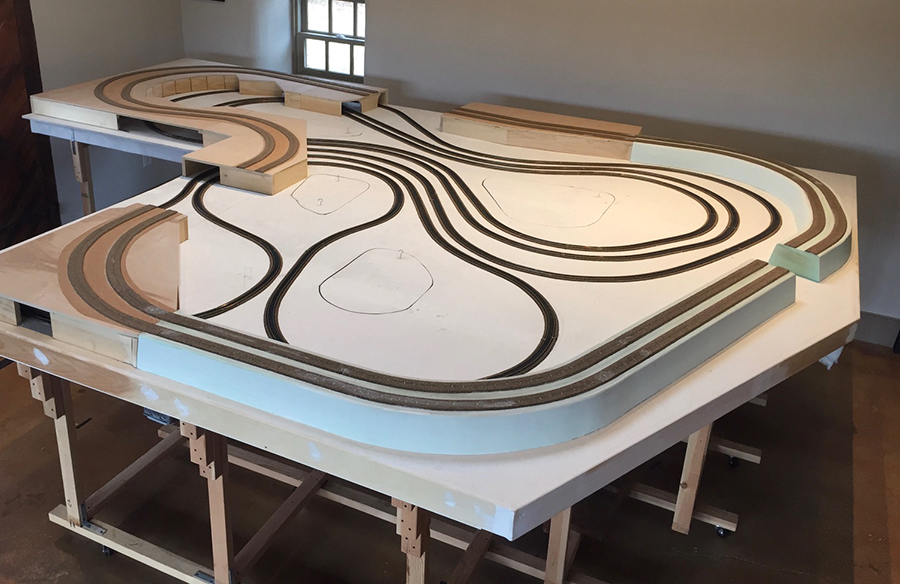
John’s HO scale – see how he runs his trains
“My HO layout is called the Wismer Valley Line. The following objectives informed my plans:
1) Replicate to the extent possible, very long American freight trains, pulled by multiple locomotives, up long grades.
2) Focus on the specific shape of the plan and get as many trains as possible running concurrently.
3) Incorporate the vintage trains into the plans.
John”
You can see John’s pic and his excellent narrative here.
Rich’s HO scale layout
“All the locomotives and rolling stock have been saved. Some of the locos and rolling stock are sixty years old.
Rich”
You can see all of Rich’s pics here.
Cal’s 4×8 HO scale
“People have been asking about my track plan on a 4×8 plywood base HO scale. I found it finally on my computer hidden where it was hard to find.
Cal”
You can see all of Cal’s 4×8 HO train layout here.
Rich’s 8×8 HO scale layout
“Hi Al
My lay out started as a 4X8 foot 1-inch blue board and has groin to 5X8 foot with a 3X8 foot Extension at one end. I like depth so there’s a lot of up and down.
The layout is called Whisky run.
Old Taz”
You can see all of Rich’s 8×8 HO scale here.
Jim’s Santa Fe Broadway 2-8-2
“It’s been some time since I’ve posted anything any where. I have been busy adding a few things to my layout and weathering several rail cars.
However, I recently purchased a new Broadway Limited 2-8-2 ATSF steam locomotive with oil tender, sound and smoke.
Jim AZ”
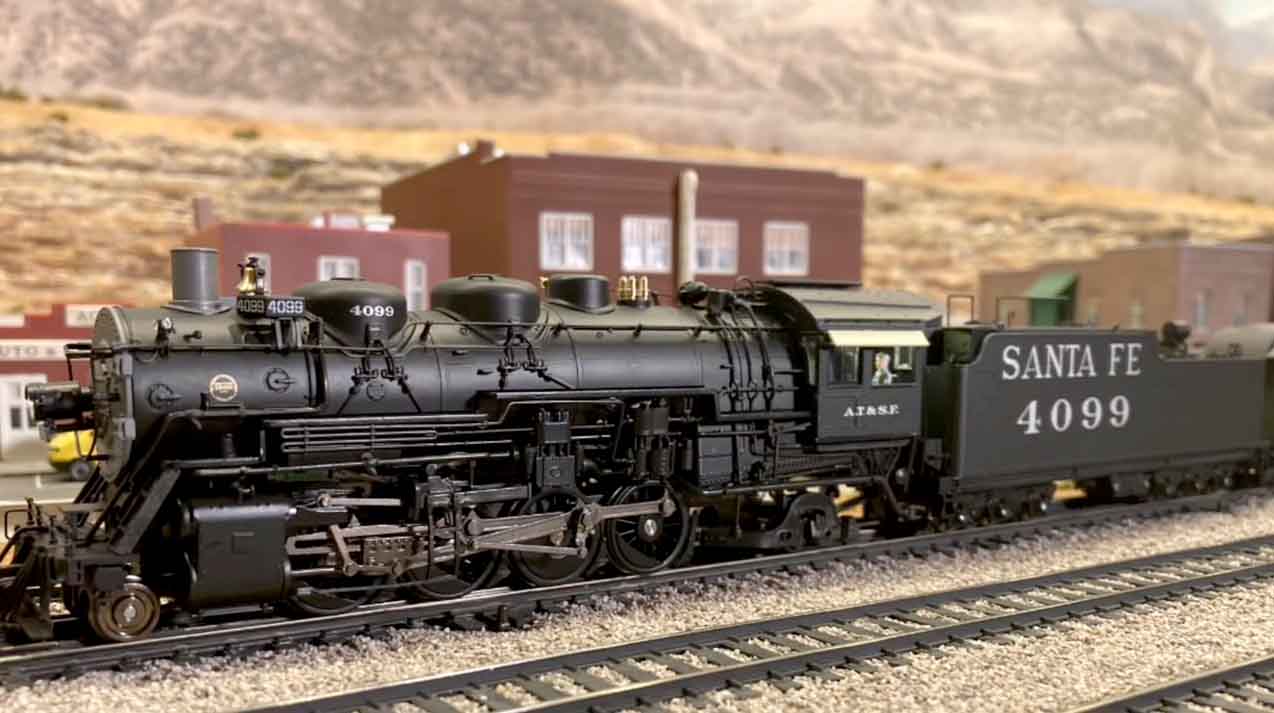
You can see all of Jim’s Santa Fe 2-8-2 post here.
There are hundreds and hundreds more HO scale train layouts on the blog – here is another page of them.
Ben’s HO scale model railroad with lake
“Hi Al,
I’ve finished the 9 scenes I’ve been working on in my HO layout for the past 4 years and thought I would share them with you and your readers.
Ben”
You can see all of Ben’s HO scale model railroad lake here.
There are hundreds and hundreds of more layouts on the blog – here’s some more pages for you:
HO scale train layouts for you.
But remember: the only way you can see all of the posts is to jump on the newsletter for the daily posts.
It’s not just folk sharing their HO train layouts – there’s also hundreds and hundreds of tips and ‘how to’ tutorials.
Here’s one on how to make inclines for your model railroad.
You get the idea.
I’m not one for social media – so please do jump on the newsletter if you don’t want to miss out.
Best
Al