Rob’s been in touch with his vintage O gauge trains:
“This O gauge layout has been over 25 years in the making and, like all model railroads, can never be finished.
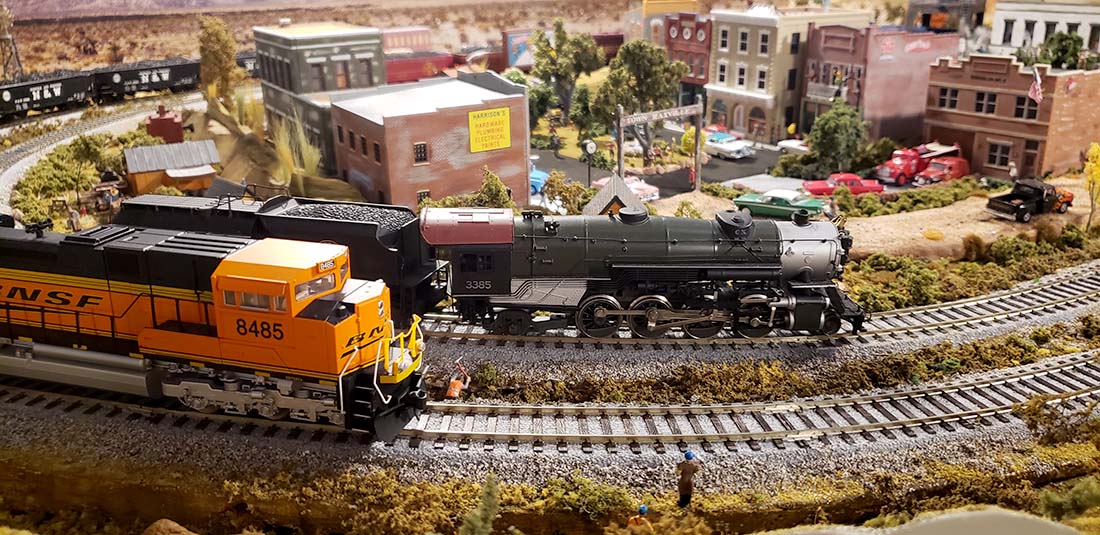
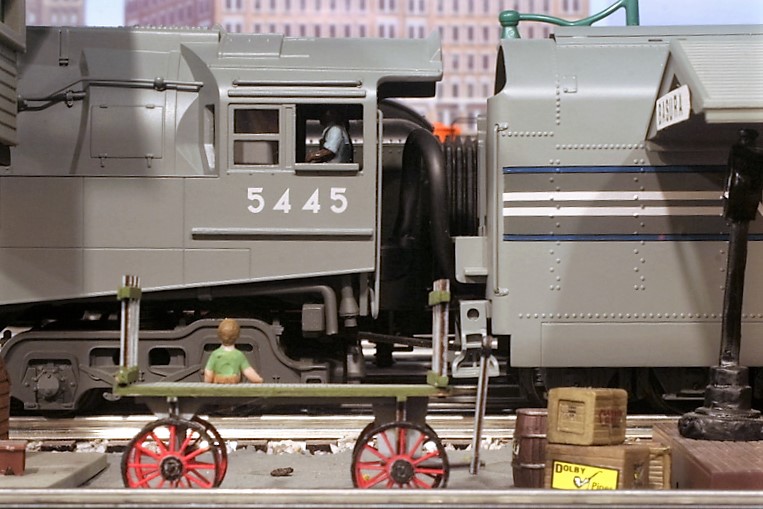
Some of the locomotives were Christmas presents from the early 1950s and some are less than a year old.
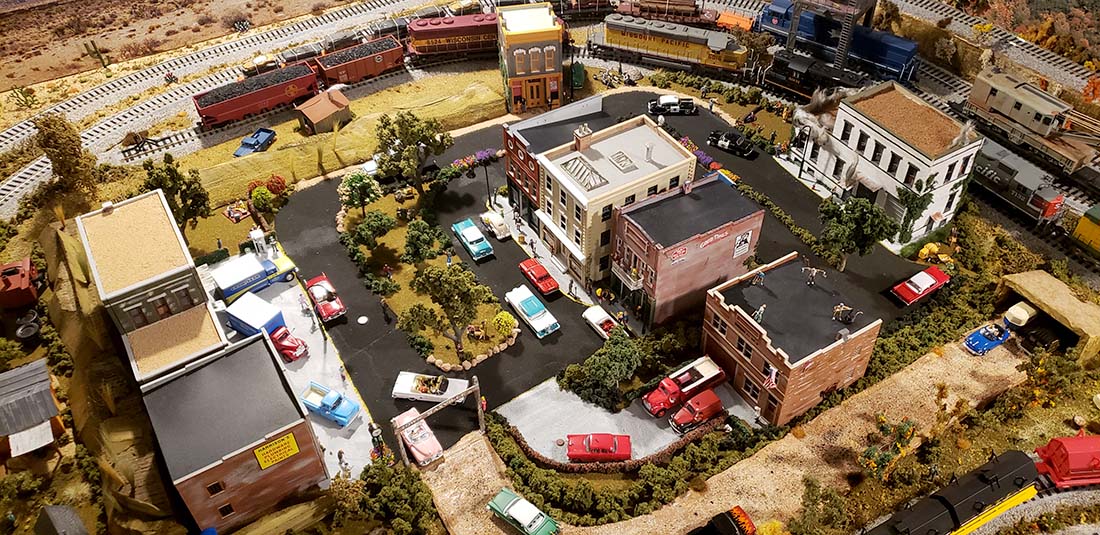
There are scratch built cars, structures and a “Doodlebug” along with numerous scenes along about 300 feet of track in two attic rooms.
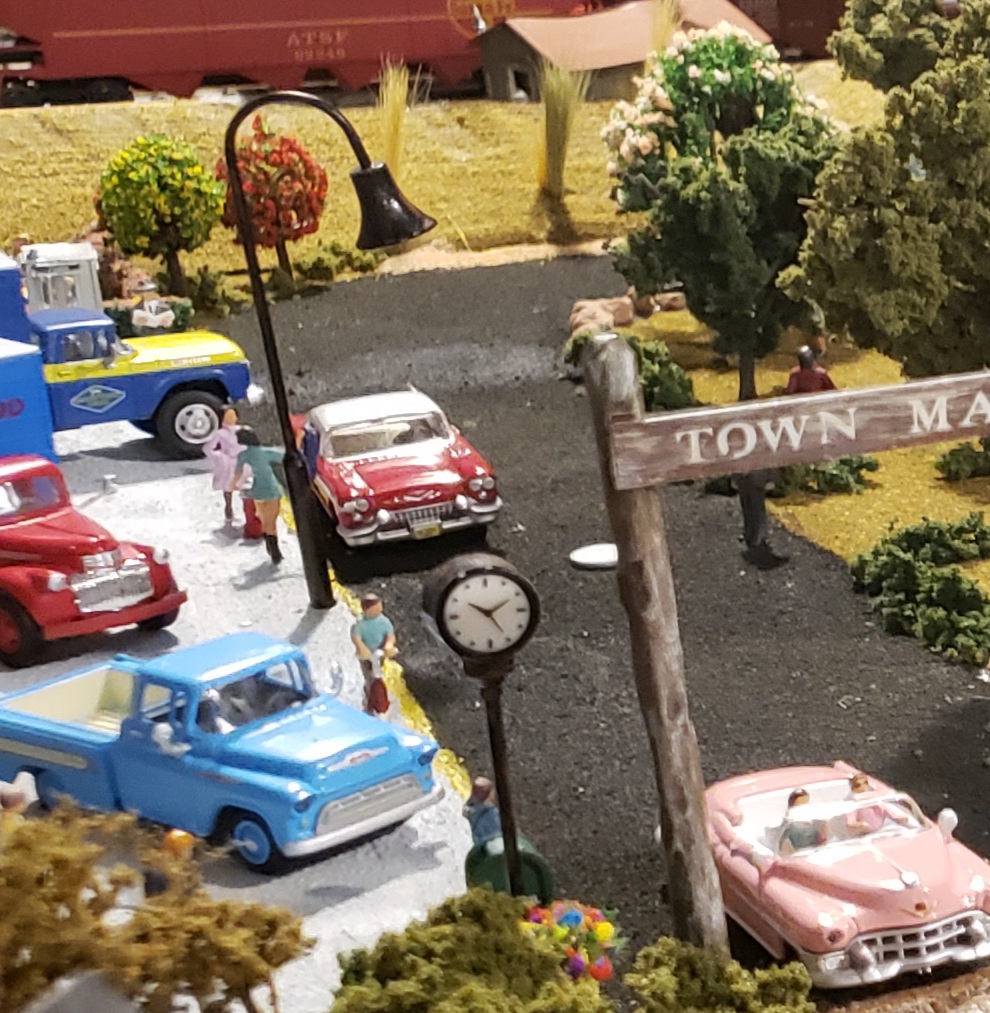
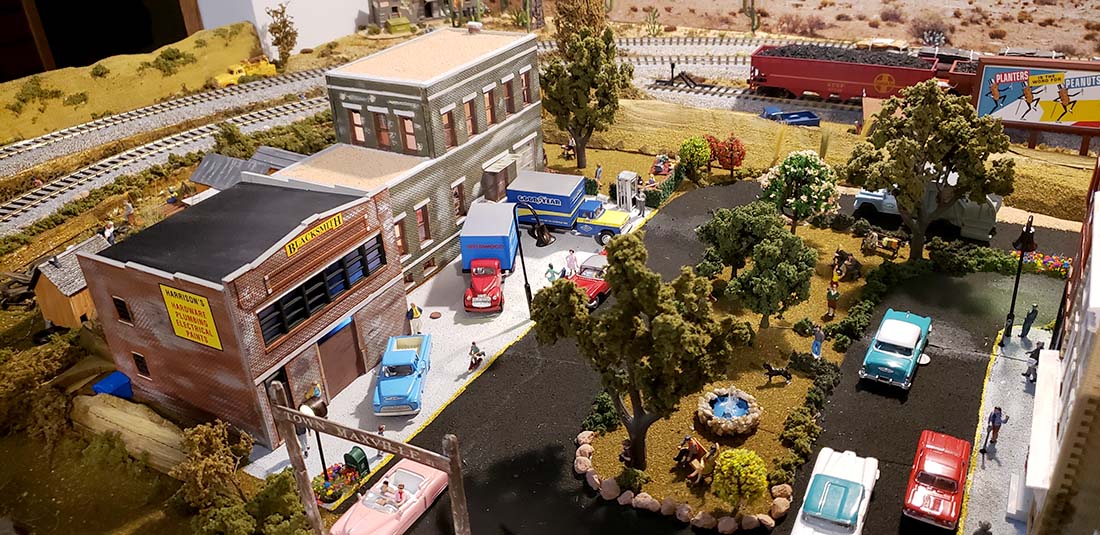
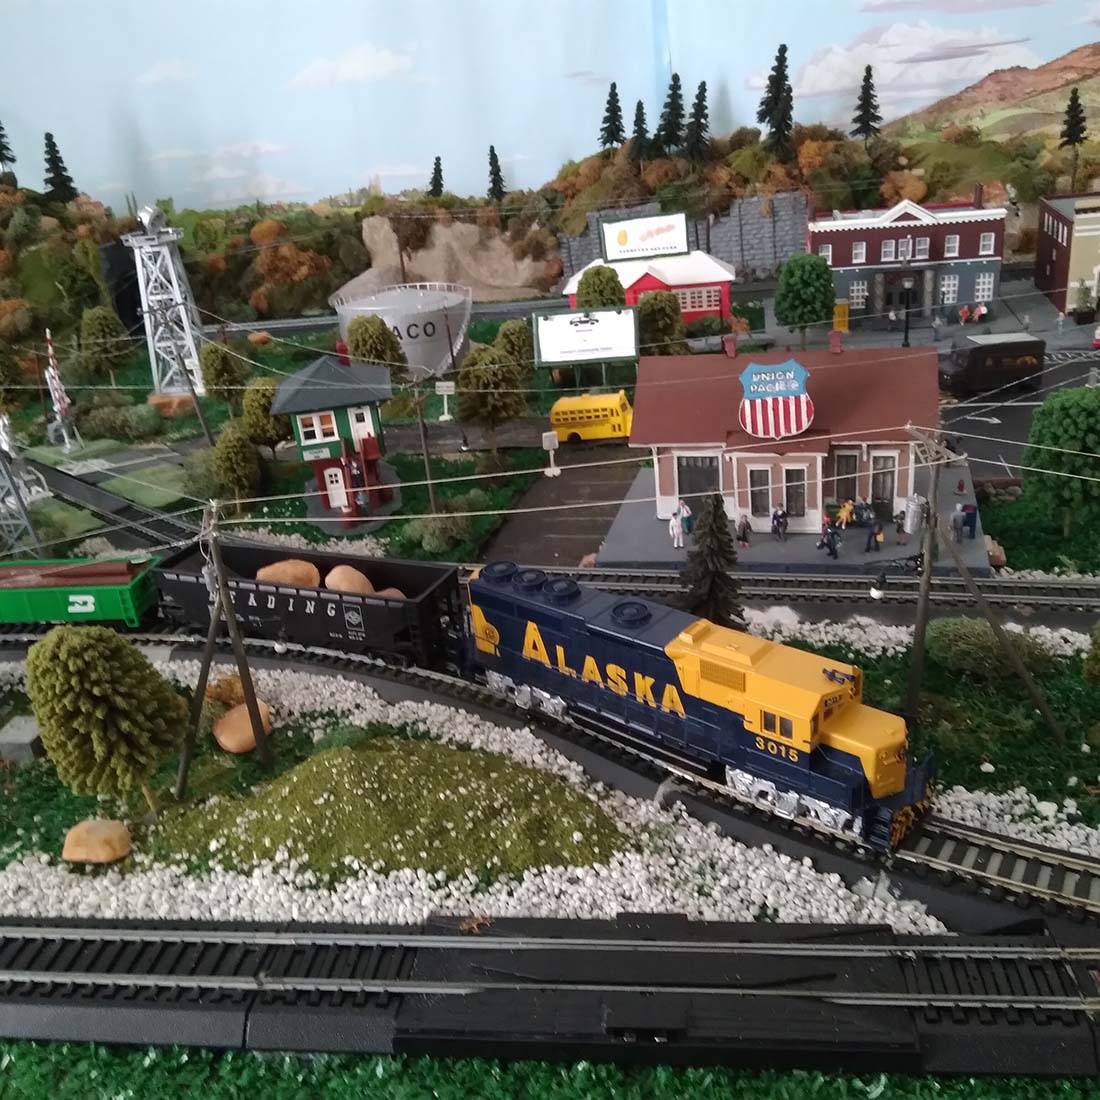
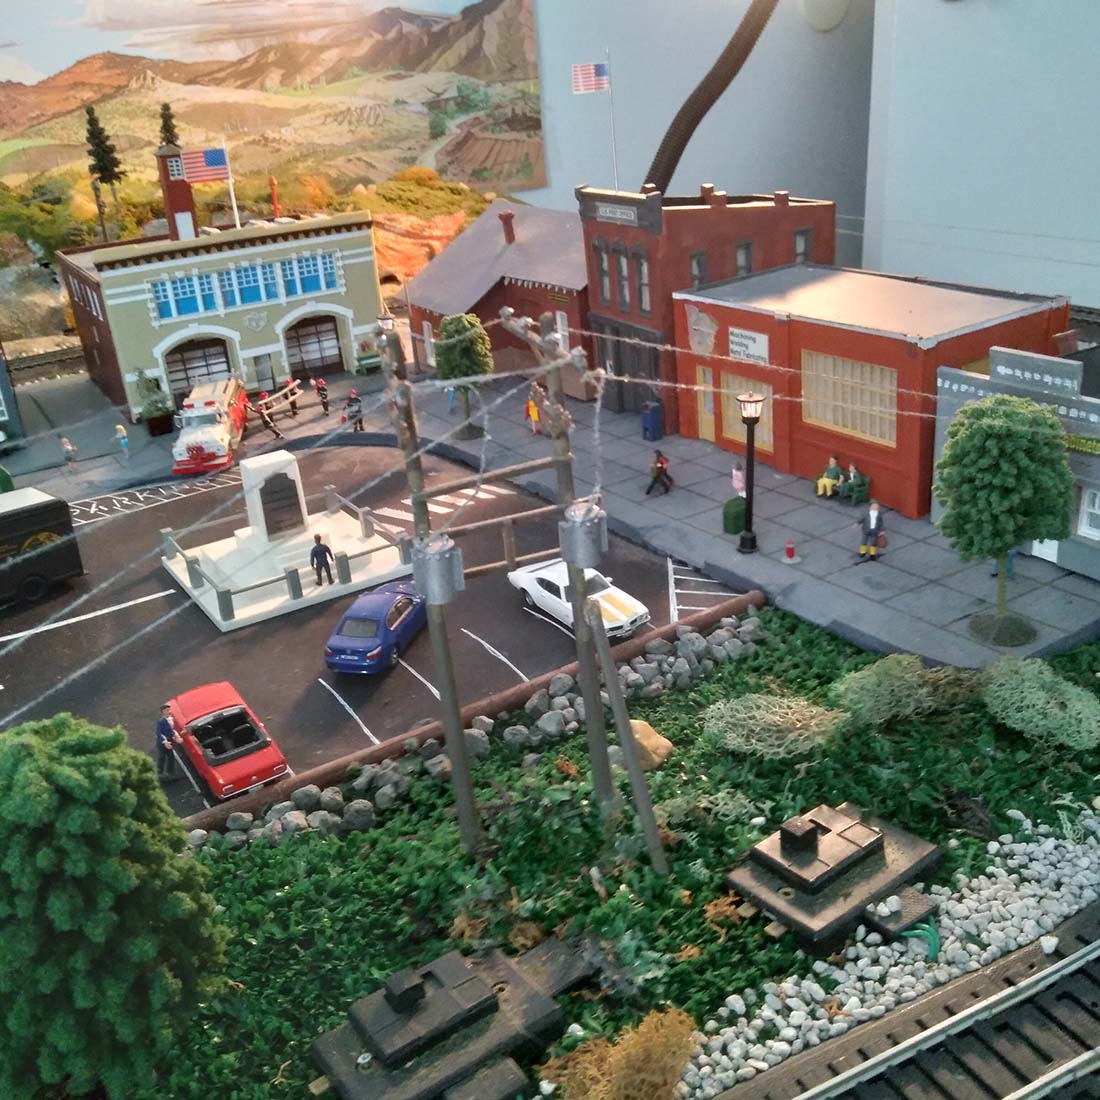
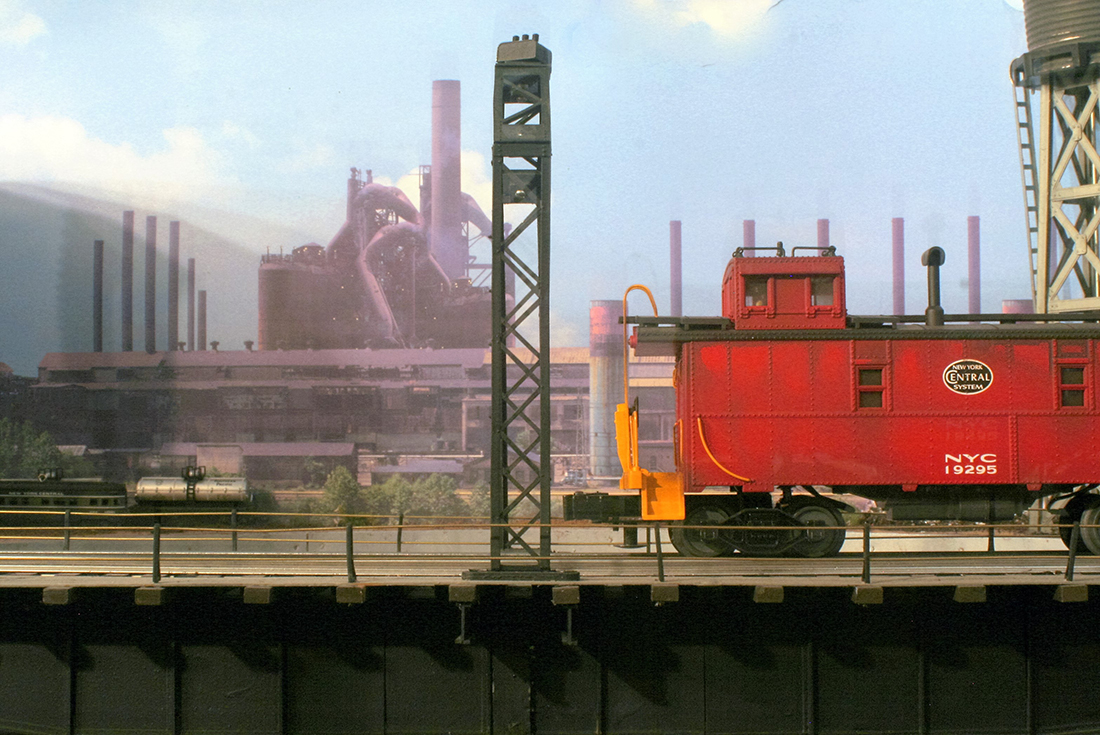
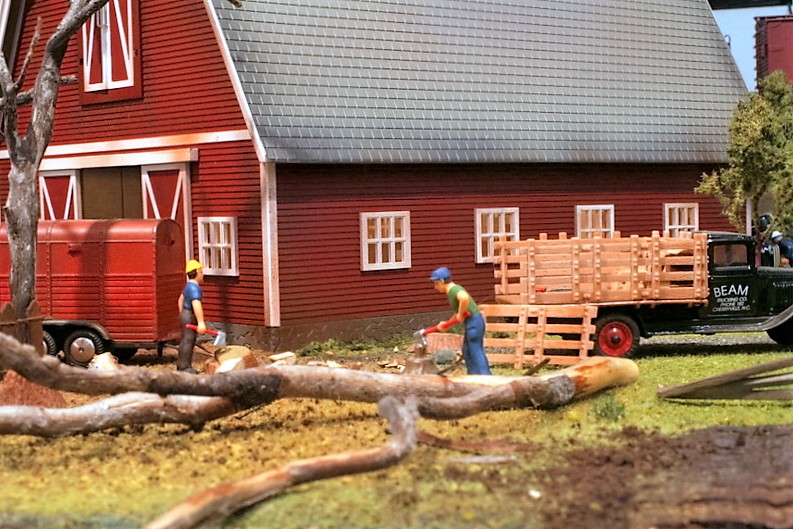
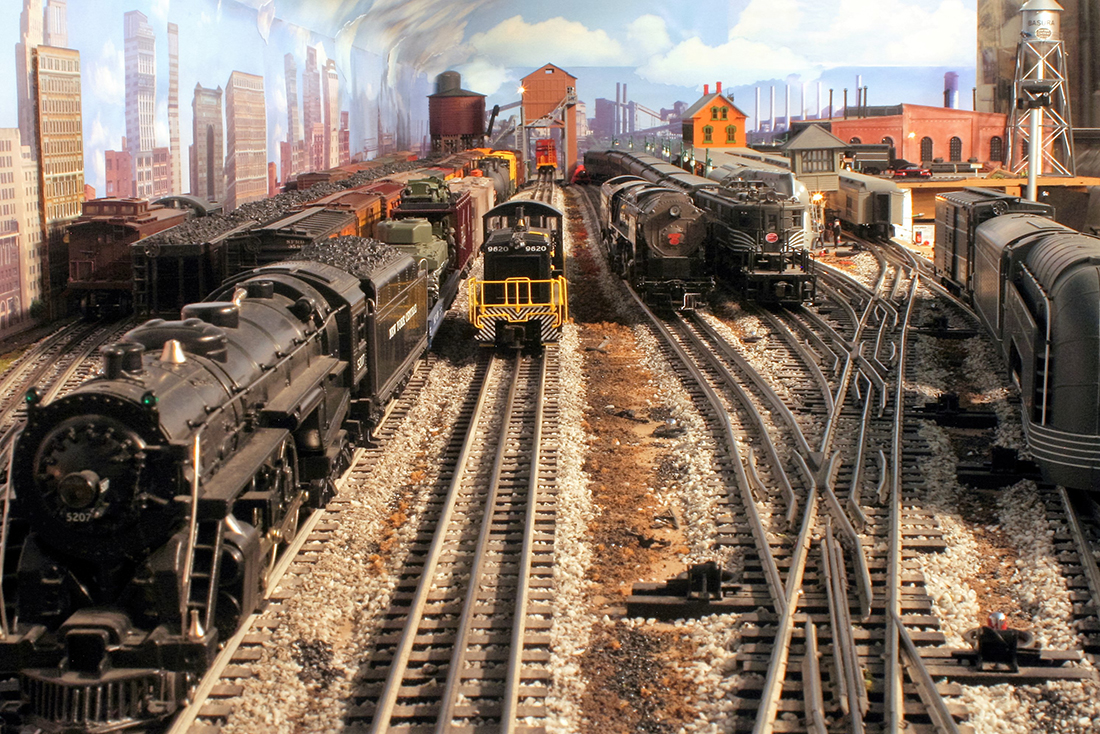
The Pine Island Railroad runs from the city of Basura (Spanish for garbage) out passed a dirty industrial area into the countryside. There is a town along the way named Katonah (where I grew up in N.Y. State) and a flag stop at the small resort settlement of Pine Island.
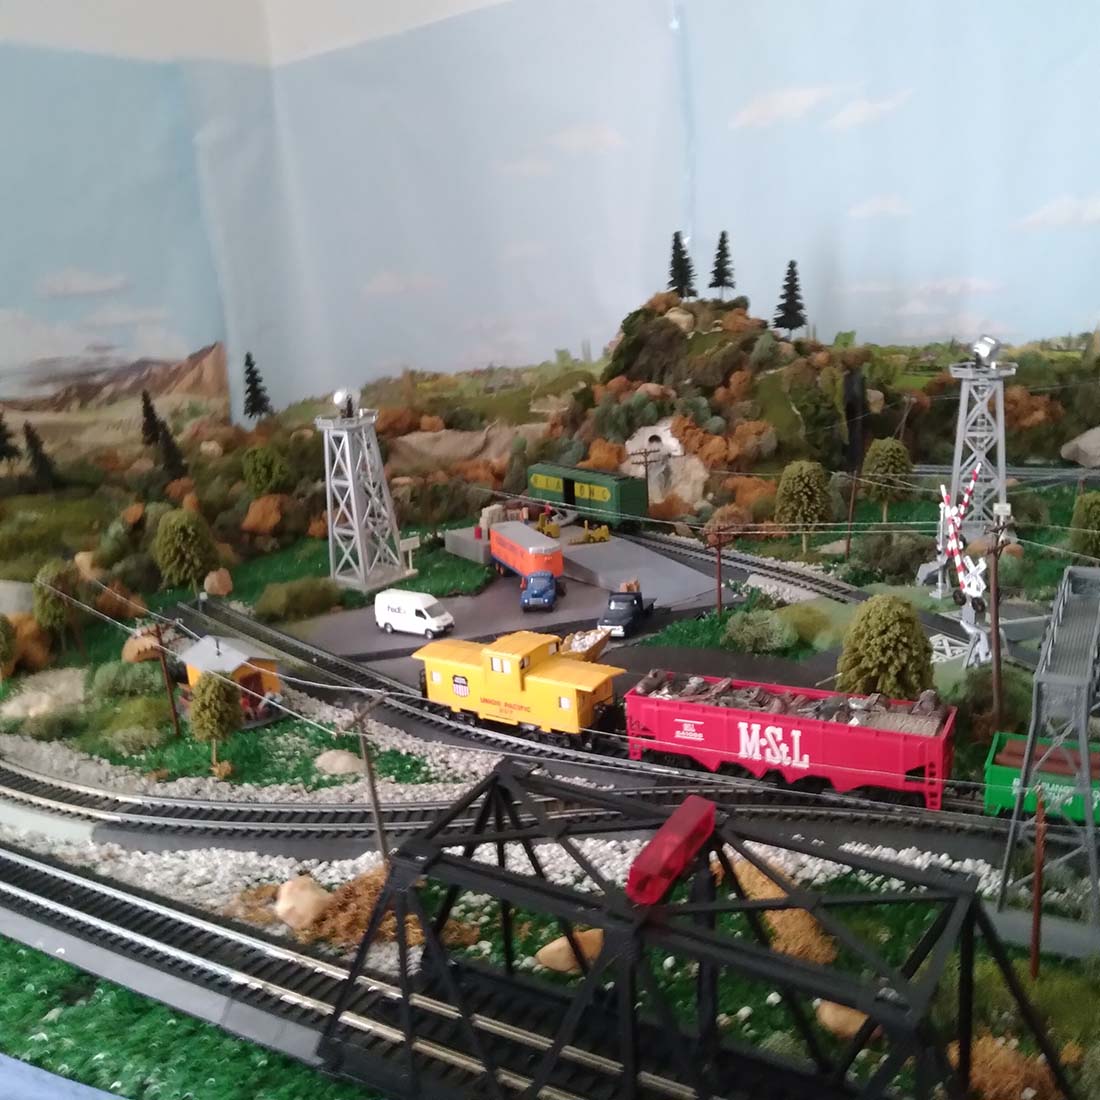
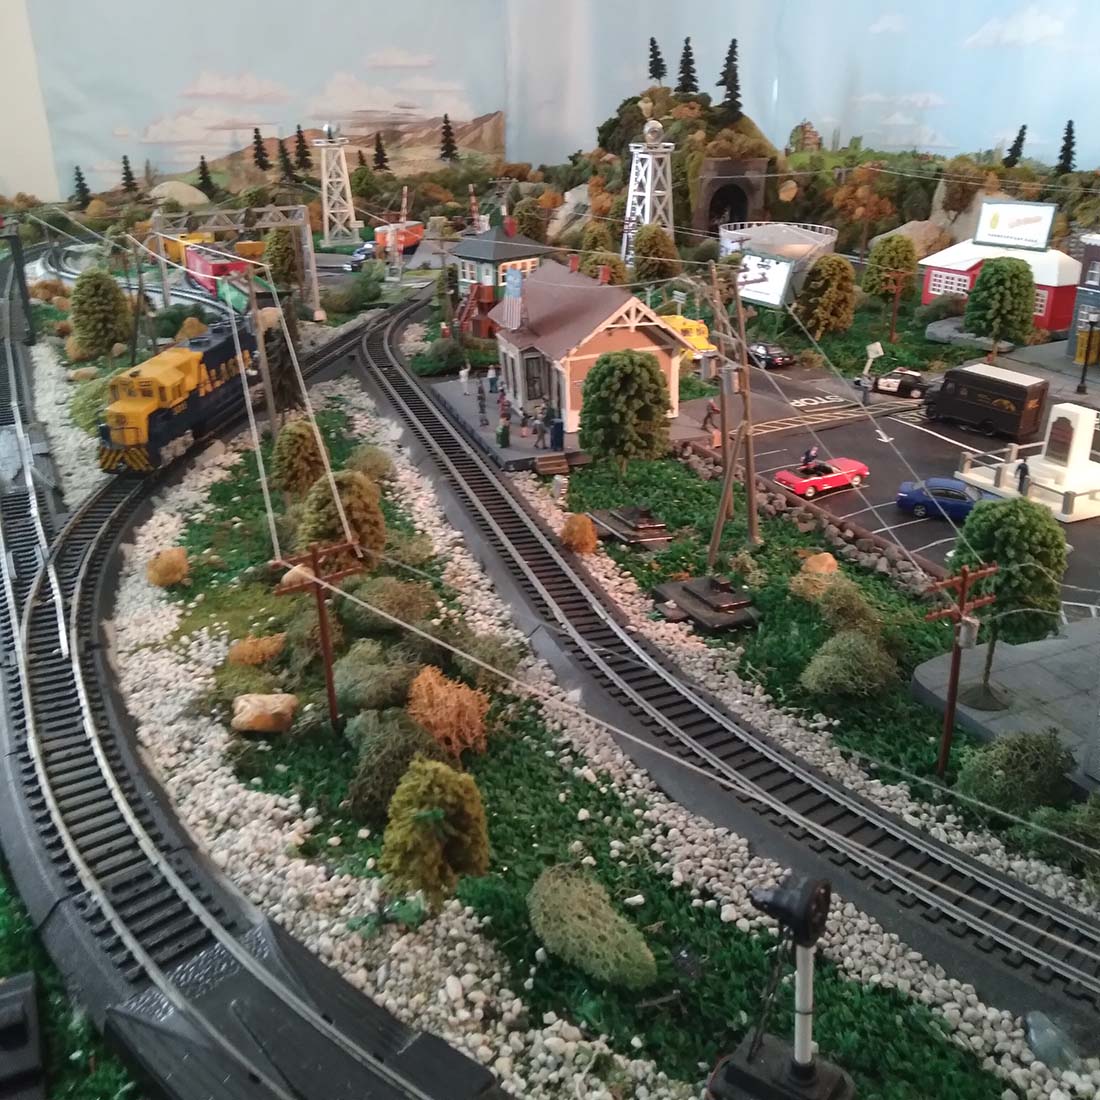
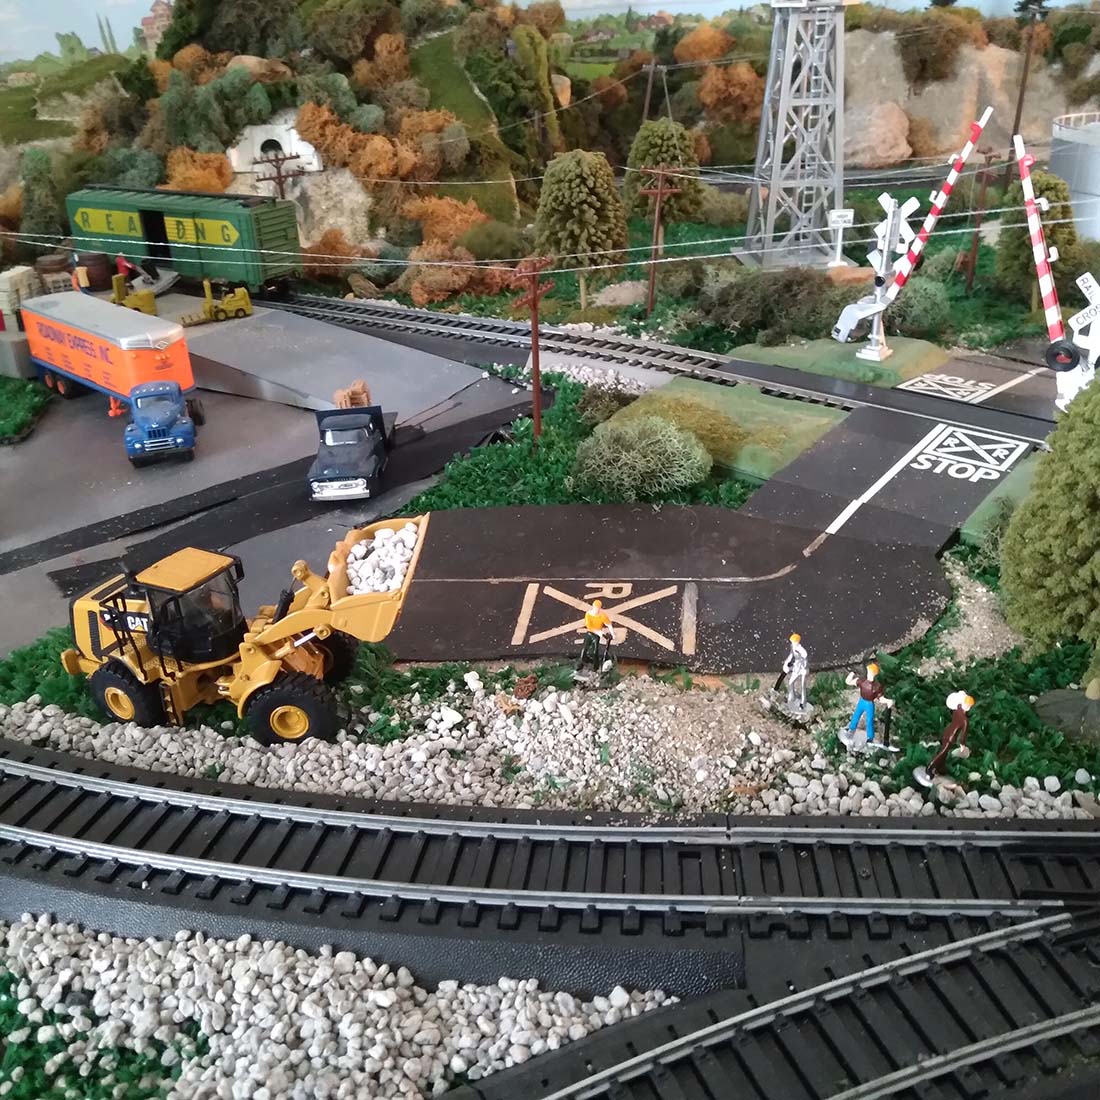
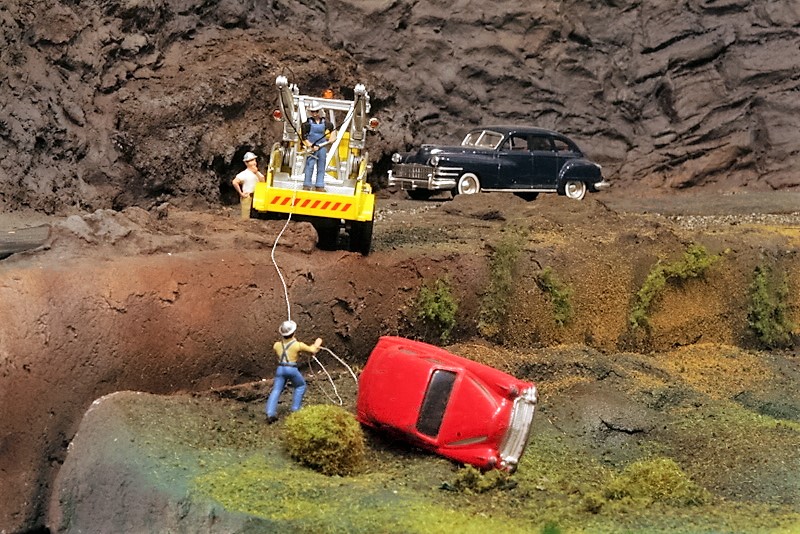
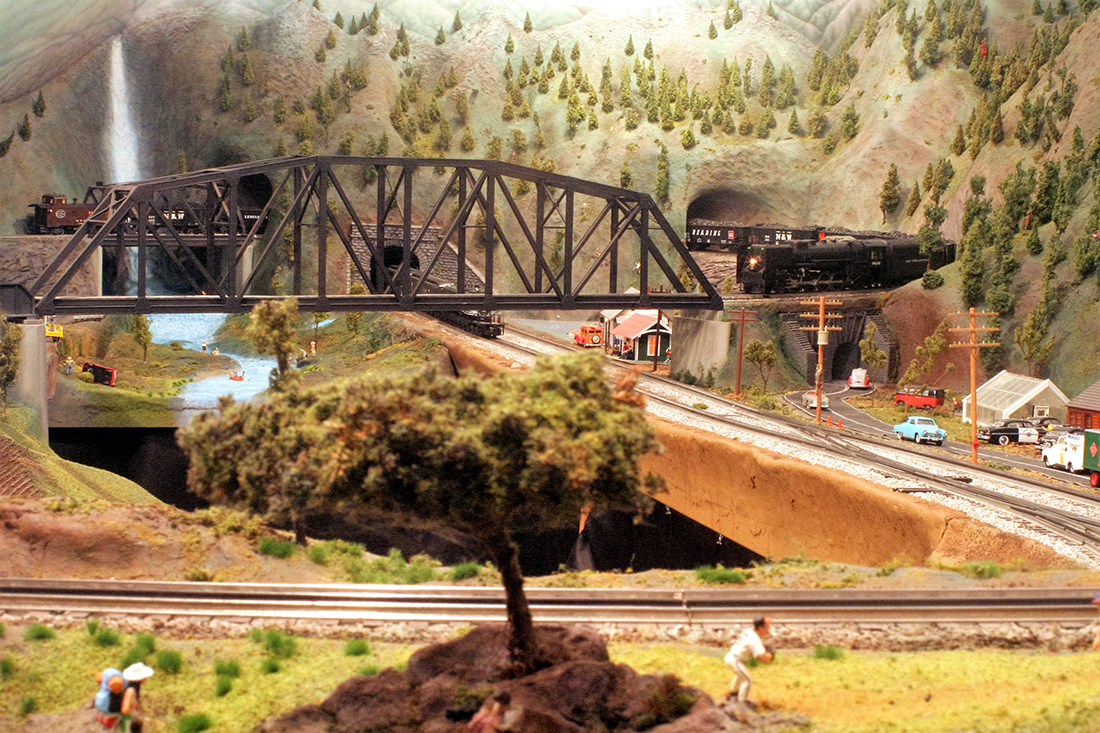
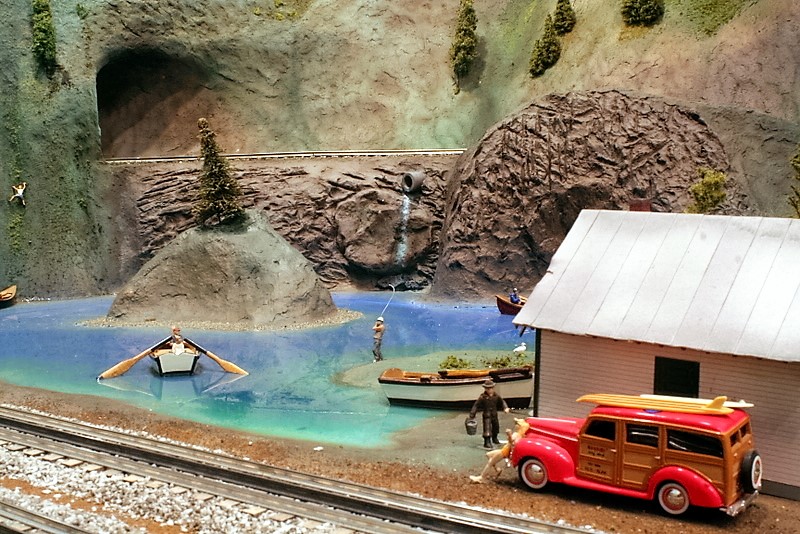
Various scenes along the way, some not shown in these limited views, show life and activities in the towns, farms and forests.
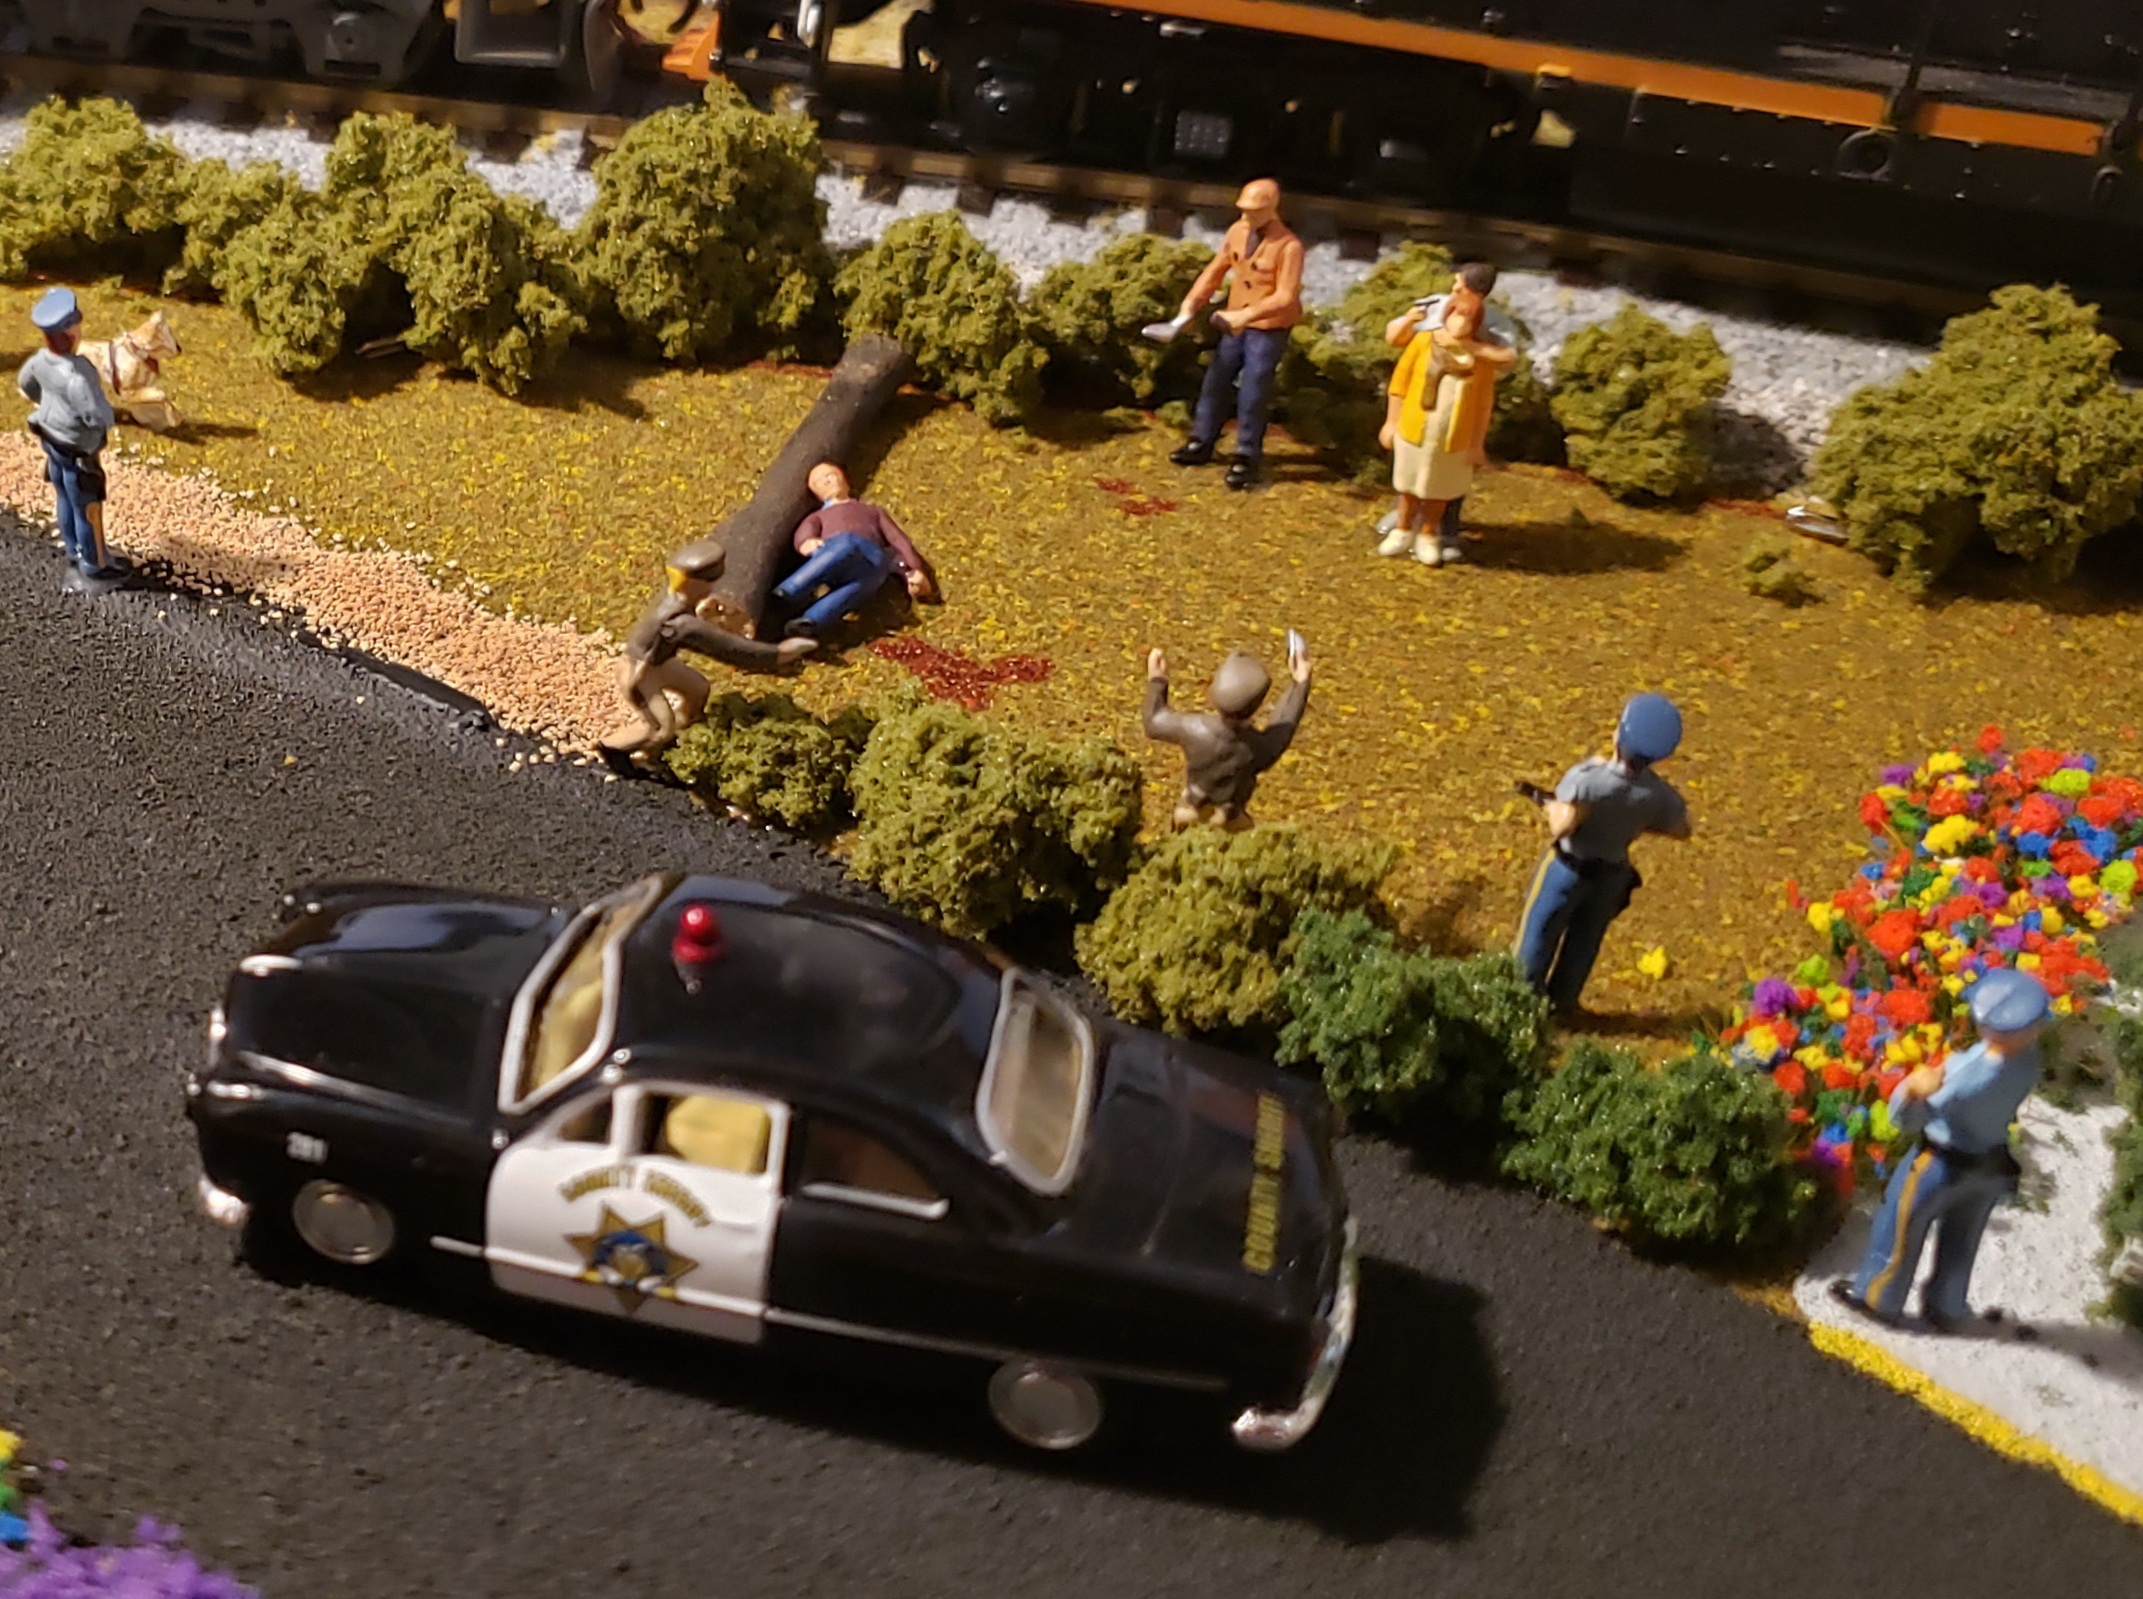
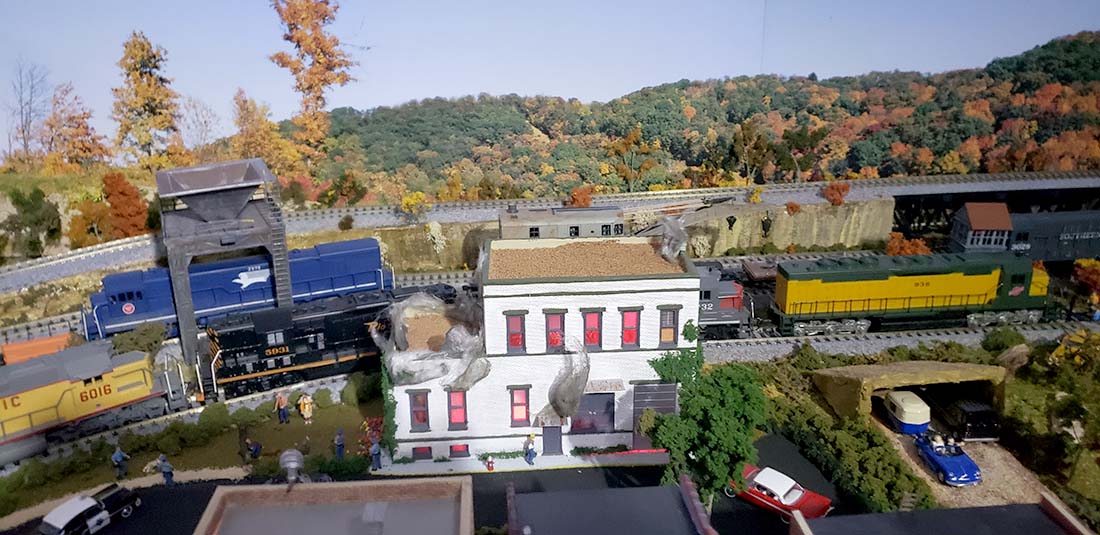
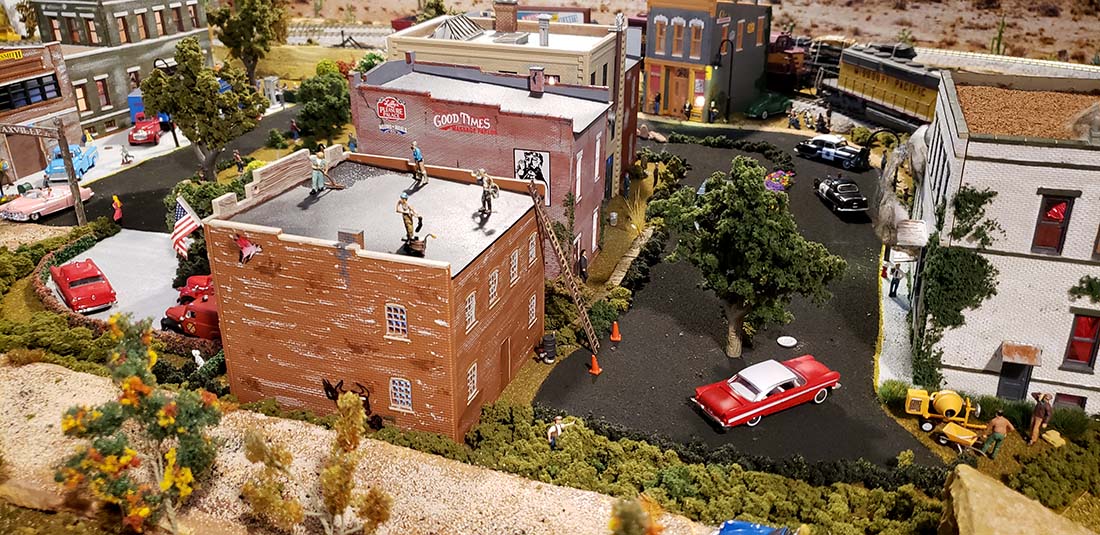
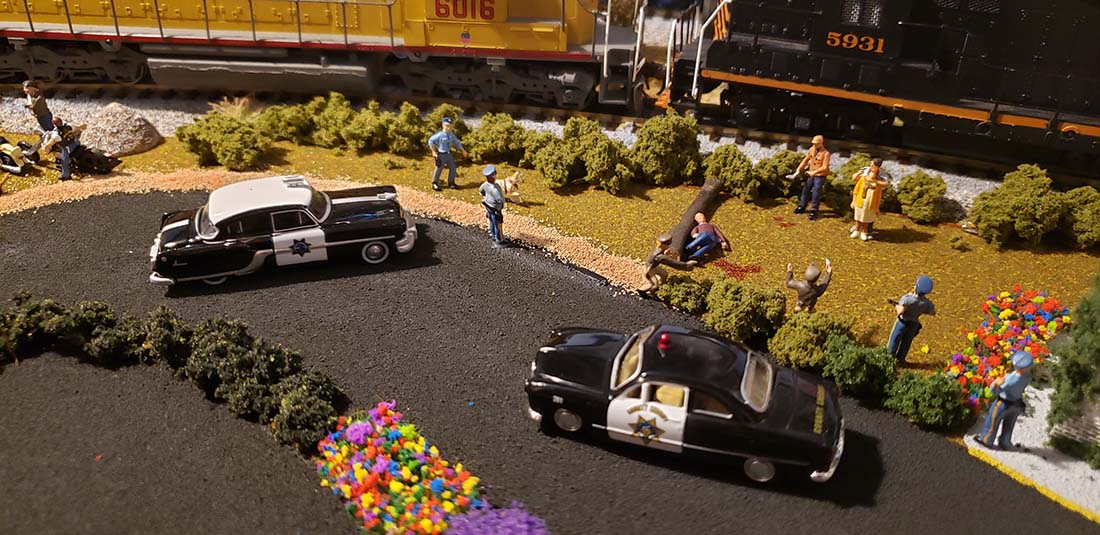
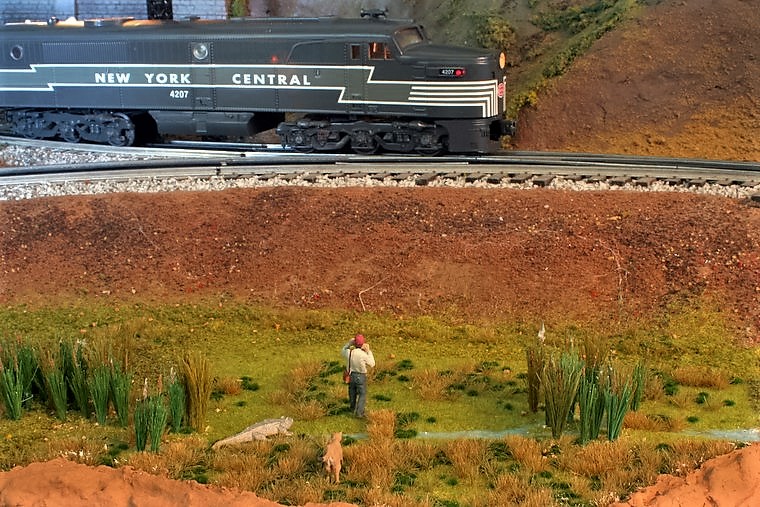
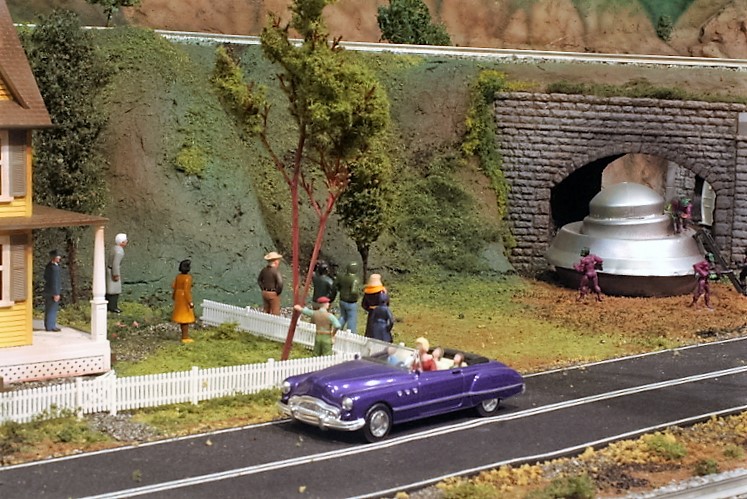
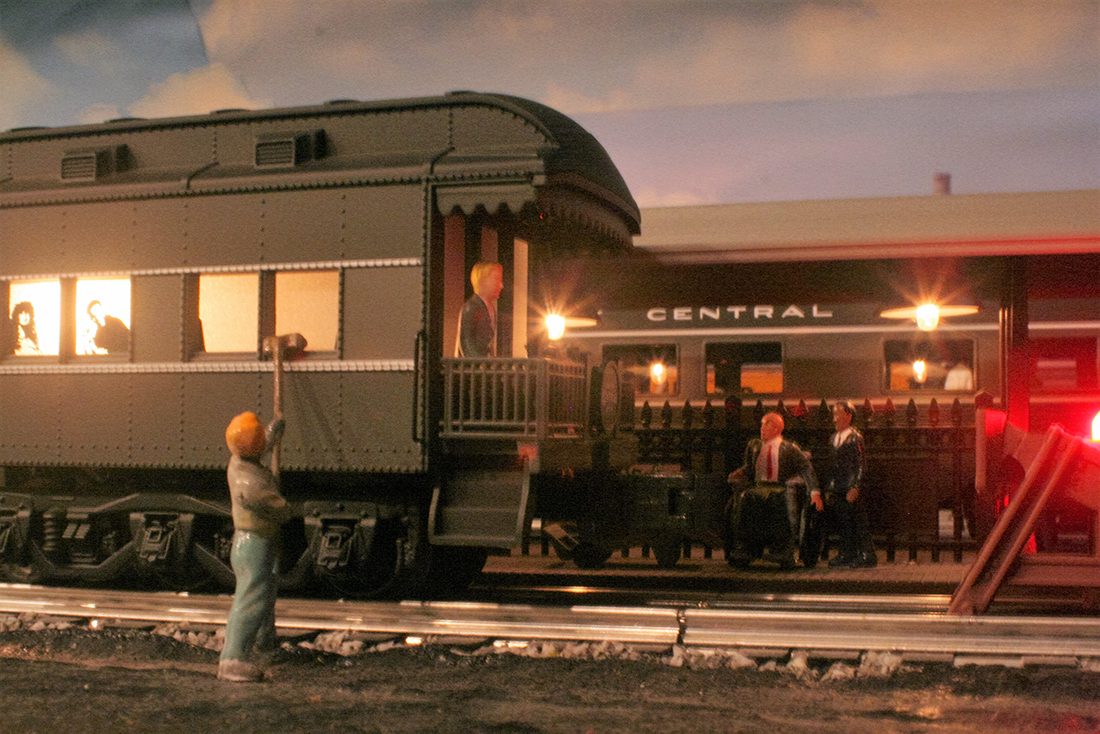
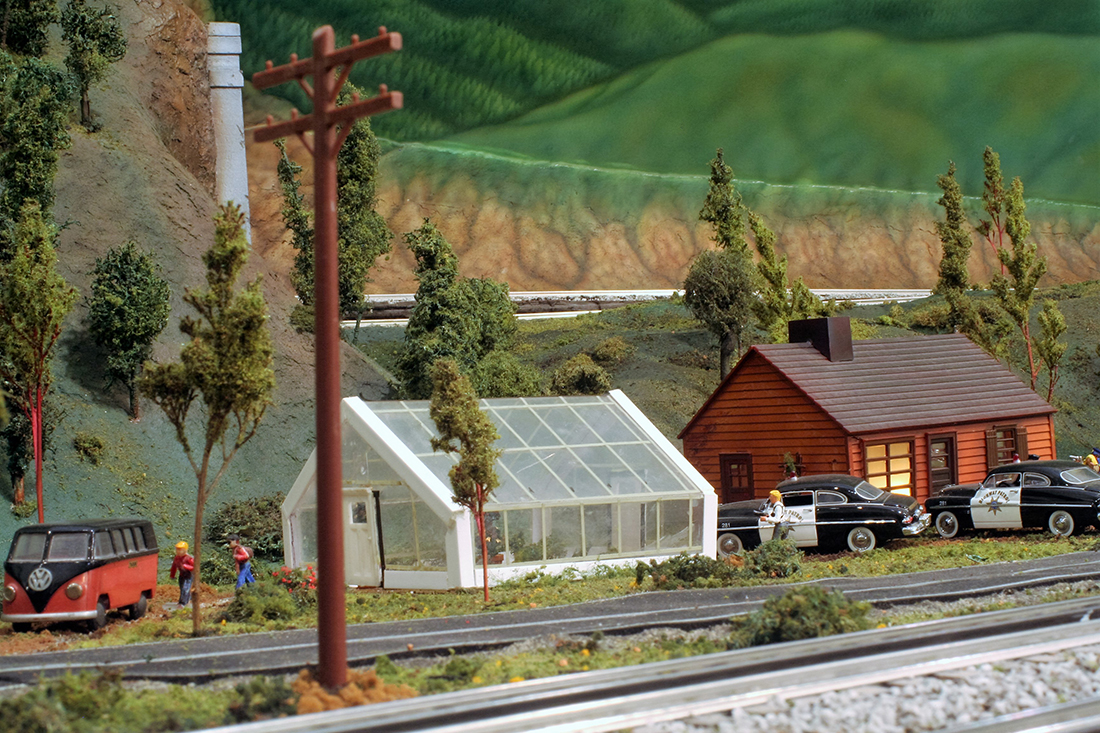
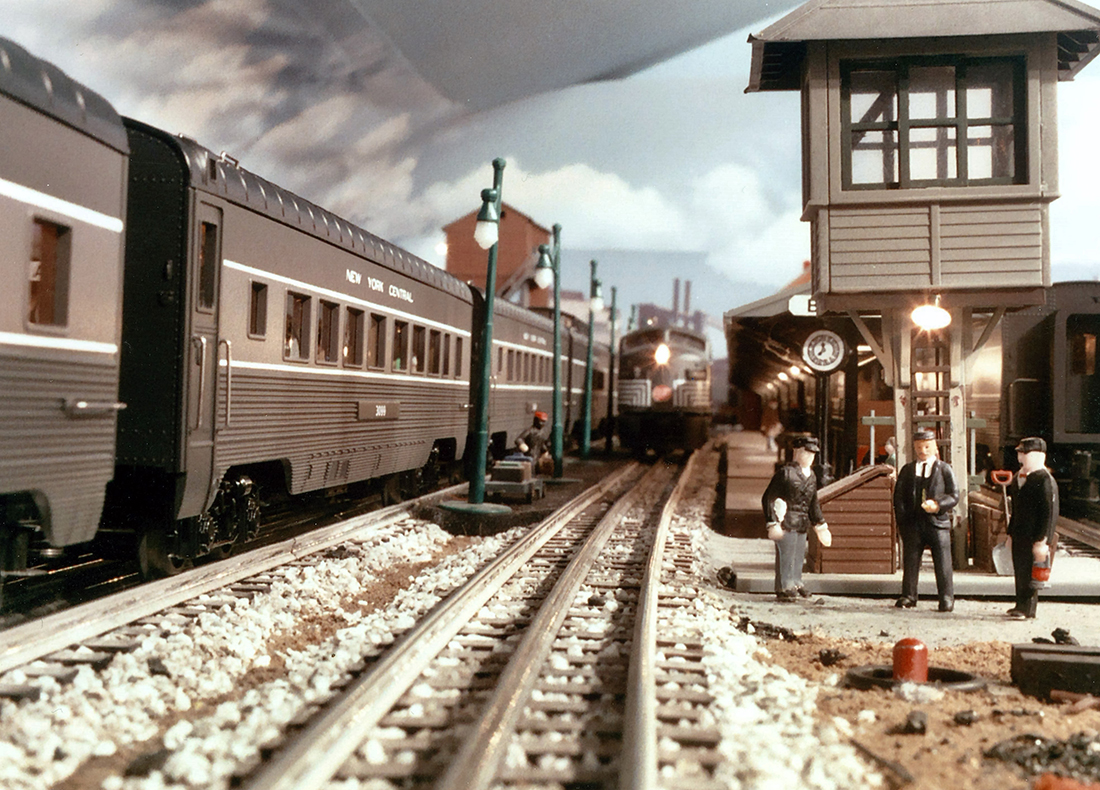
We have busy crowd scenes at the Union Station; kids playing basketball in the back streets or baseball in the park; a family farm is working the land and selling produce in a roadside stand; hippies are getting busted for a growing a greenhouse full of pot; a flying saucer has landed drawing the whole neighborhood over to see, and a hapless railfan is oblivious to the cougar and alligator creeping up behind him.
Soon I will send you some more photos, I hope you enjoy them.
I live in Southwest Oregon in the Siskiyou Mountains. The nearest town is Cave Junction, about 10 miles away, and the nearest railroad is the storied “Siskiyou Line”, formerly Southern Pacific, which runs through Grants Pass and Medford, connecting the mainline at Eugene, OR and Weed, CA.
As a child, I grew up with the New York Central back east.
peace and joy,
Robert”


My word, what a layout: 25 years of fun!
A huge thank you to Robert for sharing his vintage O gauge trains. Loved it.
That’s all for today folks.
Please do keep ’em coming.
And don’t forget the The Beginner’s Guide is here if today is the day you take your first step towards your very own layout.
Best
Al
PS More HO scale train layouts here if that’s your thing.
Need buildings for your layout? Have a look at the Silly Discount bundle.