Model railroad logging layouts

Steve’s been in touch with a theme that is popular on the blog: model railroad logging layouts!

“Alastair,

First, THANK YOU for all you do to share everyone’s model railroading!!! It’s great to see what people around the globe are doing – using their experiences for learning and education!

Second, it’s hard to believe it’s been over 3 ½ years since I sent my original email regarding the OWLS (Ohio Western & Lima Short line).

I continue to plug away, focusing on the scenery, landscape & buildings. Alas, age has taken it’s toll and the old hands aren’t as steady as they used to be!!

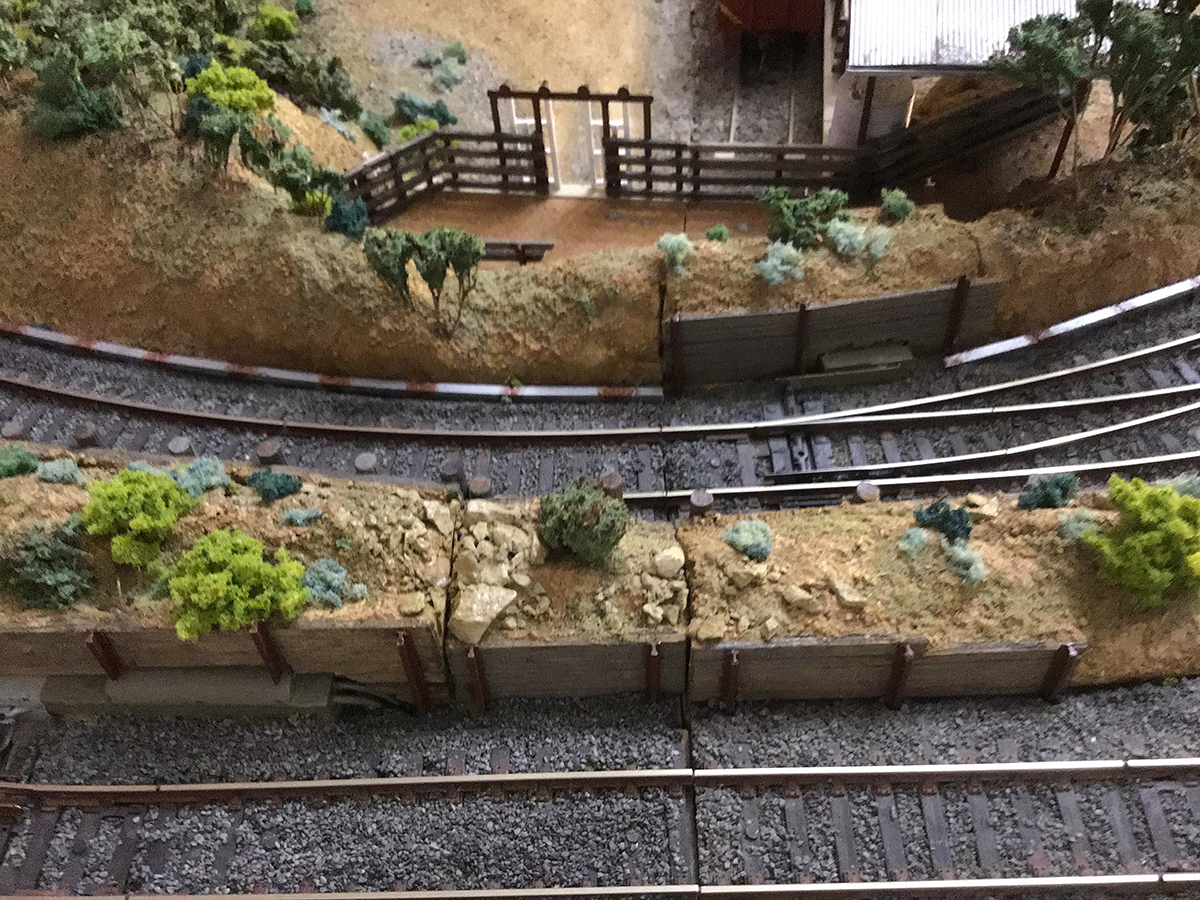
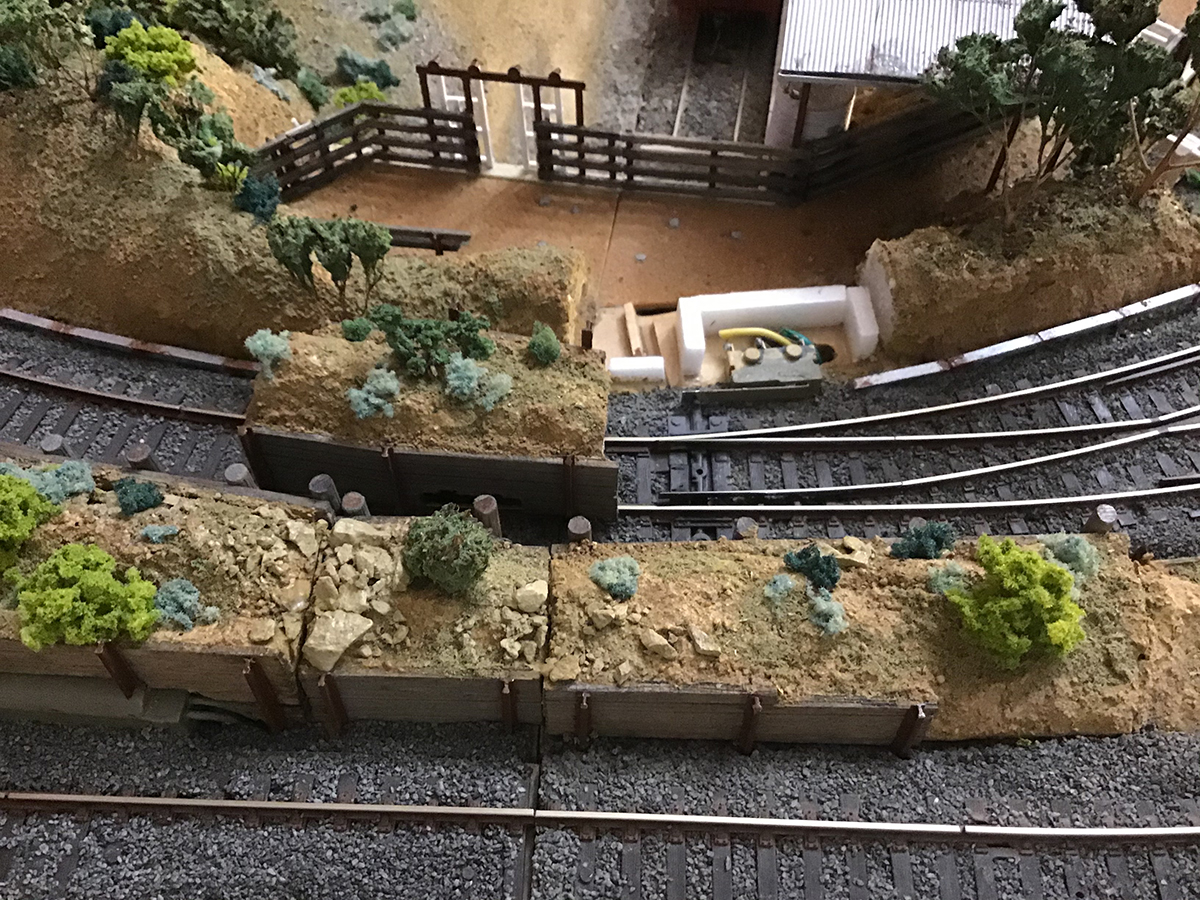
Here are recent photos of the OWLS Short line, mainly the progress I’ve made with the above mentioned areas.

Again, THANK YOU for all you do!

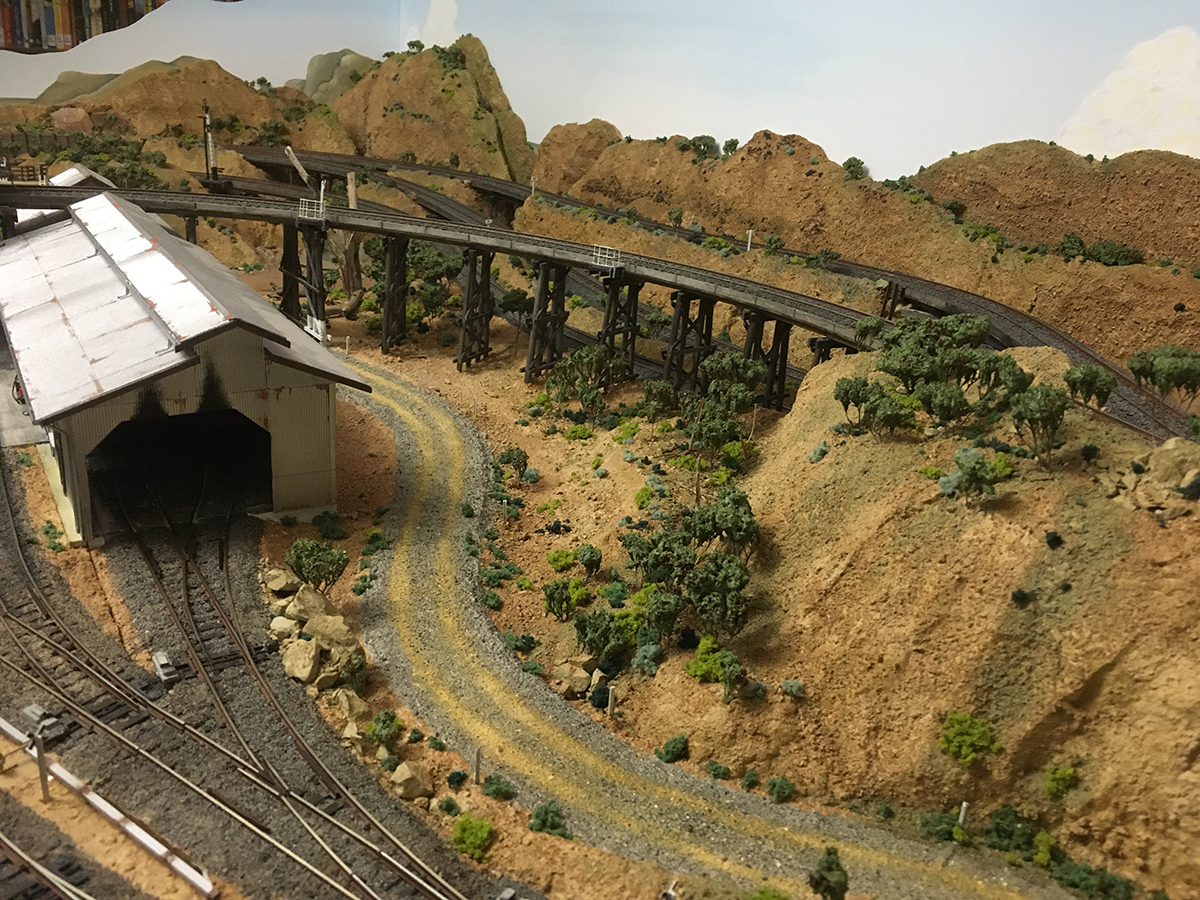
The layout is from about the late 1950 – 1960 time period and centers around a local logging/ lumber industry.

model railroad foam mountains

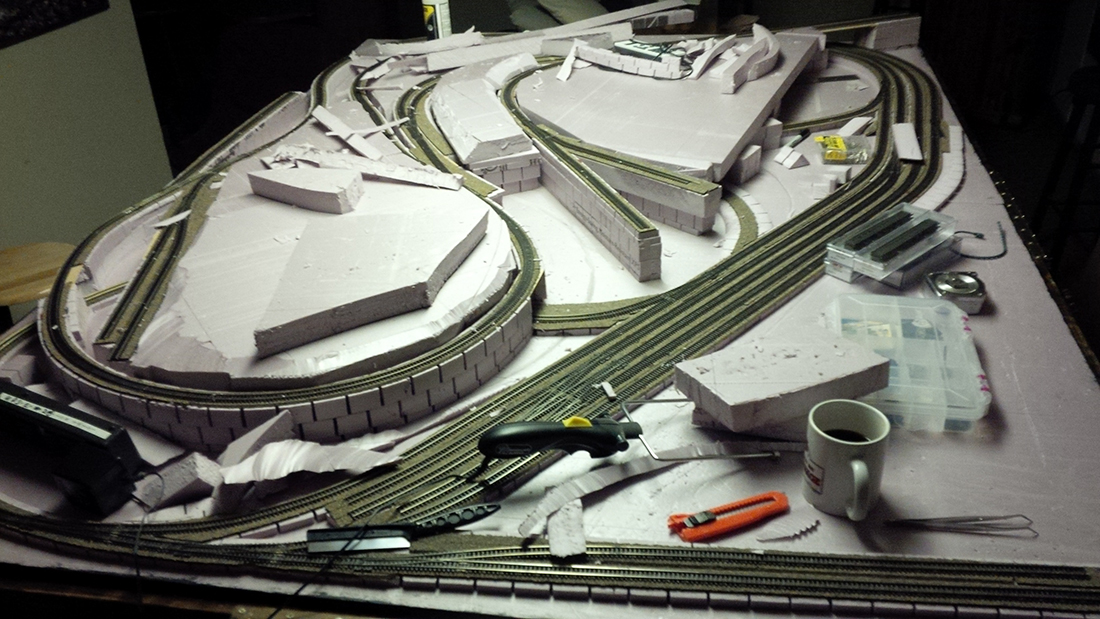
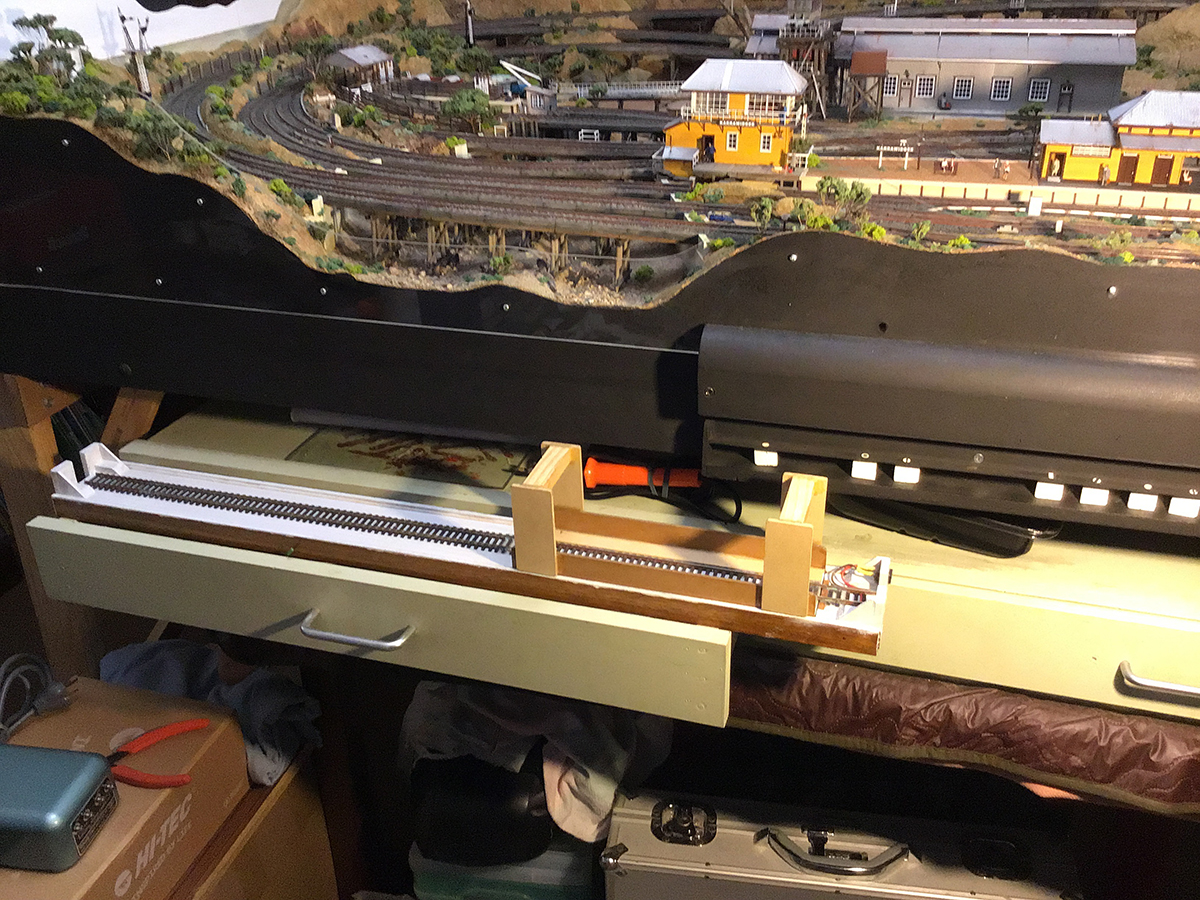
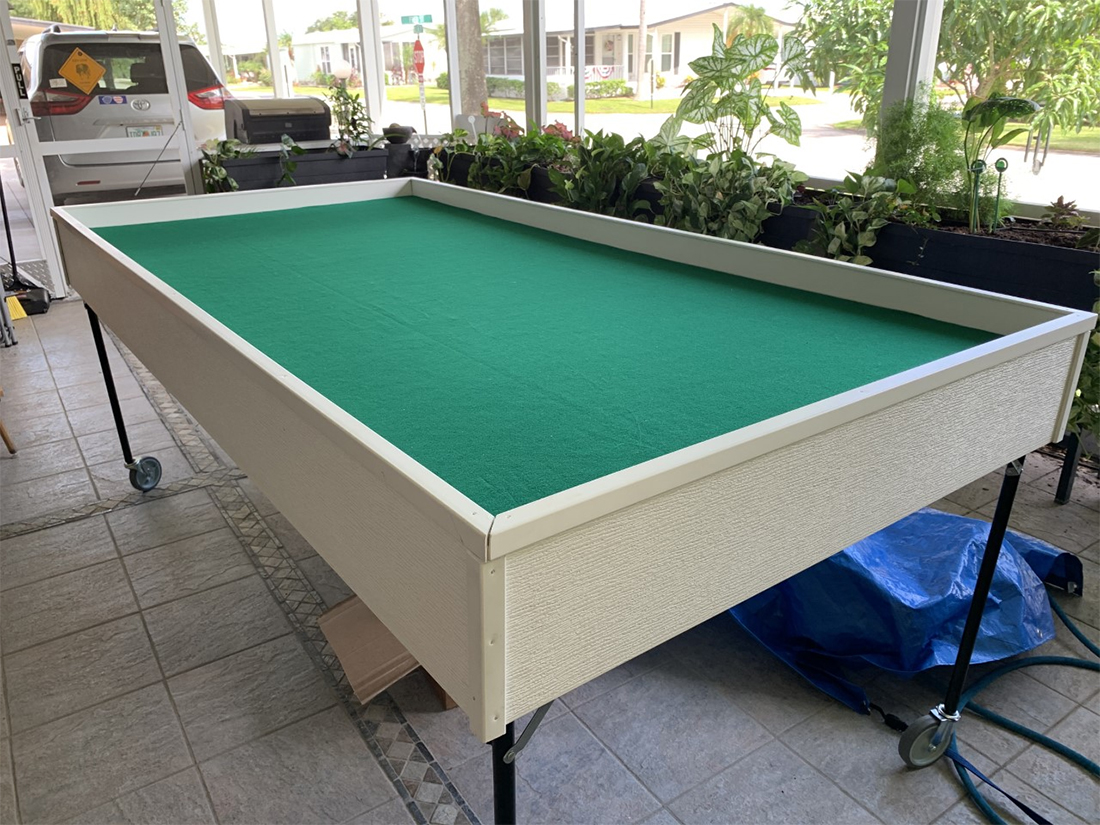
The sub roadbed made from pink insulation foam.

model railroad logging layouts lumber yard

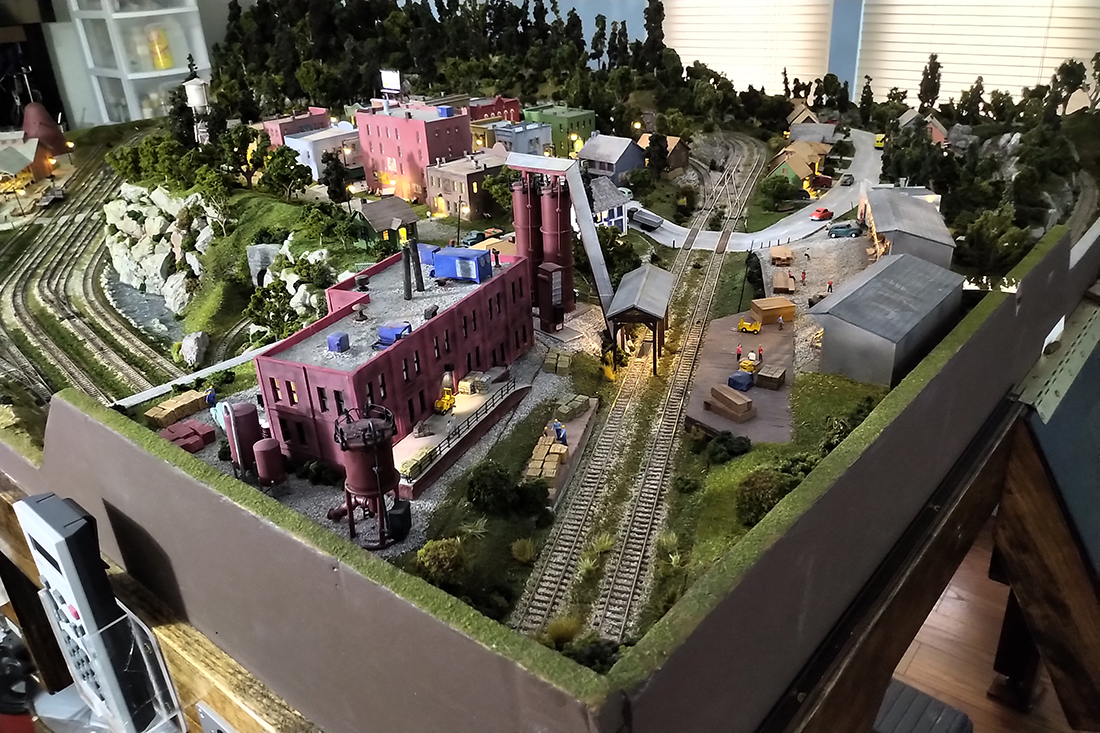
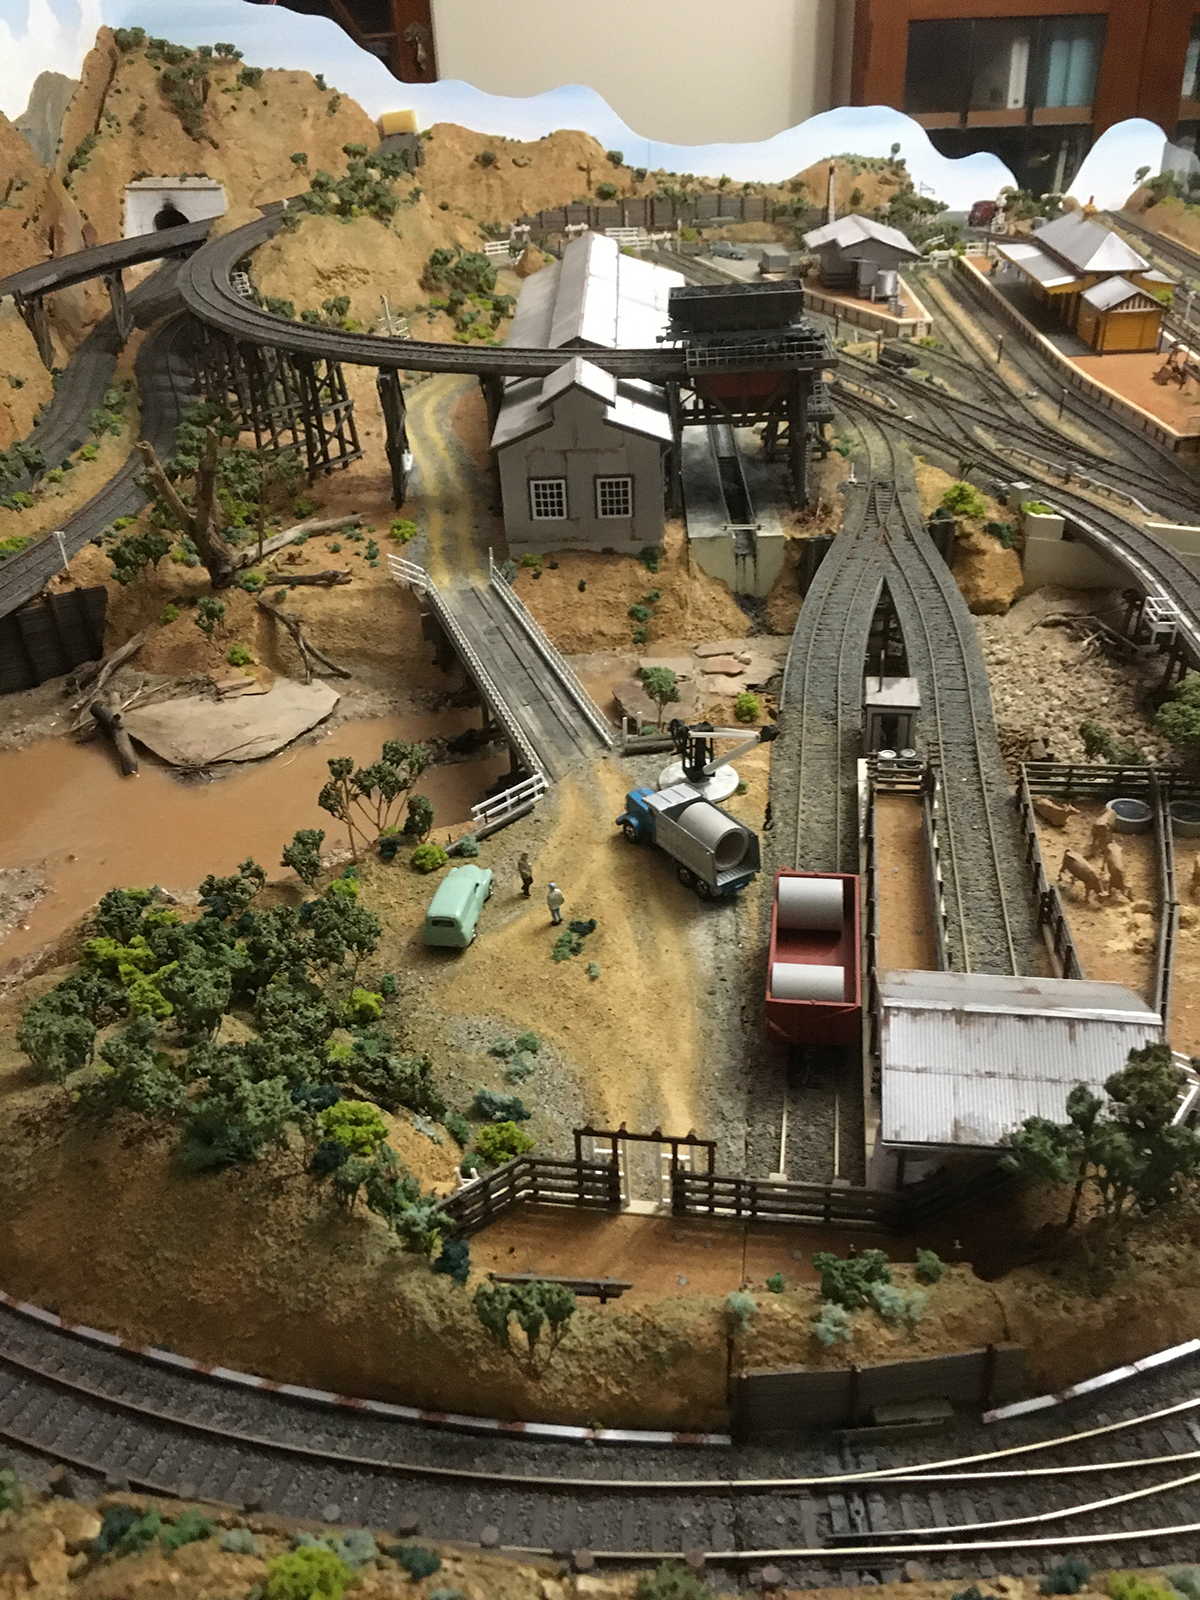
A a couple of the local industries.

model railroad logging layouts

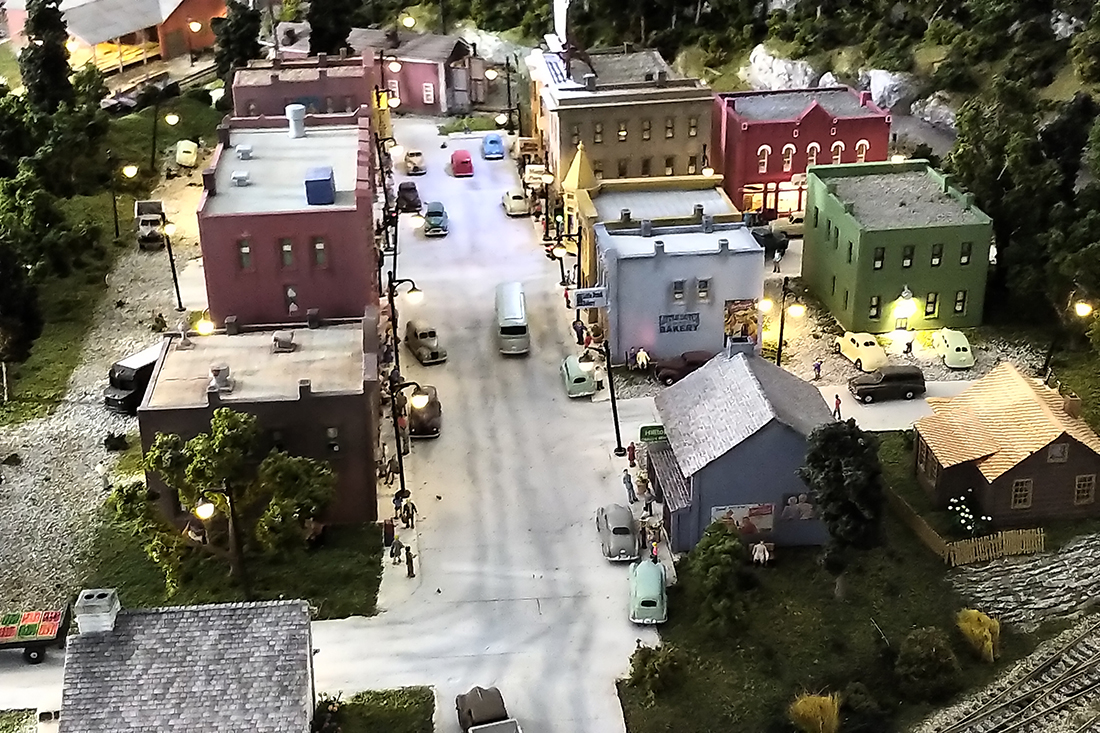
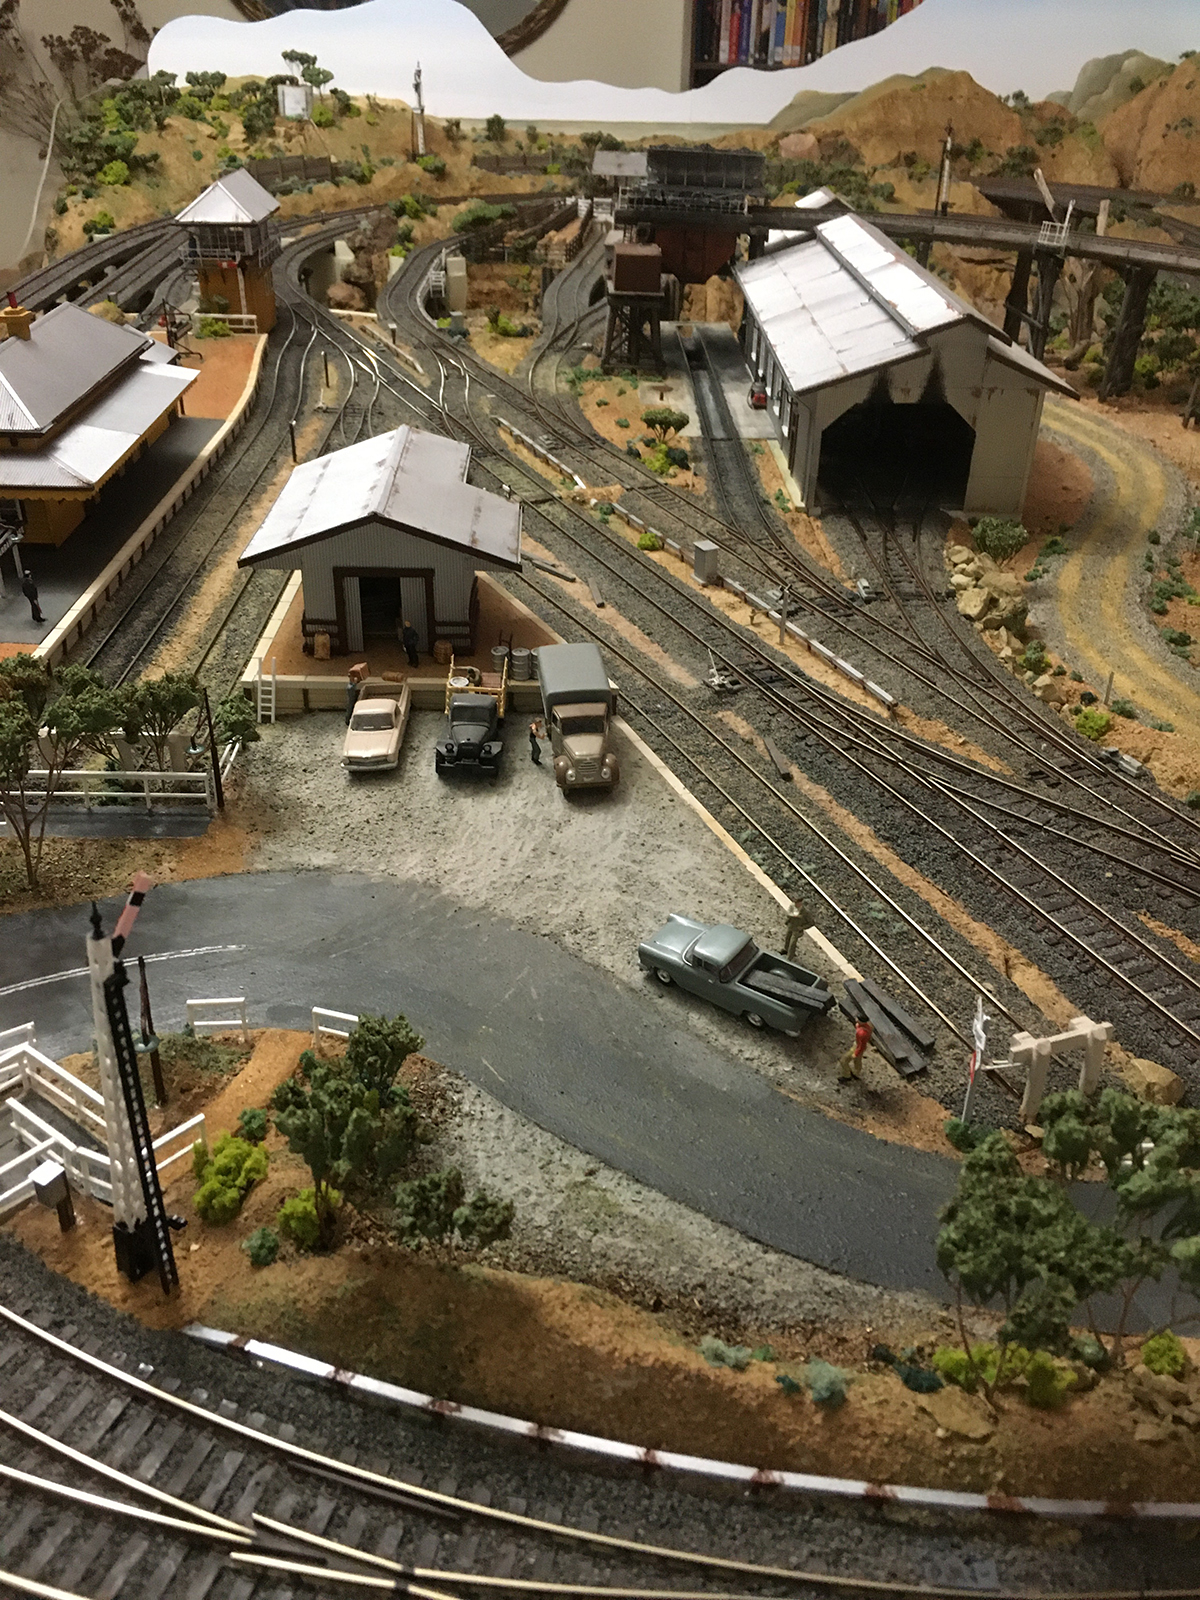
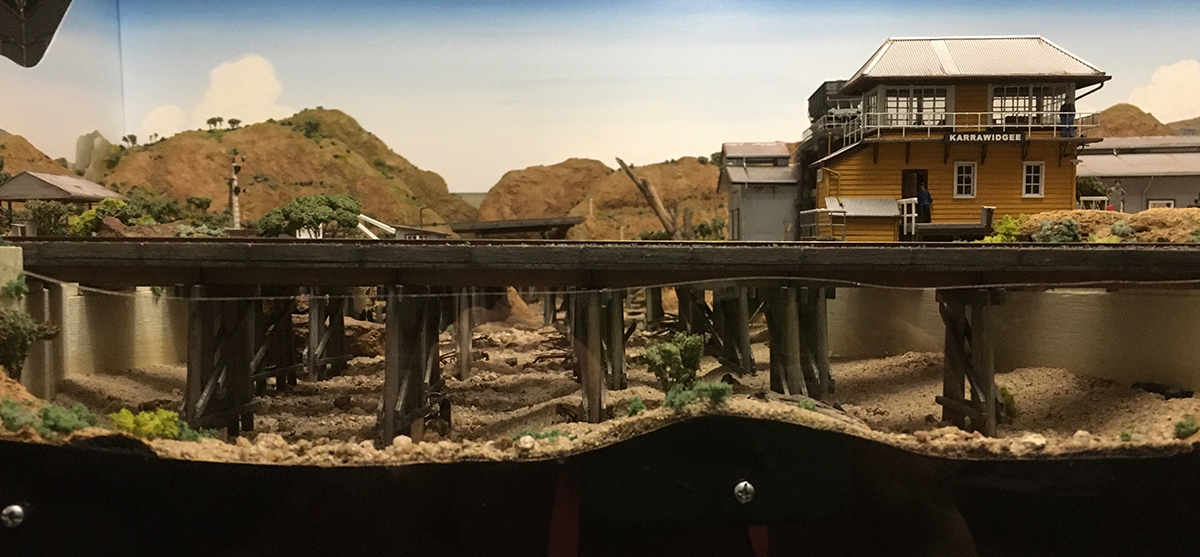
The center of town on a lazy Saturday afternoon.

model railroad control panel

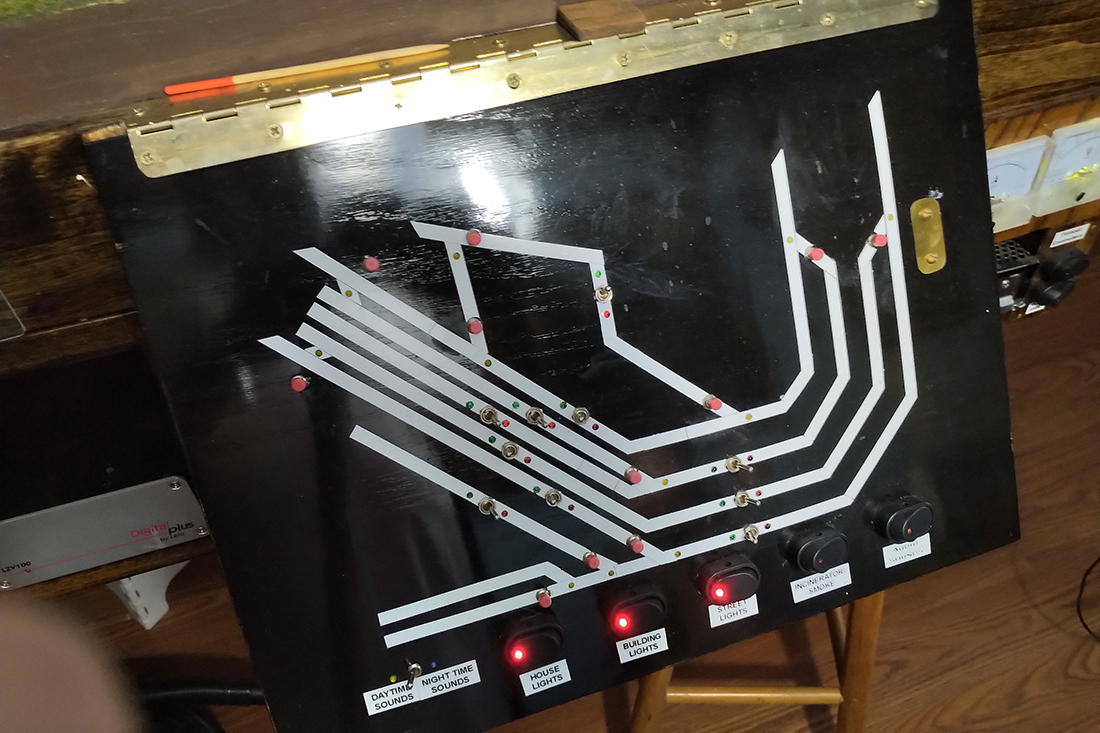
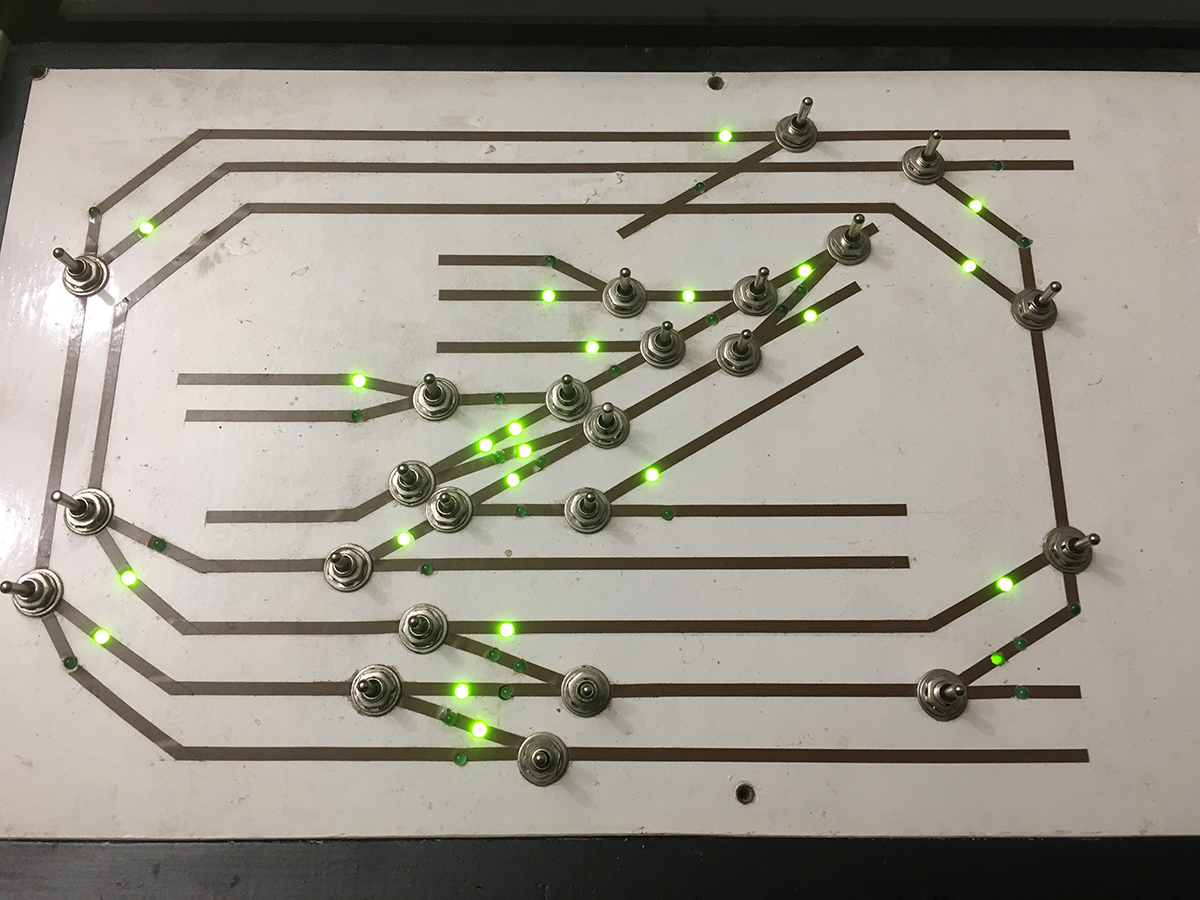
The switches controlling track power, power to the industry & house LEDs, smoke system for the lumber mill & other buildings as well as sound system. The sound system has one set for daylight (trucks, cars, etc.) and one set for night time (crickets, owls, etc.)

model railroad logging layouts

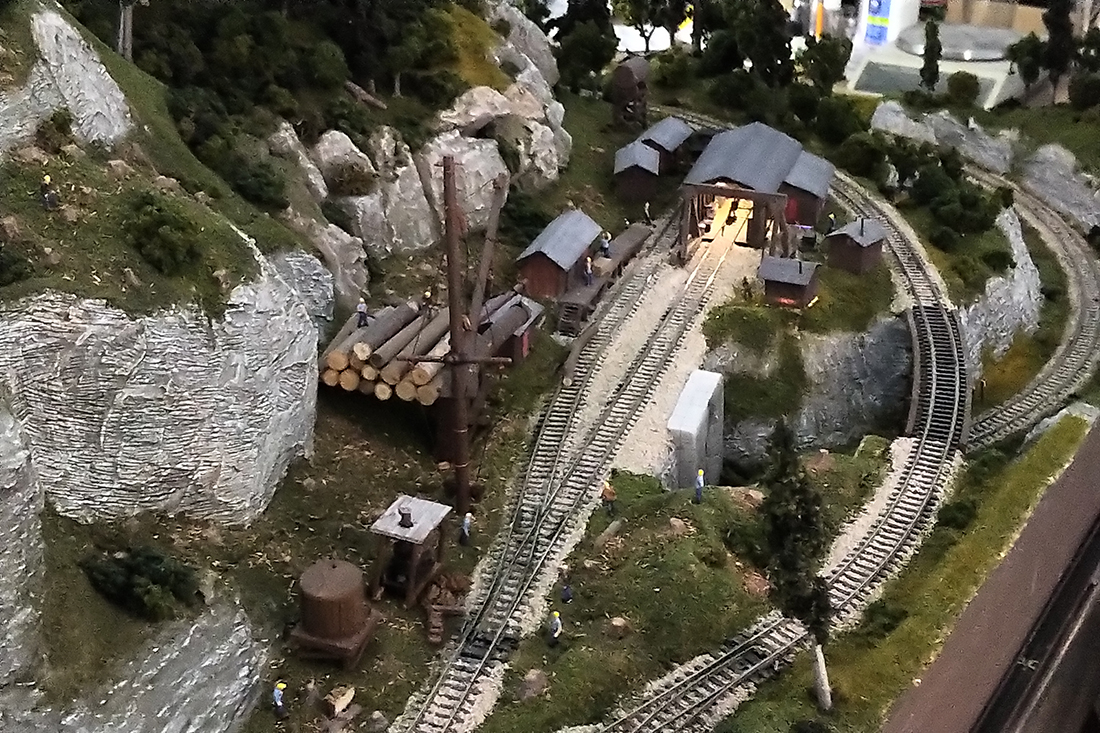
Where the timber is harvested

model railroad logging layouts lumber yard

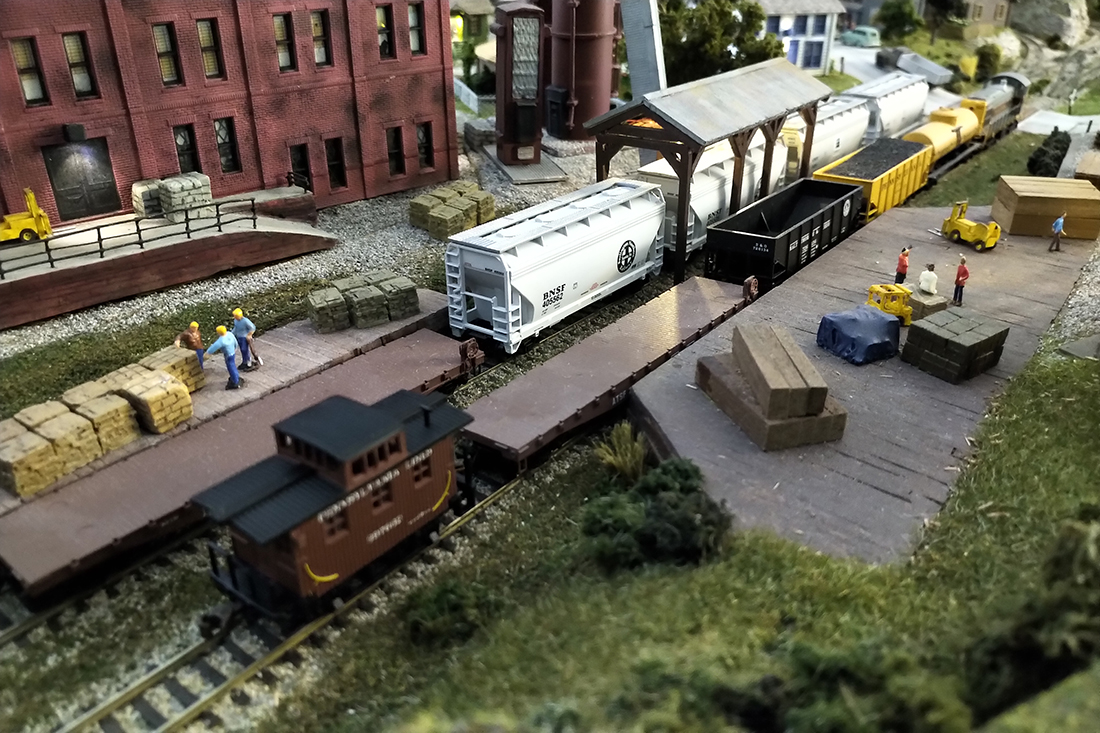
Retail outlet for the finished lumber

model railroad logging layouts lumber mill

Where the rough cut trees are converted to lumber

model train lumber shop

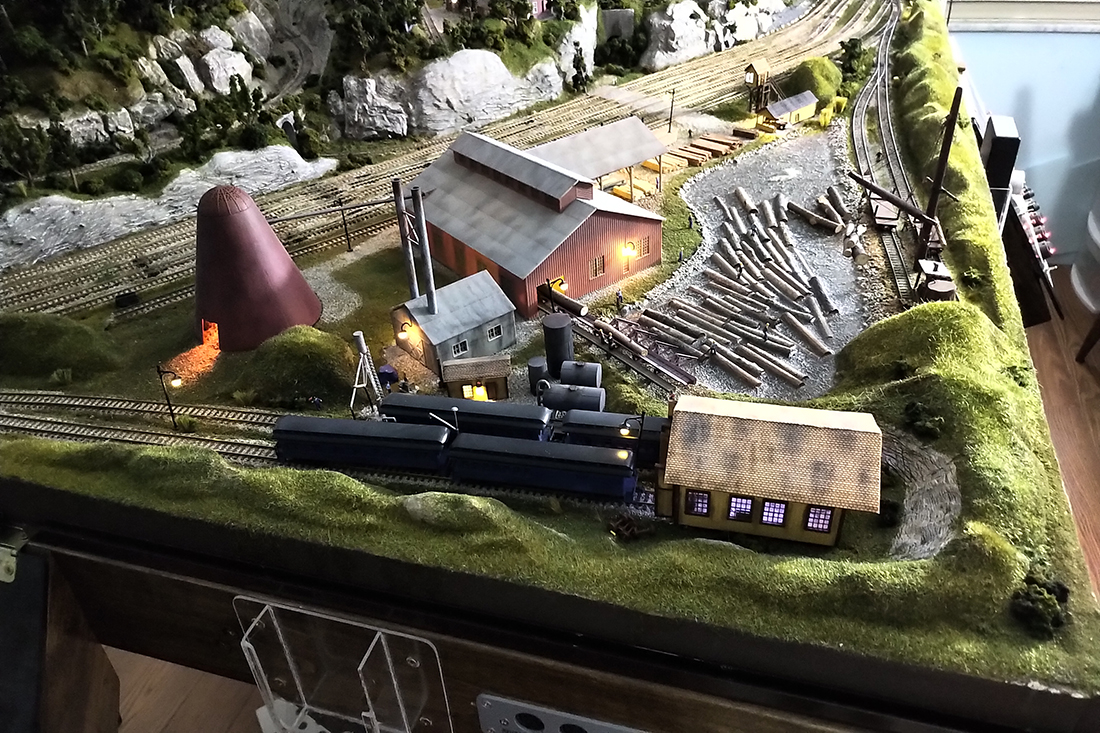
Another look at the lumber mill and the shop for the ever ongoing work to repair/ refurbish trains and other manufacturing equipment

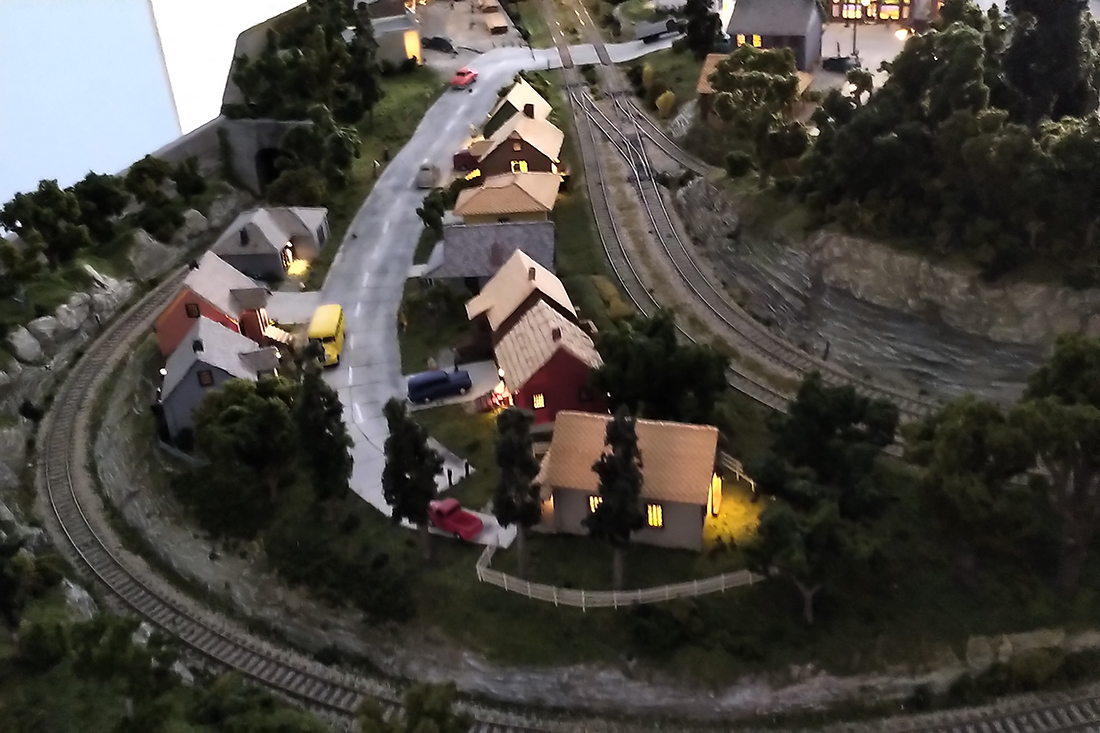
A look at some of the house in the little town.

Steve”

A huge thanks to Steve – I do love an update and it’s a great theme too. It’s no surprise there are so many model railroad logging layouts.

If you’re looking for Steve’s first post, it’s here.

I think Steve’s layout is another fine example of how important picking a theme is for your layout.

Once you have a theme so much falls into place – you have a pretty good idea of what buildings you’ll need, and what they will look like.

You’ll also have an idea of what else you want on the layout with regards to scenery. The chances are if you want a logging layout, you’ll want a forest area on hills, and of course, a lumber mill.

Another good example of this is Al’s HO logging road.

You can see Al’s layout, just like Steve’s, ‘makes sense’. Everything fits in, there’s nothing that looks out of place because it’s all congruent to the railroad logging theme.

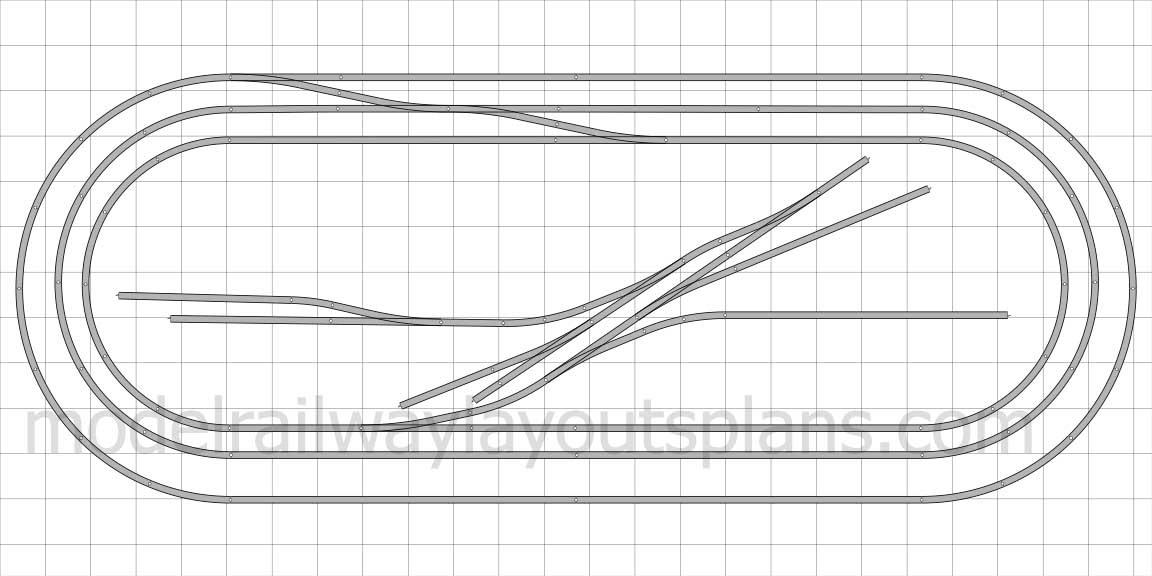
And once you know your theme, you can start playing with your track plan.

But it all comes from the theme – I know I say it time and time again, but it ‘s the layouts that have a theme from day one that always look the best, by a country mile.

It doesn’t mean there’s anything wrong with making things up as you go along, if that’s what you enjoy, then go for it. After all, that’s what this hobby is all about, having fun.

A little thought on a theme though, will go an awful long way to visually glue the whole layout together. You’ve only got to spend 10 minute or so on the blog to see for yourself.

What’s more, a theme lets you create those scenes within a scene to add extra interest to your layout.

Have a look and Steve’s sixth picture and you’ll see what I mean. The workmen on each platform add so much more to the scene – they really bring it to life. What are they doing? Chatting about the game? Moaning about the boss? Who knows, but it all adds to the realism of the layout.

A theme on its own though is useless – you still have to make a start which as you’ll know is something I’ve very fond of saying.

It doesn’t matter how much thought you give to your theme, unless you actually do something nothing will happen.

So build that bench or use that old table in the shed that’s just gathering dust.

Star playing with track. Now you’re on your on way!

Your family will see a dusty old table with an oval train track. But in your mind’s eye you’ll see a bustling lumber mill, with workers unloading the latest train of logs, while on the otherside of the world you created, the rich green of the forest parts only for the tracks you’ve laid.

Sounds fun? Then what’s stopping you. You can pick any theme you like: model railroad logging layouts, urban, farm, desert, mountains, old west, steam, electric, freight, vintage… you are only limited by your imagination.

Choose whatever you want – it’s your world and your fun. To hell with everybody else.

And don’t forget, if you want to make that start, just like Steve did all those years ago, the Beginner’s Guide is here.

That’s all for today folks.

Please do keep ’em coming.

Best

Al


PS Latest ebay cheat sheet is here.

HO scale elevated train track

David has been in touch again, and he has very kindly taken the trouble to answer your questions on his HO scale elevated train track.

If you want to get up to speed, and see his first post, it’s here.

“Hi Alastair,

Thanks again for your blogs and also to those that sent me such kind comments.

I notice that there were quite a few questions, so will attempt to answer some of them here.

I have included some more pics which may assist with the below explanations.

“KARRAWIDGEE” uses Peco code 100 set track points ( turnouts ), some set track pre-formed pieces and flexi track.

The layout splits lengthwise down the middle and runs along front side of loco shed which created some problems with joins to get track into loco shed on back half.

The track plan just evolved. Initially I had one outer oval, then played until eventually it all fitted inside the first oval.

The smallest radii ( curves) I used was #2, 438mm. I was amazed at how many configurations would have worked. See photo of control panel for track plan.

I was determined to have an elevated coaling facility and the result over loco shed was the result, as nothing else would work, no room below. That’s how I ended up with my HO scale elevated train track.

The 4 dead ends on the right hand side are intentional, designed for further expansion of the layout. Because “KARRAWIDGEE” occupies the space needed for the next layout it had to moved on and the new owner will use those dead ends to connect to his other larger layout.

Because I could not fit a turntable on the layout, one track on the right was used to provide loco turning and transport to programming track via a “loco lift”

The back dead end in tunnel I used as a loco shed to store a loco out of dust. Wig-wags flash and sound is genuine 1950s bells.

The white fencing at the pedestrian track crossing is how any Victorian Railways uncontrolled crossing is designed and this is still in use today but made from galvanised iron not timber. You cannot go straight ahead onto track but must deviate left or right and return to cross track.

The track work is all ballasted including the bridges, faithful to the Victorian Railways method of bridge building.

They decked the top of the timber trestles with side boards and then laid the sleepers ( ties) on the deck, then ballasted. Other states in Australia did not use this method.

All the electrical components are hidden, if possible, the signal box and timber platform extension are hiding switches.

The photos show the method I chose to gain access, if needed,
by having lift out panels.

The backdrop lifts off if needed and the sides and front (clear acrylic ) are what I call” anti -damage barriers” as I have found it so easy to do damage when leaning over the sides. I have knocked the signals repeatedly.

My signals are now held in place by drilling up through the baseplate and another matching hole in the ground into which is inserted a piece of bus wire and signal inserted on top.

This gives a loose fitting which moves if knocked and has so far served me well, as against a rigidly glued item.

The vegetation was all individually planted and colored out in natural daylight with acrylic paint.

The trees are made from the CEDUM plant which bears a strong resemblance to our Eucalyptus trees.

The shrubs, bushes and groundcover all vitamised foam rubber. The terrain is white styrene packaging foam, usually got for free (see lift out panel photo ) smeared in Gapfiller, hot wire cut, shaped etc.

I do lots of experimentation with techniques and materials.

The loco shed is the only building illuminated so you can watch to park your locos on the 2 roads.

I hope this may have answered some of your questions.

Cheers,

David”

HO scale turnouts

HO scale turnouts controller

HO scale loco lift


model train track plan

HO scale elevated train track

HO scale elevated train track

HO scale elevated train track

HO scale elevated train track

HO scale elevated train track

HO scale elevated train track

HO scale elevated train track

HO scale elevated train track

A huge thanks to David for sharing his HO scale elevated train track – it really is fab not just seeing a layout like this, but also knowing how it came about.

Hope you enjoyed it as much as me. It reminded me of Wayne’s: Elevated model train track.

That’s all for this time folks.

Please do keep ’em coming.

And if today is the day you grab the bull by the horns, the Beginner’s Guide is here.

Best

Al

PS More HO scale train layouts here if that’s your thing.


Need buildings for your layout? Have a look at the Silly Discount bundle.

HO scale tram

John’s been in touch with HO scale tram:

“I decided to renew my interest in model railroading, but take a new approach.

As a youngster, I had a HO layout which -if not necessarily very prototypical- kept me entertained and satisfied my MRR bug.

As an adult with young children, I and they became involved with G gauge, and had fun traveling to local shows with a portable display.

With the children gone and downsizing our home, the G layout went to a younger cousin and his family as our new home had little space for anything that large.

Time got me thinking hard about how I could make a layout using my beloved 1/24 or G scale, but with a much smaller footprint.

What I decided upon was a 1/24 scale miniature train set-up using HO track.

My layout would be a sort of amusement park ride, with 1/24 folks enjoying a ride-upon On-30 train.

At the same time, I decided to automate the trains, turnouts, and eventual special effects with DCC.

To make this vision happen, I purchased a small On-30 Spectrum DCC 0-4-2 Steam locomotive, three Spectrum open observation cars, and a pair of Spectrum short wooden gondola cars. All except the engine would require extensive modification.

First though, I had to prepare a layout table. What I decided upon may be a bit unusual, but so will the whole layout be!

I chose to frame the 4′ x 8′ layout with 1″ X 9” PVC lumber. The table surface itself is 3 layers glued up of rigid foam, presently covered in felt. The felt gives it a “finished look” while I build and will be removed as the work progresses.

For support, I purchased a set of folding “card table” legs, to which I added a set of easy-rolling casters for mobility.

You will note in the photo that the layout is in a covered, screened area. Here in Florida most have this, called a lanai.

Ours happens to be large enough for both my layout and my wife’s elevated gardens, with room left over for some chairs and small tables for entertaining.

Since the climate is humid, I keep a light plastic tarp over the entire table when I’m not using it.

The 4′ x 8′ table with felt tucked in over the rigid foam

HO table

I decided to use Bachmann EZ Track for convenience since it was readily available and requires no tedious tracklaying. Not my interest at this point as my immediate goal is to be up and running with my HO scale tram.

I knew rolling stock would be a challenge for this rusty craftsman, but I had a pretty good idea what I wanted and how to achieve it. The Spectrum On-30 open observation cars were “more or less” in scale for O but needed heavy mods for 1/24 or G scale. The first thing was to remove the far too low roof from the observation cars. A razor saw made quick work of this.

Original spectrum on-30 open observation car

HO scale tram

Obs car wih roof sawn off and interior benches removed.

HO scale tram


To remove the O scale interior benches, I removed one truck so I could access the tabs holding the coach body to the chassis. Once the body was removed, I removed 4 screws which held the benches in.

This left the body roofless and empty, so time to add some 1/24 seats!

I found some candidates for the job with 1/24 park benches. These just happened to fit across the width of the car perfectly! I sawed off most of the base a glued 3 benches in place on each car.

Benches glued in and new roof supports going in:

HO scale tram

The new roof supports were next. Each was cut from wooden medical applicator sticks, 2.5″ long for each. Once 8 were in place, the roof went on and the chassis reconnected.

Two done, one to go.

HO scale tram

After completing the observation cars, I had to make a trailer for the driver. On the Howling Wolf RR, the engine is operated by a remote control on the driver’s lap, but where should he ride? A modified wood gondola served the purpose nicely. I’ll spare you the obvious steps, here it is… but lacking a roof!

I gave some thought of how I would match up a built roof with the roofs of the obs. cars. Then an inspiration! We use a fiber product called Benefiber, and just maybe… Stay Tuned for the next instalment!

HO scale tram

John”

A huge thanks to John for sharing his HO Scale tram – some very creative scratch building going on there. Can’t wait to see the next update.

It reminded me of Brian’s tram layout: Kato tram layouts.

That’s all for today folks.

Please do keep ’em coming.

And don’t forget the Beginner’s Guide is here, if you want to stop dreaming, and start doing.

Best

Al

PS Latest ebay cheat sheet is here.