Cary’s been in touch with another update – his G scale track cleaning car.
I have to say, it really made my day.
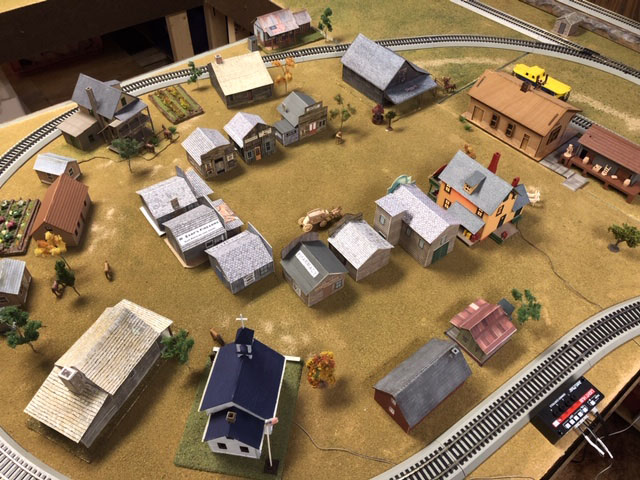
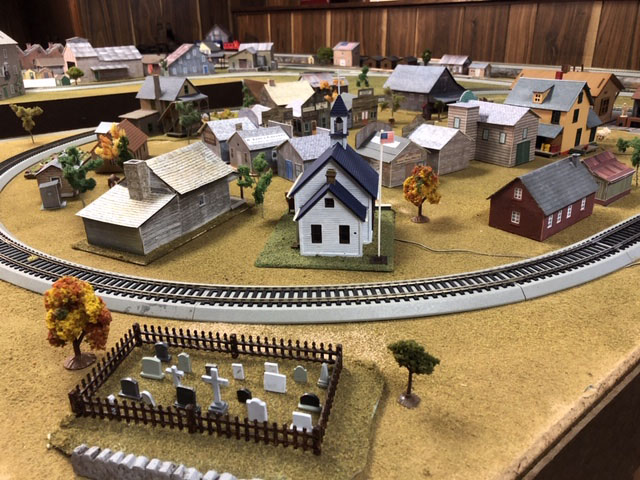
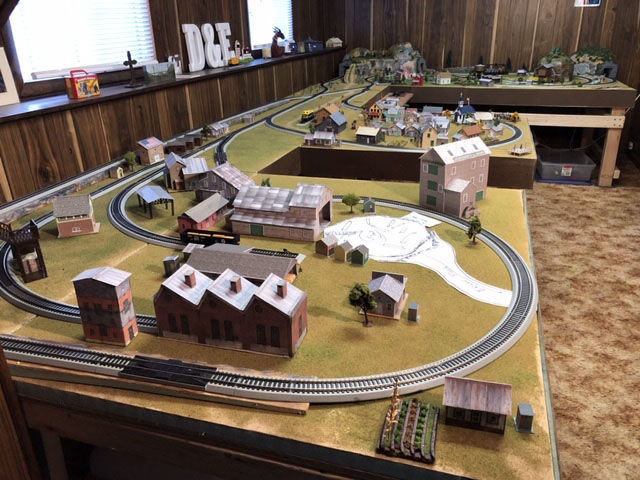
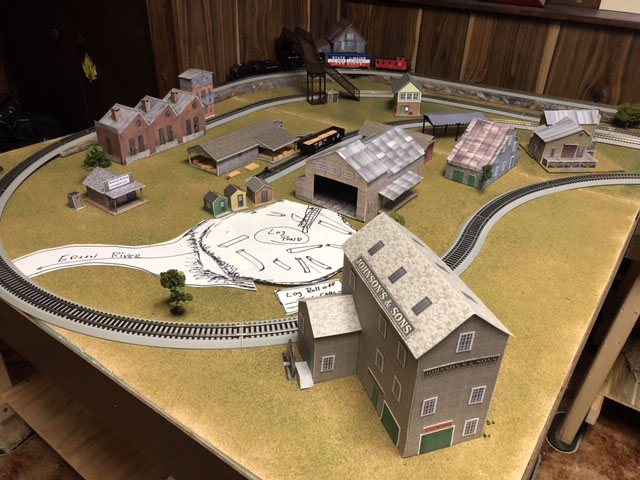
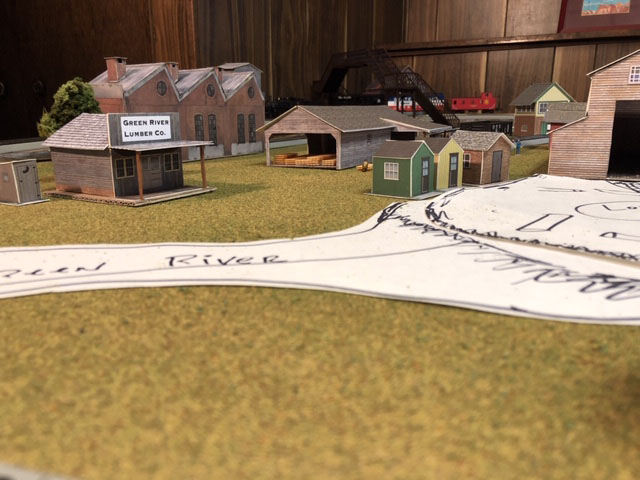
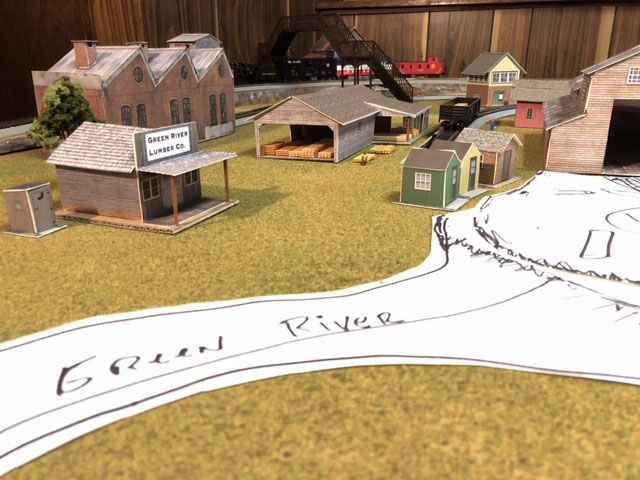
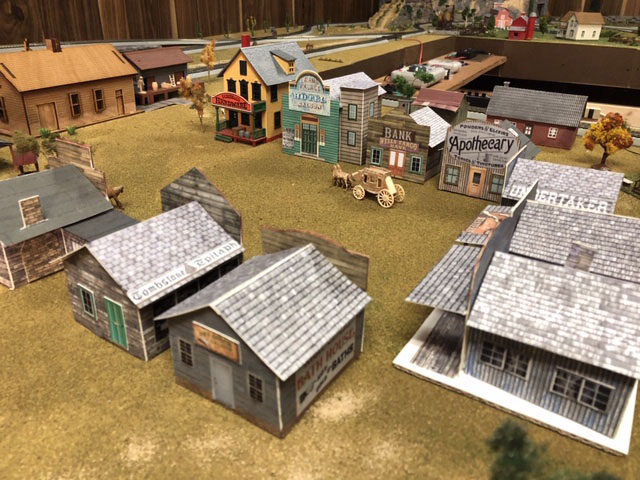
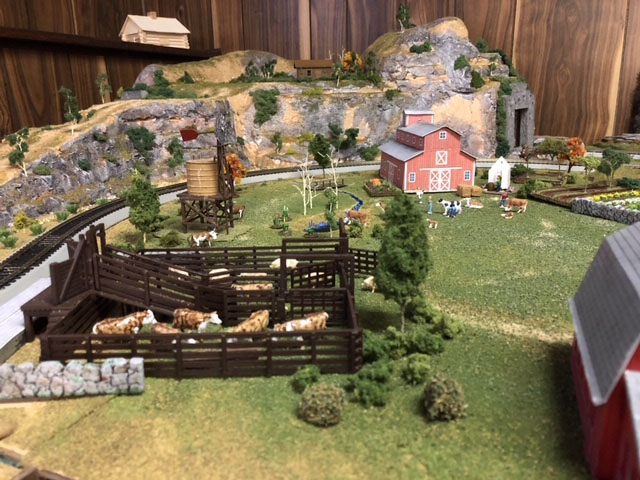
I justlove what he’s doing – his G scale is not only huge, it has bags of character:
“Hello Al and All!
My Garden Railroad (8 years in the making so far) shutsdown for the winter months.
If you want to see trains running, my post from last summer is here.
During the winter months I make buildings, vehicles, paint people etc… Here’s some of this winter’s projects, but first, here’s a problem I suspect not experienced by most model railroaders.
A recent wind storm took out the top of a tree and now I have a rather large tree limb hanging above my town with all those beautiful scratch made buildings.

It’s too high for me to get to. I guess I’ll have to wait for it to come down on its own and then repair whatever damage it does. (and stay out of the area on windy days!)
Now that the track and buildings are in place, this summer I’ll be putting in the roads.
I plan to dig a shallow trench the width of the road, mix about half soil and half of the small gravel I used for ballast and then pack the mix into the trench which will hopefully give the impression of a gravel road and withstand the effects of erosion.
BRIDGES
Last year I had to add several drainage ditches to help with wash outs. That created the need for three bridges. Yes they are narrow even for a single lane bridge, but I was able to make them from scraps leftover from other projects.
They are made from concrete board, treated lumber and a mix of leftover exterior house paint.
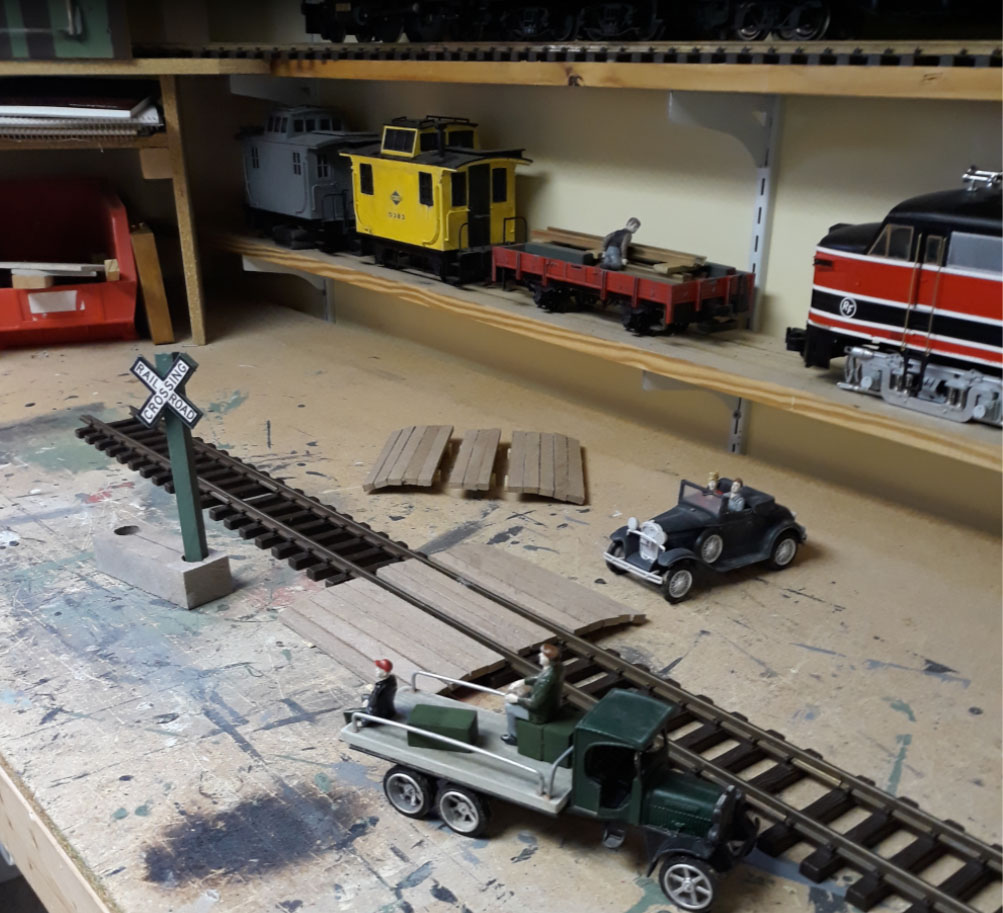
CROSSINGS
There are three locations where the road will cross the track. I had some scraps of composite decking lumber and decided to use that to make the crossings. Composite material is dimensionally stable, does not warp and tends to turn black over time due to mold. We’ll see how they hold up, hopefully I can leave them out year round.
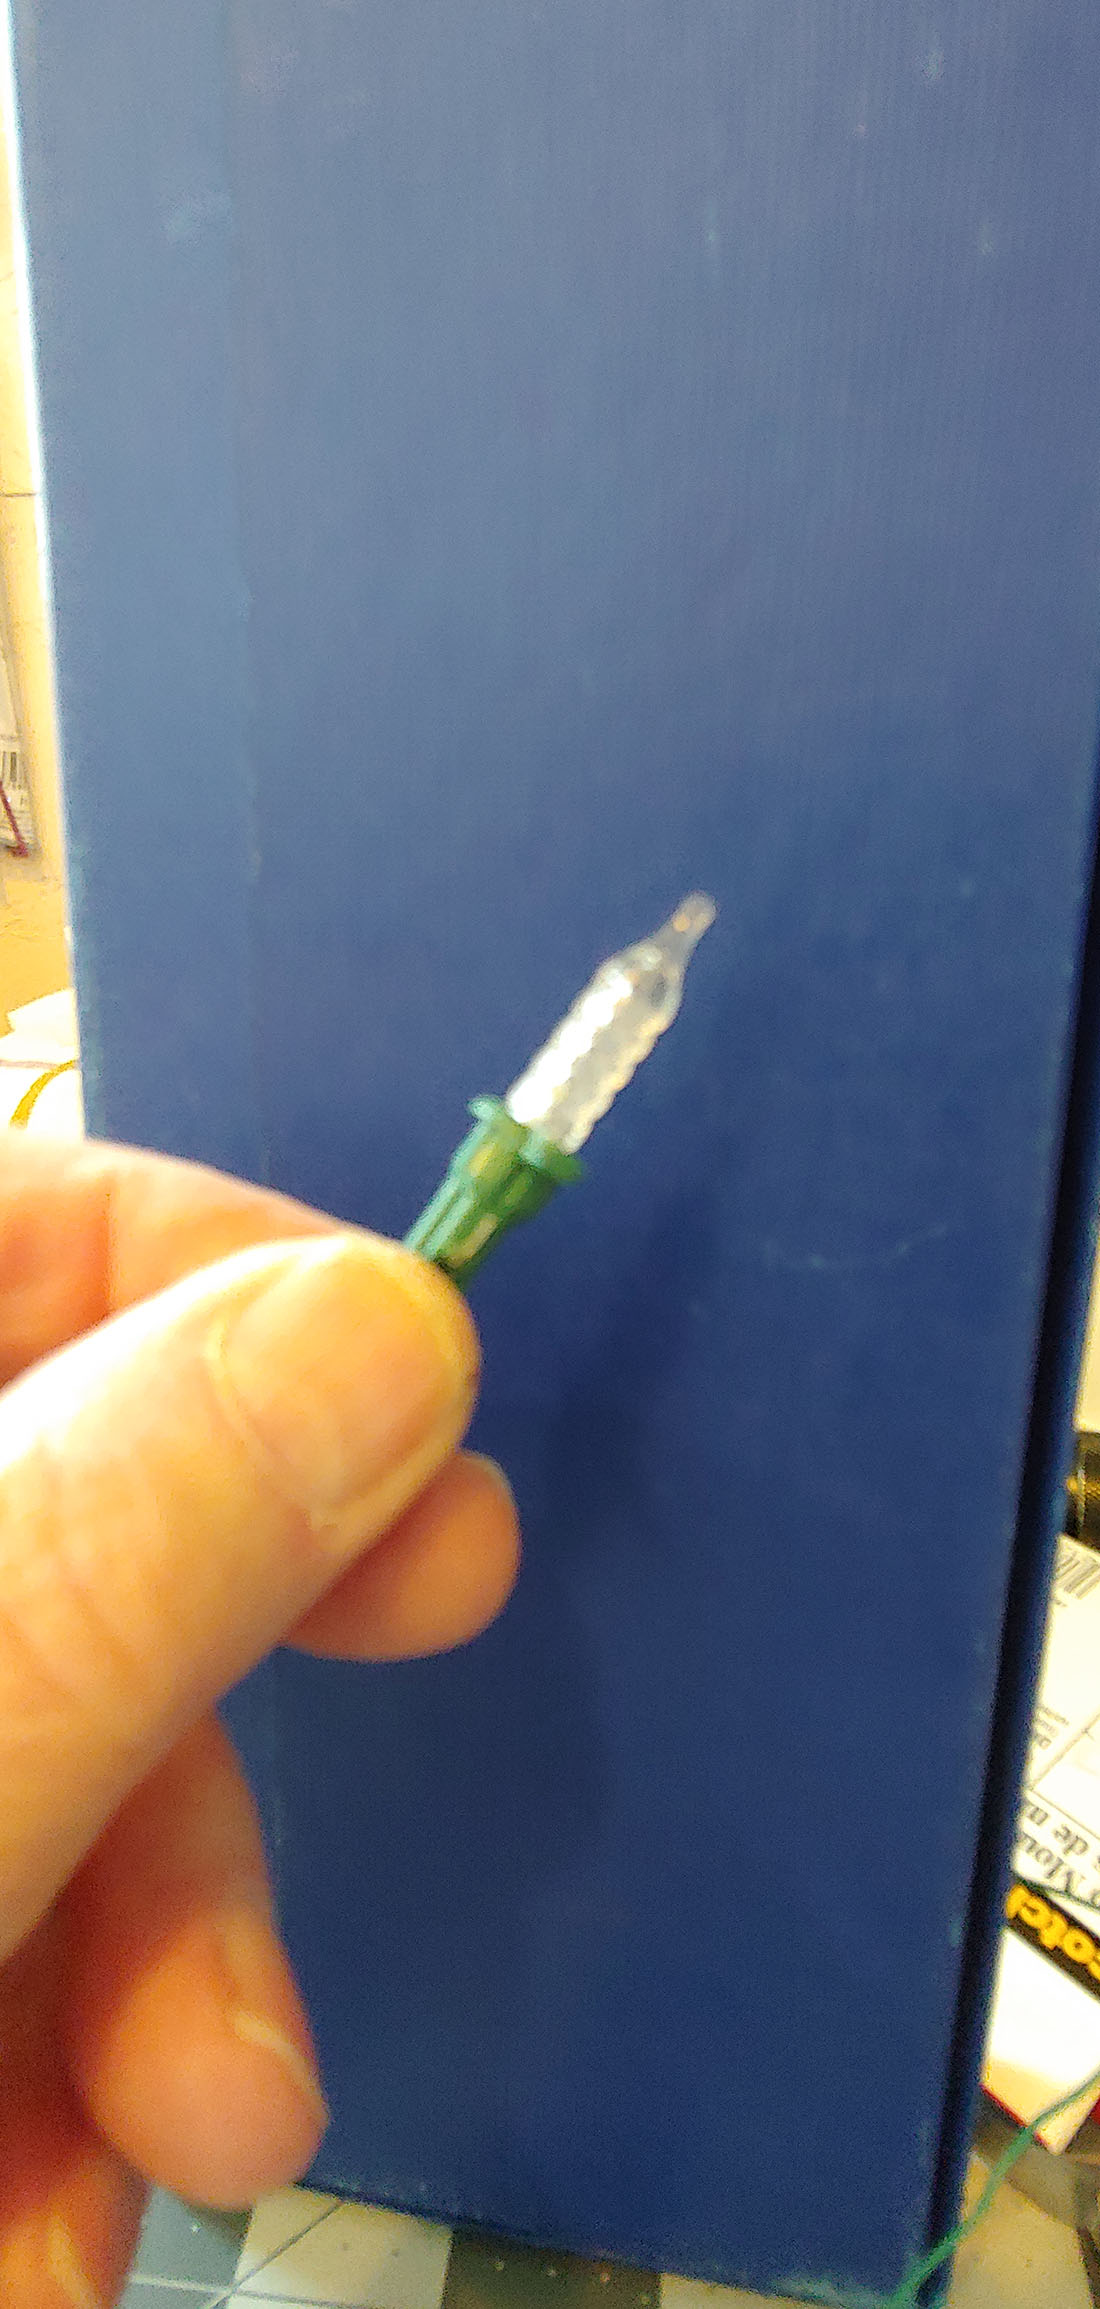
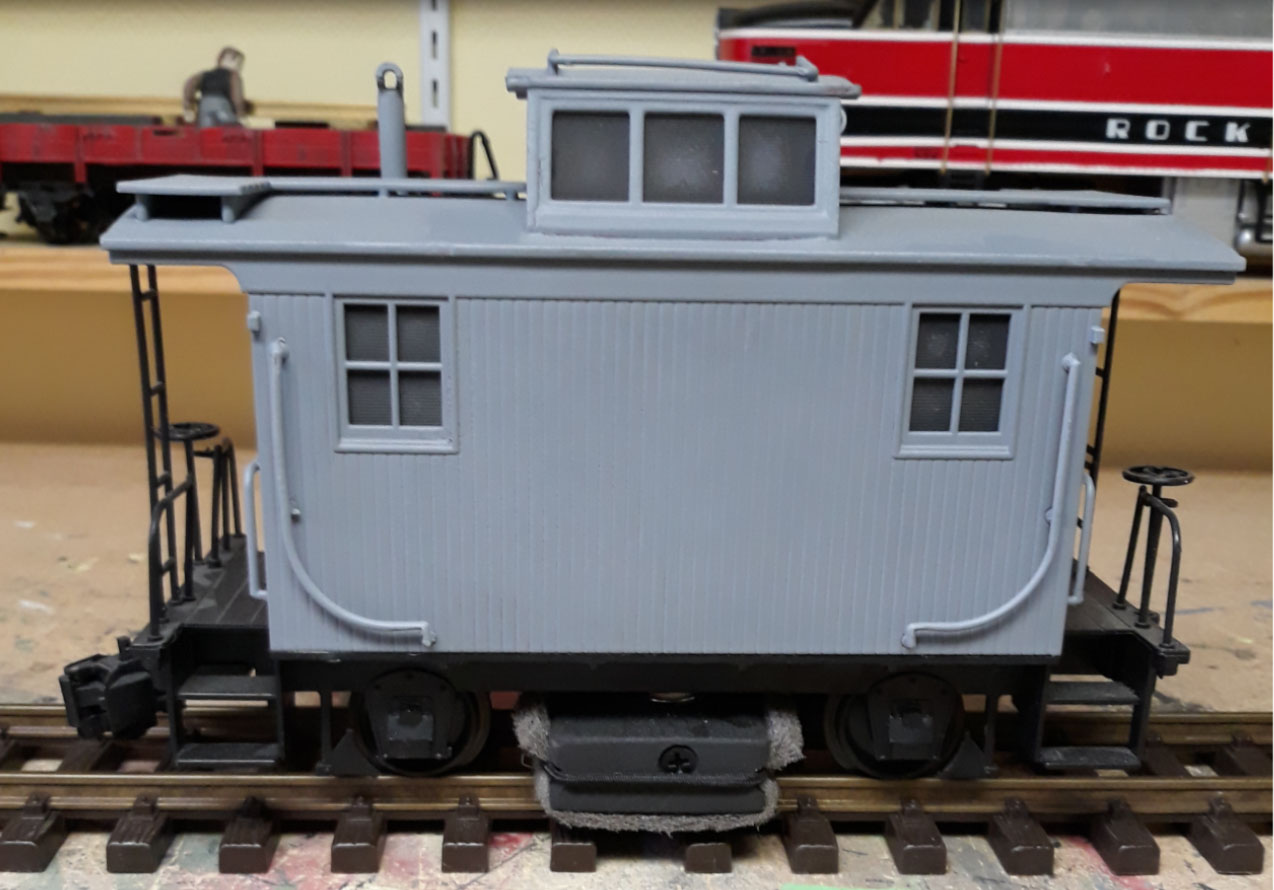
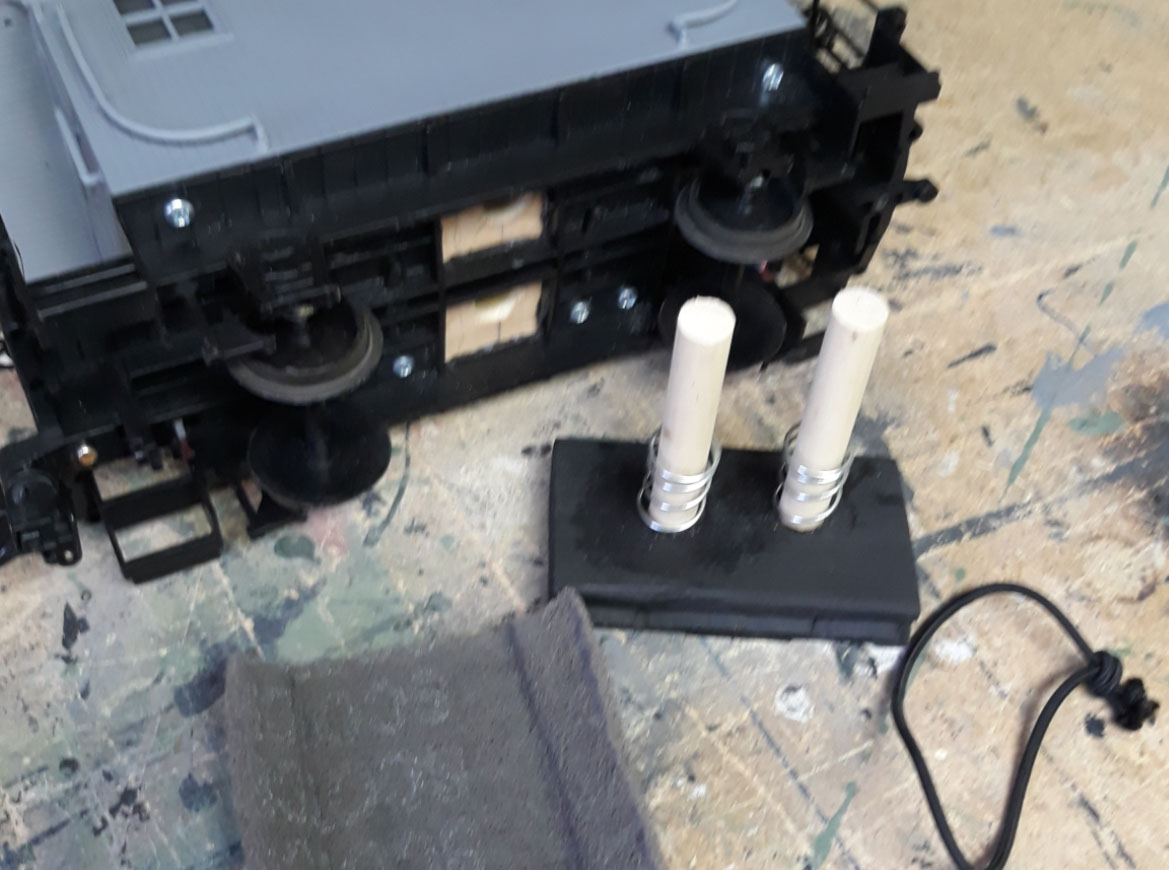
TRACK CLEANING CAR
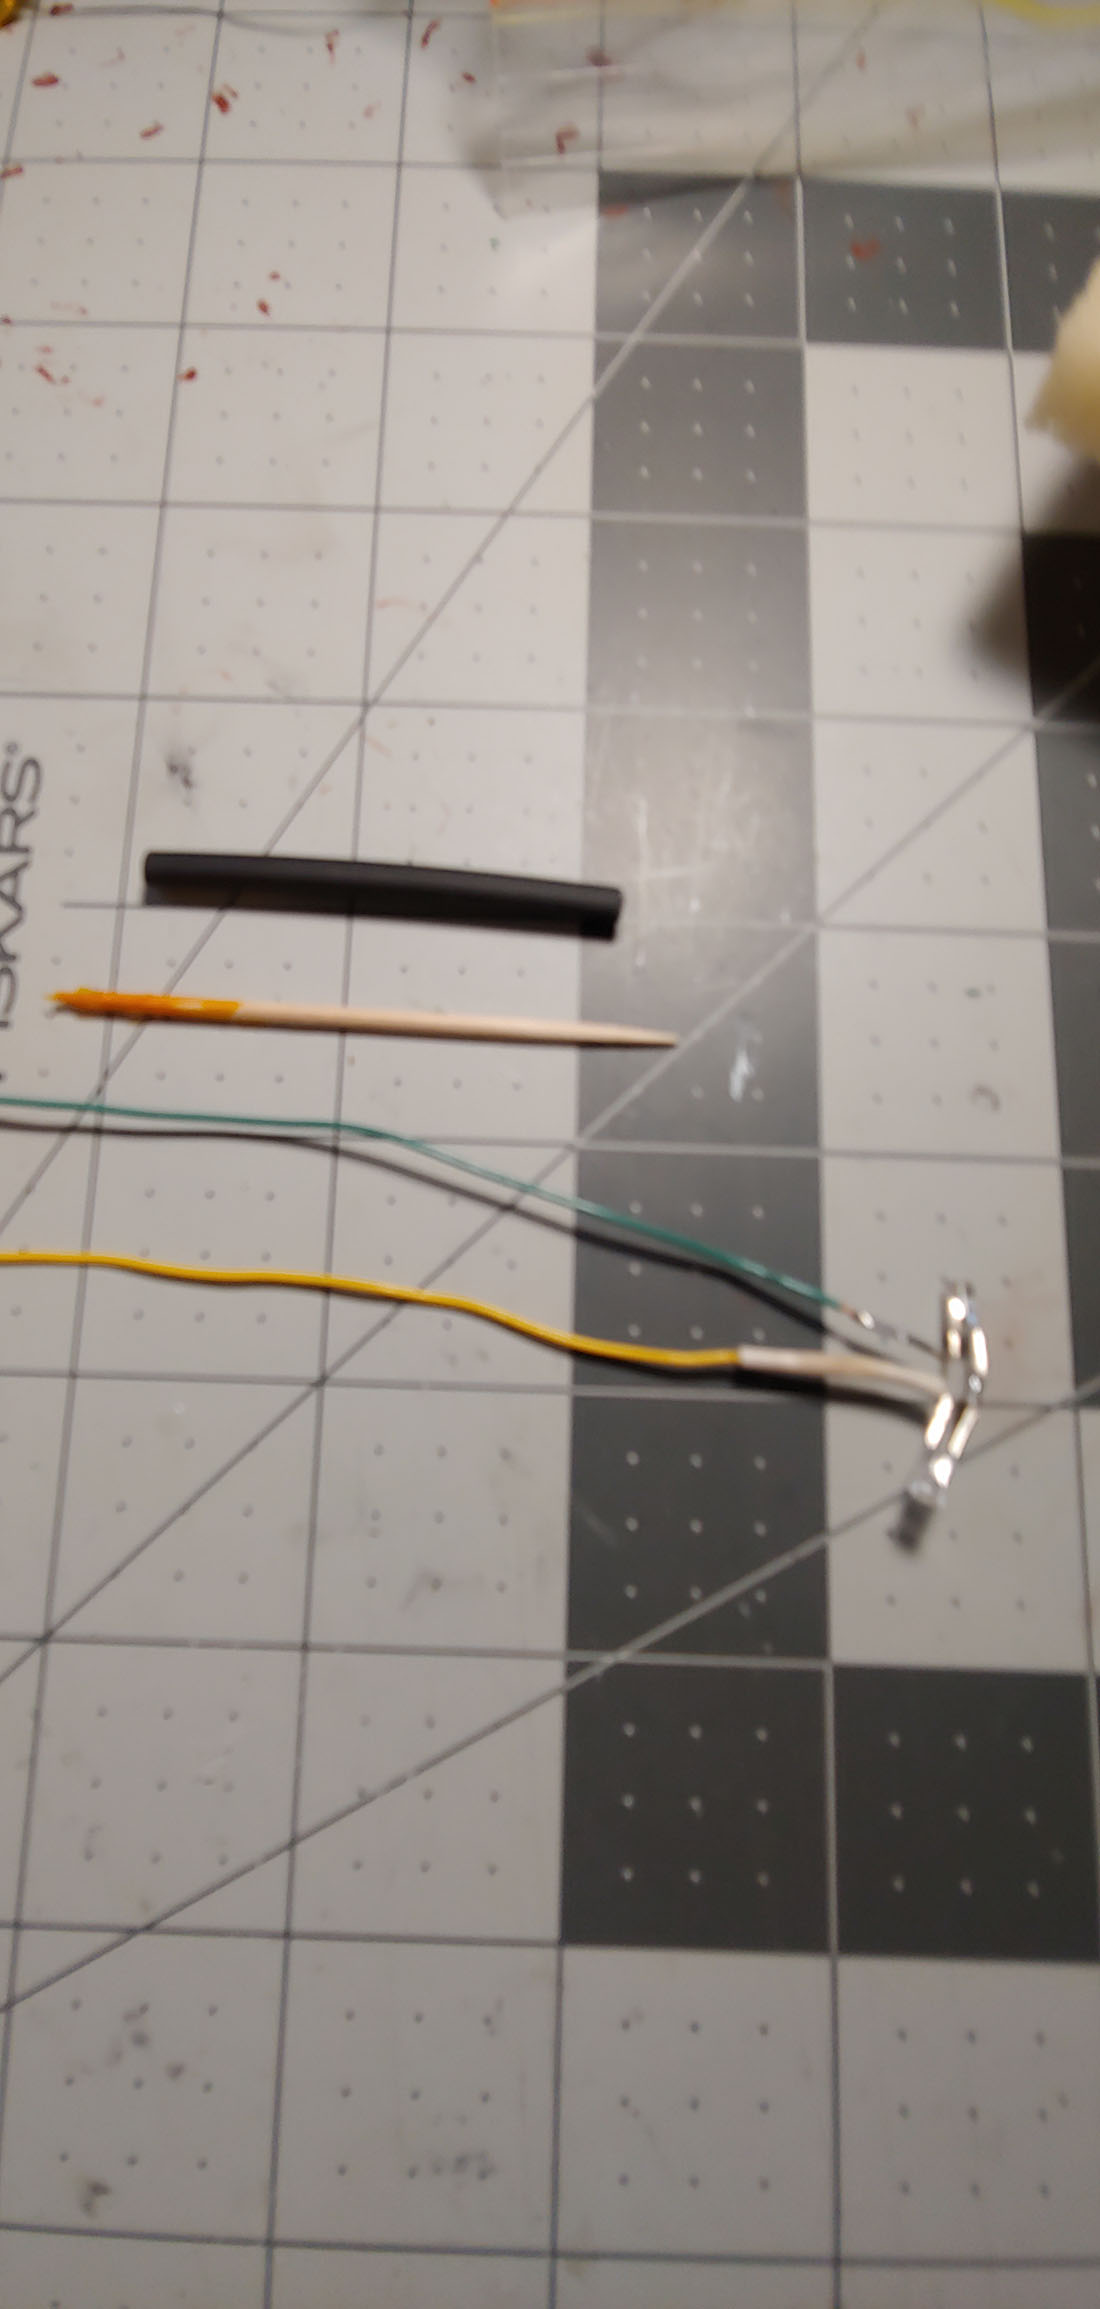
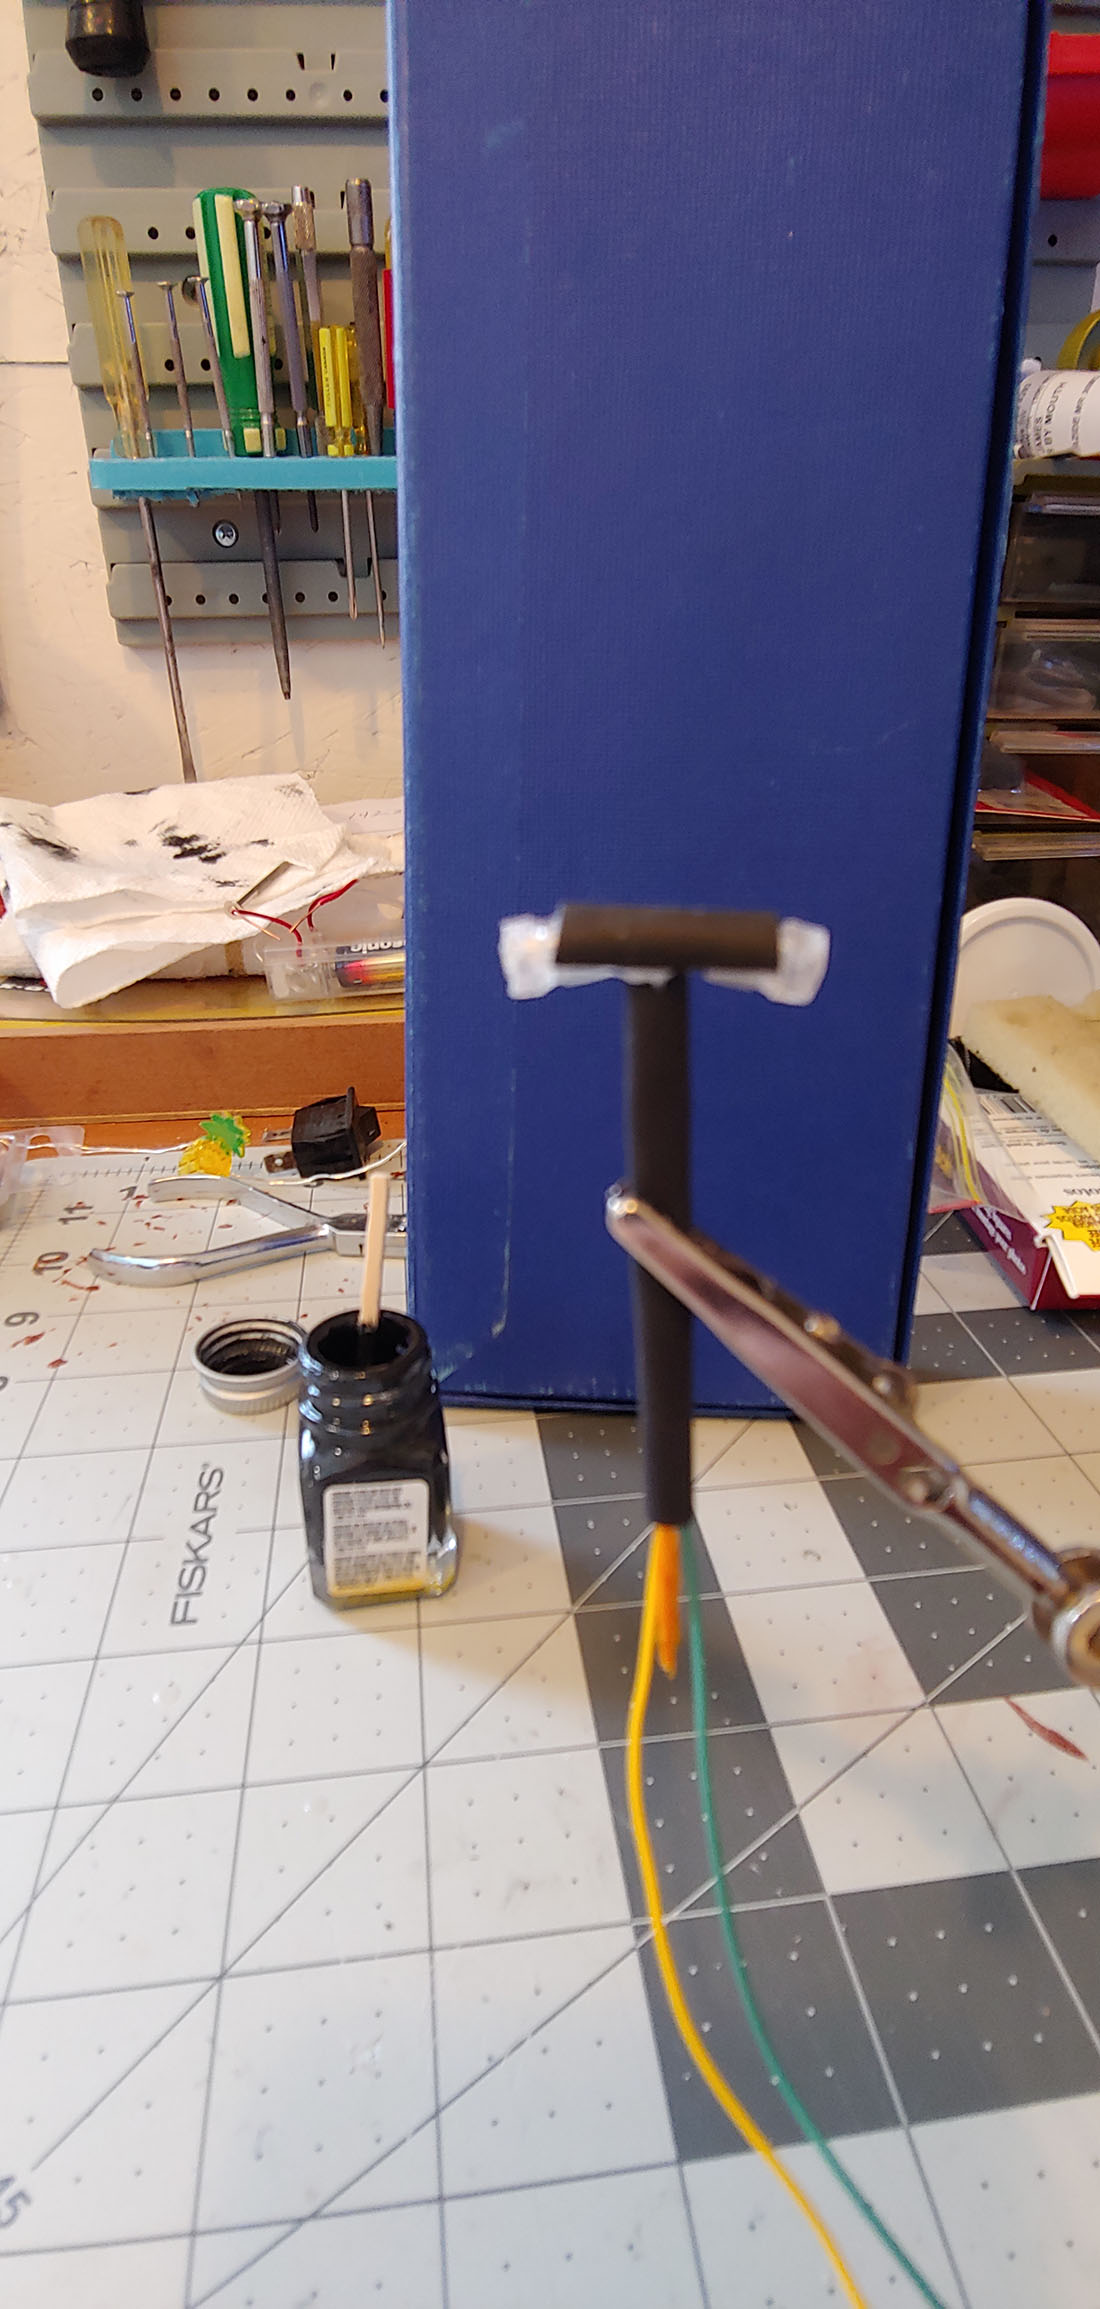
Of course the most worrisome thing about an outdoor model railroad is how in the world do you keep the track clean? So far I’ve been doing it with drywall sanding screens and a sanding pole.
It only takes 15 minutes to clean the 120 feet of track, but I have to clean every time I want to run trains. I think I’ll be experimenting with track cleaning for some time to come, but here is my first stab at it, my G scale track cleaning car.
I took a Bobber caboose, loaded it with weight and attached a spring loaded pad to the bottom with the idea that I can trial various materials on the pad. Of course the track must first be clean enough for a loco to pull the track cleaning car, but I hoping with frequent (labor free) cleaning maybe the labor part will be less.
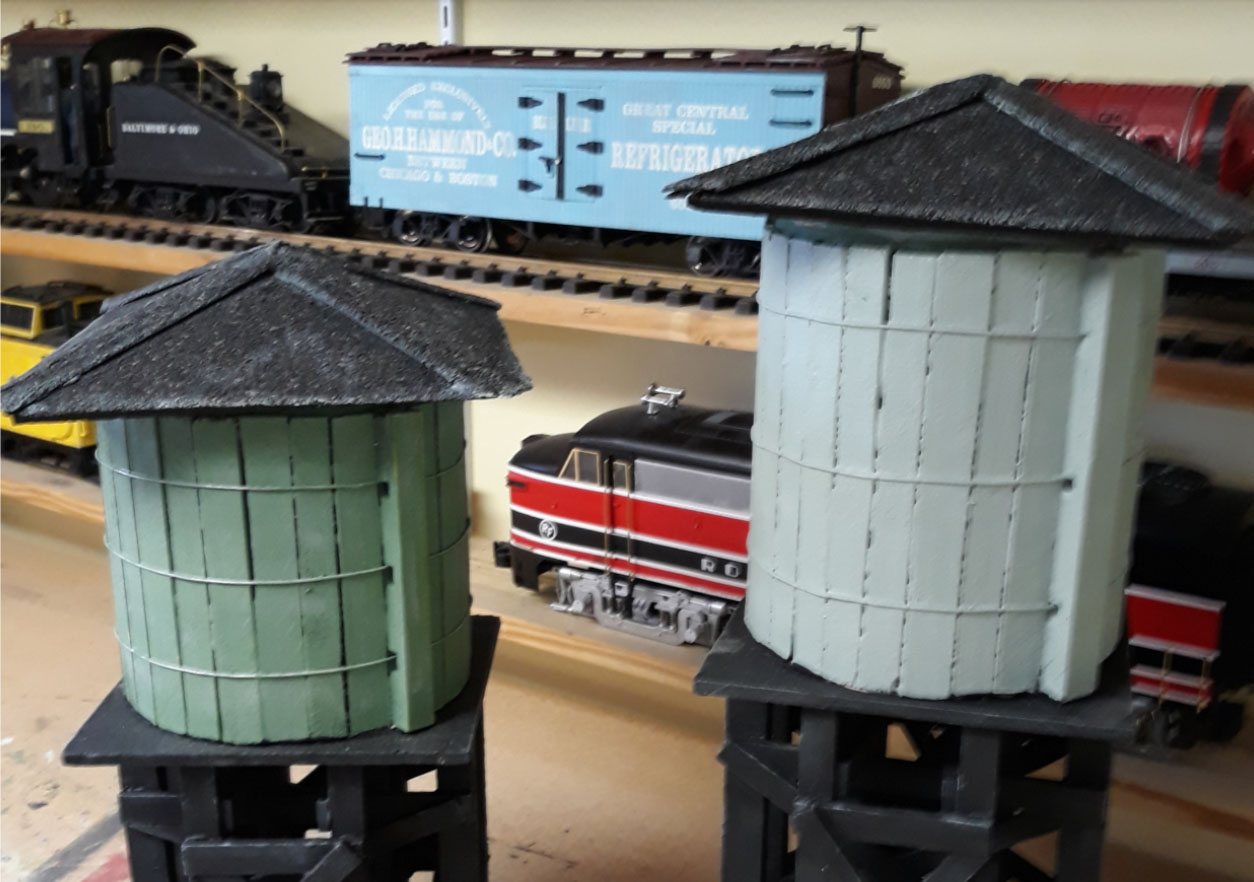
WATER TOWERS
I had already built several water towers for my layout, but I like the way they look and again they were free projects built from scraps.
I look forward to this summer’s progress and hope to send out a new video end of the summer.
Stay Safe Everyone and Happy Modeling!
Cary in Kentucky”
Now on to Ben. He’s come up with a wonderful idea, so I thought I’d publish it.
“Hi Al,
I thought I would share how I’m using elements of the hobby to help my Grandson, Travis.
Maybe other “Grandpas” out there are willing to try the following with their Grand kids.
My 7 year old Grandson, Travis, has a form of Autism.
Travis is an exceptional little man, with a sharp mind, curious spirit and a love for arts and crafts. In an effort to help him (and my daughter) keep busy with constructive activities while at home, I went to my workshop and put together the elements of a train diorama, about 16″x 16″.
I packaged everything he will need to complete the project, from plaster cloth to ground cover, rocks, track, glue and even an old locomotive and caboose.
I also created a set of pictures of how-to instructions.
Then I made a video that gave him a quick tour of my workshop, with a focus on the scenes I’ve created and ending with a challenge to him to make a scene with the package I was sending him. And of course, I added several minutes of the the trains running through my layout for his enjoyment.
I was a bit nervous, not sure if he would find any of this fun or interesting, but I just got word from my Daughter; he viewed the video last night, and was “enthralled” and very excited to get the package to begin working on this project. (appropriately named “Travis Junction”)
I’m hoping other Grandpas out there may view this and get the bug to do something similar for their Grand kids.
As always, thanks Al for maintaining this site and sharing everyone’s pictures and videos.
Ben, Chicago, Illinois”
That’s all for today folks. A big thanks Ben and to Cary for sharing his G scale track cleaning car pics.
Please do keep ’em coming.
And if today is the day you get started on your layout, the Beginner’s Guide is here.
Best
Al
PS Latest ebay cheat sheet is here.