Cary has been back in touch with his garden railroad.
Perhaps one of the things I enjoy most about my little blog is seeing a layout come to life over many months.
But some, take years.
Cary has been kind enough to post updates of his huge G scale project – he is in to year 6 now.
And I have to say, I’ve enjoyed every one of his updates (his last one is here), but this one is a real mile stone – his trains are running!
“Hello Al and All,
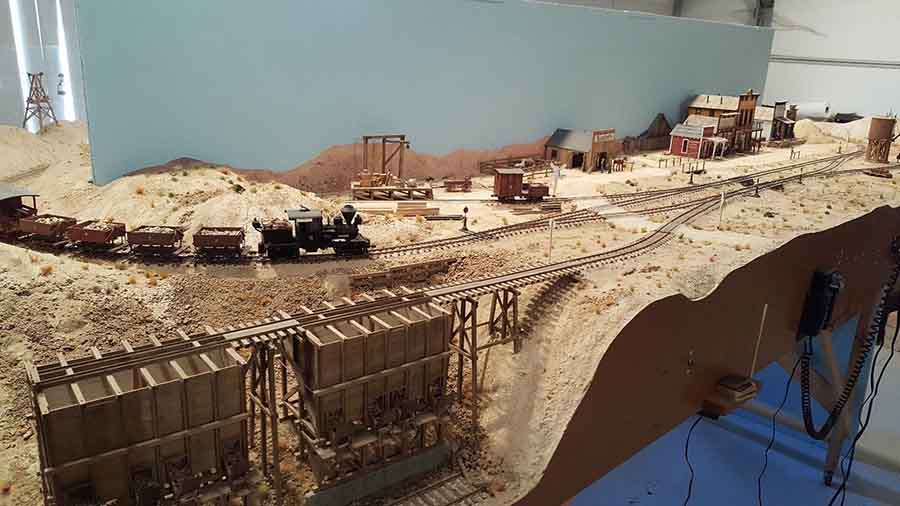
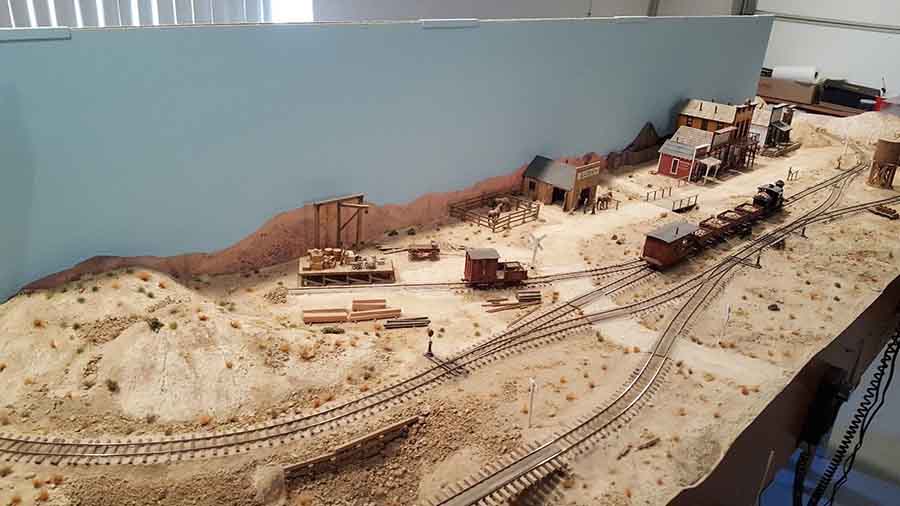
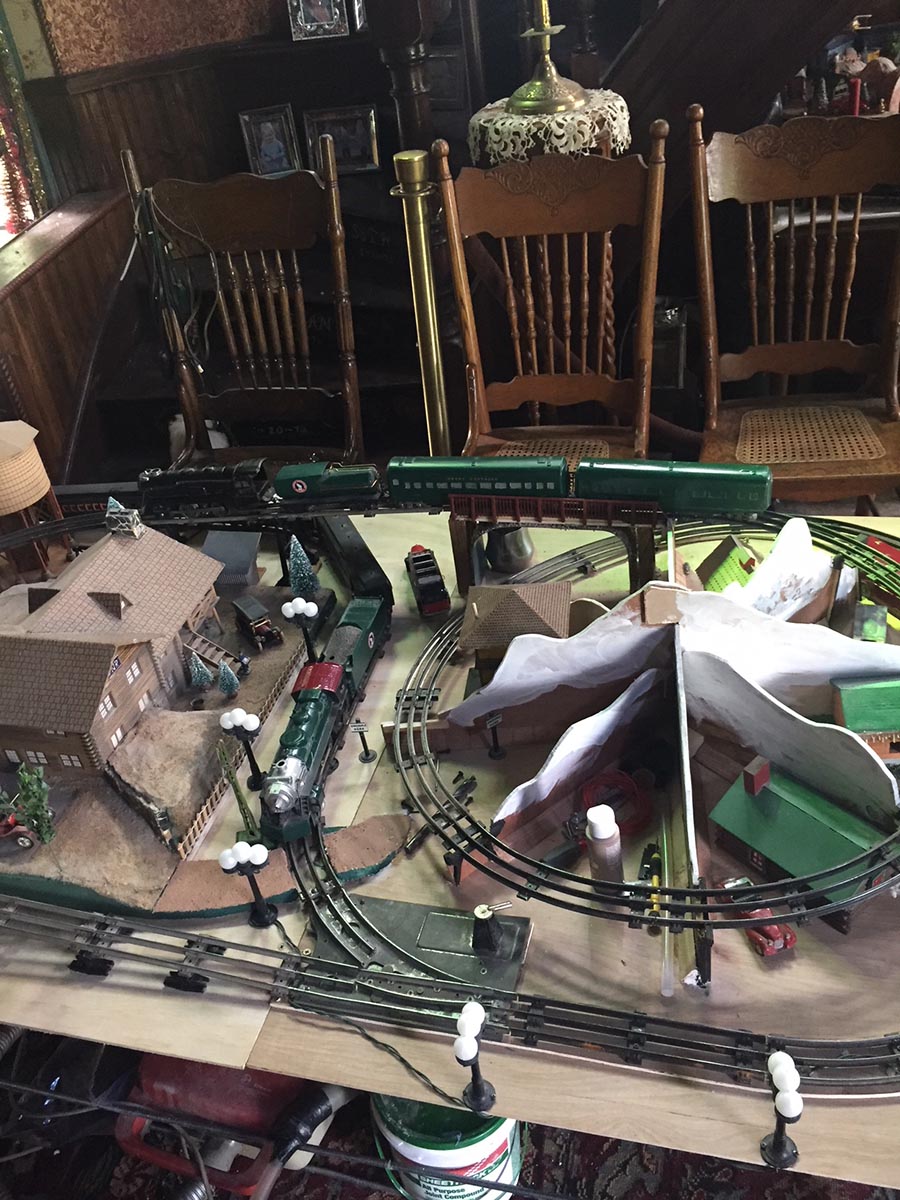
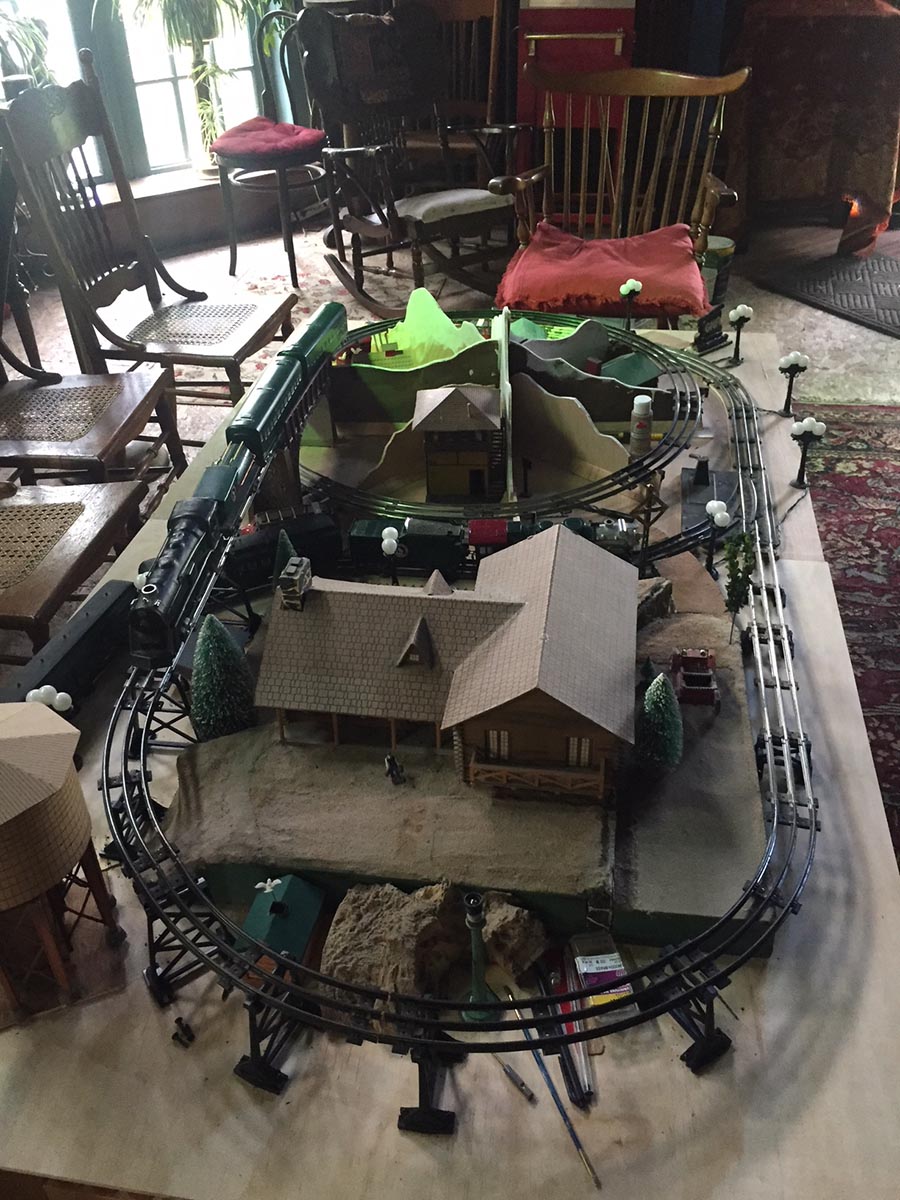
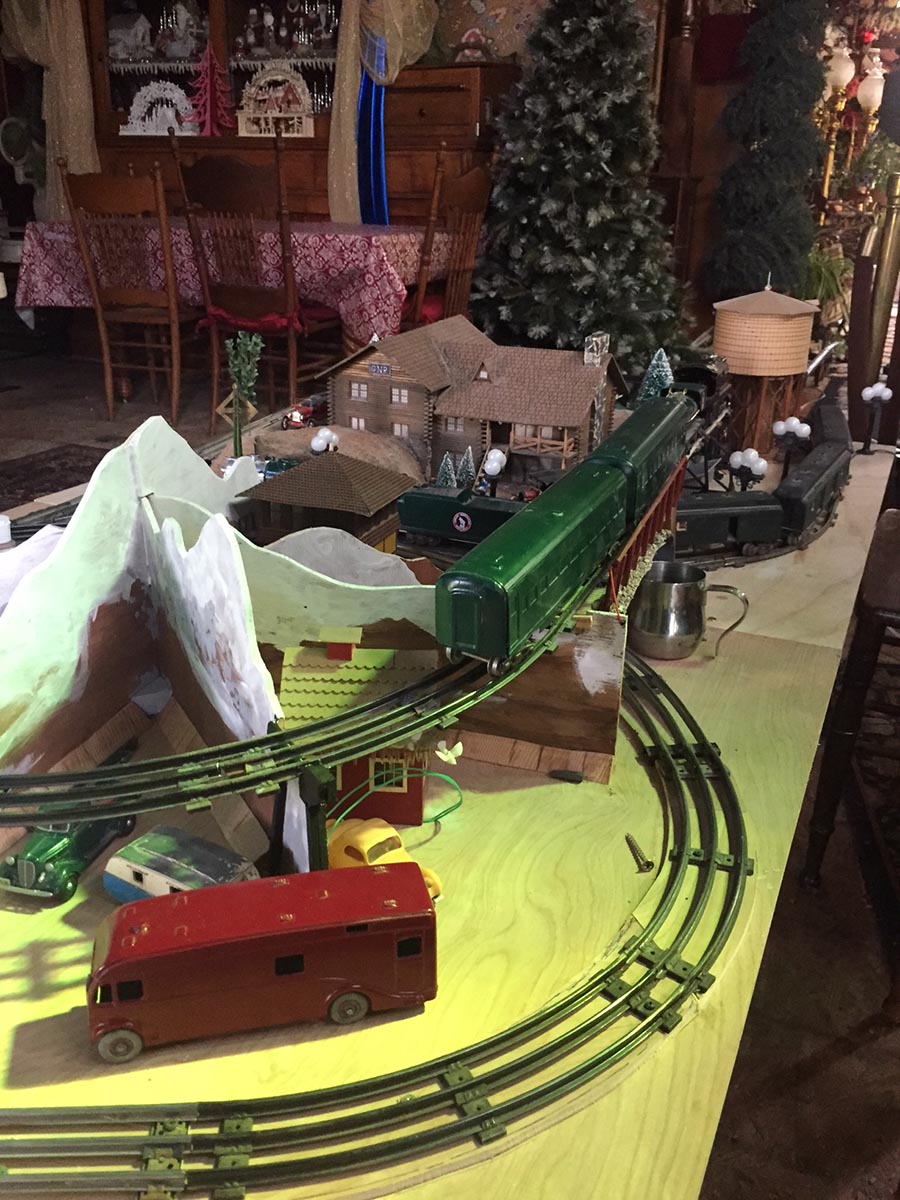
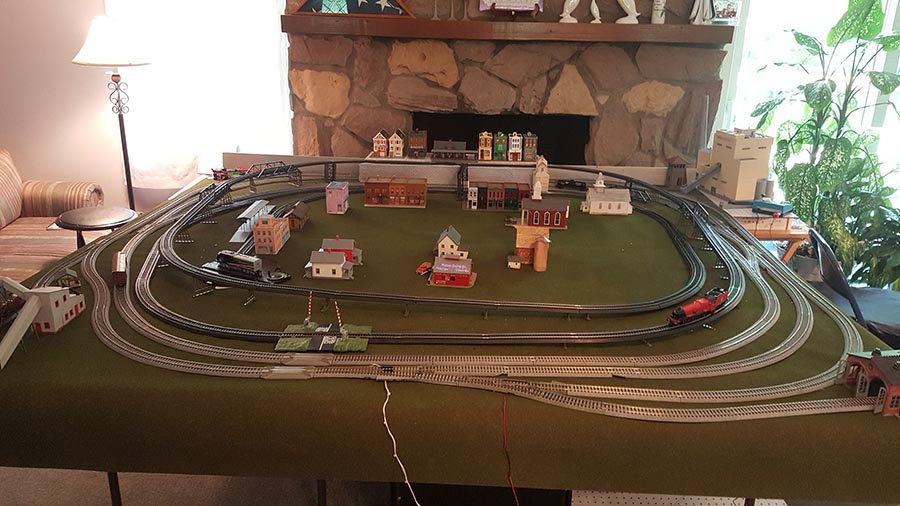
I/m six years into my Garden Railroad and finally got the main loop of track installed and trains running this summer.
My layout is approximately 60X20 feet and the main loop is about 130 feet of track.
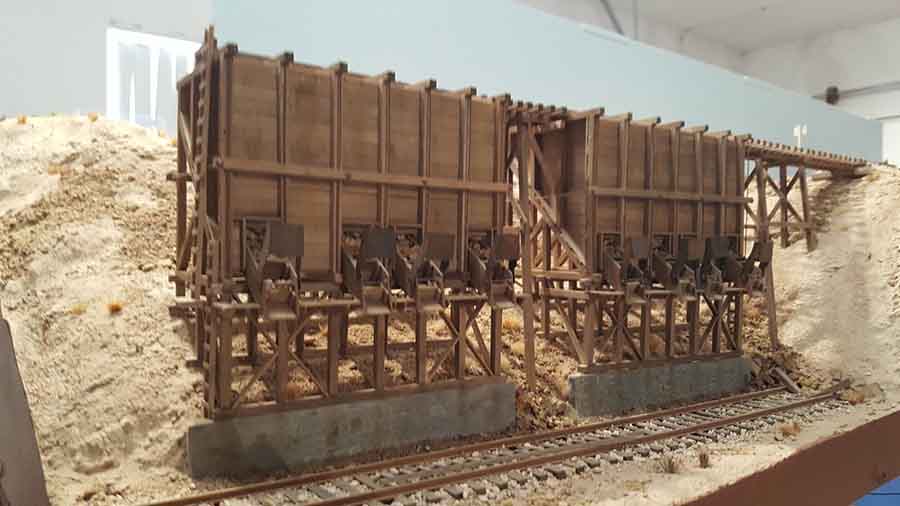
Track Bed: Last summer I used a trenching shovel to dig a trench 4 inches wide and 6 inches deep.
I lined it with landscaping fabric, filled with ballast and let it pack over the winter.
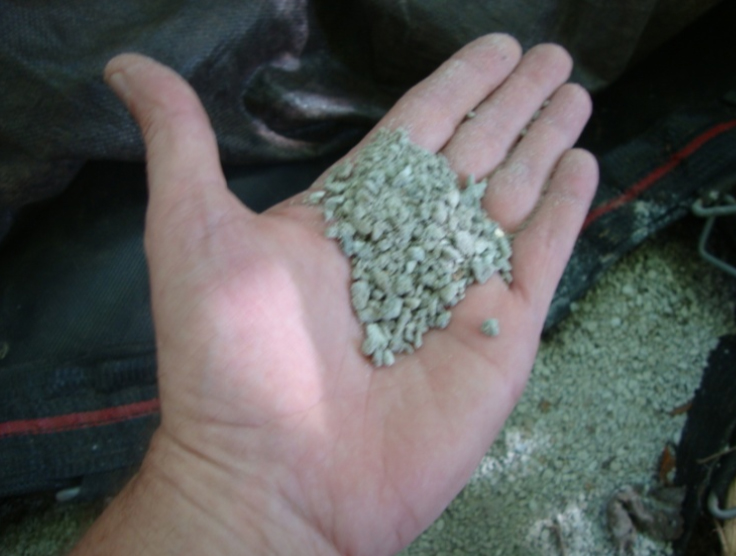
For ballast, I’m using something my local quarry calls “Manufactured Sand” I’m happy with this material, it packs well and does a great job holding the track in place. It’s also easy to adjust the track if needed.
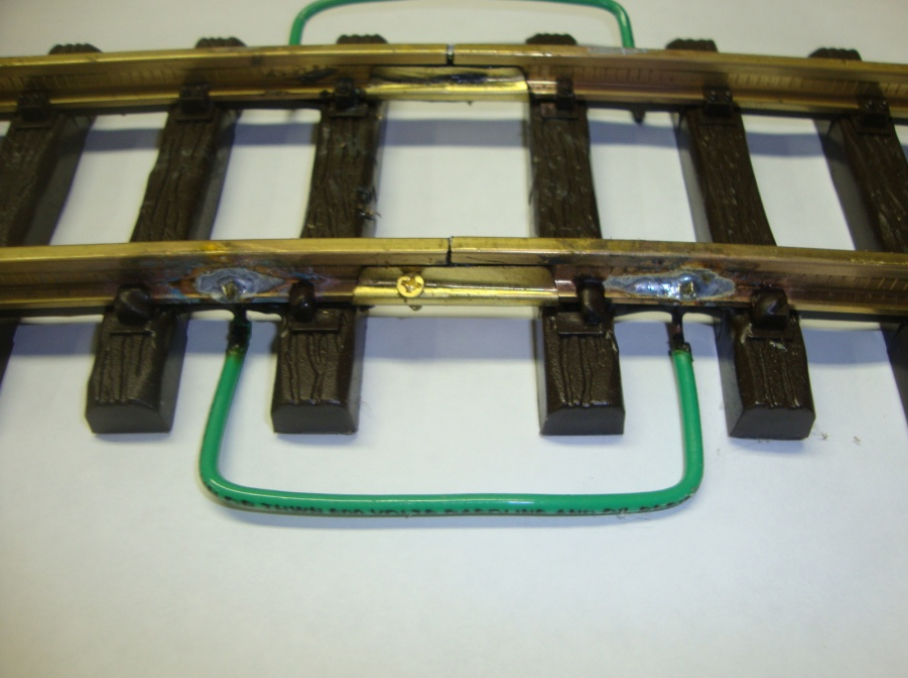
I spent a lot of time this summer joining track sections. I assembled the pieces into 8-10 foot lengths in my garage leaving jumpers wires extended on both ends. I then carried them out to the site and used water proof wire nuts to connect the wires.
I soldered jumper wires across each small section by drilling a 5/64″ hole and inserting a 14 gauge wire. I used my propane torch to solder the connections (after careful cleaning and applying flux).
I also used a #2 brass screw to hold the sections together. Yes the torch did some damage to my track ties but with some practice, damage was minimal. I’m also squirting some conductive grease into each joint prior to assembly. During my initial road trials this summer, I had no issues maintaining continuity through the track.
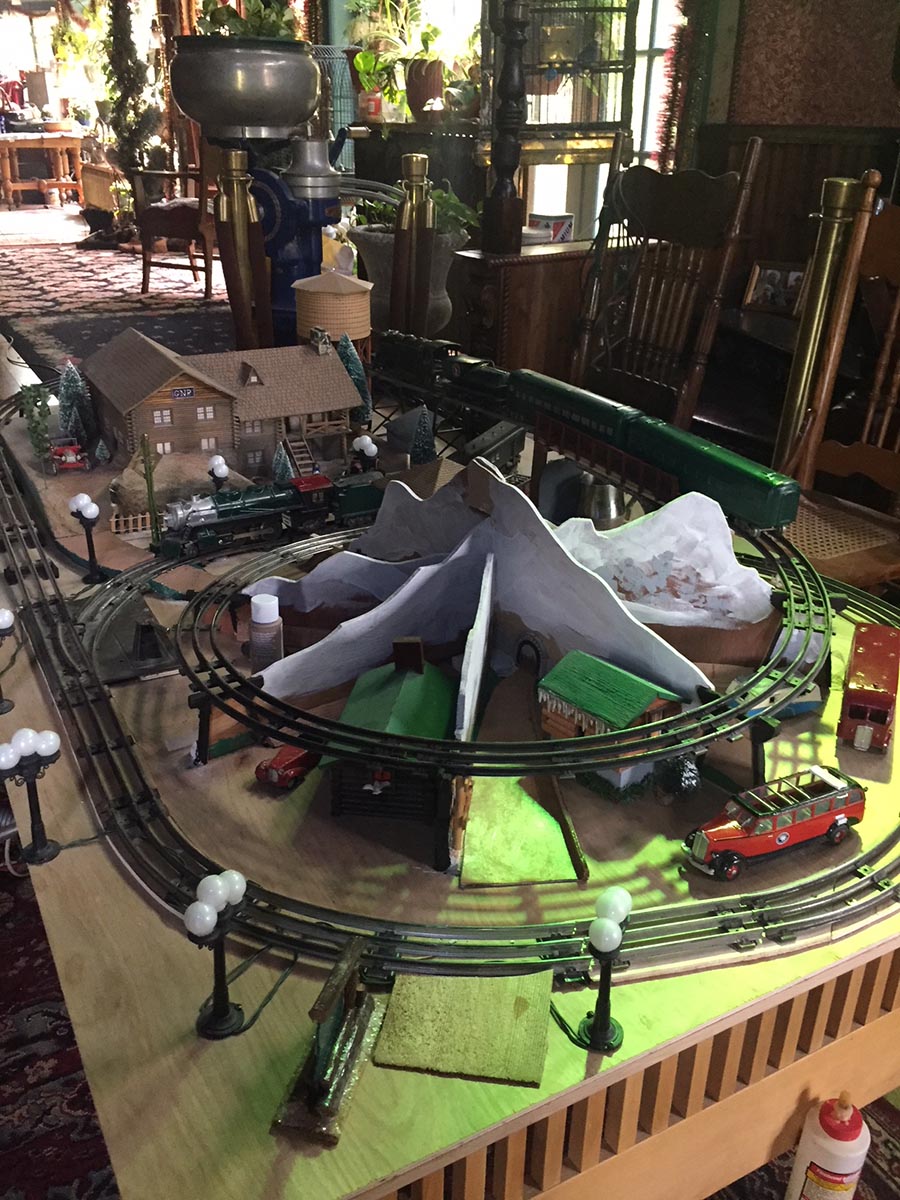
The main loop of my garden railroad track rises about 12 inches from the low point (operator's station) to the high point (just behind the pond). I used a level with a carefully sized wood block spacer on one end to maintain a maximum 3.5% grade although I think it's a little steeper in some areas. My Locos are doing OK pulling the hills but I I'll be making some adjustments Spring to at least improve the appearance.

I’m using an MRC 10 amp/ 24Volt DC power supply with only one track connection so far. It seems to be working fine with no voltage drops at the far end of the layout. At 50% throttle the track is 12 volts on level grade, but drops to 8V when pulling those hills. I’ve considered running a feeder wire to the far end but at this point don’t see the need.

Garden railroad track Cleaning: I know most garden railroaders eventually go to battery power, but I'm going to try my best to stick with track power.
I can have trains running great one day and the next morning I have to clean the track.
I don’t think it’s oxidation on the track, just the morning dew with dust, pollen etc.. from the trees.
I first use a broom to sweep debris off the track and then use a fiber mesh drywall sanding pad which leaves no scratches on the track.
I can clean the 130 feet of track in about 20 minutes. I think a scratch built track cleaning car is something I’ll be investigating further .
First I want to try some different manual methods to see what works best. I hear that swiffer brooms work well but have not yet tried it.
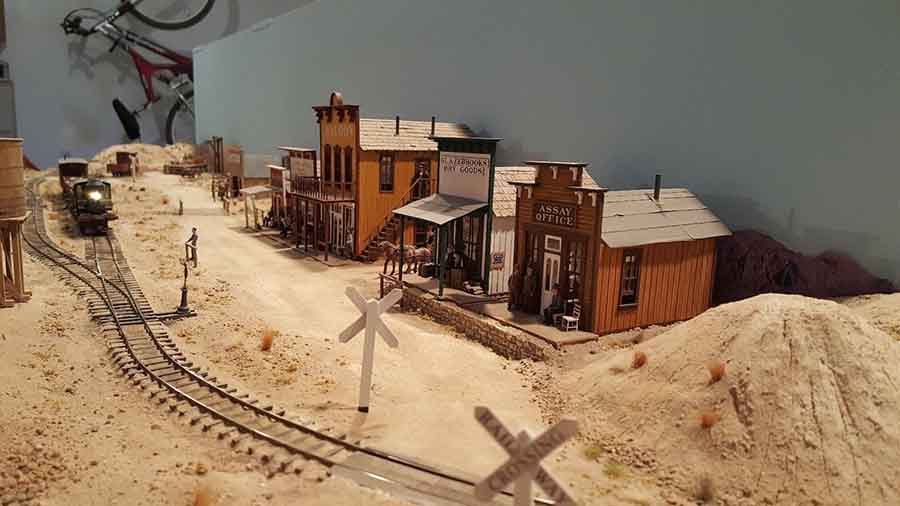
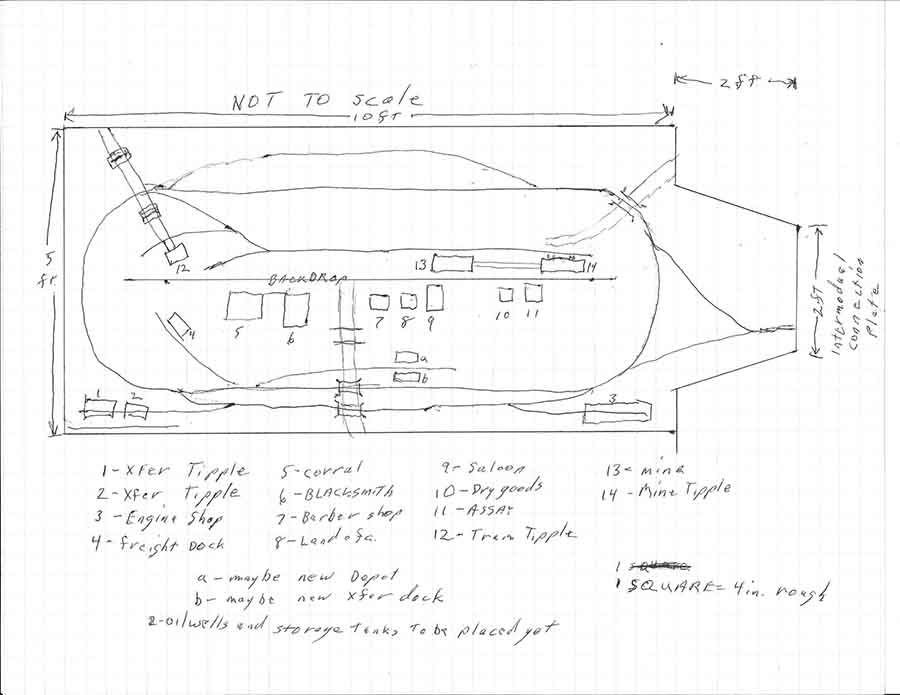
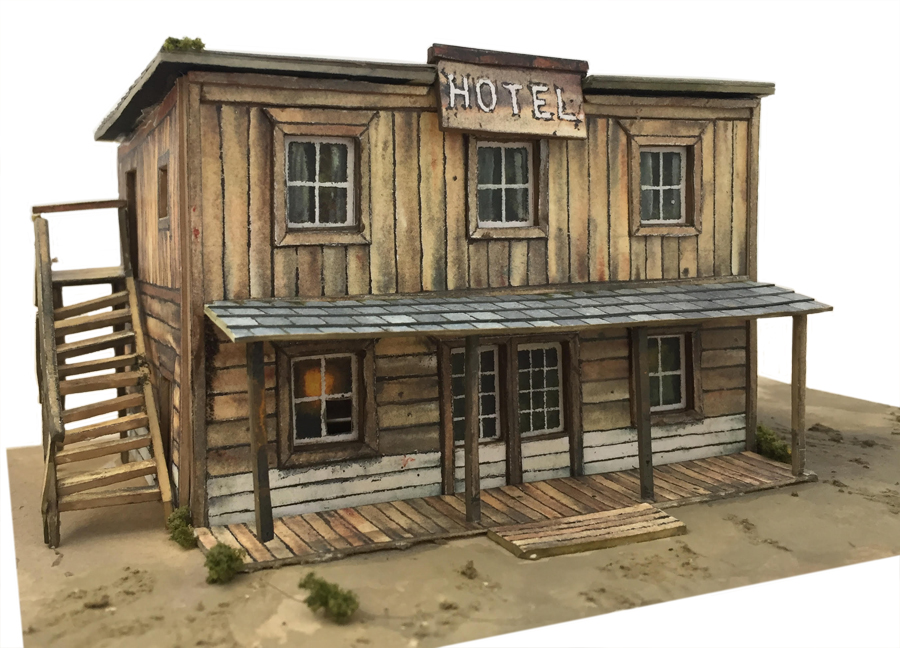
Well it’s time to hang up my shovel for the summer and turn my attention to some indoor projects like making more buildings and planning the train yard.
Once again, thanks for all that you do to promote the hobby.
I love seeing everyone’s projects and being able to share mine with people who have the same passion is something I really look forward to.
I had a lot of fun putting this video together, I hope everyone enjoys it.
Happy Modeling!
Cary”
I can’t thank Cary enough for sharing his garden railroad progress. Hope you enjoyed it as much I did.
Now on to other stuff.
Yesterday I posted about a backdrop download, and Andy weighed in with this fine tip:
“Al, short suggestion. Your info on printing backdrop banners was missing one important instruction. Office supply printers print banners in both high-gloss and matte finishes. You need to specify matte for the backdrop to look realistic.
Andy”
Thats all for today, folks. Please do keep ’em coming. And if any of you see some HO chaps, please do wake them up. It’s all gone very quiet on that front.
I’ll finish with this thought. Cary is 6 years in to his layout – so if you’ve ever mulled over starting a layout, take a page out of Cary’s book and start!
Course, I’m biased, but the Beginner’s Guide is an excellent first step.
Best
Al