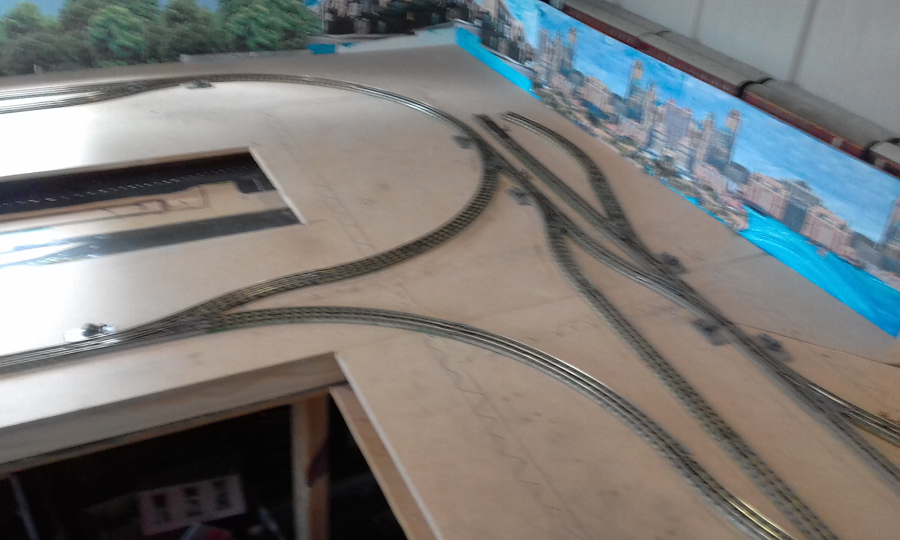
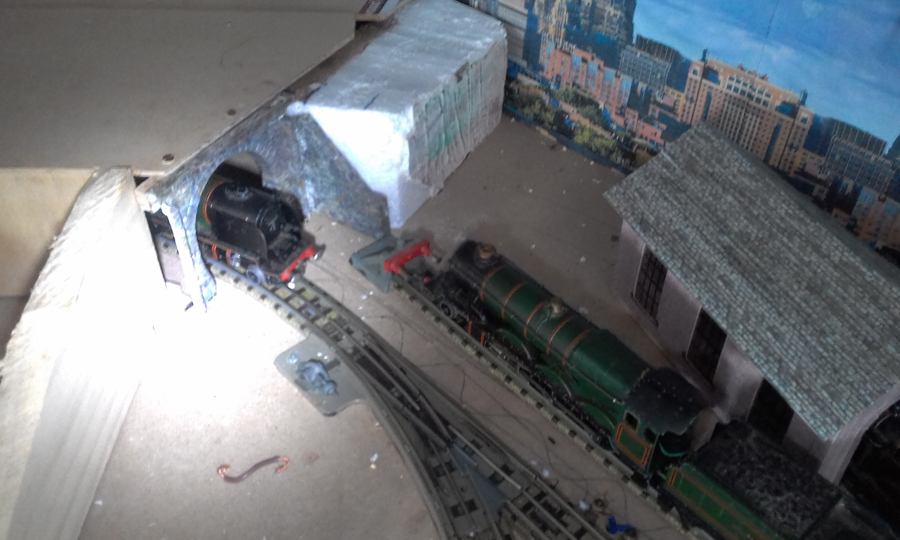
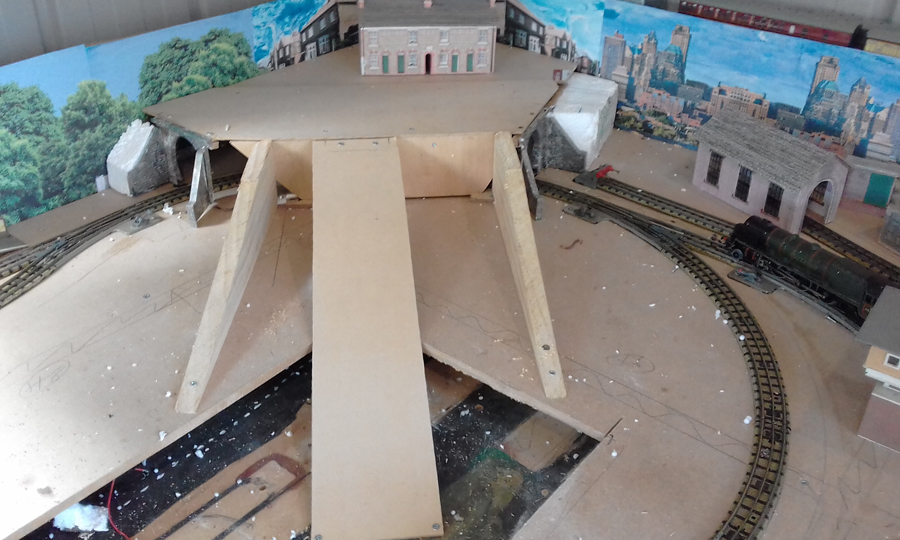
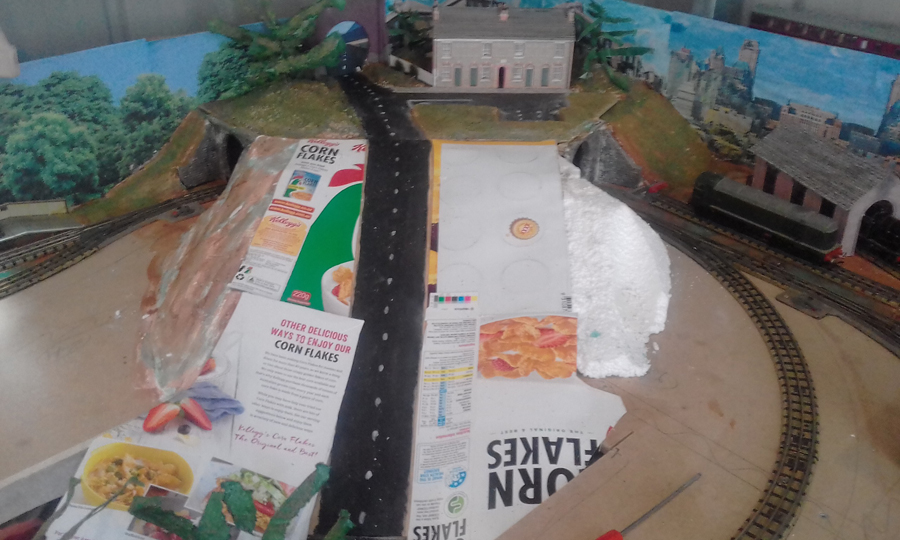
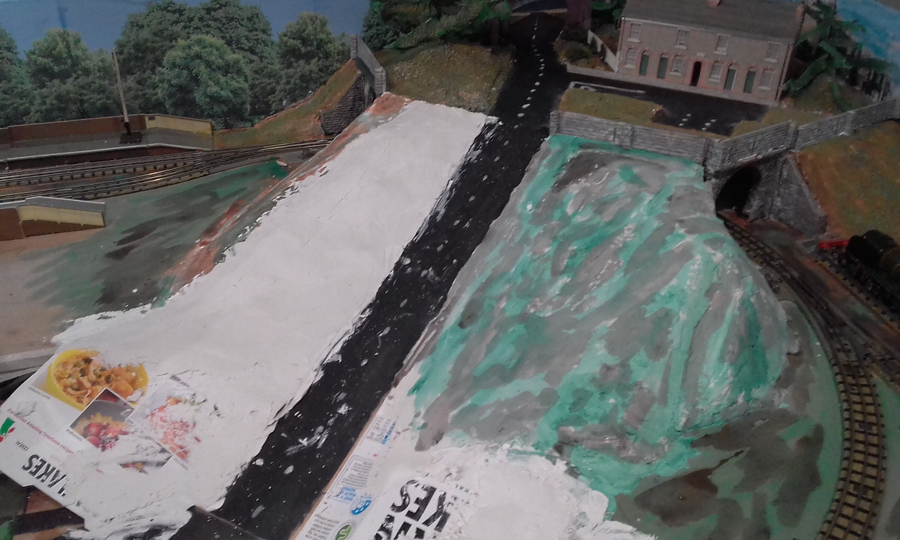
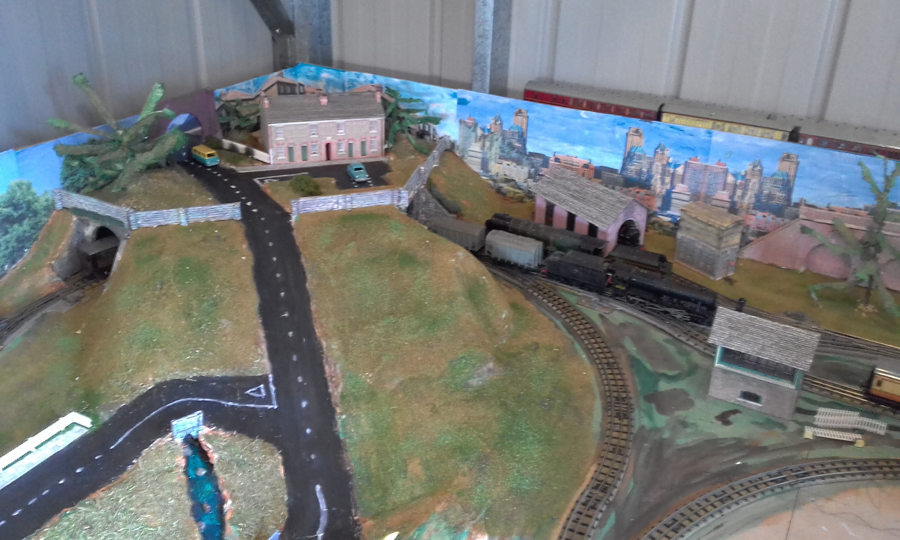
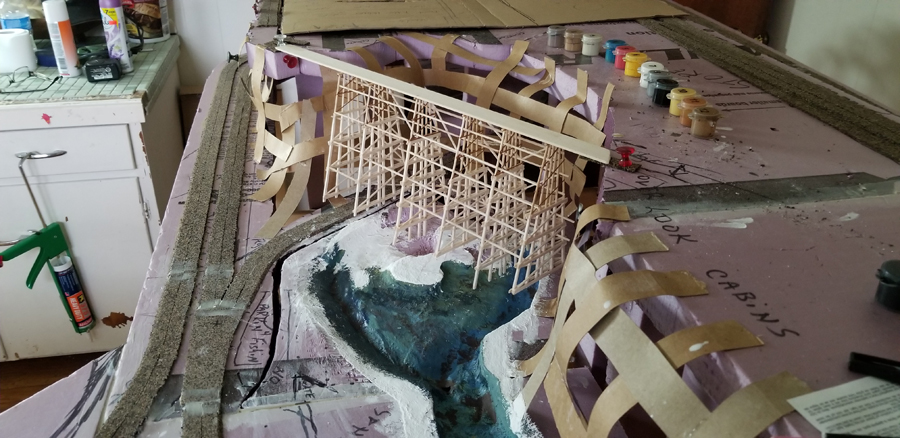
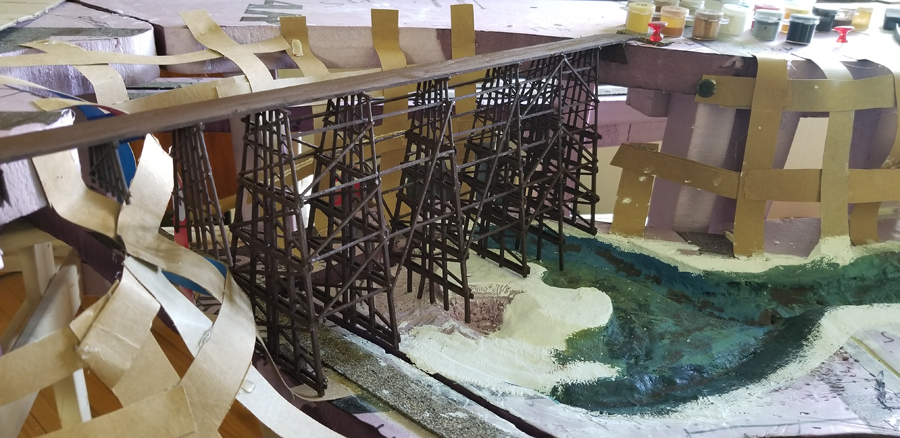
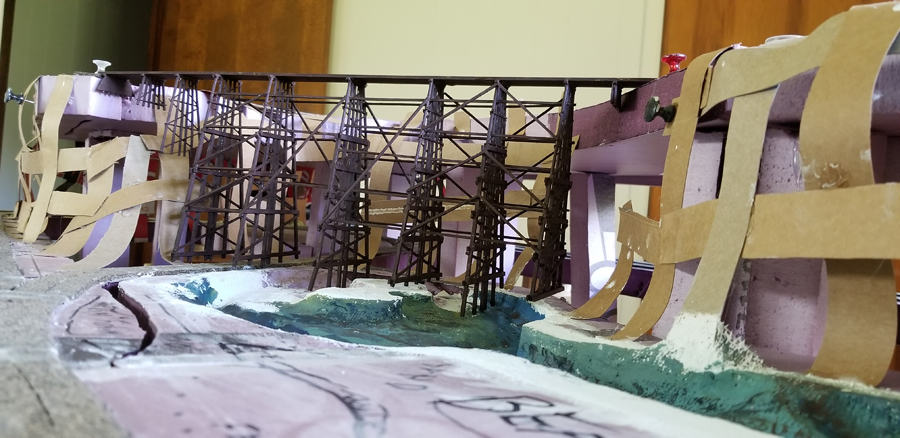
Paul’s been in touch with his HO scale 4×8 layout:
“Hi Al,
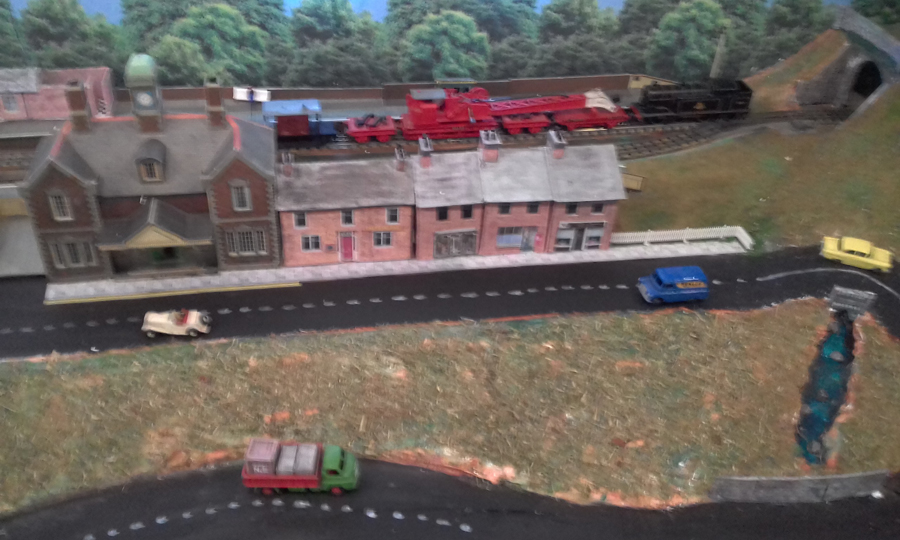
I thought I would send you a movie clip of my 4×8 layout.
It has two separate rail systems running. The lower rail is DC while the upper rail is NCE DCC. I have a MTH Dash 9 running at the same time as a Mantua 2-6-6-2 Steamer.
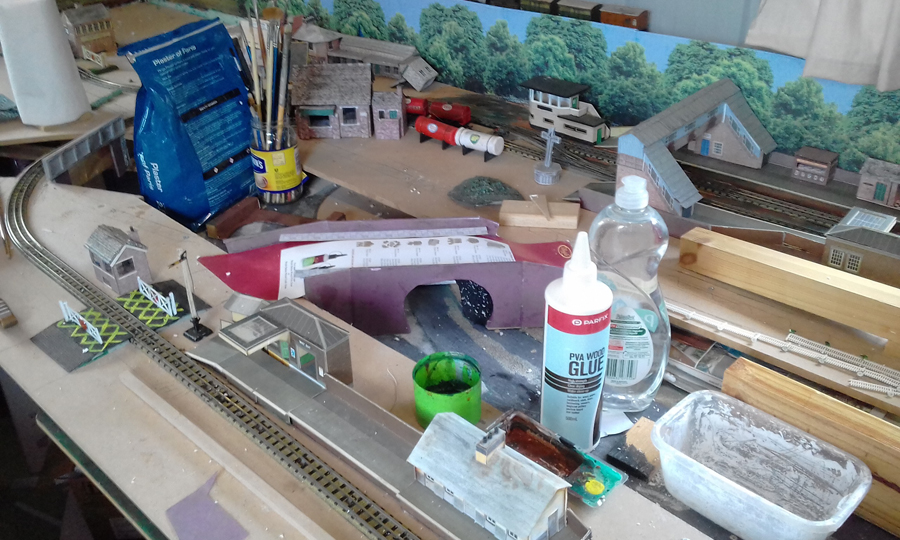
I started building this setup on Dec 1, and finished as shown by April.
My wife is an artist and she helped with the colors, textures, and ideas. She also did the painting at the rear of the lower layout section. Currently I am setting up my basement for a larger layout.
I can’t believe that at 75 I would be starting on this endeavor, but I have been encouraged by your daily blog and seeing all that others have accomplished.
Thanks for all your help.
Sincerely, Paul, Northport, NY”
(You can watch the larger version on youtube here.)
Here’s a collection of 4×8 layouts too:
And Brian’s been in touch again to answer a few questions on his layout (his post is here):

“Hi Alastair
Thanks to all those who posted encouraging comments on my layout, very much appreciated.
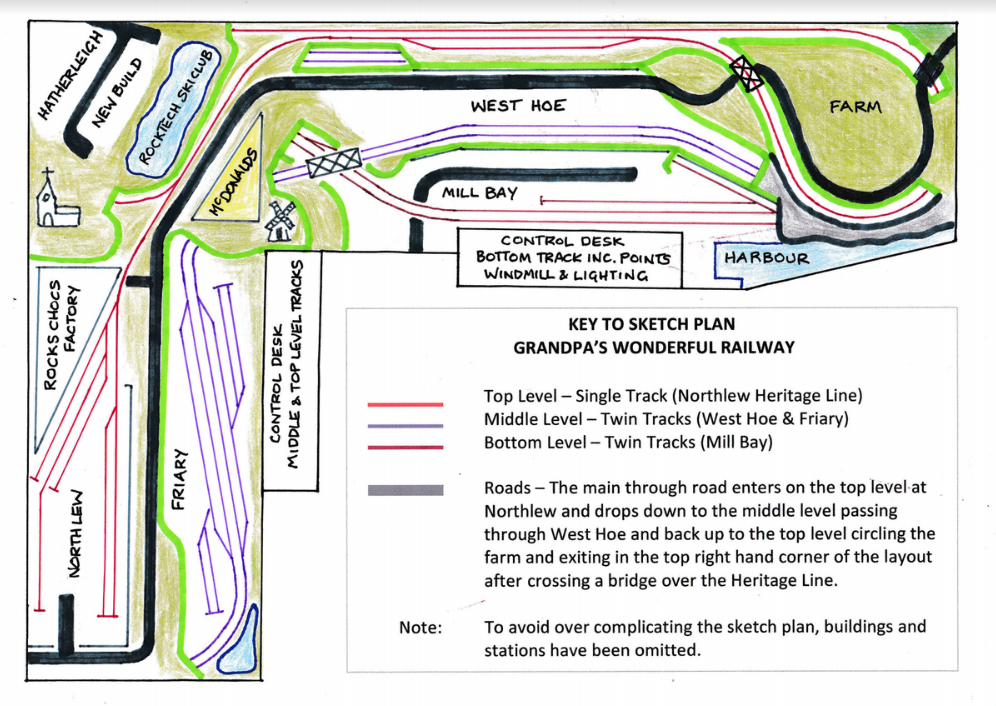
Someone wanted a track plan, so I have attached that.
The video footage of the layout was taken on a Panasonic DMC-FZ38 camera (tripod mounted) and the videos downloaded to my AppleMac and imported to iMovie for editing and compiling. For the sounds I searched on YouTube for videos of the actual locomotives (or close to) and converted the video to an mp3 file using a free YouTube to mp3 converter (there are several on the Internet).
After converting the mp3 files they were downloaded to the AppleMac and dragged into iTunes. These files were then imported into the iMovie project from iTunes and edited as required. Job done. It was great fun having a go at this and I was quite pleased with the resulting video although the actual video is a little burnt out – it was a very sunny day when I filmed the videos.
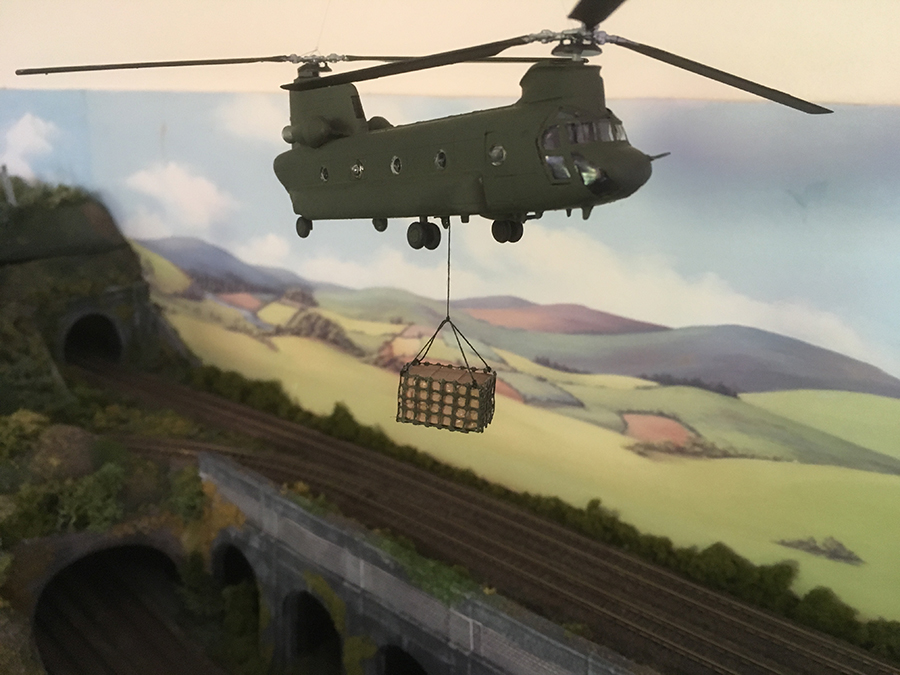
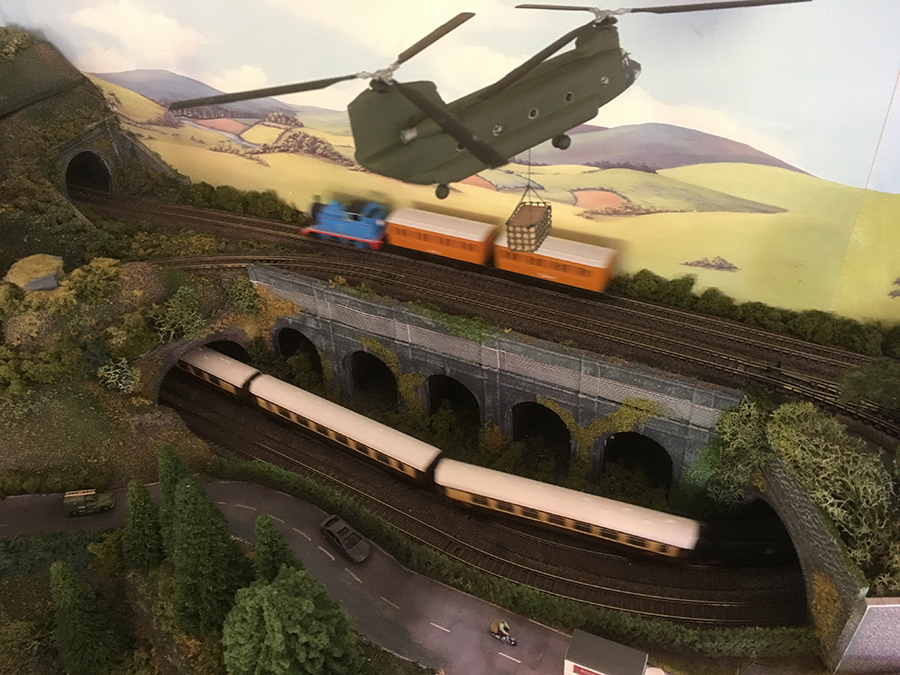
Jim wanted information on where to get N gauge helicopters. There are no 1/148 helicopters to my knowledge and I did search the Internet for some time. However, 1/144 seems to be a readily available scale with aircraft manufacturers. The helicopter in the photo is a Royal Navy Sea King HAR ‘Ace of Clubs’ from a 1/144 kit by Sweet purchased from Hobbylink Japan. The Chinook that I have just finished is again 1/144 by ACE Corporation and also available from Hobbylink Japan. Reveal did manufacture a UK Chinook in 1/144 but you may have trouble sourcing it now.
Eric (Leeds) wanted to know my next project – Have started a two level OO layout in the loft. The top level is a simple single loop DC circuit with fiddle yard, and the bottom level is a double loop DCC circuit with various sidings yet to be laid out. I liked the idea of having sound actually in the locos (too many locos on my N gauge layout to convert to DCC) so I have bought a few Hornby/Bachmann DCC Sound locos which are excellent. I have also bought a Faller Car System starter set which on initial trials is pretty impressive. However, the loft is too hot to work in during the summer months (particularly in this heat wave we’re having) so work has been put on hold. I’ll send some pictures and a video soon of my progress.
Here’s a few of pictures of the Chinook over my N gauge layout.
Thanks again Alastair for a brilliant newsletter.
Kind Regards
Brian”

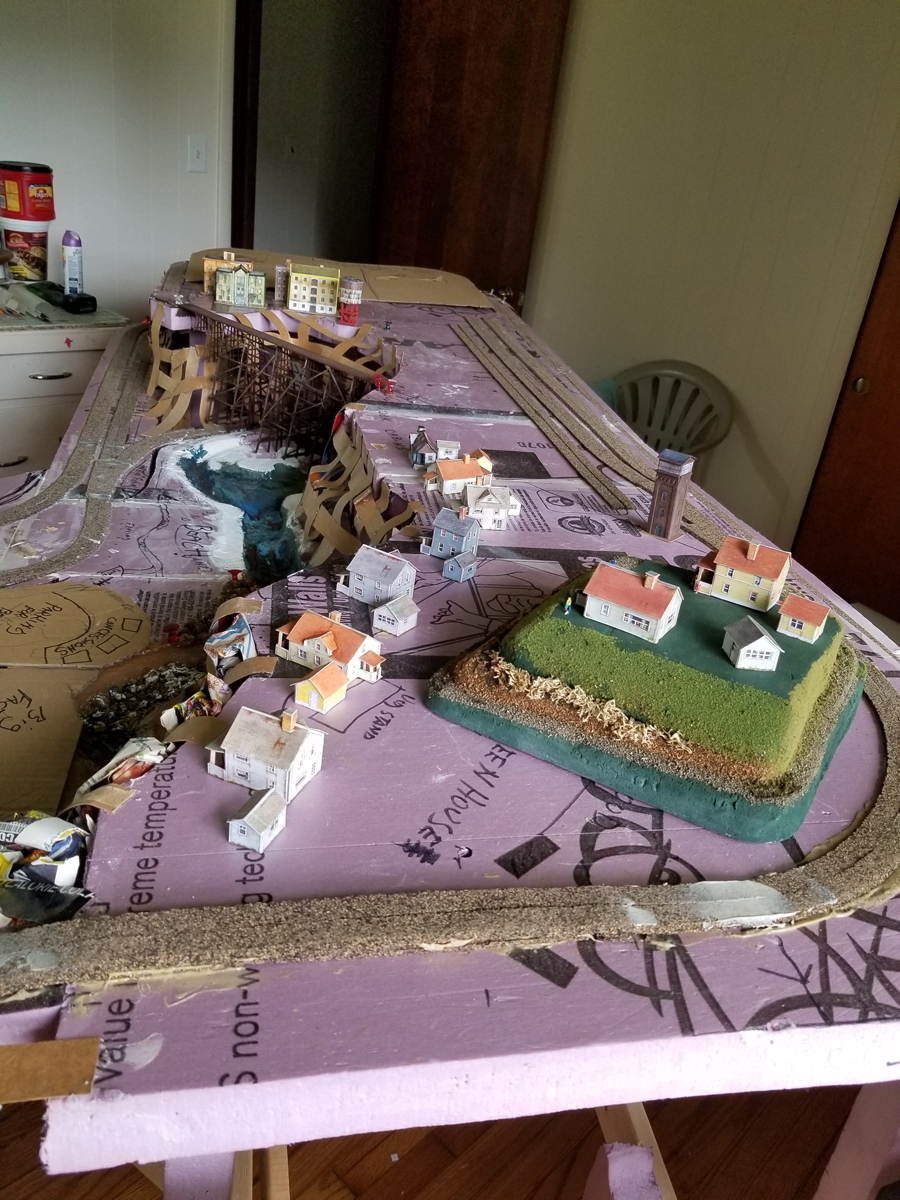
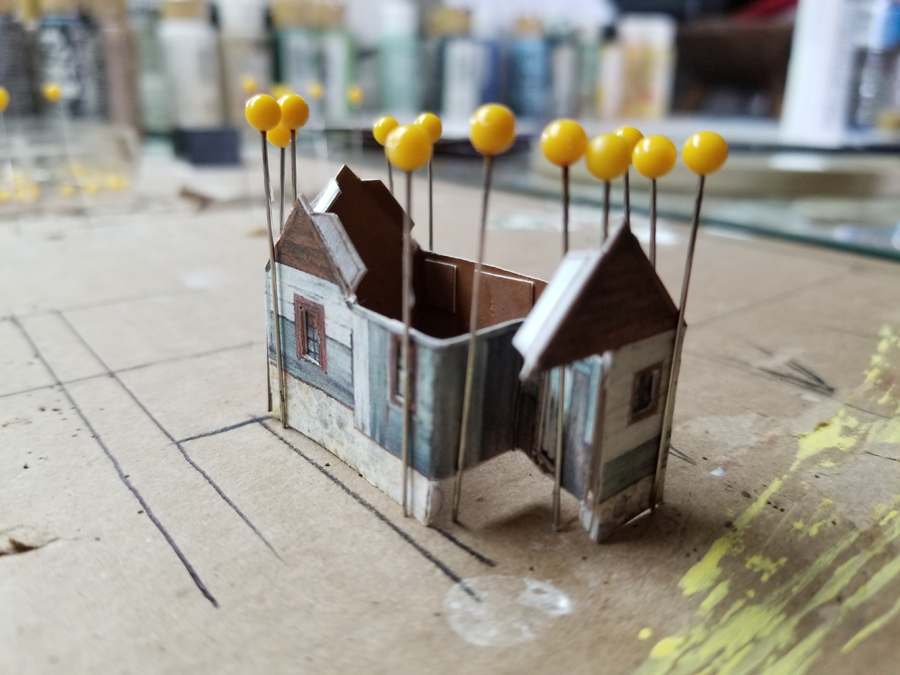
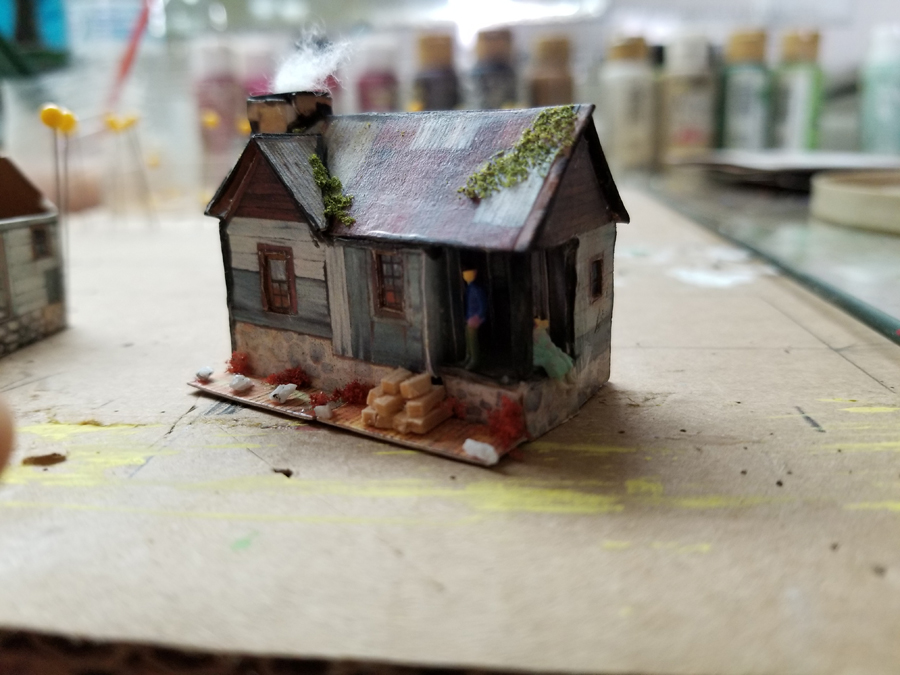
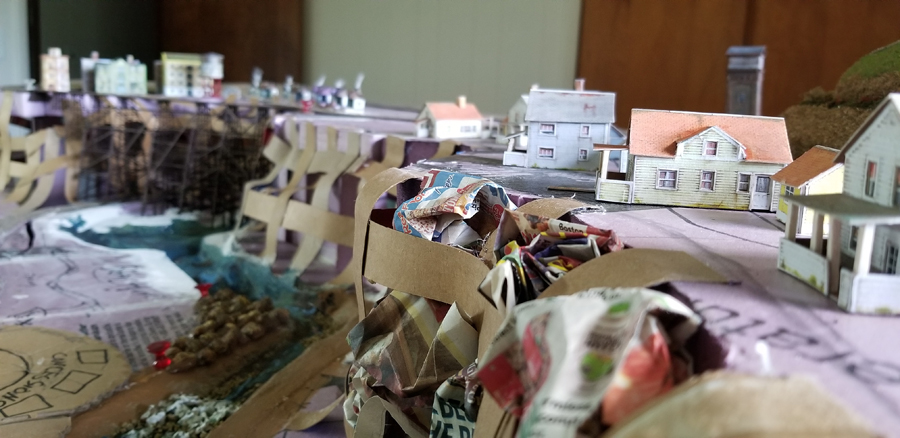
And lastly, on to ‘Bonkers John’.
A few of you have been in touch asking about the printable buildings again – and I thought a very quick youtube from John would help:
(You can watch the larger youtube version here.)
That’s all for today folks.
A big thanks to Dave, Brian and Paul for sharing his ho scale 4×8 layout
If you want to leave a suggestion for Dave, please do so below!
Please do keep ’em coming – and don’t forget the Beginner’s Guide, if you want to get going on your own layout.
Best
Al
PS Latest ebay cheat sheet is here.
PPS More HO scale train layouts here if that’s your thing.