Model train display case

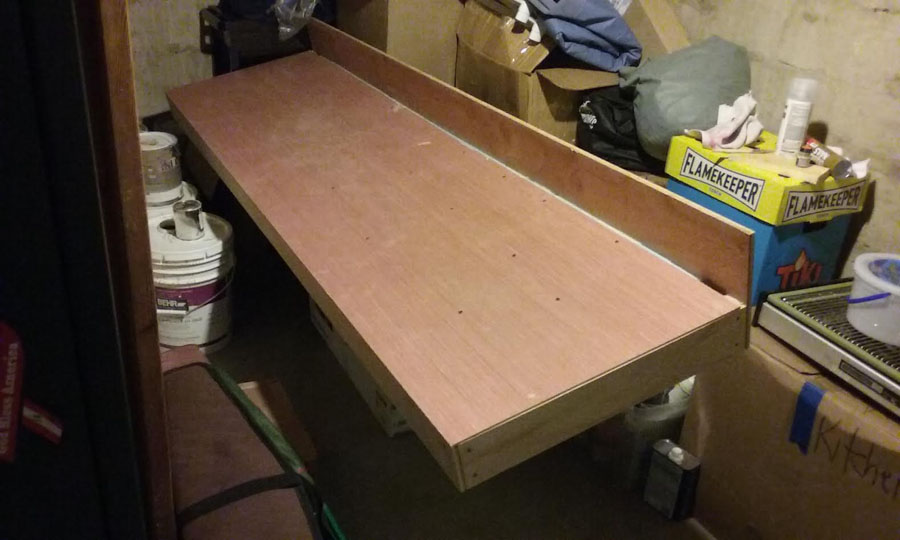
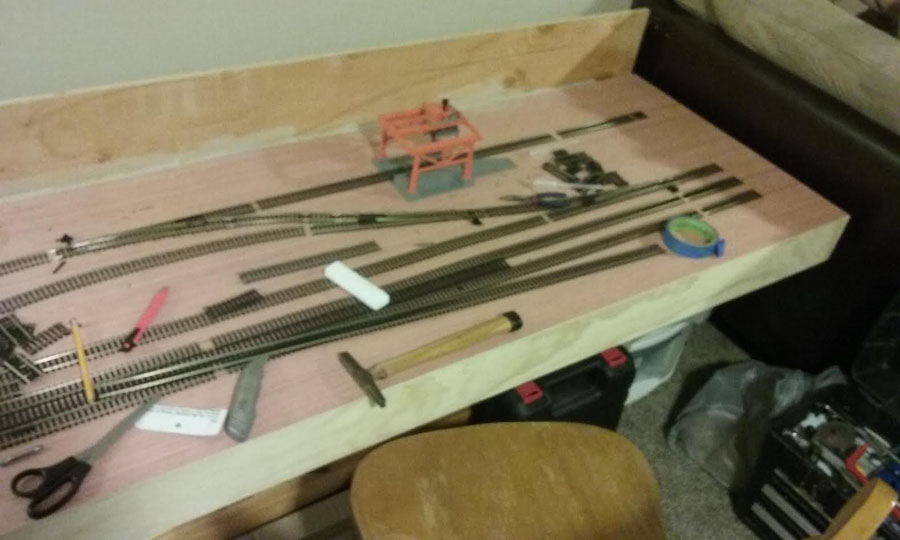
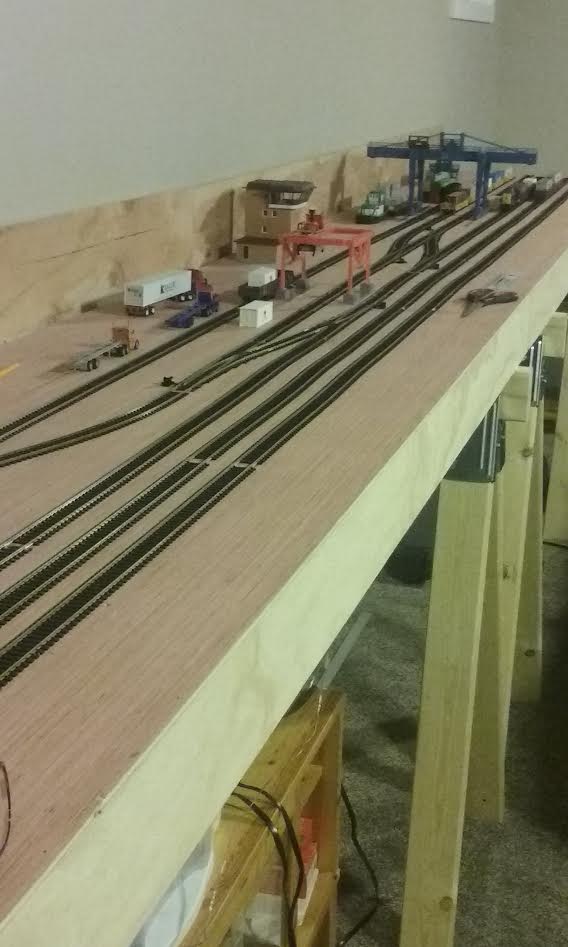
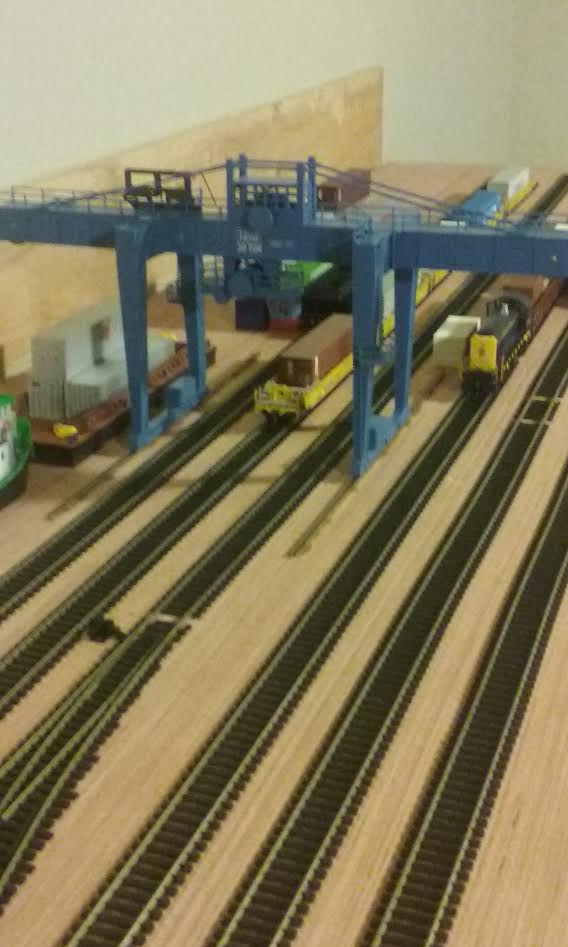
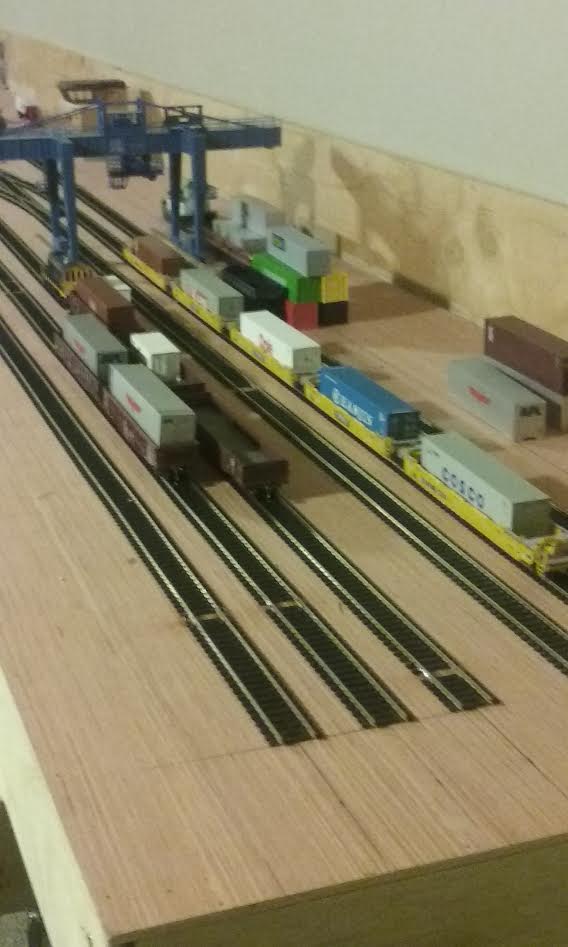
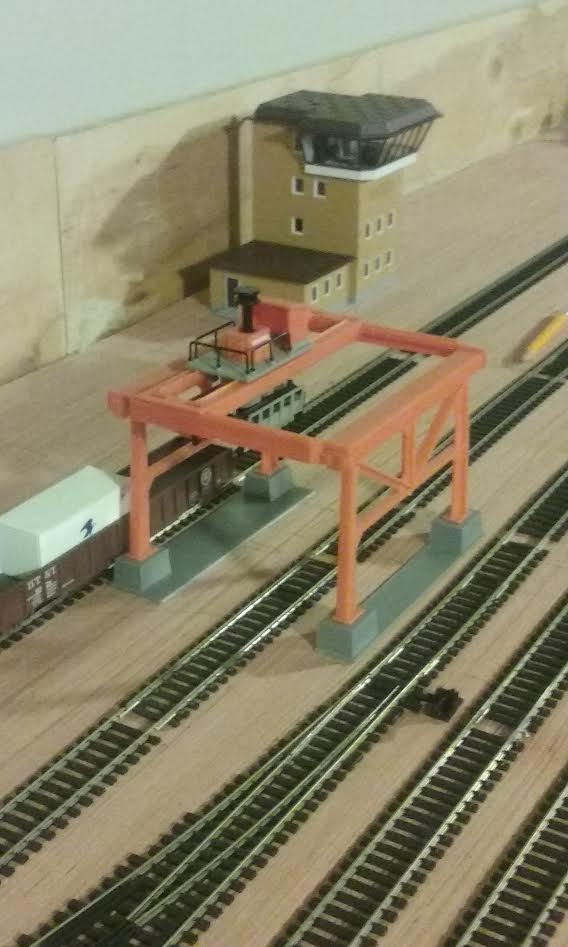
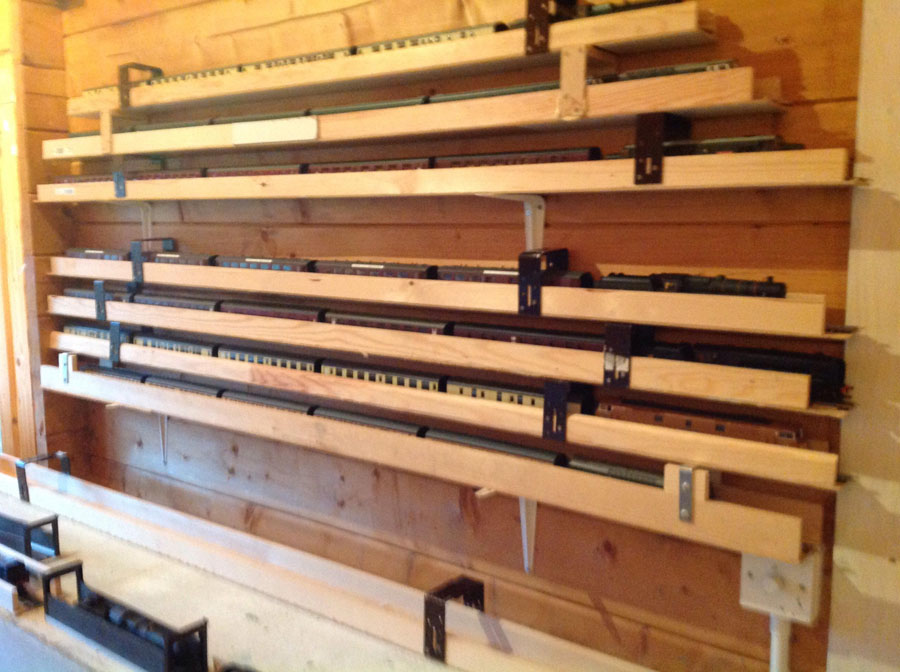
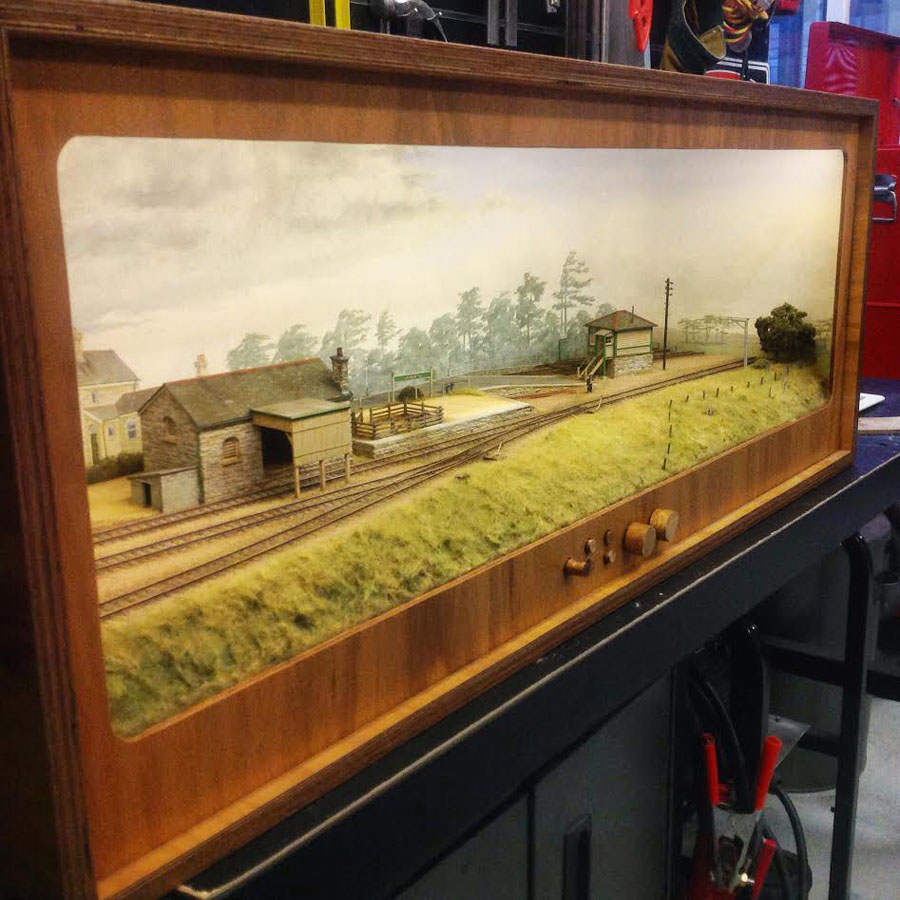
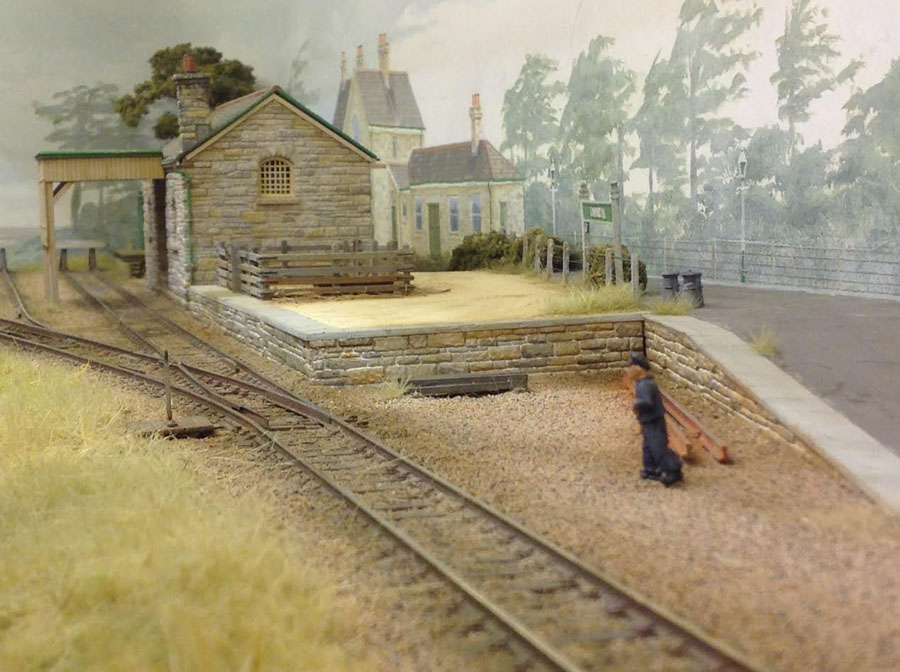
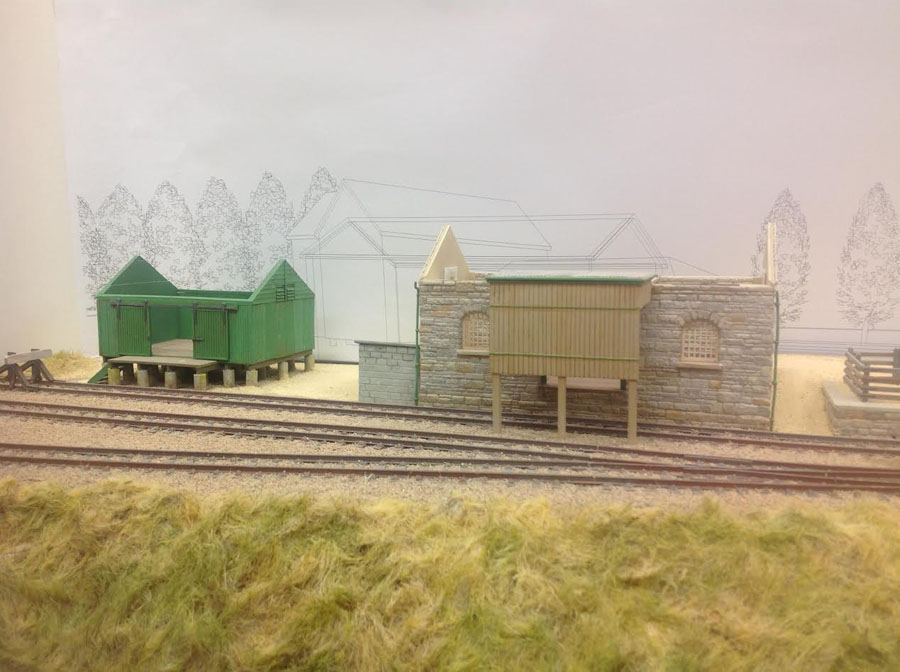
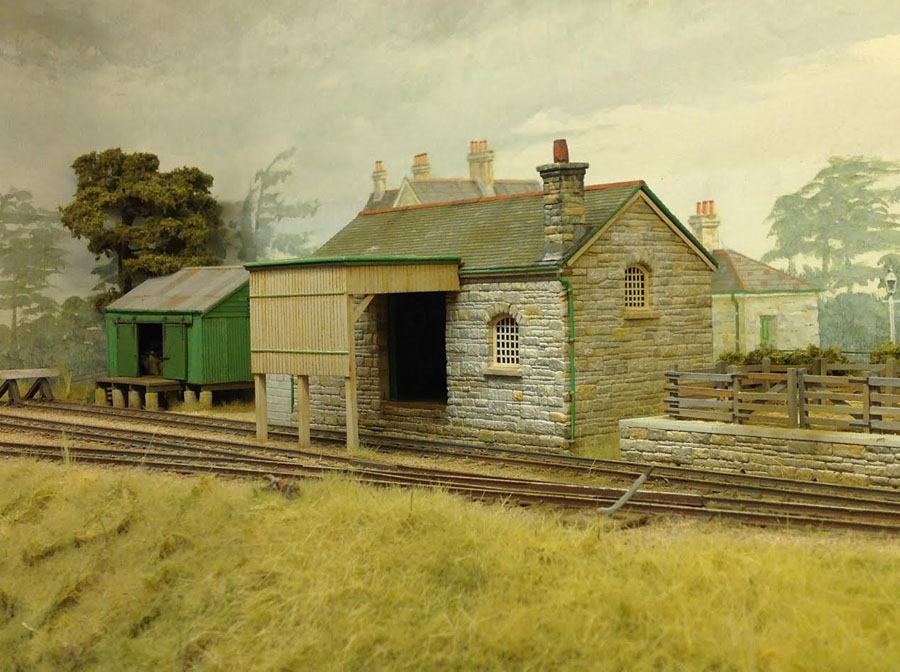
Cameron has been in touch with his model train display case – which is also a shunting puzzle:

“Dear Al,

This is my final instalment on Lanarth.

Scale 1:76 00 scale
Track Peco Code 100 HO
Region – English, Southern, South West

The final parts of the layout were the scenics and backdrop.

There was a grassy foreground to the prototype that I wanted to capture on the layout. As a rough base for this I used old carpet underlay. The underlay is normally brown so I bleached it with some household bleach.

To lay I smeared a liberal amount of pva on the layout and positioned clumps of the underlay.

Following this I coloured it with some watered down acrylic paint. It looked good at this point but not 100%. To improve it I applied some static grass with spray adhesive.

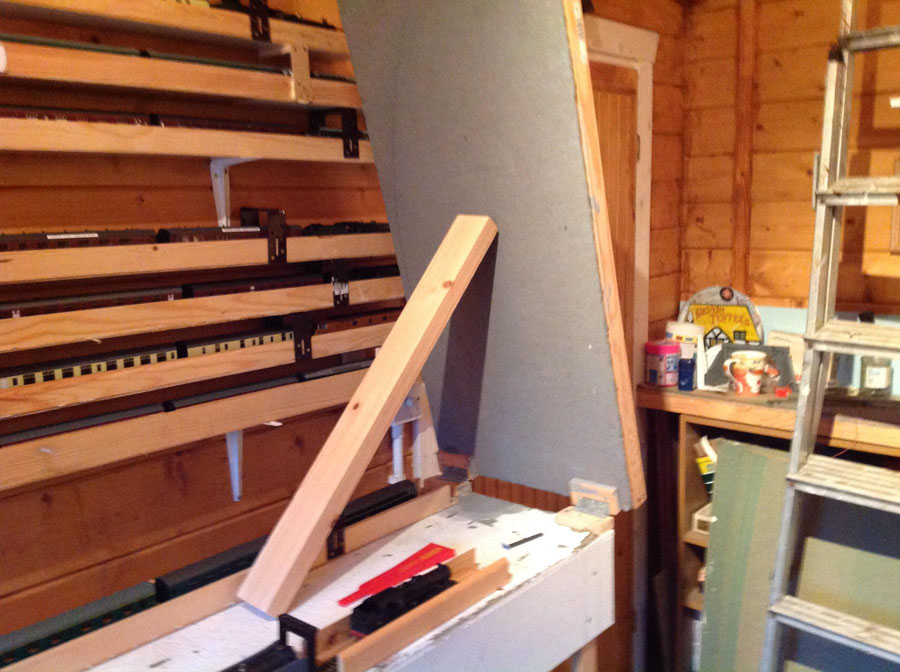
The backdrop was more of a challenge. In keeping with the theme of this layout I decided to paint my own. One of he biggest challenges of a good backdrop is getting a realistic perspective.

I wanted a station building in the foreground of the backdrop so the perspective needed to be spot on. I use CAD software at work so I put this to use for the backdrop.

I modelled the background in 3D, generated perspectives at different angles then printed them out on paper. I could then test the prints against the rest of the model to pick the angle that looked best. The final backdrop is painted with acrylic paints.

The rest came together in the box and is working well. Being quite small I can keep it in our dining room on top of the side board. Visitors like to try their luck at the shunting puzzle. Hope you all enjoyed the progress and posts.

Bye for now.

Cameron”

model train display case

model train display case

model train grass base

model train backdrop

model train display case

I’ve really enjoyed Cameron’s updates – and I think the finished model train display case looks great. I just love the back drop he’s done. Stunning stuff indeed.

If you want to remind yourself, his last post is here.


Now on to Phil:

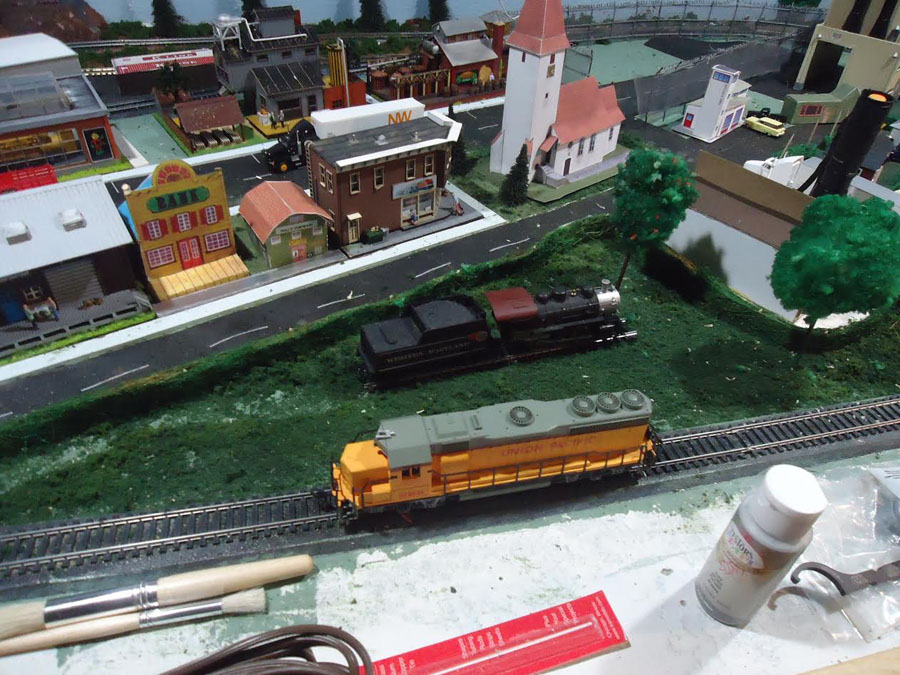
“This is my try at model railroading. Since I retired this is a fun way to pass time.

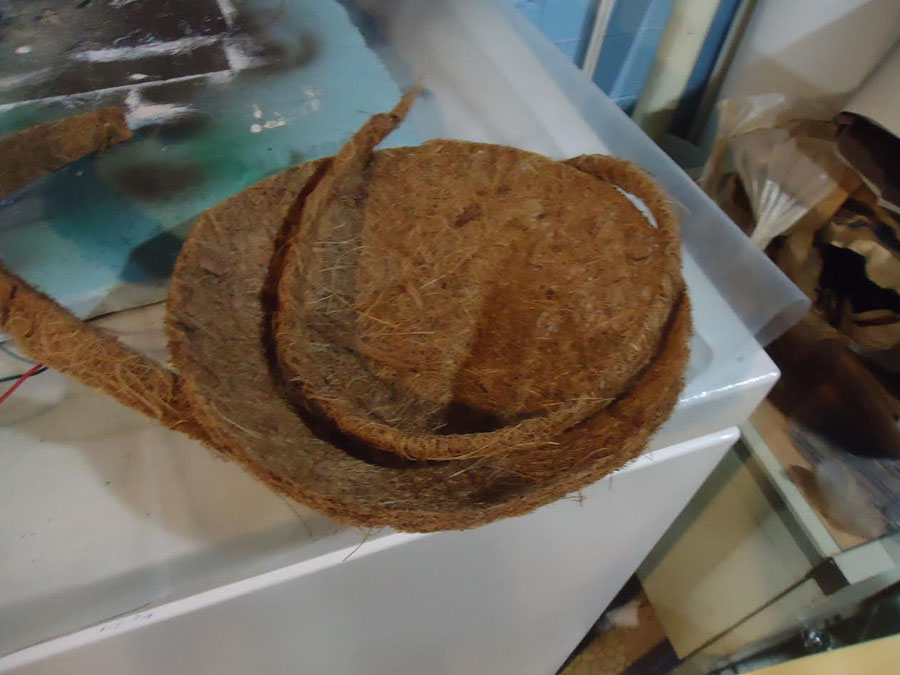
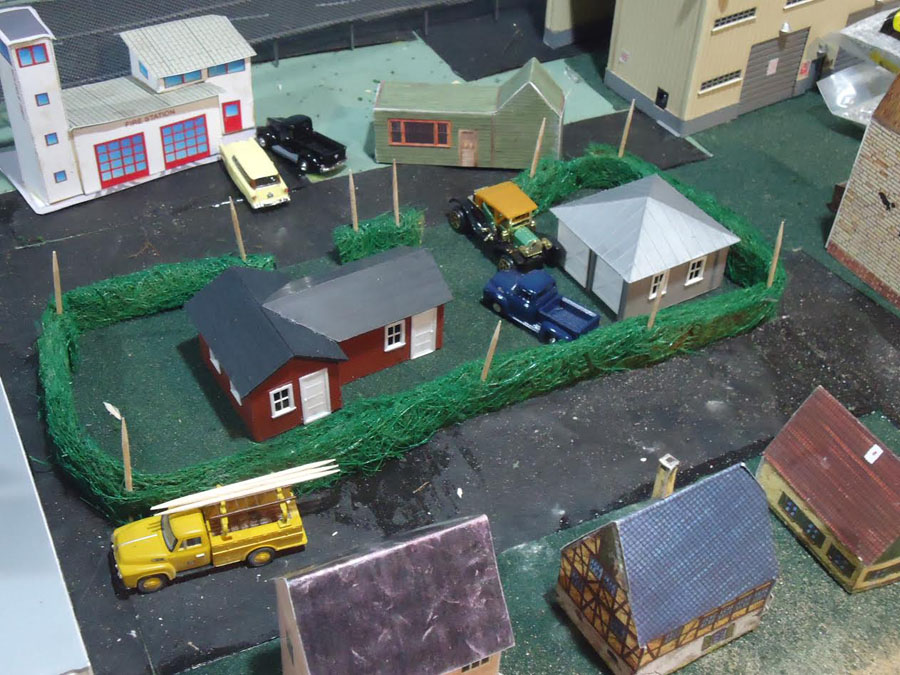
I bought a hanging plant liner. I cut it into 3/8″ sections. to make hedges. I sprayed them green & what didn’t cover is fine it looks like dead brackets like a real hedge. I anchored it in place with tooth picks & cut off the excess. pictures are attached.

Keep-up the great job.

Phil”

for model tran hedge

model train hedge

Next up, Eric:

“Hi Alastair

I know all your readers like tips, how about a simple conversion job.

All that is needed is some thin balsa wood, slate roofing card, paint and glue.

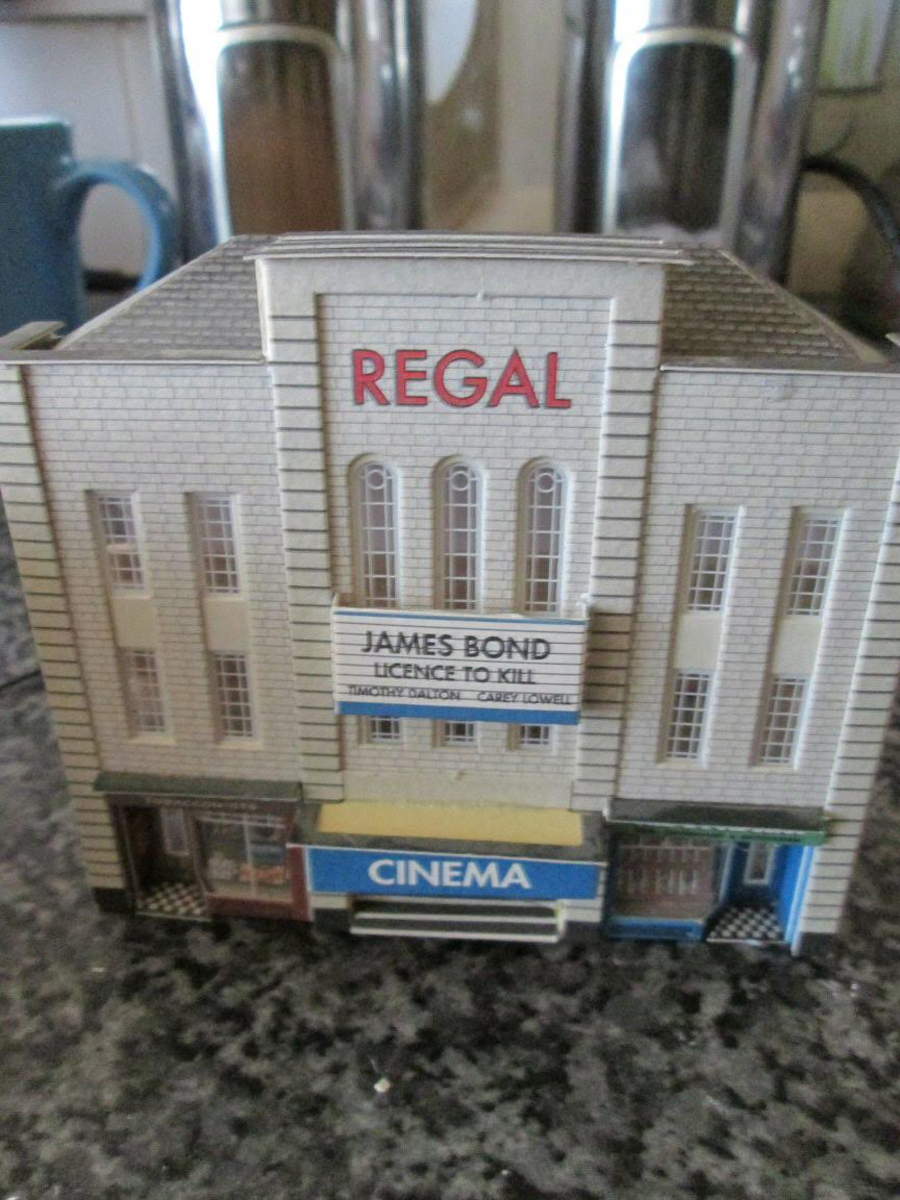
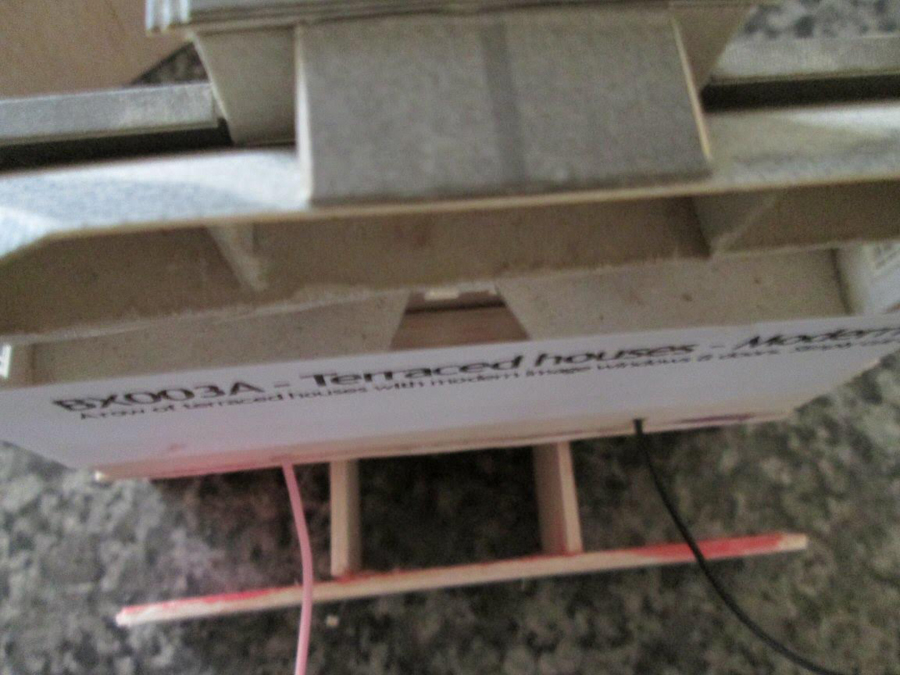
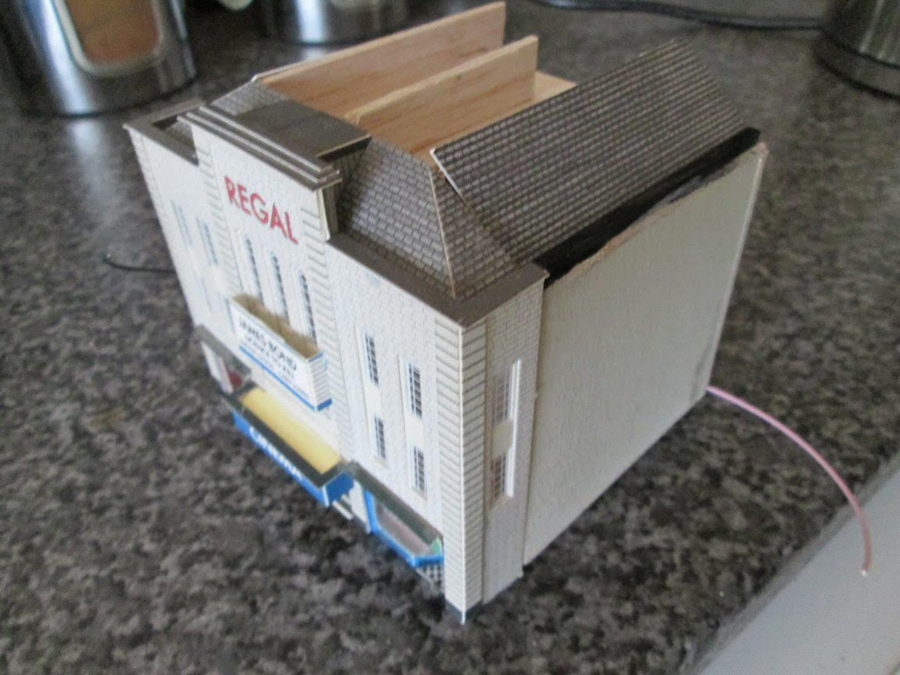
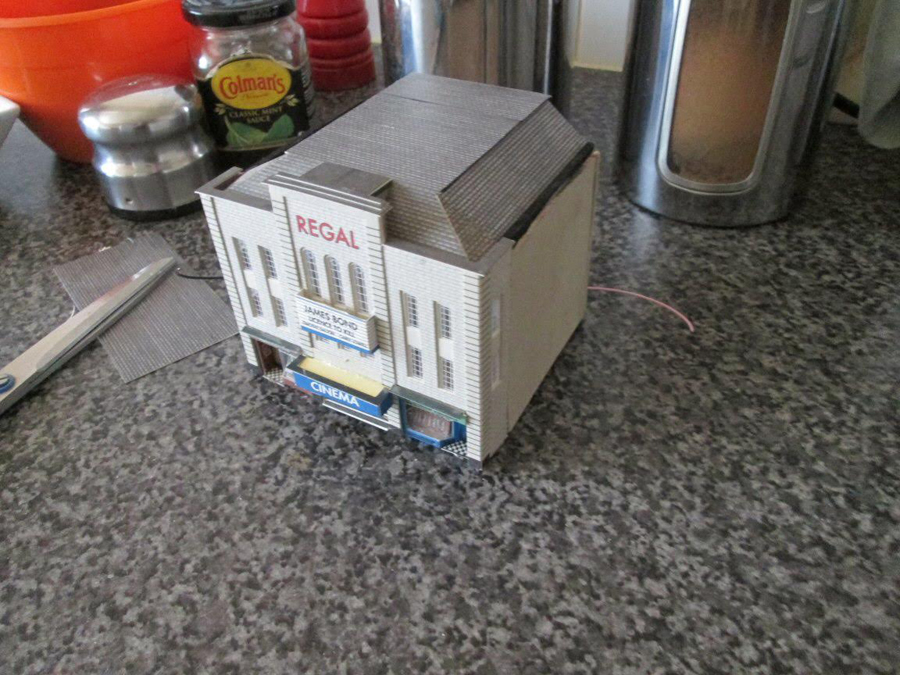
I suppose most British railway modellers have at some time purchased the low relief cinema kit from Metcalfe and either used it as a backdrop or stowed it away for future use. (Pic 1).

Mine has been on the shelf for a few years now and seeing it I decided to incorporate it in my new Wensdale layout, except it looked as if it should have a better place as it is rather well finished, so in a couple of hours I transformed it into a stand alone unit.

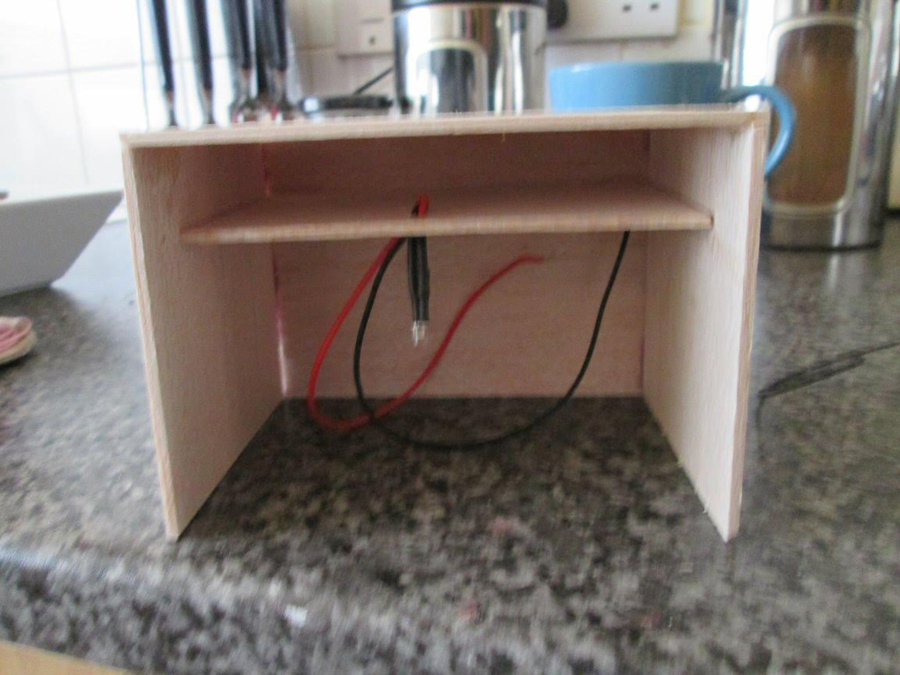
First I took of the card backing off the cinema and made a simple balsa box with a shelf to hold the lighting for the shops and cinema entrance. (Pic 2).

Next was to slip in a balsa shelf where the top windows are and fit a strip of three blue lights and a baffle behind them to shield the blue light from the shops. (Can’t really be seen except for wires (Pics 3+4).

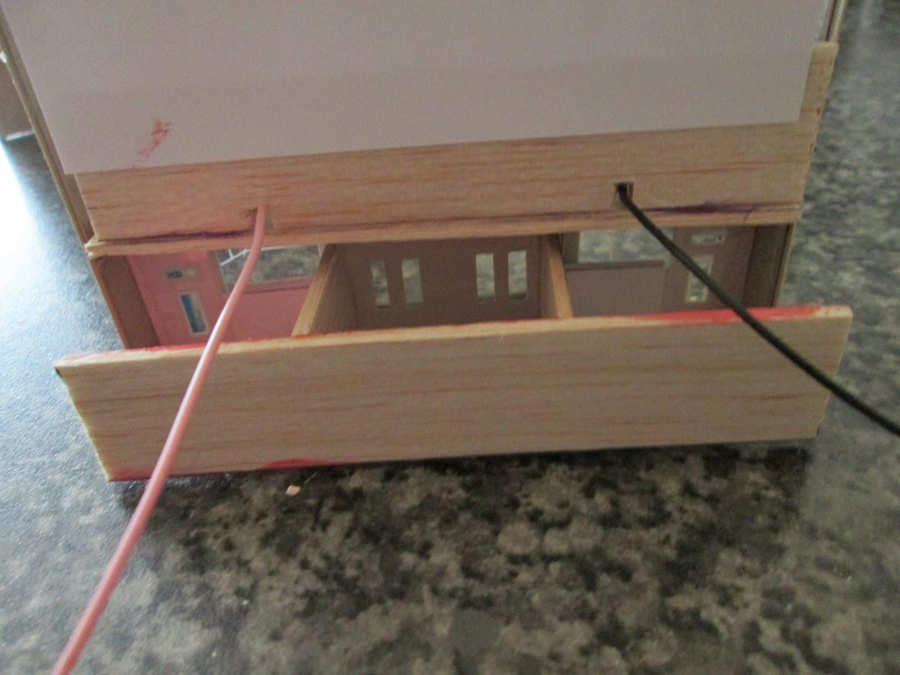
Next a couple of small arms stuck either side of the cinema door and a red balsa baffle behind with door marked on and give a back to the shops. (Pic 3).

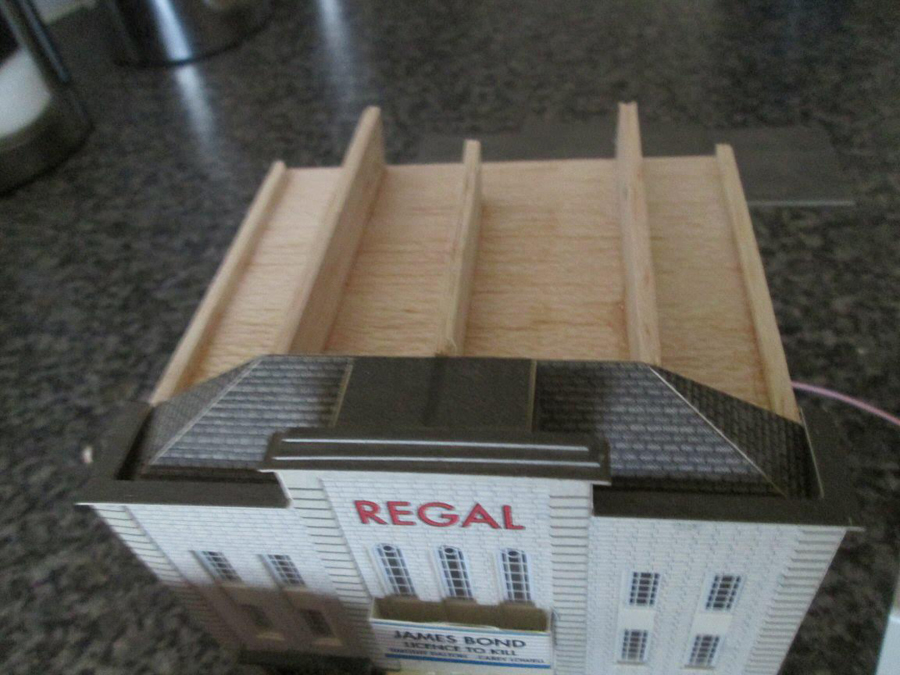
Then I matched the cinema height with the box and stuck balsa roof rests on top of the box. (Pics 5+6).

Next stick the cinema front and the box together and hold while set.

The walls coated with concrete paint and the top edge in black

Final job was to cut some roofing slate cards to more or less match the cinema roof (Pic 7).

And hey presto a small stand alone cinema. (Pic 8).

Really pleased how it turned out and may give some others an idea of what they can do in a couple of hours on a miserable day.

Happy modelling

Eric”

model railway cinema

model railway cinema

model railway cinema

model railway cinema

model railway cinema

model railway cinema

model railway cinema

model railway cinema

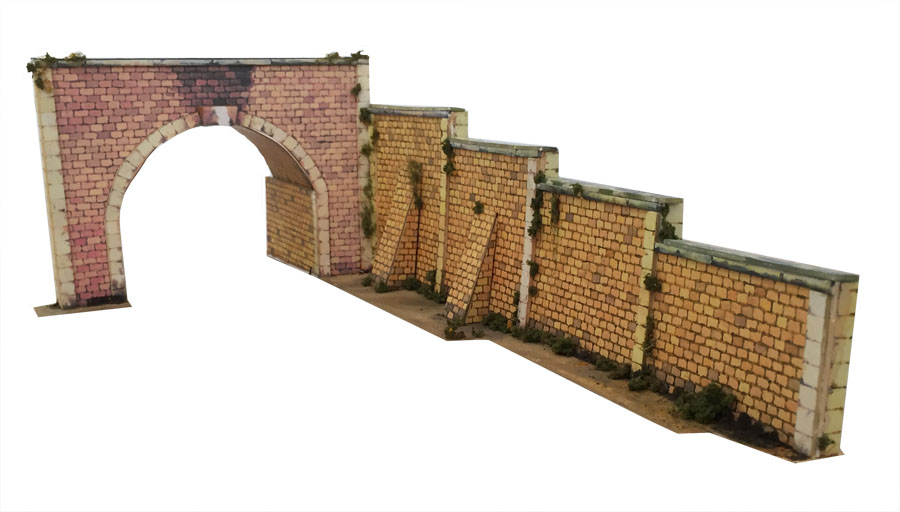
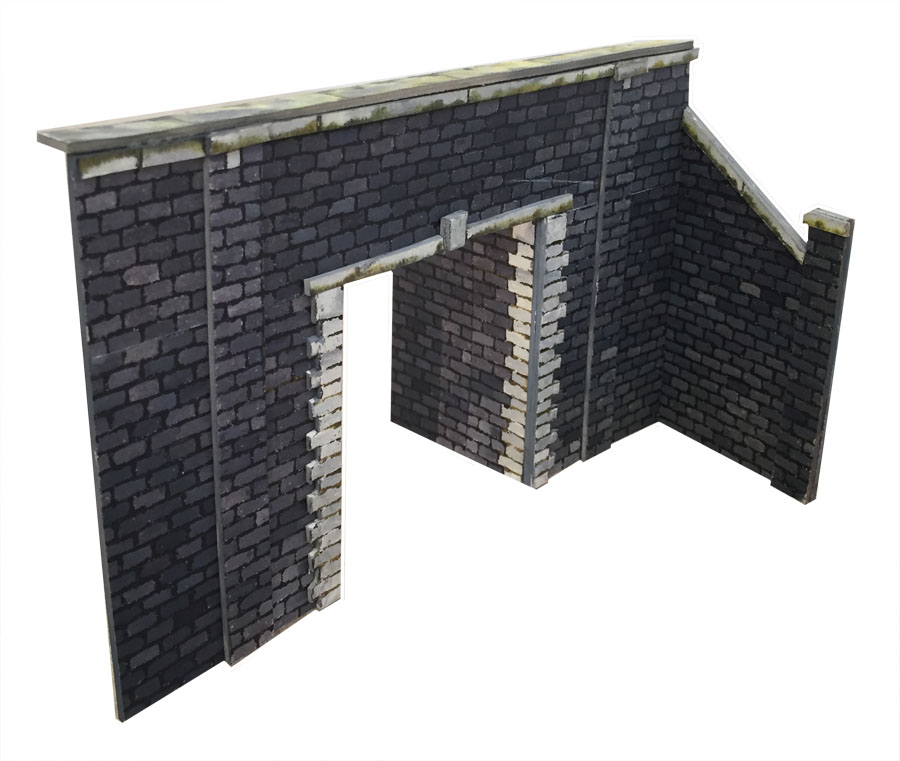
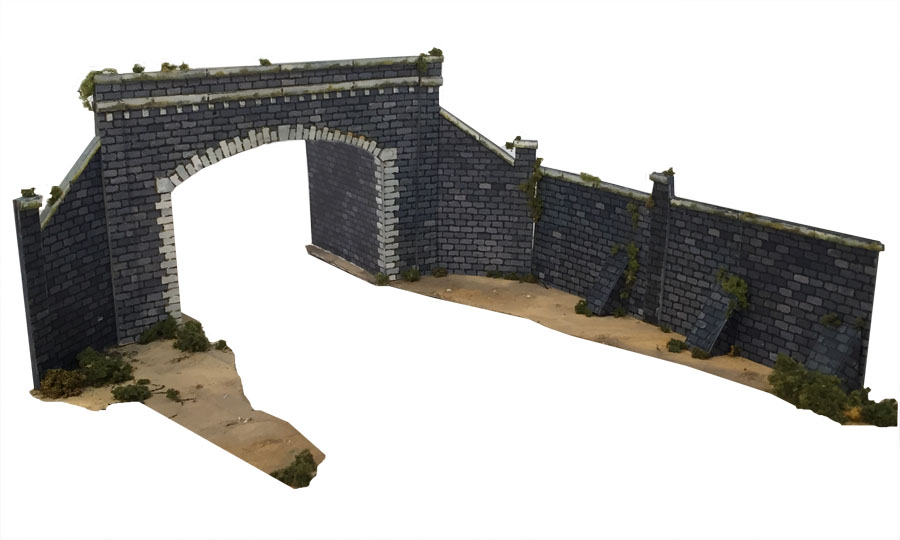
That’s all this time folks – don’t forget it’s nearly the last day to bag the savings on the new tunnels, which you can grab here:

A huge thanks Cameron for sharing his model train display case.

That’s all for today folks.

Please do keep ’em coming.

And if today is the day you get busy just like Cameron, the Beginner’s Guide is here.

Best

Al

PS Latest ebay cheat sheet is here.

PPS More HO scale train layouts here if that’s your thing.


model train answers

John shows us how to make a tunnel

I do love it when John posts a video.

His enthusiasm is infectious – and it’s fantastic to see all his little tricks that bring these print out scenery buildings to life.

John was kind enough to be the guinea pig the latest in the range – the tunnels.

And of course, I’m baised, but I think he really shows what can be done with them:


Here’s some pics too:

print out scenery

This can be a bridge or a tunnel – make it as long as you want for a tunnel…

printable scenery

You can use the prints for any scenery… here John’s added a wall.

print out bridge

print out tunnel

And can’t forget the grain elevator too – which also comes with the tunnels:

And here’s what John has scratch built with the same prints:

model railway print out scenery

model railroad print out scenery

printable scenery

Print the tunnels out and they are HO scale, for N scale, just reduce the print size by 50%.

The tunnels – which are brand new – are in the store for $19.97.

But for today, for a few days only, you can grab them both (and the grain elevator) for just $6.

That’s both tunnels (or bridges, depending on what you do with them), and the grain elevator – everything you see in John’s video, for $9.97.

Click here to buy both tunnels for just $9.97

I’m really looking forward to seeing your pics of these. After all, who doesn’t want a tunnel on their layout.

And of course, a huge thank to John. He really is a star (if you missed his embankment-how-to, it’s here).

That’s all this time folks. Please do keep ’em coming.

Don’t forget, the launch price ends tomorrow, so if you fancy the tunnels, please grab ’em soon.

Best

Al

Mike starts on his railroad layout

“Hi Al…Long time since last yearly layout which was built for the Seattle Sci.Ctr. show…Now I have started on two NMRA modules to be ready for the “HOSTLERS” model train show here in Ogden, Utah in March…

Two 2′ X 8′ units modeling inter-modal service at the warf and in yard…Everything will be built as “Out of the box” showing a simplistic model that can be built easily…I will update later…Good luck to all the “Builders” out there…AND….Get involved in a club…Lots to learn there and fun too…

Mike”

“I have enclosed a couple of pictures of my end to end layout, based loosely on Penzance in Cornwall. My “fiddle yard” is unique, I think?

The back scene is hand painted, inspired by railway poster art. The trains run into the cassettes, which are 6ft long, the train in its cassette is then lifted up onto the wall brackets, so the cassettes are designed to stack on top of each other. I have made some shorter cassettes to hold local trains, as can be seen in the photo. I have a lifting section so I can get in and out of the room!

Peter”

“My best tip? I would have to say it starts with the table. I’ve always built mine strong enough for me to stand on. 2×4’s for all the framing and 3/4″ plywood for the top. Hasn’t failed me yet.

Tony”


I think Tony is right – because also, when you have a table, you have your own space – and nothing happens until you stick your flag pole on that space, and say, “This is for my layout!”

Soren’s layout is a good example of this:

“Hi Al!

Like so many others I enjoy your newsletters a lot, so keep it going!

Now the time has come when I have a little bit of progress on my first layout to share. That is, I have made most of the benchwork of which I include a couple of pictures. The desk-like space is going to be a smallish fiddleyard with a helix in the corner to the right connecting to a station on a higher level (a bit below the window). In the lower left corner is the beginning of an inland harbour. You may be able to guess from the photo that I model in H0 standard gauge using Märklin C-track powered by AC.

My train room is small (2.67 x 1.75 m ~ 8′ x 5.5′), so the layout will be along the walls and in several levels. Partly due to the space available and partly because I find old rolling stock and structures so inspirational, my layout is set around 1880 – 1905 in Severania, a fictitious and democratically influenced duchy in the central European mountains. The official language is Danish, and the Duke is very interested in the technical progress of his time, so he has decided to create a railway network to reach nearly all inhabited locations in the little land. It will become an operationally busy railway with the harbour and several industries to serve. The Severanians will also enjoy a regular passenger service between the small towns.

More to come in the future – happy modeling to all

Soren”

That’s all this time folks. Please do keep ’em coming. Just mail me anything you’d like to share.

Thanks for all the comments on Dave’s last post. Remember though, even Dave had to start somewhere…

And if you want to grab some space of your own and get building, don’t forget the Beginner’s Guide is here.

Best

Al

PS Latest ebay cheat sheet is here. Have you had a look recently?