N scale southern pacific layout

Dean’s been in touch again with the Progress on his N scale southern pacific layout, the Piedra Blanca and Pacific Railroad.

“A while back, I submitted some videos of my N-scale 4ftx6ft layout constructed using the Woodland Scenics Scenic Ridge kit.

Woodland Scenics has developed some interesting construction methods and materials based on Styrofoam foundations put together with hot glue, covered with plaster cloth, then finished with ground cover and trees.

The system is easy to use, very forgiving (errors and changes can be quickly fixed or covered up), and leads to a strong but light-weight layout.

I’m using a similar system that was much cheaper but still strong and easy to make.

Primary construction materials are ½” or 3/4” Styrofoam insulation material from a local big box store.

The Styrofoam is cut with either a hot-wire cutter, or table saw (for precise cuts), then glued together with a hot-glue gun. Track is glued to rubber track-bed which is then glued to the cut Styrofoam roadway.

When I built the original layout, I added more switches and sidings for future layout expansion.

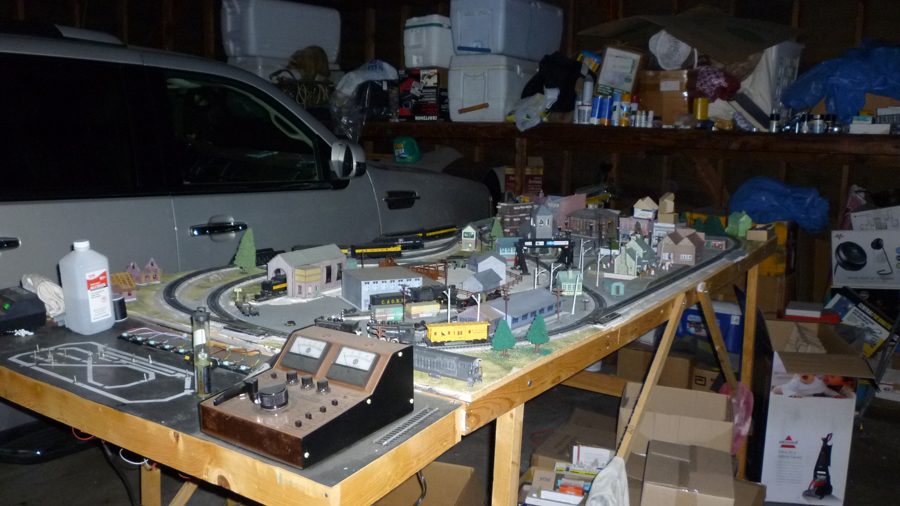
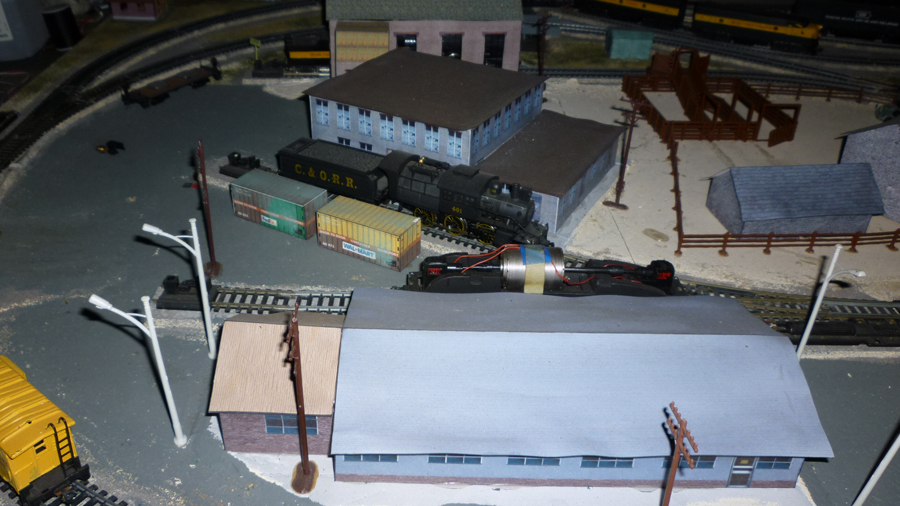
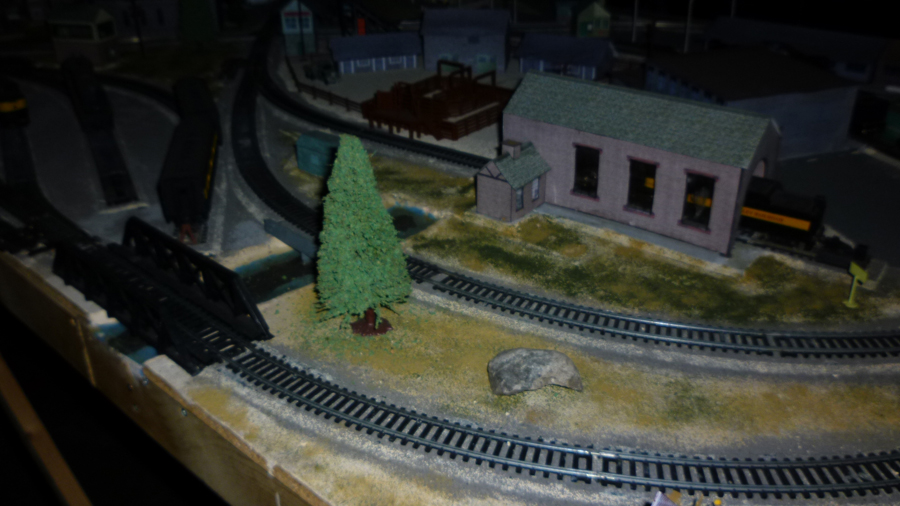
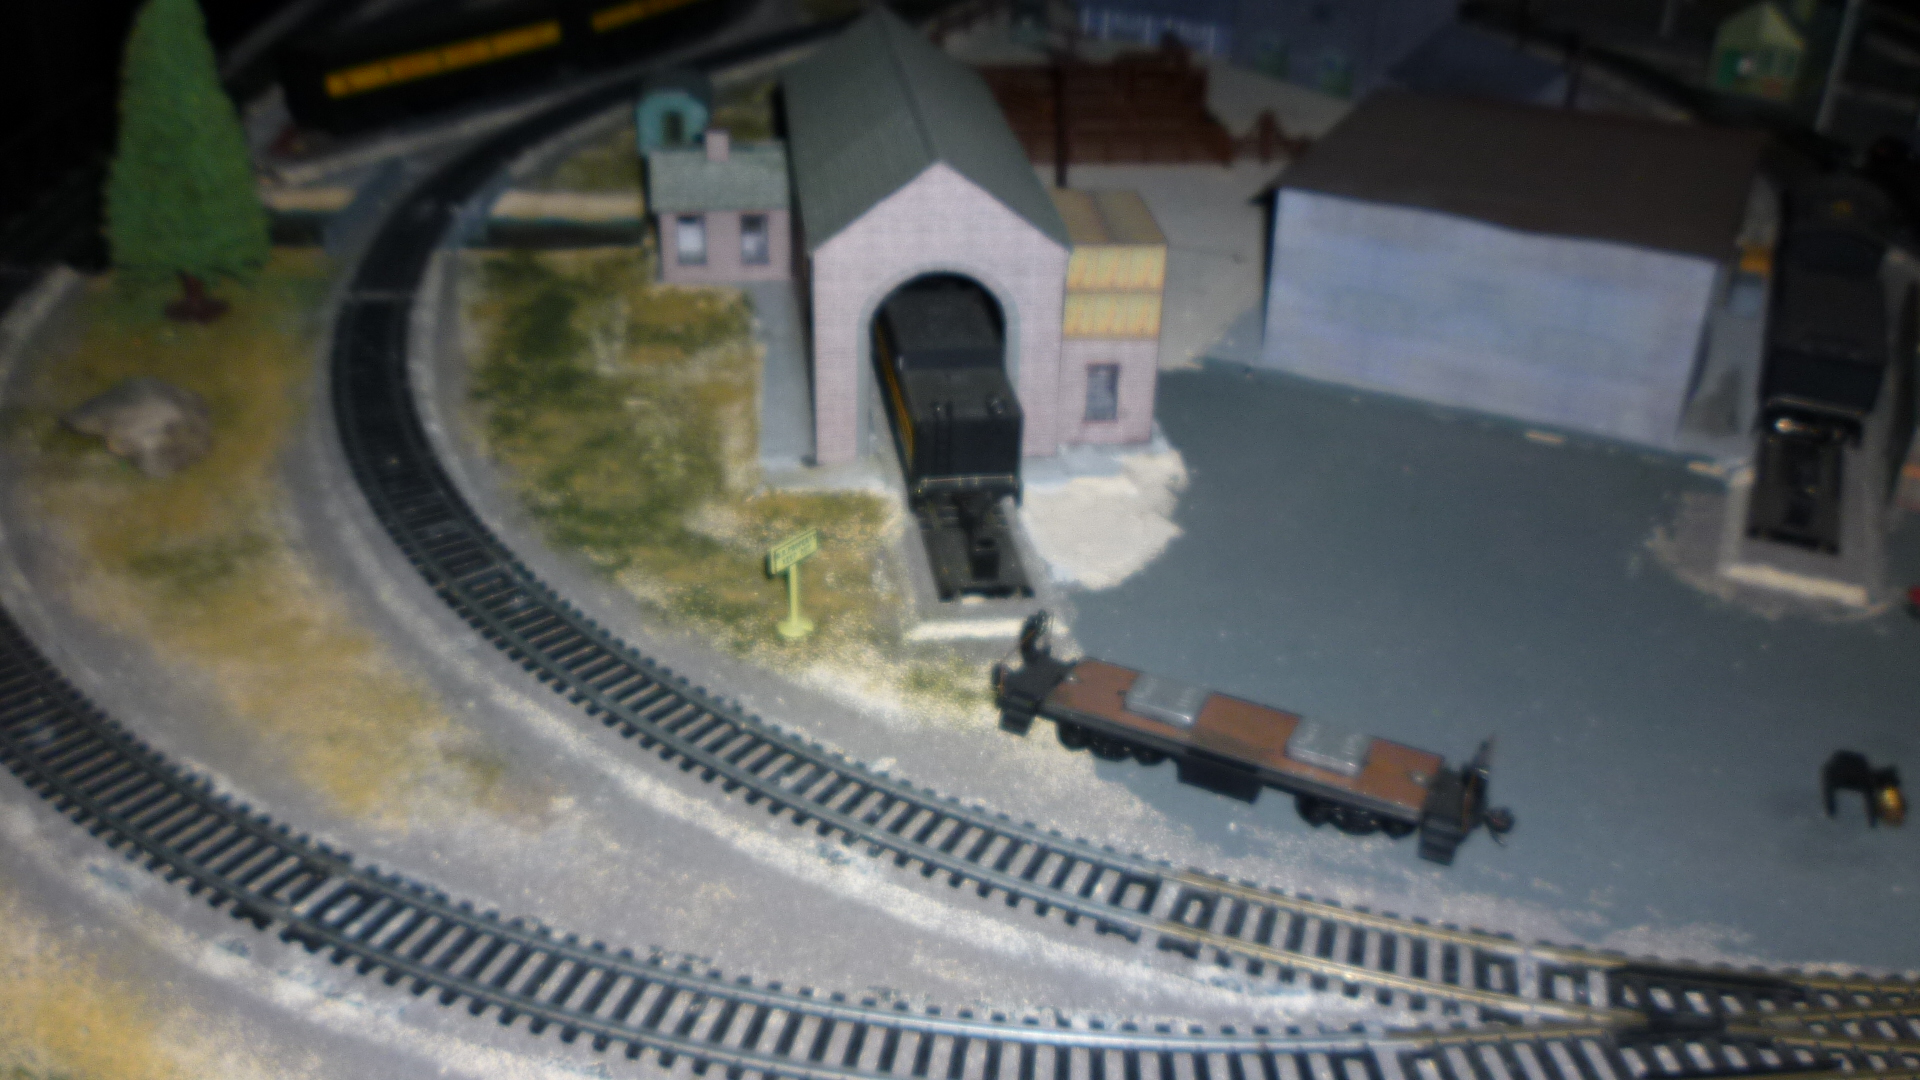
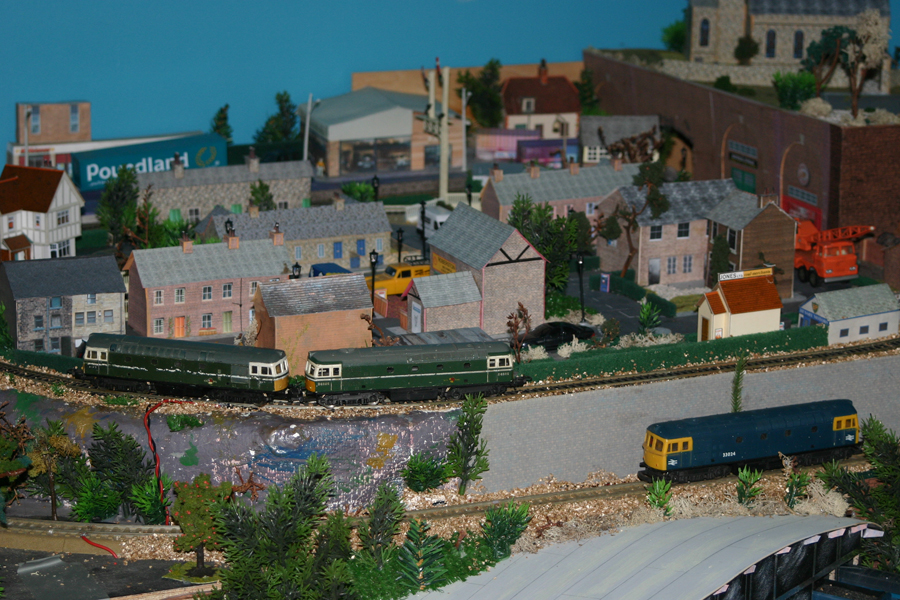
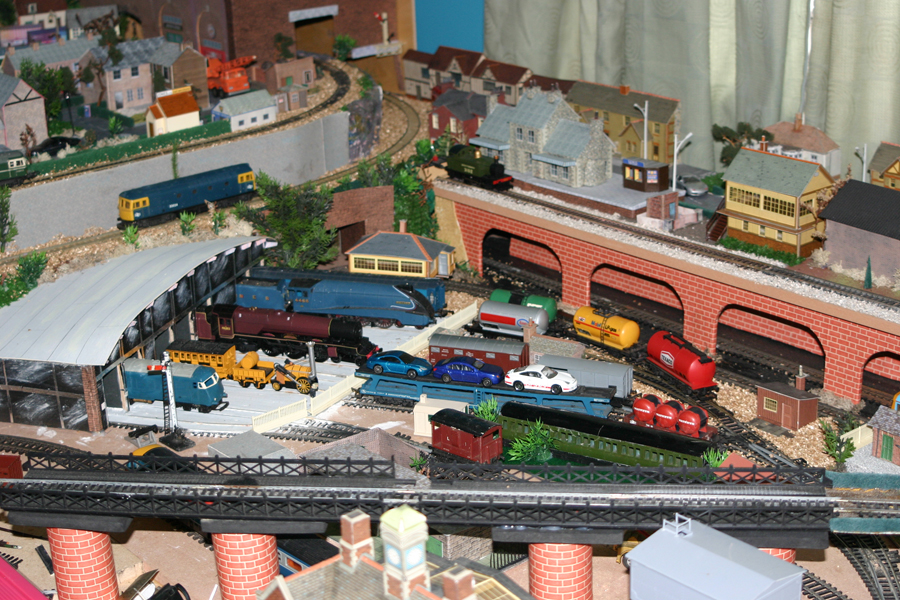
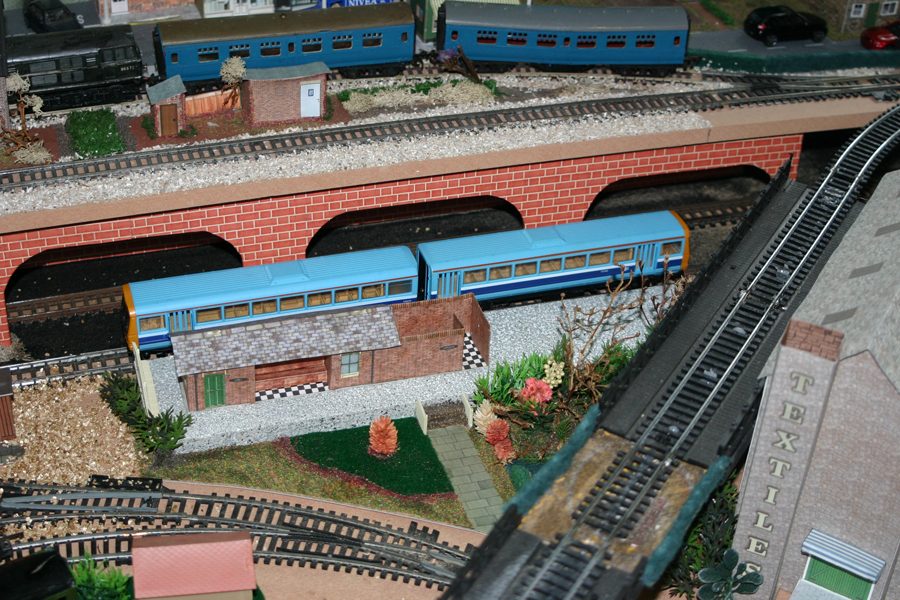
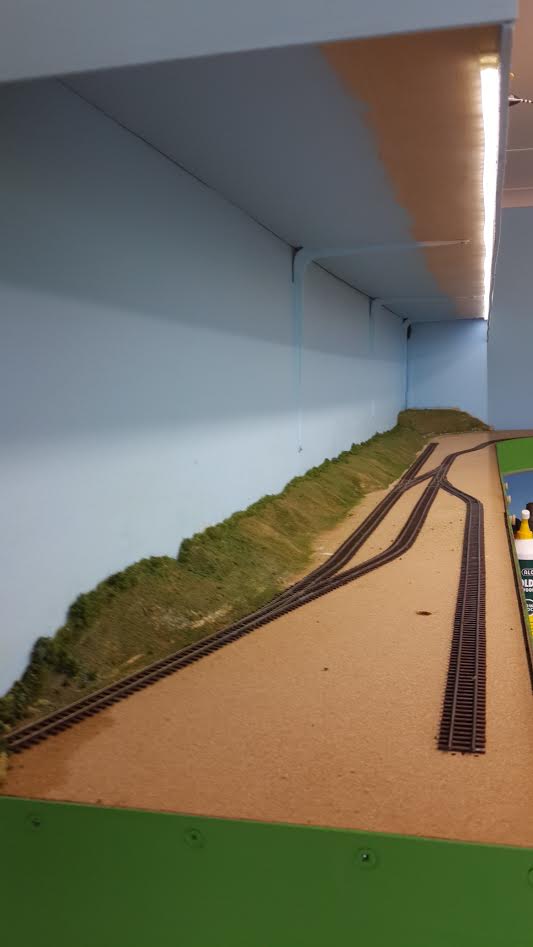
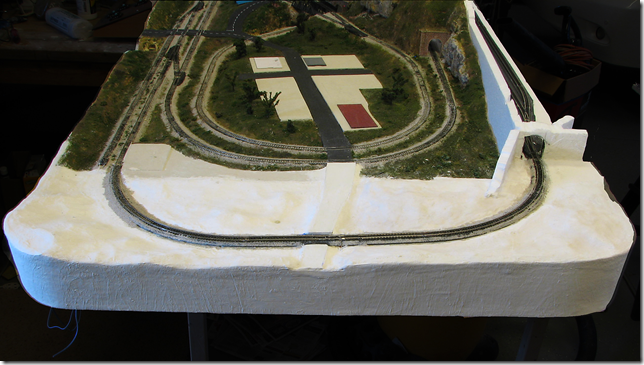
The first part I added was a 1′ x 3 1/2′ addition shown at the bottom of the photos below. The main line comes out from the right of the original layout and makes two turns towards the rear of the layout while beginning a 3% climb. The main line eventually had to cross over the original lines. Along the back of the layout I added a hidden 3-track fiddle yard for setting up and storing trains.

To begin the expansion, an L-shaped member and supports for the track were cut and glued together. (See first photo.) The track was supported by Styrofoam roadway which was glued to the supports.

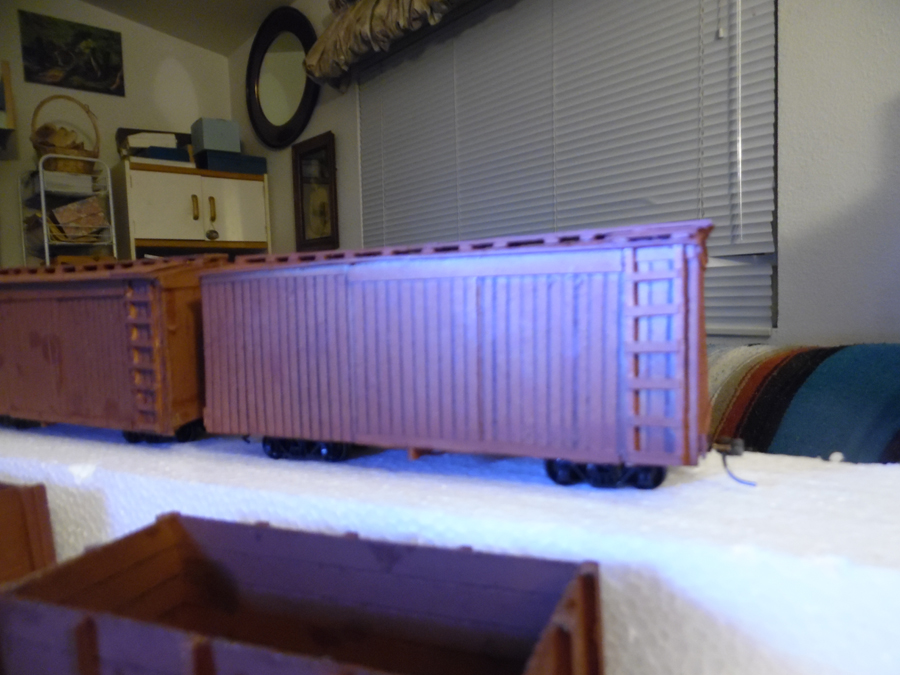
The two wires visible are #12 feeders (connected to a DCC controller) with smaller wires leading to the track. All track pieces are soldered together except for switches and bridges which are held in place using sliding rail joiners (so they can be readily taken out).

The feeders go all around the layout and wires are soldered to each track section. Rubber track bed was glued down with Elmer’s glue and the track pieces were glued to that with the same cement.

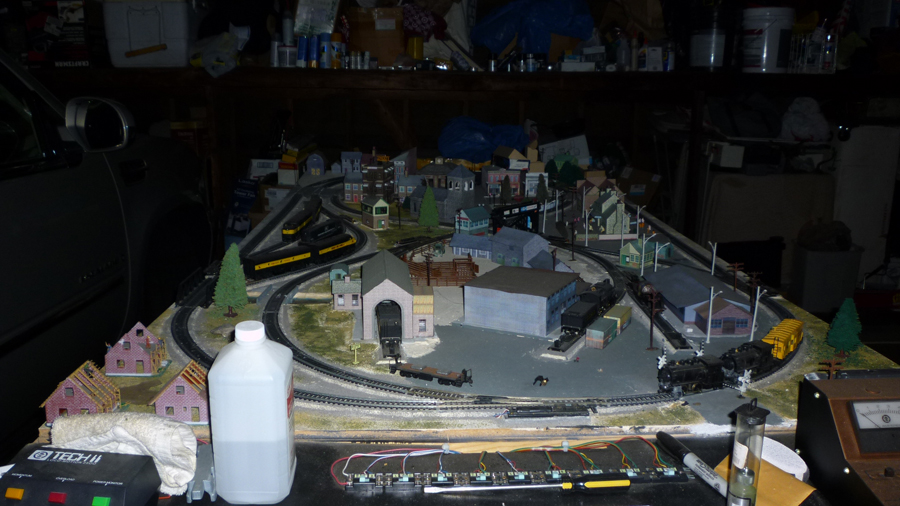
A road was built from 1/4” foam core from a hobby store. Foundations in the middle of the layout are for buildings.

N scale southern pacific

The next step was to add the surround. This was another piece of Styrofoam glued to the support members. At the curves, I cut slots about 2/3 into the foam and every 1/2” to allow it to bend around the smooth corners. The ¾” PVA plumbing pipe and fittings was added so that I could later run in switch wiring to the hidden yard.

model train

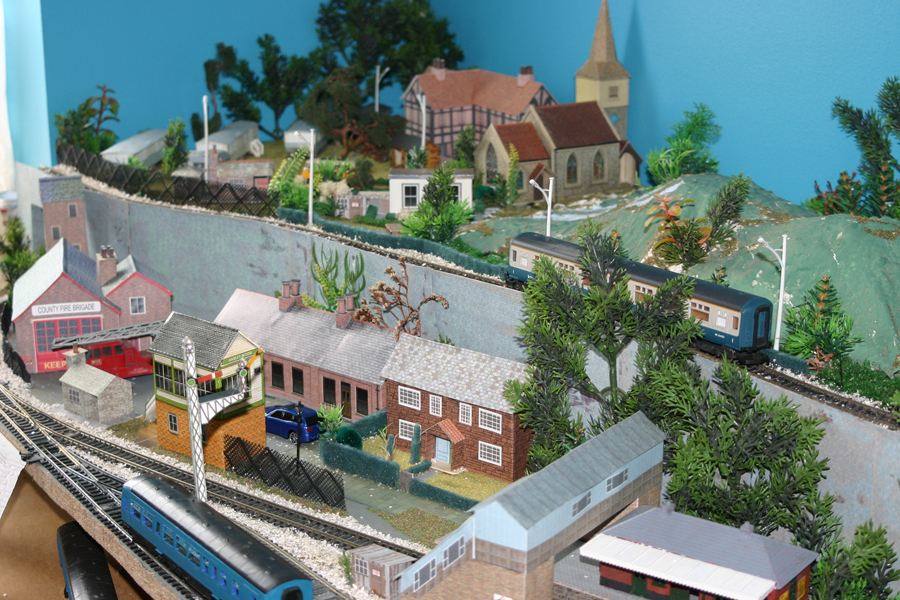
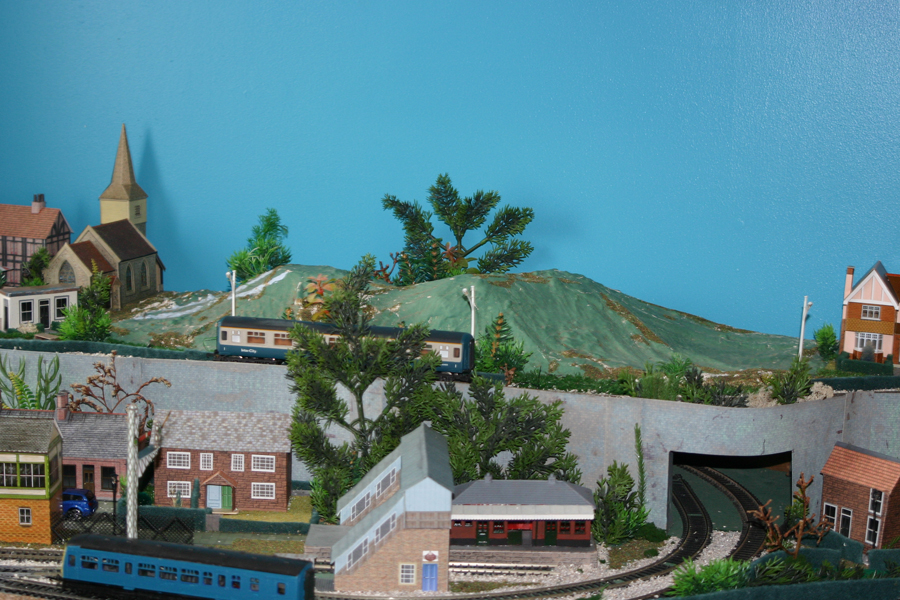
The next step was to form the rolling hillocks with wadded newspaper and cover with plaster cloth soaked in water. This is a typical method used by many. On the right are supports for the tunnel portal and a foundation for a rock wall running along the back of the original layout.

model train

Then the track was ballasted, the ground painted and textured using usual materials. This next photo shows the start of the rock wall on the right side of the original layout. At this point the roads were textured with fine sand to simulate gravel.

N scale southern pacific layout

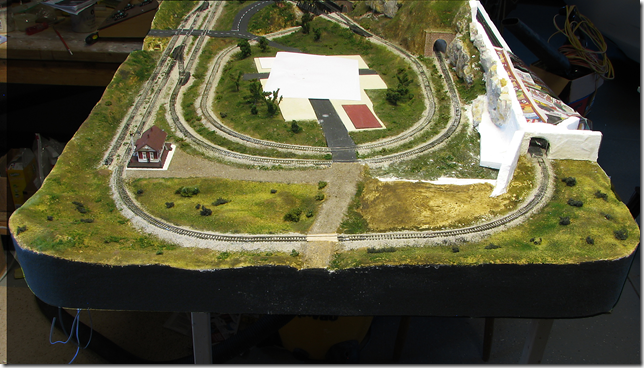
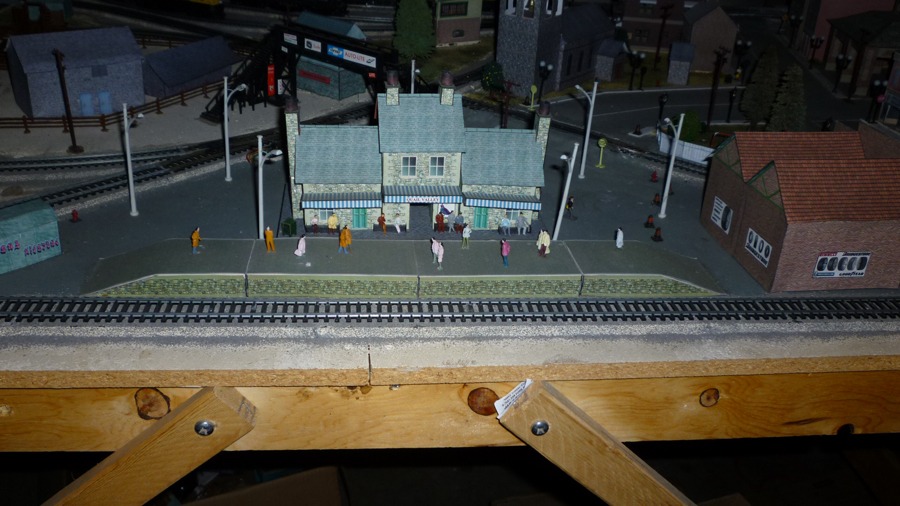
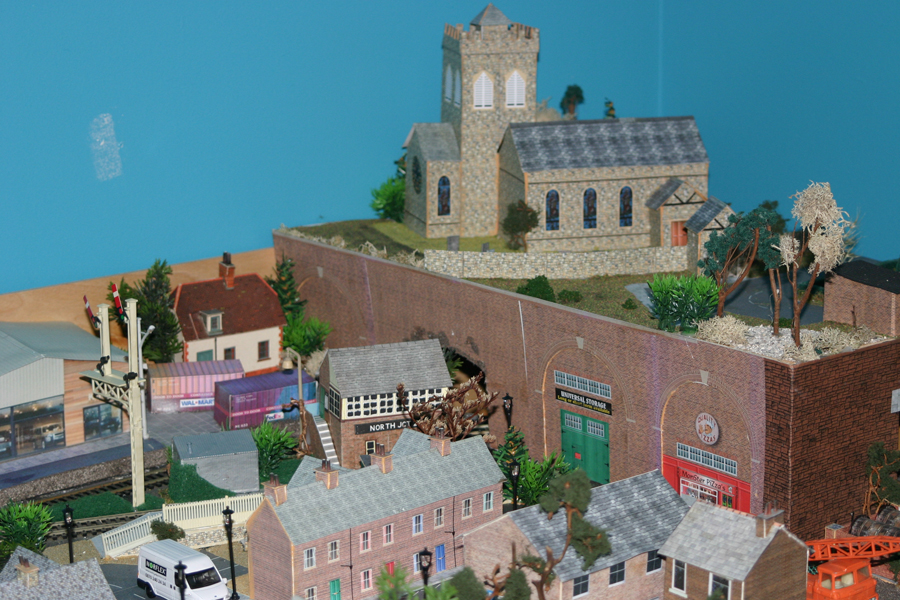
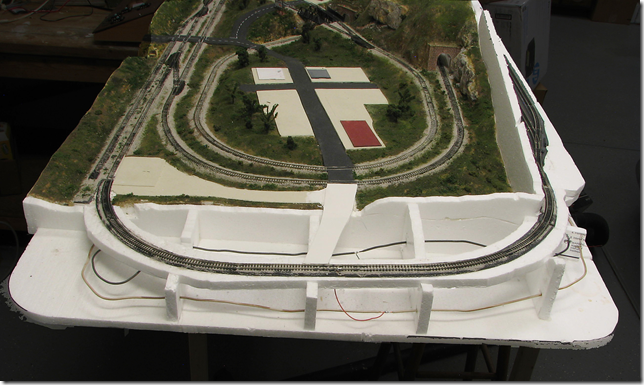
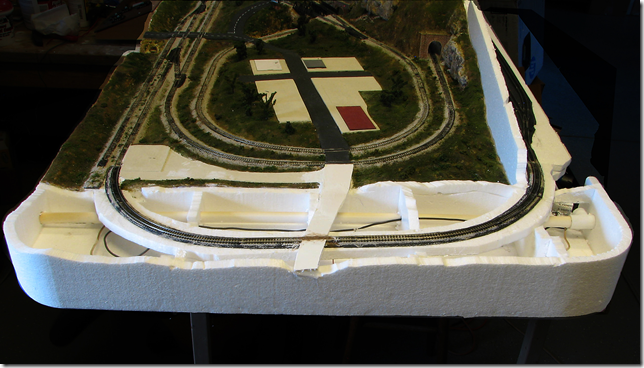
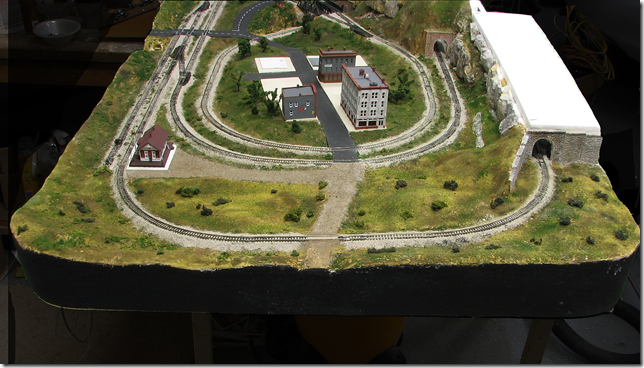
The final photo below shows the town buildings and station back in place, the added tunnel portal, the completed rock wall, and the cover for the hidden yard.

N scale southern pacific


N scale southern pacific layout:

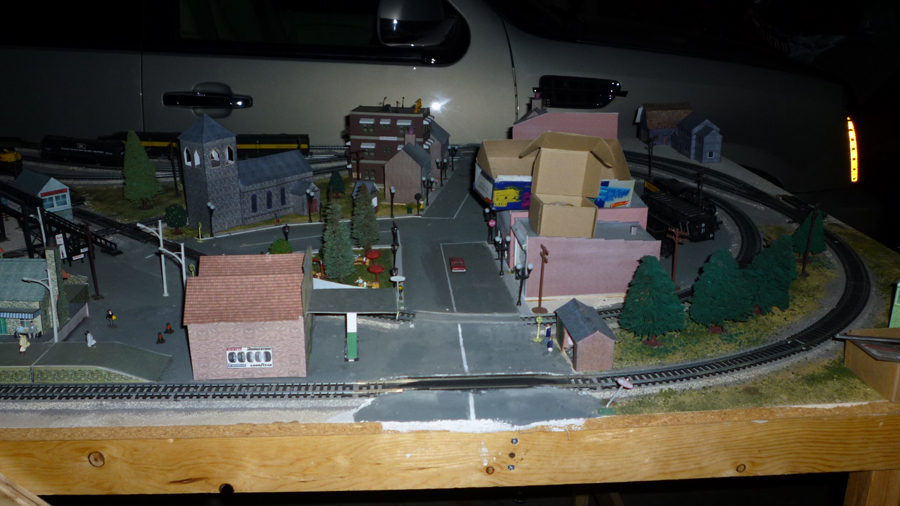
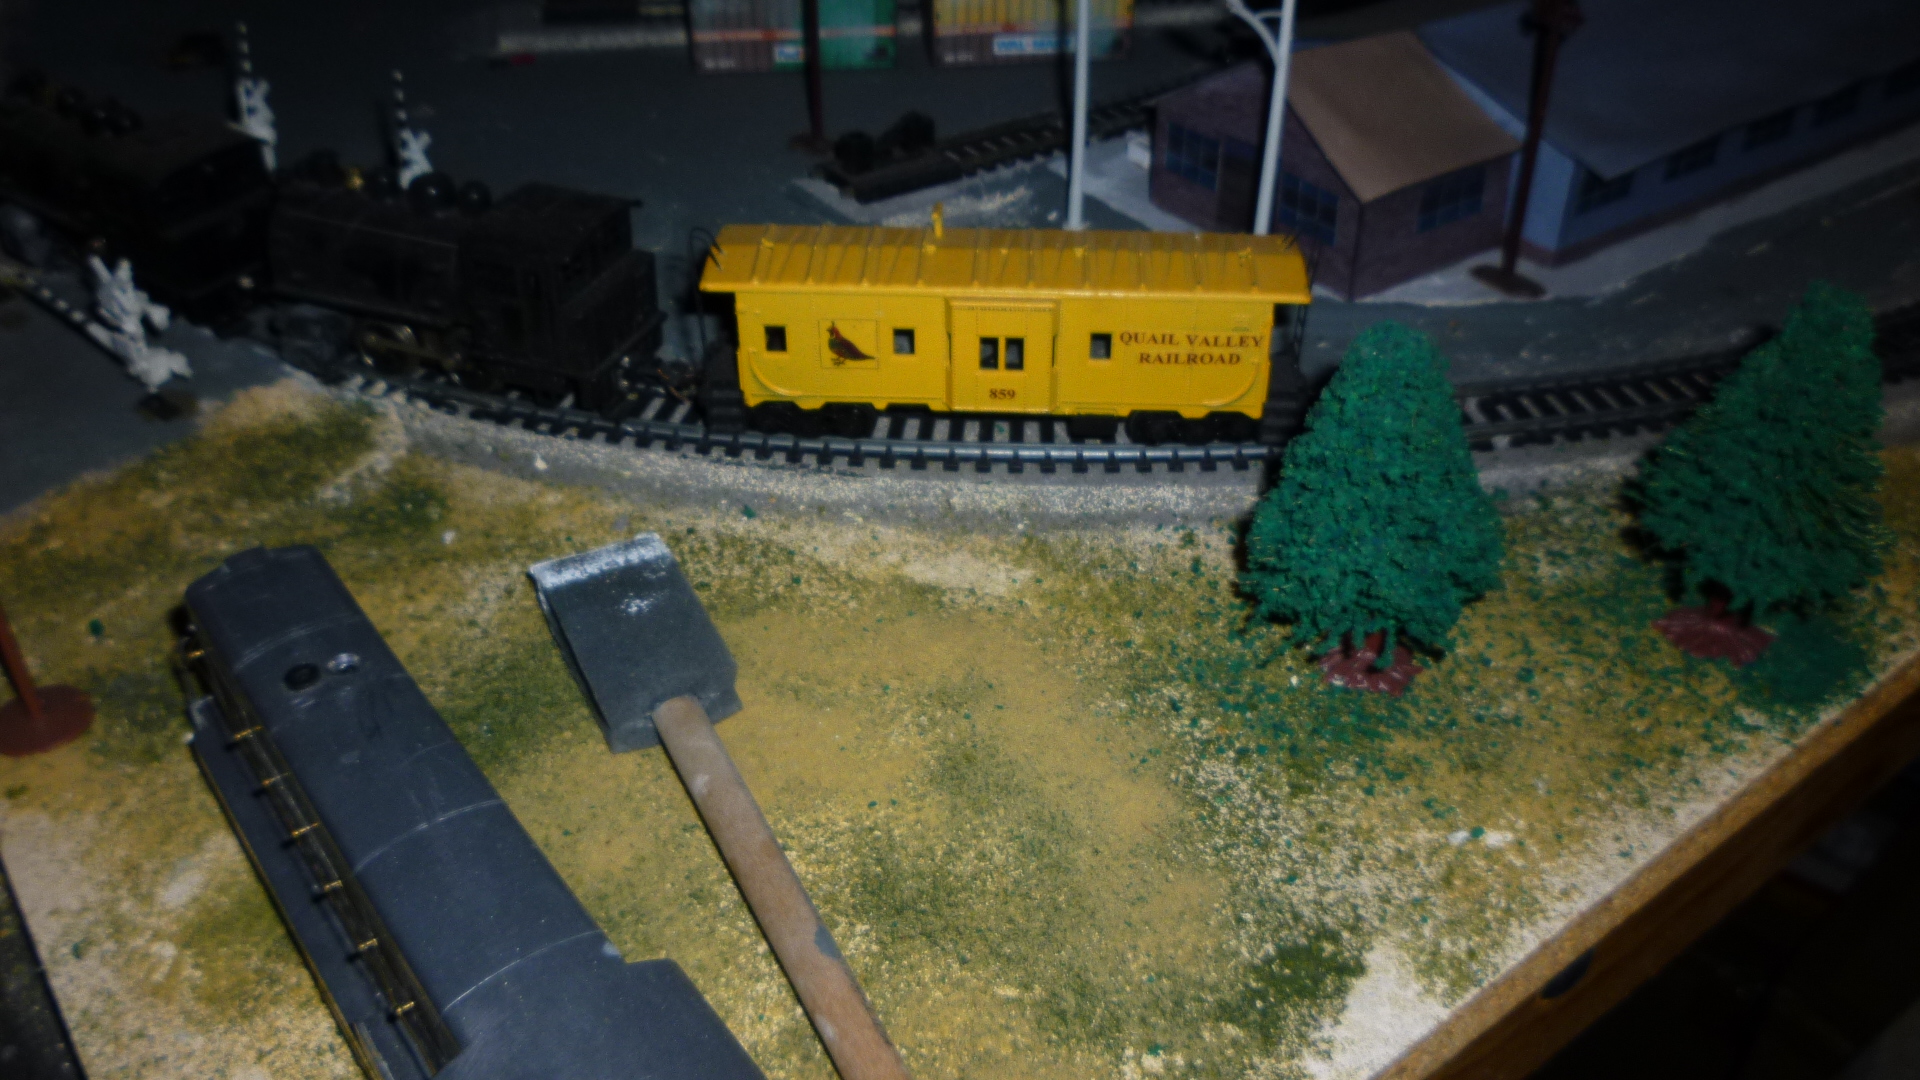
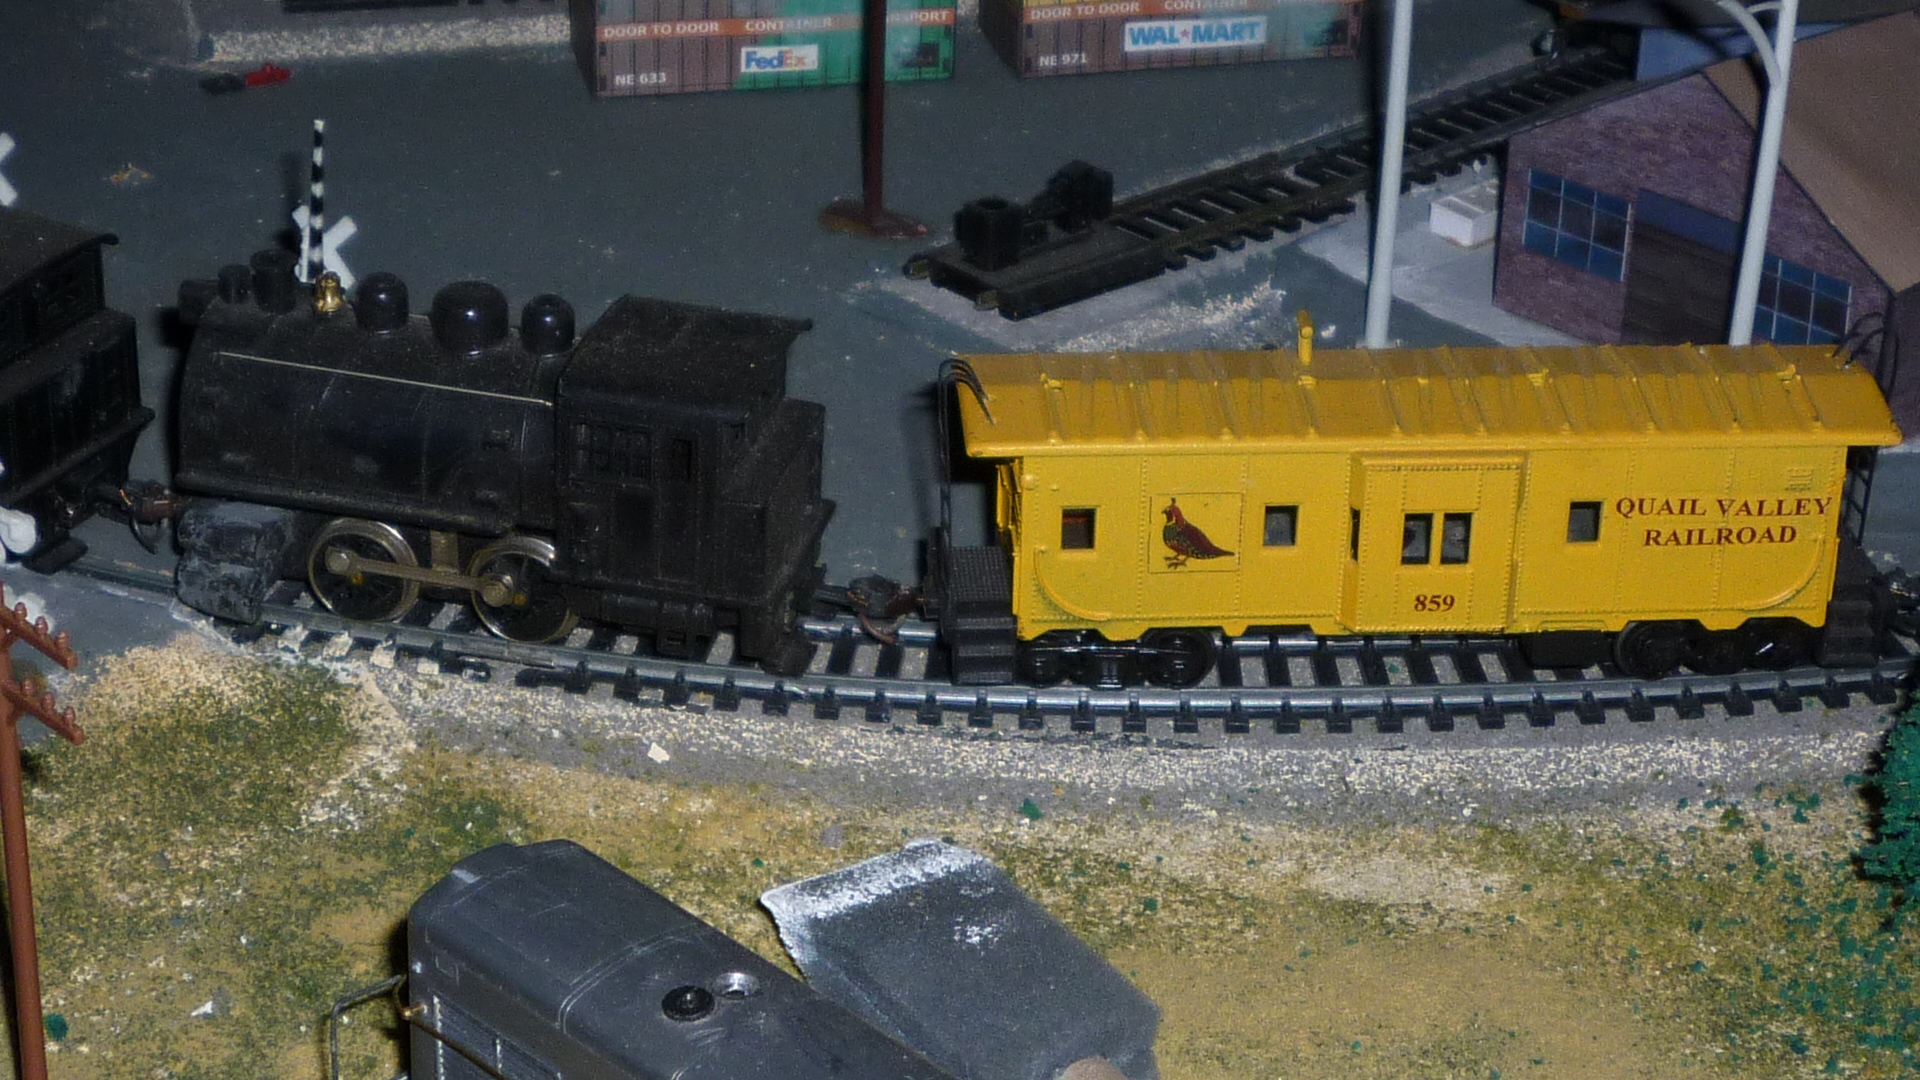
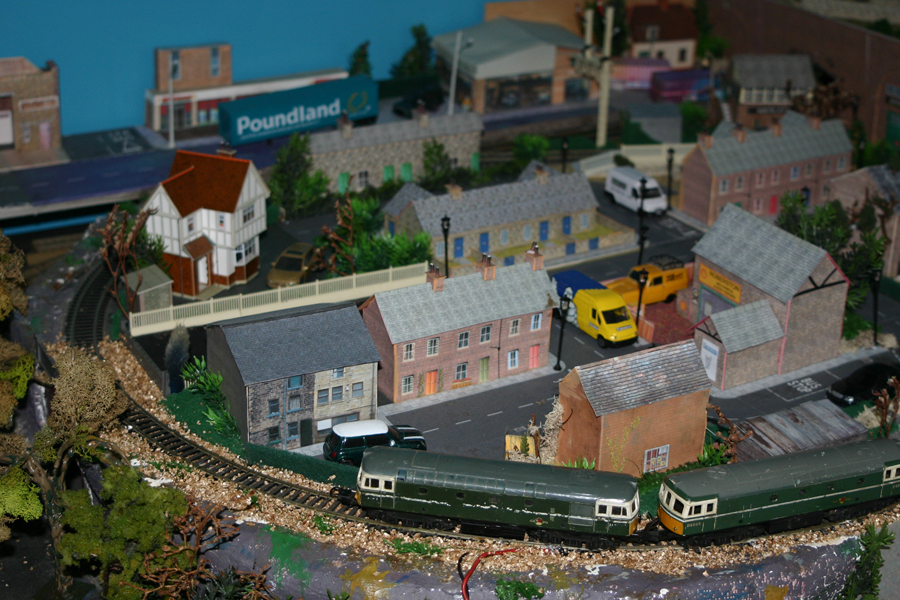
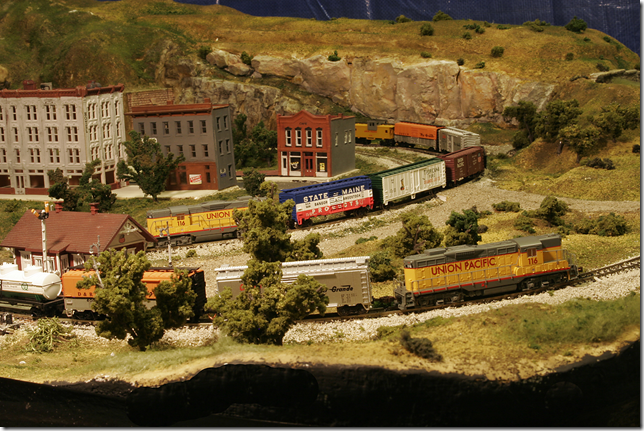
And here in the last photo is a better view of the town. Two freights, one starting up the long haul to the western division on the new line, the other coming back from the eastern division, meet at Piedra Blanca.”

n scale model train

Brian has been in touch too – to answer some questions on his shelf layout:

“Hi all, an explanation of ‘my’ shelf layouts.

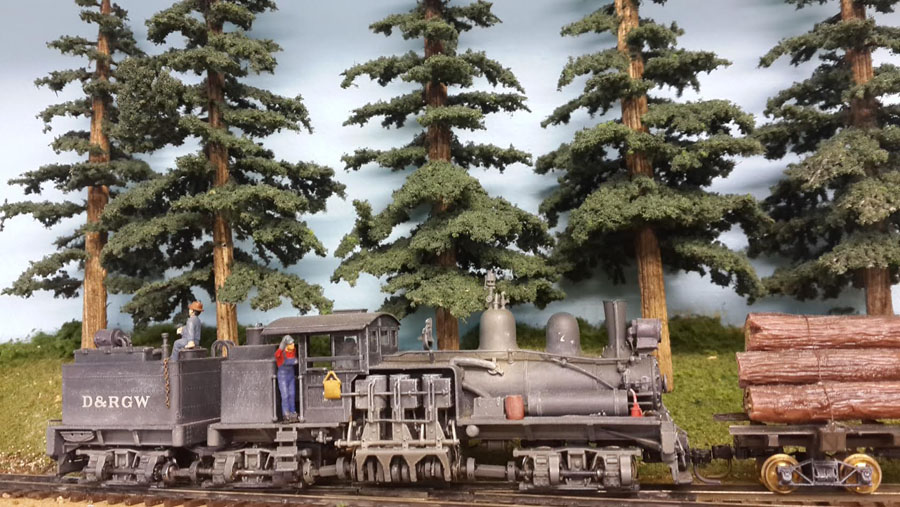
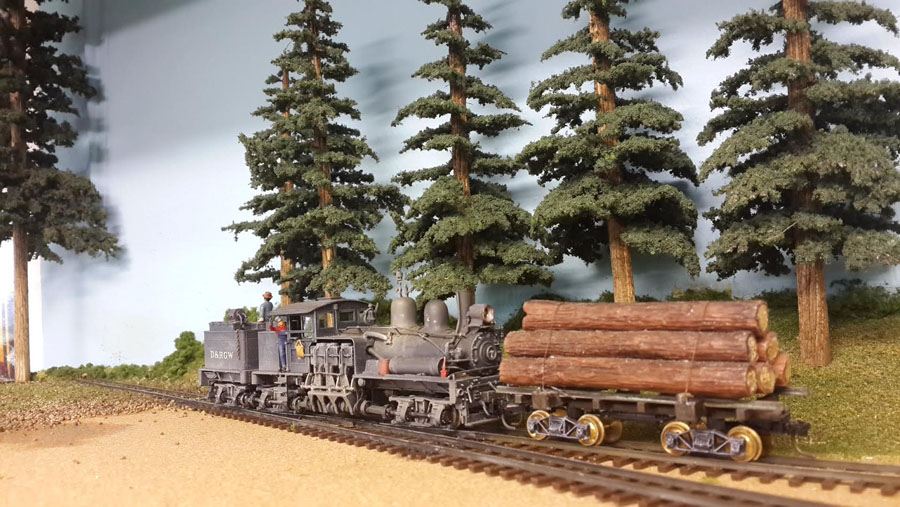
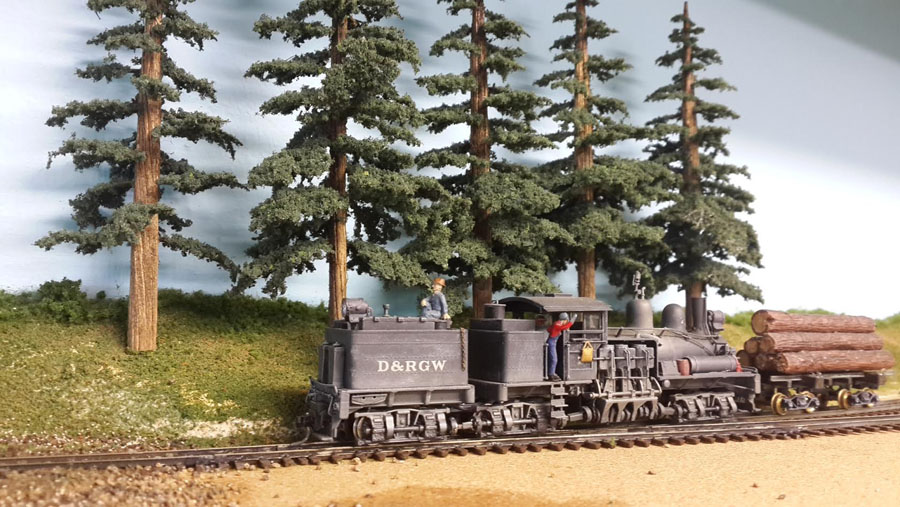
The upper level will be a logging operation (moving wood to a sawmill) loosely based on the Westside Lumber Co. on the west coast of the USA where on one side of the layout the trees will be cut down and loaded onto log cars for a trip to the sawmill on the same level.

On the other side will be a small engine terminal with a turntable and two stall engine house plus a small yard.

The locomotives that I use are Shays and Heislers (logging locomotives). These locomotives can run with trains in forward or reverse.

There will be a runaround at the tree felling area in order for the train to have a loco in the front on the return journey. There is no connection to the lower level.

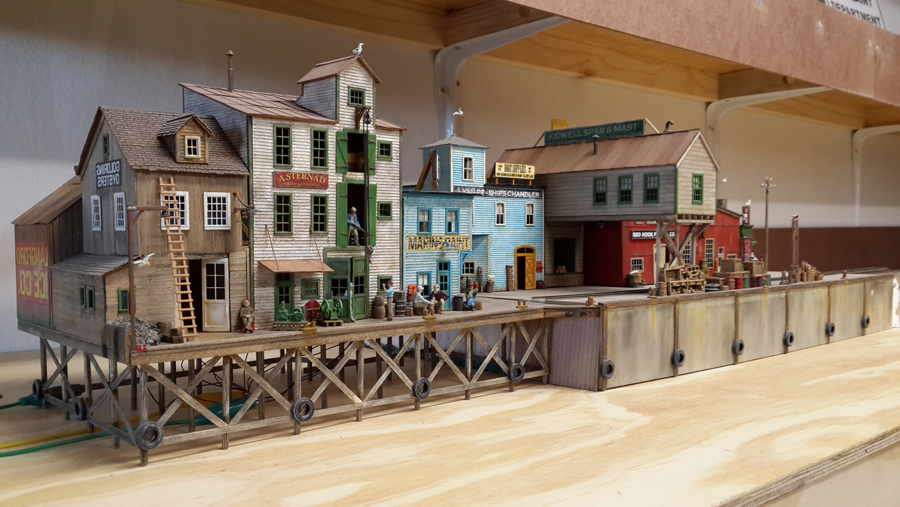
The bottom level will be based very loosely on the Denver & Rio Grande RR (locomotives and rolling stock only) and will have a full engine terminal facility on one side and the harbor on the opposite side terminating at the wharf. Again no connection between the levels.

In reality, I will have two different layouts to operate independently from each other. The layouts are designed to have two operators for each level all running on DCC.

Yes, the wharf was salvaged from my previous layout where it terminated against a wall. There was a mirror at the end and because you could not actually see the end of the wharf but only in the mirror hence the mirror images on the buildings. These will be changed once placed in the new location where one can see the actual end of the wharf.

In a few of my previous posts, one can see all the photos of the building of the wharf and explanation.

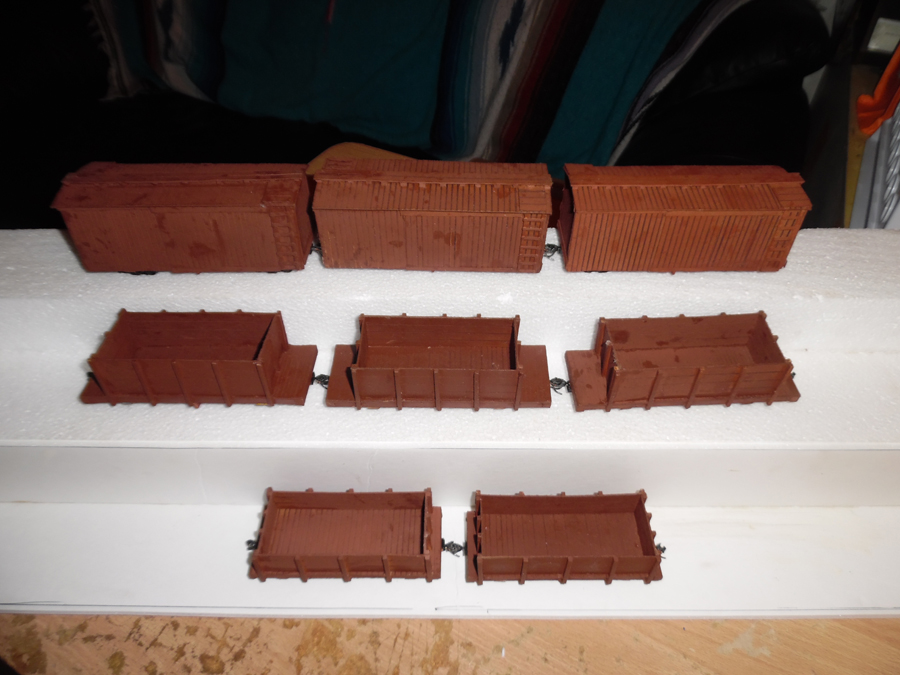
If you peruse through all my previous posts, there are numerous photos of my buildings, locomotives and rolling stock on my previous layout. All (?) will be used on my new layout.

The reason for building a new layout is that we retired and moved to a different town 500 kilometers up the coast from Cape Town.

I will send Al a plan of my layouts in the near future.

Cheers Brian”


A huge thanks to Brian.

There’s quite a few shelf layouts on the blog now, here’s a few of them:

ON30 shelf layout

Small shelf layout

HO scale wall shelf

Shelf layout HO scale

Alan’s shelf railway

Peter’s N scale shelf layout

Thanks also to Dean for sharing his N scale Southern Pacific layout. I do love to see these layouts come alive over the months, and it’s also wonderful to see how folk approach things differently.

Please do keep ’em coming folks.

That’s all for today folks.

And if today is the day you get started on your layout, the Beginner’s Guide is here.

Best

Al

PS Latest ebay cheat sheet is here.

PPS More HO scale train layouts here if that’s your thing.


HO scale box car scratch build

John’s been in touch with his HO scale box car scratch build:

“Dear Mr. Lee…

I believe I sent you a set on building an On30 gondola from card. If I am mistaken, please let me know as I can send those also.

Here is the beginnings of the boxcar build. I have now built 8 cars from cardstock and I will soon be moving on to a locomotive (or two) and a caboose (brake van for those across the pond).

This is the beginning… A boxcar from a box…

This is the box and squaring up the salvaged material.

Also the beginnings of the frame.

Note, I double the cardboard for some applications, four times for the side sills, and up to eight for others.
I use American pennies I find on the ground for weight… 24 for most 18 fro other.

These are “Old School” models… What is not seen is not detailed either.

Sincerely

John from Cali”

ho scale box car

ho scale box car

ho scale box car

ho scale box car

ho scale box car


HO scale box car scratch build:

HO scale box car scratch build

HO scale box car scratch build

HO scale box car scratch build

HO scale box car scratch build

HO scale box car scratch build

HO scale box car scratch build

HO scale box car scratch build

HO scale box car scratch build

A big thanks to John – he’s also shared another post on box cars:

HO scratch build box car

“My name is Anton Bruce Sr, I’m 59, and I live in Burbank, California, USA. I have been a “train nut” since I was…about 13? I have had layouts in one form or another, but I had not had one in several decades – no room for it!!! Until about a year ago…

I NOW have a layout – just a 4′ x 8′ HO layout that my grandsons have been “helping” with. I figure that a simple 4×8 will give them a taste of the hobby, and let them know that yes – this whole “train thing” (to quote my wife) can be a whole lot of fun if we work on it together. They take pride in it, and of course they just like to see the trains run. My younger grandson (he’s 11) thinks it is “so cool”. All three of us decided on the track plan, and the scenery is mostly their ideas – and their work. I left the more “serious” work, such as electrical wiring, to myself. Gotta be safe, you know…

Granted, I and my grandsons are nowhere near the ability of some of your contributors, and the layout is nowhere near “finished”, but hey – we do our best and have a boatload of fun doing so. And when you’re doing this with the grandkids…isn’t THAT the whole idea?

Anton”

4x8 HO layout

4x8 HO layout

4x8 HO layout

model train layout

model train layout

p1030031

p1030032

p1030033

model train engine house

model train locomotive

model

“Hi Al.

I have sent you a few photos of Megan, my half size Savage Little Samson traction engine.

I have a friend over from the UK who is a steam enthusiast and fellow model engineer so as the sun was shining and it was very warm here in Brittany we decided to have a steam up. Very pleasant tootling around the country lanes. We only saw one car all afternoon.

I have nearly finished “Elsmia”, my second Little Samson which after tests will be for sale if anyone is interested.

Once finished then concentration on the 00 Layout. I insulated the loft space this morning to keep the place warmer over winter and cooler in the summer of course.

Regards.

Roger in France”

steam traction engine

steam traction engine


A big thanks to Anton, Rog and to John for sharing his HO scale box car scratch build.

I loved Anton’s pics – purely because making a layout is fun – but making one with your your little smashers, what beats that?

That’s all for today folks.

Please do keep ’em coming.

And if Anton has inspired you, the Beginner’s Guide is here.

Best

Al

PS Latest ebay cheat sheet is here.

PPS More N scale layouts here if that’s your thing.


Cheap model railroad sets

Andy has been in touch with is take on cheap cheap model railroad sets – he’s done a great job too:

“Hi Al,

Firstly I’d like to say how much I enjoy all the tips from your subscribers and seeing their work.

I started my layout two years ago this month on the premise that it would be a “pocket money layout” so everything is either scratch built or used/repaired.

It measures about 15 feet by 5 and is built on two dining tables which I got from a charity shop for £5 each and covered in MDF offcuts from a local joiner. The photos show how far I have got so far (still a lot to do) and I hope they show what can be achieved on a budget.

I have spent between three and four hundred pounds to this point (less than £5 per week) and the enjoyment I have had far surpasses the expenditure.

I hope you like what I have done, as I not a purist by any means!

Thanks again for all the ongoing tips and info

Andy (Ferryhill County Durham)”

Cheap model railroad sets

Cheap model railroad sets

Cheap model railroad sets

Cheap model railroad sets

model railway

model railway

model railway church


A huge thank you to Andrew for adding to the cheap model railroad sets on the blog. It just goes to show, you can build a layout on a shoe string budget… though once you’re bitten by the bug…

Now on to Brian:

His latest layout is really starting to take shape now. I still have no idea how he gets so much charm and character in to them.

“Hi Al,

progress on the layout. Gone is the snow (styrofoam) and greenery and shrubs now in place as well a the start of the trees.

The hole in the layout (middle right) in the bottom photo is where the Spar tree (log loader) will be situated to load the logs onto the empty log cars.

Cheers – Brian”

model train logging

model train logging

model railroad logging

model railroad shelf

image1

image4

If you are unfamiliar with Brian’s layouts here are some of his previous posts:

Brian’s logging locomotive

Brian’s wharf

Brian’s wharf buildings

Thanks to Brian and to Andy for his addign to the cheap model railroad sets on the blog.

That’s all this time folks.

Please do keep ’em coming.

And don’t forget the Beginner’s Guide if Andrew has got you thinking. It’s full of money saving tips.

Best

Al

PS Latest ebay cheat sheet is here. Still going strong.