Mike’s been in touch, he’s added to the G scale garden railway layouts on the blog:
“First I must say I enjoy your web site, it makes me want to get back to my “N” scale roots.
You may not post this on your site but I figure you might enjoy the pictures as “G” scale seemed to get it’s start in England.
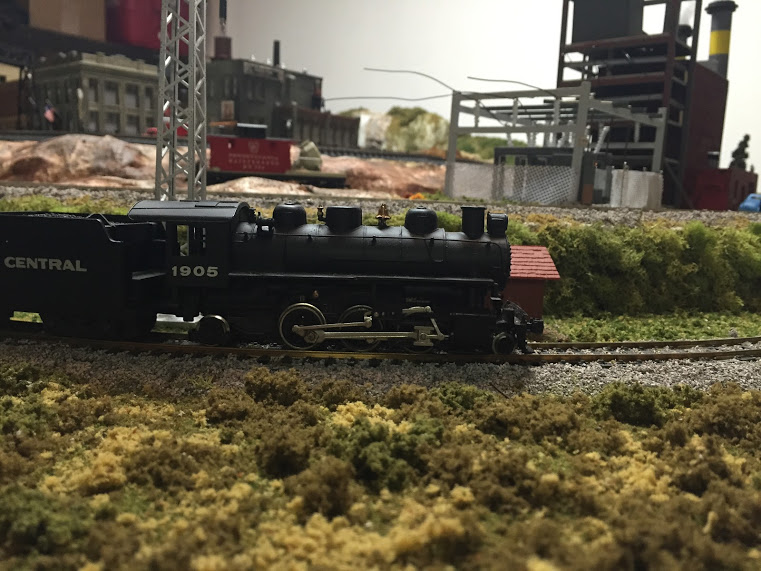
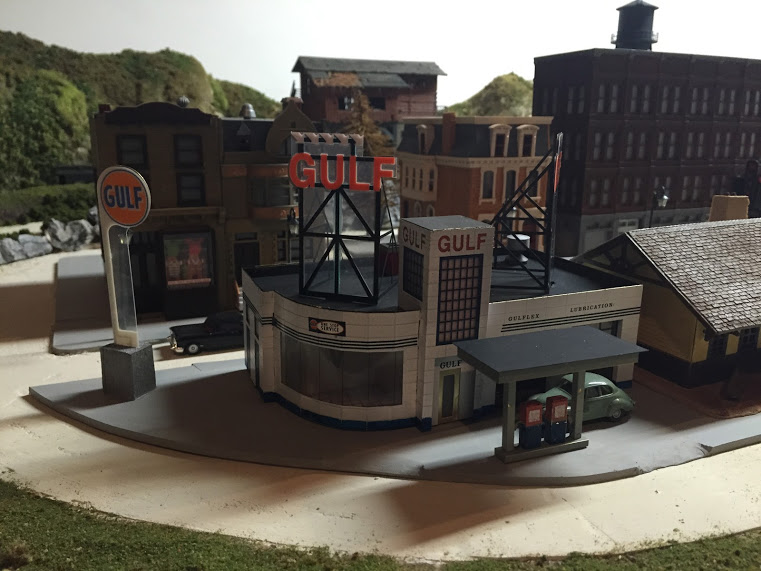
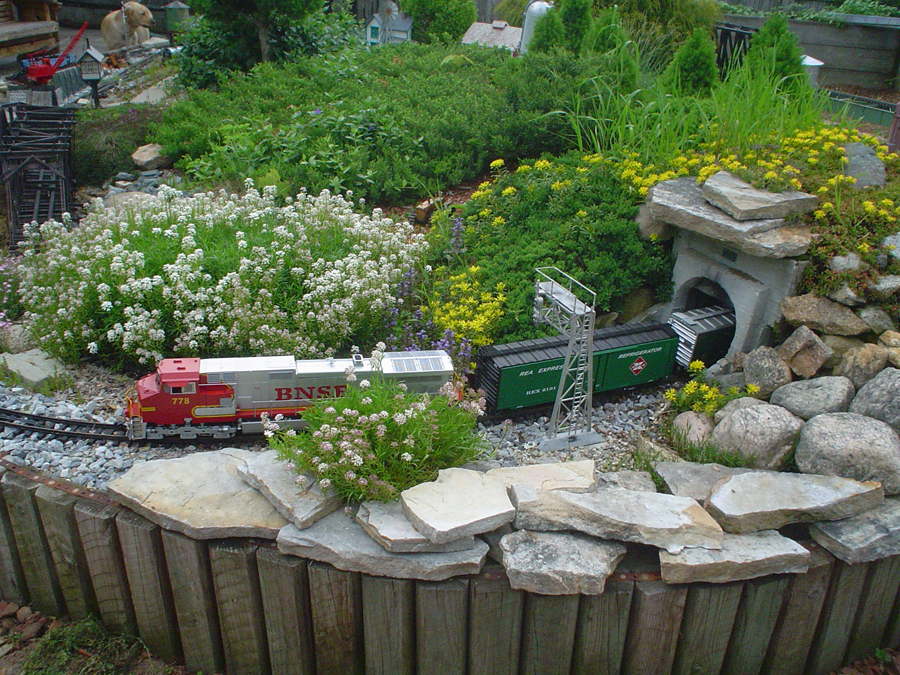
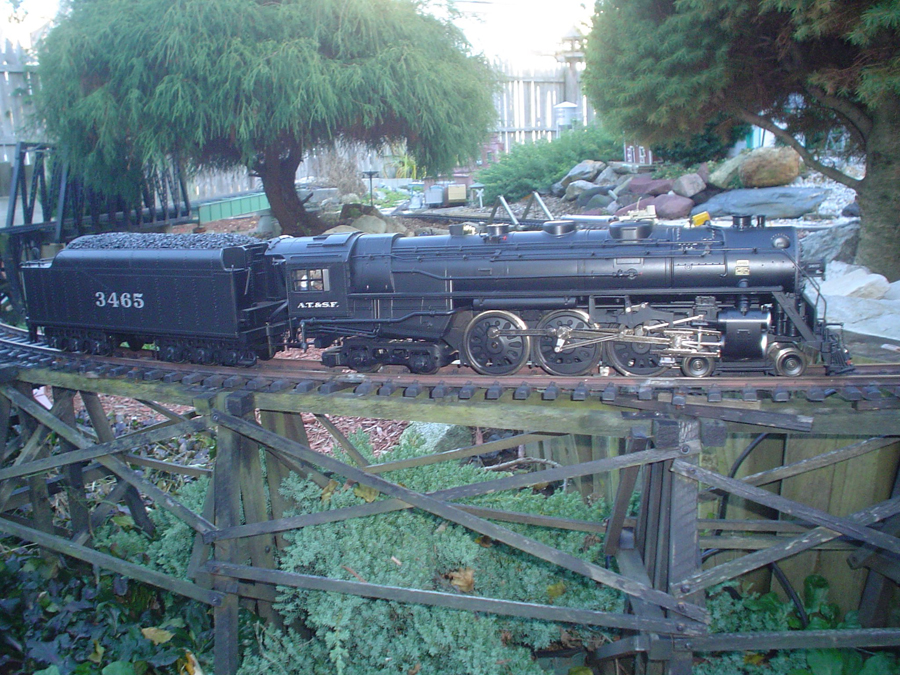
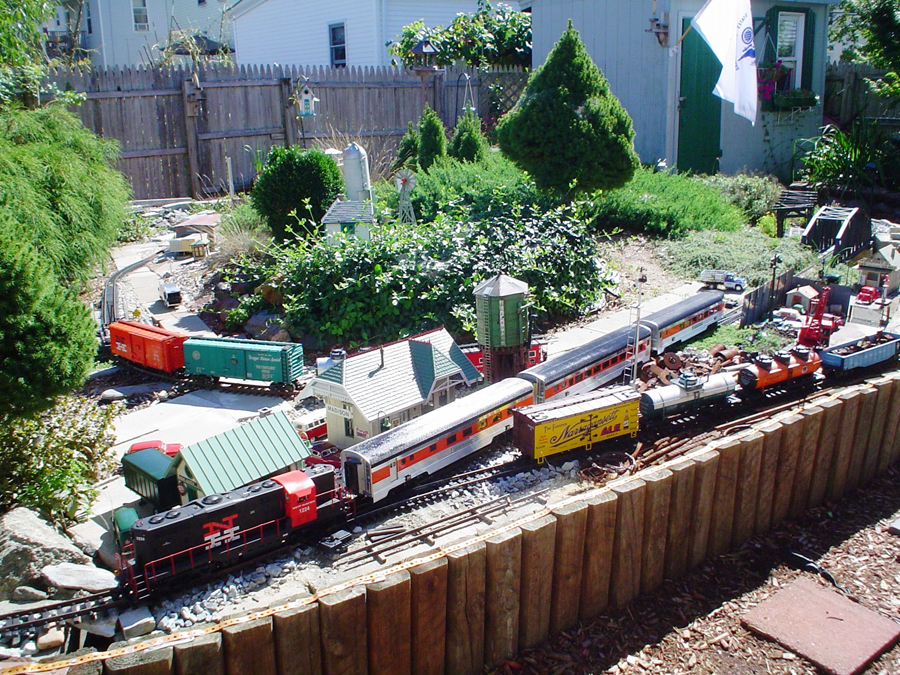
My layout is about 200 feet of track and occupies about half of my backyard.
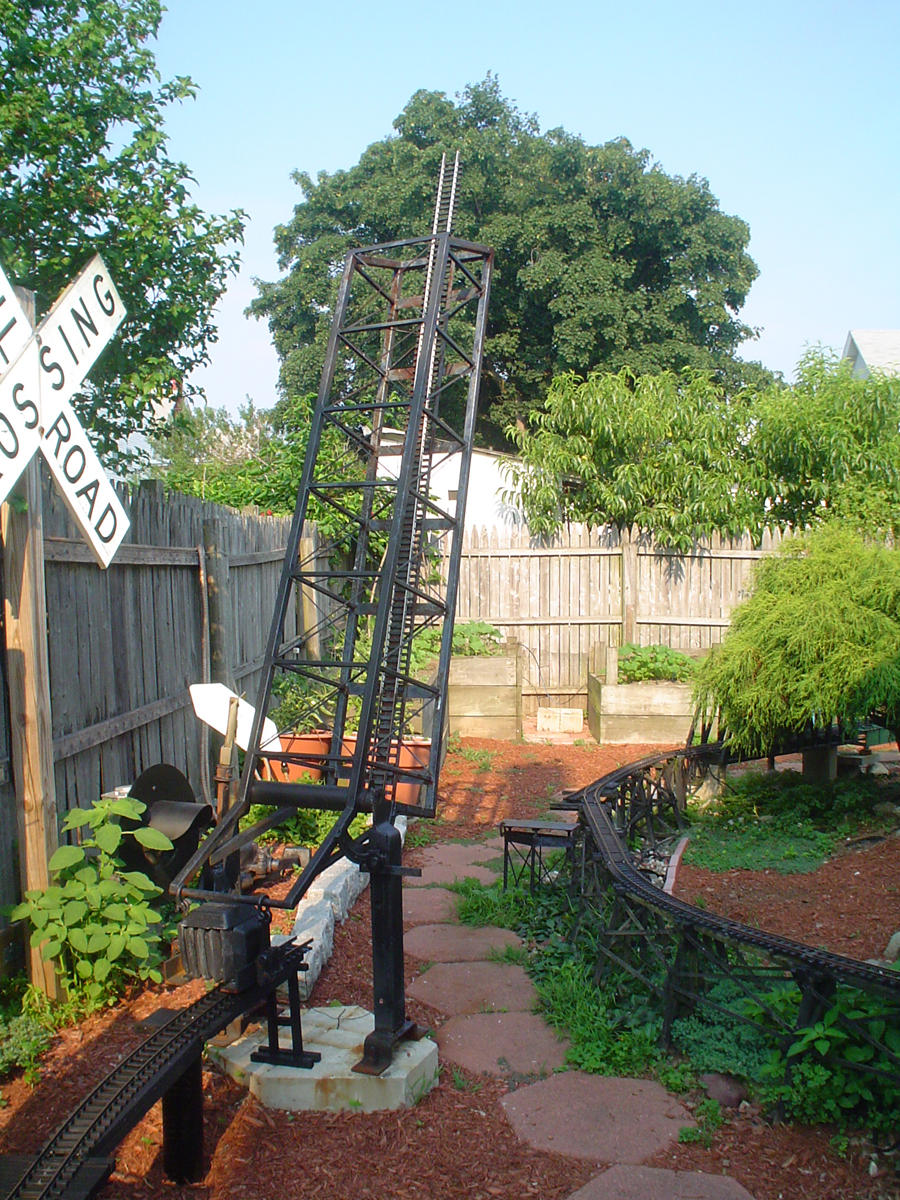
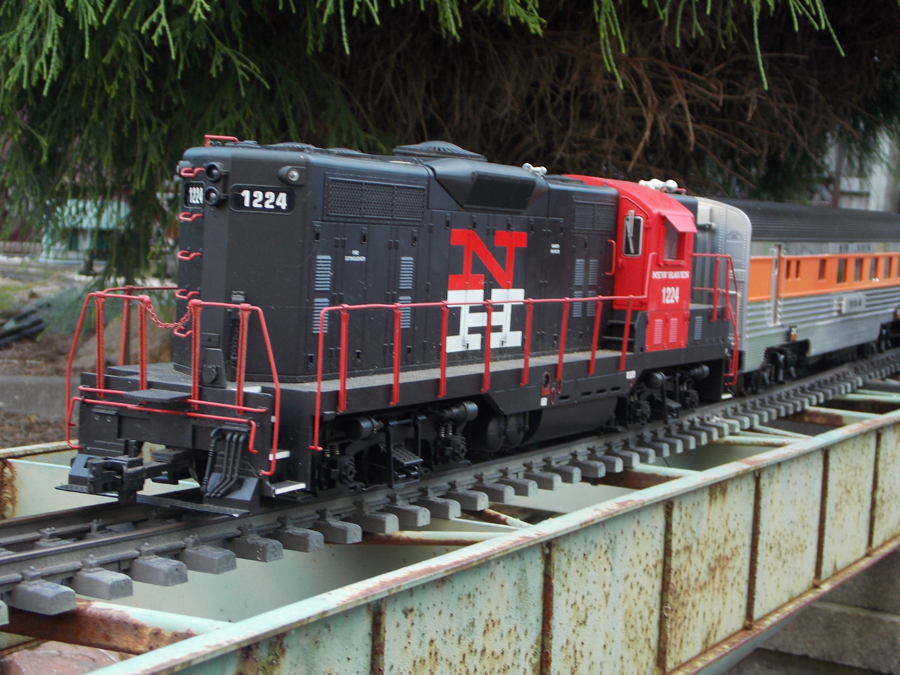
It’s a simple loop, with a spur and a freight yard that connects to the loop via a metal cantilever bridge (that hornets like to nest in).
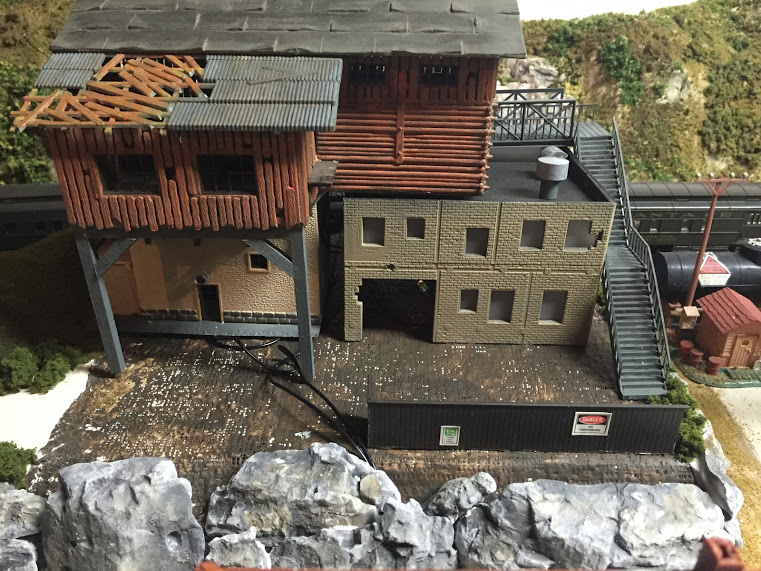
It suffers from the change of seasons, i.e., the difficulty of achieving a “prototypical” look of a railroad but having to compromise fidelity to make it work outdoors.
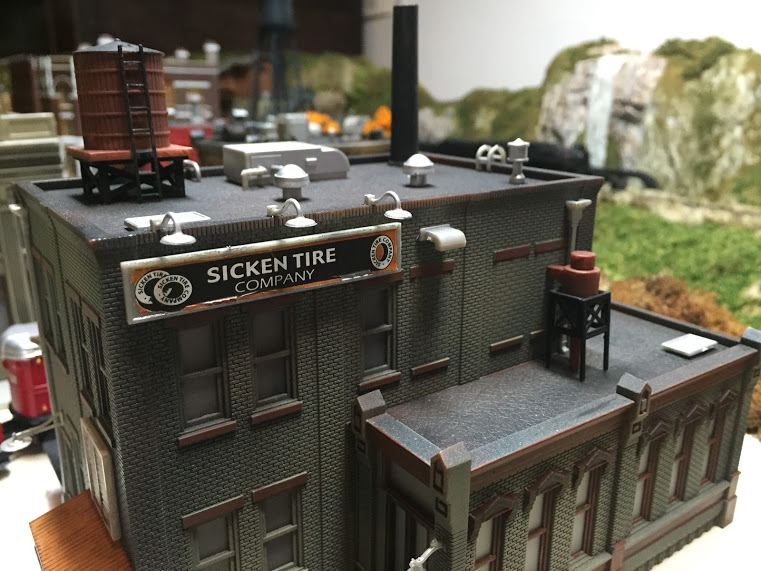
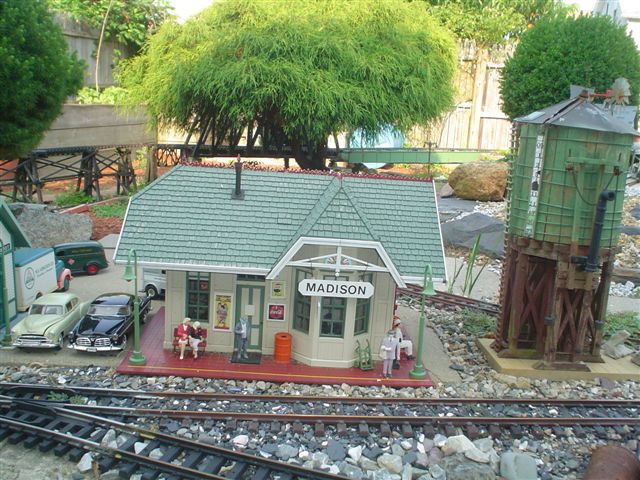
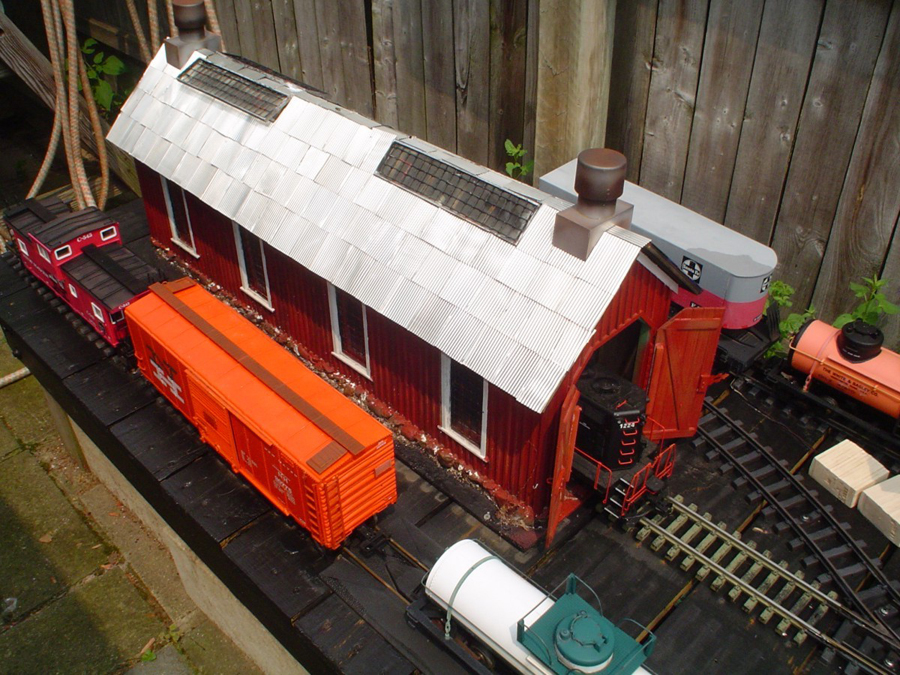
Every spring the road bed needs to be re ballasted, buildings need a spot of paint and my 20 year old wood trestle needs to be rebuilt, I don’t know what is holding up the track!
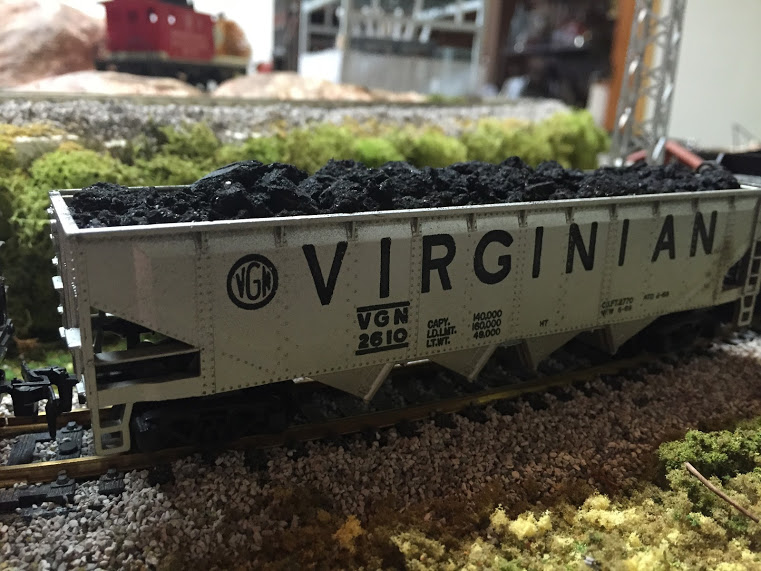
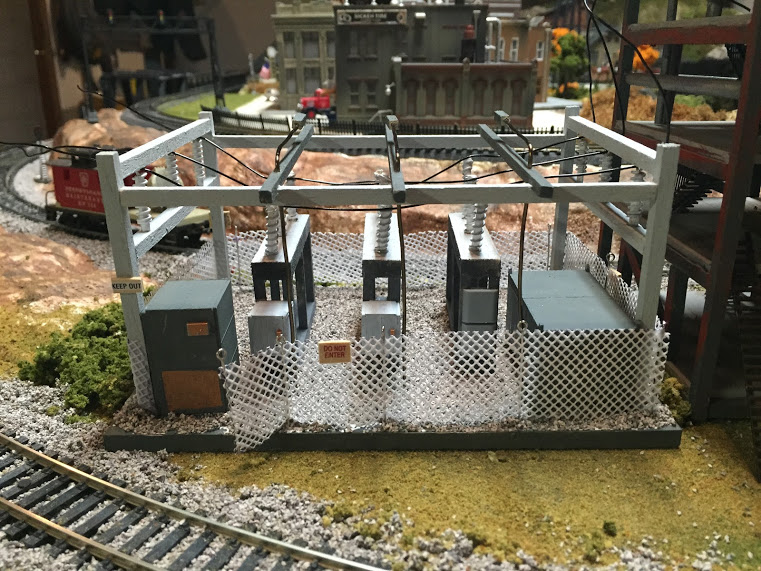
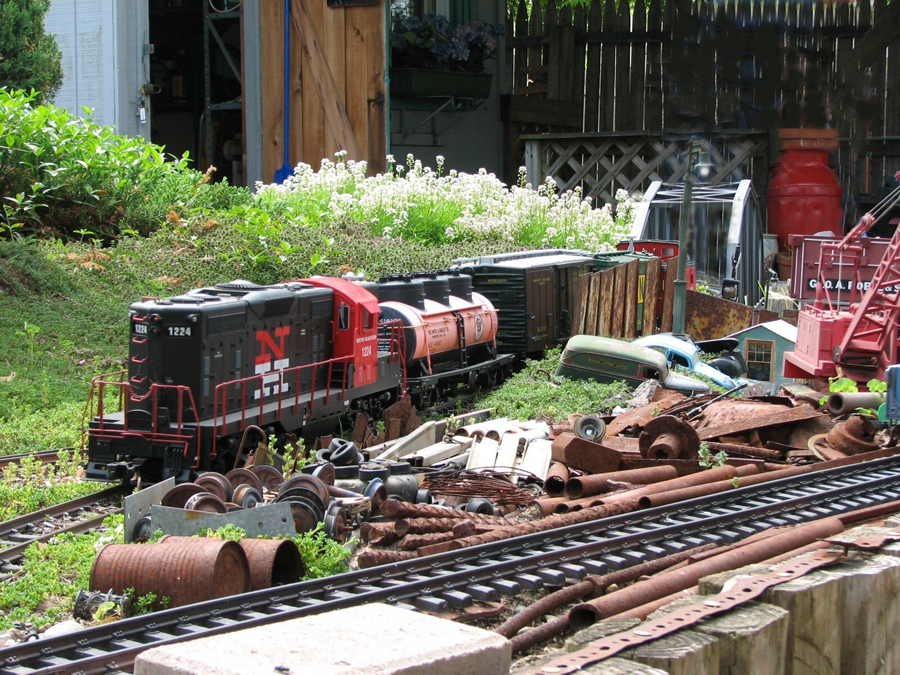
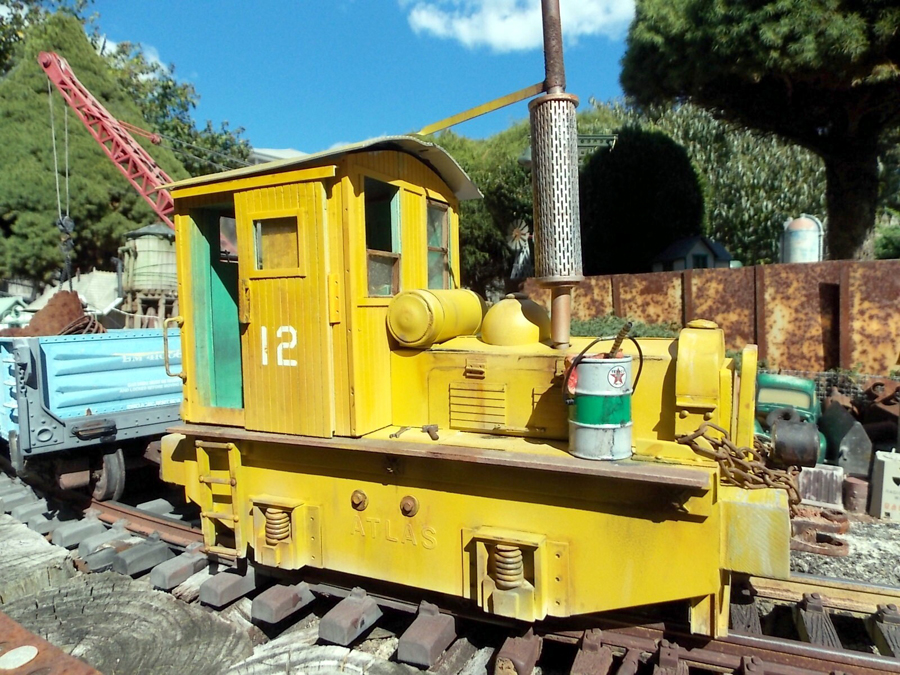
My rolling stock needs to have steel springs on the trucks replaced, journals lubricated, and couplers adjusted.
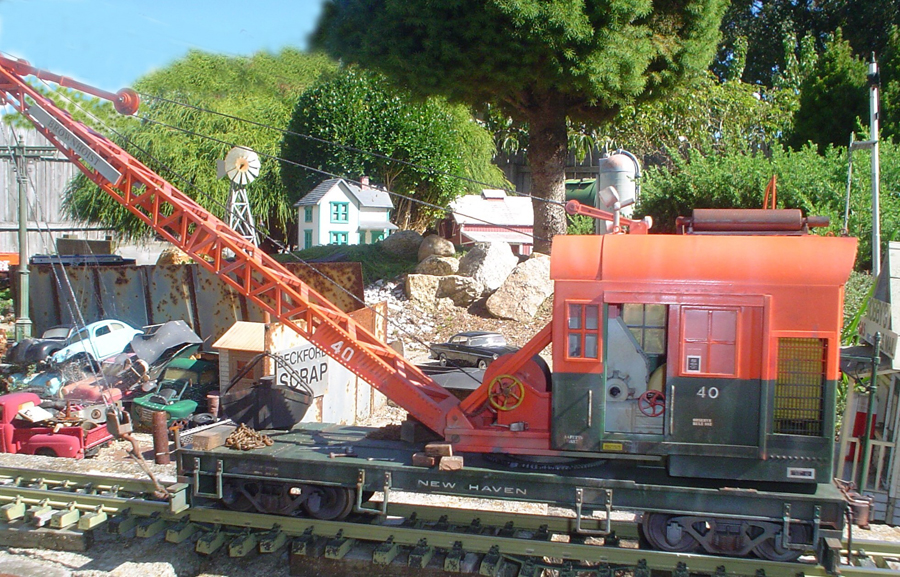
But the best thing about a garden railroad is that nature provides all the weathering one needs, paint fades, metal rusts and wood gets spongy.
Plus a day of running a locomotive puts a fine coating of dust and dirt on the hood and cab. Indoor guys just can’t duplicate that on their rolling stock!
It might sound like a lot of work but like the real railways, constant maintenance is what makes the outdoor stuff interesting, and a train running during a winter snow fall is a great experience.
Continued success on your fine website.
Warm regards,
Mike”
G scale garden railway layouts:
A huge thank you to Mike for adding to the G scale garden railway layouts on the blog. I’m so envious of his layout – it looks great fun.
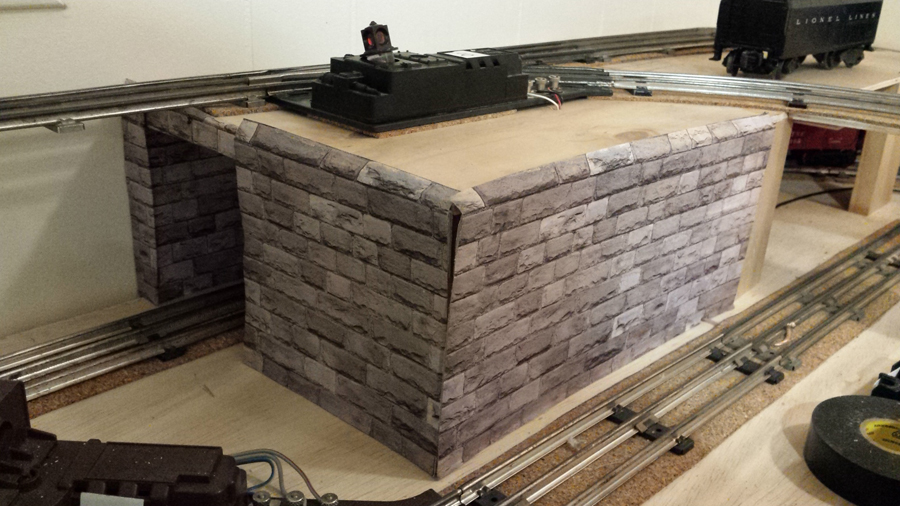
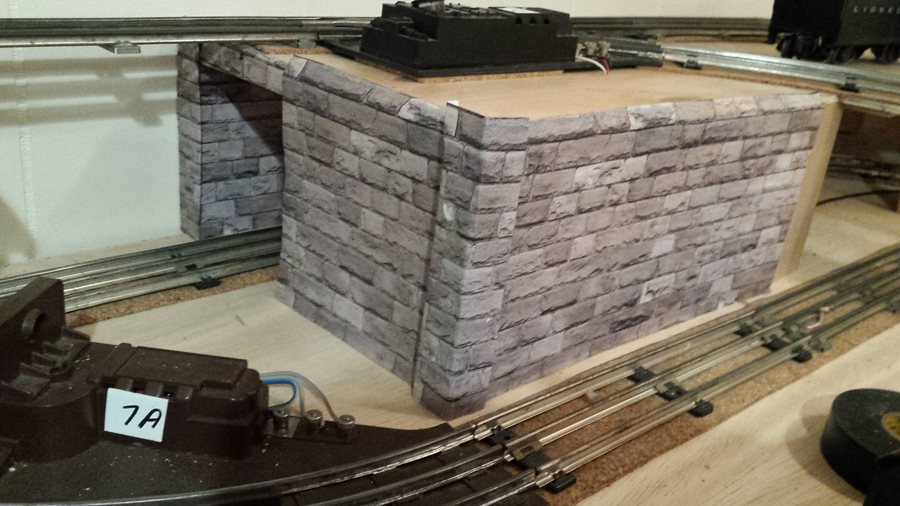
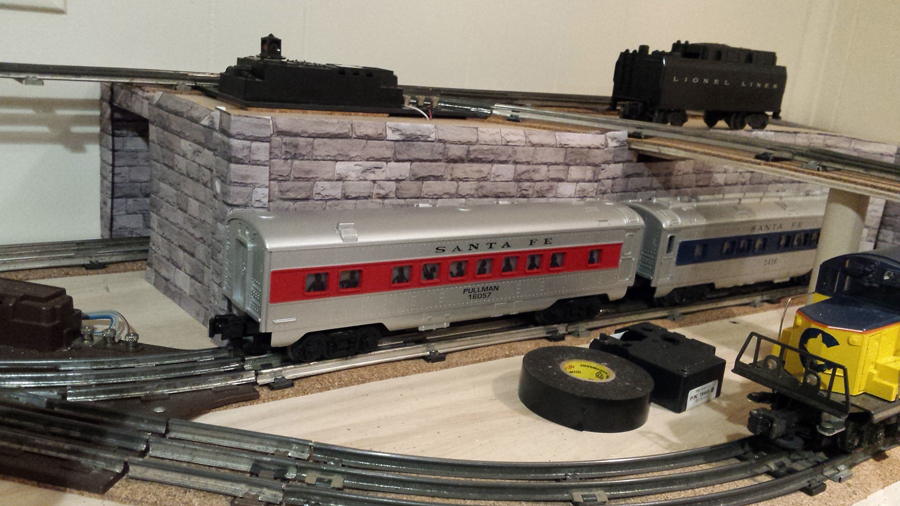
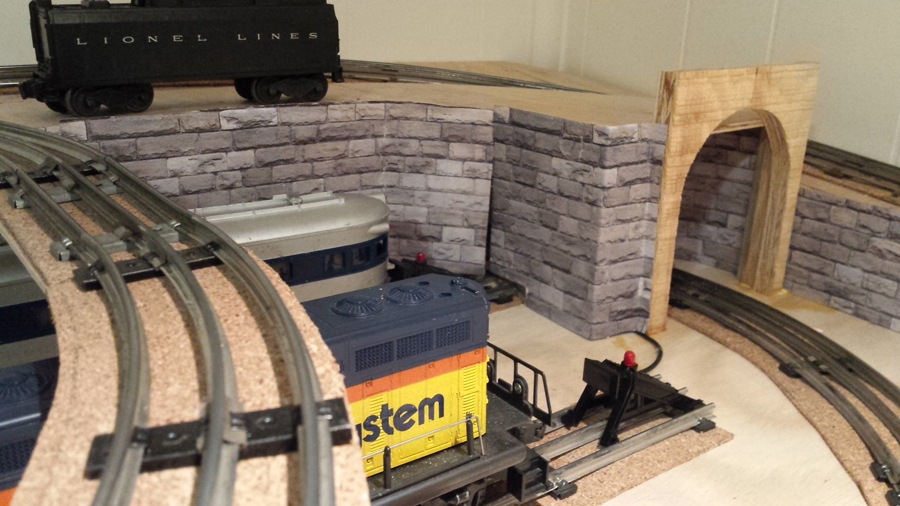
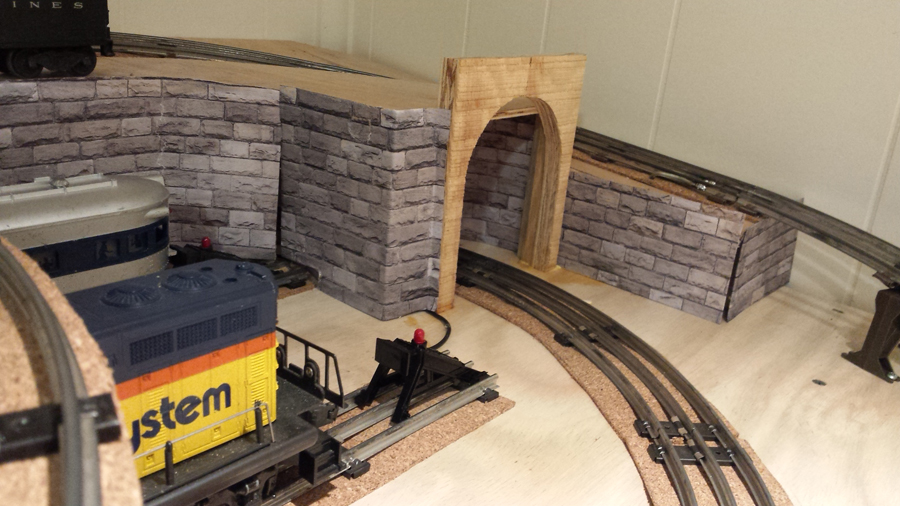
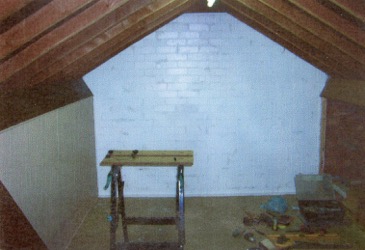
Now on to something that really made me smile. I’ve been frantically busy over the last few weeks, and I still haven’t got the latest print out scenery on the site yet – but have a look at what Rafael has done, with the embankment wall showcased by John:
“I glued the print out on a poster board, then I made a frame using 1/2 inch by 1-1/2 poplar wood. I then place the print out on the frame. I made the frame to accept four print out. I have three section with four print out and one with three print out. This is long enough to cover a 16 ft long wall.
One of the big problem for me was to glue the print out onto the poster, the white glue tends to wrinkle the print. I used the wrinkle free glue in the spray bottle. I hope this glue holds for me, I think it will.
Rafael”
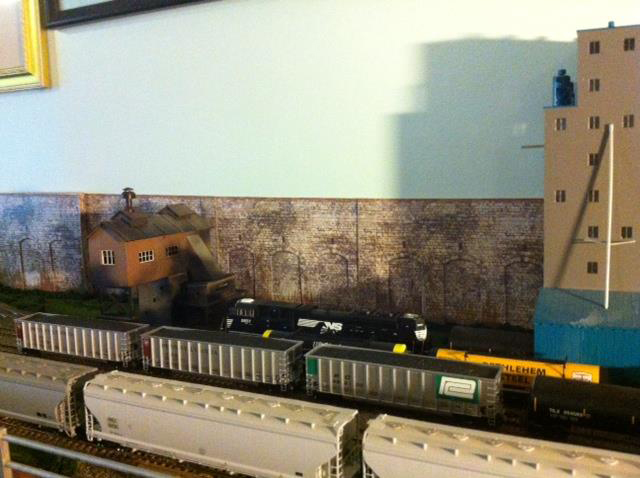
I think Rafael has done a fantastic job!
If it’s got you chomping at the bit to get started, don’t forget the Beginner’s Guide.
That’s all this time folks – please do keep ’em coming.
Best
Al
PS Latest ebay cheat sheet is here. HO stuff still going bonkers.