Kato turnout switch issue

Mike’s been in touch with how he solved his Kato turnout switch issue.

(You can see Mike’s original post here.)

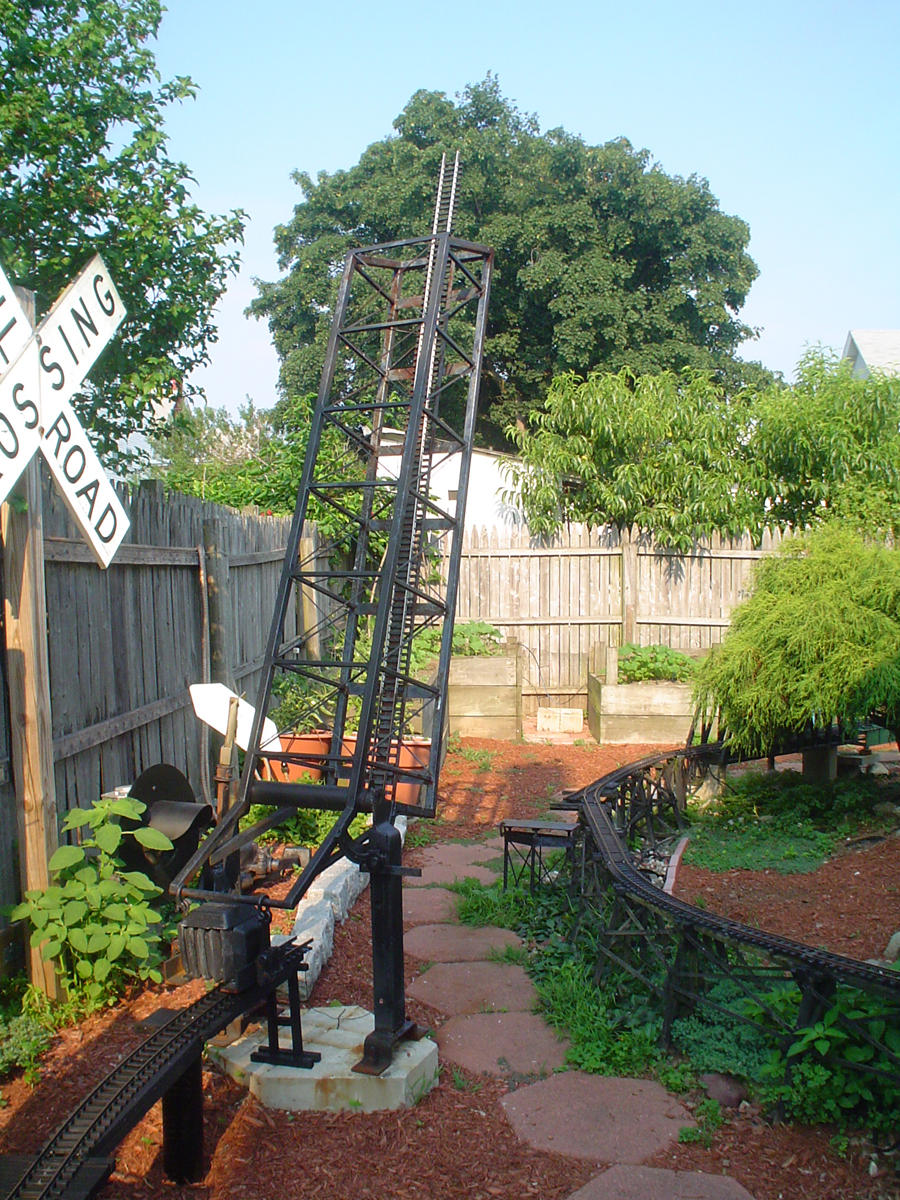
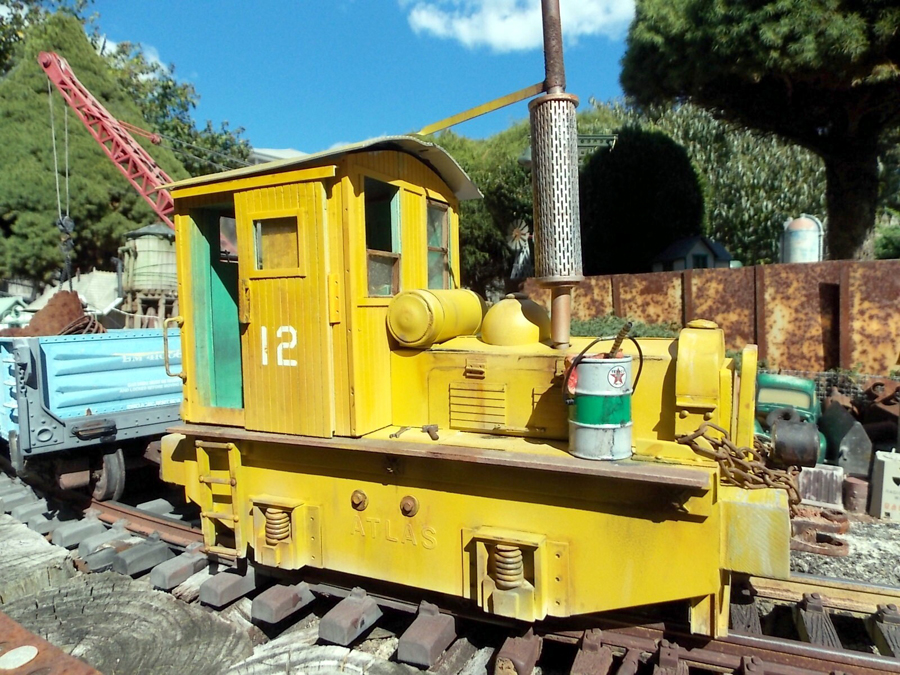
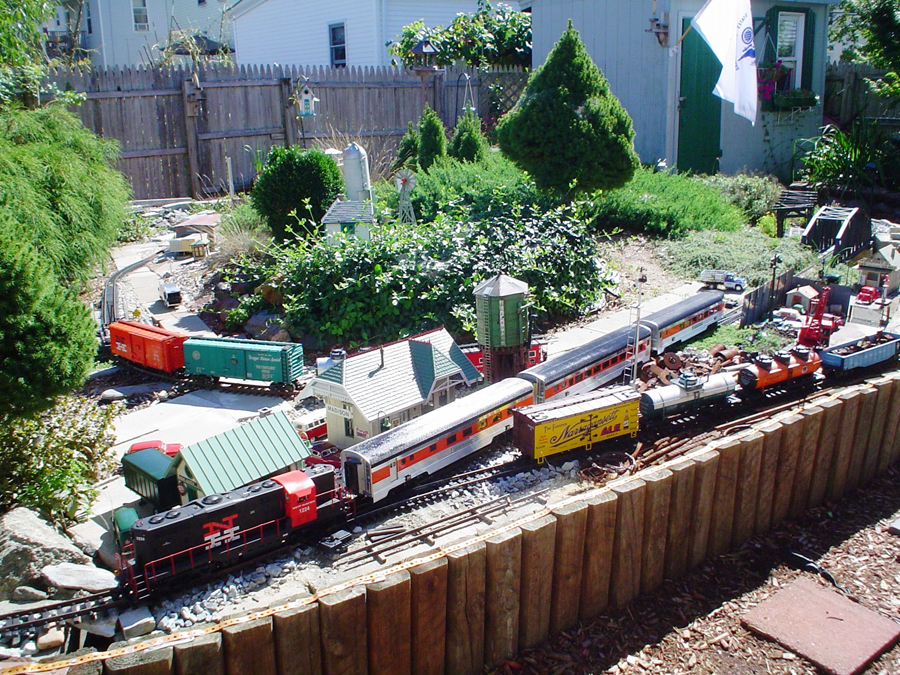
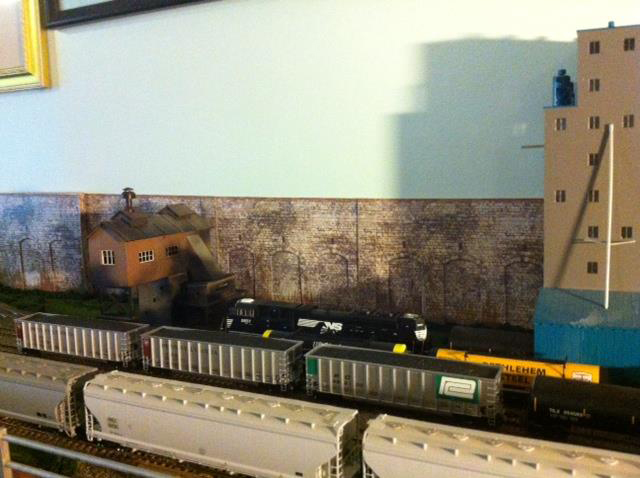
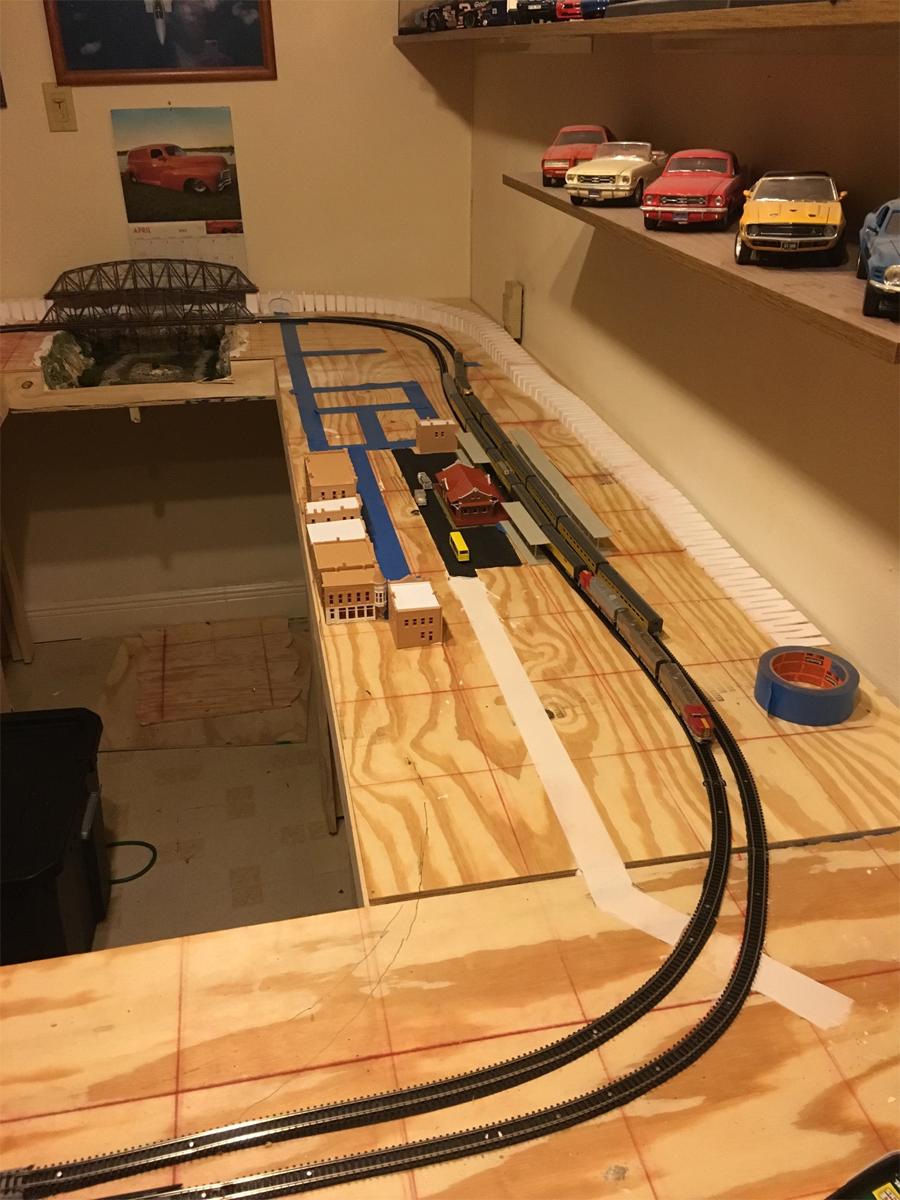
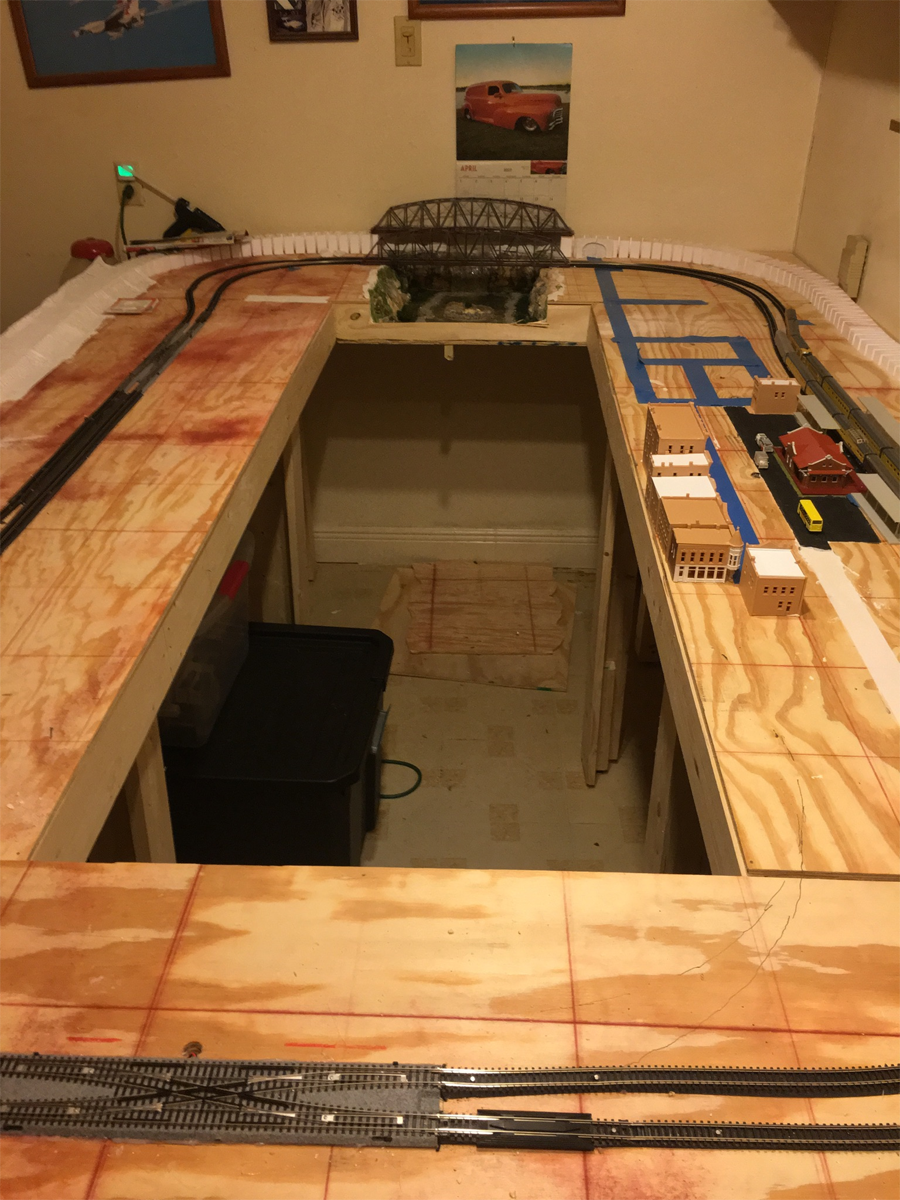
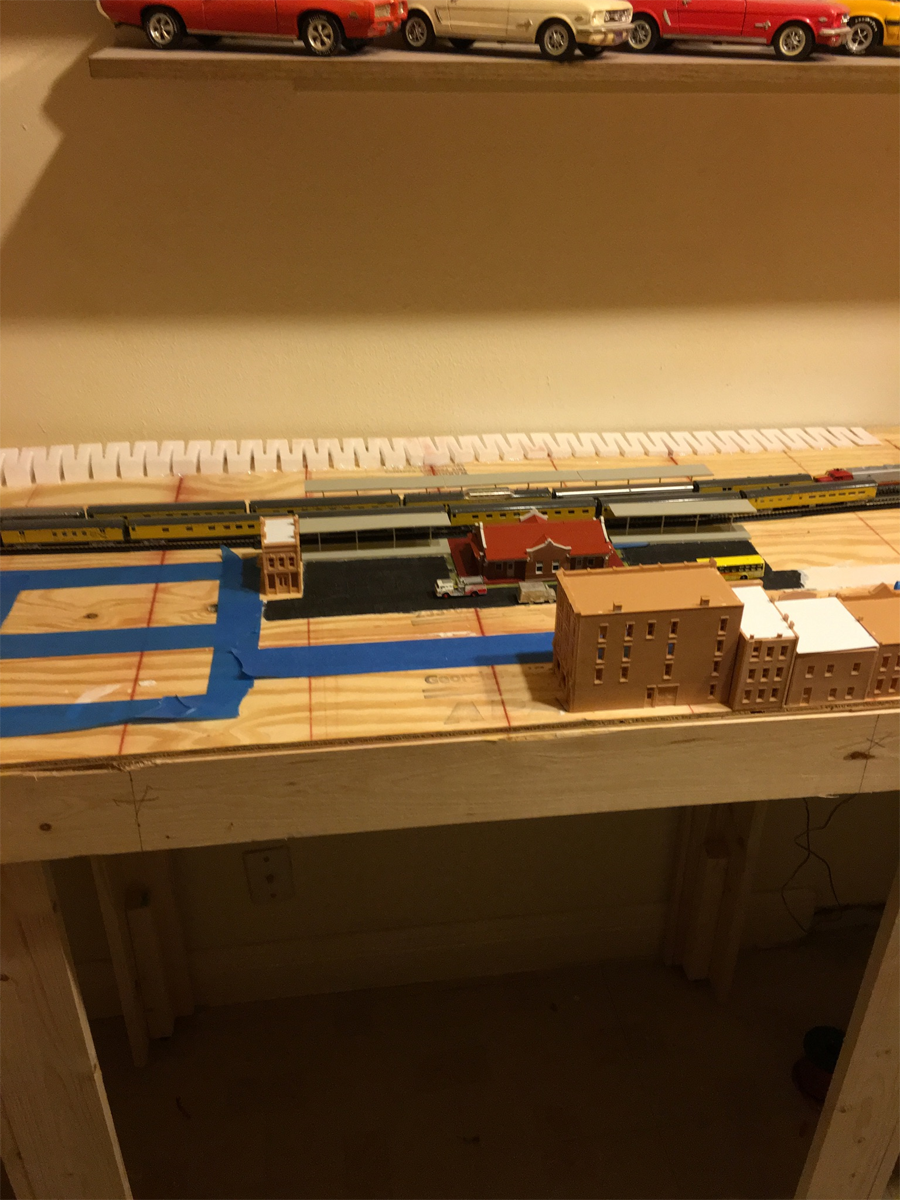
“I have started to place the town. It isn’t there yet but a work in progress.

The blue stripes are the blue painters tape at I am using to suggest the road ways.

I haven’t painted anything yet and still in “layout” mode. I took to heart cleaning up the board and it has been nice.

I can actually see what I need to do and what I am doing. I hope that you find these pics nice.

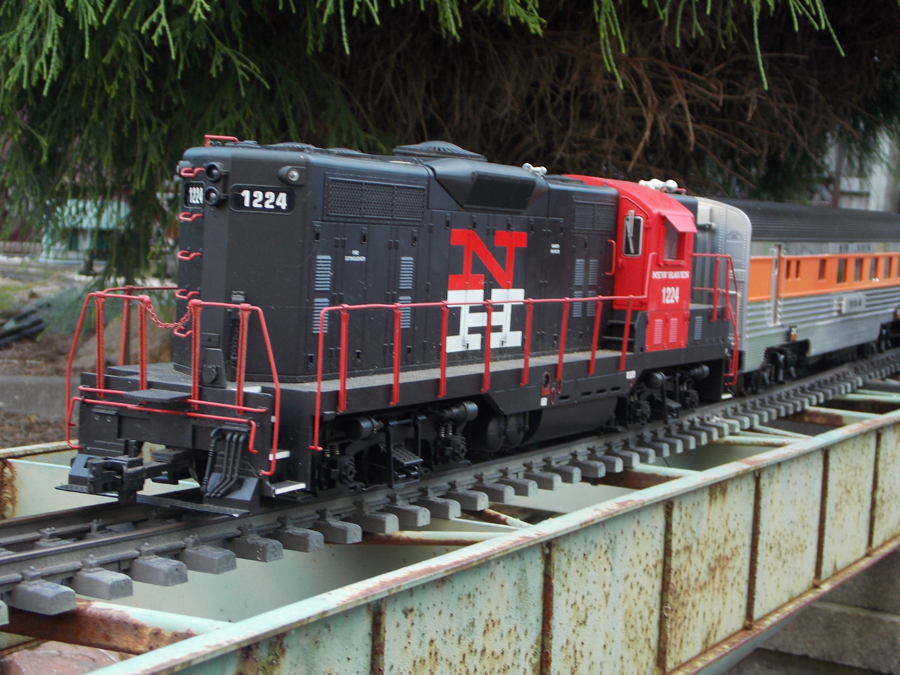
The switch in the for ground ( gray ) is the Kato turnout switch.

I had a lot of trouble in the engines and cars to go across that kato turnout switch.

It turned out the switch was 1/16 inch bent up. What I did was hot glue the switch down and it is now working with out problems.

Let me know what you think.

Mike”

model train track plan

kato turnout switch

kato turnout switch

Big thanks to Mike for sharing his Kato turnout switch problem – it’s all about rolling your sleeves, having a go and learning along the way.

Now on to Keith:

“Hi Al;

First I want to take a moment to say thank you for all you’ve done by giving modelers world wide a platform to not only share their own ideas, but to actually find answers to some of your own questions. I find myself using several recent suggestions by your readers as I build my basement HO layout.

I have a couple of my own ideas that are working for me. For my paved roadways, I am using standard tar paper. It can be cut into most any configuration, and it is quite inexpensive. Also if your layout requires a lot of detail, go to an auto store and you can buy pin stripping tape for cars, (in either white or yellow, or both) and use it for center lines and roadway edges.

I also have done a bit of scenery shopping at the local pet supply store and just picked up a small bag of tank gravel. It’s the right size and is washed. You can get it in almost any color as well. In addition, I bought a small package, to test on the layout, of some fake bottom foliage, plant life kind of stuff, and when I add my water effects, this should really look good.

Another good source of materials is the Hobby Lobby type store. There are so many feathers and artificial plants, that all you need do is apply some imagination. They also have a good supply of various paints.

I will add some pictures of my layout when it isn’t filled with tools and materials, and actually looks like something.

Happy modeling.

Keith, Lake Tomahawk, WI”

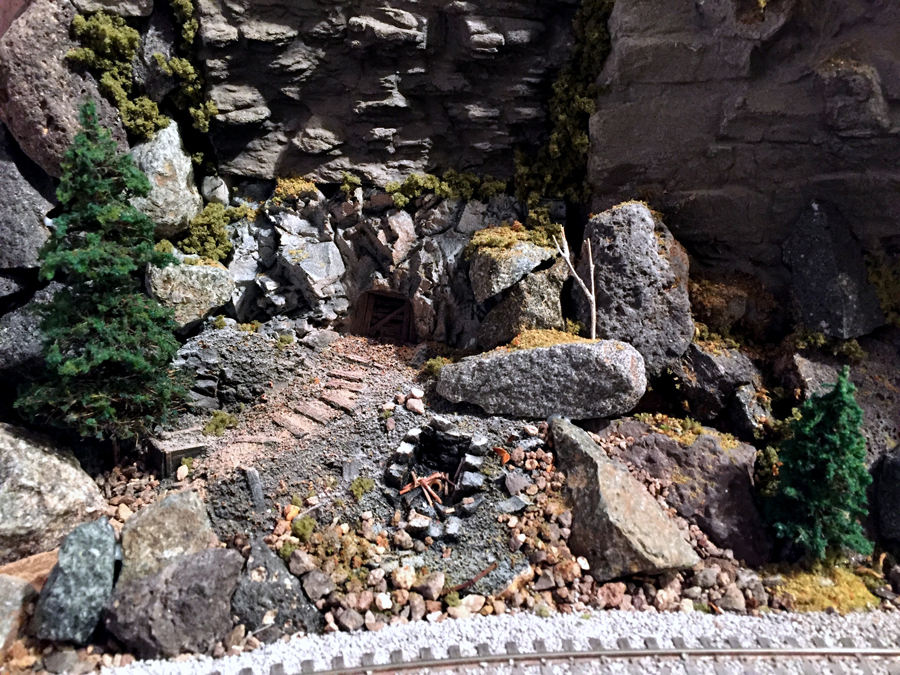
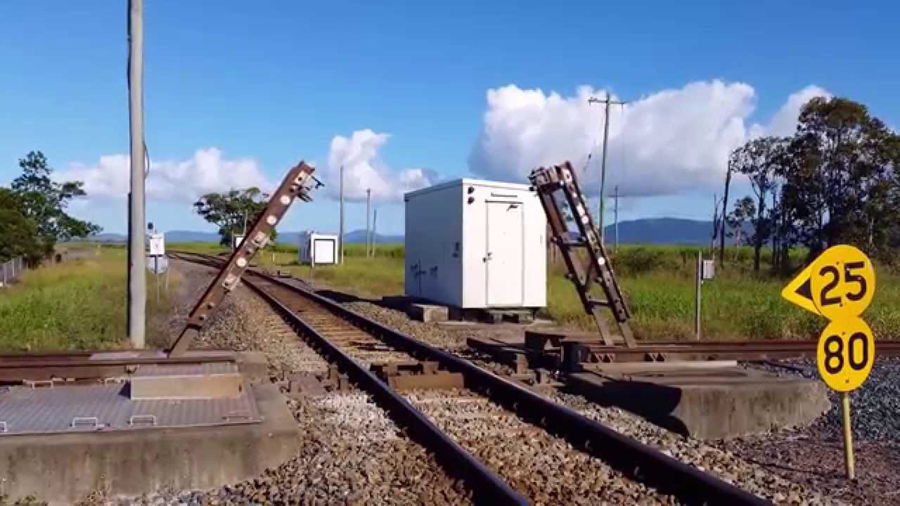
Next, I’ve had one or two email on the ‘Sleeping Giants‘ post too.

I can help with the answers on this one, because there was also a follow up post, which is here.

That’s all this time folks. A big thanks to Mike for sharing his Kato turnout switch issue.

Please do keep ’em coming.

And don’t forget the Beginner’s Guide is just a click away if you want to get cracking.

Keep ’em coming!

Best

Al

PS Latest ebay cheat sheet is here. Still going strong.


model train answers

How to build a model train layout

Today’s missive starts with more wise words from Hall of Fame member, Mark, on How to build a model train layout:

“Hi Al. Just came out of a round table discussion on why model railroaders sometimes lose interest during construction of their layout.

One of the major attractions is the many varied facets of our hobby. i.e. layout construction, track laying, scenery, model building, operations.. and the list goes on.

The problem arises when too much of our valuable time is spent on just ONE facet and we become “burnt out” on the entire project.

This can be overcome by scheduling completely “different” and varied projects that can be married into the grand scheme at a later date.

For instance, you can build a small scenic diorama on the dining room table in an evening, and at the correct time incorporate the finished project on the layout for instant gratification.

Attached is quick photo of just such a project that was done over a year ago and was recently installed in the Rock Canyon area on the Sweetwater & Thunder Mt RR.

It then gave me inspiration to ballast to bare track, operationally run some trains by the area, dream of how fun it would be actually be “in the scene” and ….the beat goes on!

Always remember, the “joy is in the journey” not the finished product, that’s how to build a model train layout.

Keep your rails shiny!

Mark”

How to build a model train layout

A big thanks to Mark for sharing how to build a model train layout the simple way – makes complete sense to me. Over the years I have seen hundreds of unfinished layouts that have to be pulled apart with house moves and life changes.

Now on to Jim:

“Hello Al

This is a crossing for a “Cane Train” where it crosses the main line. It is a rail draw bridge of sorts. I have never seen anything like it before. Obviously ( and you can see in the link to the video) the Cane Train is a narrow gauge line. But it is very interesting. Thought you might enjoy it.

anot

South of Rockhampton, the QR line is electrified and higher speeds are permitted than further north. In order to increase track speeds for the “tilt trains”, this drawbridge arrangement was devised so there is no break in the running rails for QR. All signals are color light.

Jim”

That’s all for today folks. A big thanks to Mark for showing us how to build a model train layout without the soul crushing to-do-list that usually comes after the laying the track, and to Jim too.

Please do keep ’em coming.

And if today is the day you get started on your layout, the Beginner’s Guide is here.

Best

Al

PS Latest ebay cheat sheet is here.

PPS More HO scale train layouts here if that’s your thing.


model train answers

G scale garden railway layouts

Mike’s been in touch, he’s added to the G scale garden railway layouts on the blog:

“First I must say I enjoy your web site, it makes me want to get back to my “N” scale roots.

You may not post this on your site but I figure you might enjoy the pictures as “G” scale seemed to get it’s start in England.

My layout is about 200 feet of track and occupies about half of my backyard.

It’s a simple loop, with a spur and a freight yard that connects to the loop via a metal cantilever bridge (that hornets like to nest in).

It suffers from the change of seasons, i.e., the difficulty of achieving a “prototypical” look of a railroad but having to compromise fidelity to make it work outdoors.

Every spring the road bed needs to be re ballasted, buildings need a spot of paint and my 20 year old wood trestle needs to be rebuilt, I don’t know what is holding up the track!

My rolling stock needs to have steel springs on the trucks replaced, journals lubricated, and couplers adjusted.

But the best thing about a garden railroad is that nature provides all the weathering one needs, paint fades, metal rusts and wood gets spongy.

Plus a day of running a locomotive puts a fine coating of dust and dirt on the hood and cab. Indoor guys just can’t duplicate that on their rolling stock!

It might sound like a lot of work but like the real railways, constant maintenance is what makes the outdoor stuff interesting, and a train running during a winter snow fall is a great experience.

Continued success on your fine website.

Warm regards,

Mike”

G scale garden railway layouts

G scale garden railway layouts

G scale garden railway layouts

G scale

engine house


G scale garden railway layouts:

engine house

G scale garden railway layouts

garden layout

garden layout

model railroad

A huge thank you to Mike for adding to the G scale garden railway layouts on the blog. I’m so envious of his layout – it looks great fun.

Now on to something that really made me smile. I’ve been frantically busy over the last few weeks, and I still haven’t got the latest print out scenery on the site yet – but have a look at what Rafael has done, with the embankment wall showcased by John:

“I glued the print out on a poster board, then I made a frame using 1/2 inch by 1-1/2 poplar wood. I then place the print out on the frame. I made the frame to accept four print out. I have three section with four print out and one with three print out. This is long enough to cover a 16 ft long wall.

One of the big problem for me was to glue the print out onto the poster, the white glue tends to wrinkle the print. I used the wrinkle free glue in the spray bottle. I hope this glue holds for me, I think it will.

Rafael”

raf

I think Rafael has done a fantastic job!

If it’s got you chomping at the bit to get started, don’t forget the Beginner’s Guide.

That’s all this time folks – please do keep ’em coming.

Best

Al

PS Latest ebay cheat sheet is here. HO stuff still going bonkers.