I started work on the 6″ scale Little Samson about 4 years ago.
It took me 2000 hours to complete.
As said it is a half size model of a Little Samson steam tractor originally built at Kings Lynn, Norfolk, by Savage Brothers about 1900. No original engines survive today.
The engine has two forward and two reverse gears and has a maximum speed of about 6 MPH and is very powerful indeed.
It weighs in the region of 1300kg although I have not actually weighed it.
The boiler was professionally built by AJB Engineering in Derby.
Megan is fired by coal. The wheels were fabricated by myself and had them rubbered in England. Each rear wheel weighs 62kg.
Model engineering is my hobby, I have no engineering background. Whilst toiling in the UK I was a plumber.
Drawings and very good castings can be bought from Edward George at www.littlesamson.co.uk at reasonable prices.
Regards.
Roger”
“Dear Mr. Lee,
I shared with you some photographs of my latest layout “Little Wlakley” recently.
That layout had several inspirations including your engine shed kit.
Building that kit was fun and John’s (not me) video gave me some ideas on how to improve my model.
Because my engine shed faces the front and the interior is visible… Seeing the source of the cardboard was an issue…
Painting the interior brown was a help but still fell short of what I wanted to achieve. It was the video that set off a new light.
Hare are photos of my rebuilt enginehouse… I will also send you the files for my “detail kit” These are yours as a thank you for your site…
Sincerely,
John”
My word, we’re getting some nice variations on the engine shed now, and it was all thanks to John who led the charge.
That’s all this time folks. Please do keep ’em coming. And don’t forget if you’re still scratching your head over how to start, the Beginner’s Guide is here.
I have a collection of model railroad scenery tips for you today:
“Hi Al,
I always enjoy the pictures and tips that you post. Today I like to share an easy way to make trees. I used the dried flower stalks from a plant named Astible and spray painted them a dull green. In my opinion they look pretty realistic.
You may post this if you think it’s worth it.
Guenter”
(Guenter’s trees made me think of Martins’s excellent ‘tree how-to’. If you’ve not stumbled across it yet, it’s here.)
“Hi Al,
I think possibly the best tip I could give to anyone coming to the railway modelling scene would be to decide what it is they actually want from the hobby.
Some people are model makers and want a place to show off their modelling skills. These are the ones who build a fantastic looking layout which is very realistic and in which the trains are secondary to the task.
Others are railway fanatics and simply want a layout that shows off their locomotives and their rolling stock. The scenery and buildings become secondary and often unimportant. There are layouts with no scenery whatsoever.
Then again, do they want to sit back and watch the trains go by or do they want to get really involved in the operation of the trains? In which case, do they want conventional controllers or the new fangled DCC? Or, perhaps, one of the computer programs that actually control the electronics for you (take a look at CATrain – a free download for Windows)
What I am saying is ‘plan’, ‘plan’, ‘plan’!
Be realistic. Make sure that your trains can actually traverse your immaculate scenery and/or make sure your track plan offers enough interest for your rolling stock … a twelve car Orient Express needs somewhere to go and would probably need a forty foot layout to be anything close to realistic.
But most of all – do what you want to do. Don’t take any notice of what the Jones’ have done, as long as it works for you, it’s fine. There is nothing stopping you running a Thomas the Tank Engine set – even at sixty-five years of age.
Just enjoy it,
Alan …”
“I have several model railroad scenery tips tips to send along.
One is to save the rigid plastic forms that fit over any of the many items we buy all the time, ie here in the states everything seems to come packaged inside rigid plastic glued to a cardboard bottom.
Most of these see thru rigid plastic forms are designed in round, square or rectangular shapes, but some are molded to fit the item itself which provides some intriguing shapes for the creative modeler. You name it, everything from light bulbs to computer parts come sandwiched between these materials.
I save the plastics all the time for a variety of things. They get cut to the right size and are windows for my home made buildings.
If I get really creative with an interior I put skylights in the tops for a peak inside the rooms. I make all my buildings, sheds and so forth from scratch. Just cut out the appropriate size window, use indelible magic marker or cut outs from paper for the window decoration, glue them to the plastic and when all is set glue the window into the opening.
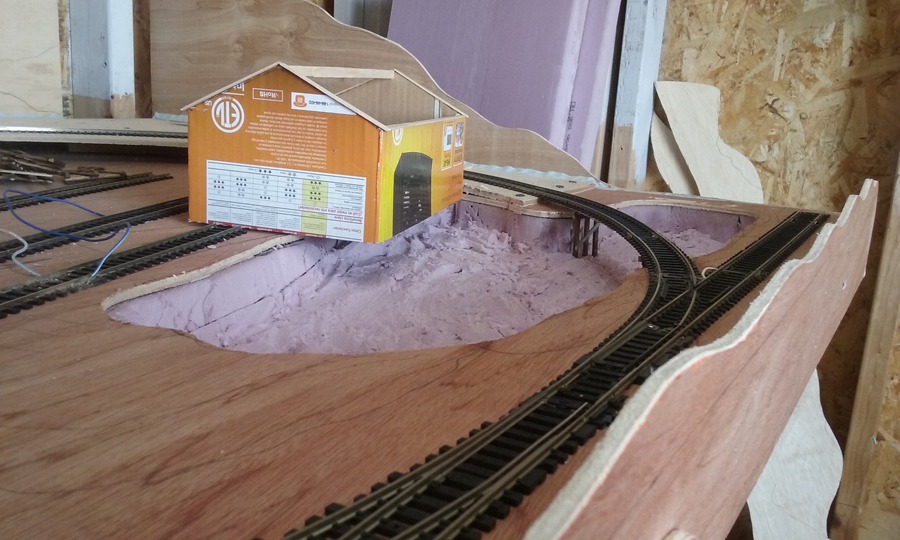
I used a larger one (a flat rectangle) for a view into my tunnel. It sits over the tracks supported by the tunnel sides. Almost all of them have flanges on all four sides to be glued to the cardboard packaging so they provide a nice flat edge all the way around for stablizing them on the tunnel frame. I made a sculptamold landscape top for it that fits like a hat on a flat head. the plastic top is hidden unless I want to see inside the tunnel. It lifts off easily as does the plastic top for servicing the track if necessary. The sculptamold top has trees and foliage. The seams were thin enough so they were not seen unless you looked closely, but I recently made another with little flaps all the way around to hide the seams. I’ll send you a picture when I get the time.
Jo”
“Al – I’ve used red velvet and white lace from Doll House material to use as curtains & trim for the business car and private car on my layout.
Dave C”
“Just read email and comment I’ve looked at made me think I should contact you, I don’t know if these have been suggested before but here goes, I once purchased some look alike coal off ebay I then went to my local pet store and found the self same thing in the fish tank department the black gravel give a realistic look and a 3kg bag cost the same as 2 x 100g bags on ebay.
Secondly, abrasive paper especially the black WET & DRY type is ideal for roads and car parks, for the high class roads the RED OXIDE paper serves the same purpose with the finer grit looking more realistic.
I, like many of your other readers look at loads of plastic rubbish before it gets discarded, it’s surprising what a rough up with abrasive paper and a coat of grey primer paint sprayed on changes the looks of even the oddest pot, tub, straw etc….
Keep up the good work.
Mark”
Model railroad scenery tips:
“In reference to hills and cliffs, I have found on many fine layouts, the cliffs to be clearly ‘Trowelled’ and not realistic. Here in New Zealand, we have thousands of river (water) or Weather etched terrain to model from.
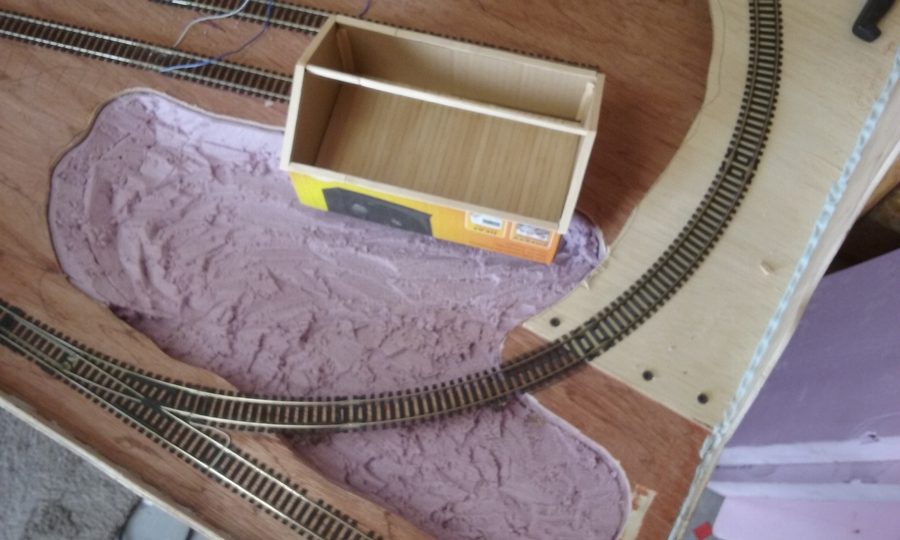
River cuttings can bed done by layering polystyrene (polyfoam) foam held in place with wire (DO NOT glue this will leave glue lines and lose the effect) and spray with Solvent Based spray paint. this will effectively weld the layers and give that weathered look. For Rock Cliffs, I do the same thing tufting ledges as they would appear in real situations.
Wayne”
“To make hills, fields and rock faces cheaply and quickly, I have always used strong brown wrapping paper (got 2 sq metres from our local furniture store) – cut roughly to a bit bigger than the area to be covere.
Crumple the paper up as tight as you can – smooth it out again (roughly for rock faces – smoother for hills) – using clear Bostic stick one edge down using 1/4″ overlap – then trim the other edge to 1/4″ overlap and stick it down in the same way – rubbing smooth
If it’s quite a big piece then some crumpled newspaper underneath will help to support it. Once dry (10 mins) you can paint it with any suitable paint (I used Homebase satin green, brown or grey) and sprinkle with coloured sawdusts while still wet (use a sieve) and hey presto, 24 hours later it has all set solid. Vertical rock are painted grey or brown, and when sprinkled with green grass it sticks to the horizontal surfaces – quick and easy. I can complete a whole section in a couple of hours..! Note: try not to get Bostic on your fingers – excessive amounts can dry the skin…
Duncan”
“My ‘best model railroad scenery tips’ for modelers in any scale is never, EVER get married … sorry but i got’s no pics fer that one … no need to reply – just sayin
nic”
Pondered over publishing the last one – but seeing as it made me laugh so much….
Anyway, it doesn’t matter if you want to lay track, make trees or weather your engines, it’s all in the Beginner’s Guide.
Thanks to everyone for sharing their model railroad scenery tips.
I got this question in from Palmer, on dead rail model trains.
I started flicking through the posts to help him, and then I thought, this would probably make a good post on its own. So here you go:
“Dear Al: I am 84 and a combat vet of somewhat limited mobility. Therefore I have elected to avoid crawling under my 6″ by 10” layout by going to “deadrail” (battery powered in lieu of DC or DCC.
I enjoy your tips emails and would appreciate any info you could give me as to what components to buy as to reliability.
Thank you: Palmer”
Who can help with his dead rail model trains components? And then there’s the business side of a layout:
The first thing that popped in to my head was the chair Roger cobbled together. It’s at the bottom of this post.
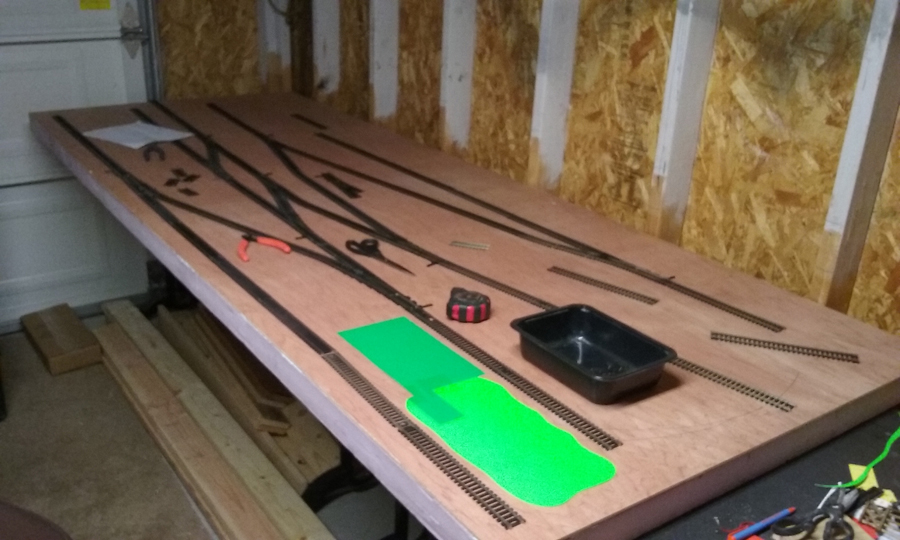
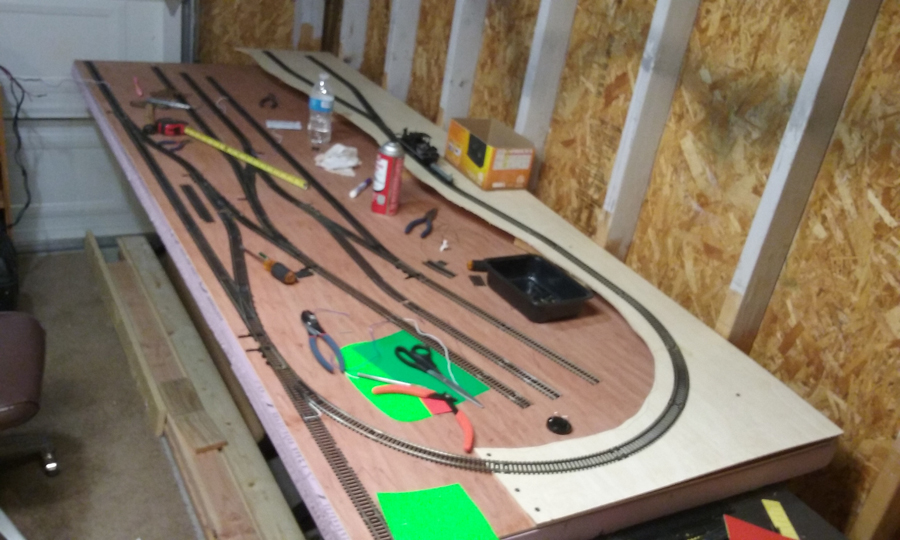
Then, I thought if Palmer does want to have a tinker with some live track, you can always turn the table upside down, like they’ve done here.
And Rob proves that battery powered trains still make a great layout – his looks great.
When it comes to tips in general, there are hundreds and hundreds on the site, just like these, and these… and these.(There are some real gems in the comments.)
But do you know what? The one tip I wanted to include, I can’t find. It’s this: to save yourself dropping parts in your lap, or on the floor, turn a large box on its side – place this on your table and work in that. This way no parts can ping off and be lost forever on the floor. Clear plastic box is best obviously…
Well, that’s my lot. Can anybody else help Palmer and his dead rail model trains? Please post below and let’s so what we come up with.
PPS I do know the difference between “your” and “you’re”. Honest. But sometimes I’m just in a hurry. Other times I’m just half asleep. And sometimes both, like today.