N gauge code 80 track layout

Mike’s been in touch with his N gauge code 80 track layout:

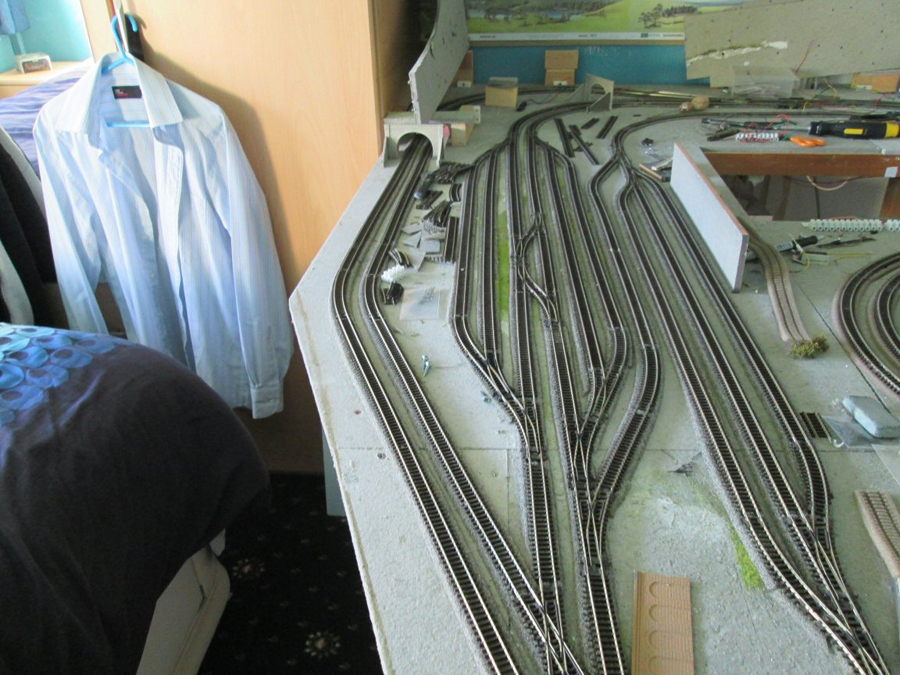
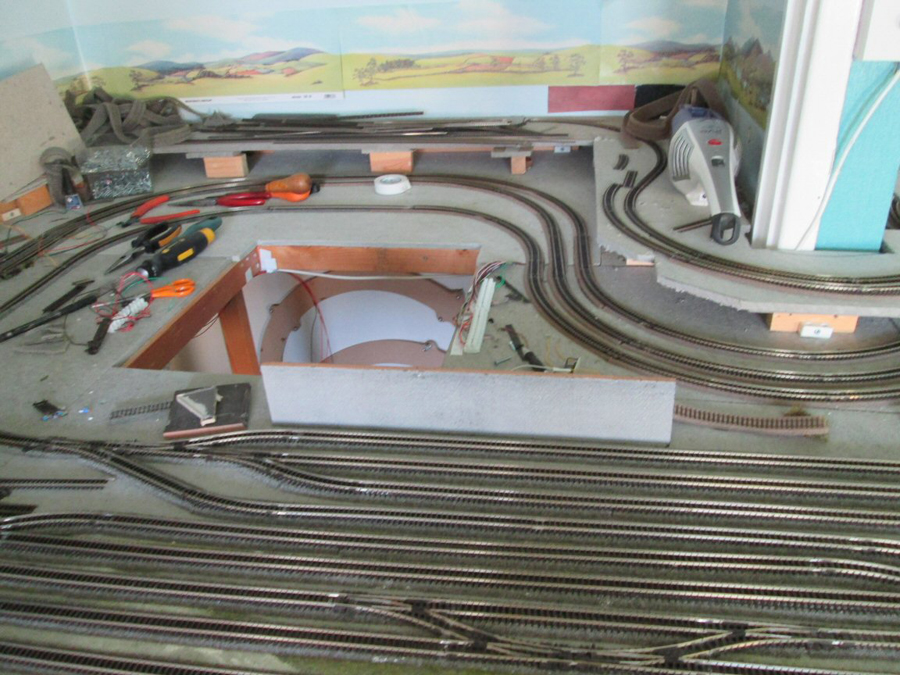
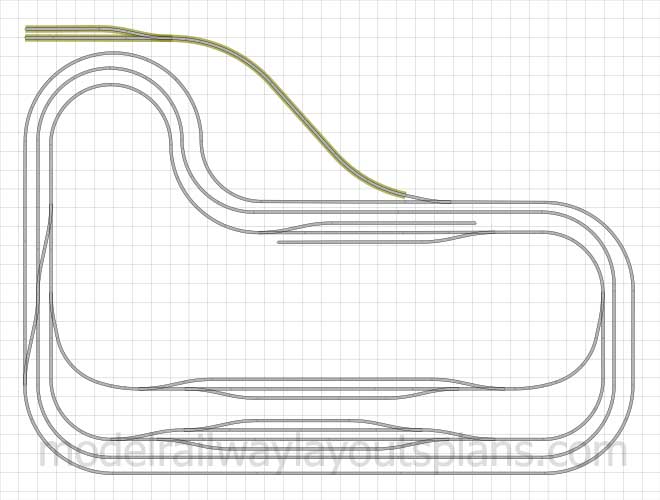
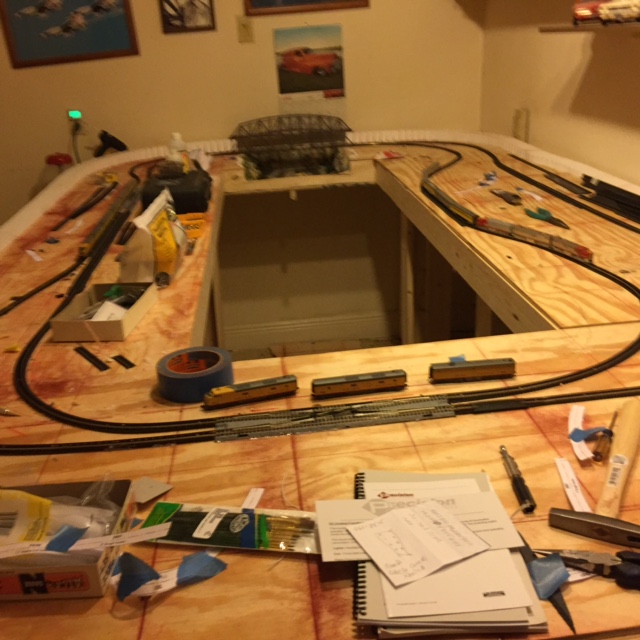
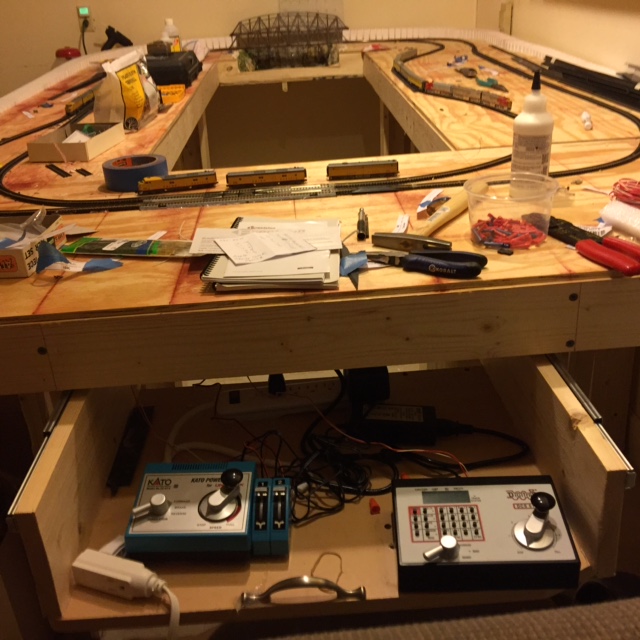
“Mikes place is anywhere you want it to be. I am using a 6ft by 10ft table top board. I am starting my last set. I am now 70 and this is it. I haven’t done any scenery yet just layed the track. I use code N gauge code 80 track and have double slip switches from Kato industries.

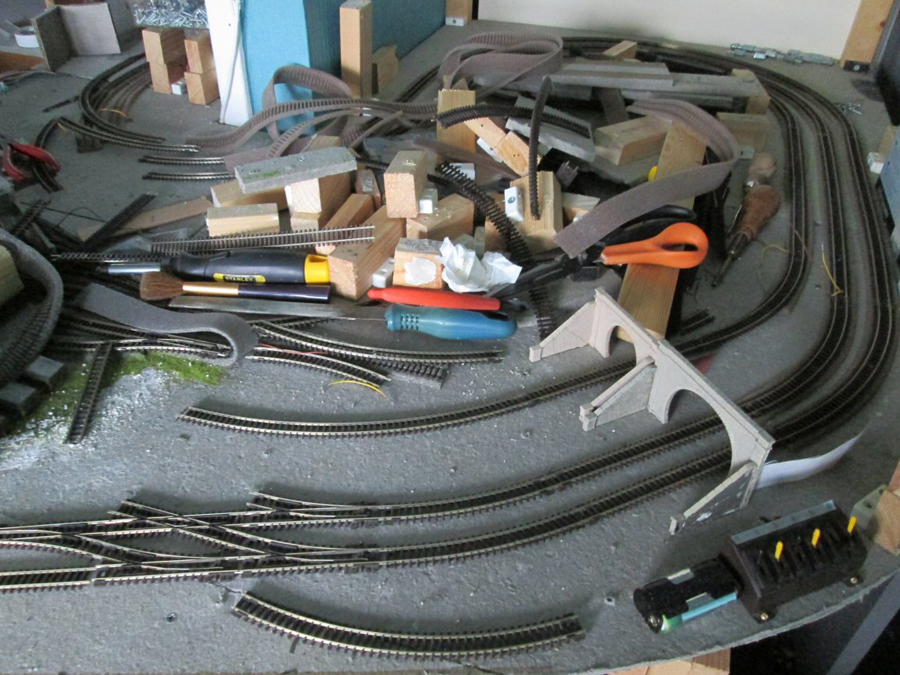
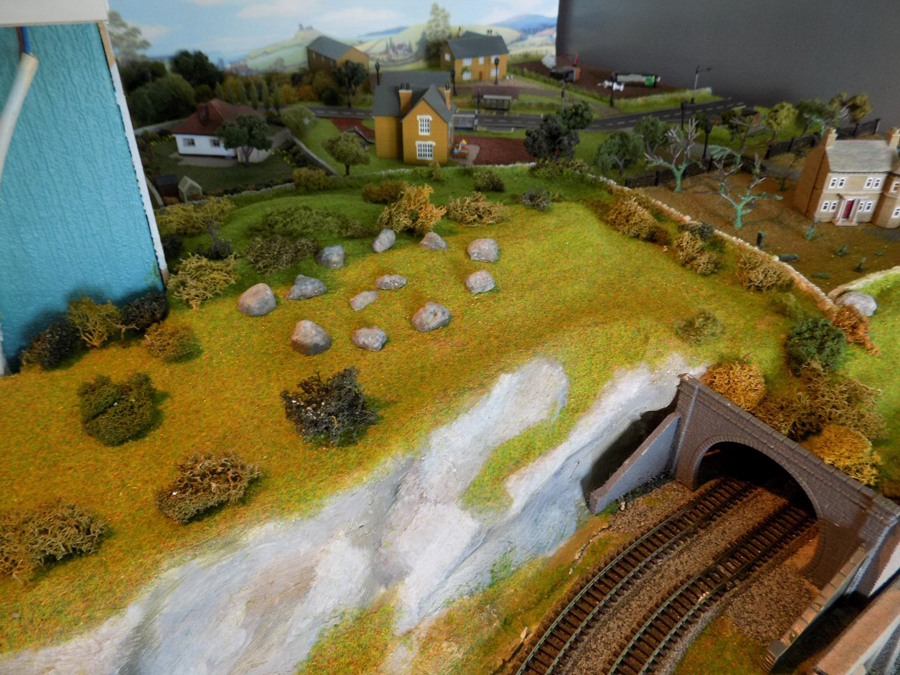
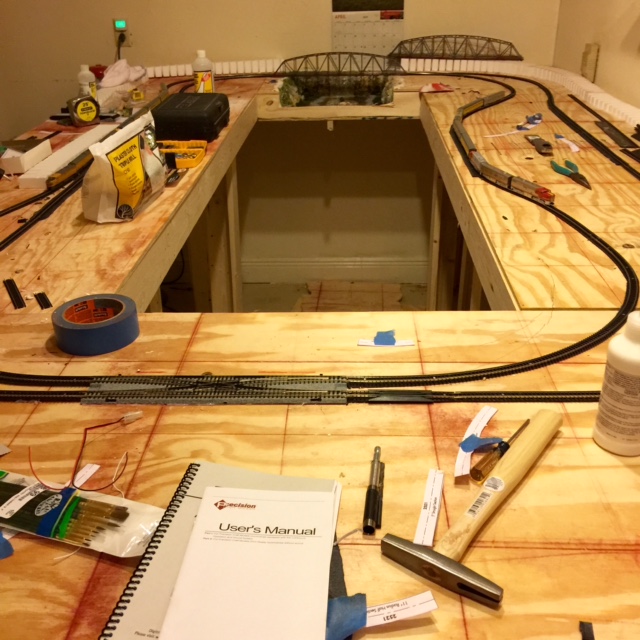
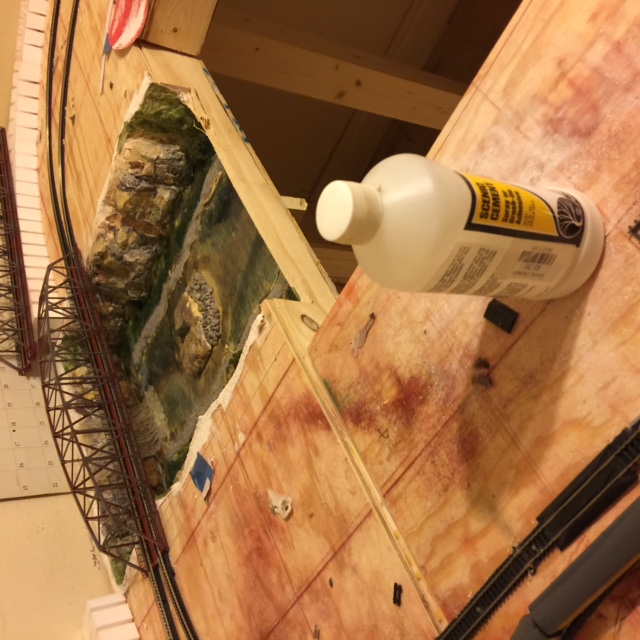
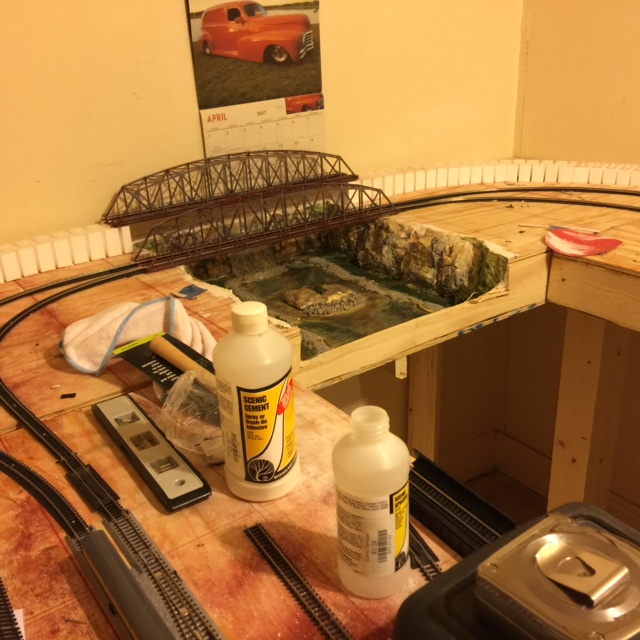
I have found that they will go well with the code 80 rails with a little riser on the code 80 side of the rail. I am also using Tomy Tec 22inch bridges. You can see the river and some of the rocks in the river area.

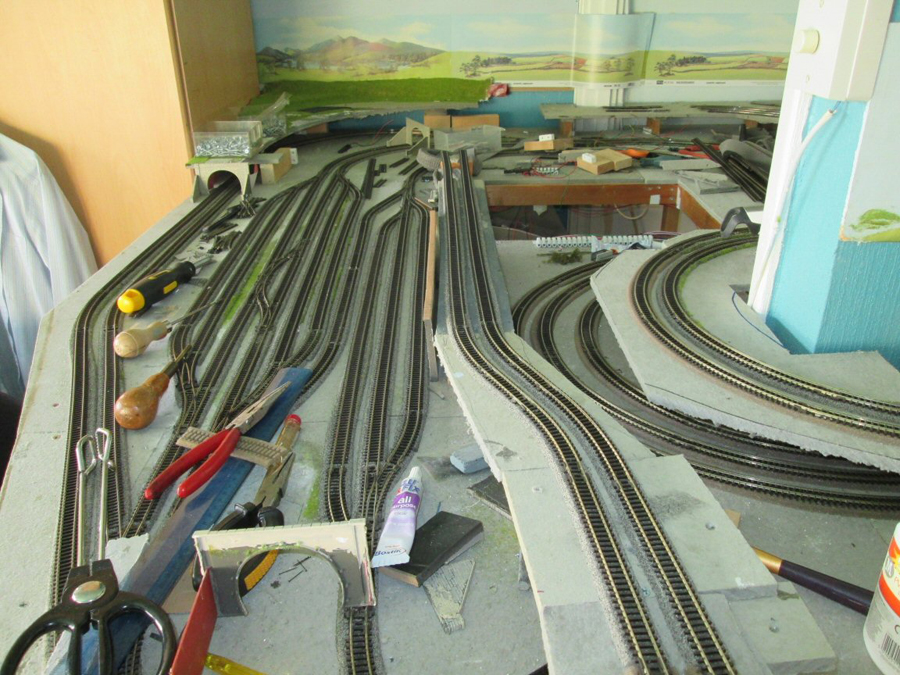
As you can see it is a “major” work in progress will all of the parts still laying around.

This is only two tracks running with two more starting with the inclines. (the long white things in backround).The bridges are a tommy tec units and are 22 inches long. Real long for N gage. I wanted a large area for the river and falls. I hope you can see the falls in the background.

The tomy tec bridges are made only in Japan. All of the info on the box is only in japanese, and since I only read and speak US English I have no Idea what kind of info might be available.

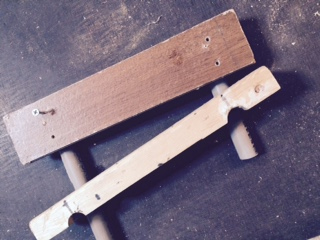
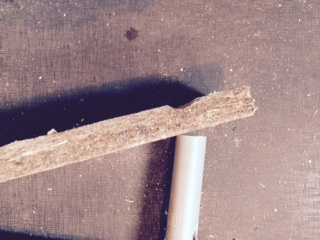
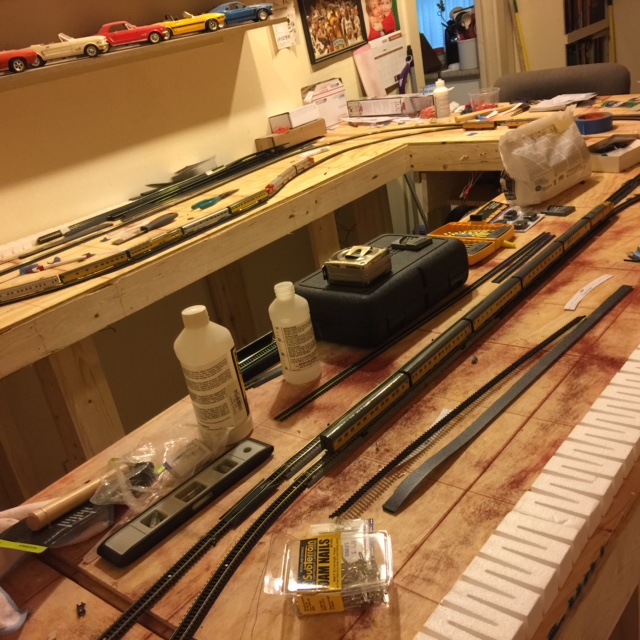
The picture shows the end of the bridges and to use them with atlas code 80 rail you have to cut them off.

I also had to trim off the base of both ends because they are so tall and cant put that many shims under the track.

The track on the bridge works well with N gauge code 80 track.

You can find this item on the walthers web site under bridges, N gauge.

It comes in two colors, red and blue. I have painted the bridges a lite steel color and let the red show through in parts to make it look like its is rusted.

Hope you enjoy this start of Mikes Place N gage rail road.

As I said I am not even close to start the scenery yet. I am not a Pro at this but I do the best I can. Hope you find this interesting.

thx

Mike”

N gauge code 80 track layout

N gauge code 80 track layout

N gauge code 80 track layout


N gauge code 80 track layout

N scale model train

n scale model train

n scale model train


“Hi Alistair

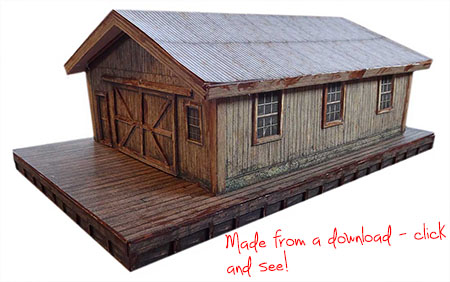
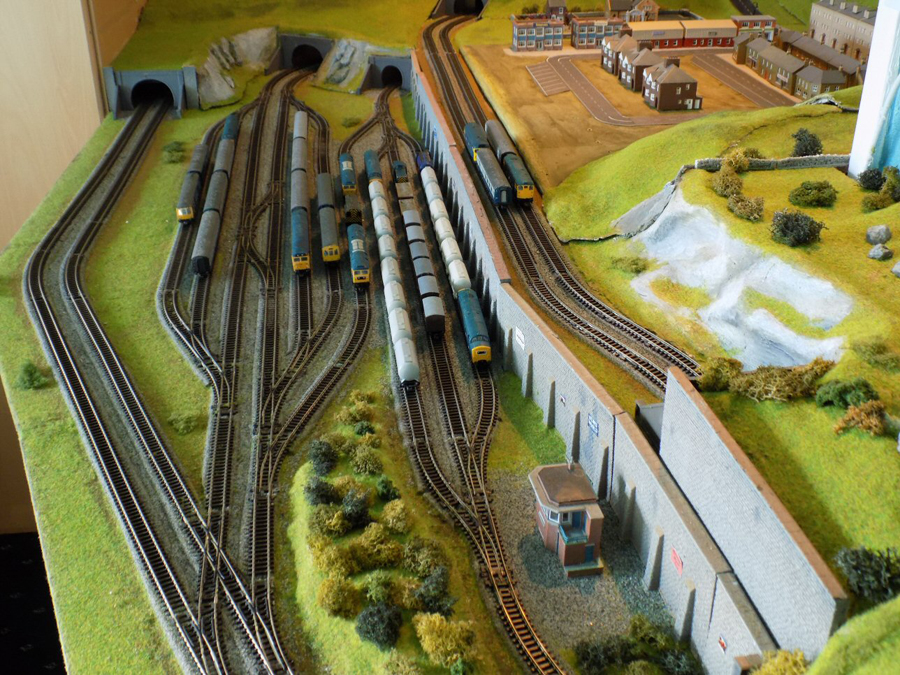
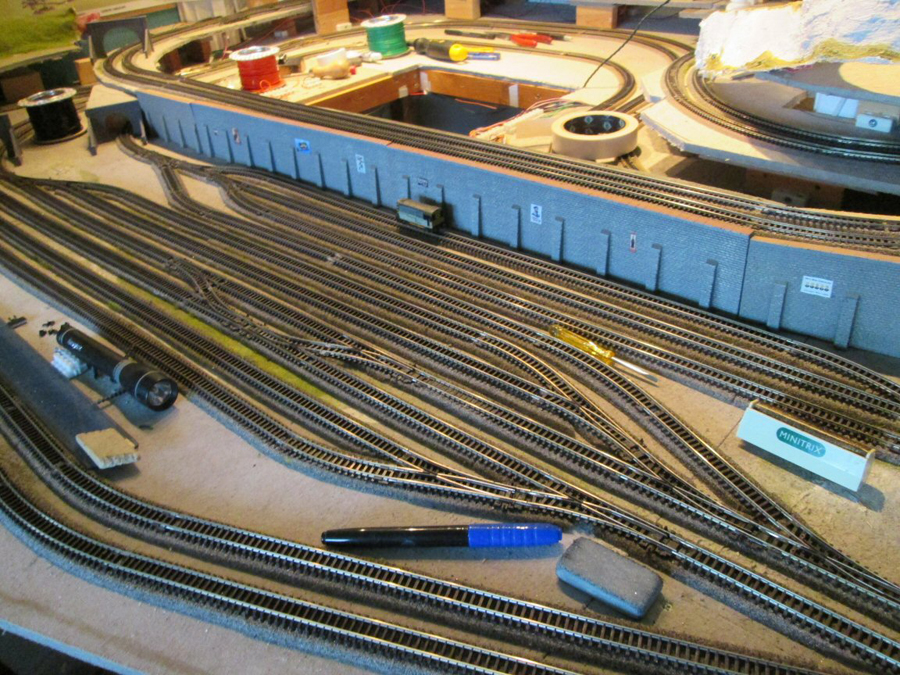
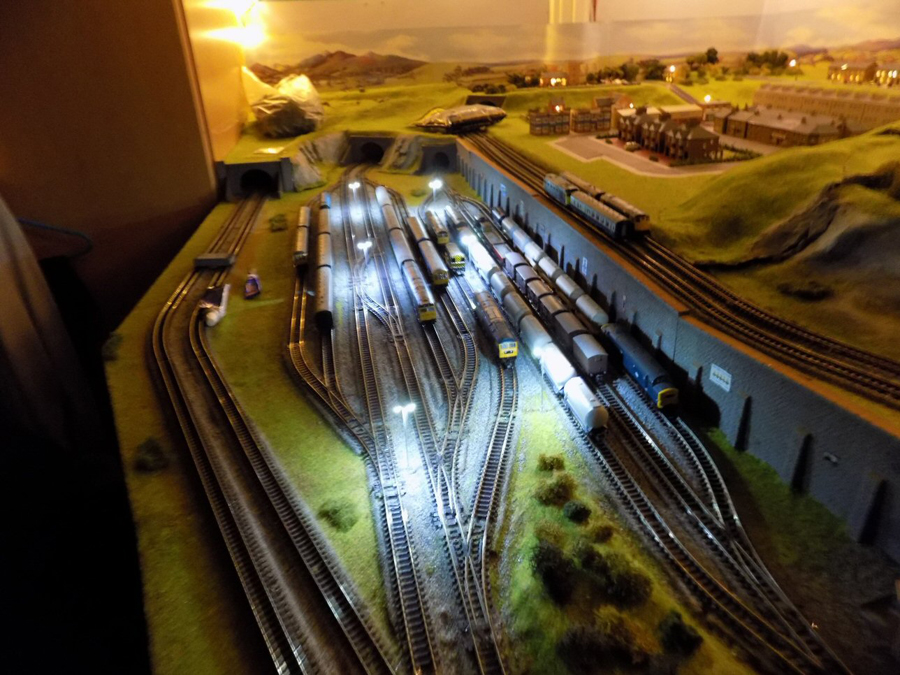
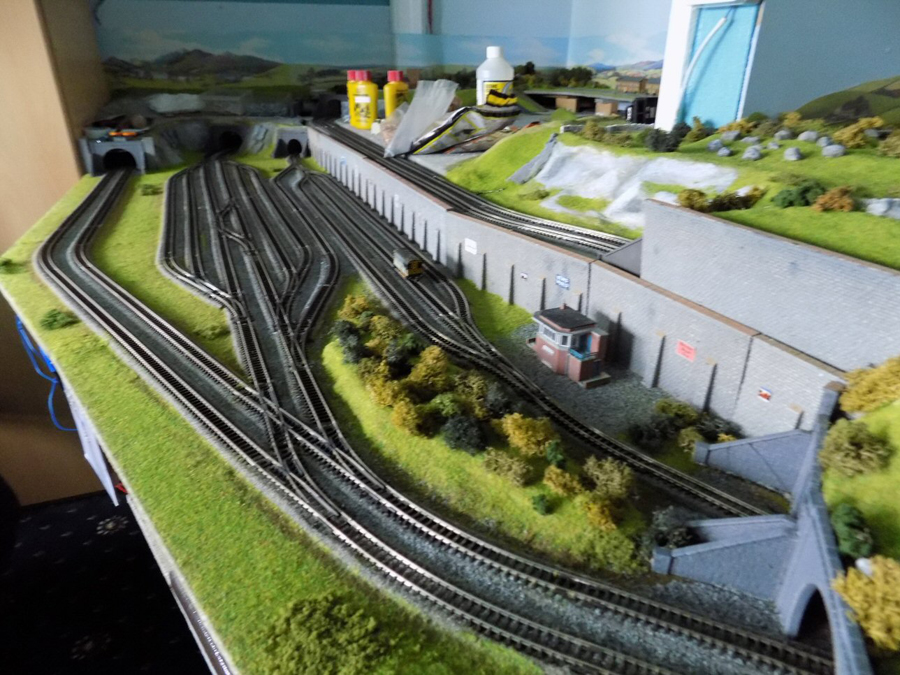
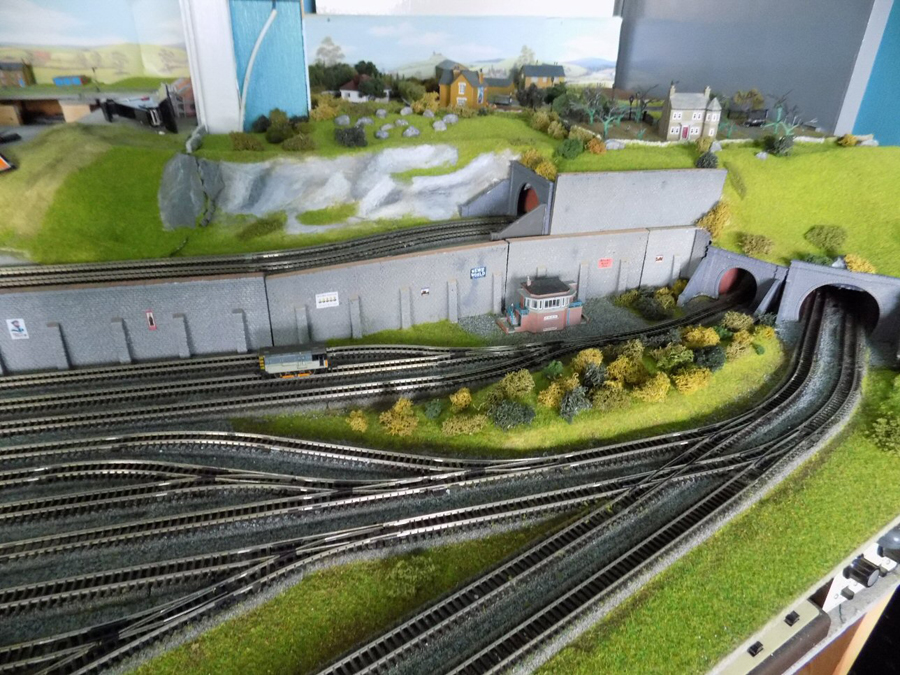
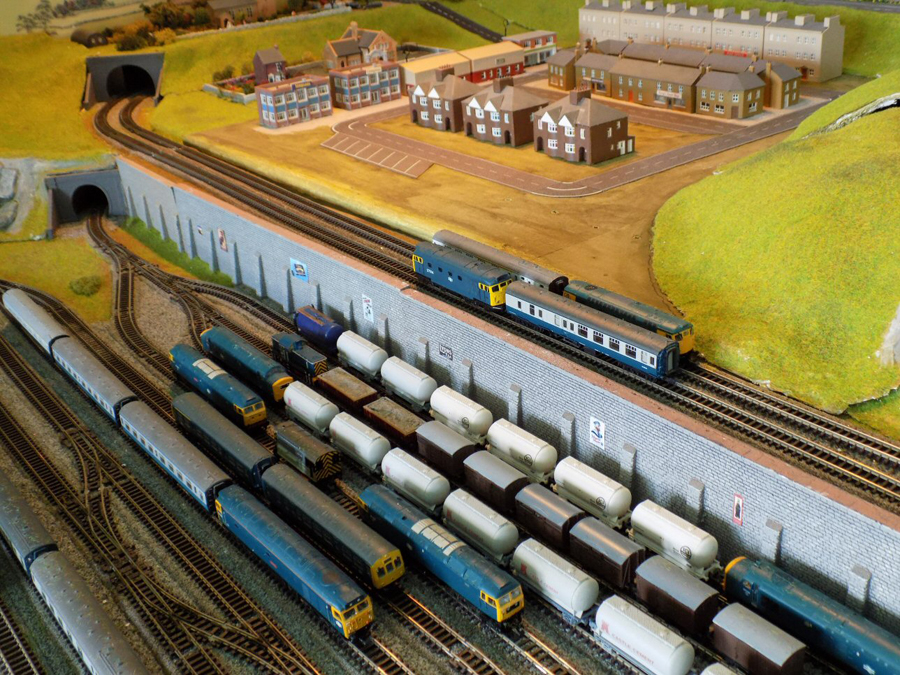
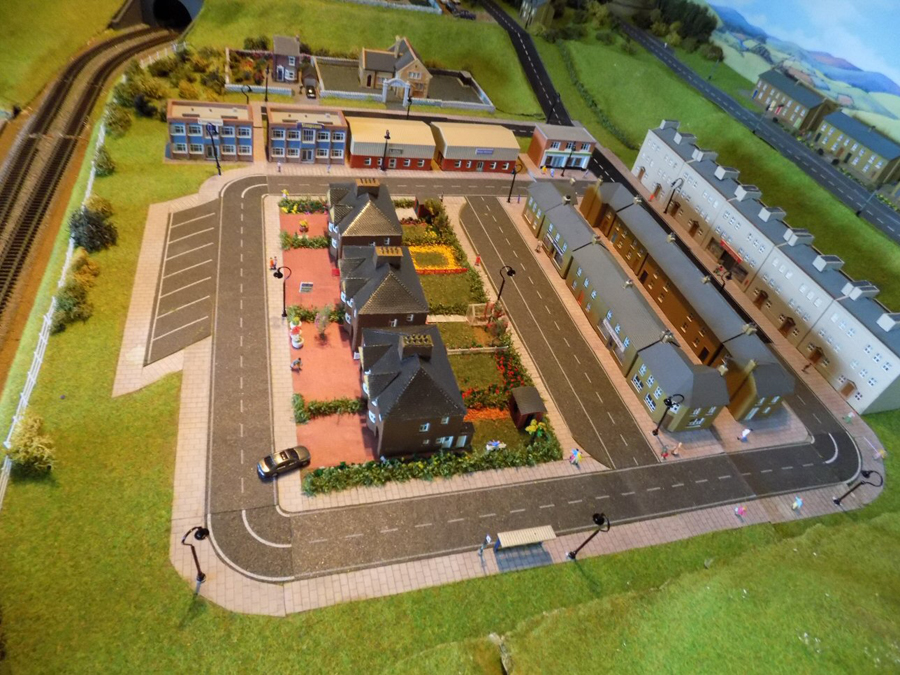
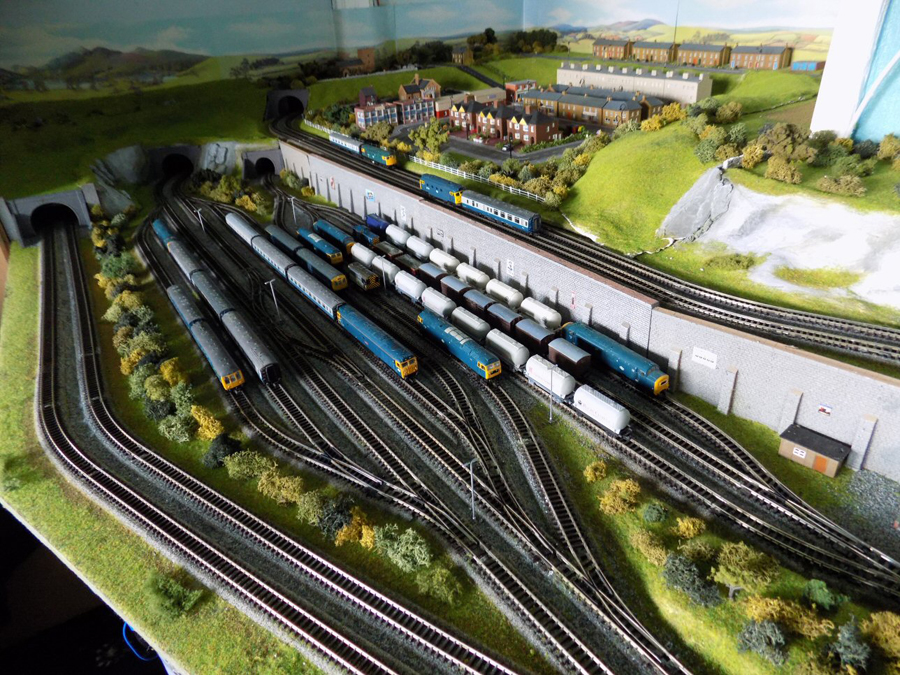
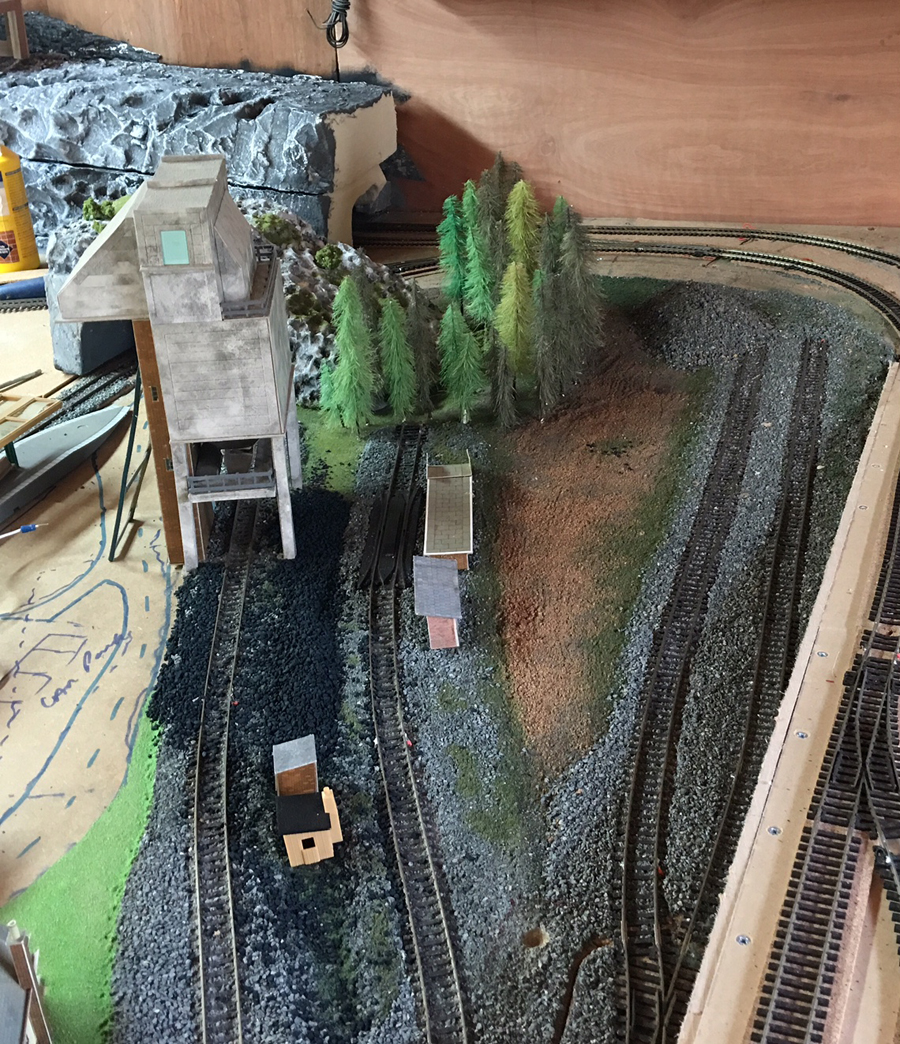
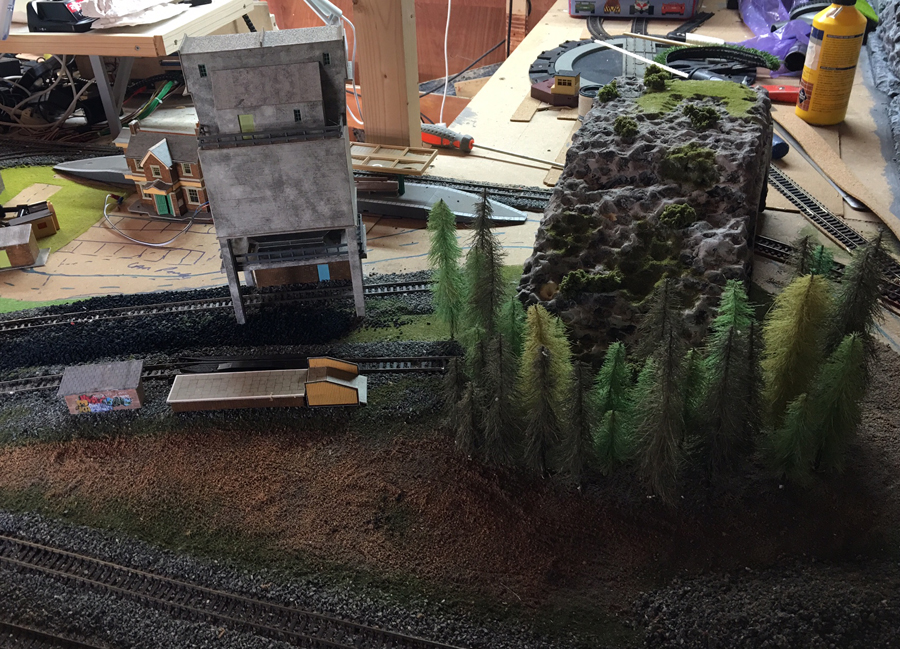
Well I’ve started to do my scenery this is part of the work yard and coal yard more to follow as I complete it, I’ve used sand and Earth to make the track which will go around toward the station.

The pine trees are twisted wire and hemp from hemp rope and then shaped and painted cost per tree 0.10p, the layout is not of any specific place or site it my own design.

Thank you

Andrew”

model train

model train

Do you know what I love about these two layouts? It shows in spades two really important points, that the Hall of Fame members are always saying:

Firstly – just start. It’s that simple – but so many shy away from taking the very first step.

And secondly, don’t worry about what your layout looks like when it’s being built. A God awful mess is absolutely fine – that’s pretty much how they all take shape…

A big thanks to Andrew and Mike for sharing. If they’ve got you chomping at the bit to start, don’t forget the Beginner’s Guide is here.

That’s all this time folks. Please do keep ’em coming.

Best

Al

PS More HO scale train layouts here if that’s your thing.


Need buildings for your layout? Have a look at the Silly Discount bundle.

Ride on train with track: Larry’s

Larry sent this in and I just had to post. He’s made his own ride on train with track for a shoe string budget. Genius!

“The key to the ride on railroad I constructed is using pvc track.

It is inexpensive, and easy to assemble.

I used 8 inch spacing between rails, and 6 inch spacing between wooden ties.

ride on train with track

PVC track component and total costs

Electrical gray ½ inch pvc pipe 10 foot= $1.60
1 by 2 by 8 pressure treated wood x 8 feet=$2
misc: screws, pipe glue, ¾ inch pvc track tie

Cost per 10 foot of track (7.5 inch wide rail spacing on 1 foot long ties spaced every 6 inches)=$8.20 plus cost of misc or no more than $10 per 10 feet

PVC track is 1/10th the cost of steel track, and easy to assemble and make curves.

ride on train track

The track is assembled by screwing through the underside of the ties into the pvc using screws long enough to catch 1 side wall of the pvc pipe (3/4 inch long, but depends on thickness of your ties).

Assemble by predrilling 4 through holes at 8 inch spacing in each tie, then use a jig to hold rails in place with proper spacing upside down. Then, screw in to secure.

pvc track

Another method is to router a groove at the 8 inch rail spacing distance, and then simply assemble the track without need for the jig.

Two screws per tie are sufficient, instead of 4, to hold the track together.

ride on pvc track

The last step is to fill the track with play sand to make it more rigid. It can support my weight (200 lbs).

The drive systems for the crank car and engine are shown in the photos below.

I cut down a 16 inch kids bike to make the crank.

I used tricycle gear conversion sprocket on the axel.

crank for ride on train

Wheels are made using lawnmover replacement wheels, with a circle of polypropylene to create the flang, all screwed together with a 4 inch zinc pulley wheel which can set screw onto a ½ inch steel axel.

The pulley serves as a wheel hub, and driver for the second axel. The primary axel is 25 chain driven by the scooter motor (35 or 50 watts).

ride on train wheels

If you want more details on my ride on train with track construction, please let me know.

Larry”

Ride on train with track:


I can’t thank Larry enough for sharing his ride on train and track ‘how to’.

I read his ‘how to’ and watched his vids, and found myself thinking, “That’s my summer project!”

Well, we’ll see.

Anyhow, hope you enjoyed it as much as me.

Have a look at John’s ‘minimal gauge‘ post to – it’s a monster project.

That’s it for today peeps.

Please do keep ’em coming.

And if today is the day you get started on your layout, the Beginner’s Guide is here.

Best

Al


model train printable building

N scale model train layout – Eric’s

Eric’s been busy on his N scale model train layout:

“Hi Al

I attempted to build a new layout a while ago after having to gut my old Wensdale layout.

Unfortunately I couldn’t get it to turn out to my liking, so I restarted from scratch, using just normal Peco setrack with gravelled underlay. The pictures show it from the start. figuring out in my head and not on paper how I wanted the tracks to run. Somehow I managed to fit five working tracks into the space. I dismantled my helix but kept the top farm board and also the main road on the back wall. The rest has just come together quite nicely and run well without accidents.

In this new scenario I opted for not having a station but kept a fiddle yard at the front with connecting rails so the engines can go from one track to another. As can be seen in the attached photos how it is coming together, yes even the joins. It has now reached a point where I need to fine tune the scenery. The later pics show less joins but a few are still obvious.

This layout is analogue with conventional wiring running off my eight controls, 5 for the tracks and 3 for the lights. The size is around 7 by 5 feet but with a solid wall by the farm board that the tracks have to go round. This time I have used studs for point switching on the 6 hidden points and find it much more positive than the old lever type switches, the hidden sections also light when the track in powered so I can see the points have changed. One thing I must add is that I have full access to all the tracks around the board, this means I have 8 lift away boards and 5 lift off pasterwork sections hence a lot of joins.

My only concern with myself is that I love designing the tracks and building it, the scenery although essential to give it body, I dislike meaning I am already thinking of a new layout even though this one has a way to go yet. Ah well we have to keep our minds active.

Eric”

N scale model train layout

N scale model train layout

N scale model train layout

N scale model train layout

N scale model train layout

N scale model train layout

n scale sidings


N scale model train layout:

n scale tunnel

n scale night time

N scale model railway

n scale model railway

N scale model railway

N scale model railway

N scale track plan

N scale model railway

20

And here’s the video:


“Hey Al, I’ve been enjoying the pics n the tips. I have one of my own. I got your engine house after watching the how-to-video n thought I’d give it a go. When I finished it up, I thought, it needs down-spouts. I was going to use wooden dowel rods, but thought, years ago a lot of these buildings had brass or copper for rain gutters. I took the rails off 2 old pieces of track n cut to length. I used the rail as the back, sliced a grove down the wall for the rail to set in. Cut just the slightest part of the rail near the end n it turned up ever so slightly n then I super-glued it in the grove. Now I just need to figure out how to get that dirty greenish aged look.

Bob”

20160303_220453

20160303_220518

Bob has done a sterling job on the engine shed.

If you’d like to have a go at one, here’s a special offer just for you.

Thanks to everyone – I really enjoyed Eric’s N scale model train layout, the video really does it justice.

That’s all this time folks. Please do keep ’em coming.

And if Bob’s engine shed has got you on the verge of starting your layout, good, because it’s all about starting: the Beginner’s Guide is here.

Best

Al

PS Latest ebay cheat sheet is here.

PPS More N scale layouts here if that’s your thing.


model train answers