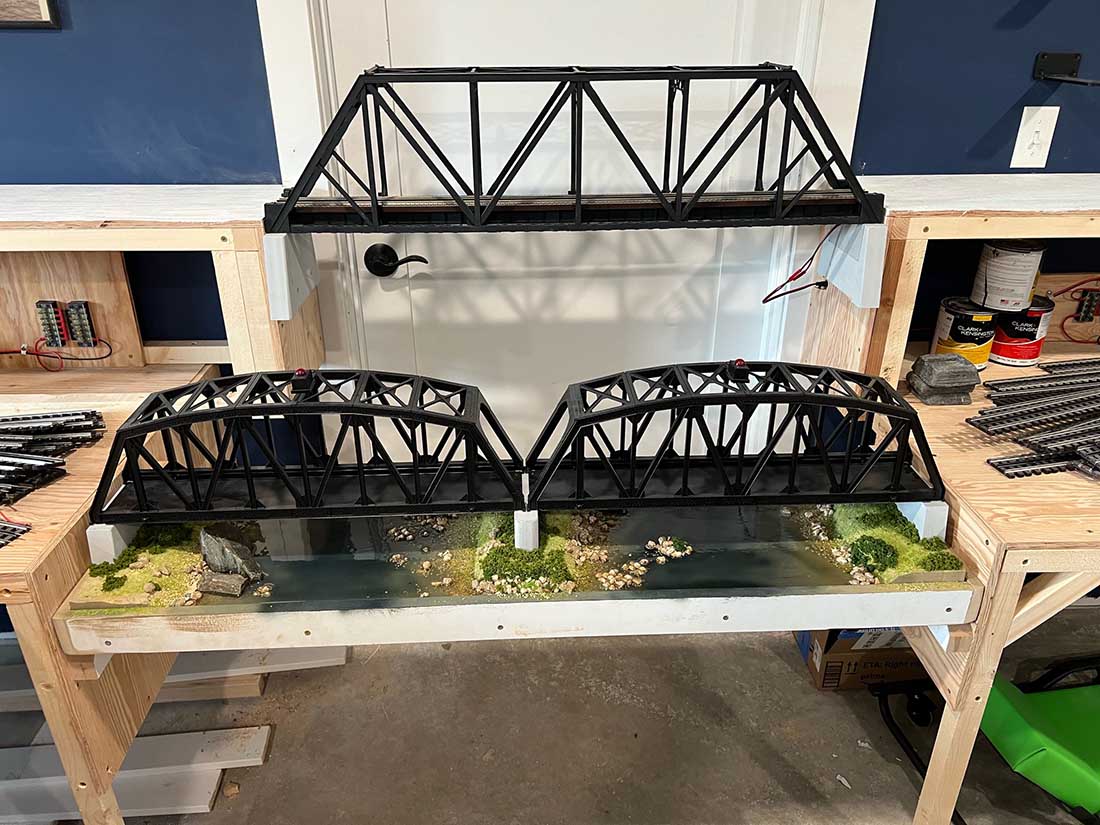
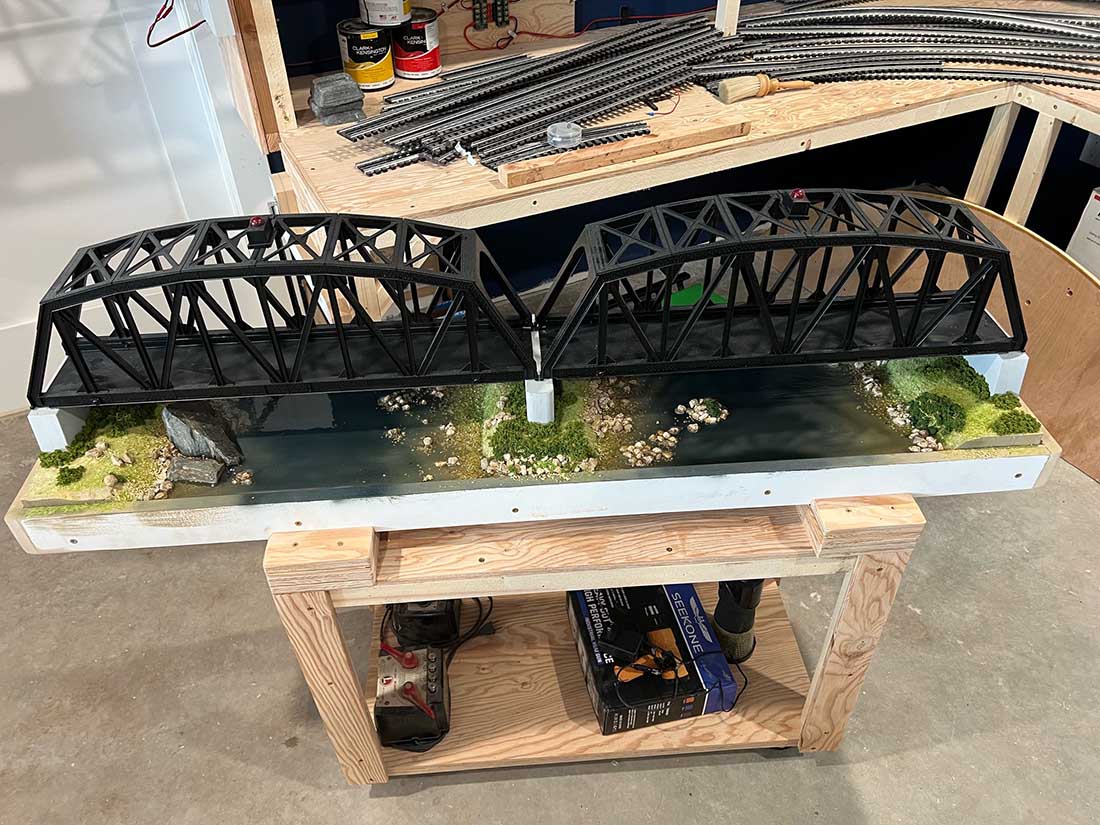
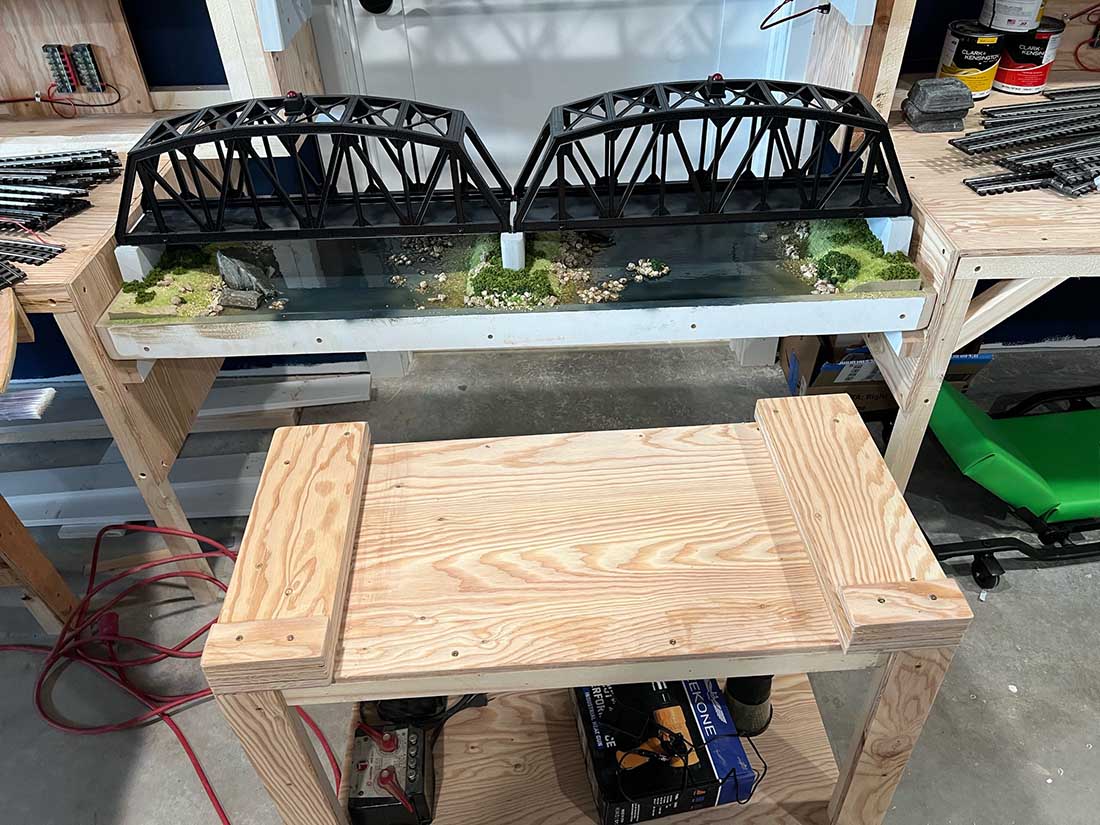
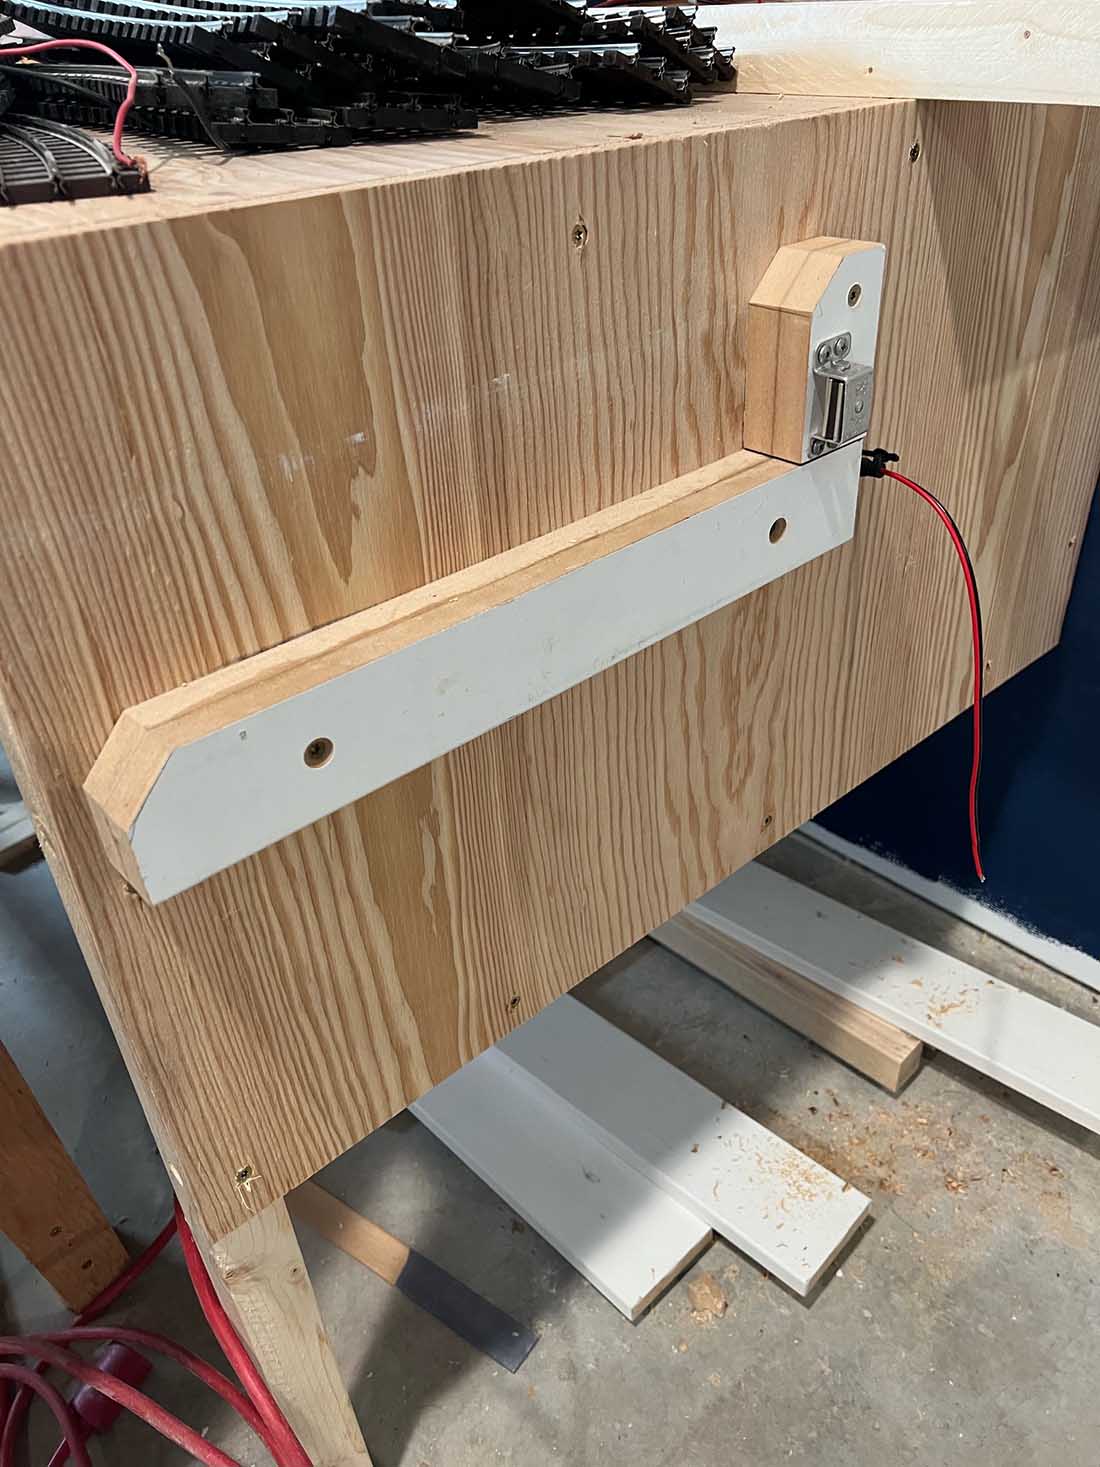
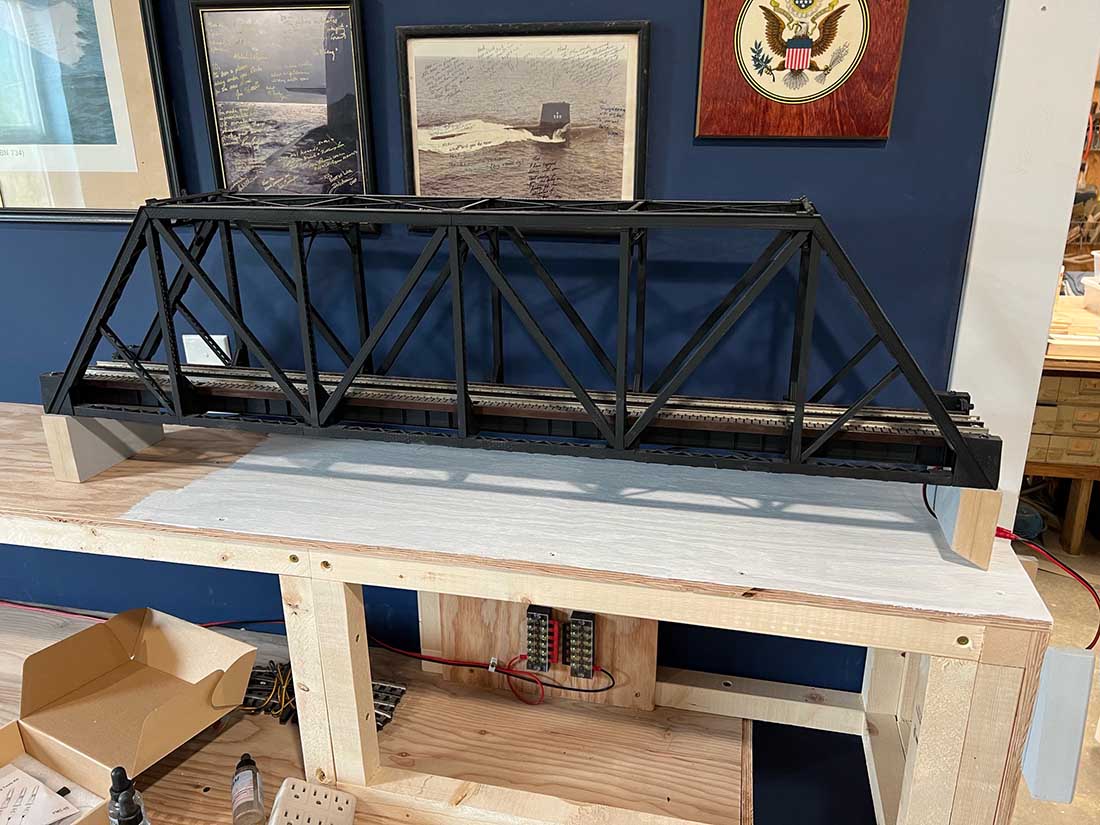
Ned has been in touch with his model train lift bridge module:
“Hello again Alastair,
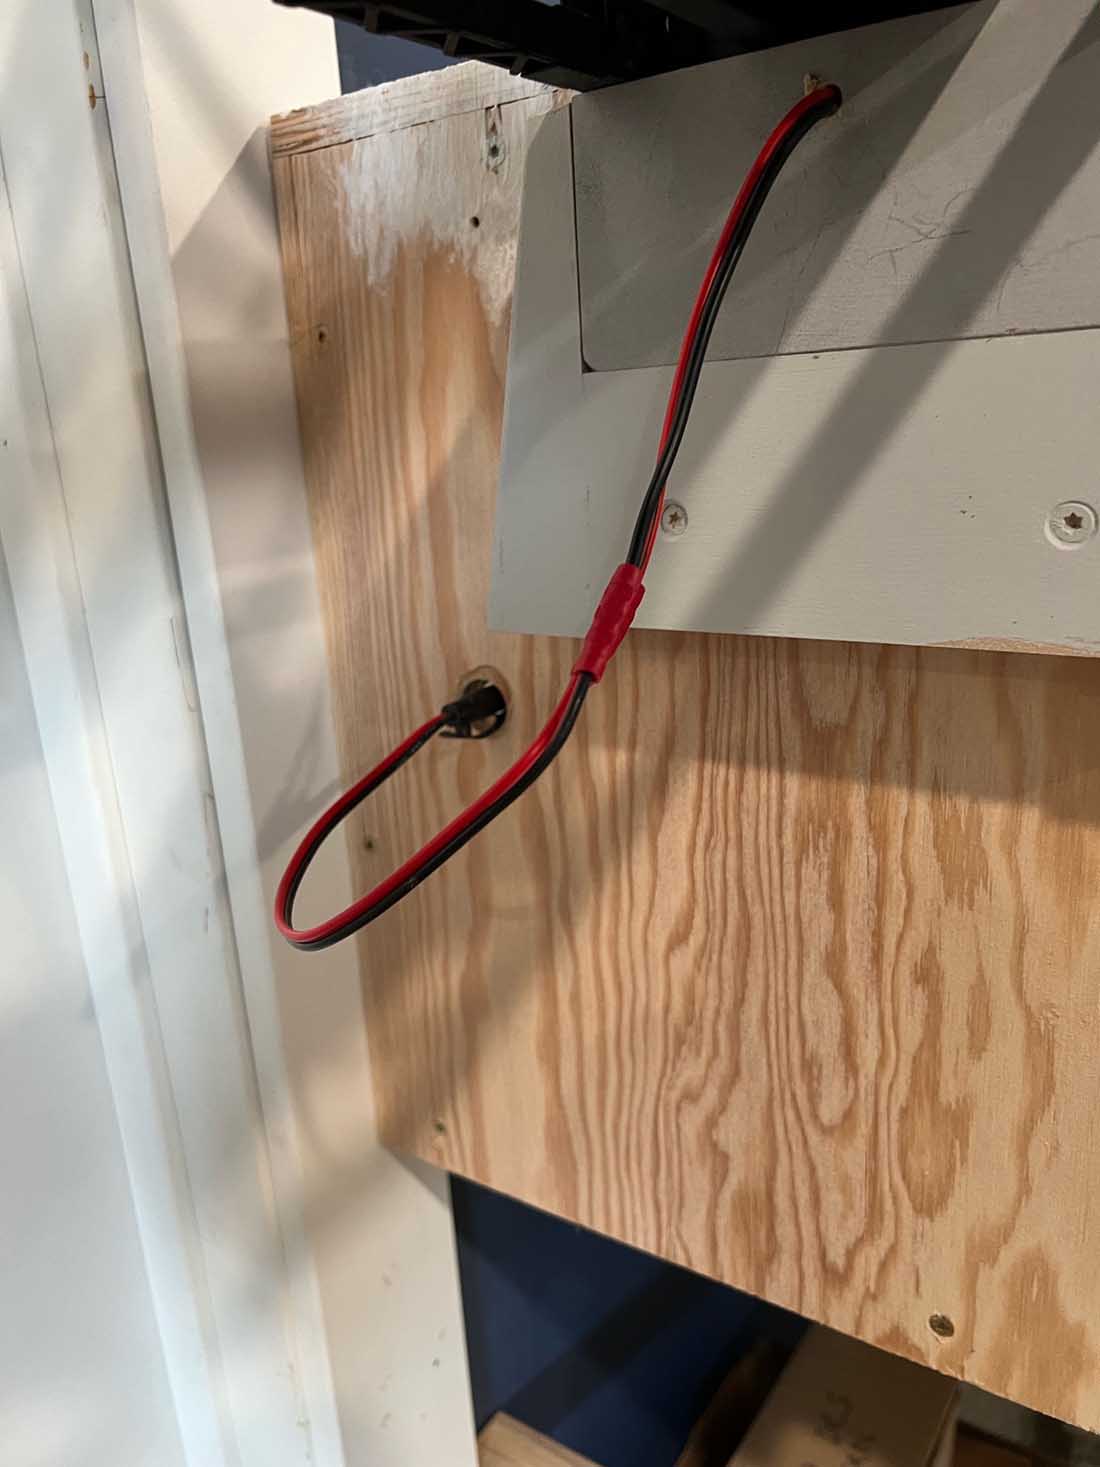
The recent post about moveable bridges helped me decide to submit the two methods I built into my developing layout.
Since I wanted two full circuits for my layout I initially conceived a complex system of gears and long screw mechanisms to lift both bridges.
Recognizing the more complex anything is the higher the likelihood of problems and since this is my first attempt at a large layout, I decided to keep it simple.
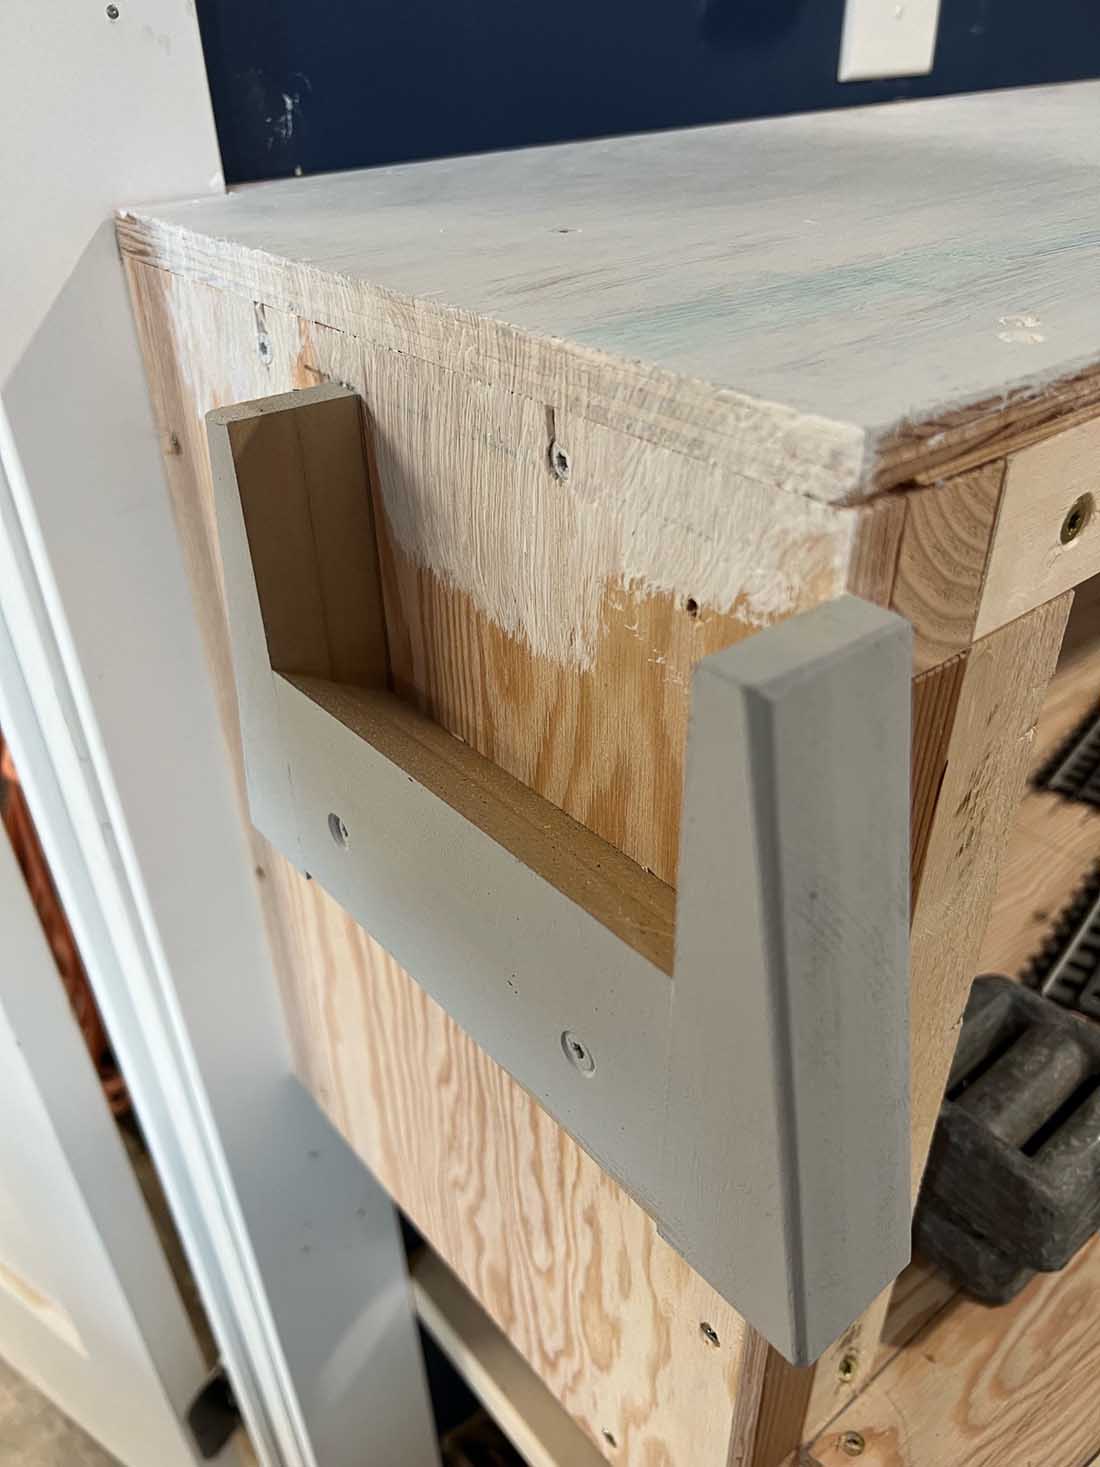
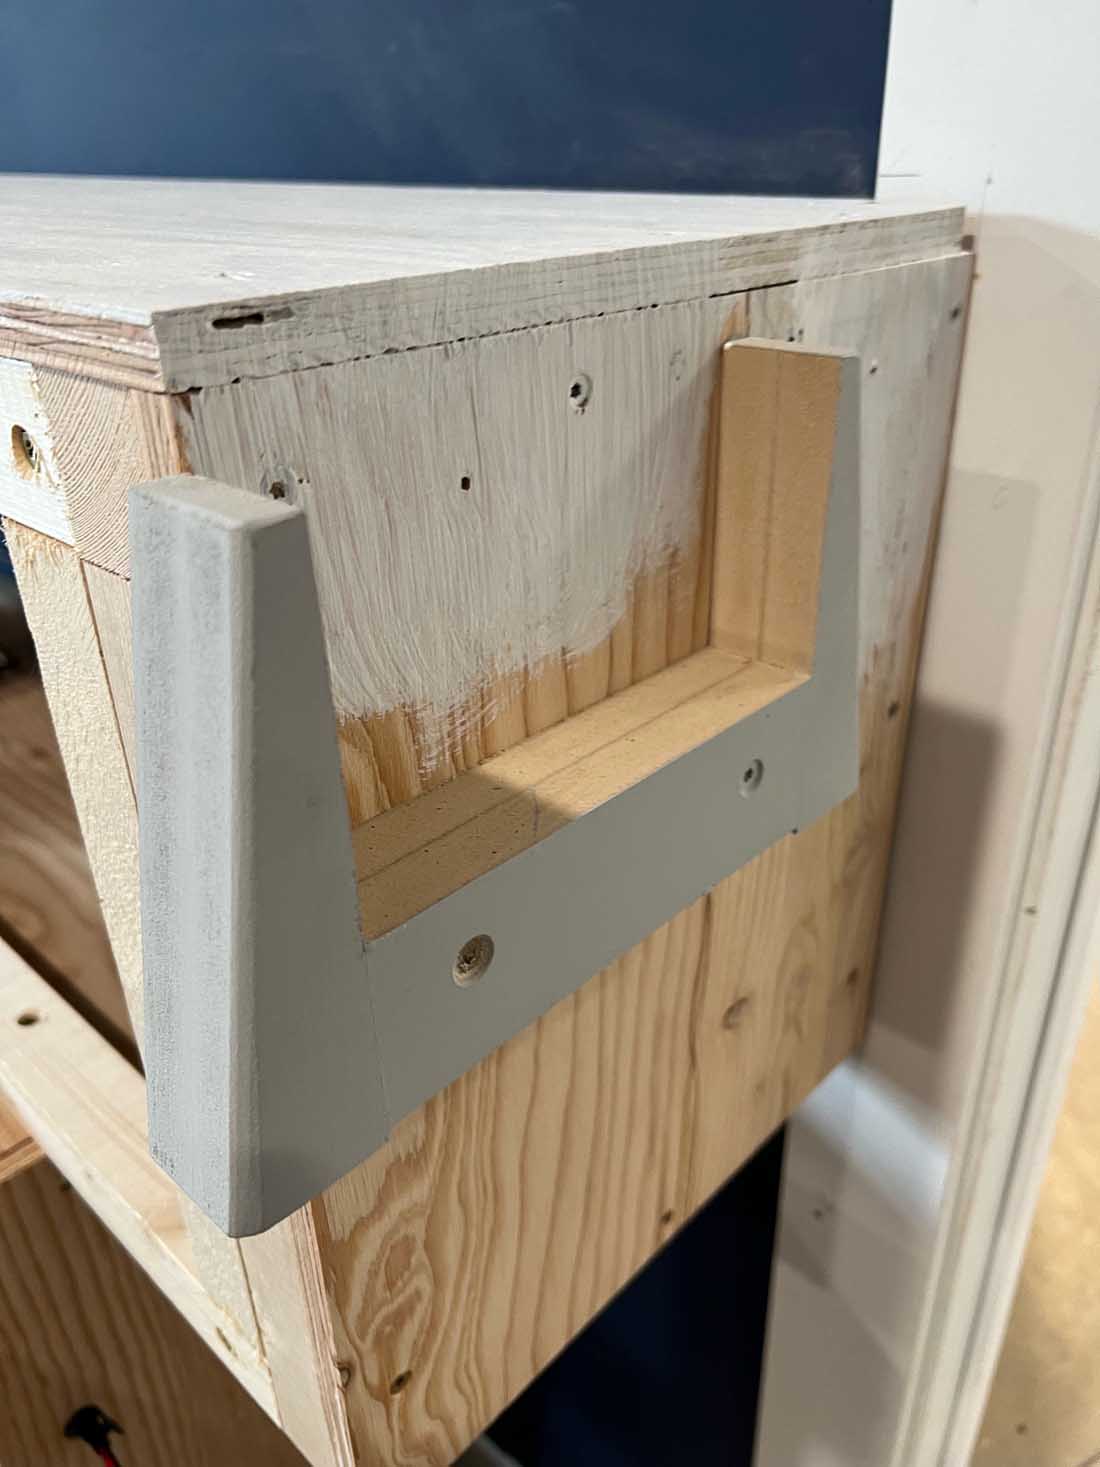
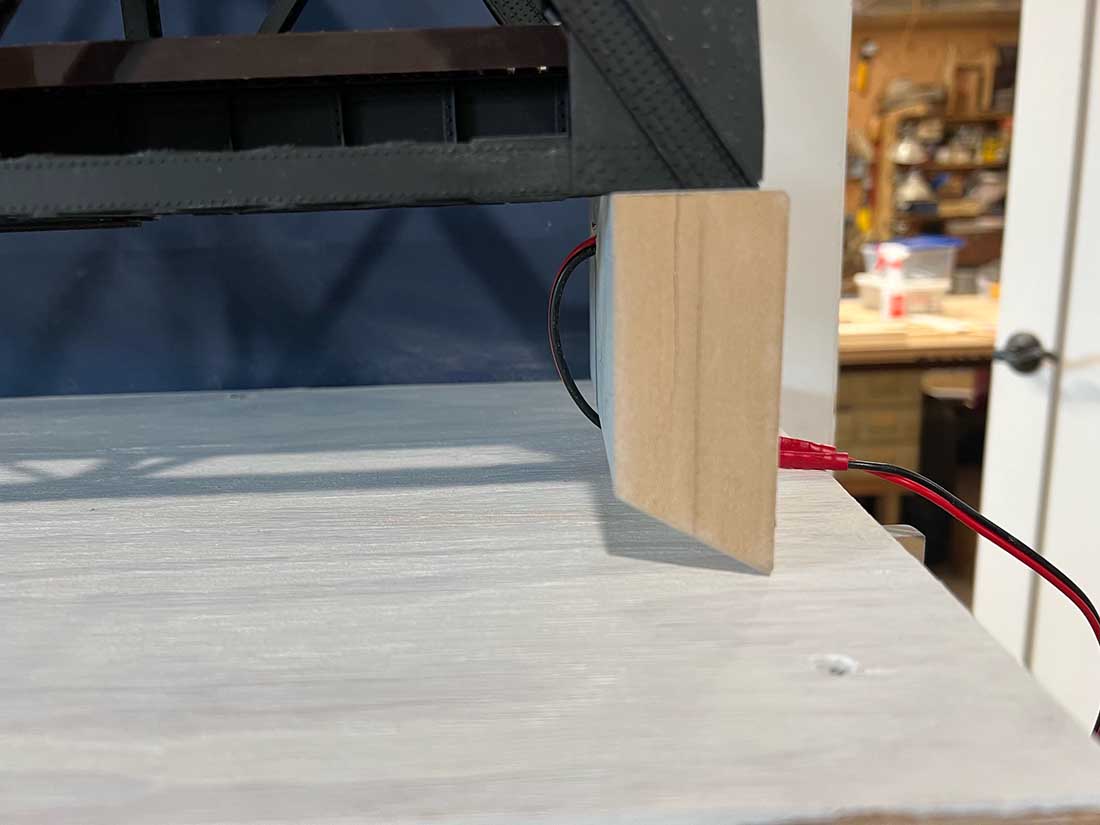
One bridge blocked and wedged to provide longitudinal and lateral stability and one bridge on a cart with cabinet magnets and blocked for stability.
Electrical connections are a simple plug.
I think the photos explain it best.
Ned”
A huge big thanks to Ned for sharing his model train lift bridge module. There’s quite a few of them on the blog now, one that always springs to mind is John’s:
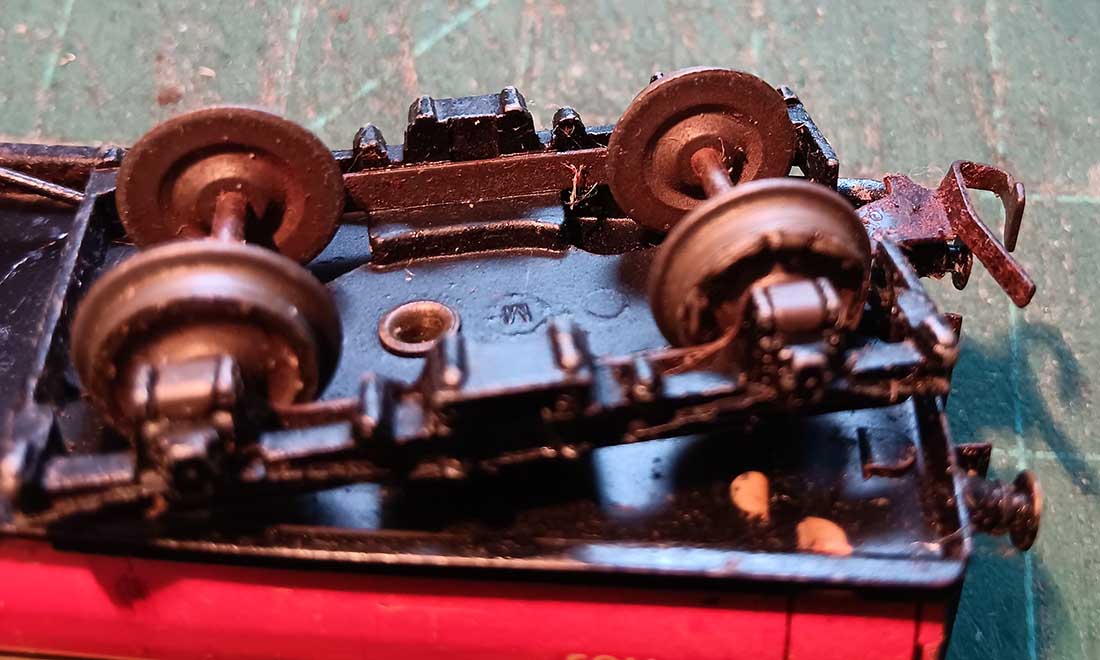
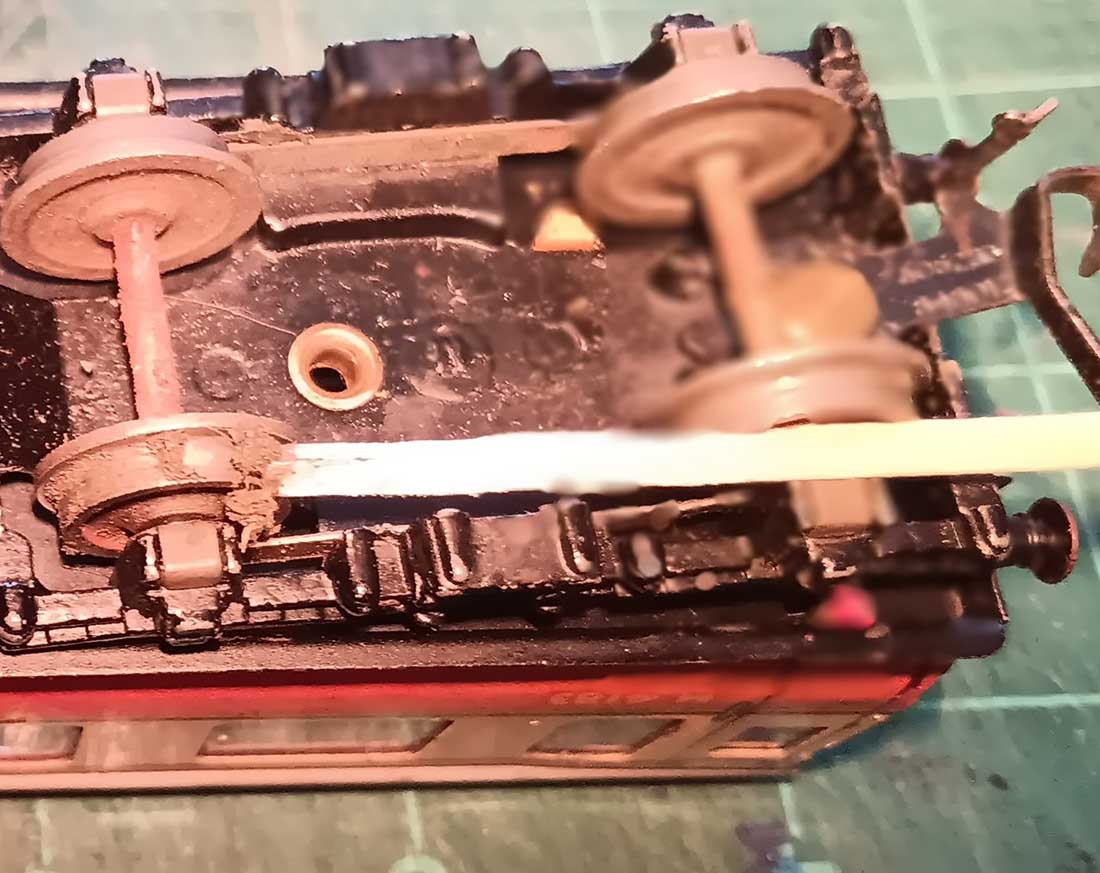
Like most, if not all railway modellers I periodically clean the wheels of my model train locomotives to ensure good electrical connection with the track.
I recently discovered that I was failing to do the same for my rolling stock and carriages and I was shocked to see how much dirt could be found on the wheels: – See attached photos.
Yours sincerely,
Andrew in Oz”
A big thanks to Andrew and Ned.
Andrew’s pics show just how much dirt you can lift of the wheels – that’s why track cleaning comes up so often on the blog.
Hall of fame Dan has been in touch with some good tips on train model building kits:
“Al, I am sure this idea is not new. However I may have some techniques that are.
The sprues (I do not know what you call them in your area of the world.) that are left over from kit building should not be tossed out. Here are a couple of uses you may not have not thought about.
When trying to square up sides of the buildings, a corner piece of the sprue makes a good right angle. I have even used a plastic 35mm slide holder.
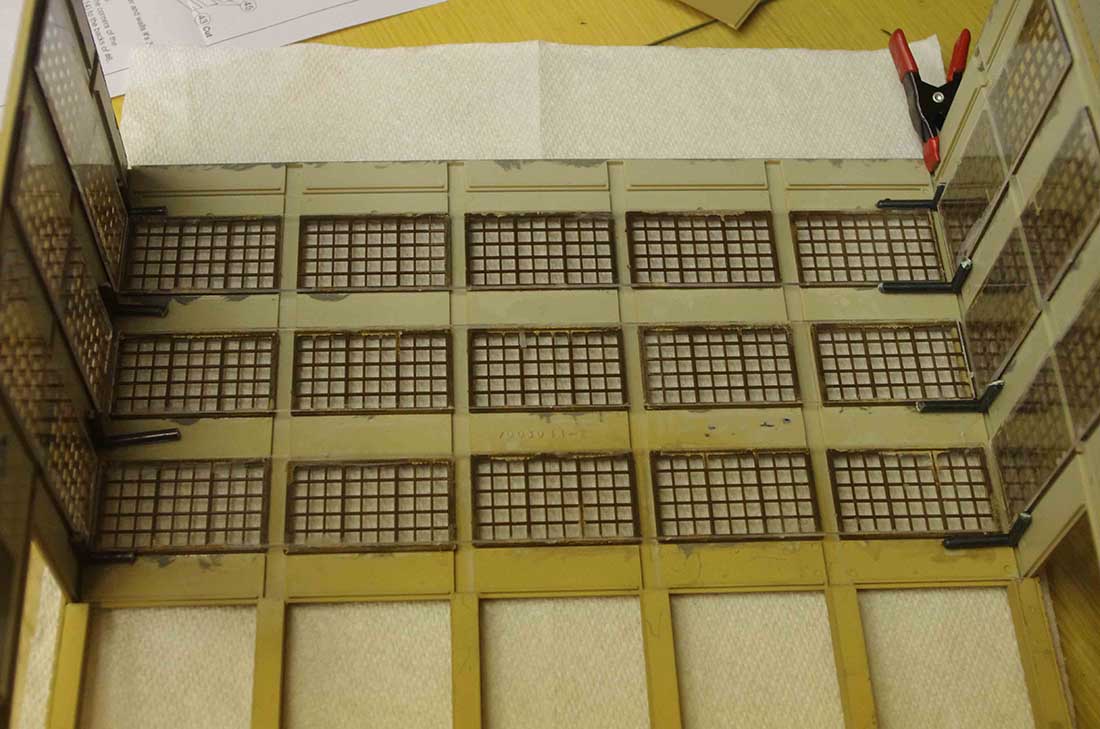
A close up of the model building kit.
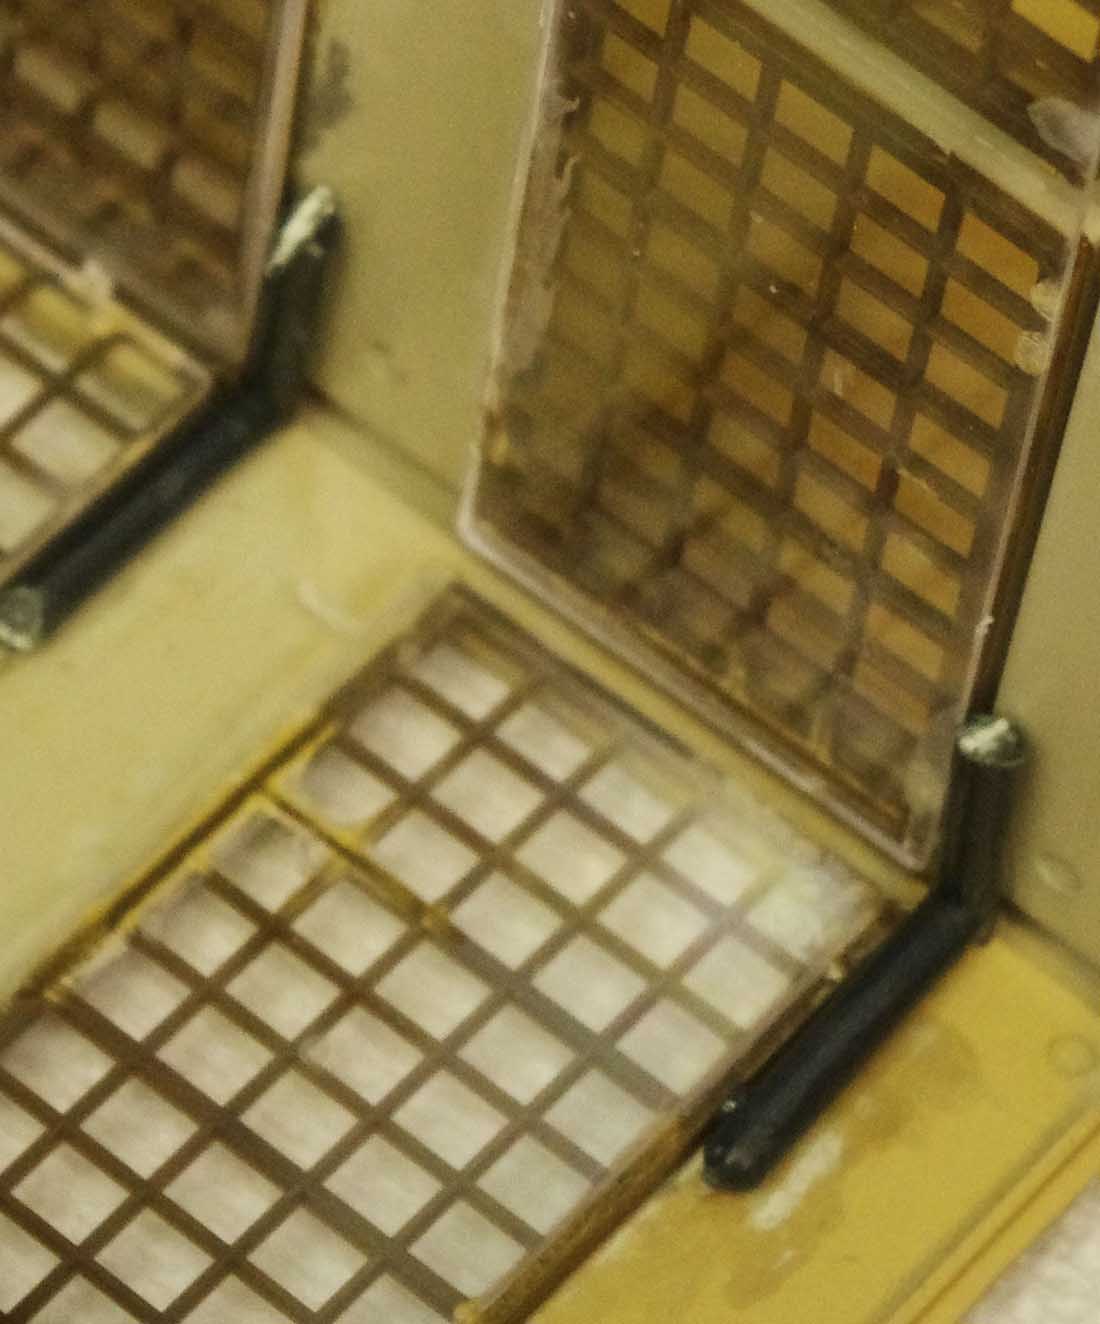
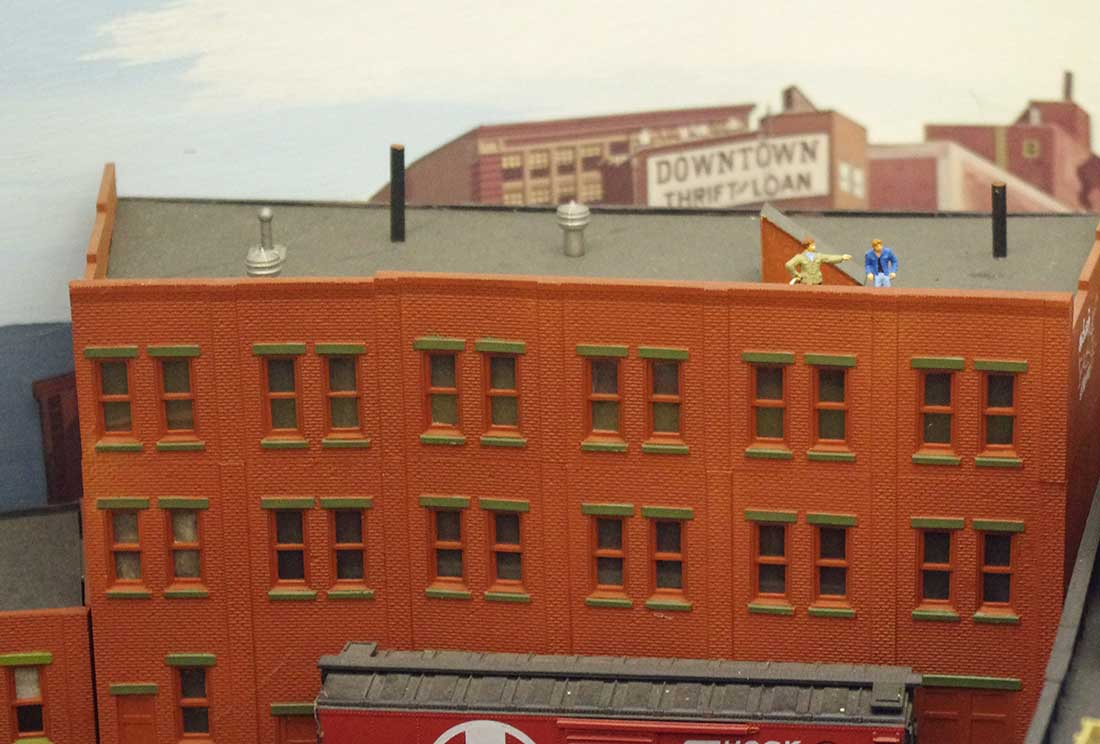
This is a 3-D building flat to be. My 3-D flats have no backs. Why waste time and effort on what you can’t see? The vertical sprues hold up the roof. The clear sprue maintains the width of the building. The black construction paper masks the windows of the building. You normally can’t see in factory or office windows. The open lower openings are inside of the loading dock. There will be details there.
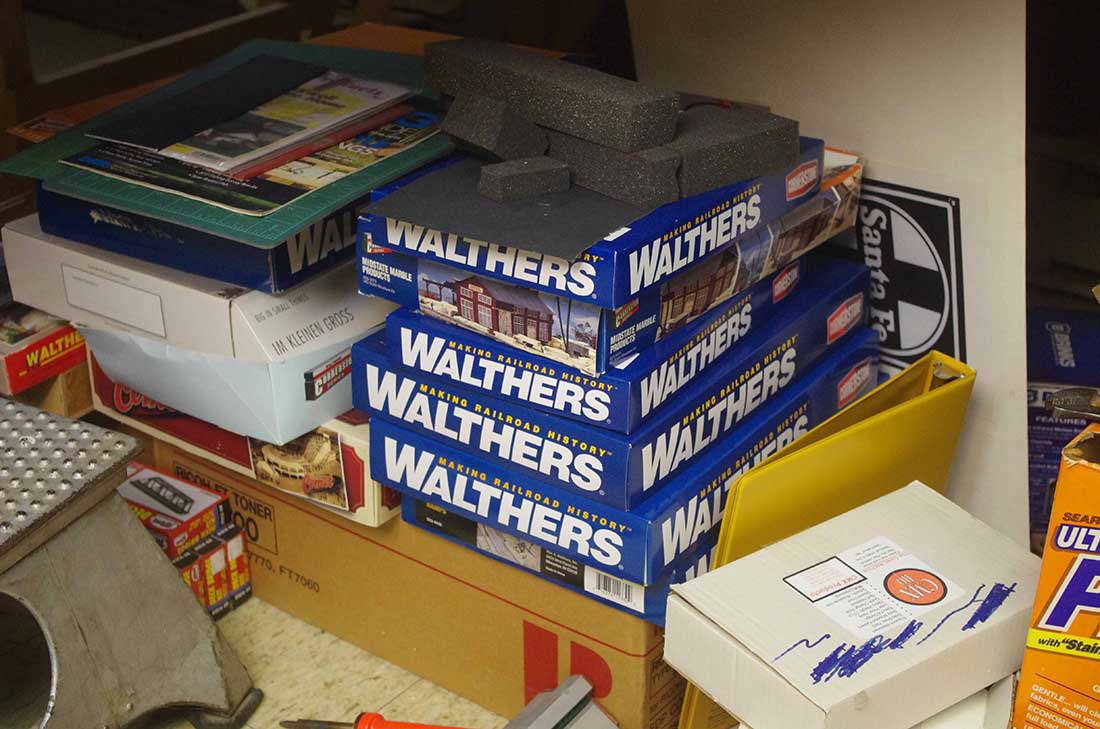
The supply stack. I have saved all of my surplus train kit parts. I have been building kits for the other layouts I have built so, I have a lot of pieces.
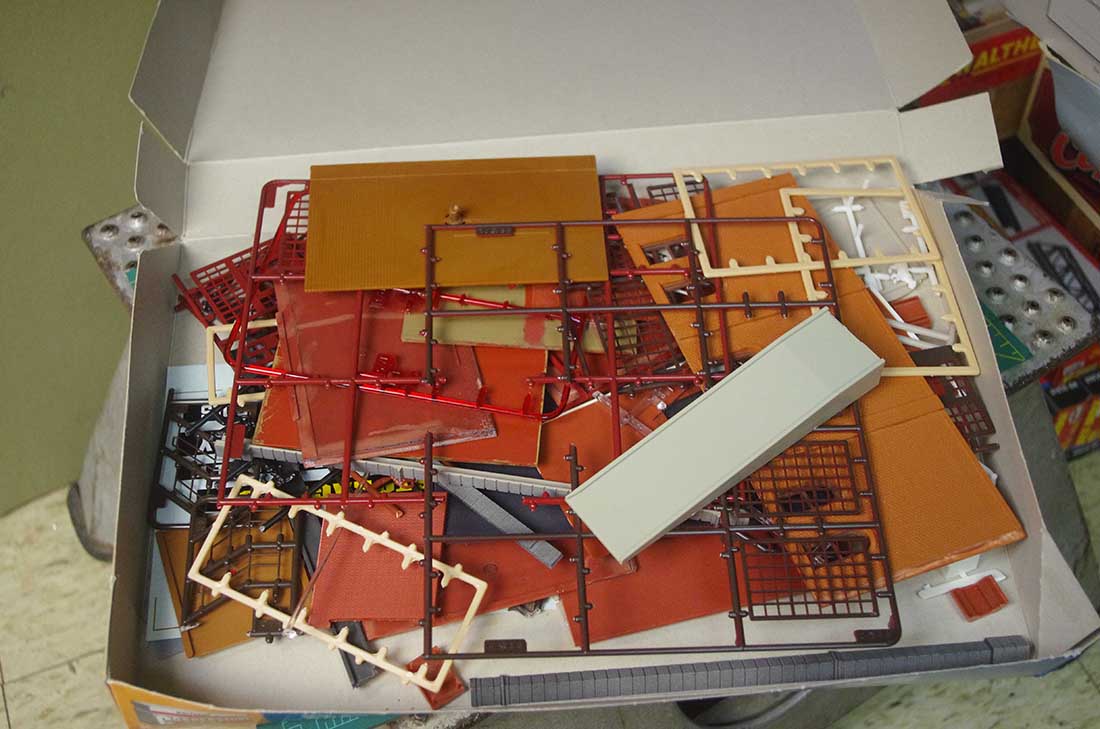
Typical parts box. I have a separate box of just windows and doors. I have made complete flats with left over kit parts.
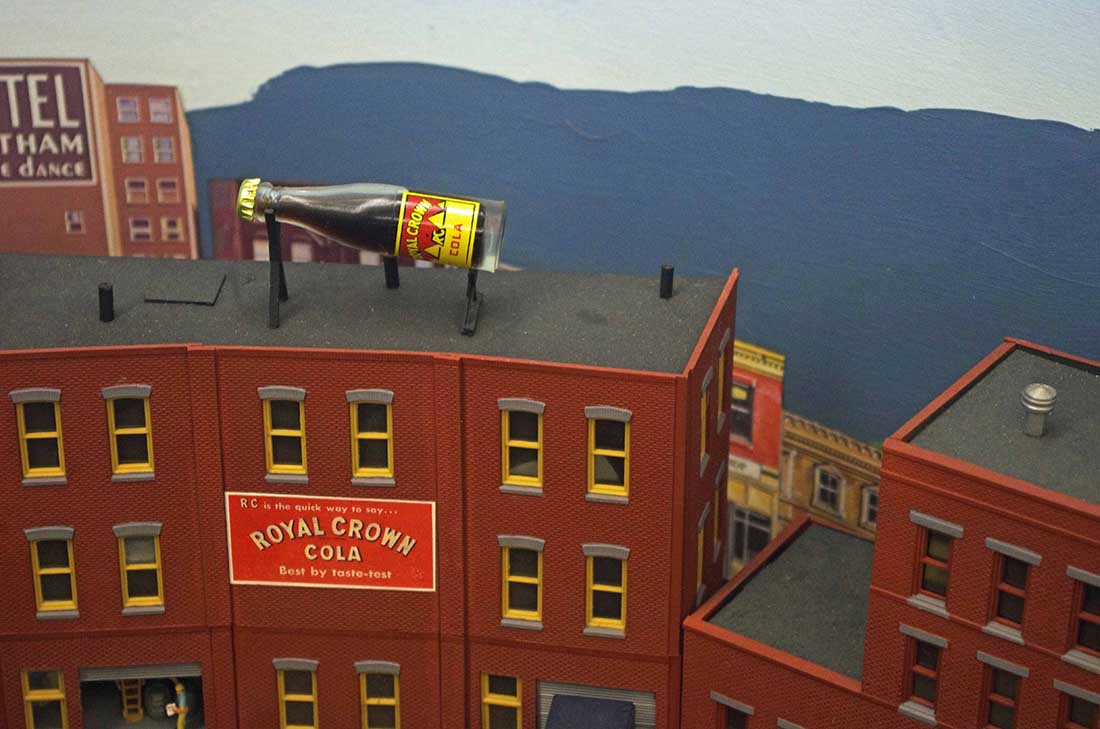
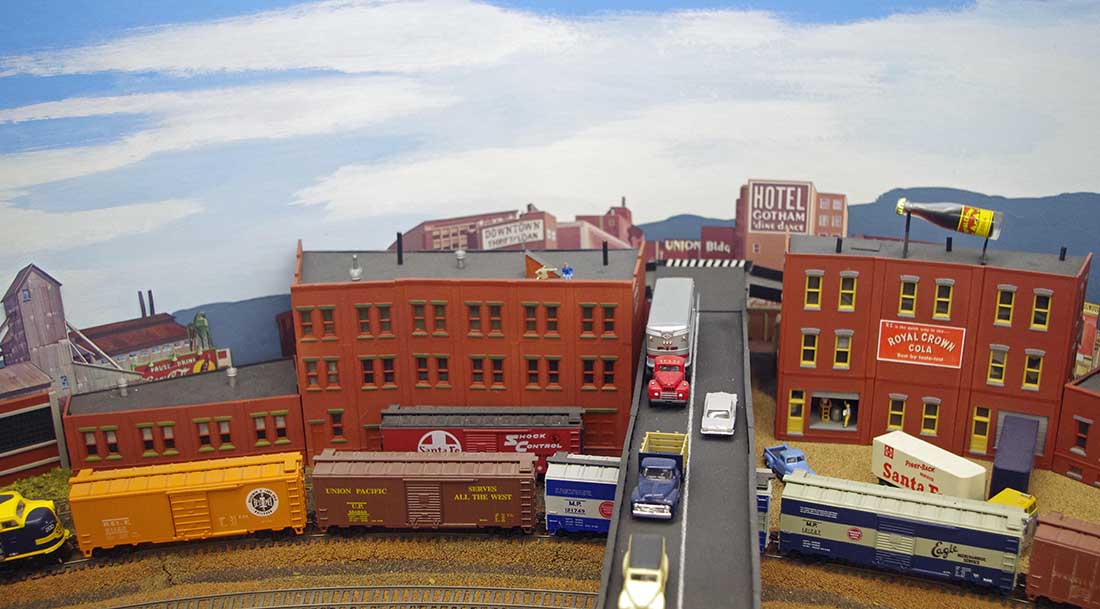
The roof of one of my 3-D flats. This was made for a caved corner. The bottle of cola is real.
Another 3-D flat that is part of the corner.
The complete corner. Don’t worry about the sharp turn and the seep ramps. From the normal view pint it looks OK.
In my post about the model train museum project, I mentioned about using a short length of tubing to prevent squashing the soft wood by the wing nuts used to tighten the sections. They were cut to the exact thickness of the holes.
Dan”
A big thanks to Dan for sharing his Train model building kits.
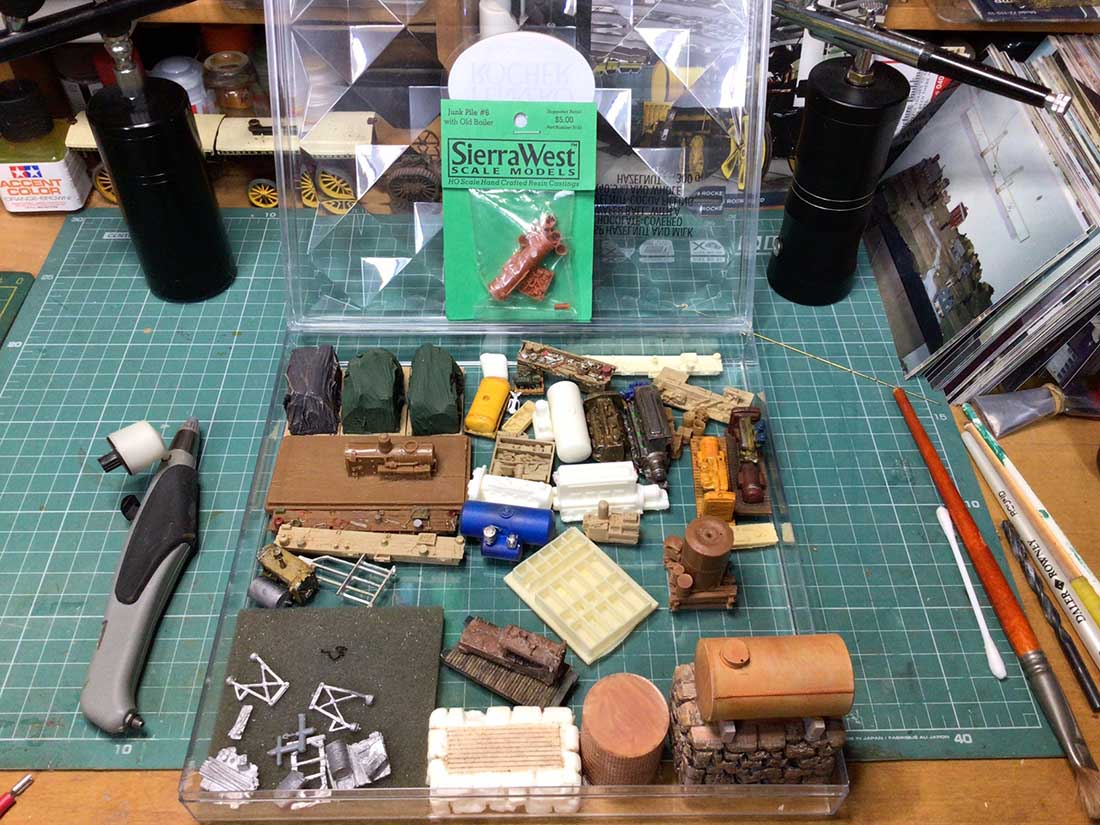
Could you publish the photos below of my ‘bits boxes’ please.
This is to show the train modellers who follow your blog what I mean when I mention my ‘bits boxes’.
These photos are (what’s left of my castings, having used a lot of them already) shown here where some of them are painted, some bare resin and some weathered.
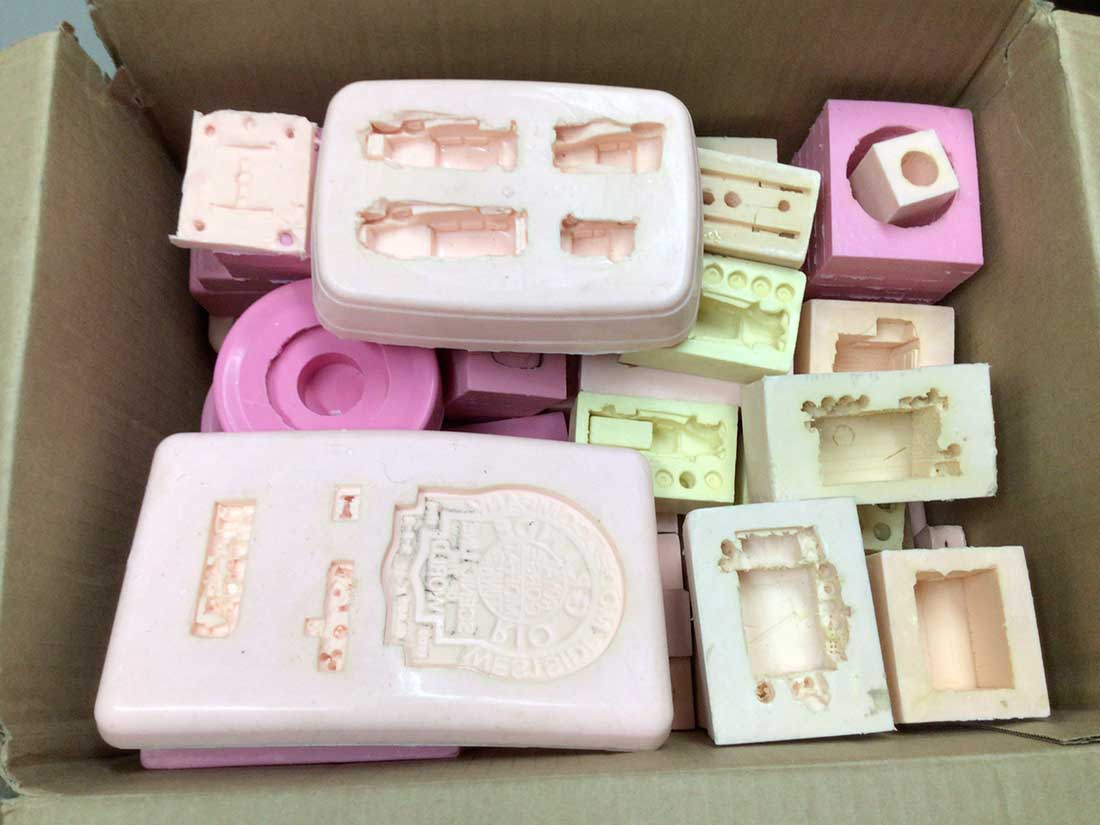
If I do not have a casting of what I am looking for, I then refer to my silicone mold box to find it and then cast it in resin.
Another box from building kits.
Also in this photo are 3 of my airbrushes. The grey one on the left is an Aztek model A4709 triple action needing an air hose connected to a compressor. The two black ones are self contained with a built in compressor and air tank. (Both rechargeable via a USB cable). The left top one is for very fine spray work.
Photo below is my silicone mold box (about 40 plus of them).
Many thanks again Alastair for what to do for all the modelling fraternity.
Brian’s been back in touch, he’s been adding to the HO scale train buildings on his layout:
“Hi Alastair,
Please keep up the excellent work you are doing on your blog. I am sure that this is very much appreciated by all your followers. I do not always comment on them but read all of them and save to a folder.
Herewith an article of two kit rebuild/kit bashing plus some work on/under the layout.
I added a few more pictures at the end of the article of the never ending work around layout room.
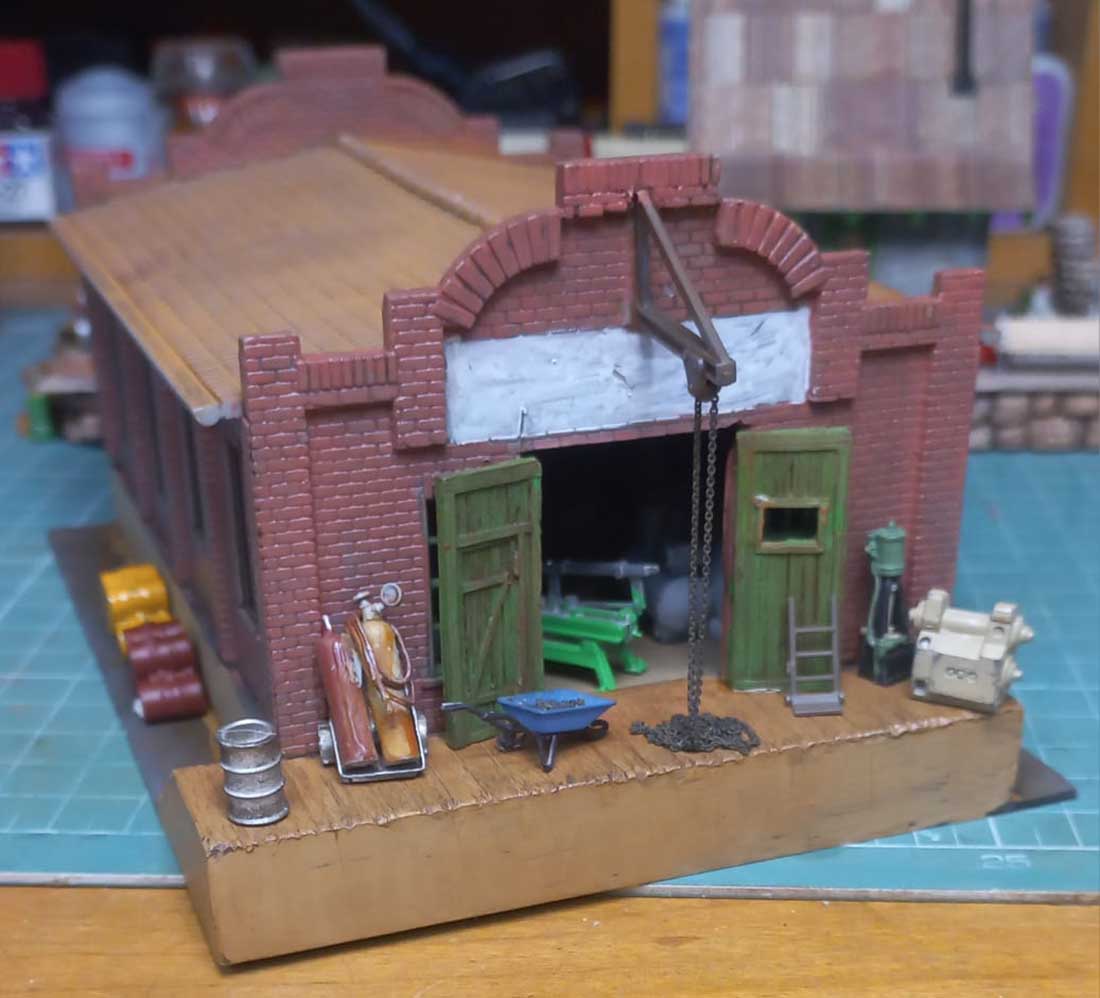
Many many years ago I built this Pola (a European kit manufacturer) as it came out of the box with no modifications to it other than paint and weathering.
I pulled it out of my cupboard and decided that I can use it on my layout but it needs a complete rebuild.
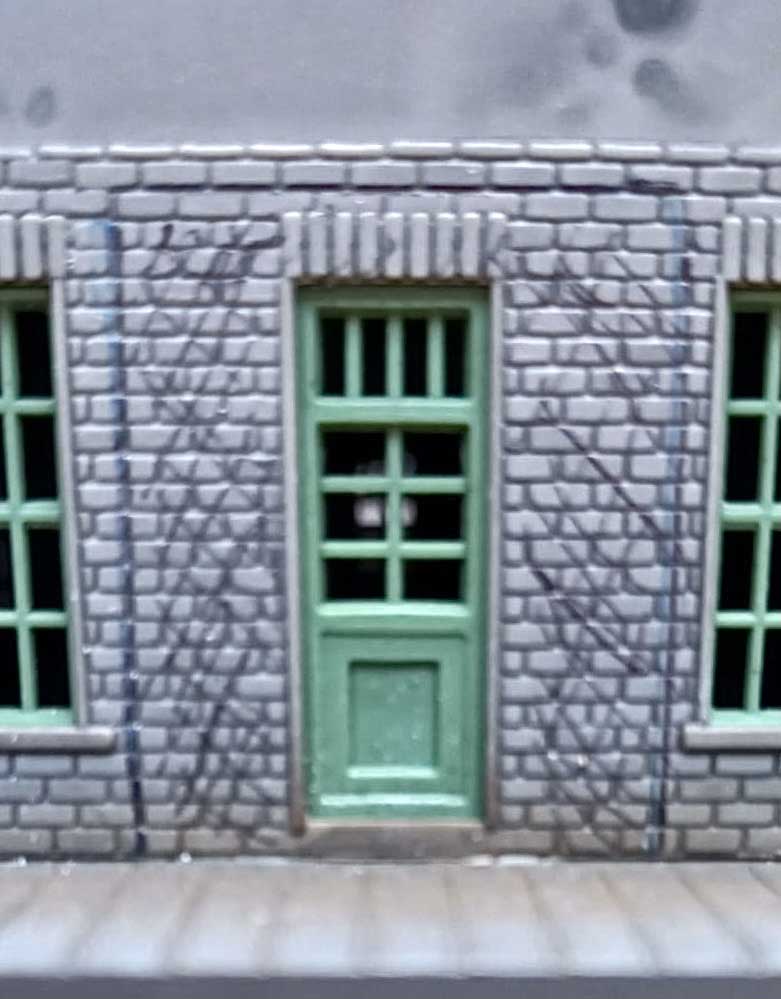
This is what it looked like with the old roof after cleaning all the dust off it with a few details on the boring looking platform in front of it.
The first thing that I decided was to re spray it grey and the doors and windows green, add an interior of some sort.
As seen below, I marked out a double door opening to make a front loading/off loading building. As an afterthought, I did not like the grey paint scheme.
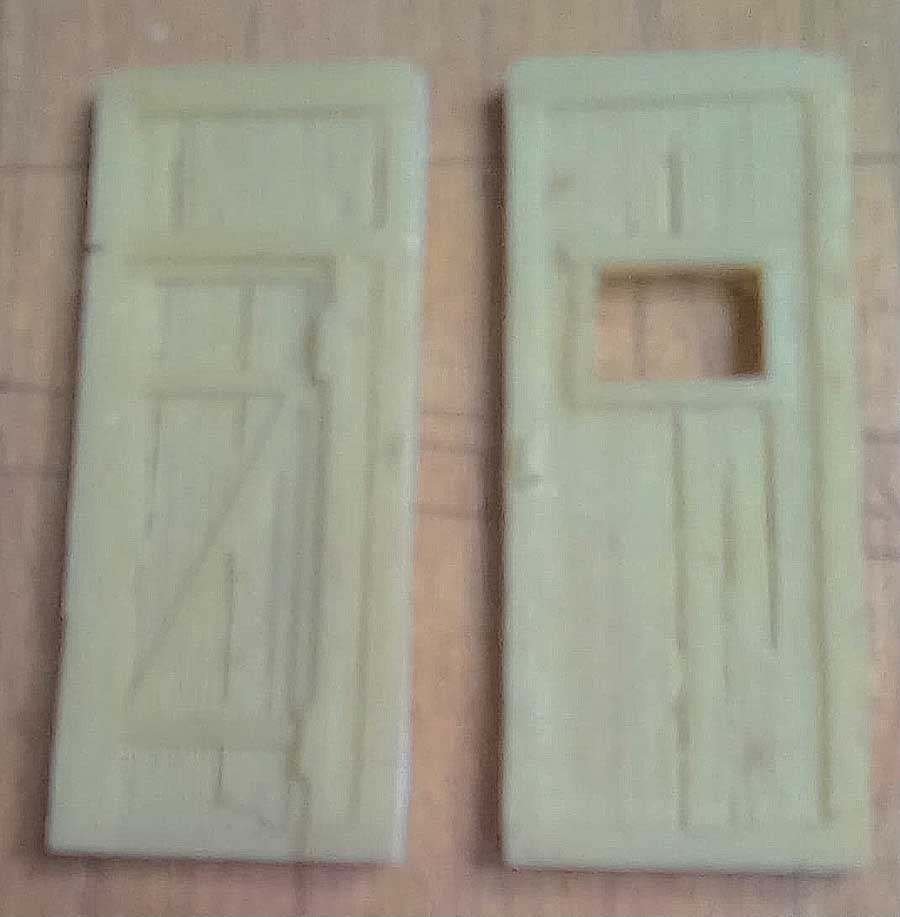
I delved into my bits box and found a double door resin casting which I promptly split in half to fit the new wider cut opening in the front for the Goods to be added. Apologies for the poor picture quality.
Next I test fitted the opening with the doors. This was before the repaint to a brick colour.
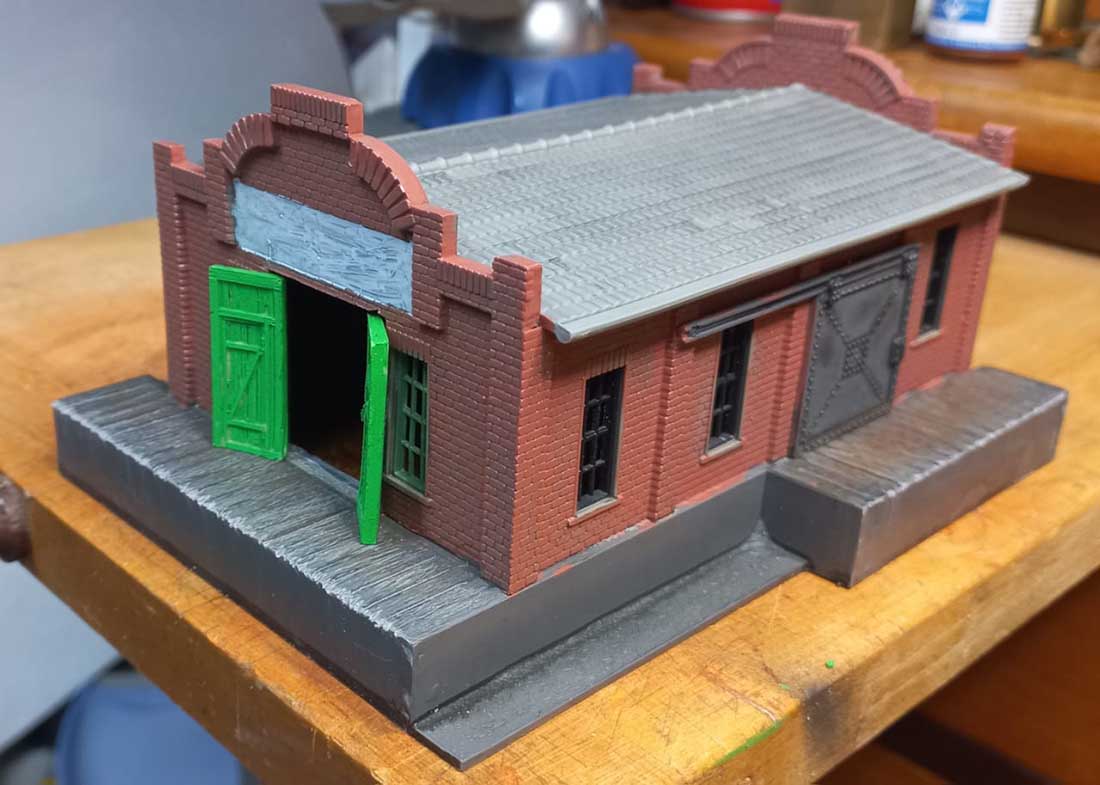
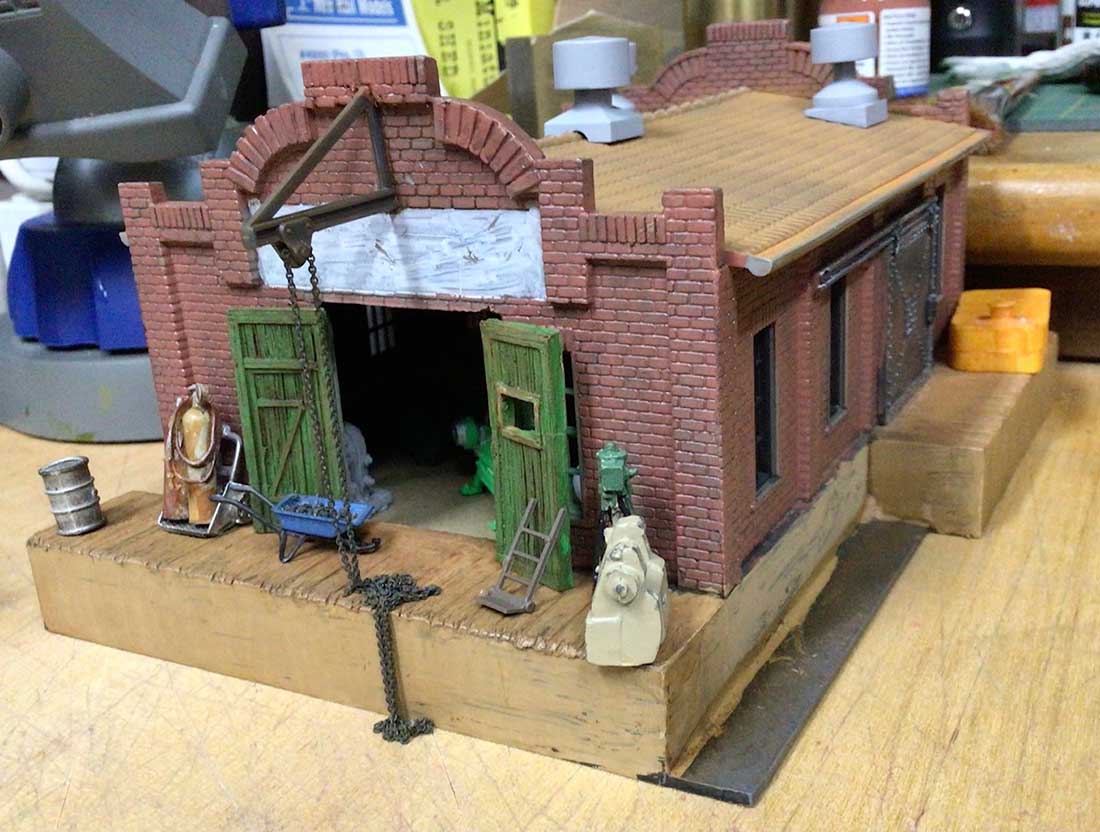
Next the building received a coat of brick coloured paint and the doors were painted green. The windows were painted an olive green.The two decks were roughened up to show lots of wear and tear. The weathering process will follow.
A name for the industry is still to be determined. Possibly an engineering works. I will print an appropriate sign once I have figured out what to call it. The deck has been painted and weathered as well as the doors.
Starting to add the details around the outside and inside the building.
Added a small tank to the side deck. I will still add more details to it.
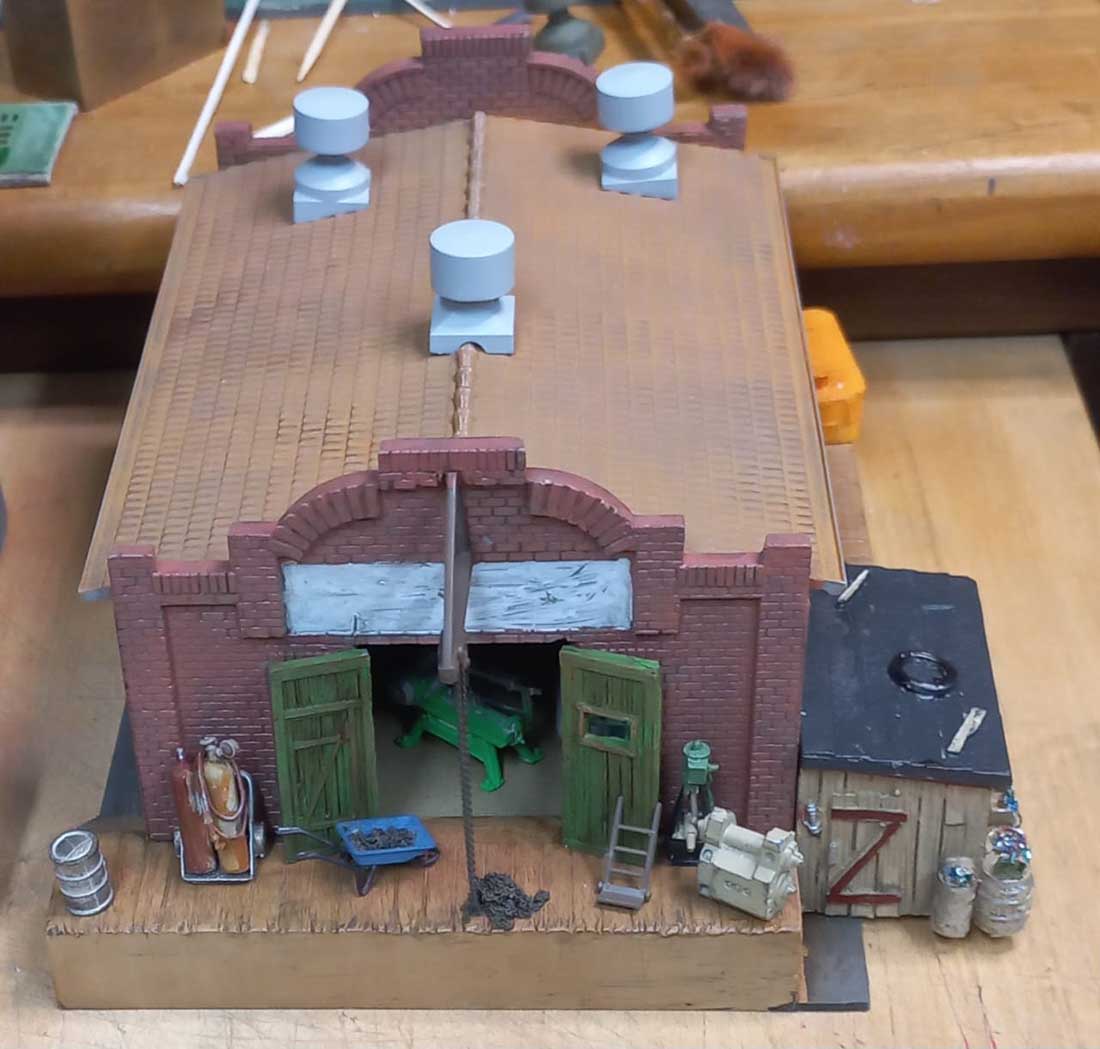
Below I have added one of my resin cast stores (a lean-to) to the side of the building.
I was not happy with the original roof and found a spare one from a similar kit at a friend’s place which he kindly donated to me and this made the building look much better. (The old original roof that was removed was saved and will be used elsewhere). This building is now ready to be installed on the layout.
While I was scratching around in my cupboard, I found this station kit (a cast plaster one and cannot remember who made it) that I built about 40 plus years ago. This photo shows the finished product.
This is what I found in the cupboard amongst a lot of unfinished buildings started many years ago. (What’s new? and I am sure that a lot of us do this) I also found a damaged HOn3 box car.
The remnants of a previous attempt at building a small station was also in there. Does not look that good and no wonder I did not complete it.
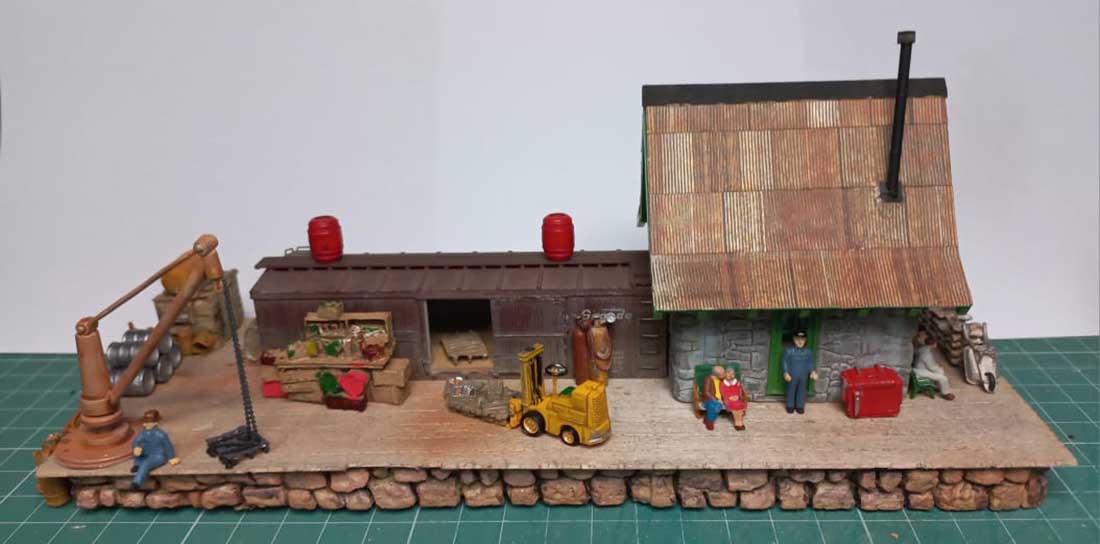
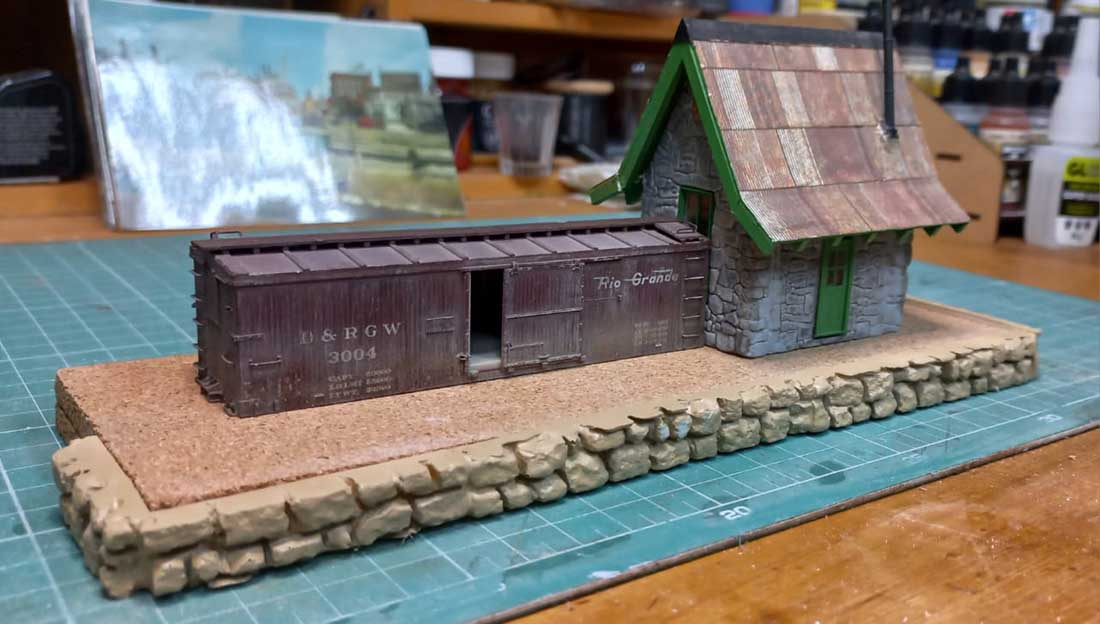
I decided to add the two together to form a small passenger/freight station for the next section of my layout on the lower level. Two pieces of cork were glued together to give me the base at the correct height.
I had some random stone castings that I used to surround the base.
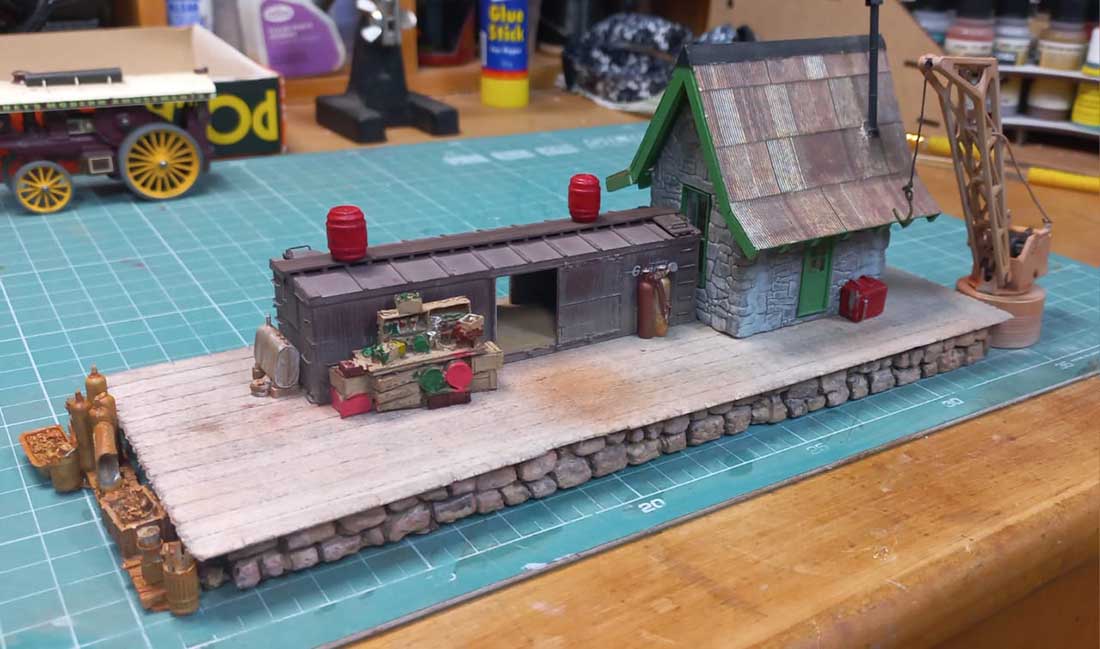
A wooden deck was added, roughed up, plank lengths scribed onto it and then stained and weathered. More of my casting details was added to the end of the platform.
Added details on it from my bits box to finish it off. This is where I really appreciate having spent time (an hour or two) on painting castings for my bits box that are ready to place as I build new (old????) structures when needed.
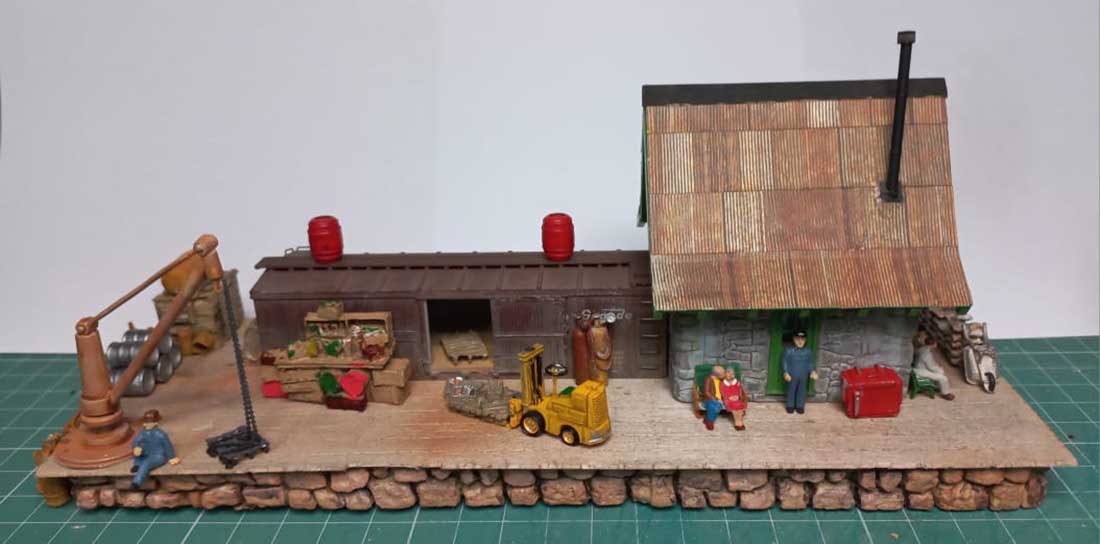
A small dock crane was added to load/offload goods. Figures were added as well as some details on the right hand side of the station. It is now ready for placement on the layout.
The Pola building took me four days to complete and the above station about seven days.
The next big project is to mount 28 Blue Point switch machines, under all the points. (Turnouts)
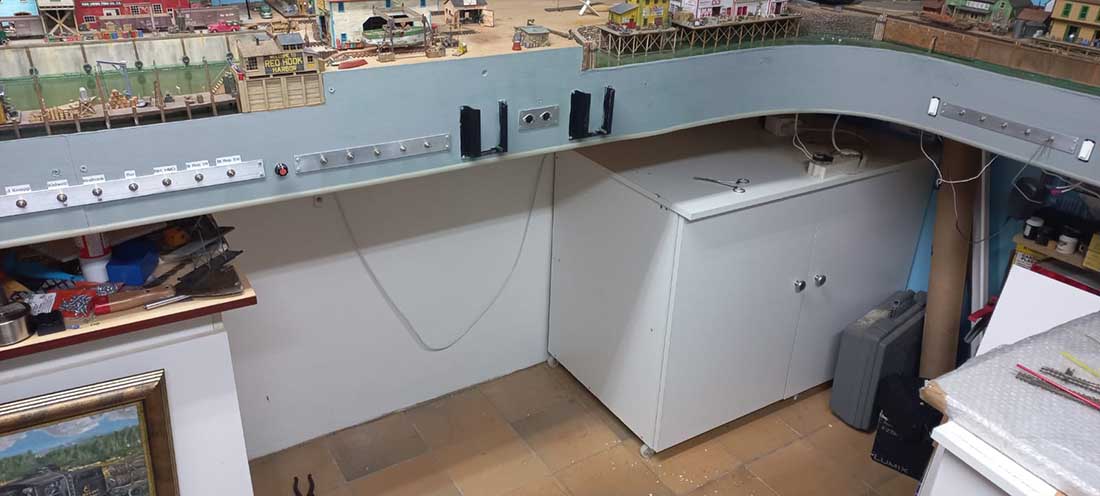
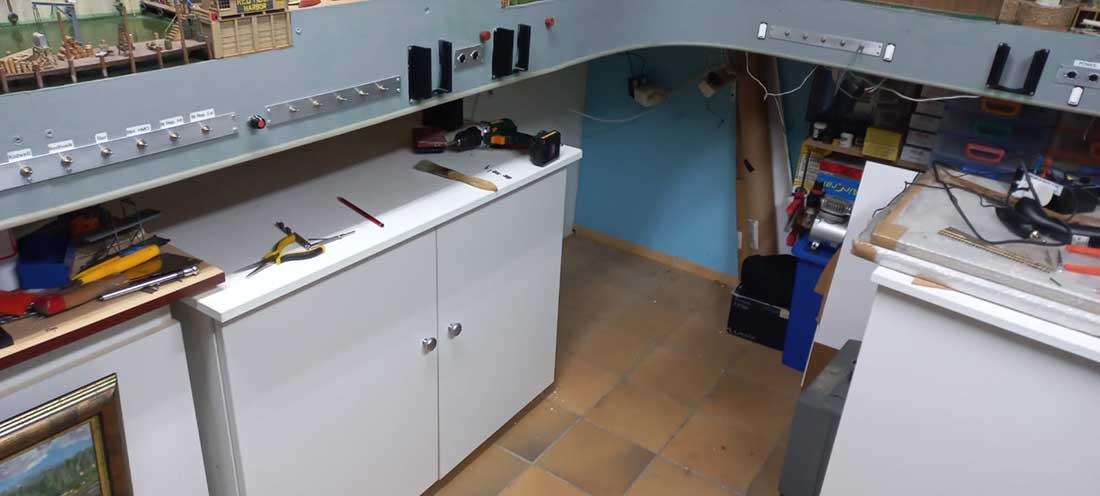
This is where I was fortunate enough to think ahead when I built my layout to allow for access under it. I mounted casters on the bottom of the cupboards to allow them to be moved to be able to work underneath it as seen below. Work in progress.
This photo below shows the tight space I have to work in/under at the corner.
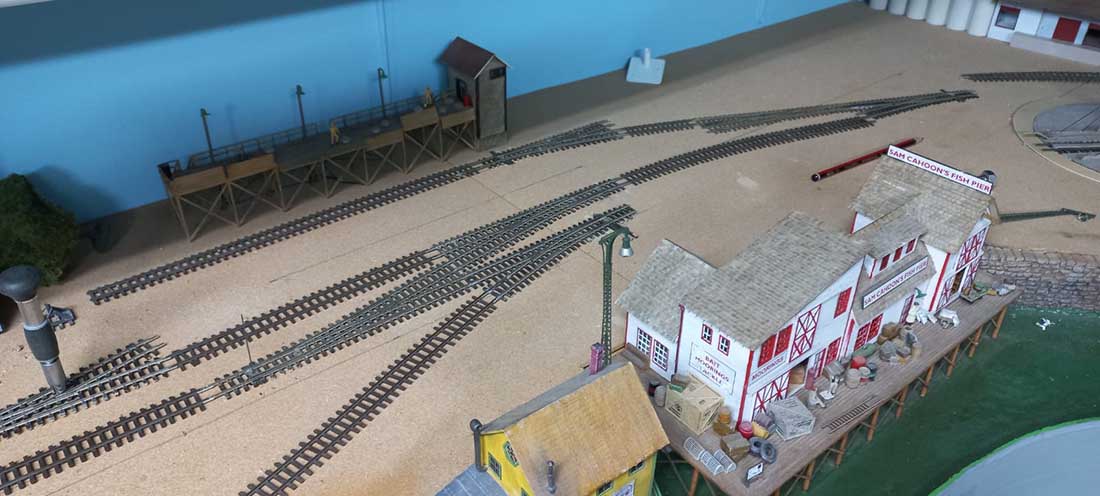
Topside the wires from the Blue Point switch machines can be seen coming through the points above.
Slowly getting the track back in place except for the dropper wires to the buss wires underneath. The white piece top middle is the supplied template to use for positioning the point motors underneath.
This is as far as I am right now.
Until next time.
Brian – the HOn3 guy in Knysna.”
A big thanks to Brian for sharing more of his HO scale train buildings.