Alan’s been in touch with his tips on How to build a model train mountain:
“Hi Alastair.
Suggestions: ( mistakes made and techniques refined )
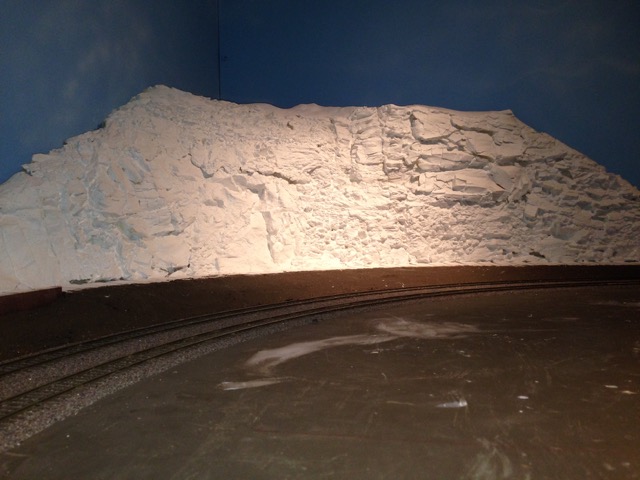
1) Mountains:
a) Foamboard
-Use 1” thick segments carved to profile of mountain; placed vertically.
-Cover with nylon netting…hot glued
-Use either thin paper towel material or ( even better) old rags material cut into 1’ squares soaked in dilute plaster — to apply over netting ( cost effective vis-a-vis orthopedic plaster roll materials ) …creates a shell of the mountain.
-Hot glue smaller pieces of pink foam board to the shell just created —for outcroppings, ledges, waterfalls, etc
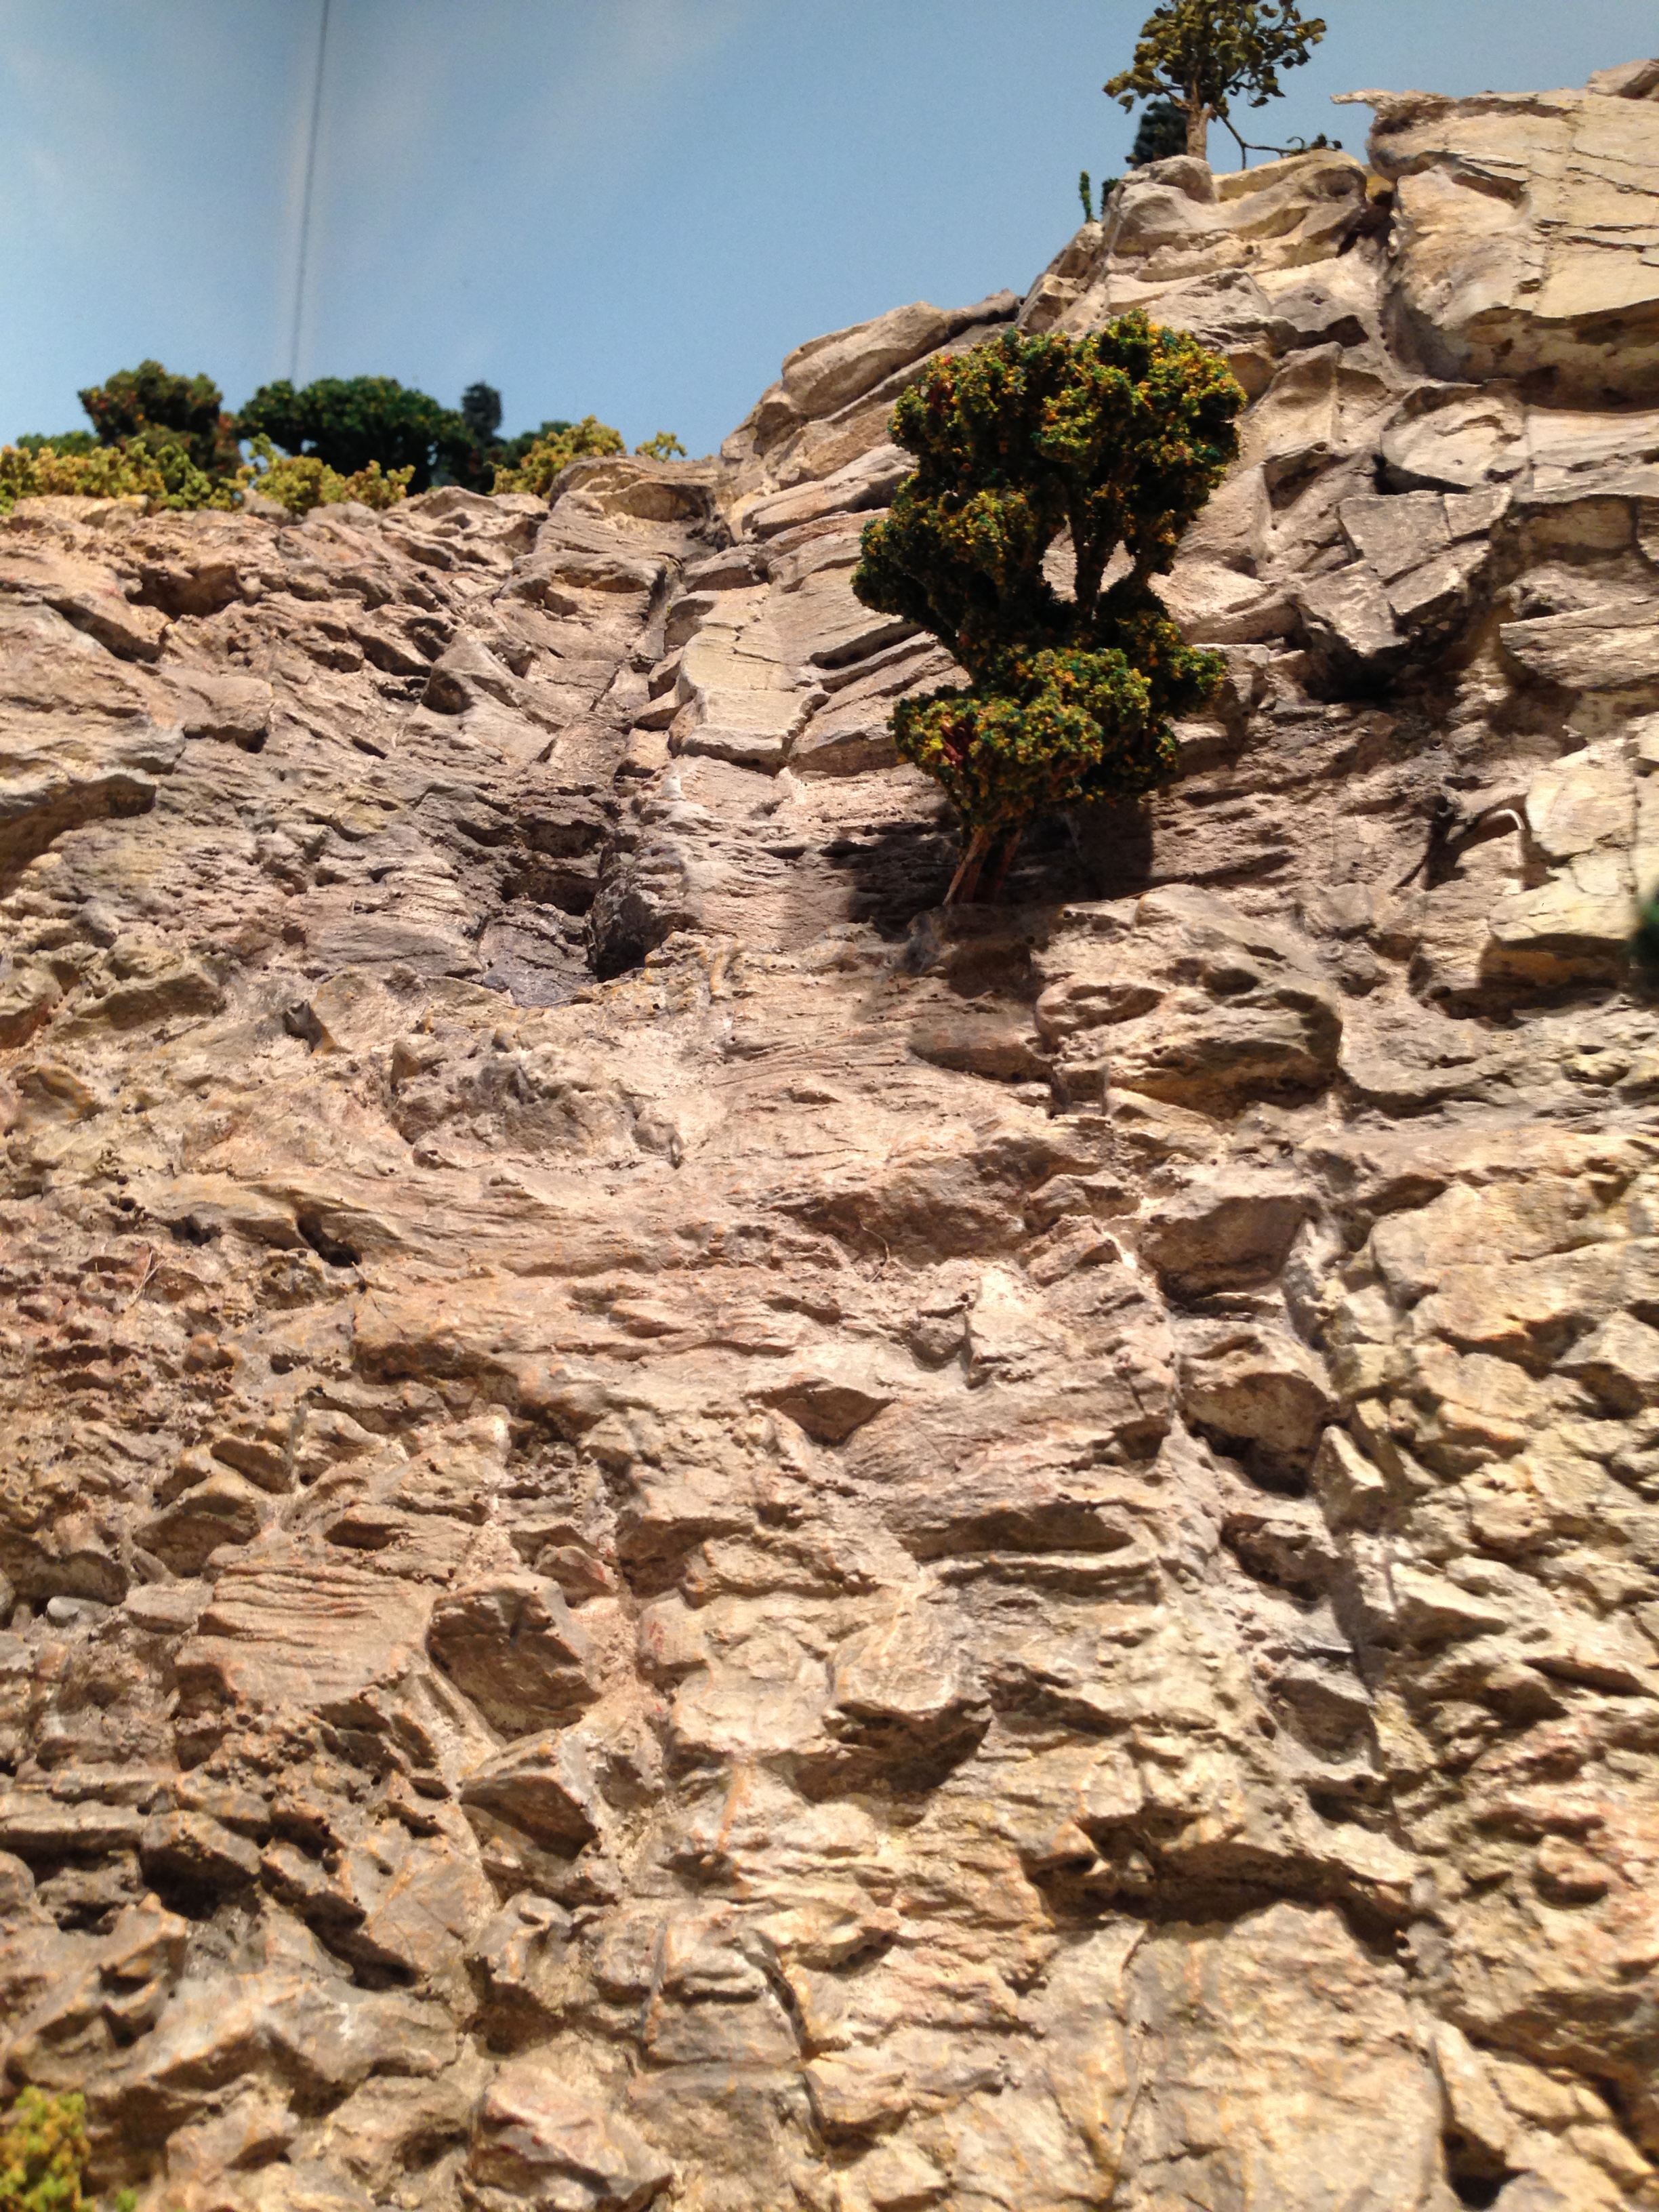
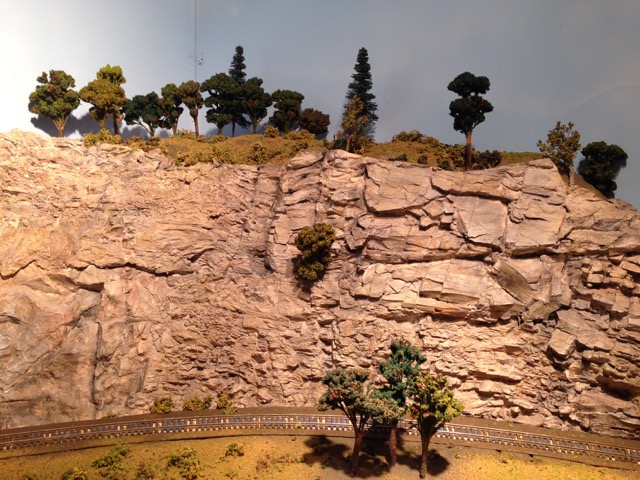
-Sculptomold:
-Buy in bulk…25# or more….
-When mixing sculptomold, use at least 50% cheap gray paint…with the water ( you’ll appreciate the gray paint when drilling holes in the plaster cast to plant trees. )
-After Scupltomold dries, “dry brush” or “wash” various colors ( burnt ochre, sienna, etc )
-Dry Brush acrylic white paint over Sculptomold to bring out the texture of the material….makes the scene “pop”!
-Add snow…commercial or sifted plaster material.
-If prefer greenery, mist matte medium over dried Sculptomold and “blow” fine greenery over the vertical faces of the mountain…
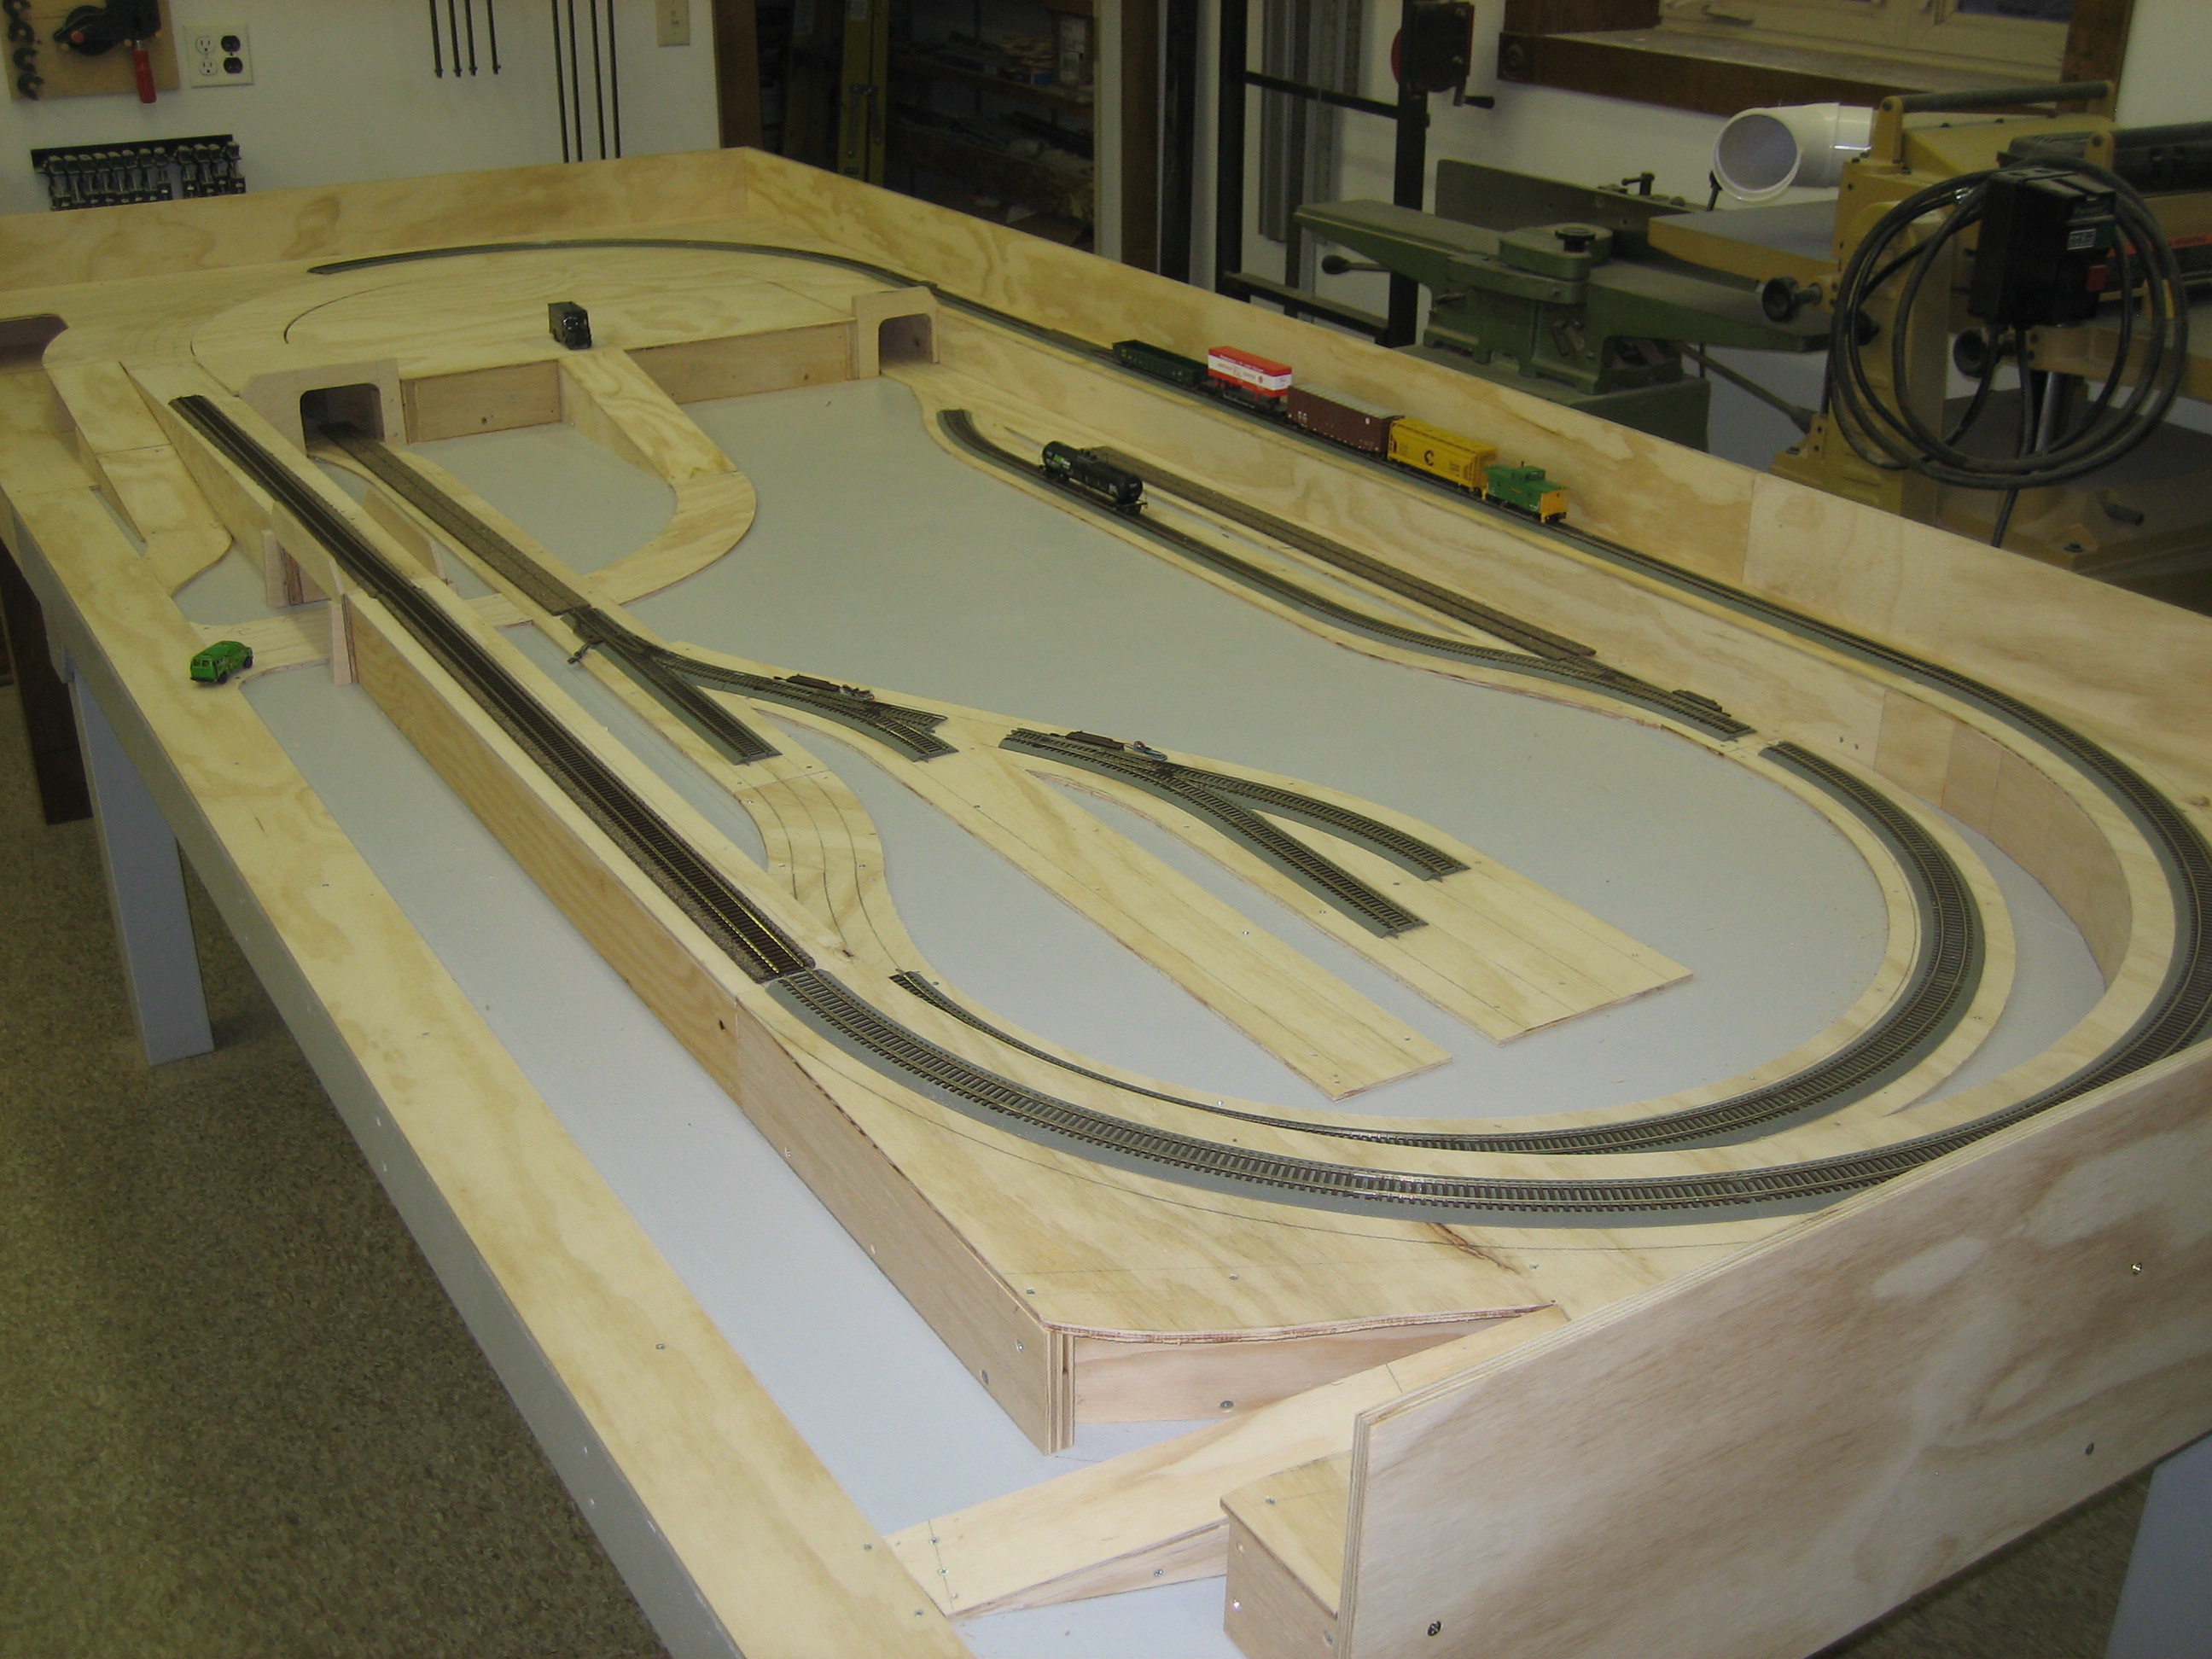
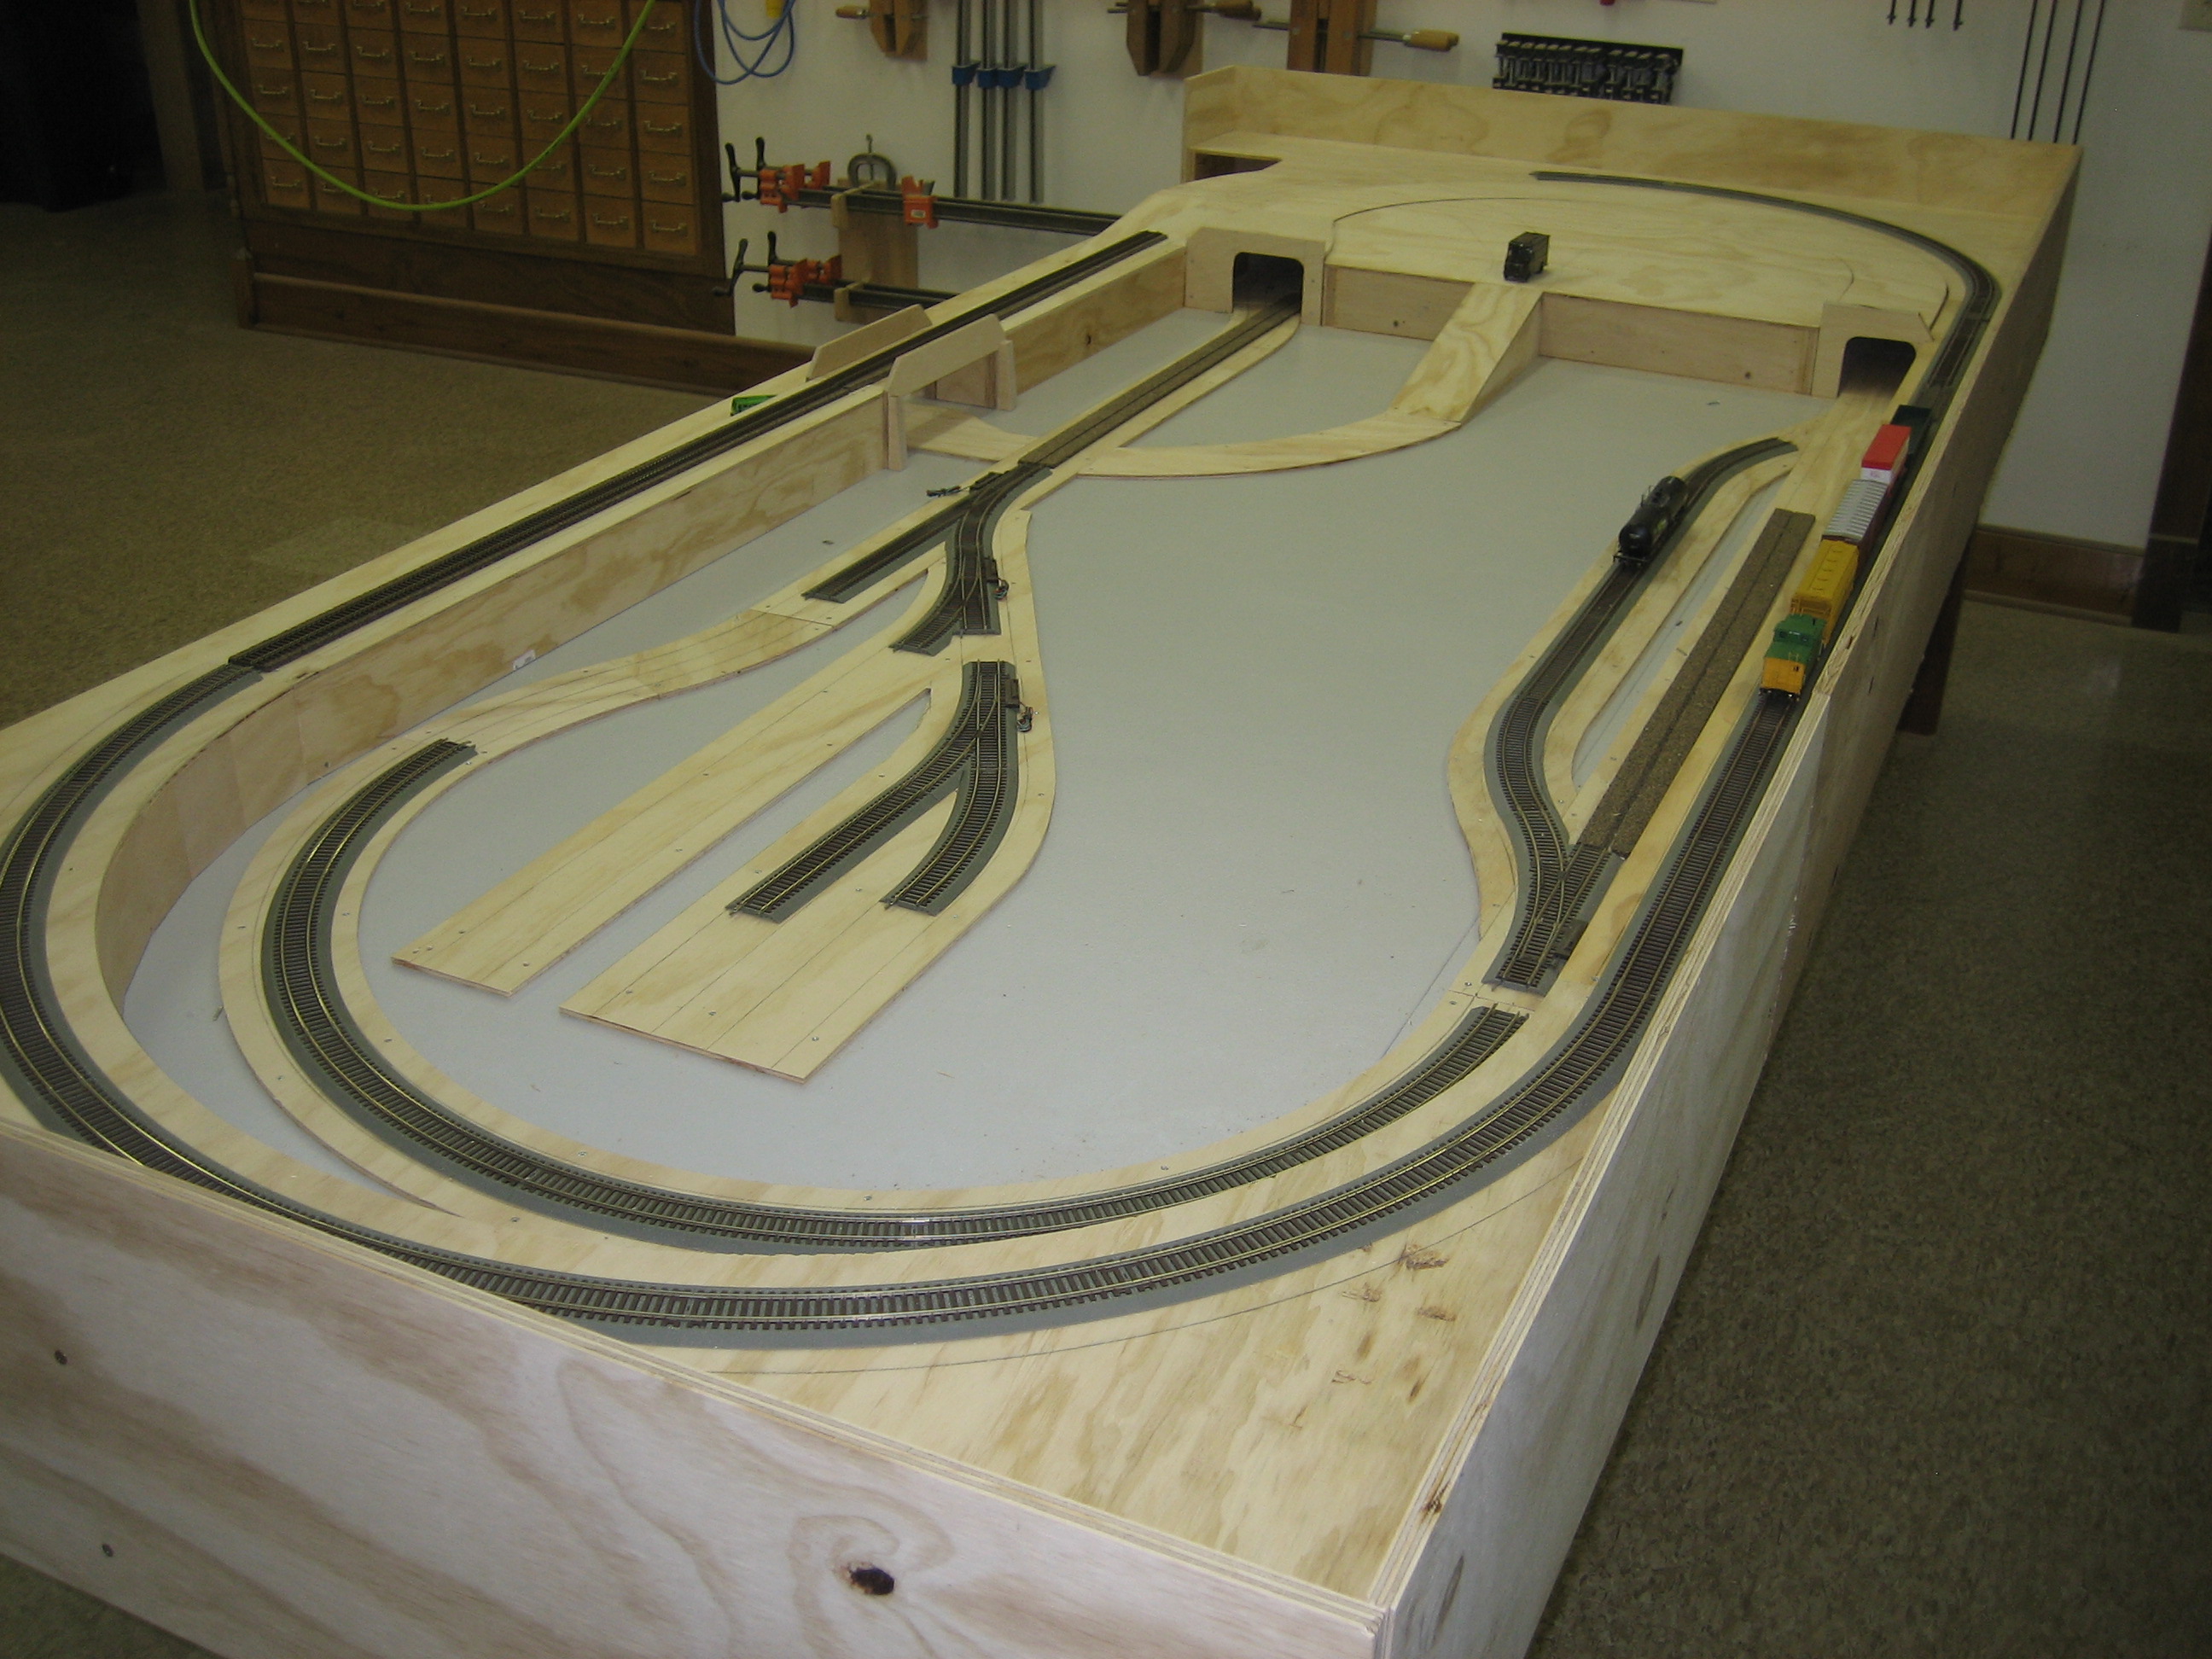
b) Wood Frame:
-Basically same concepts but more amenable approach to cover staging yards, helices, etc. ( see my pix)
-( I have never used the cardboard strip approach….I guess I’m too lazy to cut all those strips )
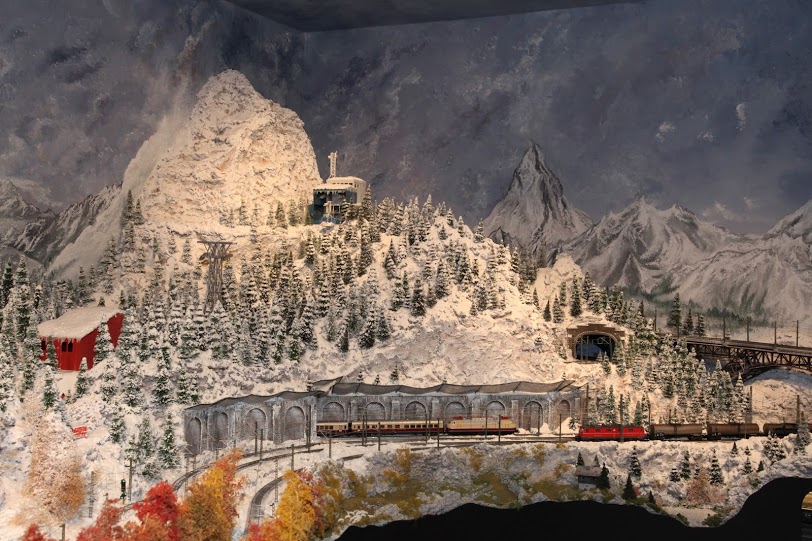
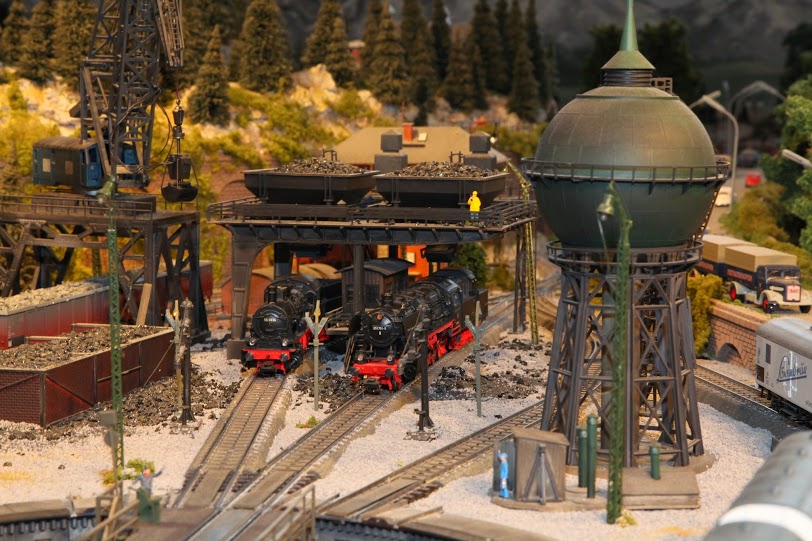
2) Tunnels:
-Various materials available…plaster casts, etc
-Don’t forget to paint interior of tunnel with black paint “deeply” into tunnel past tunnel entrance.( amazing how far a visitor can see deeply past the tunnel entrance! )
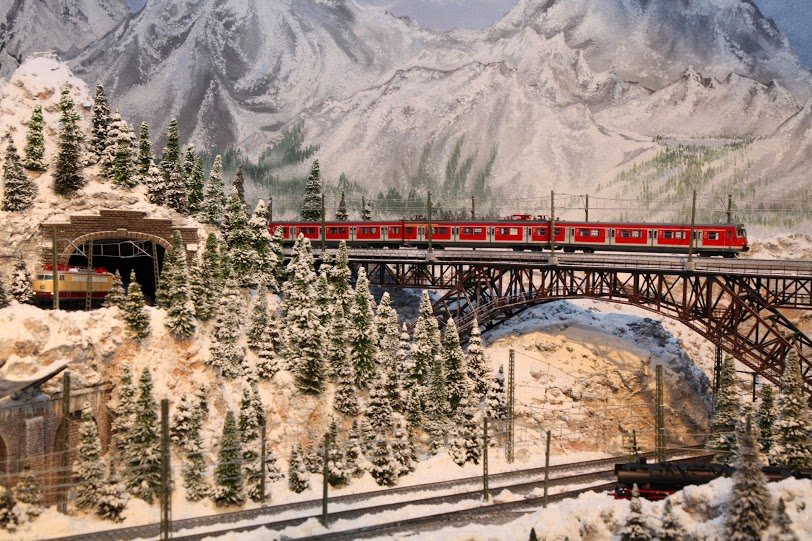
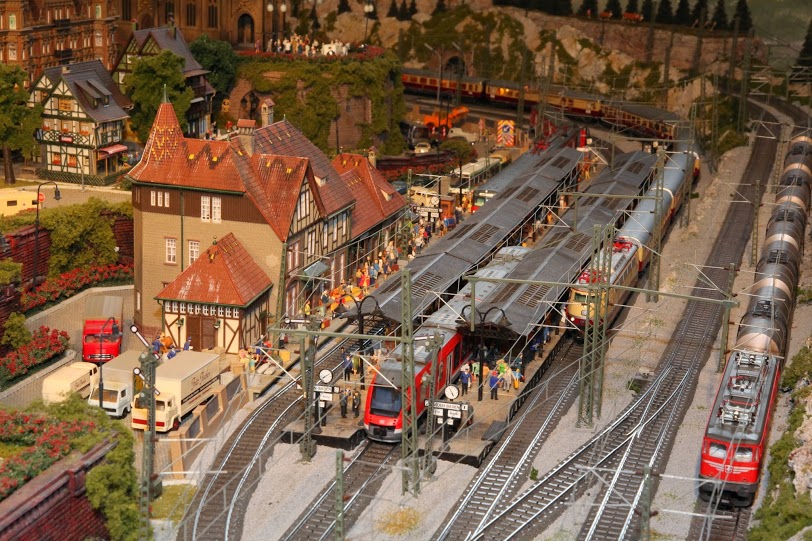
3) Mountain “Relief” against a wall:
-Hot glue a thin ( 1”) segment of foam board against the wall adjacent to the track “scene”.
-Carve / round off – the top edge.
-Apply a thin coat of sculptomold to the face of the foam board and “scenic” as above.
-Amazing how much depth this adds to a narrow scene….( see my pic of the Bietschtal Bridge—just behind the bridge is this technique )
That’s all for now…thanks for the opportunity to share…
Alan”
Next on to Lou, who also has some good advice on how to build a model train mountain.
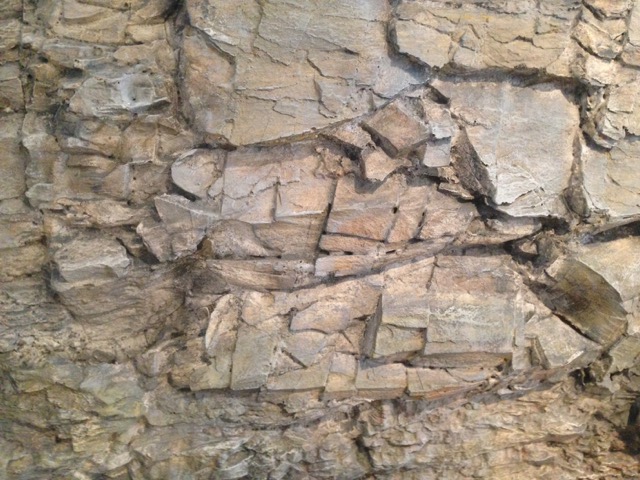
“Depending on the type of mountains you are trying to model, there are different techniques. This is also the case for color.
I have played with numerous ways and my best technique was to use the styrofoam for the base and shape only.
Once the shape was maintained, I casted molds using very large molds from Bragdon enterprises and used a resin for the castings instead of plaster. The resin will give you much sharper edges and detail.
If you choose to use a plaster, make sure you use the same material for the fills from one cast to another, otherwise your color will not match based on the material you are painting.
Once this is done, I painted the whole mountain using white gesso paint mixed with latex Kilz2 primer. At this point, you are now painting on gesso like a normal artist does.
Everything from here started with a black powder that was sponged into the crevices. Once dry, I started with a diluted layer of yellow ocre. EVERY coat must be dry before continuing. After 3 coats of yellow ocre, your mountain is still no darker than a manilla folder.
After the yellow ocre, continue DRY BRUSHING with raw sienna, then a mix of titanium white and paynes grey….again light coats and never covering completely over what you did. Continue with your dry brushing moving toward your darkest color.
A final slight dry brush stroke of titanium white is then placed on the edges to enhance contrast and highlights. This sounds tedious but the result is astonishing..like real rock and not painted styrofoam.
Lou”

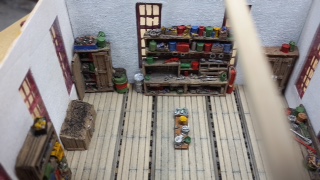
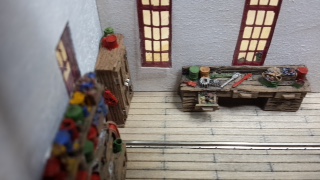
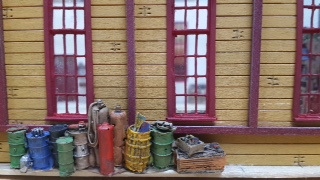
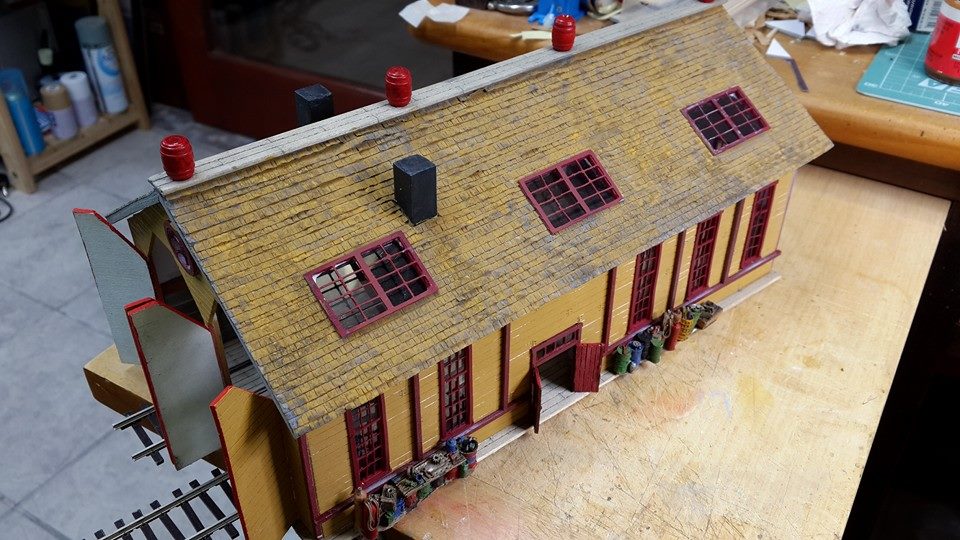
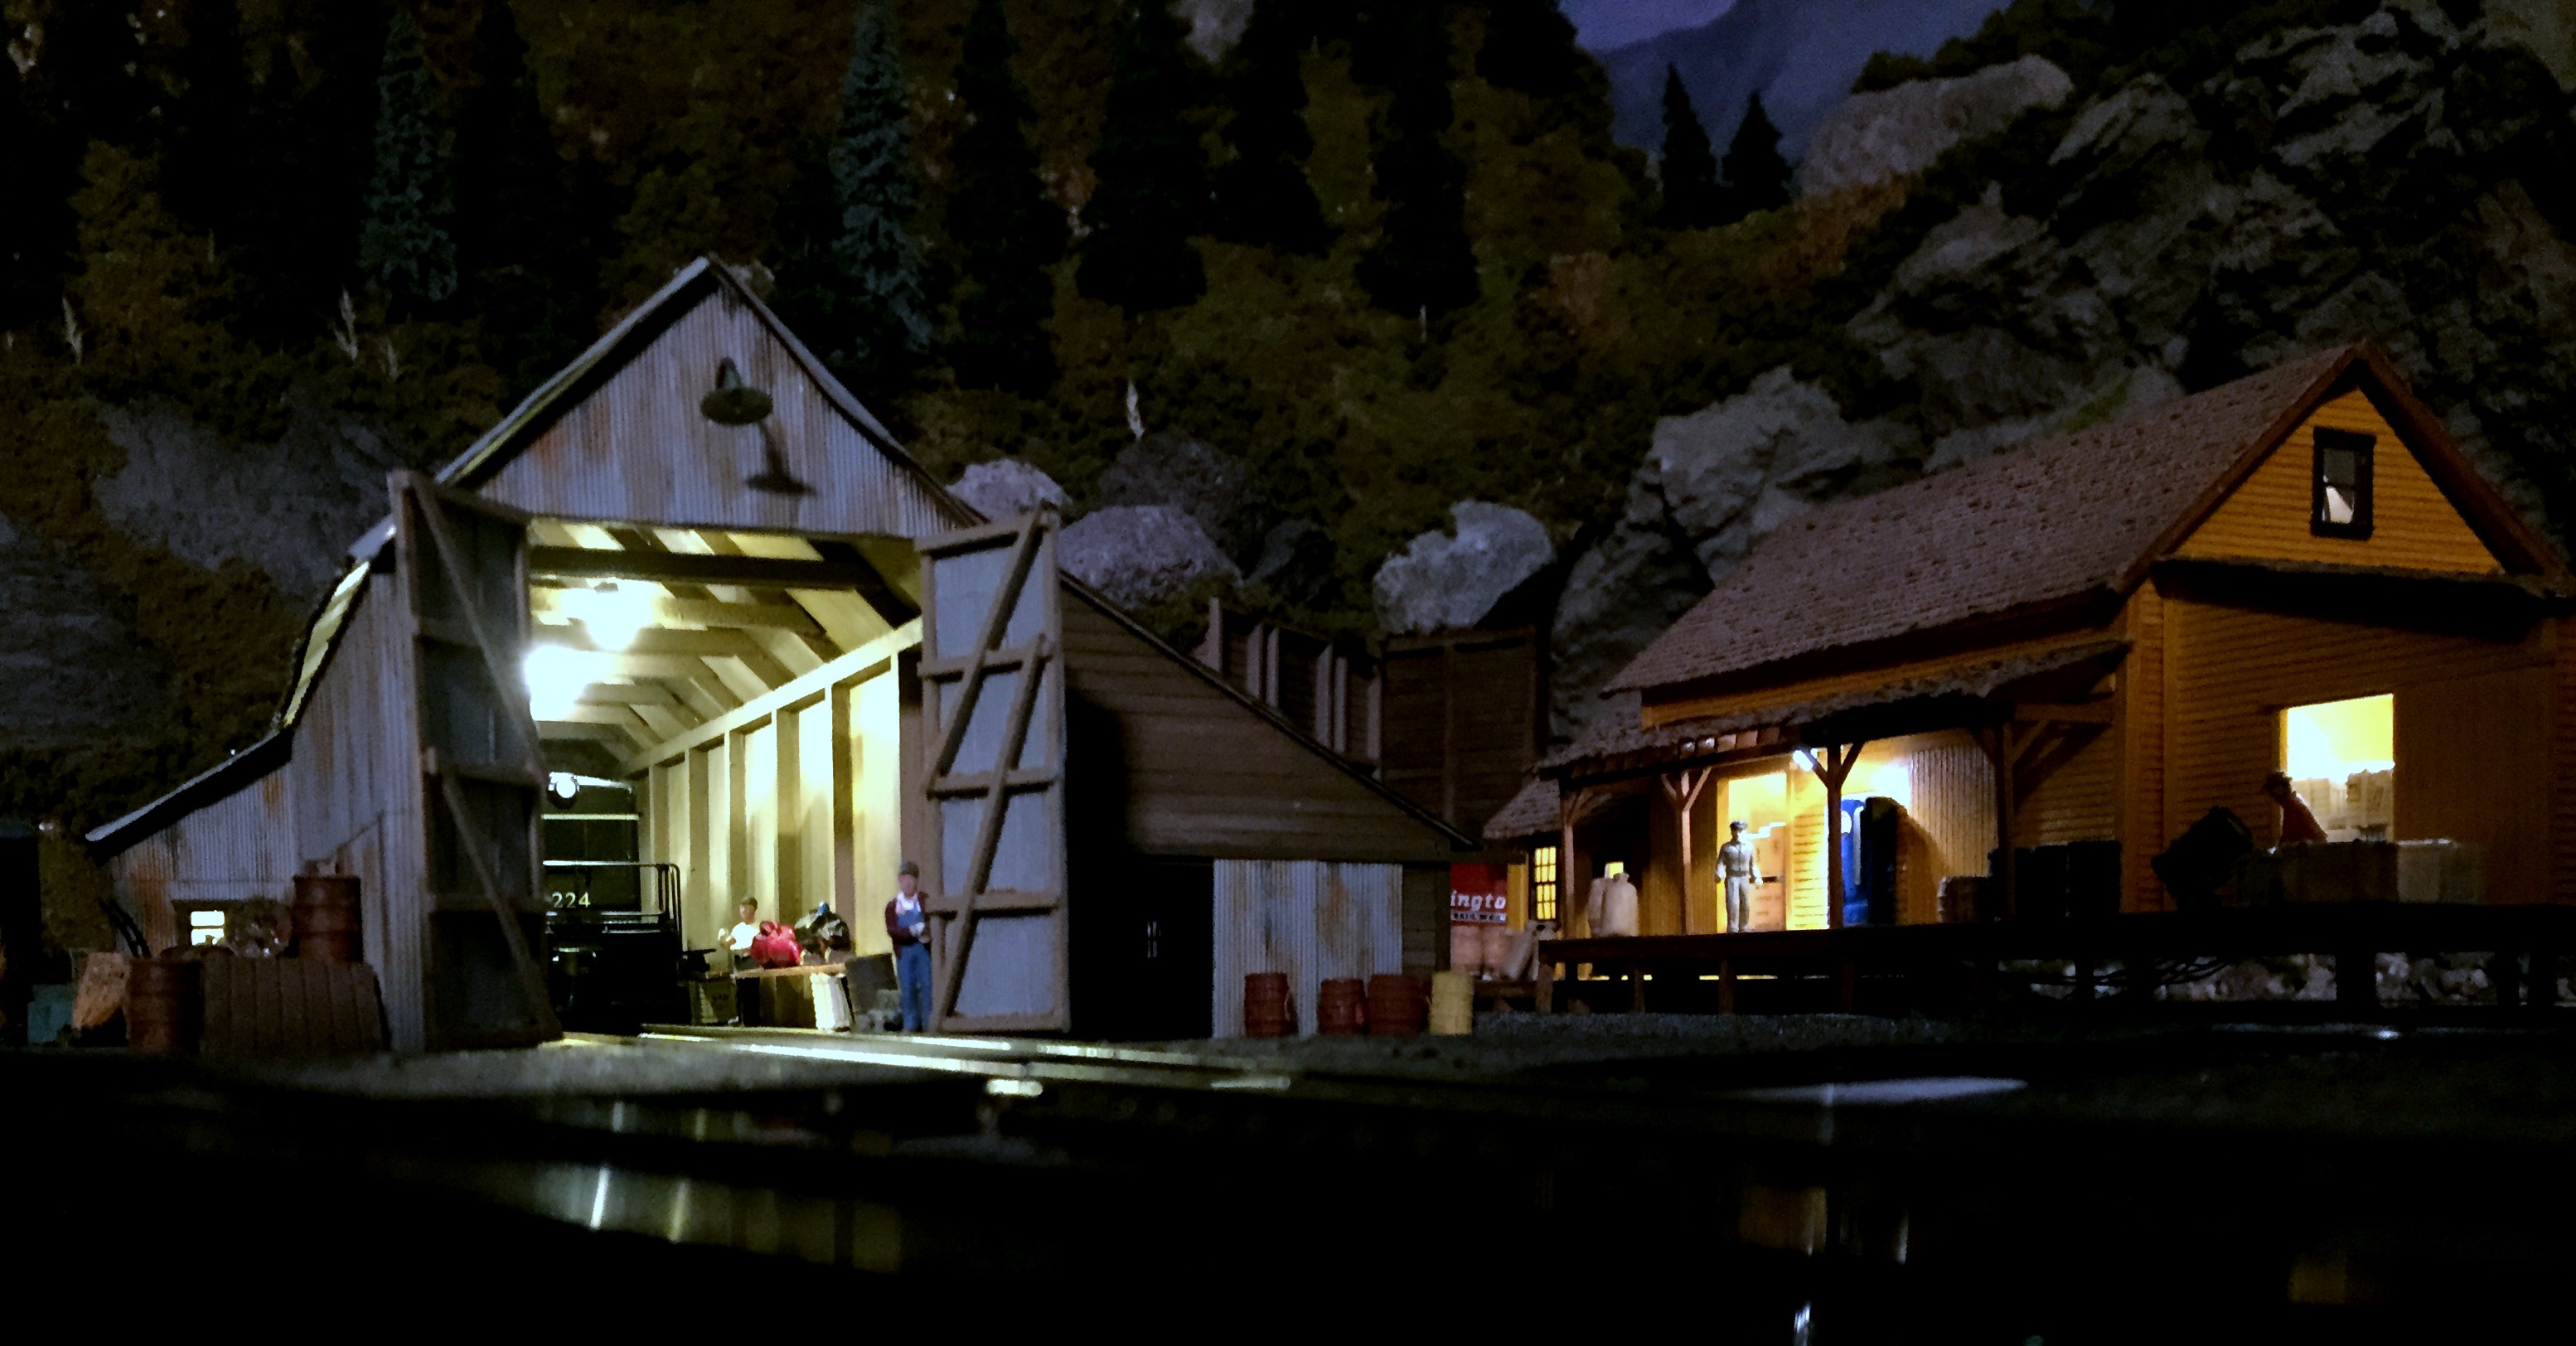
“Al …. I have an O gauge Lionel Fastrack layout. I use battery operated LED Christmas lights for interior lighting in my buildings. A string of 20 lights costs less than $10 and runs on three AA batteries. I cut the string in pieces and add wire as needed to place inside of buildings. Attached is a photo of a couple of lighted buildings.
Enjoy your emails.. Bill”
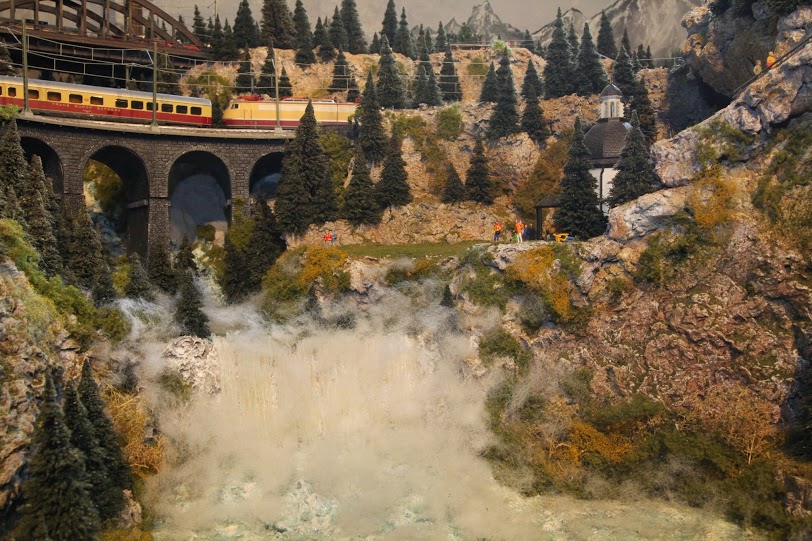
Lastly, I had one or two encouraging comments on the ‘ai’ video I made of Don’s HO scale steel mill.
So I thought I’d have a go at Fred’s stunning layout too. I thought the running water worked really well:
Thanks to Alan, Lou, Bill and Tony. Please do keep ’em coming.
That’s all for today folks.
Please do keep ’em coming.
And if today is the day you get started on your layout, the Beginner’s Guide is here.
Best
Al
PS More HO scale train layouts here if that’s your thing.
Need buildings for your layout? Have a look at the Silly Discount bundle.