Dean’s been back in touch with some of his small N scale track plans.
I do always enjoy the posts that go through the thought process too:
“Al, greetings from Dean in New Mexico.
As you know my current layout, the Conejos Valley Railroad, is almost finished. All it needs is a little bit of landscaping, some buildings, and roads.
I’m currently in a situation where I can’t work on it, but I’ll get back to it in a few weeks send some photos as I progress.
But with that almost done, I’m starting to think of my next small layout.
I use SCARM (Simple Computer Aided Railway Modeler) software to help me in my design process. (I have no connections with the product or its author and pay for my own copy of the software.) This software can be readily downloaded in a free version (up to 100 pieces of track) that lets you learn how to use it and design small layouts. To find it, google SCARM.
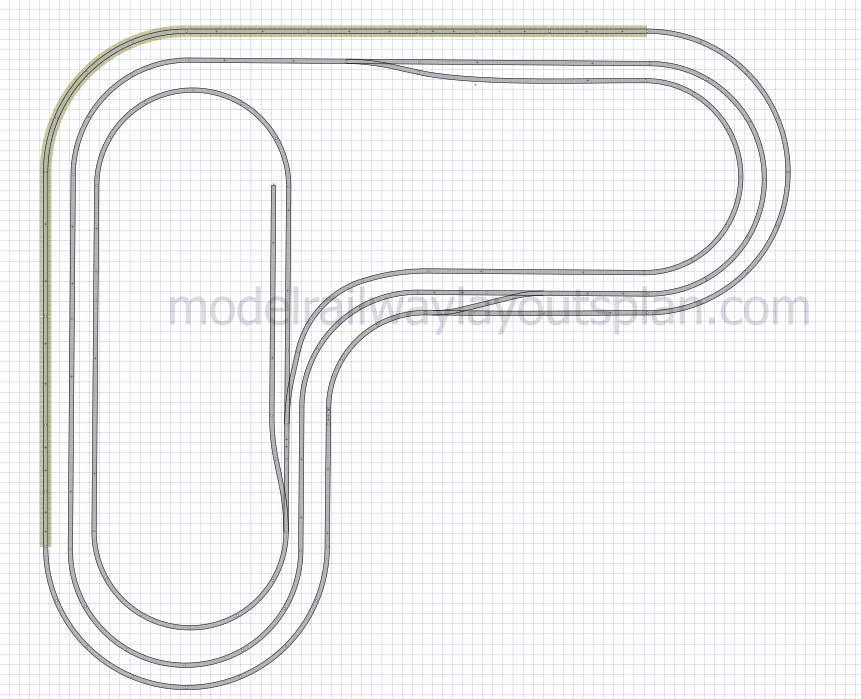
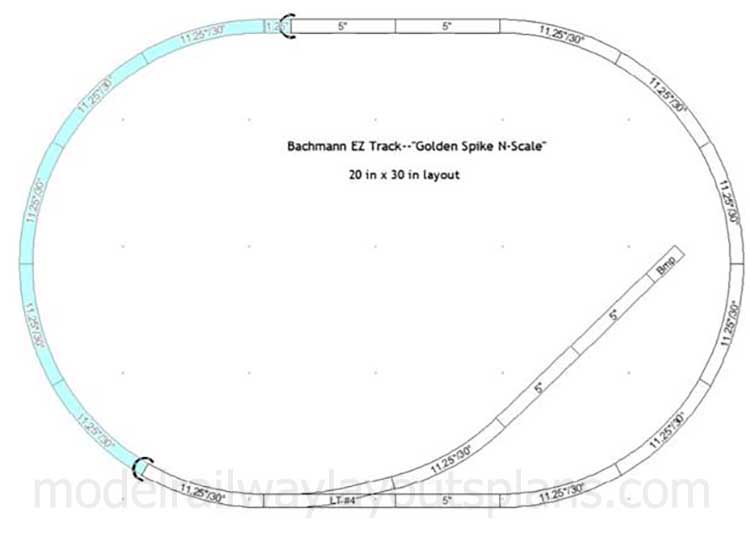
Below are three layouts that show my thinking process. I built the first one six or seven years ago when I first started in N Scale. I had purchased a DCC, N scale, “Golden Spike” layout (sadly, no longer available) from Bachmann and it had enough track to put this design together.
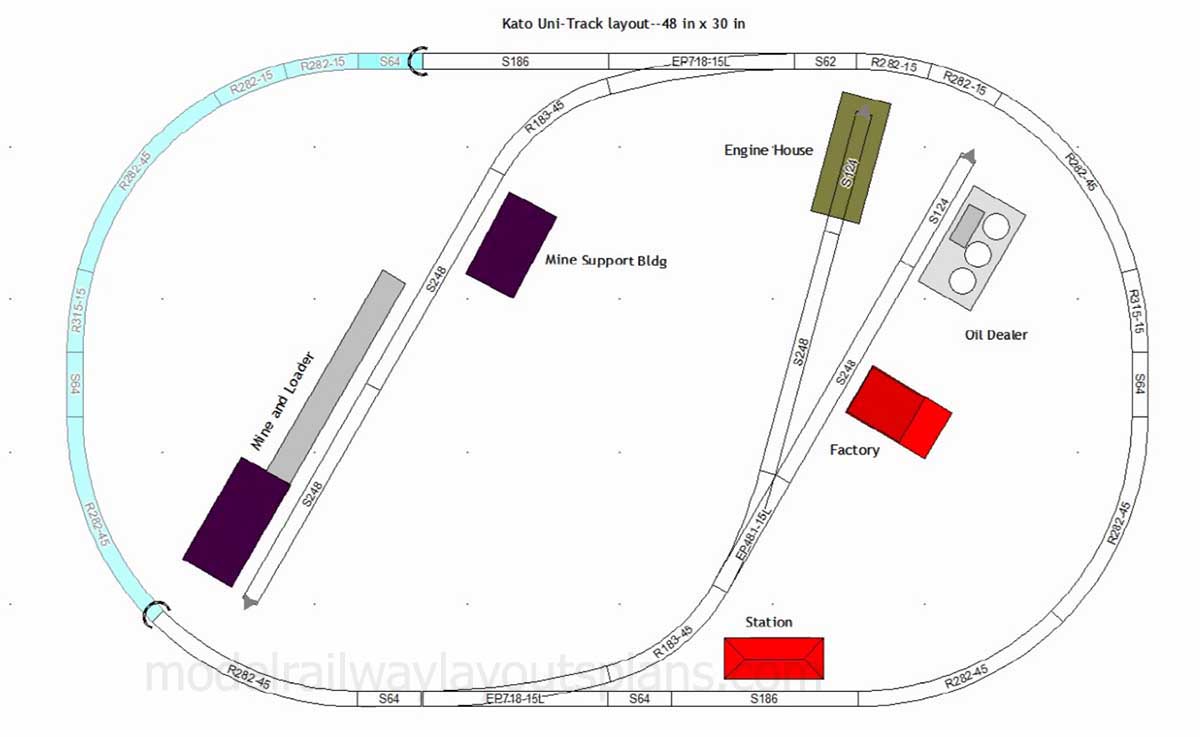
I put this layout together and played with it a while and used it to develop techniques for working with Styrofoam sheets and other scenery techniques. Then I pulled up the track and threw away the layout.
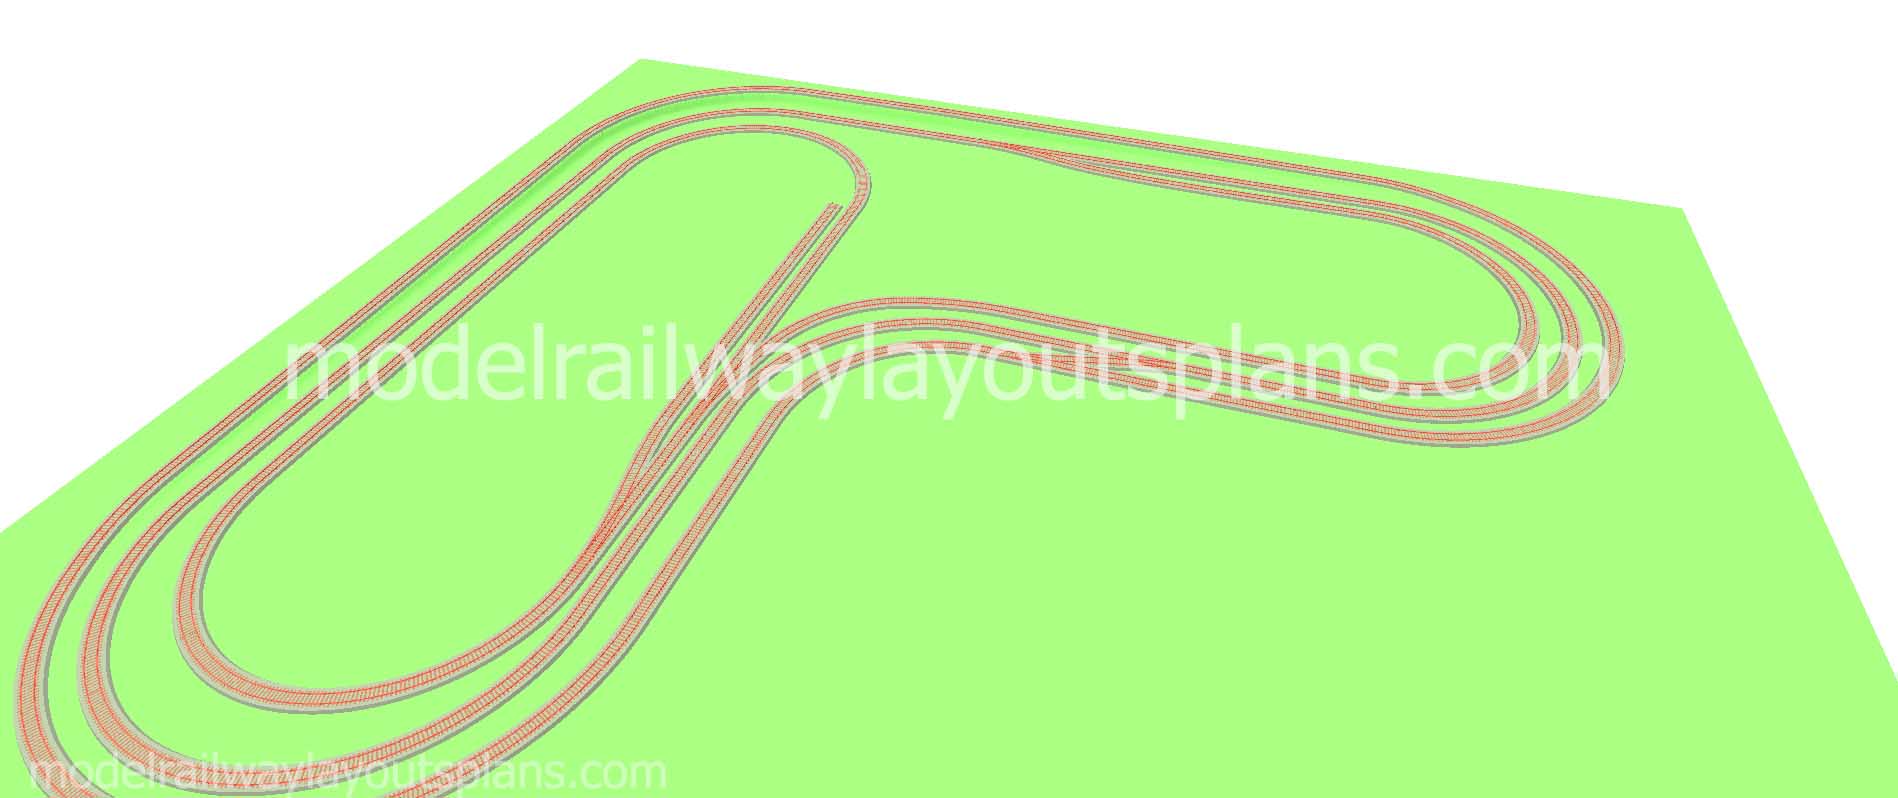
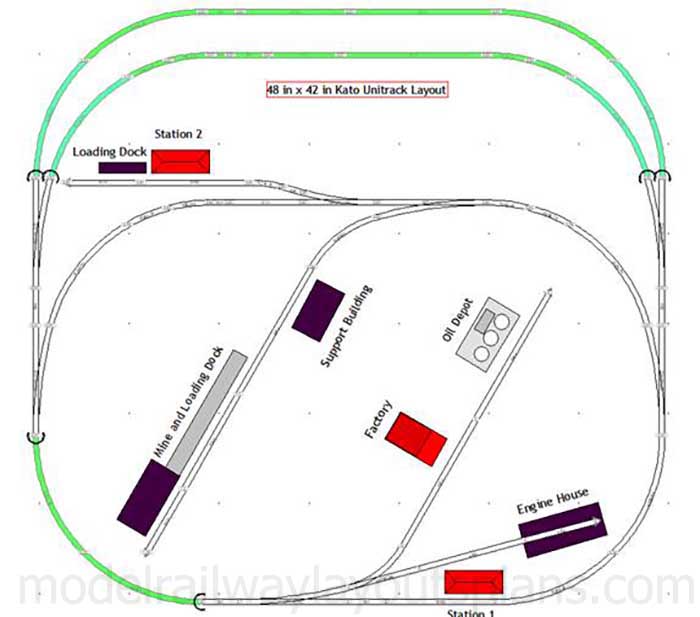
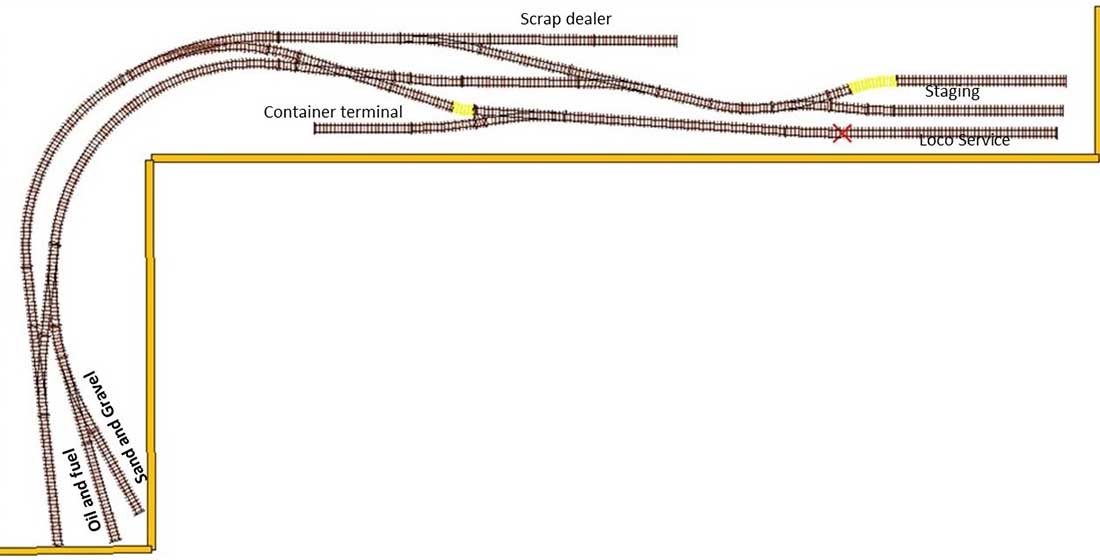
The design below is based on the first one but has more industrial sidings. I think you could run two engines on this, a local switcher and a fast freight that spends most of its time in the tunnel. Periodically, it would appear to drop off and pick up cars.
Finally, I designed the third layout below that adds an additional station and two hidden staging tracks in tunnels.
This third layout is designed for both train running and switching operations and can use three engines. Two trains, a freight and passenger, can be hidden in the tunnels and brought out periodically.
The freight train would come through, dropping off some cars and picking up others, then move back to the tunnel. Then the switching engine would shunt cars between the four sidings and return to the engine house.
When the passenger train comes through, it would stop at both stations then return to its tunnel. I’m also thinking about building this as a fold down, wall mounted, layout.
Thanks for looking. Any comments on improving the design would be appreciated.
Thanks, Al.
Dean from New Mexico”
A big thanks to Dean for sharing his small N scale track plans.
Now on to Jeffry, who sen this in:
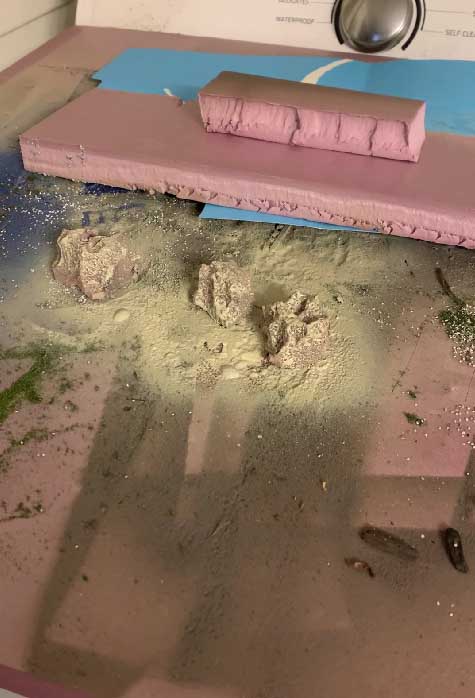
“Just wanted to share a favorite experiment with all of you, the water here was made with super clear silicone caulk, laid out on wax paper, and trimmed.
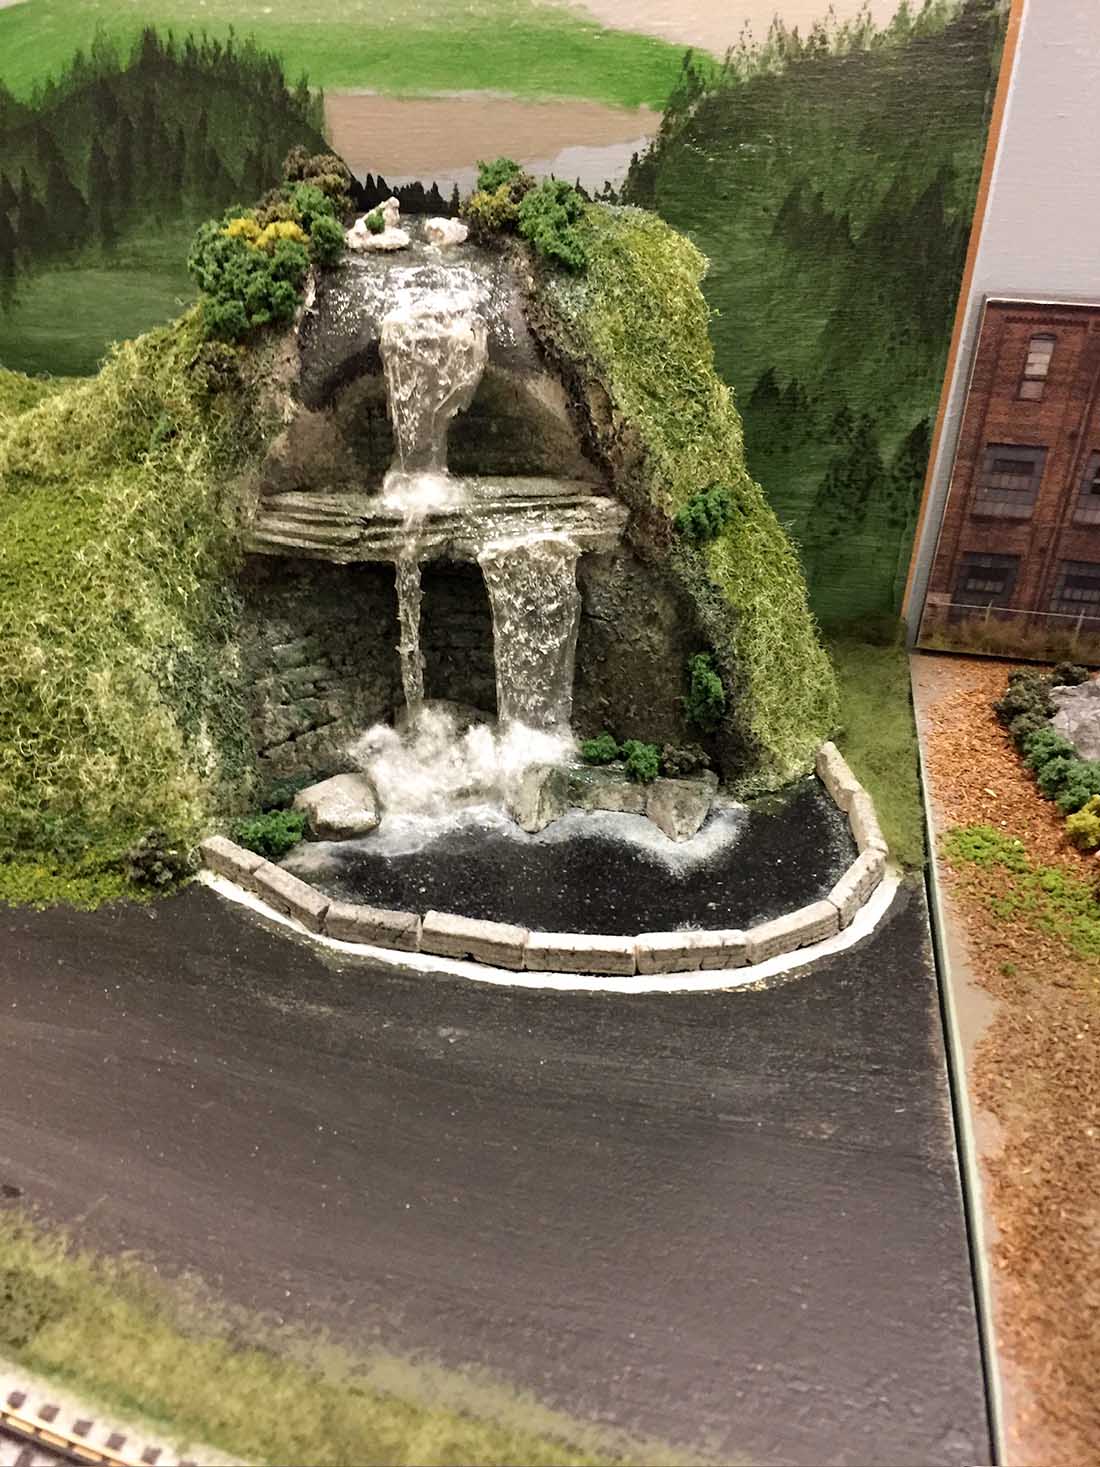
The rock formations were made from foam, scribe with an xacto blade, weathered and highlighted, sort of.
Jeff”
Now on to Henry:
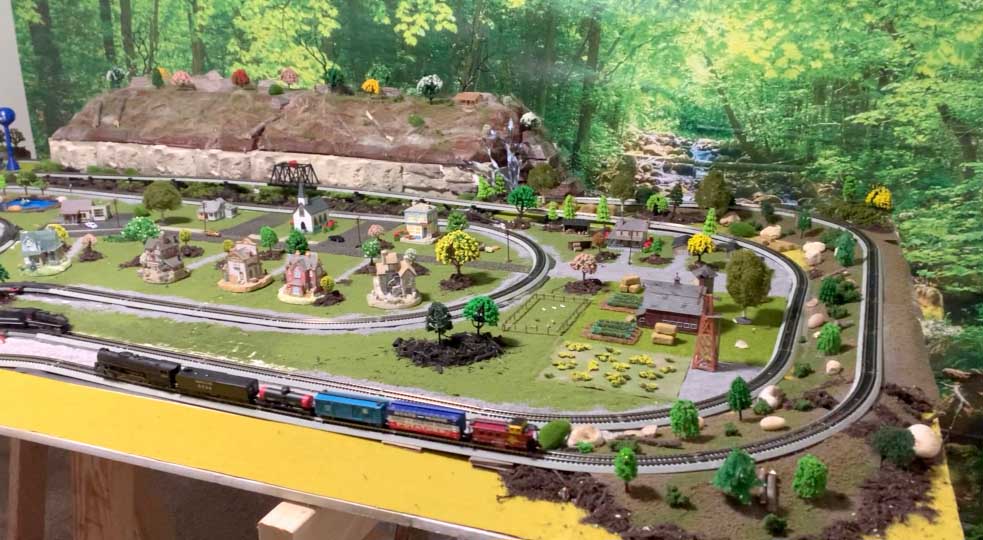
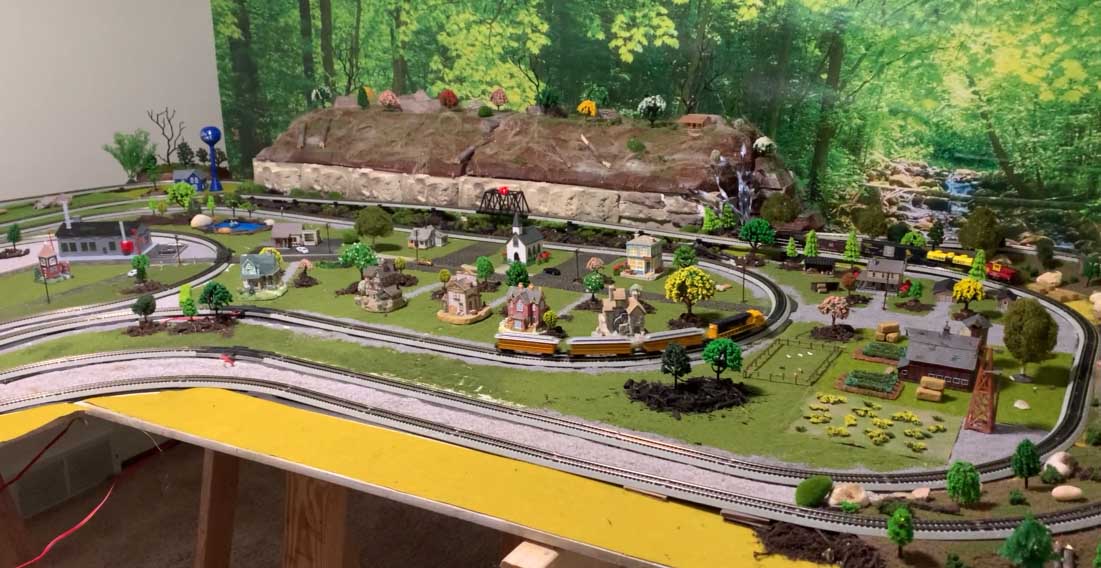
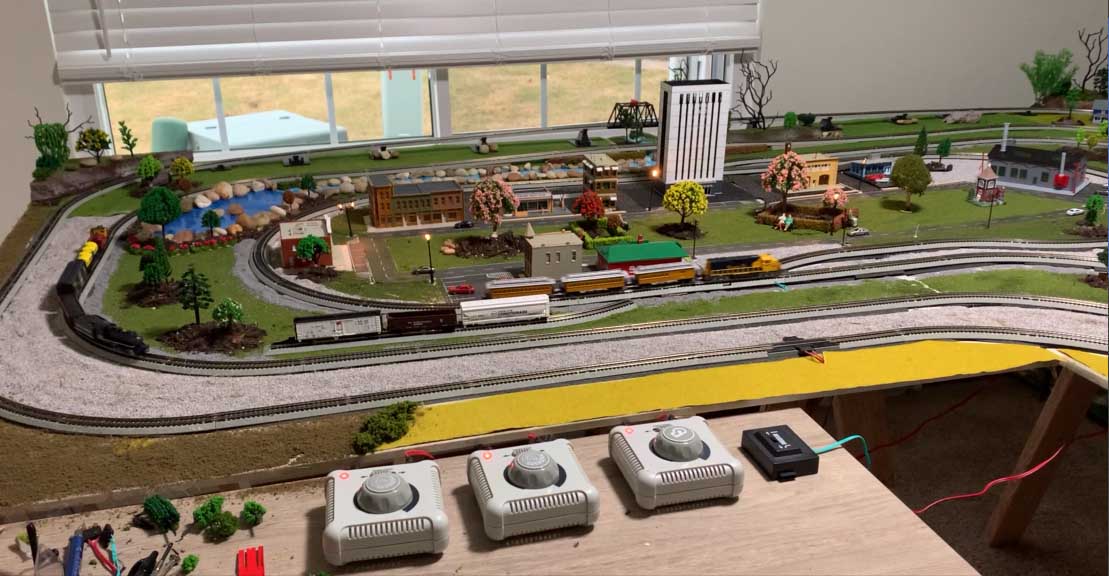
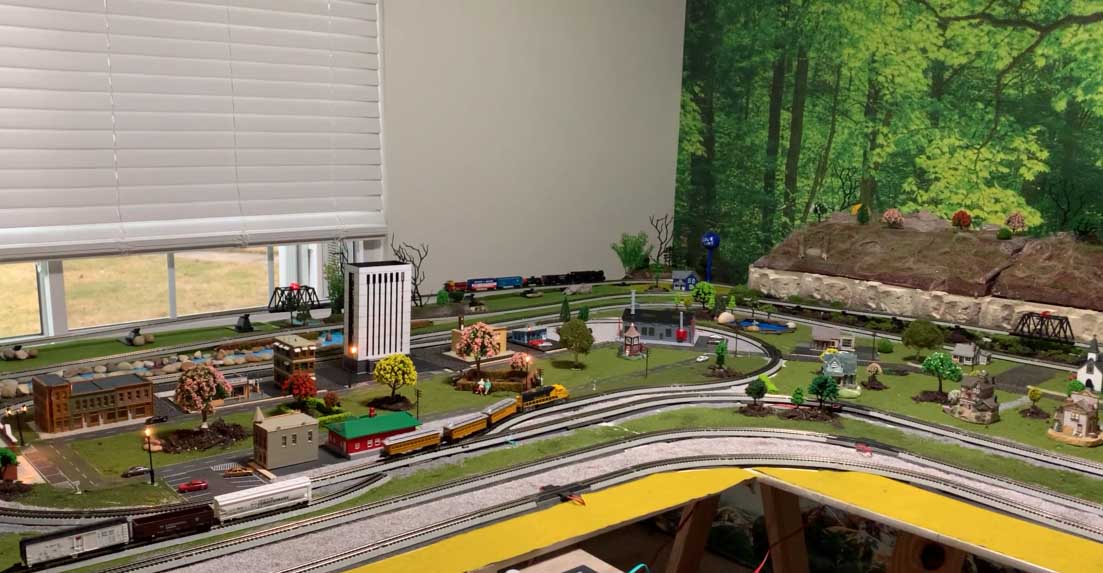
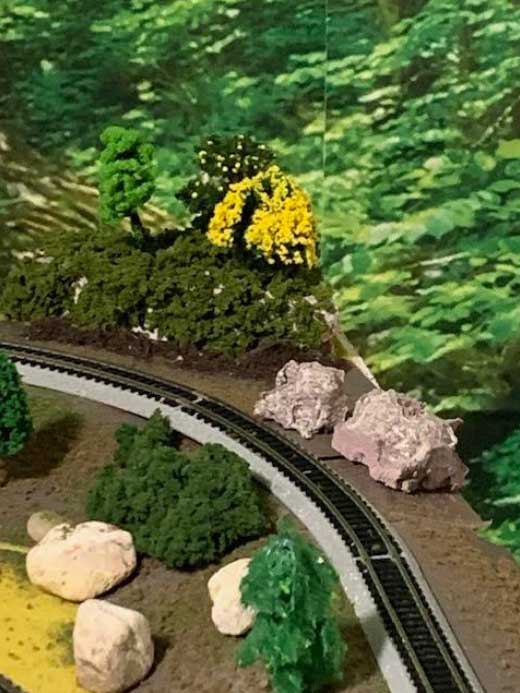
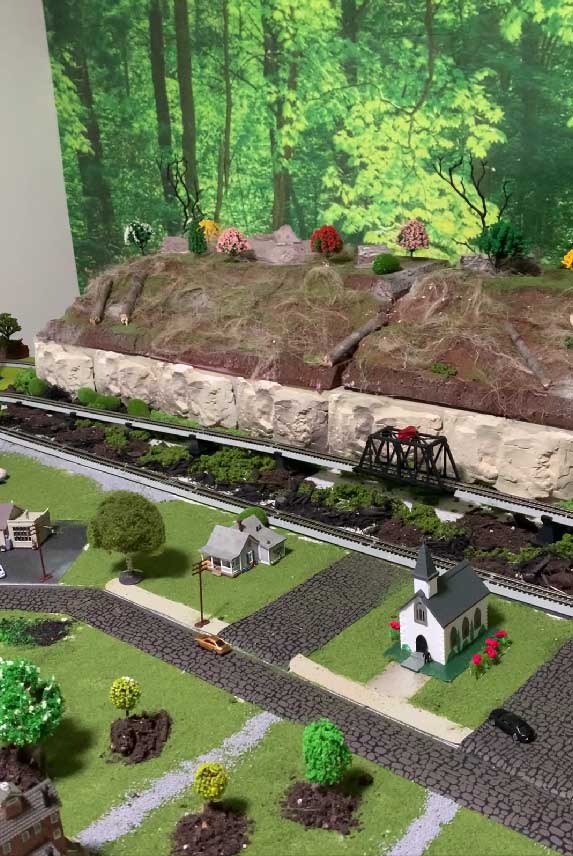
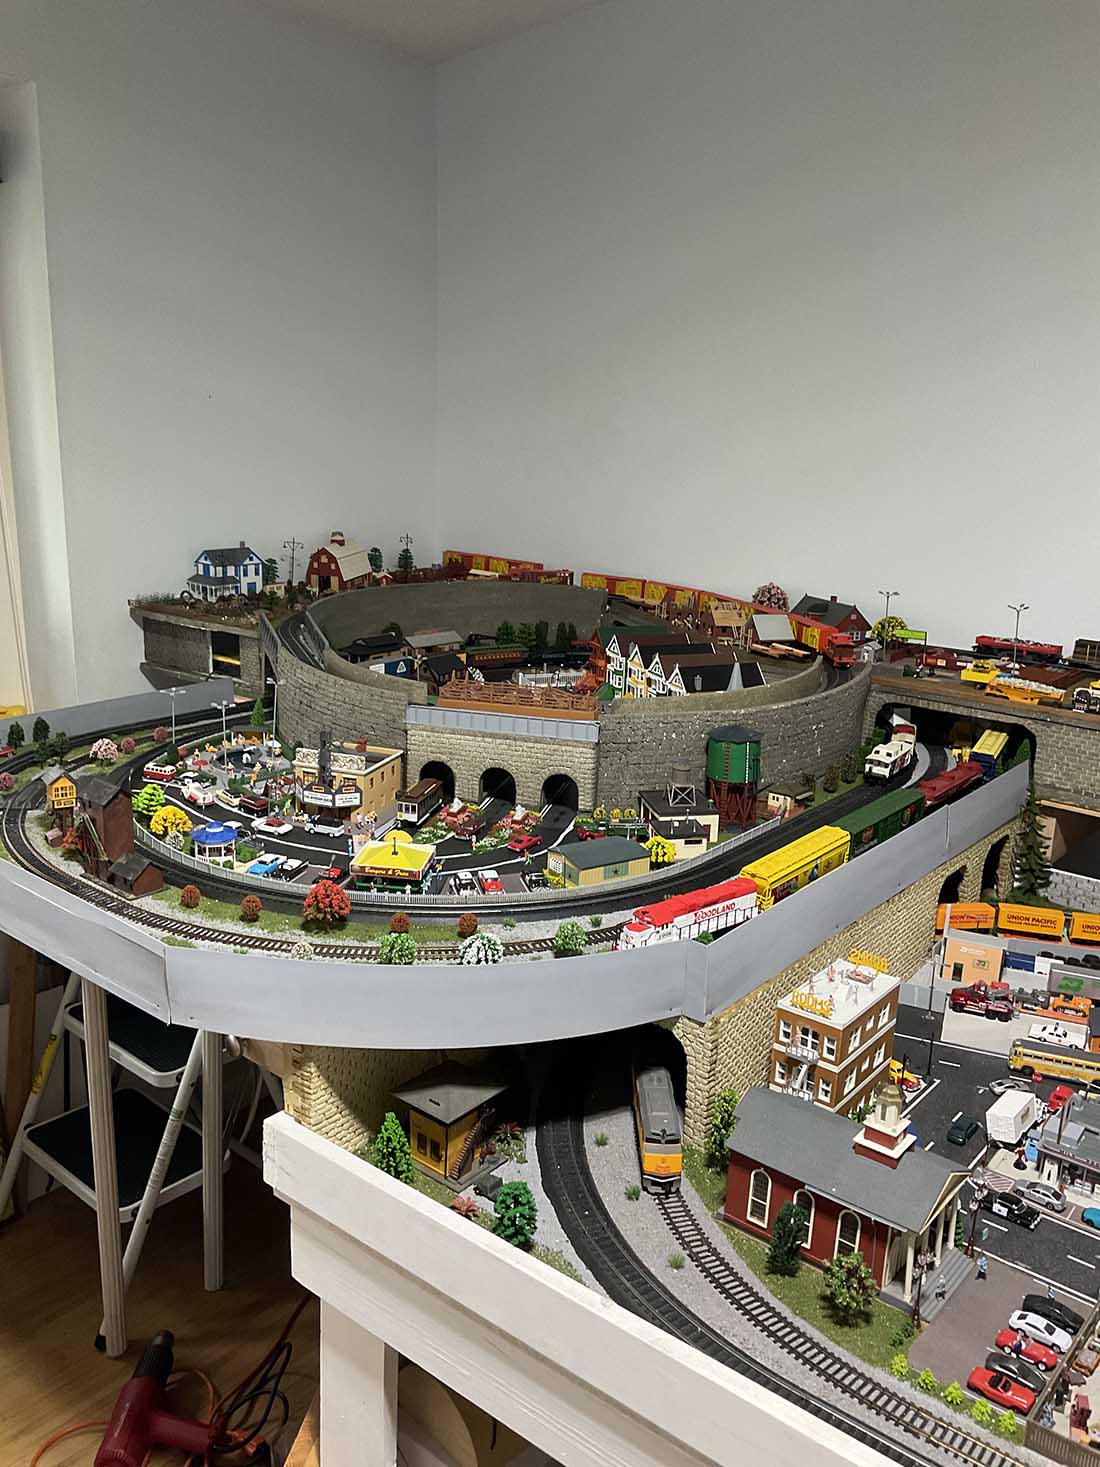
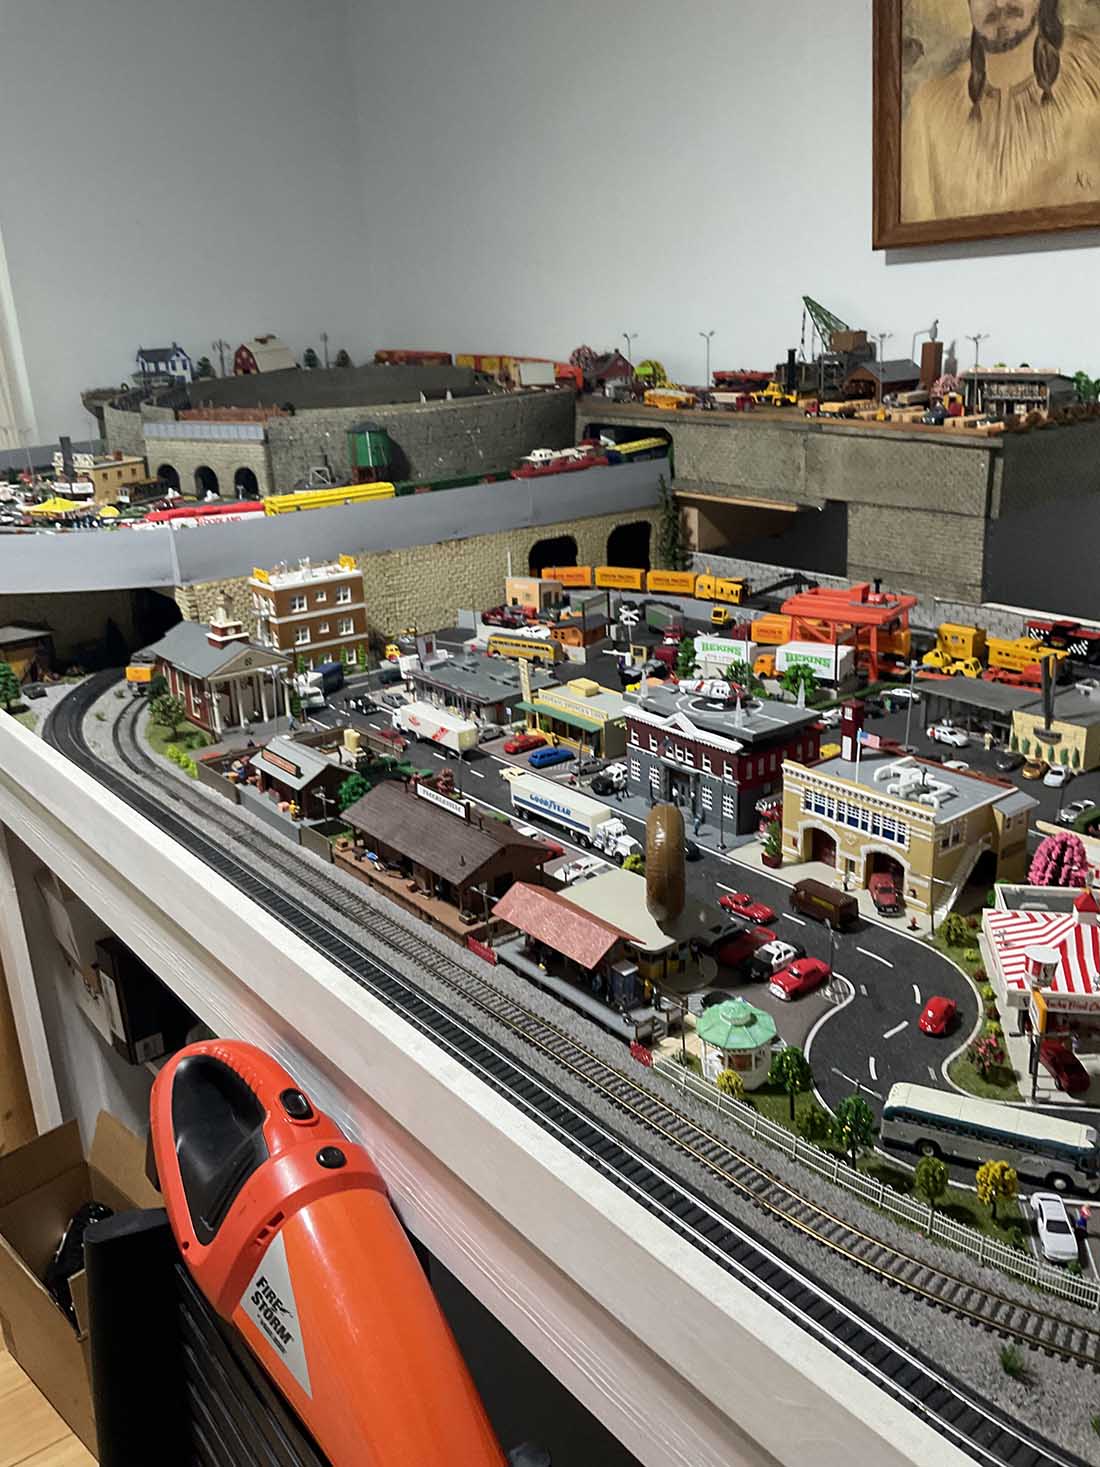
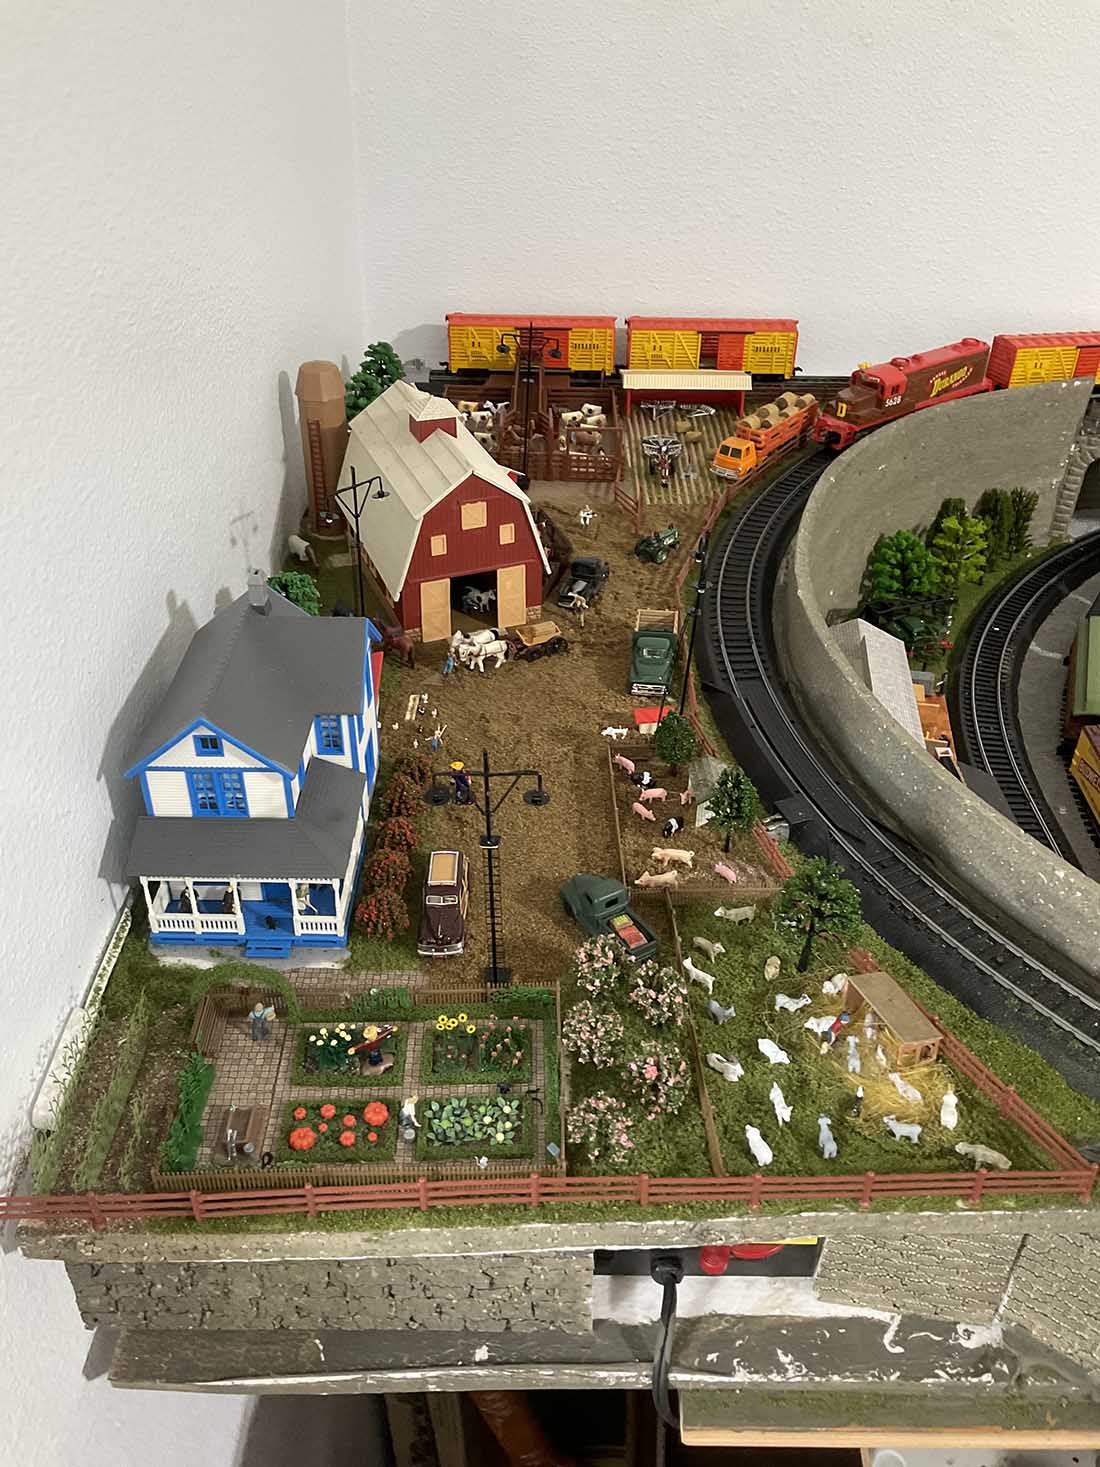
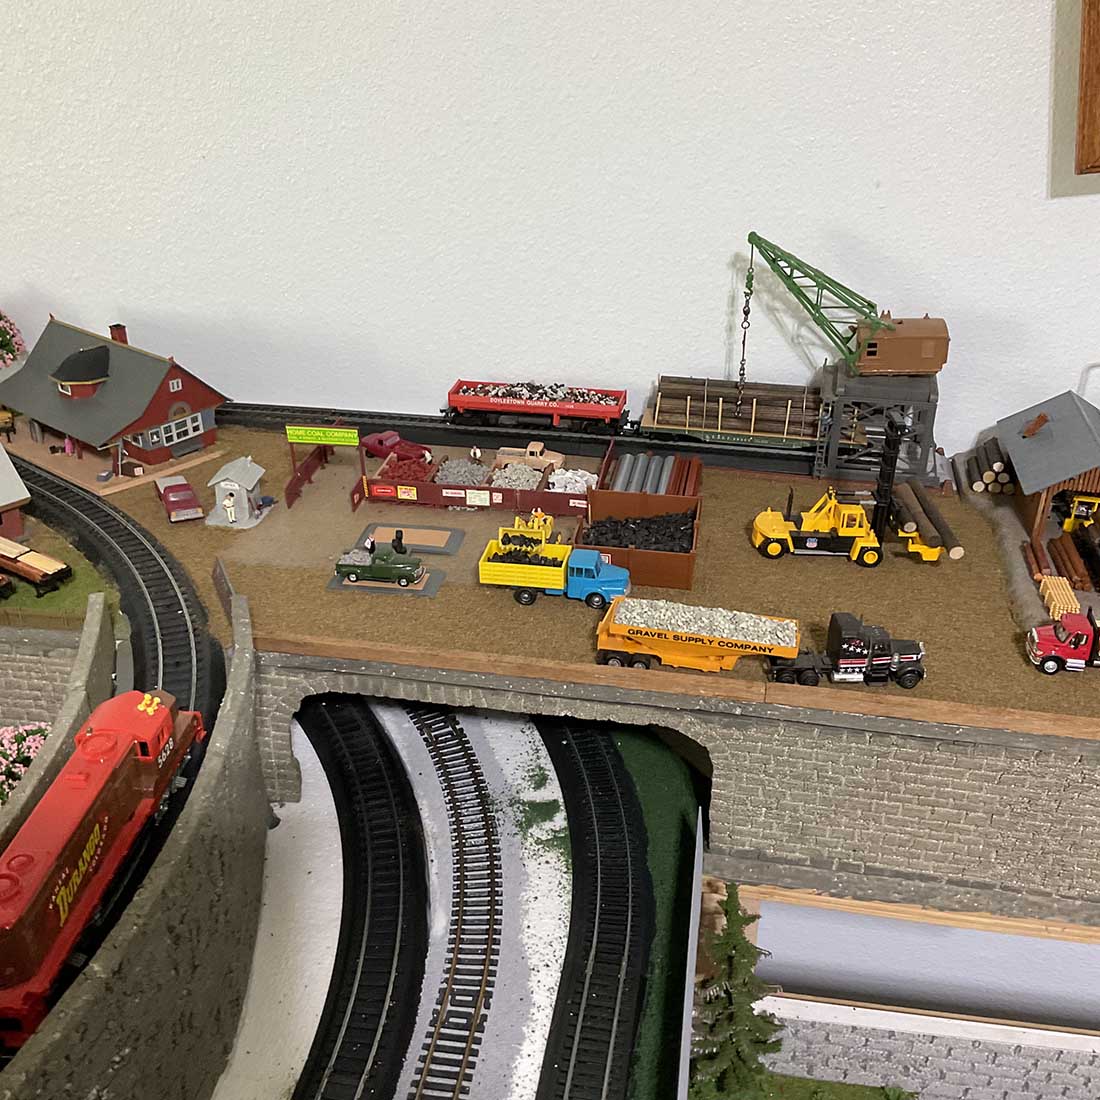
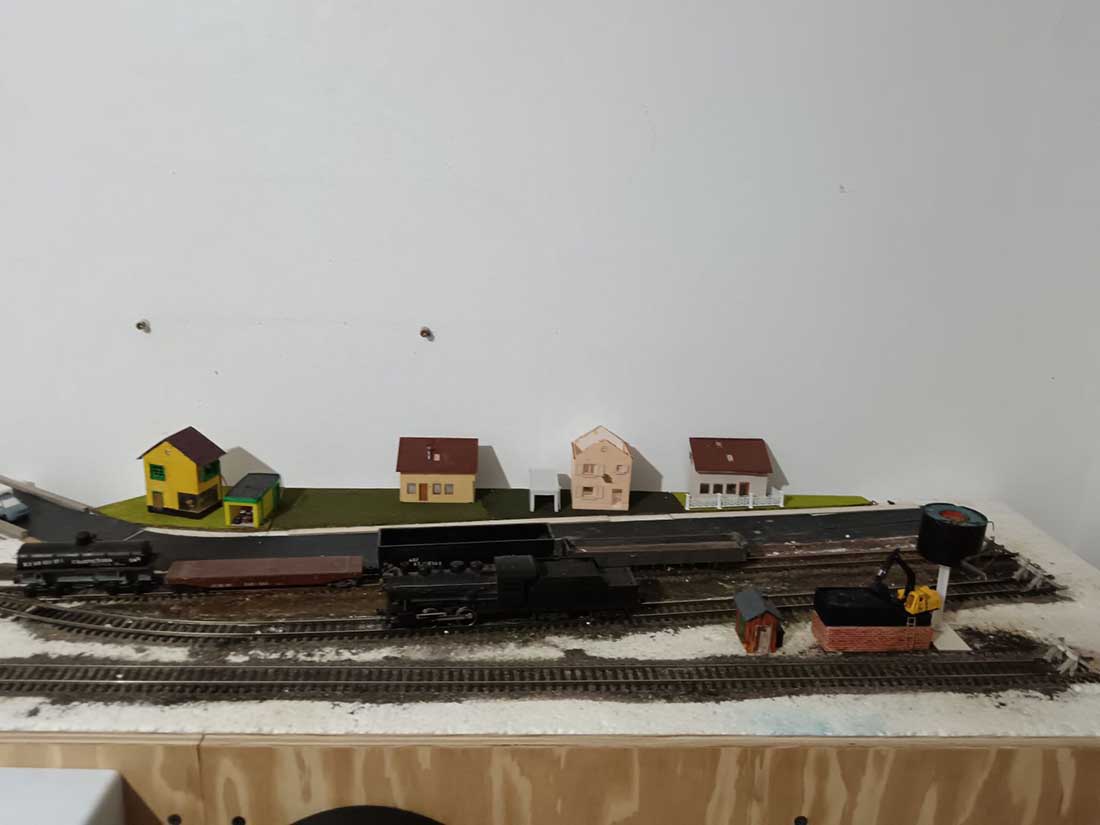
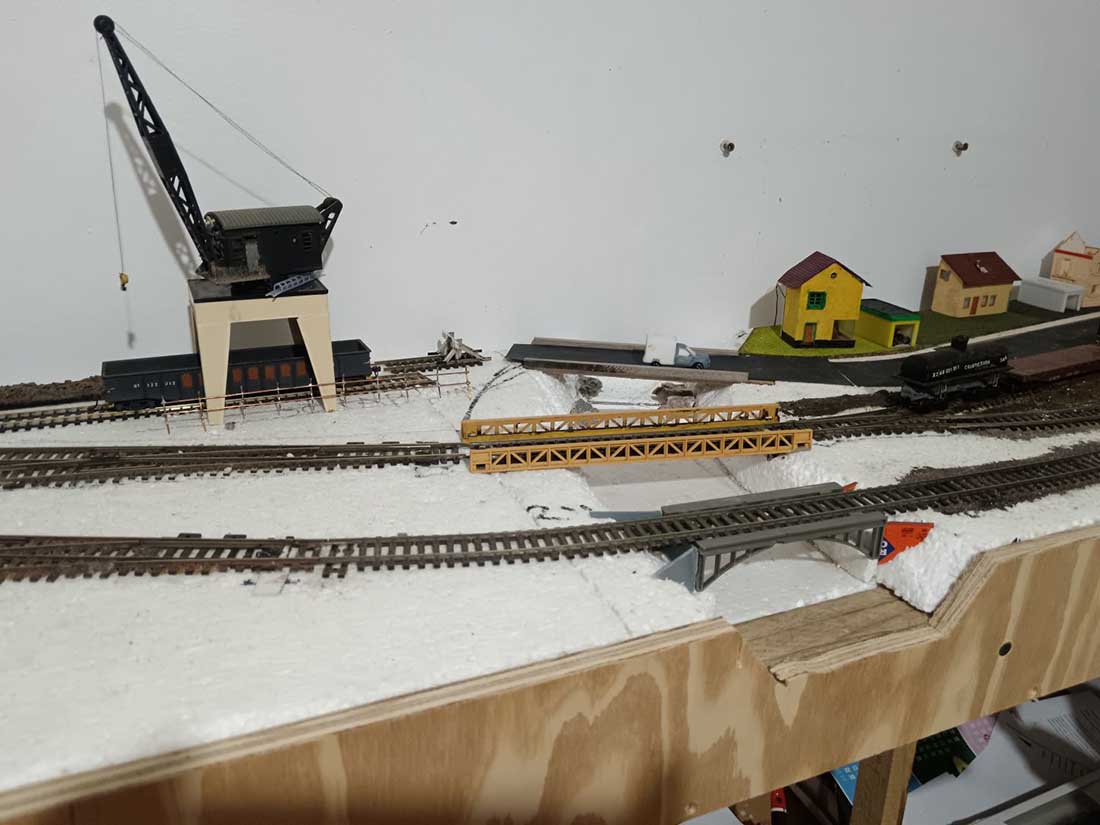
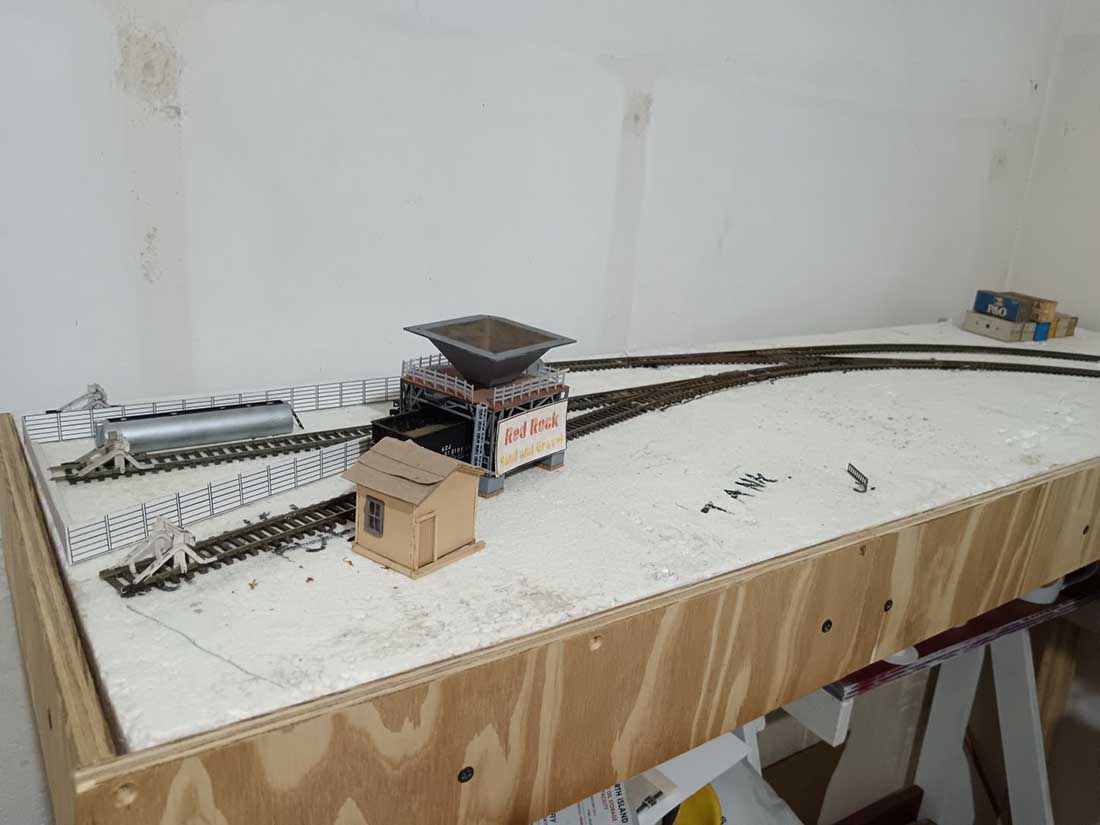
“Hello Al
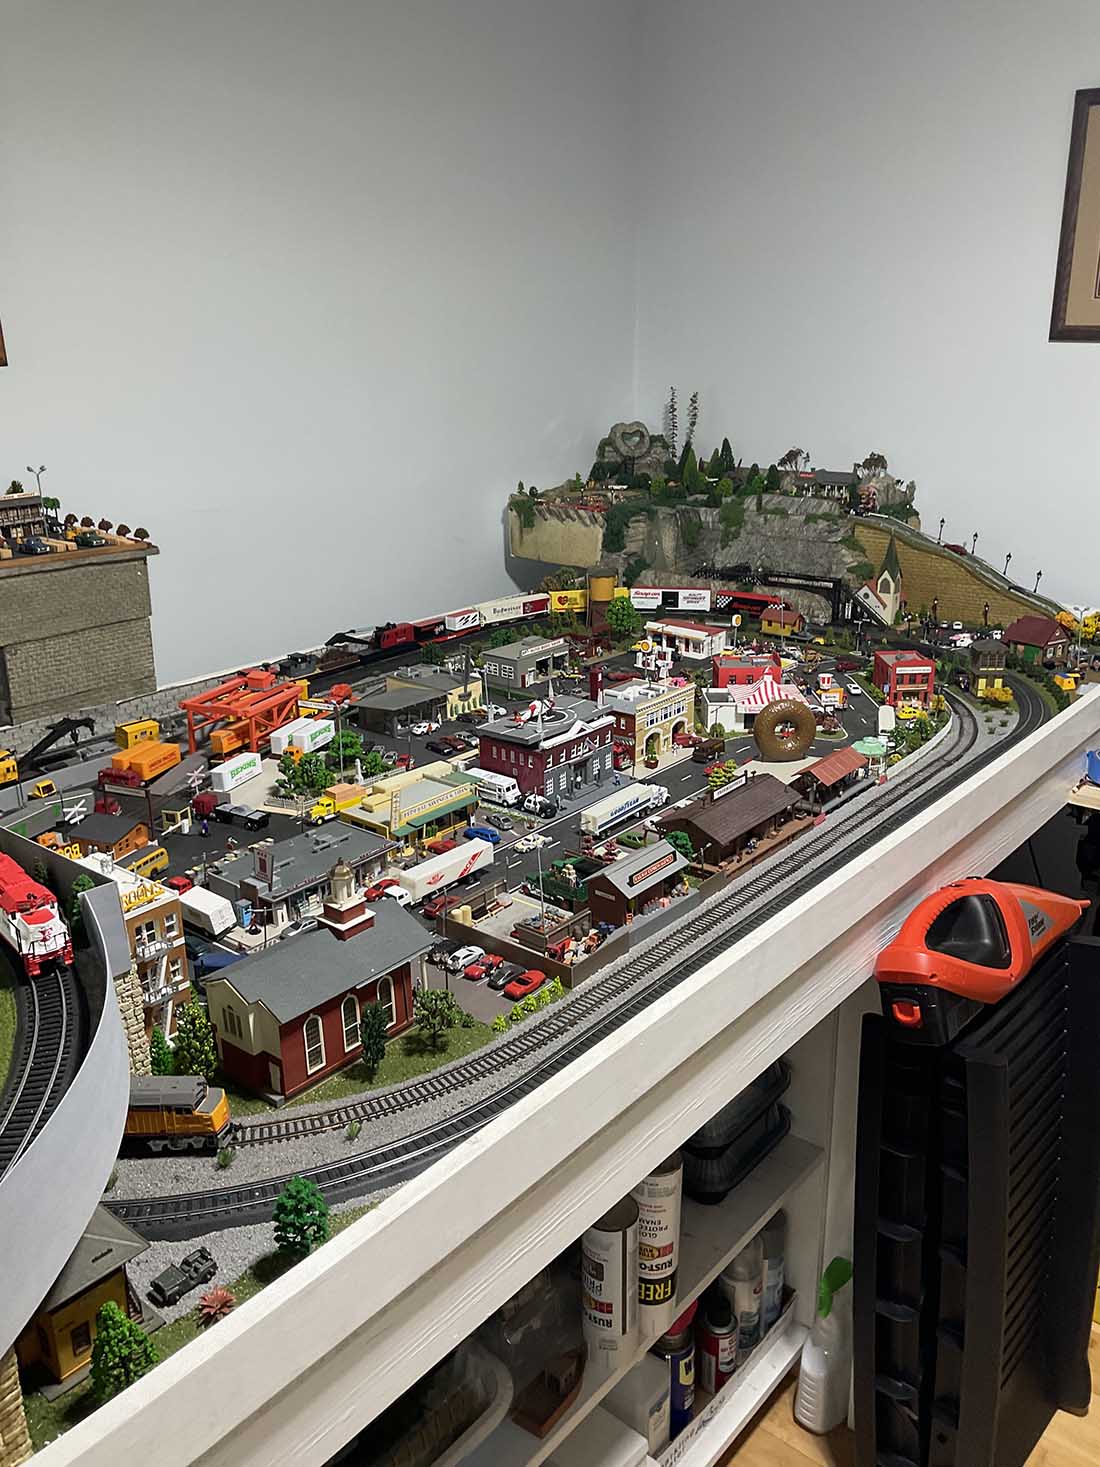
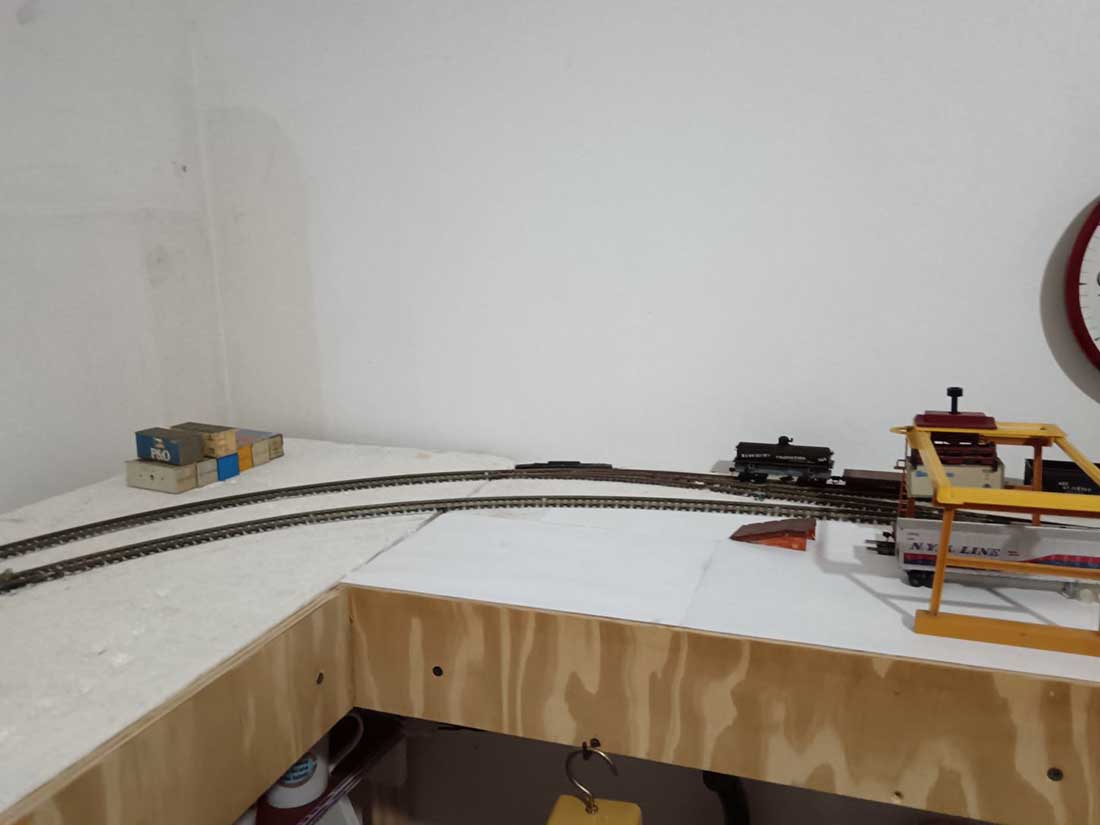
As promised, here are a few photos of my new layout that I am building in my study.
I lost my job last year in July and decided that while I am job hunting, I may just as well use my free time productively to build a small switching layout.
My main layout is in the garage, outside of the house, so I wanted this one to be inside the house, where I can work on it at any time and in any weather. My study seemed to be the best place for the layout, as it had some space that could be used for a layout.
The layout progress is being documented on video, and it also serves as a test bed for DC locomotives that I repair. (Model train repair has been an income generating hobby for me for many years).
The layout itself is in a L shape, and measures 140×280 cm and the shelves are 45cm wide.
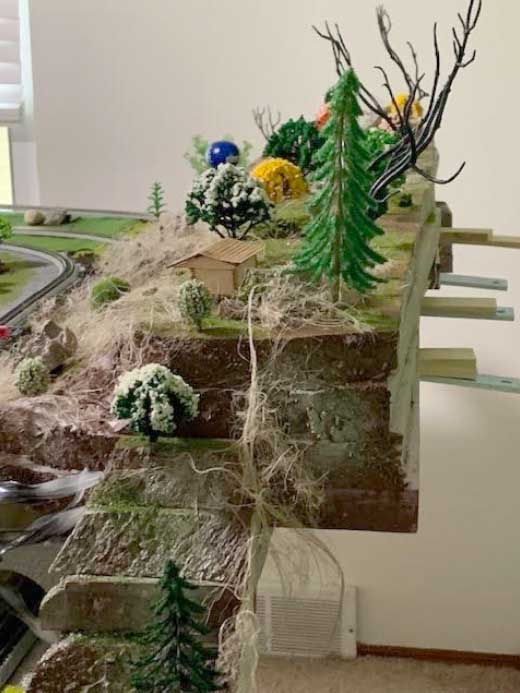
The layout is now 7 months old, and still lots to do. I am particularly looking forward to do the ravine as there is a mirror placed underneath the road bridge, which will create the illusion of the ravine continuing way beyond the end of the layout.
Backdrop as still to be printed. The corner where the two legs of the L meet will be a small town scene, and the rest industrial scenes.
Regards
Henry”

A big thanks to Henry.
I always get mails asking why I post half built layouts – and my answers is always the same: it’s all about making a start!
That’s all for today folks.
Please do keep ’em coming.
And if today is the day you get started on your layout, the Beginner’s Guide is here.
Best
Al
PS Latest ebay cheat sheet is here.
PPS More N scale layouts here if that’s your thing.