I am a subscriber to your email post, and would like to send you some pics of my layout here in Sydney that I have been working on for the last couple of years.
I started building Model railways in the late 1970’s in the UK, and this would now be my third proper layout (much to my wife’s dismay).
The layout started out as a British Rail outline, but is now changing to a German/Swiss bavarian one! It’s about 4×4 metres and is very detailed (I think) with scratch built catenary etc..
I enjoy your site very much, and look forward to your response.
Best regards,
Marcus”
(Images are clickable)
“On that meat tray suggestion; if you use an airbrush to paint larger areas or any size area where Styrofoam is connected’ use ordinary flat house paint, or artist “gesso” to prime, and strengthen the binder of the paint. Too often people airbrush Styrofoam without sealing or priming, and it peels off or tends to show the “pellet” effect that comes with Styrofoam. Plus you can stipple the paint or primer with use of a coarse bristle brush to create texture i.e. stucco or stone.
Ed”
Lastly, if you missed this earlier, I’ve had a few emails asking where the store has gone.
I’m putting together a new one, so everything is in the same place. In the meantime, I’m putting some silly offers together for the printable buildings, for a short while:
Tracy has been in touch with his N scale mini oval layout:
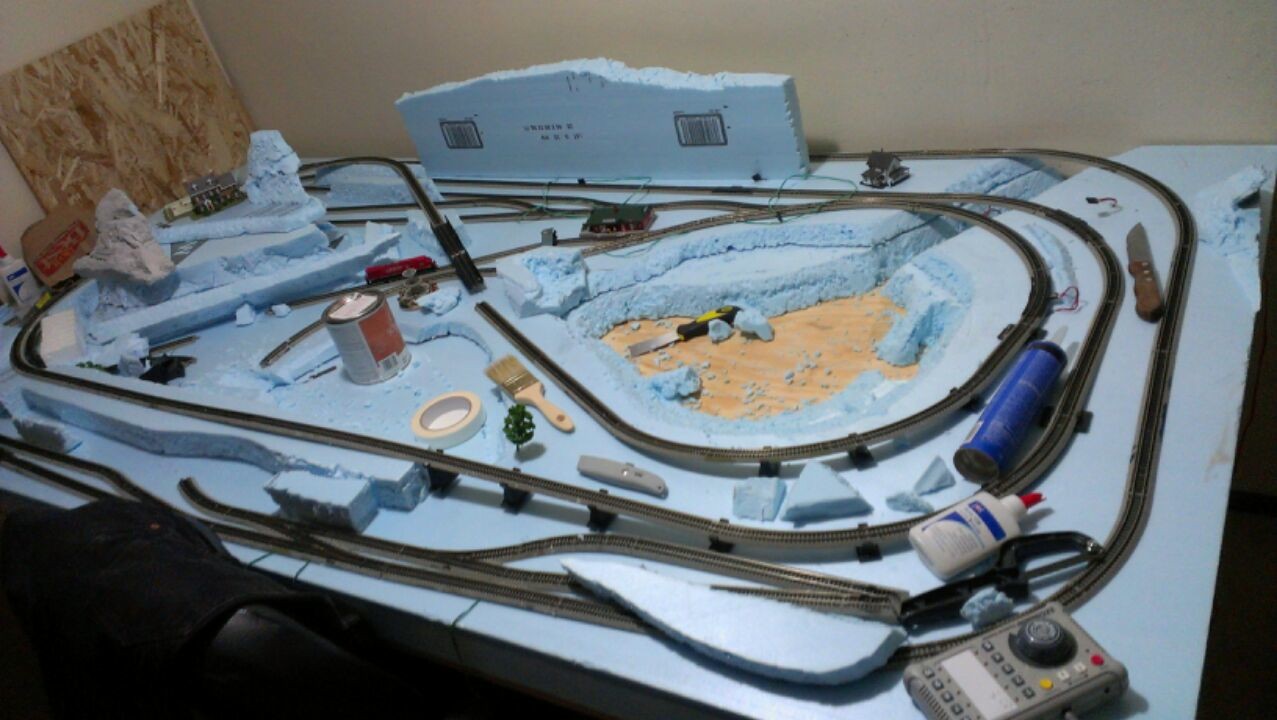
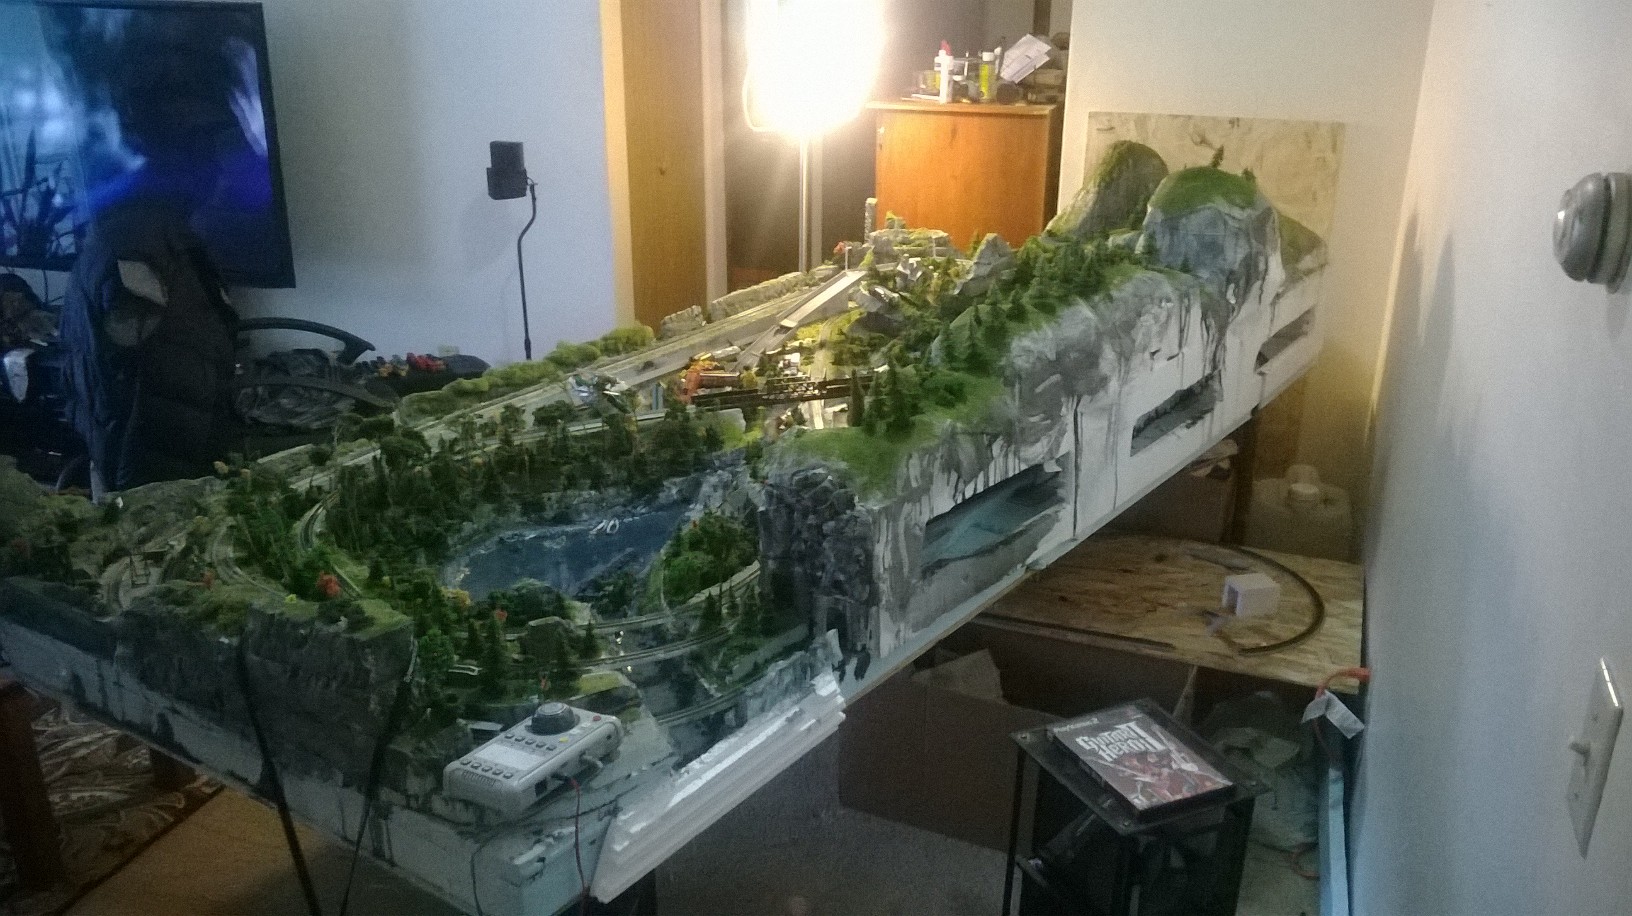
“I bought a lot of n scale track so I could maximize my small apartment,after buying a lot of track I started trying different ways to lay it out.
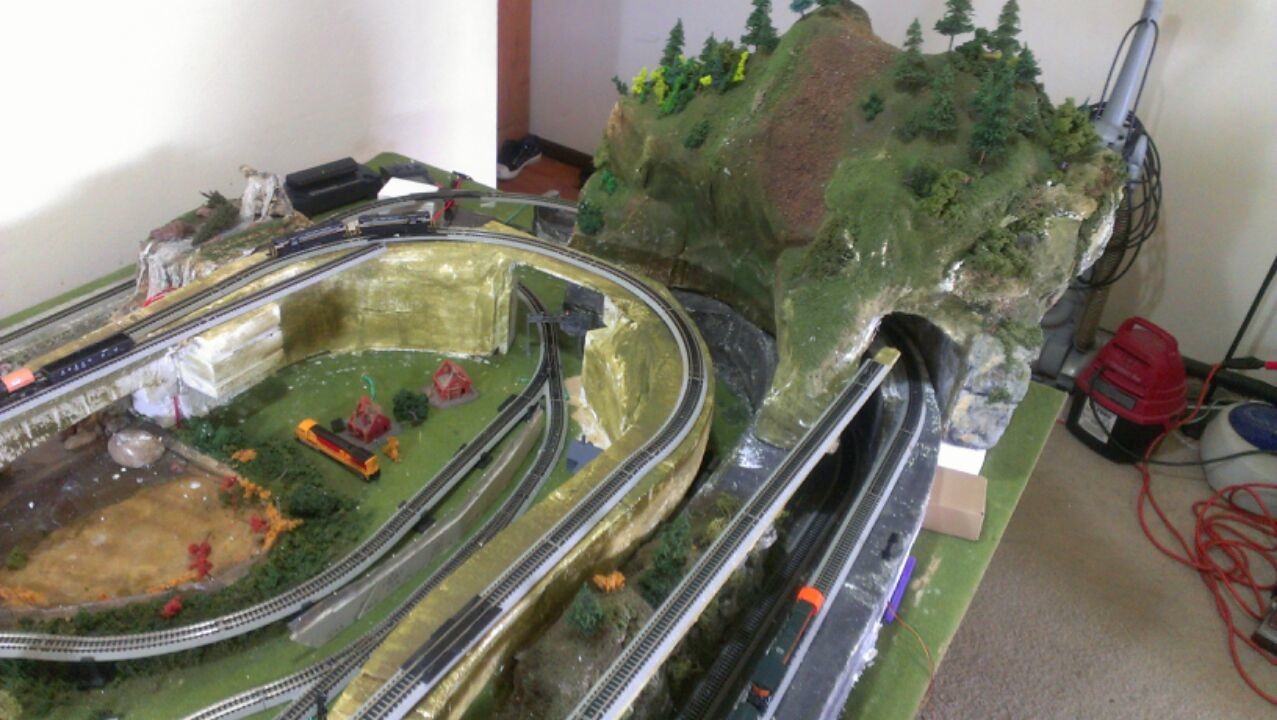
I knew I wanted two separate tracks but how on an 4×8 piece of plywood, how about a figure 8 wrapped with a large oval
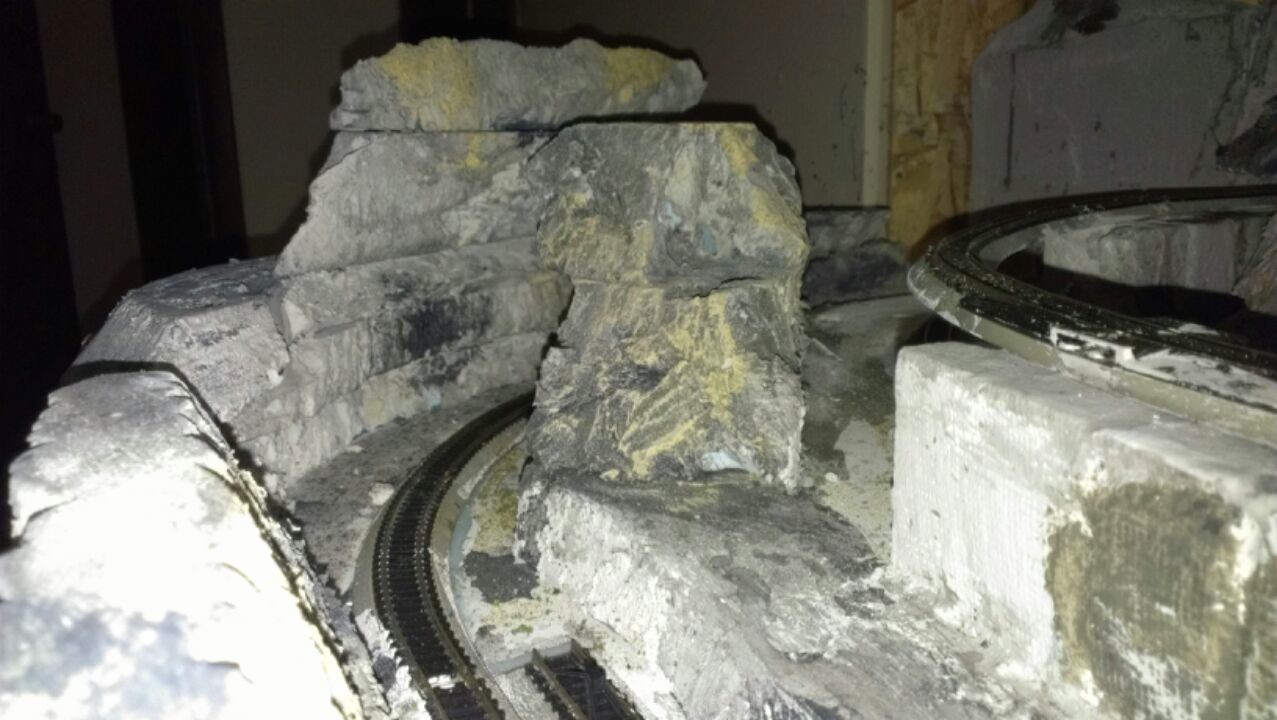
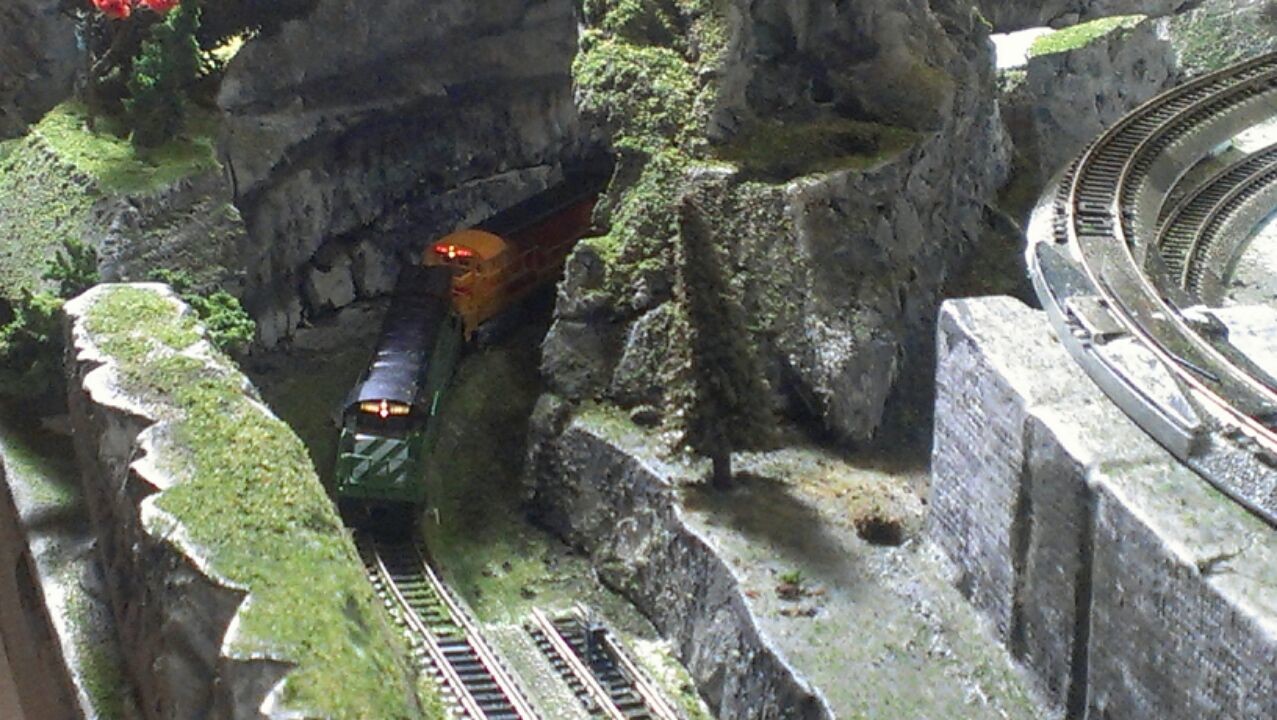
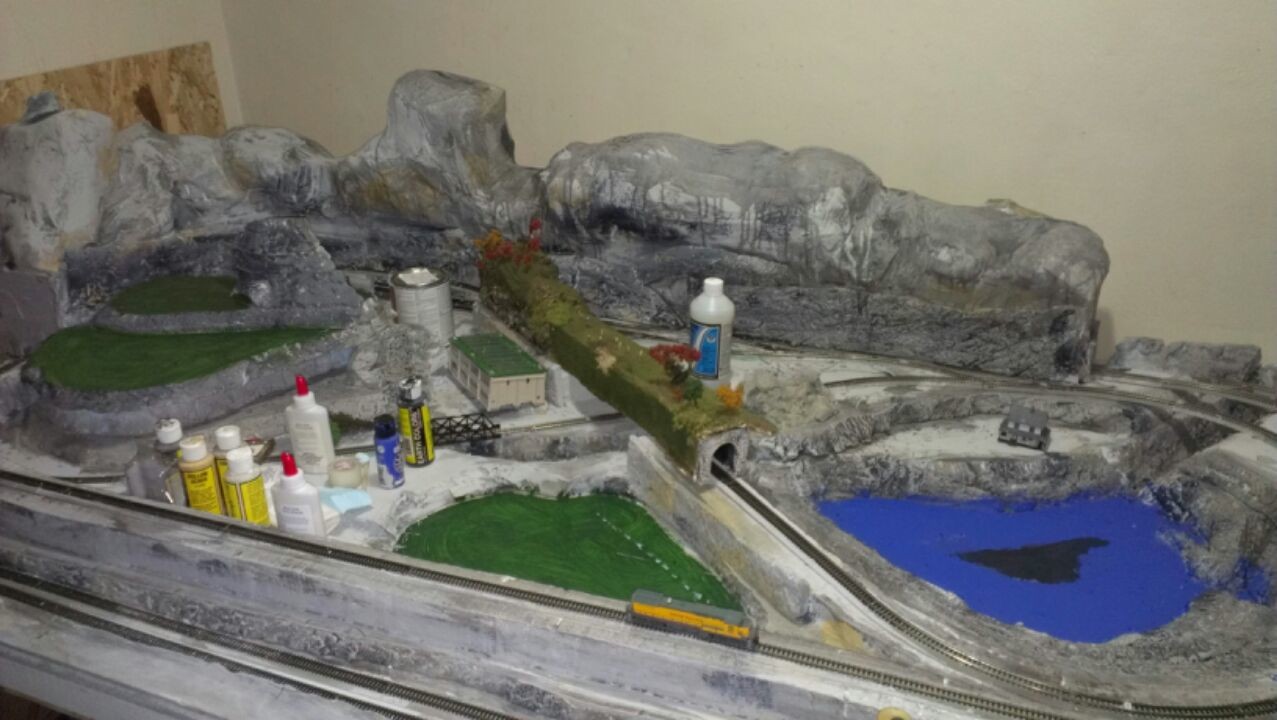
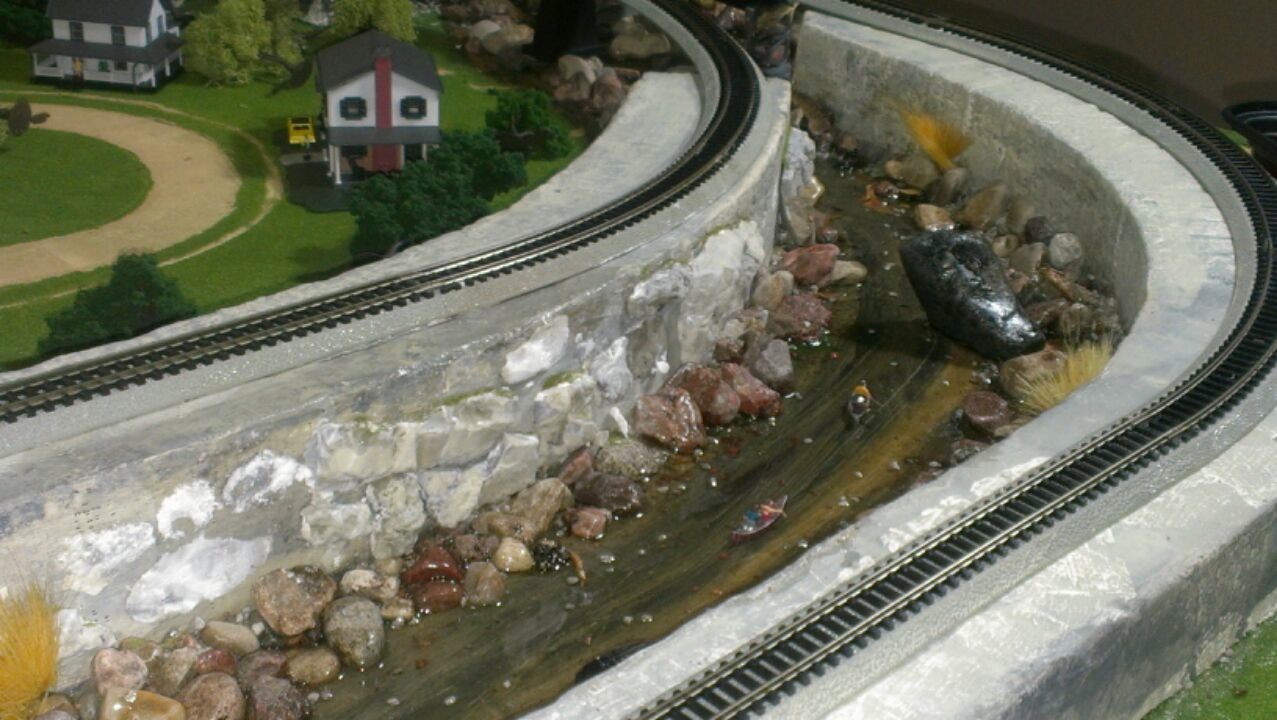
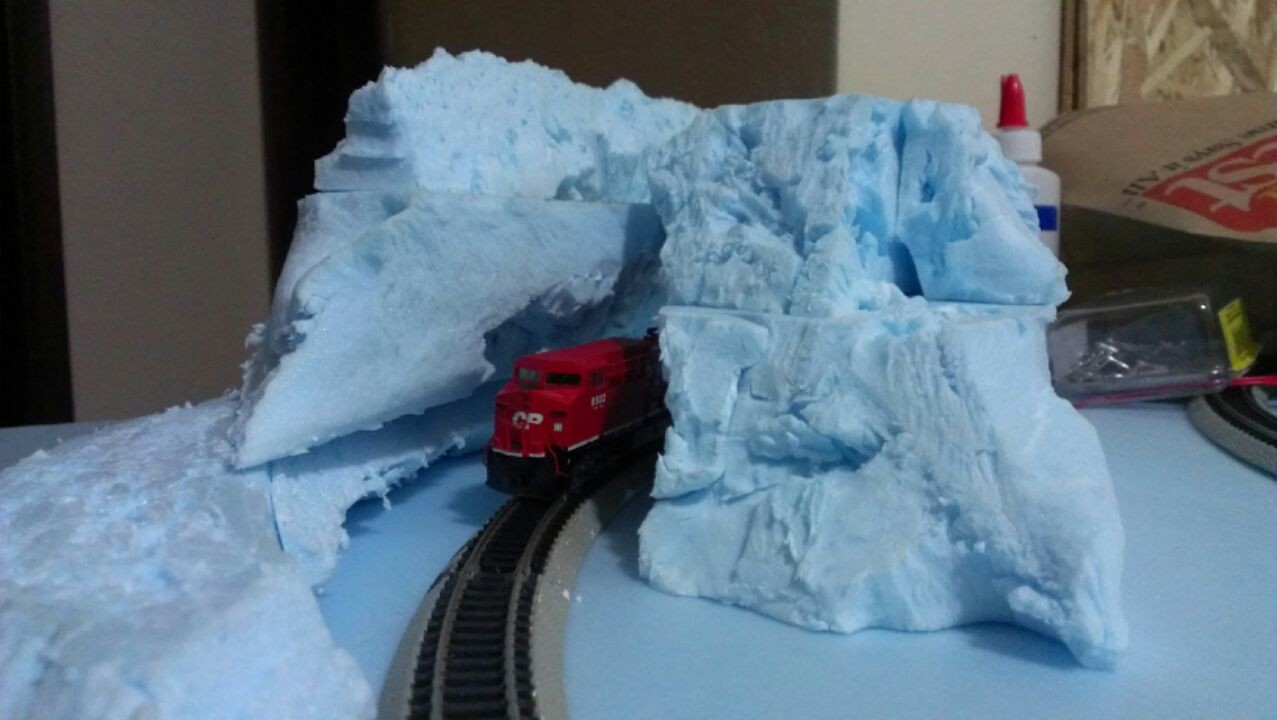
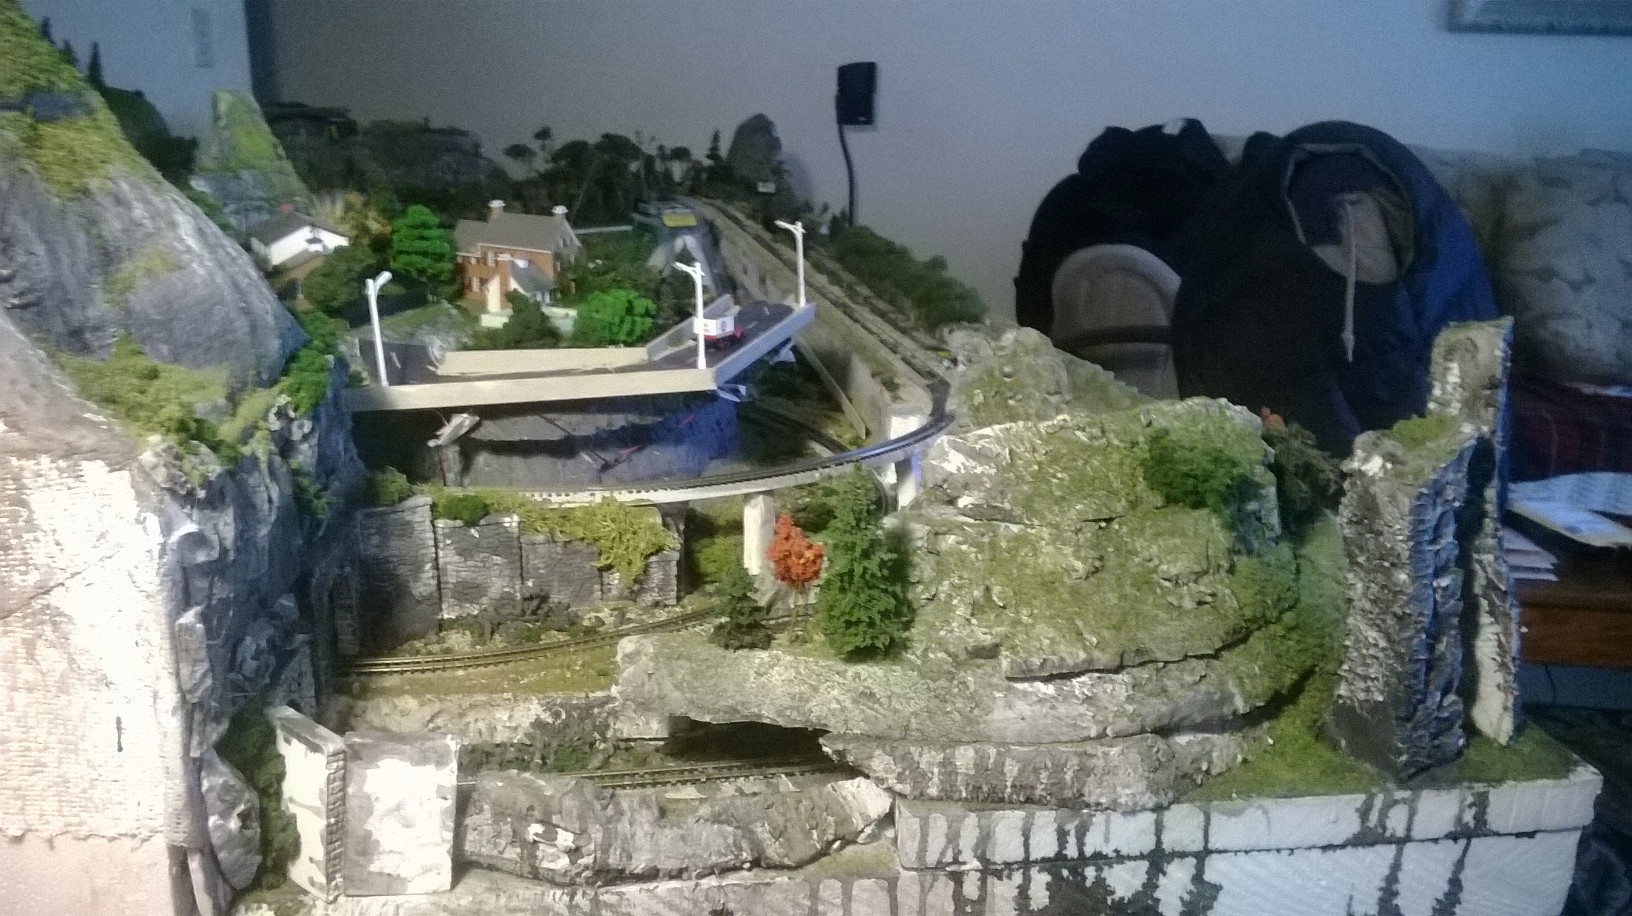
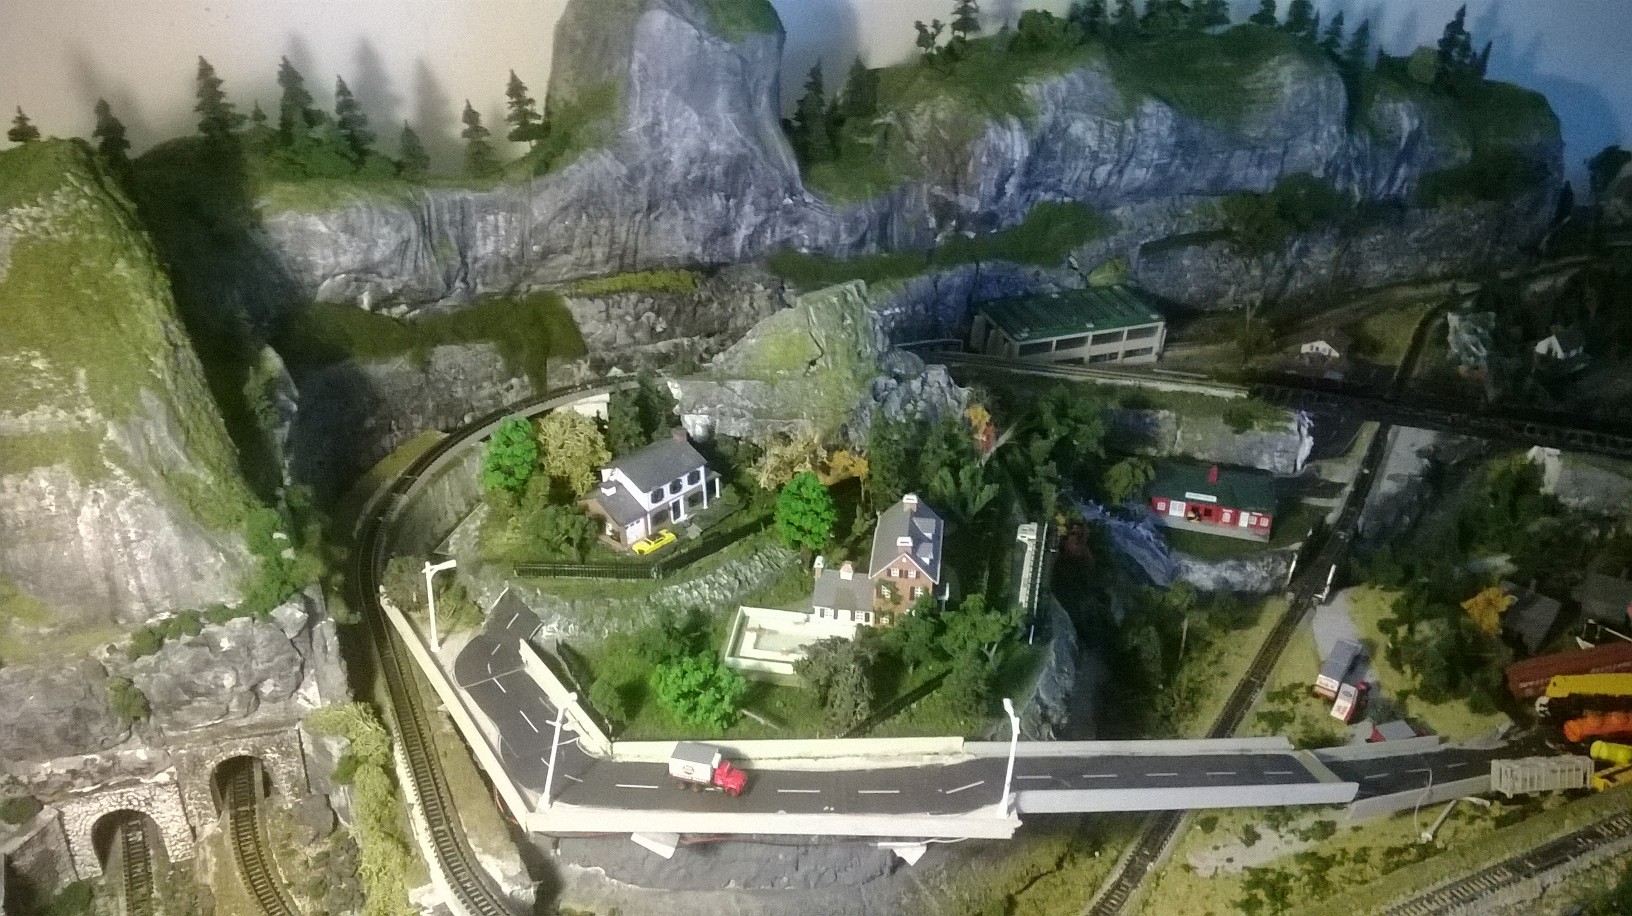
I wanted a larger mountain than before and a lake.
I can make mountains in my sleep.
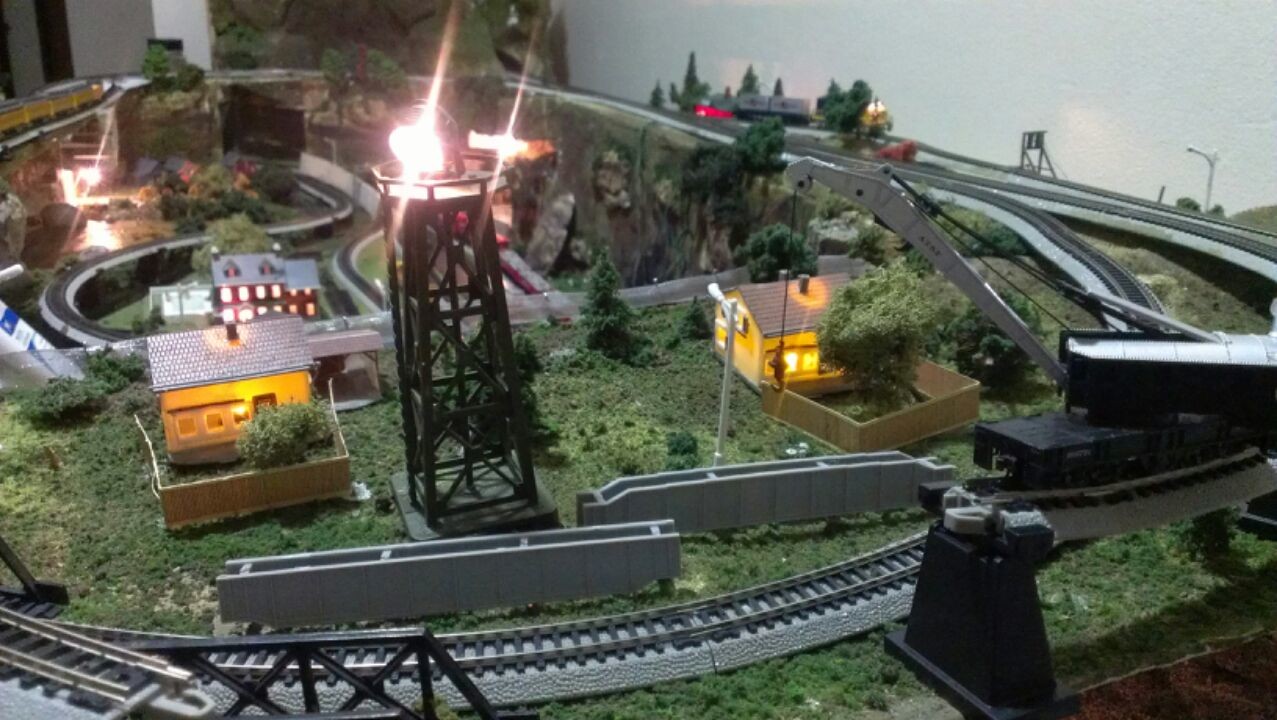
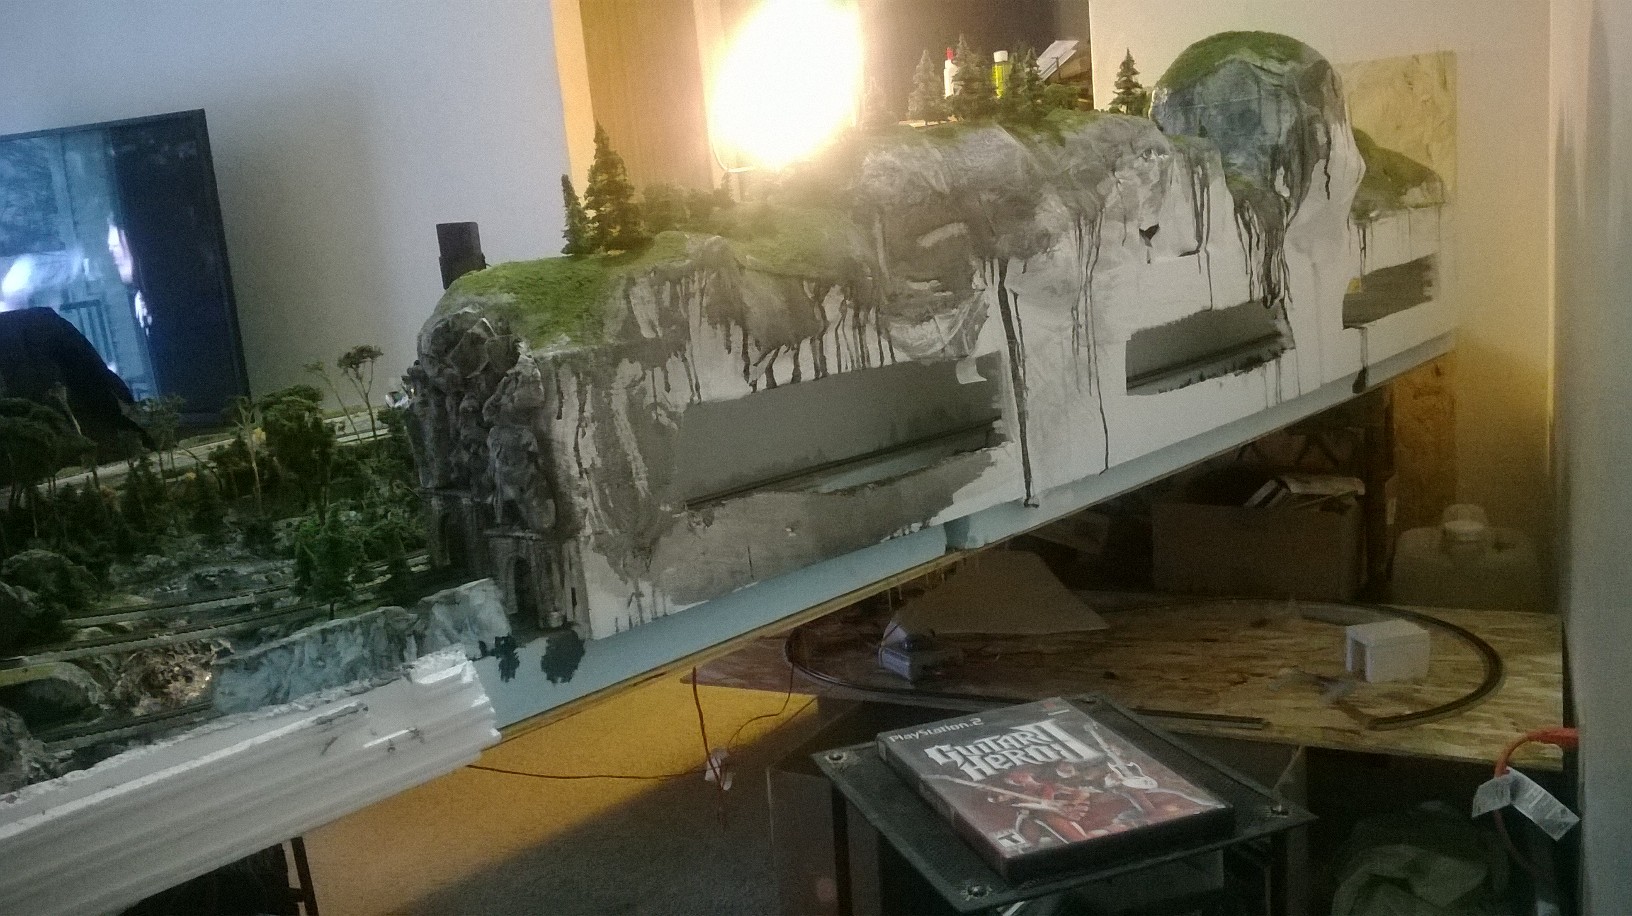
The panels on the side of the mountain I made using scrap foam , I tried to use everything, I even made my own rocks to fill in, they are the little black rocks you see.
I wanted a lot of details. That’s what people want to see.
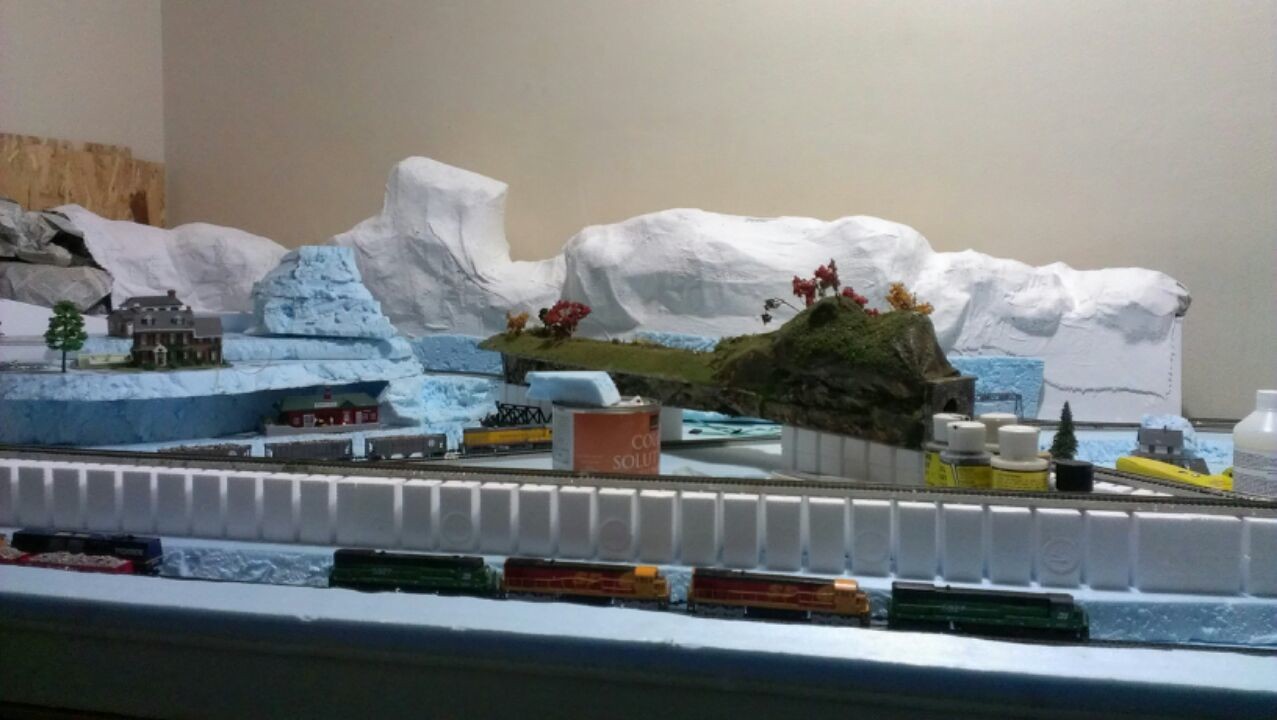
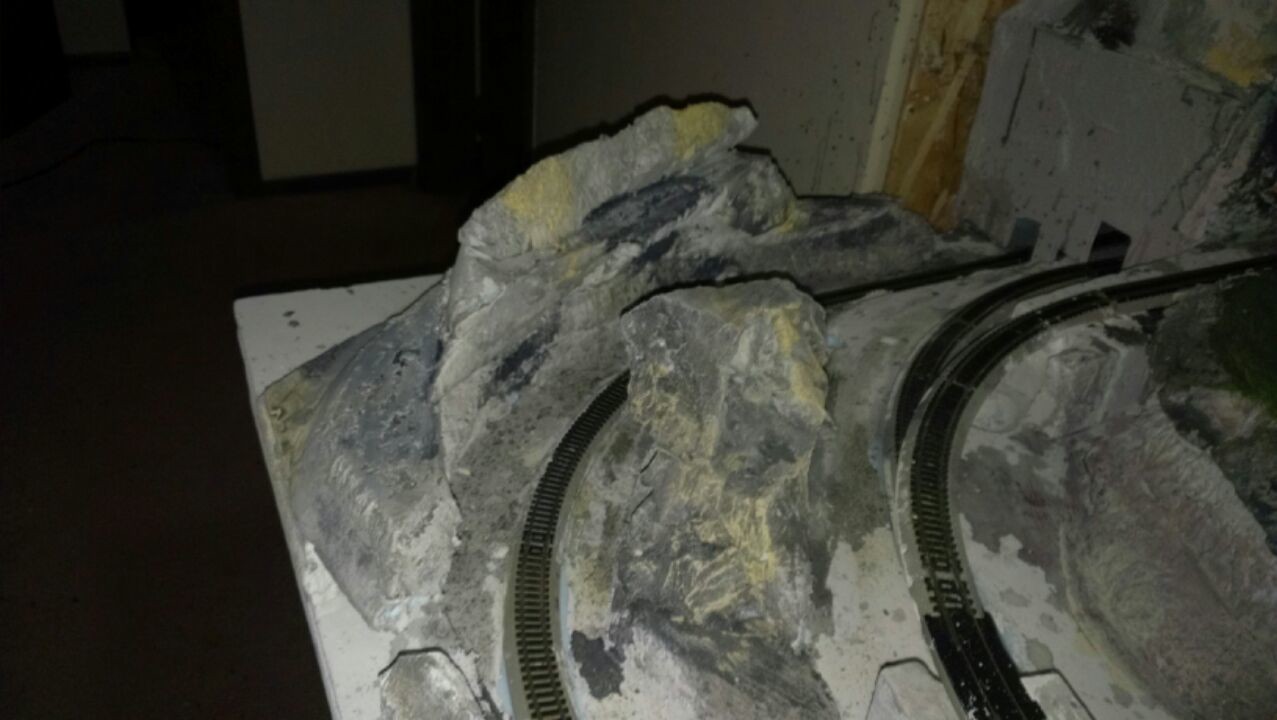
Didn’t like my first layout didn’t look professional enough that’s why I started over but I still had to use the stuff from the other setup since I was only redoing the landscape.
I had to come up with a design that would slow me to keep and everything with little waste . I hope I did a good job took about 3 months most of that sitting and staring and .letting my imagination do its job
Tracy”
And next, another video from Dangerous Dave:
“Hi Al,
just uploaded a new video , shows a running session on the layout , then what keeps me busy during the summer months…
Regards
Dave”
A big thanks to Tracy for sharing his N scale mini oval layout, and to Dave too. Have a look at the comments below.
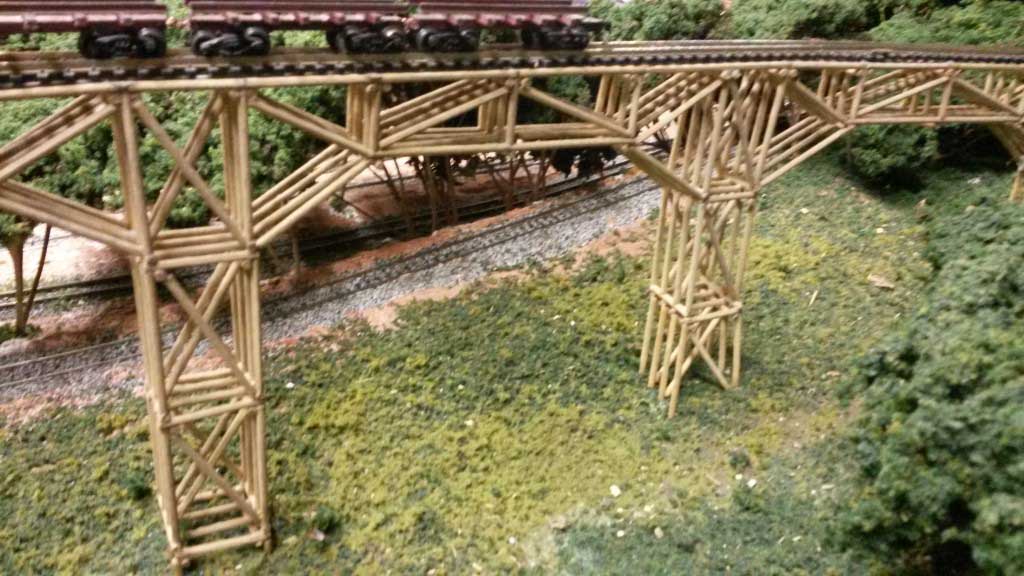
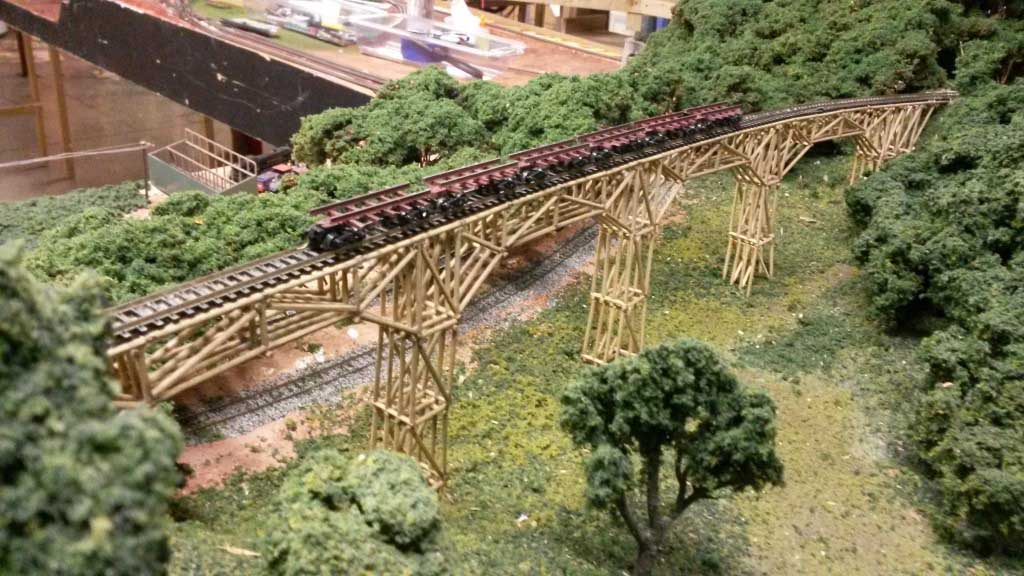
Tony’s been in touch with his toothpick bridge design:
“Hi, my name is tony and I thought you might like these pics.
I have been modeling n-scale for 35 years. I saw your tip about using sedum for trees.
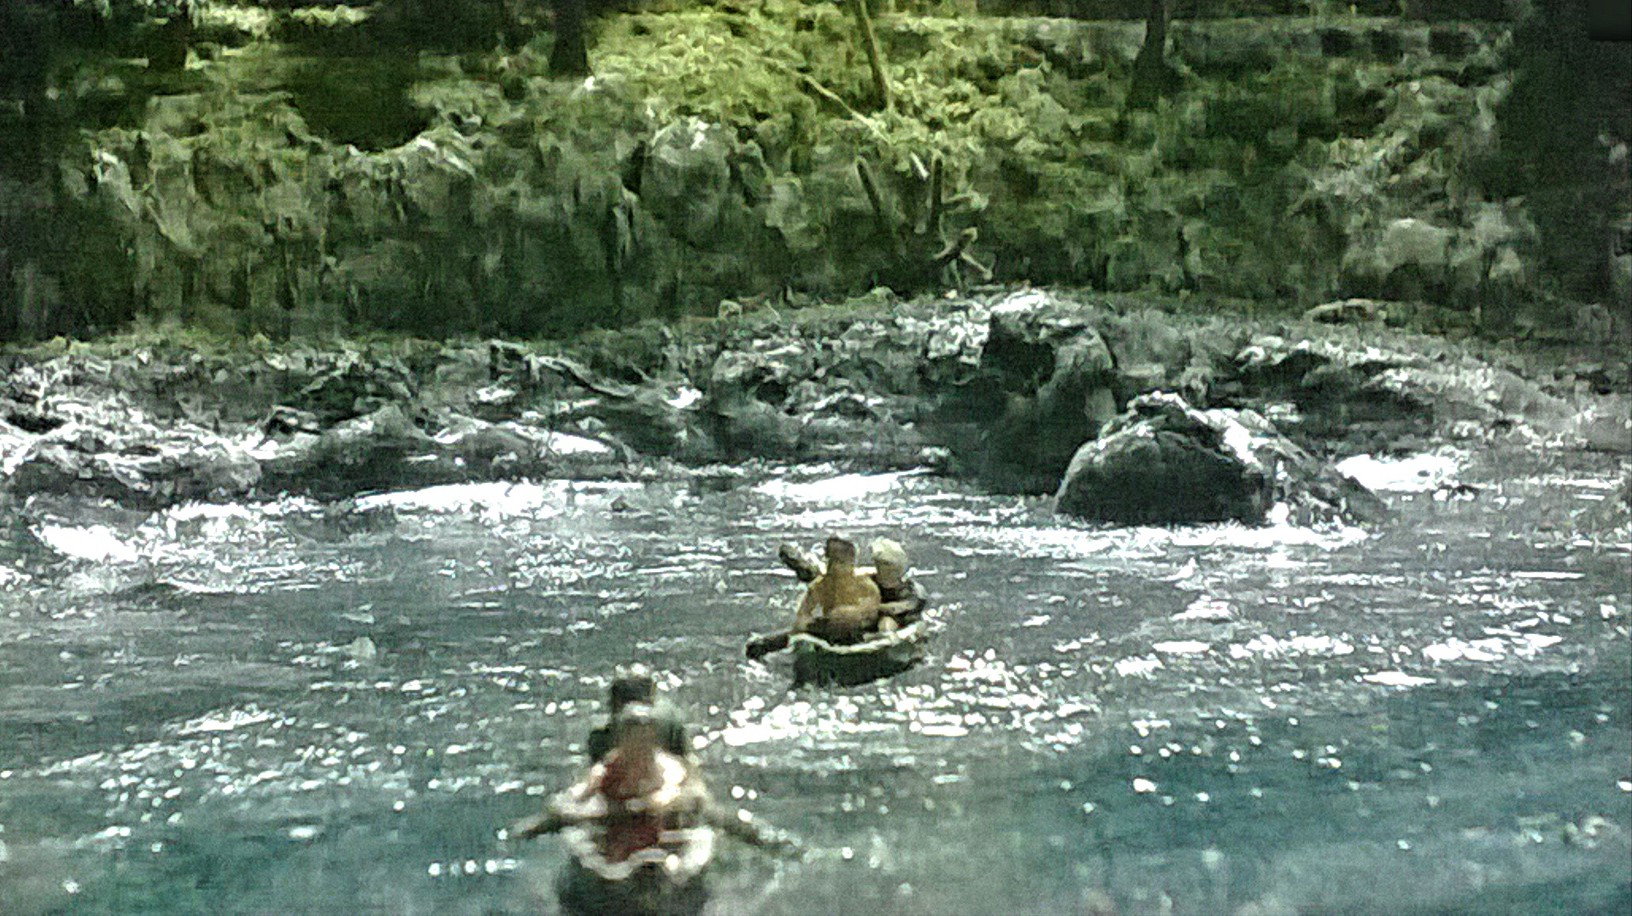
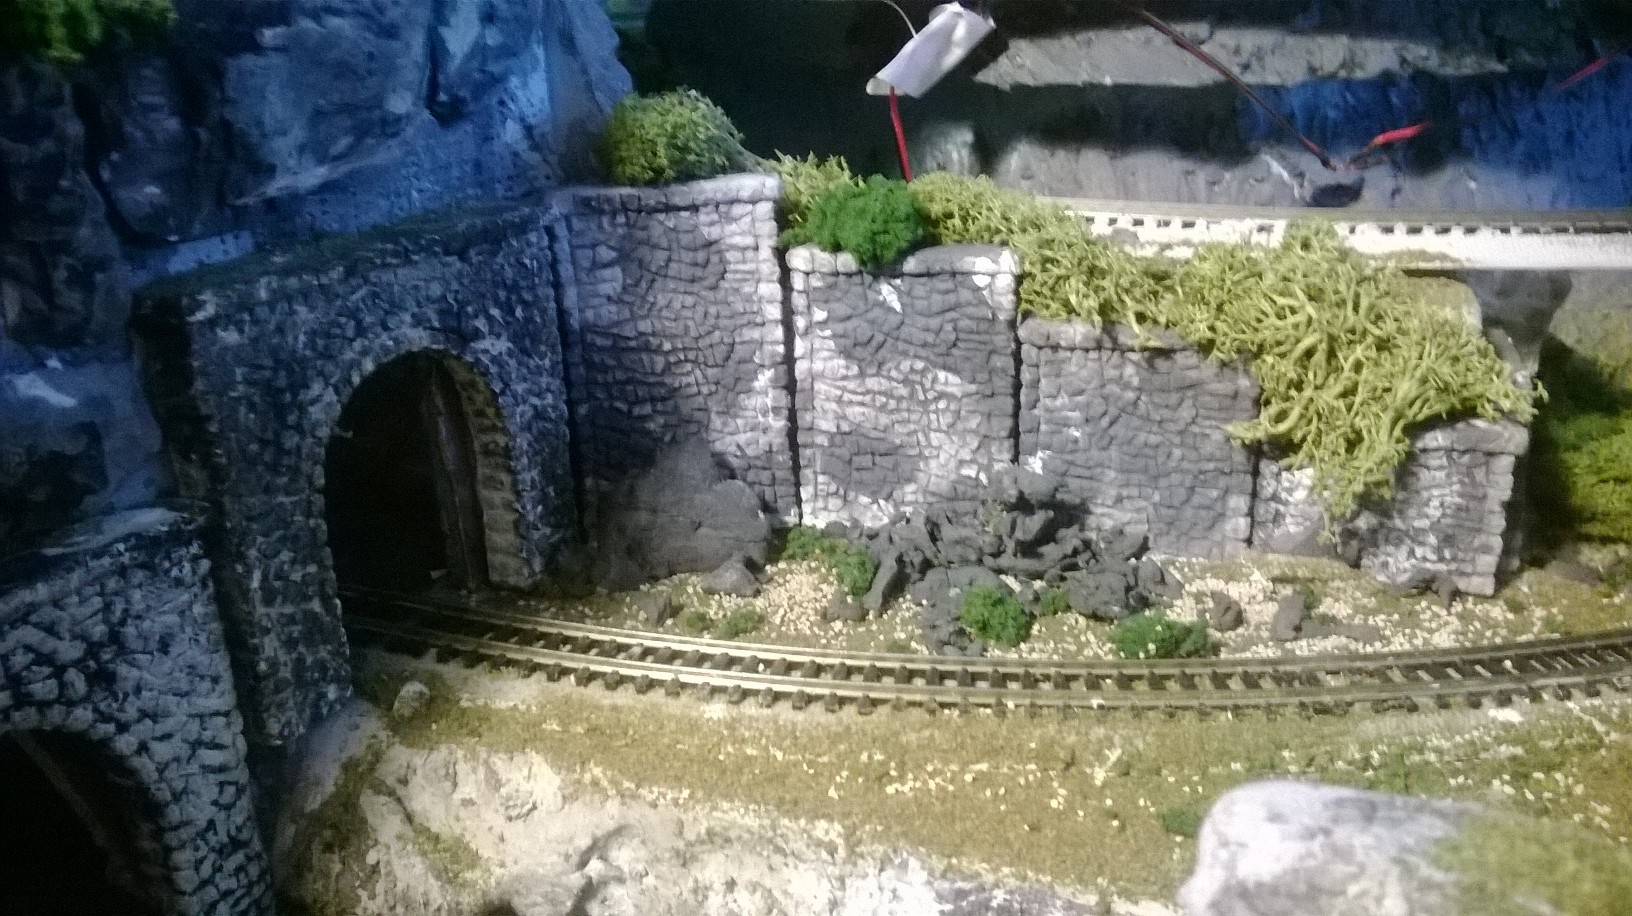
This scene is the Bailey Logging Company, it is on the Green River and Meristein Valley Railroad.
I used sedum for almost all of the trees on the hill when I built it three years ago.
If you are iterested the trestle is built from round toothpics cut to scale lengths between 8 and 20 feet then I nic them up with my modeling knife and painted them.
The sedum I use is autumn joy. After it blooms the stems turn woody. They have to be cut back each year in the late fall.
After I cut them I spray them flat clear enamal.
Then I dip in a mix of white glue and water and then toss them in woodland scenics course turf. I use dark and medium green.
I keep a large container mixed up and I just add an entire container of one of the shades when it starts to get low. This causes the collor of the conapy to vary for each tree.
I place the trees on the layout when they are wet this allows some of the foliage to fall around the base and create undergrowth.
After they have dried for a couple of hours I spray them with a heavy coating of the cheapest hairspray I can find. The dollar store has plenty!
I also keep an eye out all summer for sedum.
If you stop by someones house and ask them they typicaly will let you cut for them and hull it away.
Thanks again,
Tony”
Tony’s bridge reminds me of Greg’s trestle bridge (which you can see in the middle of his post).
And Bob has put together a wonderful ‘how to’ on Trestle bridges. I’d love to see a toothpick bridge version.
Next, some more tips:
“Hi Al
I have used many of the tips in your newsletters.
Just thought I would give something back.
I have a top tip for you to create hedging on the 00 railway layout. It’s my idea and not copied from anywhere else.
I did a lot of experimenting and came up with this:
If you take some polystyrene packing about ¾ inch thick and cut it into ¼ inch or less strips, this will form the basis of the hedge.
Using the finest artists brush and some Humbrol paint thinners, or Cellulose thinners, or as a last resort nail varnish remover
Carefully, with not too much thinners, just touch both sides of the upper edges of the styrene at ¼ inch intervals along its length, you will see the top dissolve irregularly.
When it is dry, cover one side of the strip with PVA and sprinkle it with brown grass, do the same on the other side and leave to dry.
Cover the irregular top with PVA, pushing it into the holes with the brush tip and sprinkle two shades of green grass at intervals along its length.
You will now have a hedge at little cost and much more realistic than the bought stuff.
I suppose if you substitute ballast for grass you can achieve a stone wall effect also, using this method.
I use wood working glue to fix it down and on curves I hold it in place with dressmaking pins, until set overnight.
You can disguise the joints in situ using the same method.
Steve”
“I found a great way to keep the truck screws from comming loose. Take a toothpick and put a very small dab of rubber cement on the threads of the bolster…making sure not to get any on the face of the bolster where the truck makes contact. Tighten the screw appropriately. The screw will not come loose…but yet stays soft anought the the schre can be removed without any problems.
Robert”
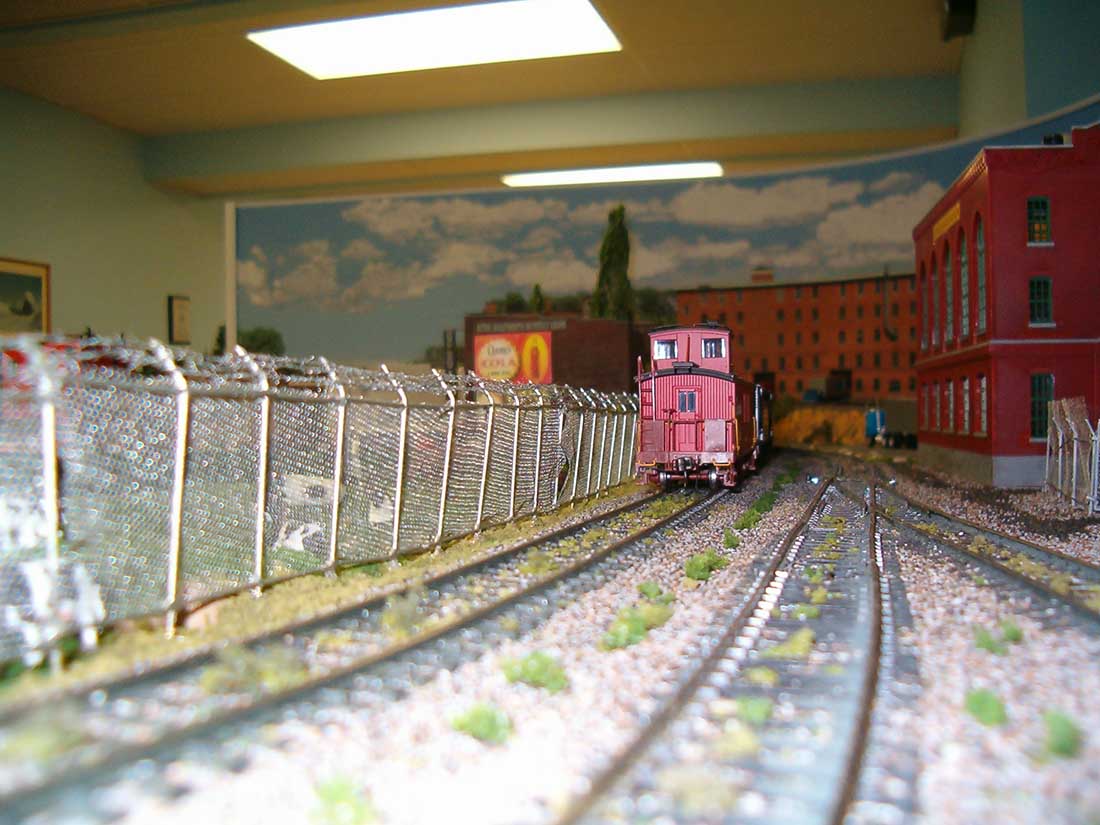
“Hi Al,
I though that i would share with you how I made my chain link fences. I first draw a template on paper and placed it under a piece of tempered glass. I then cut some .033 mm and .040 mm brass wire. I taped them on the glass using skinny masking tape.
I then solder them and remove the tape. Next I cut some Tull ( also known as bridal veil ), stretch it over the now soldered wired and tape it to the glass. I glue the Tull with Cyanoacrylate to the wire.
If you wish to had some barb wire just cut the posts 3 scale feet longer and glue some sewing tread on the extensions ( again using CY glue).
I spray paint the whole thing using Krylon Paint ( a paint that is good for wood, metal, plastic, etc.)
Michel”
A huge thank you to Tony for sharing his tooth pick bridge design. A wonderful narrative too.