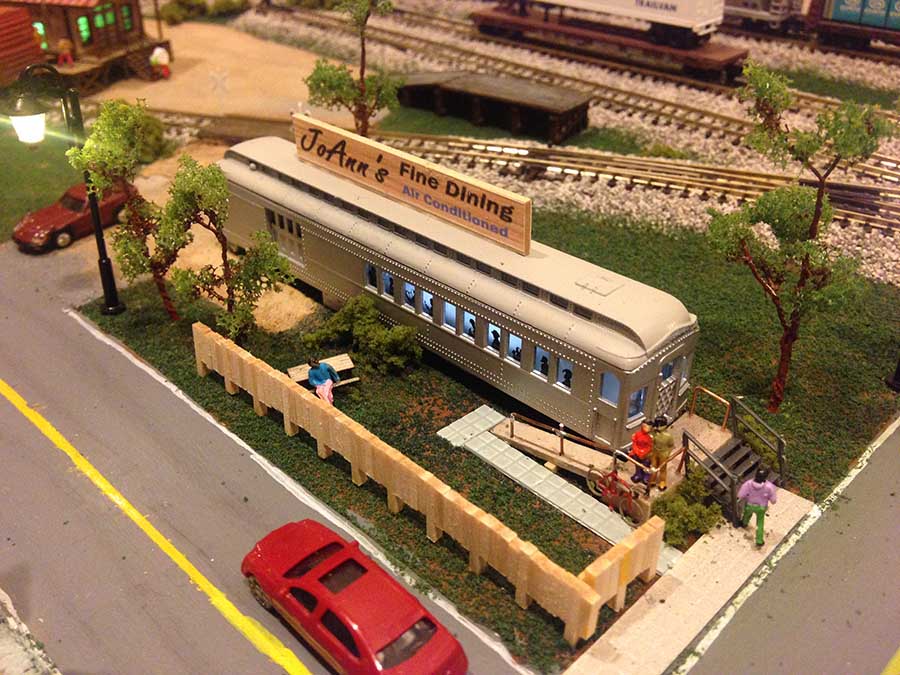
Dan’s been back in touch with more of his model train Santa Fe scenery – I do love how he used the waterpaints to ‘weather’ the scenery:
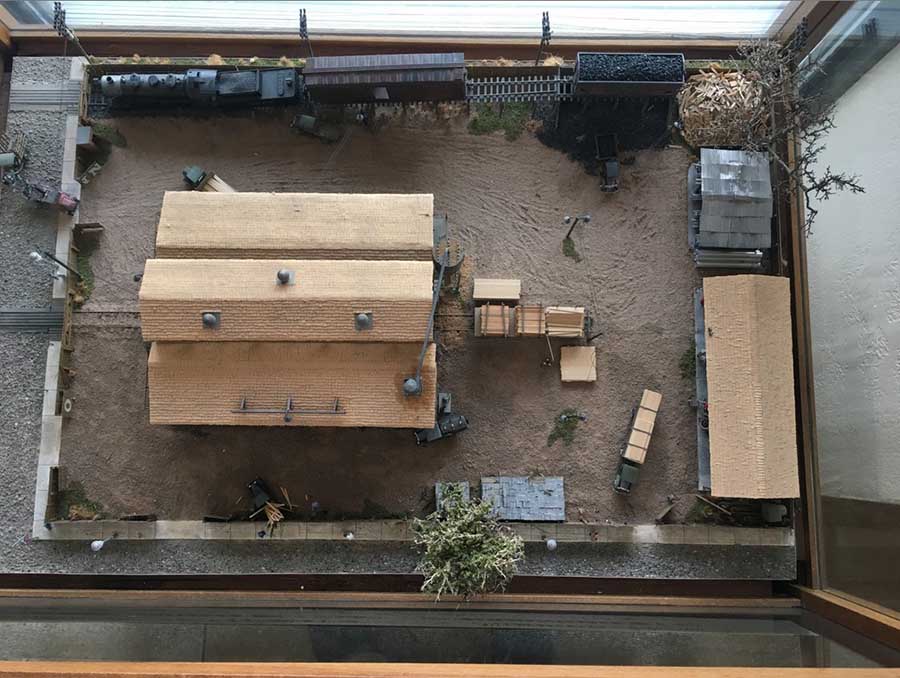
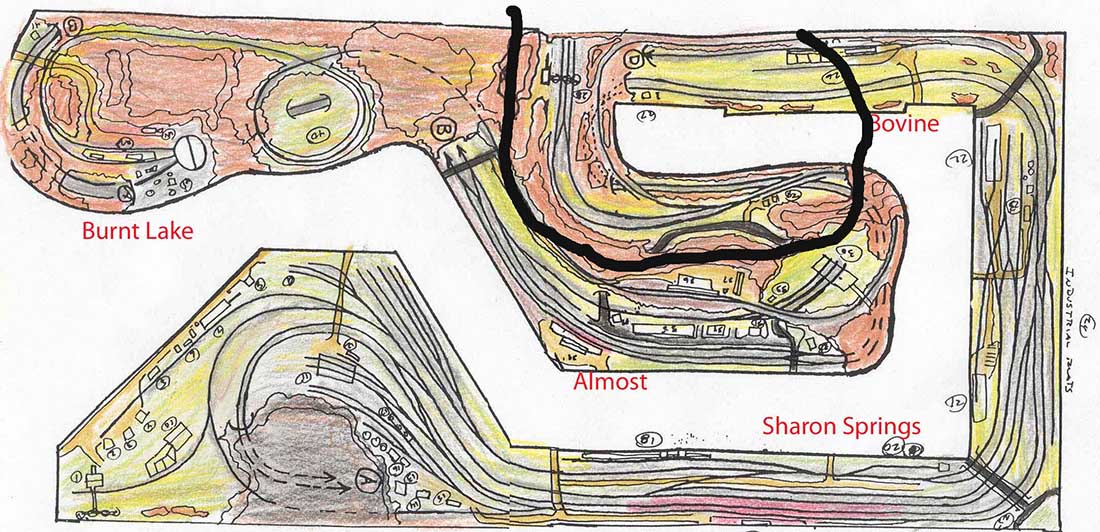
“Diagram of the layout with the outlined part that will show constriction and finishing look of the ceiling tile rocks.
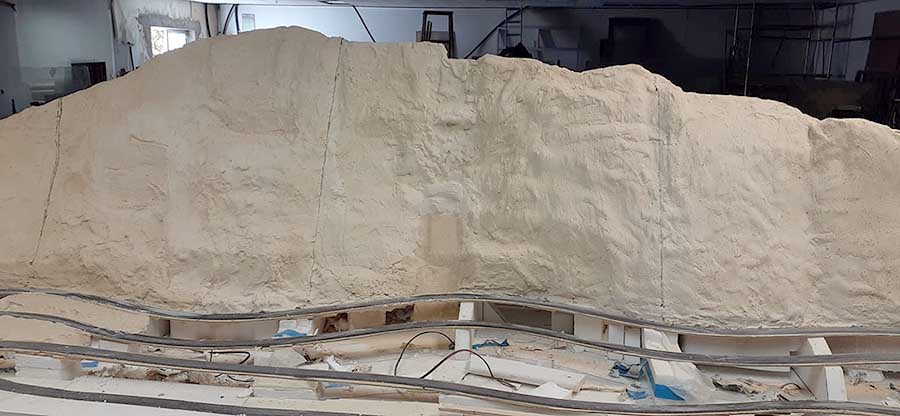
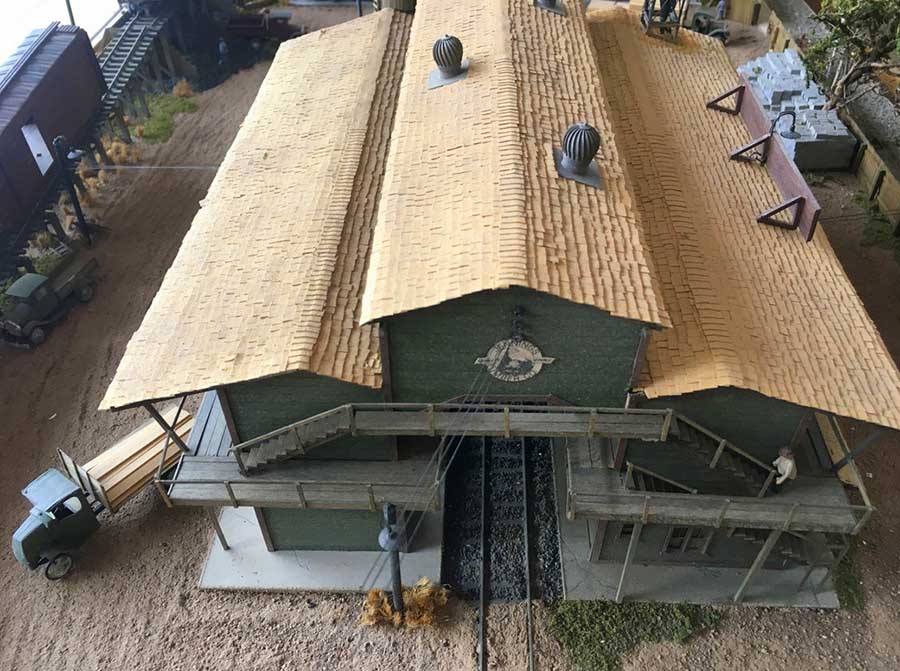
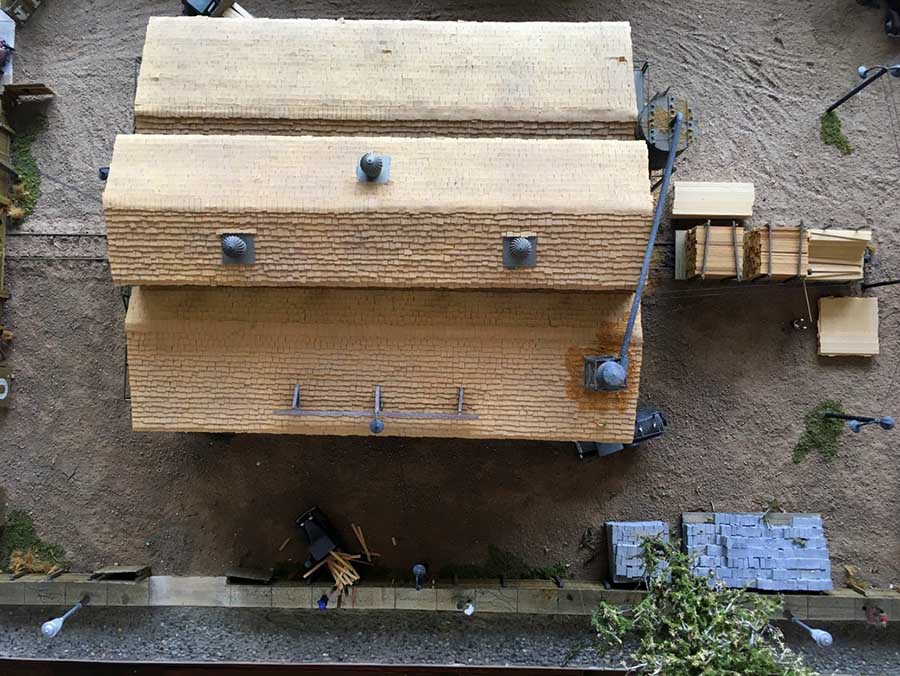
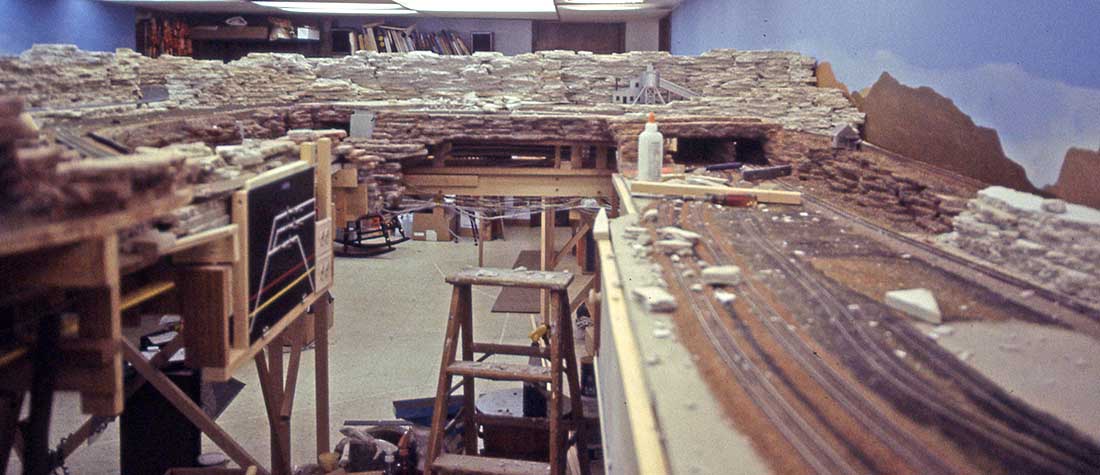
This is the are to be done in the before look. The unballasted track is an unseen loop to “Denver” that is a holding /staging track for two trains that come and go at an interchange that is physically behind me in this photograph.
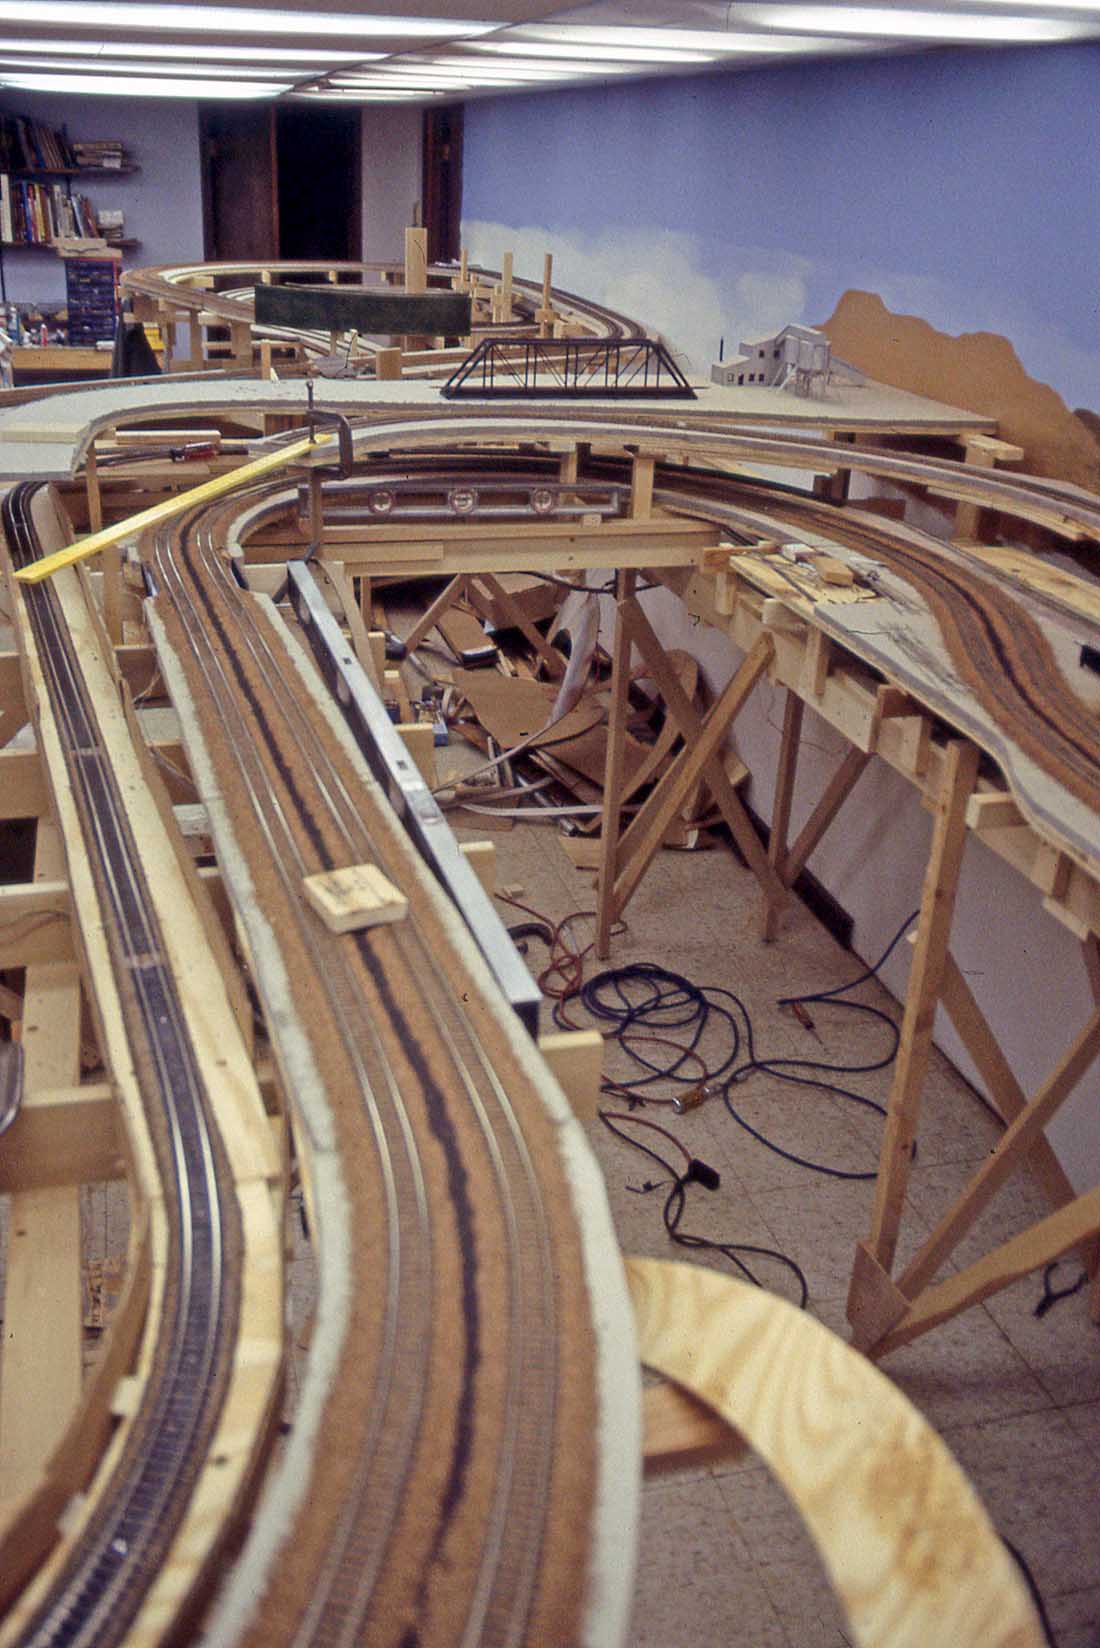
A ground level look. The track along the wall represents the Old mainline. When the early Santa Fe was being built they wanted it done quickly. Later when they had more money, a more gentle grade and curvature was done.
In photo 2 you can see a straight piece of wood. That will be the bridge taking the old line over the new line. The old line was a 4% grade and 18 inch radius. This was done on purpose. This forces me to NOT take modern locos up to the resort to come later. Only B truck locos and the 2-6-2 steam loco can use the old line.

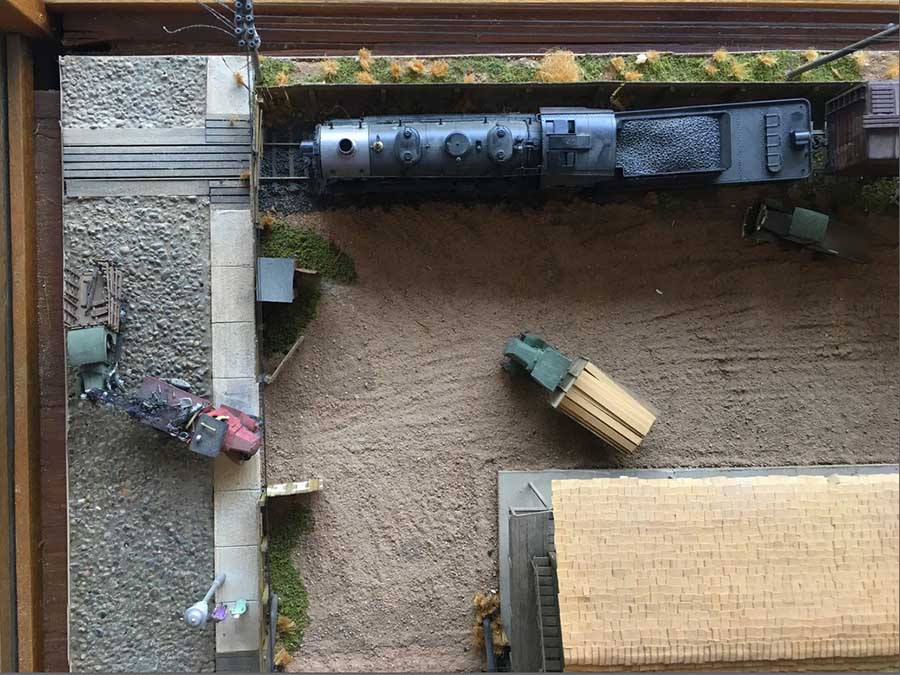
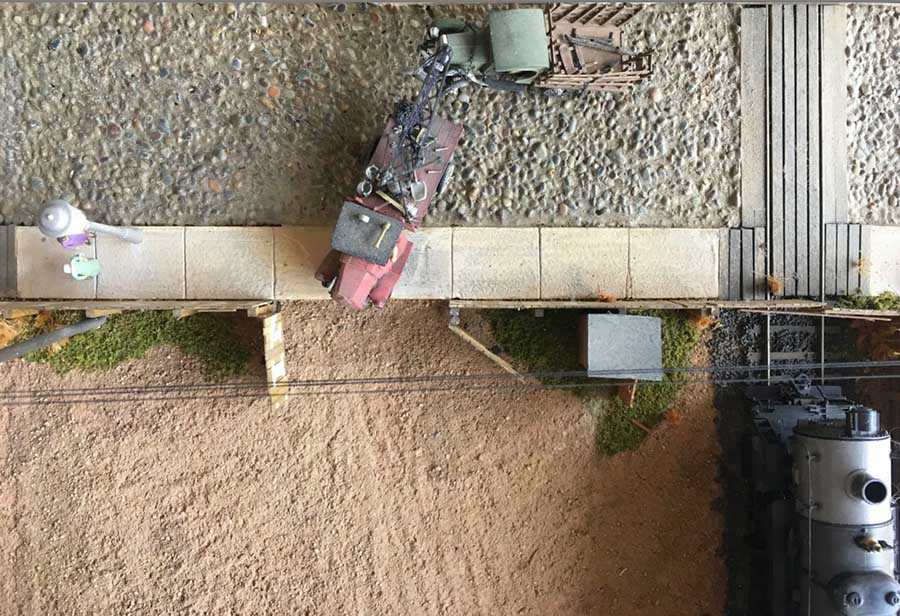
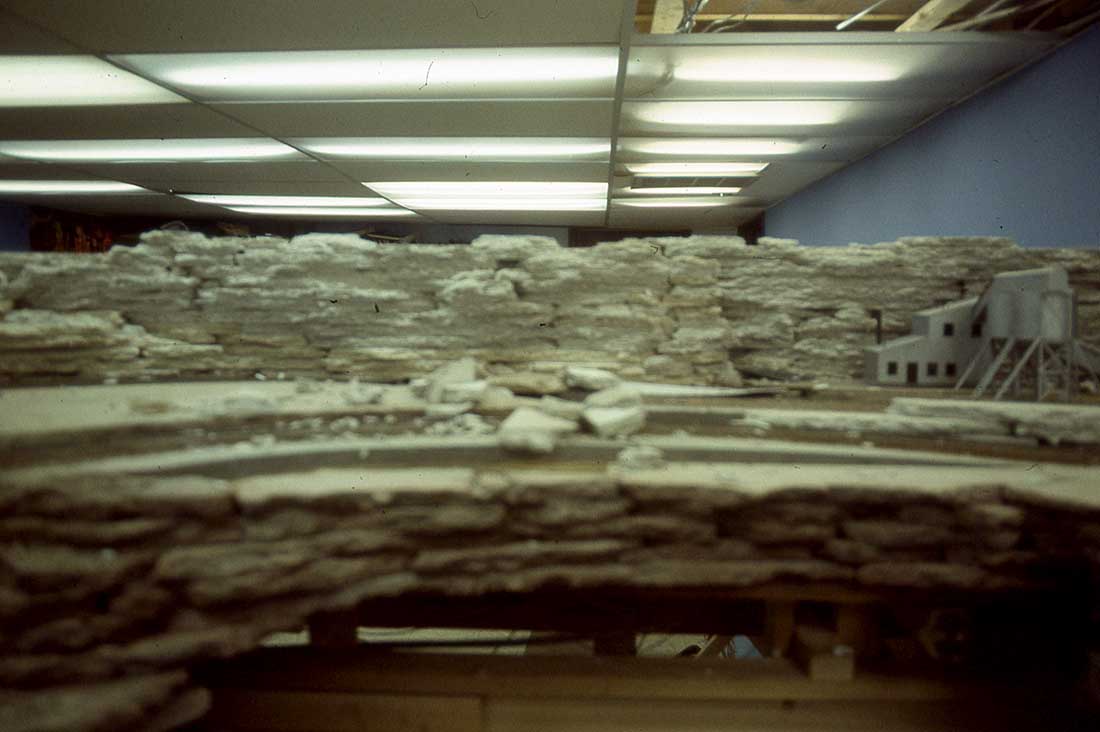
A look from the other side looking back toward “Bovine” in the distance. The junction of the old new line is in the far distance. The unfinished part in the near part of the photo will be the Chromite mine. Chromite is use to make chrome steel. This mine uses the old mainline.

There is a lot of info here. In the US we usually have a 2 week break for Christmas. (I taught school) The part that has already been colored, I did during that break. I learned how to do the rocks doing this part. It became much easier after that.
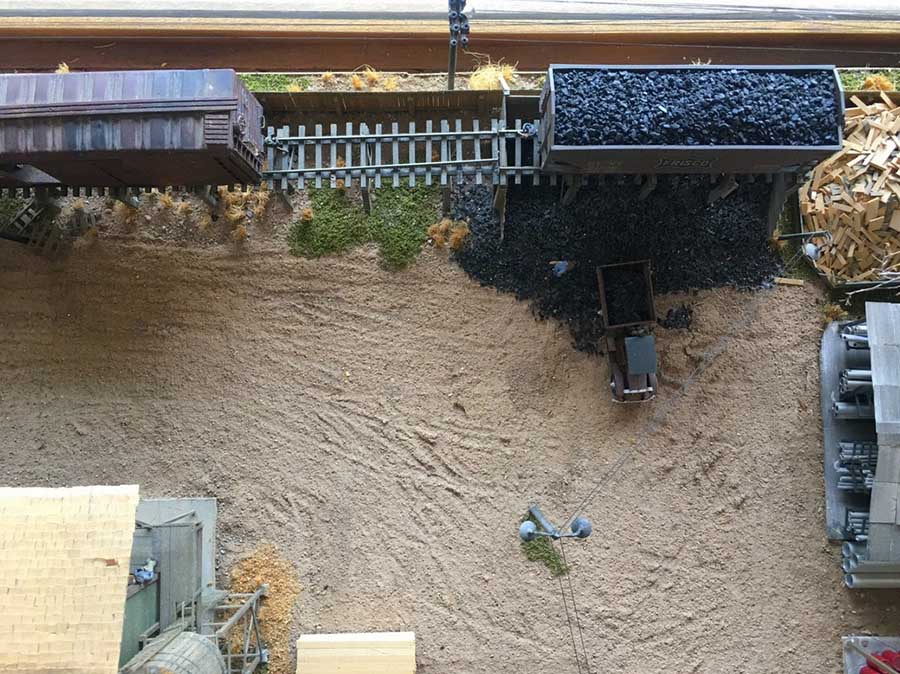
You can see the Chromite mine in the distance on the upper level. What doesn’t show is the 4% grade and sharp curve going up to the mine level. There are some low rocks hiding that. You just see the trains as they go up. The disguise of the rocks between you and the trains makes it look much better.
You can see how much cleaning will need to be done once the rocks are in place. You can also see the control panel for the mine area. The white lines are the block for the mine and the red and yellow lines are the new mainline.
A better, although slightly fuzzy, look at the mine.
A little jump ahead. The unballasted track is “Denver” and is hidden storage.
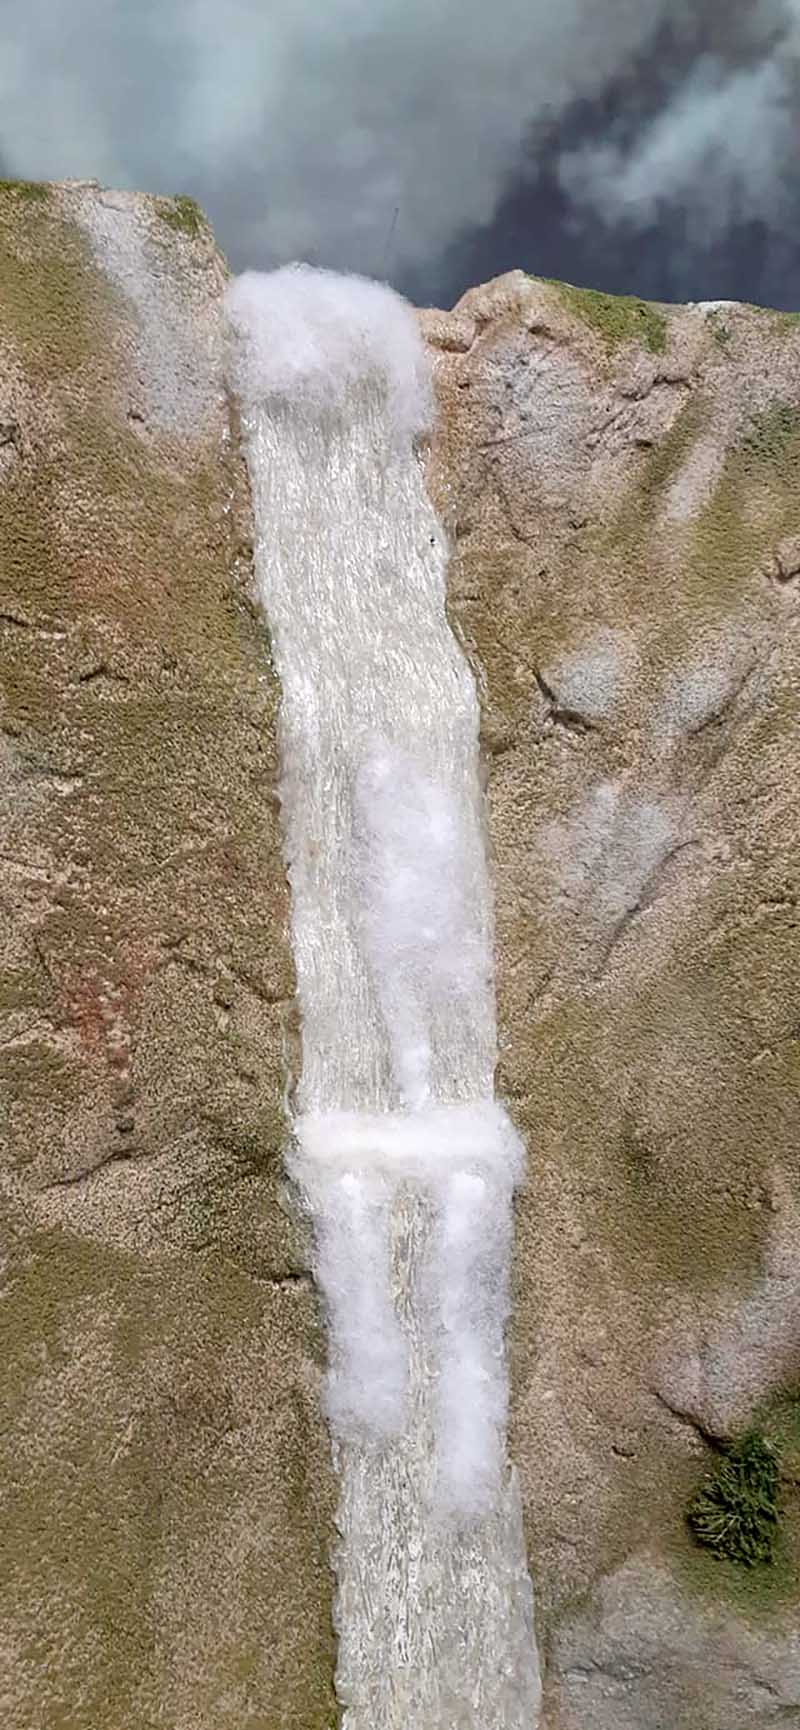
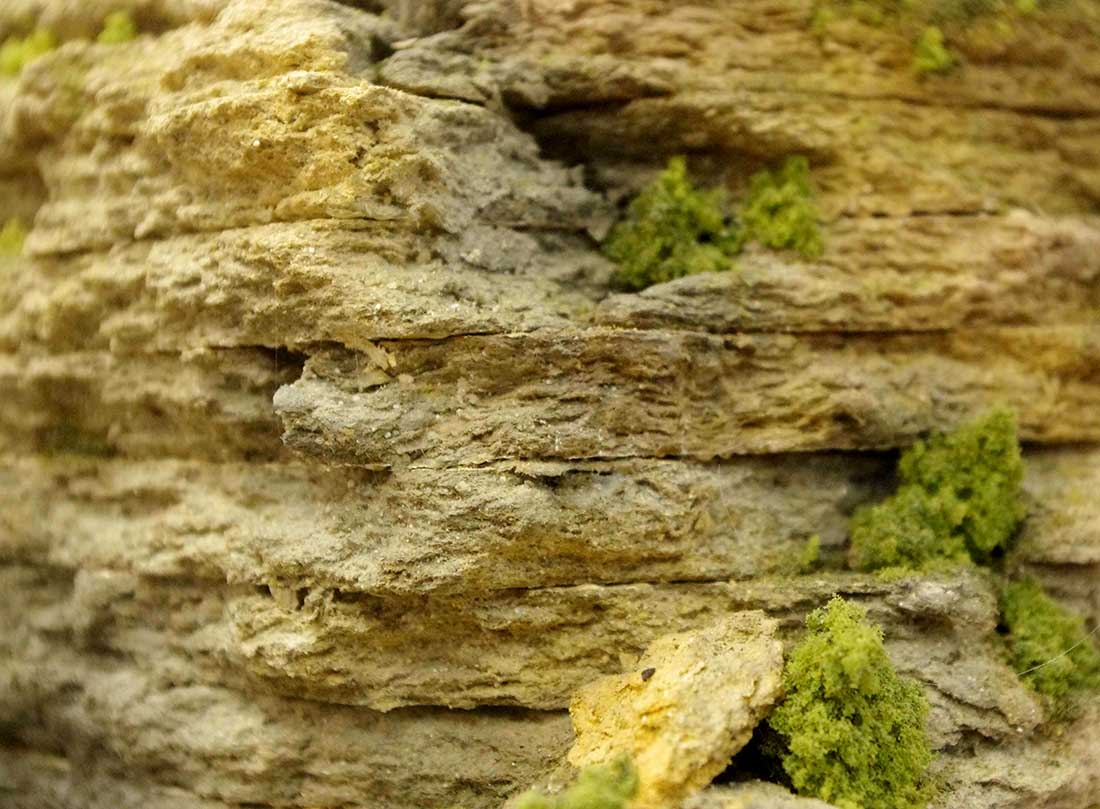
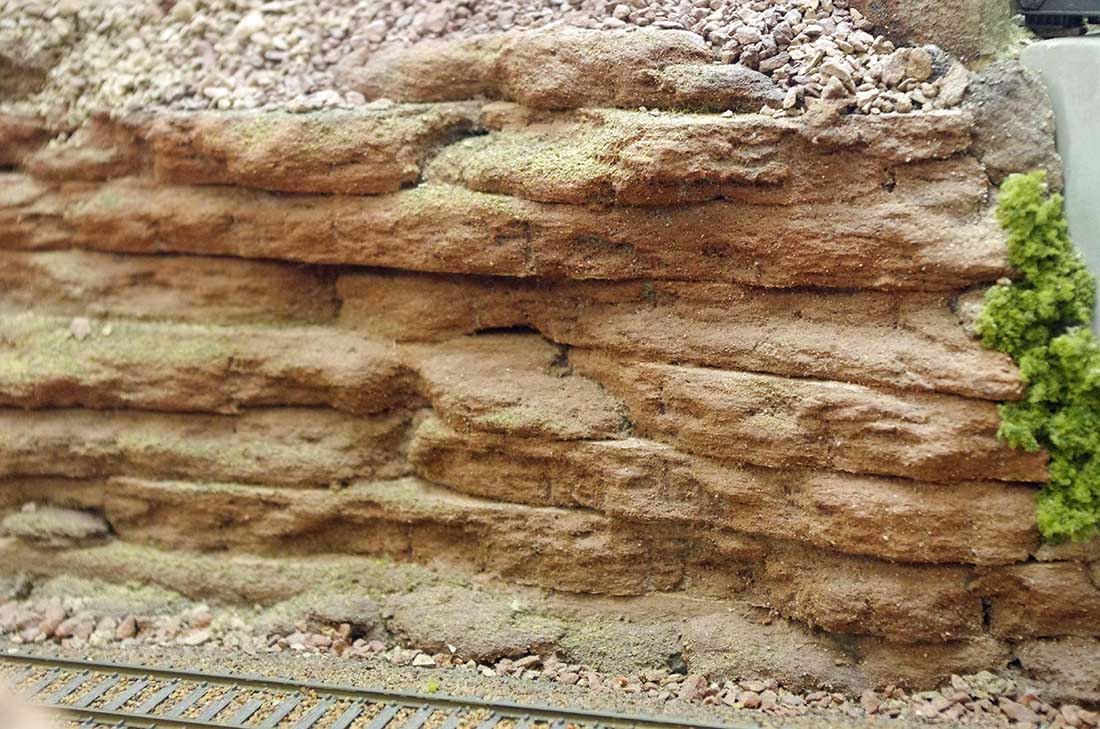
Here is an example of “Weathered” rocks. I never use wire brushes to do the weathering. As mentioned in my “clinic”, I dab on the watercolor paints and let it soak in.
If they are to be weathered, I go back over the rock face GENTLY rubbing the rock faces back and forth. If the brush is too stiff it wears away too much tile. The wet tile rubs away very easily.
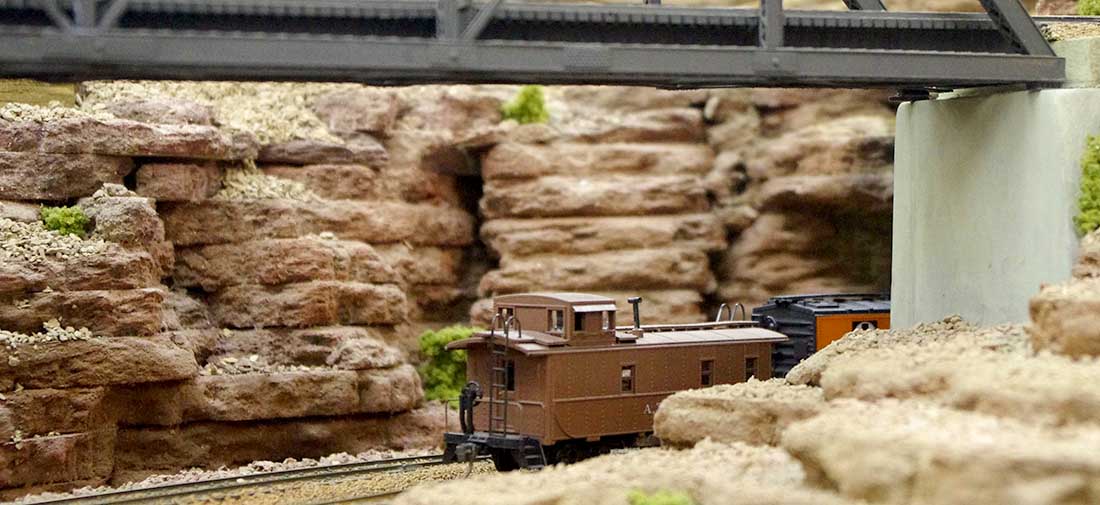
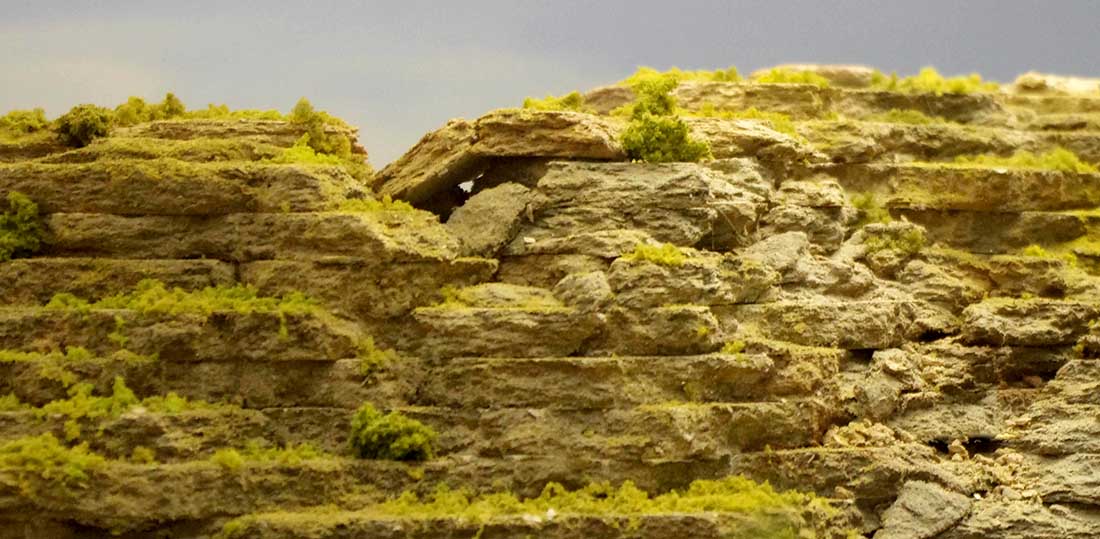
To get a natural look of the rocks I use broken pieces to simulate falling rock.
Another example if broken or falling rock.
I made the camera from pieces of a KD coupler box.

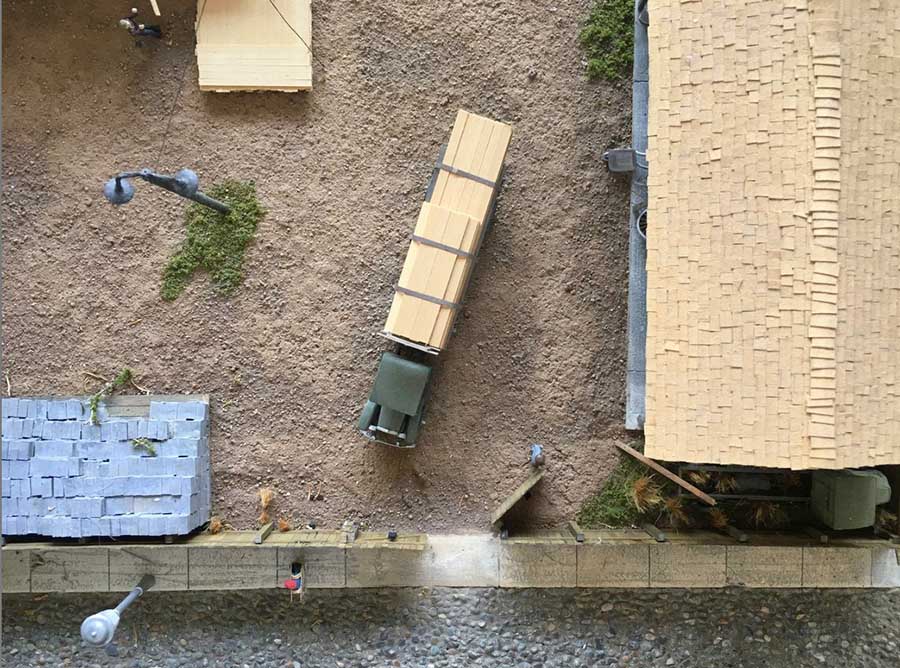
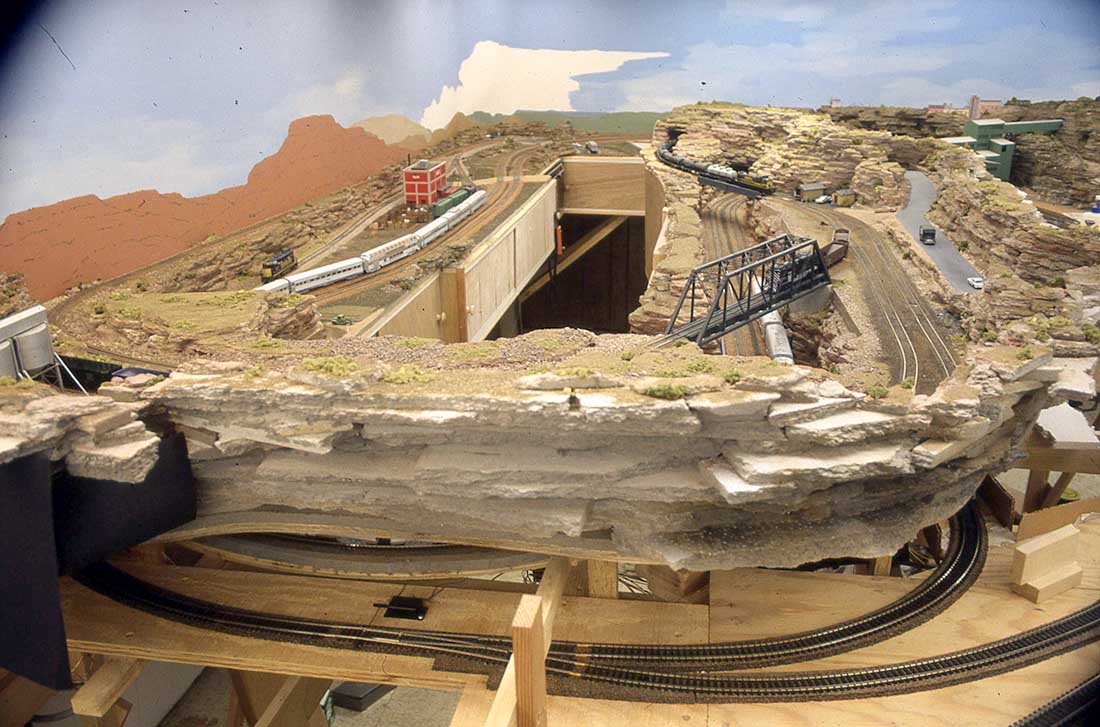
I find perspective hard to do. For my road to come in and out of the scene I had the road curve around the rocks in what looks like a natural crack.
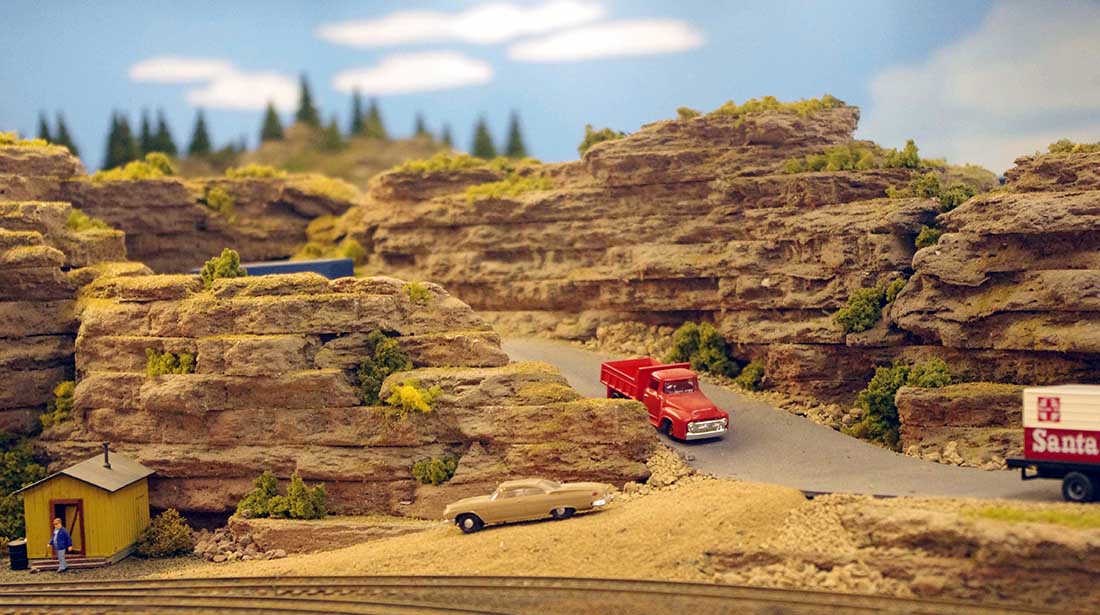
Exiting the scene.
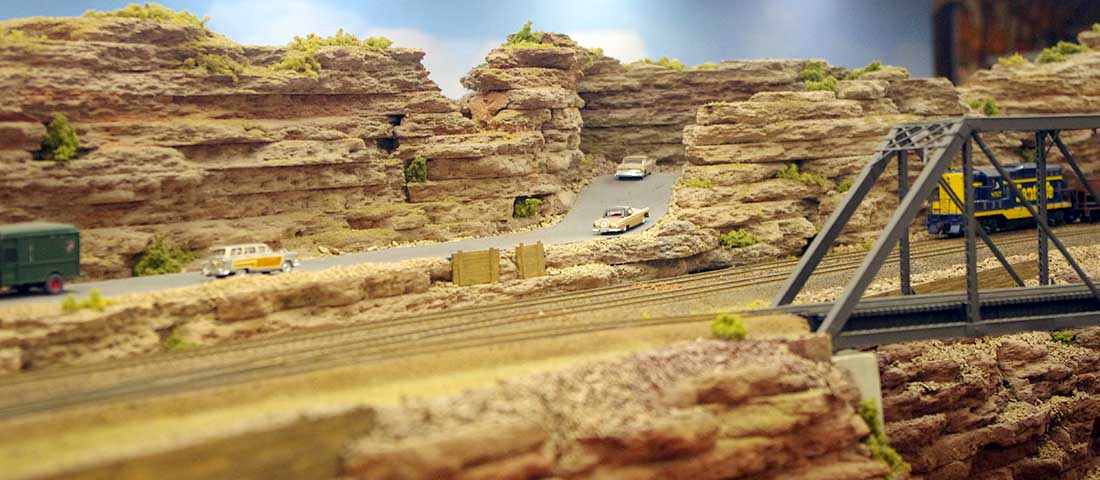
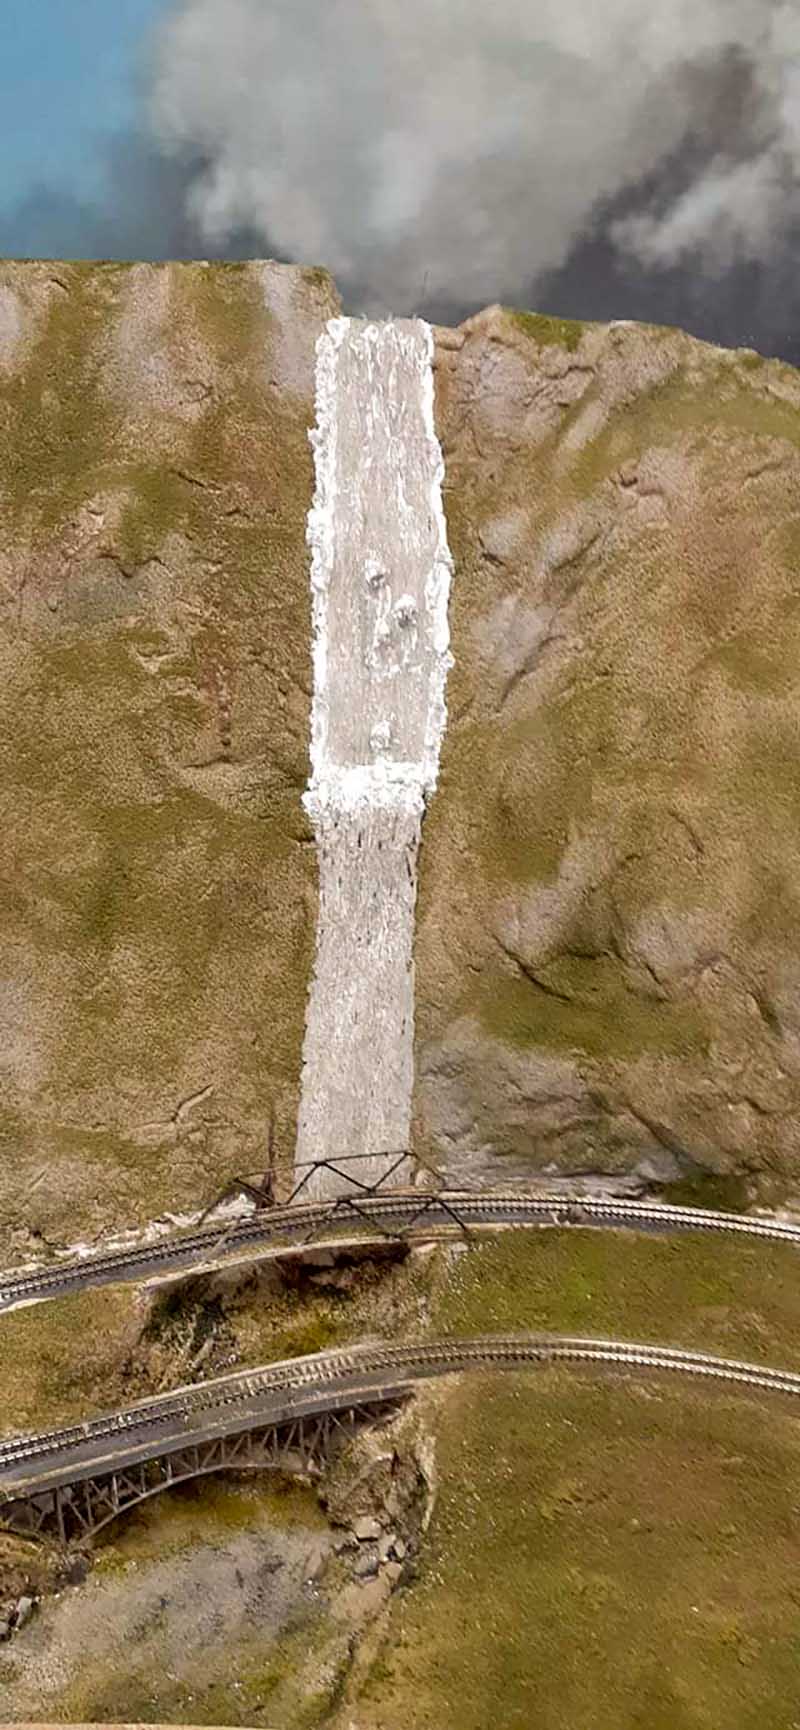
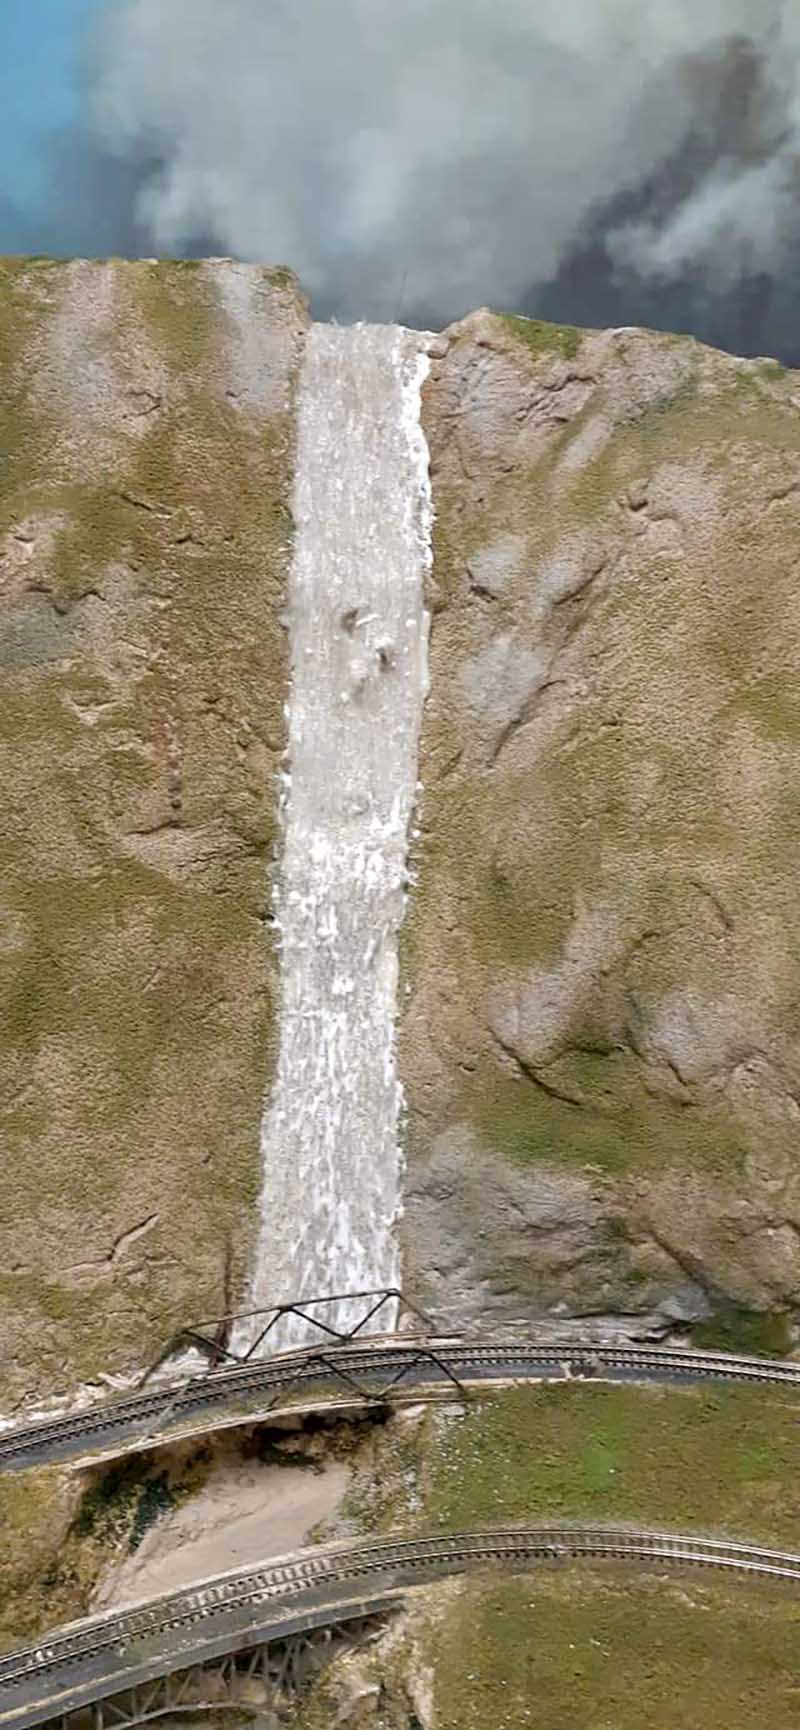
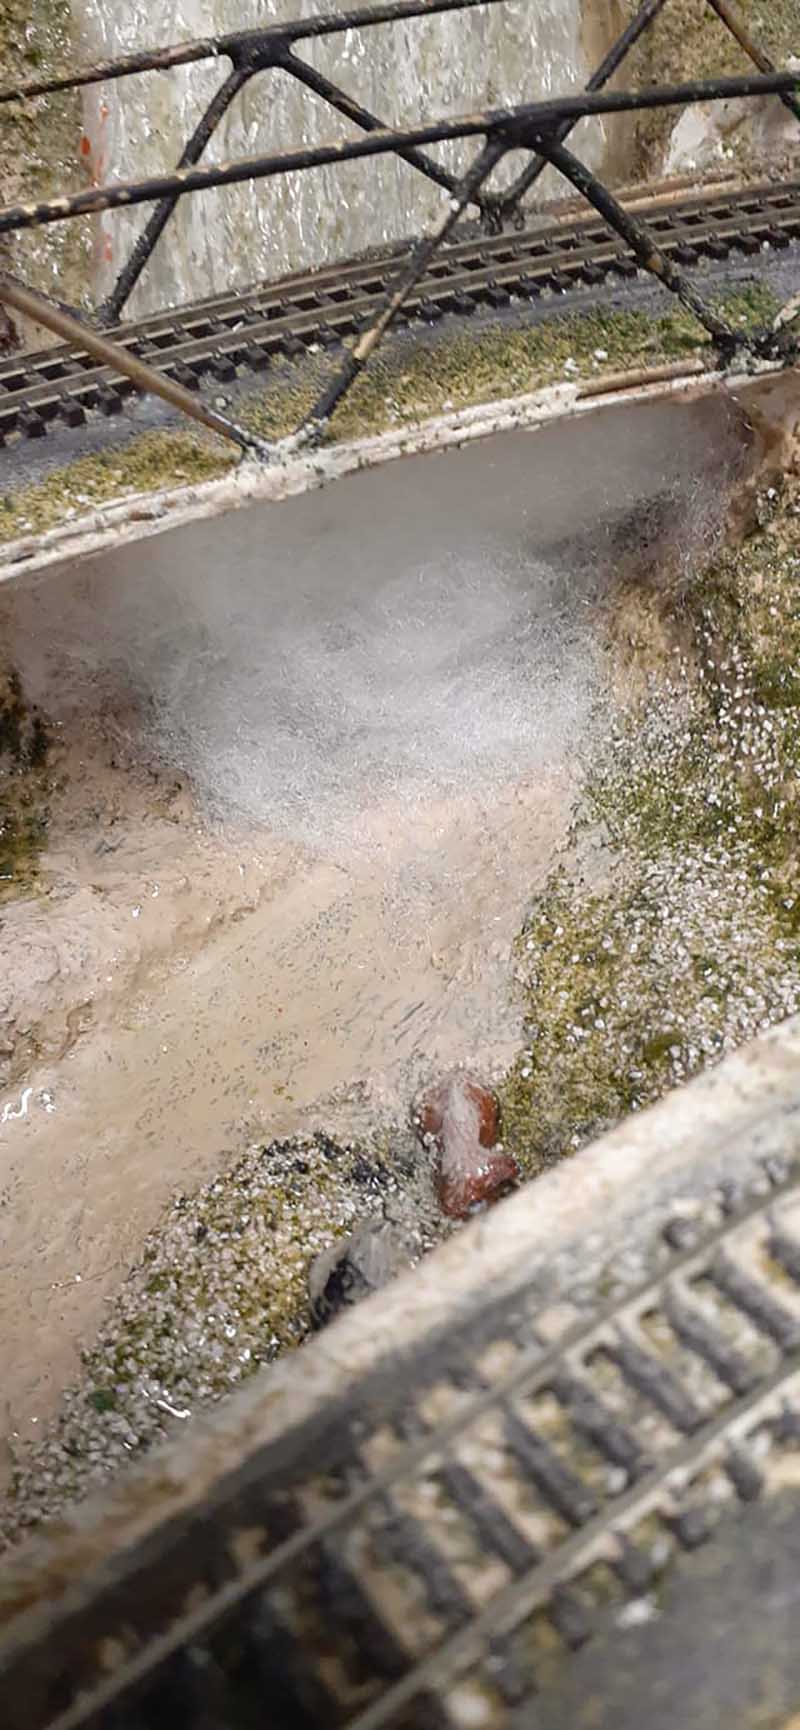
Notice the natural erosion to the right of the bridge. I modeled the dry season.
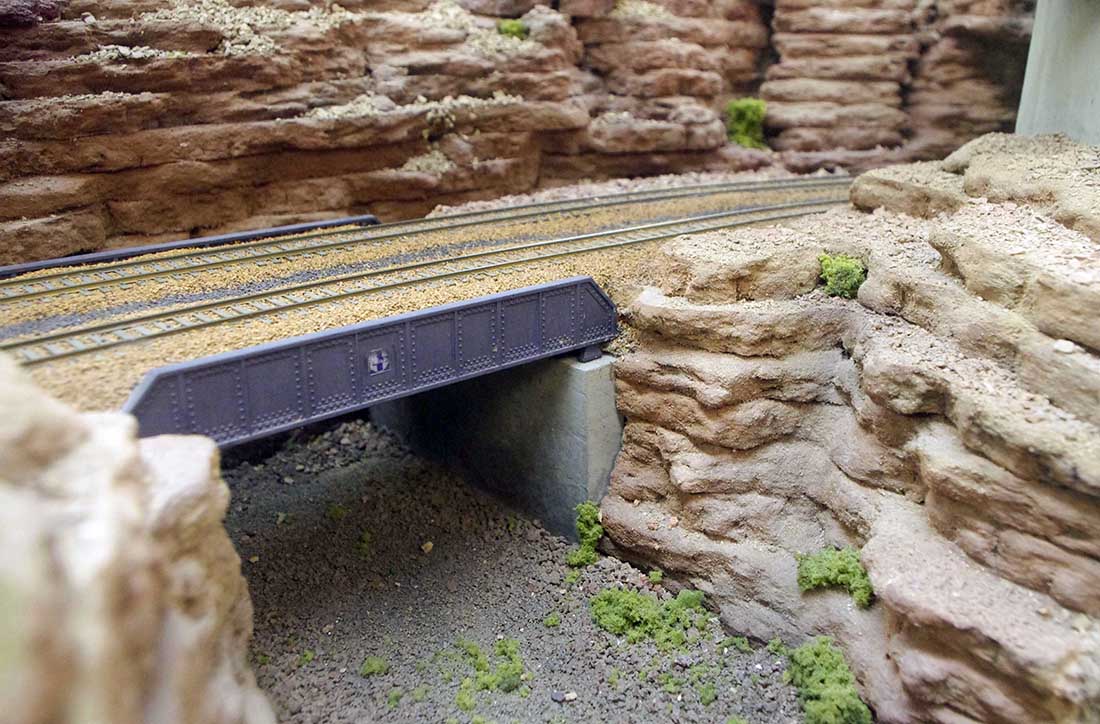
The railroad built along a dry wash . The old mainline it just above the wash.
Let explain how I did the detritus and small rocks. You can spend money on this stuff. However, plain old kitty liter work just right. The fallen rock should be the color of the rocks above and around the base of the fall.
Use the same color you used for the rocks. I had some old large coffee cans. Put the paint mix in the can. (Remember we do not use the paints straight from the craft paint bottle. We diluted them.) My wife sacrificed a pair of old nylons. (She sacrifices a lot to put up with me.)
Put the litter in the nylon and dip it in the paint for about 15 seconds. I spread the wet litter on a piece of window screen and let it dry for a few days. Break up the clumps. If you want you can screen out for various sizes.
Once the rocks are in place. Lightly spray a mist of water over them. Next I use a 50-50 mix of white glue and water and slowly drizzle it over the rocks.
Here is the new main line in the gap in the rock and the old water channel. The old line is above.

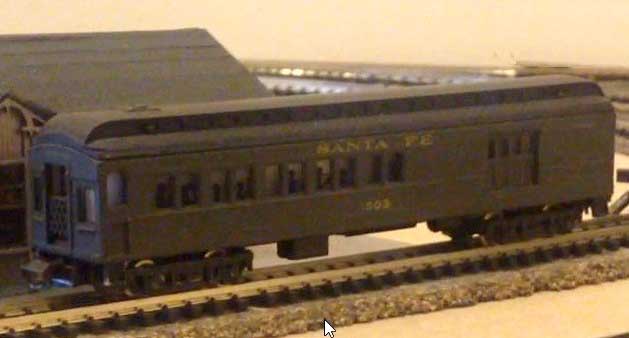
My model train Santa Fe era is roughly 1958 to 1961. I do cheat a little as you will eventually see in a video to come. The Santa Fe had some active steam up to the end.
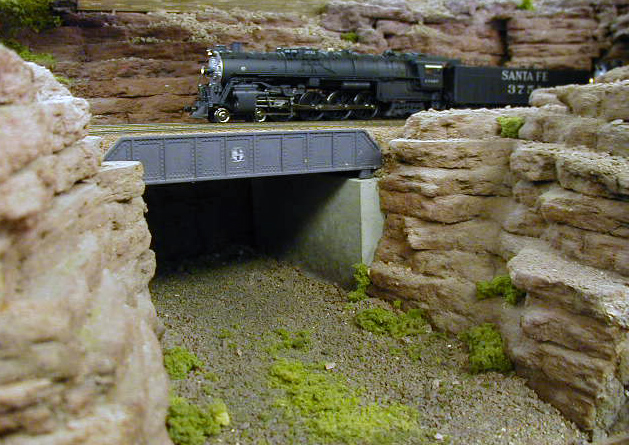
My Broadway Ltd. 4-8-4.
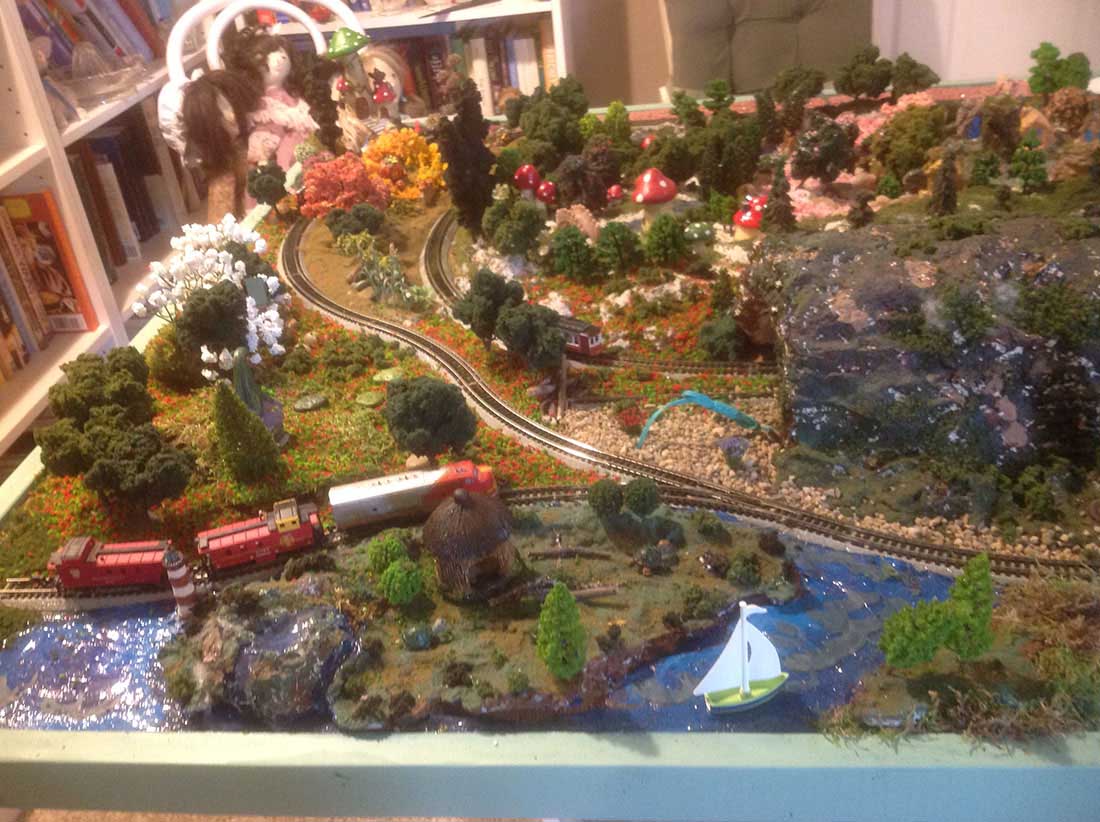
The whole shebang!

I hope you liked this set.
Dan”
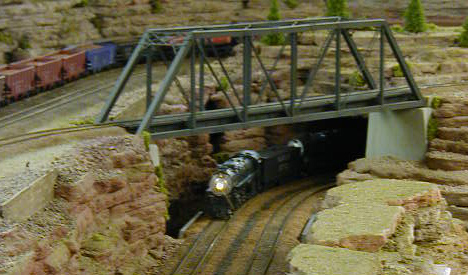
A huge big thanks to Dan for taking the time to share his his model train Santa Fe scenery – the final pic really does show how effective his techniques are.
If you missed how he makes his scenery, it’s here:
Or if you just want to see more of this layout, a little more finished: Santa Fe line train layout
Please do leave a comment below, I’d love to hear your thoughts on this one.
That’s all for today folks.
Please do keep ’em coming.
And if today is the day you get started on your layout, the Beginner’s Guide is here.
Best
Al
PS Latest ebay cheat sheet is here.
PPS Lots more HO scale train layouts here if that’s your thing.