Hall of Fame Rob has been back in touch, this time on How to scratch build a bridge:
“Hi Al,
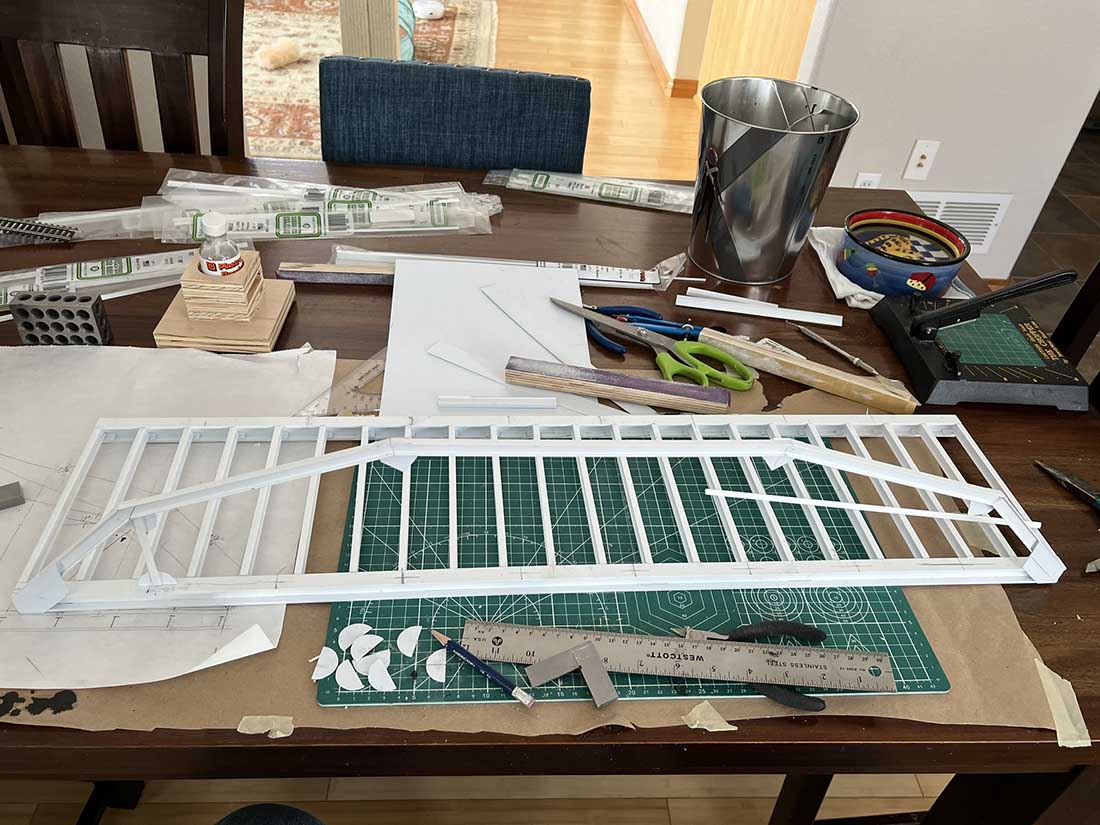
I have decided to scratch-build a bridge for my layout. This is something I have been thinking about for quite some time. I thought about it when I was building this part of the layout several years ago.
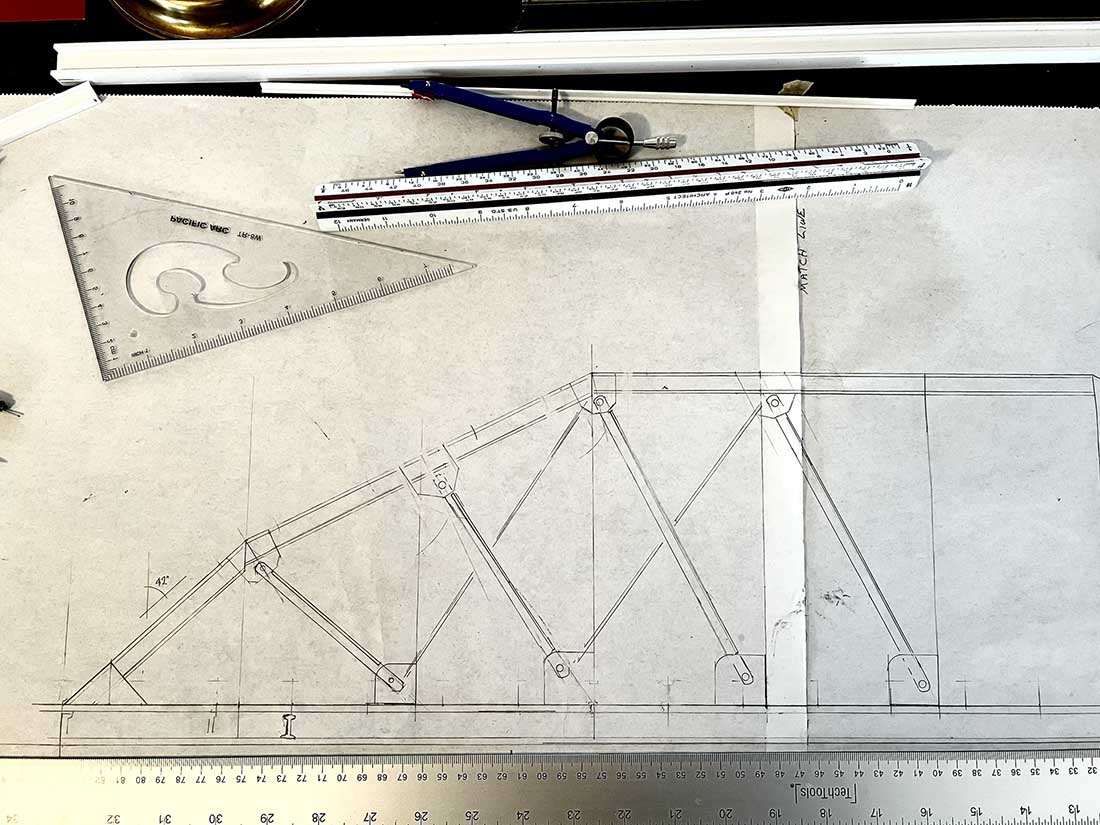
This will be a 3 or 4 part series since there is so much to cover and it will take a fair amount of time. The first video talks about where the new addition will be going. The second video talks about the drawing I made and how it is helping me to build the bridge itself.
Part 3 isn’t made yet so we’ll all have to wait a week or so.
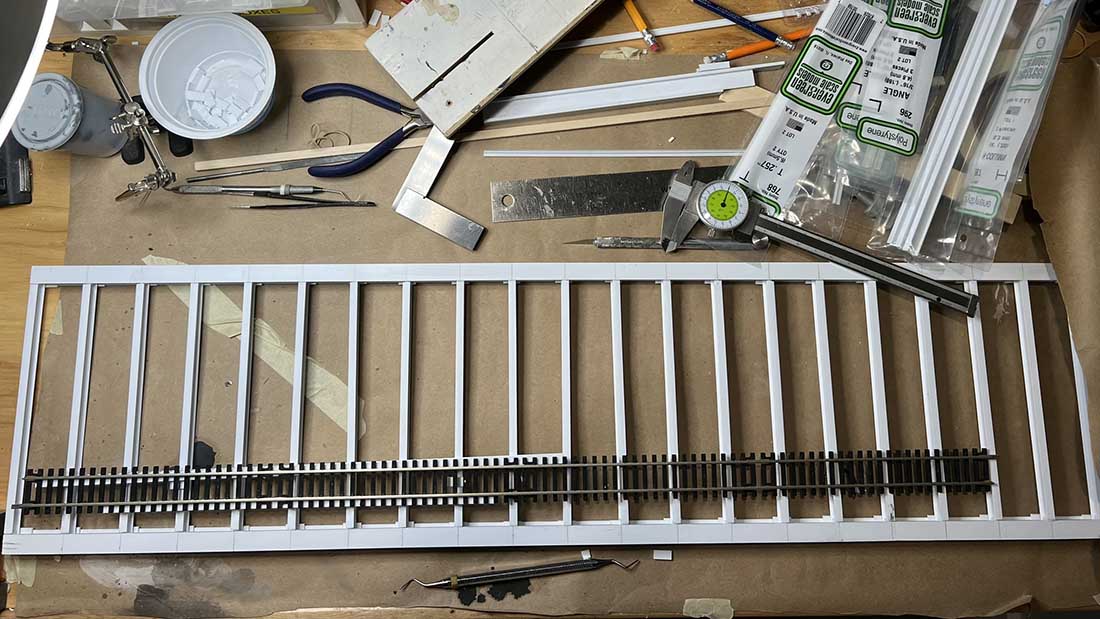
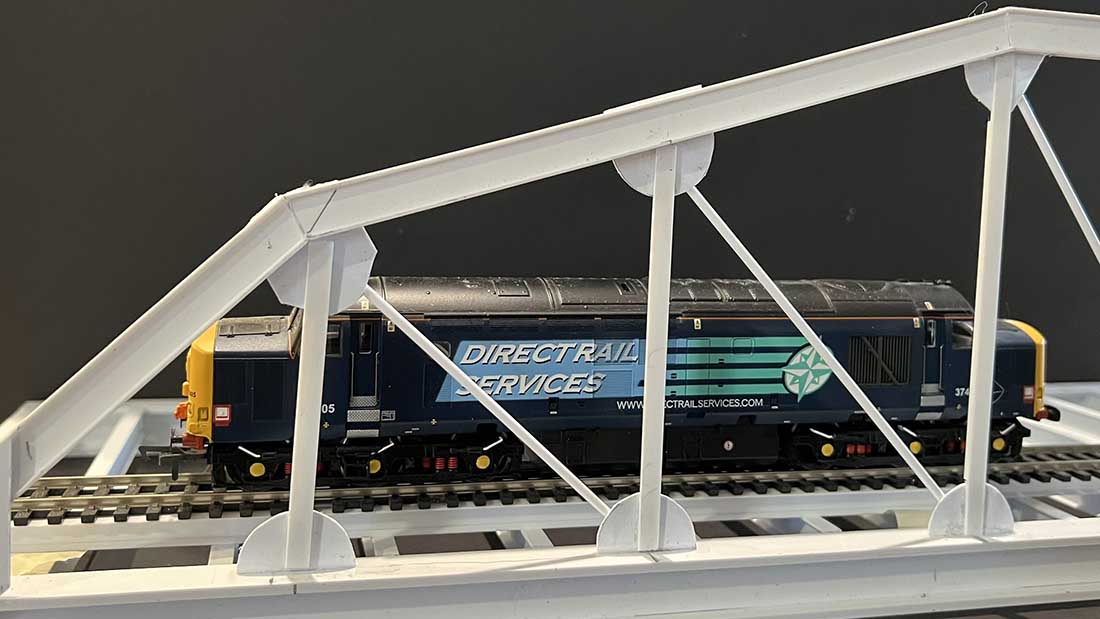
I am building the bridge from styrene plastic. It is easy to work with and comes in many scale-sized structural shapes. I have been working with this material for several months now and find it is easy to build with.. remember the London Underground cable system? That was all styrene.
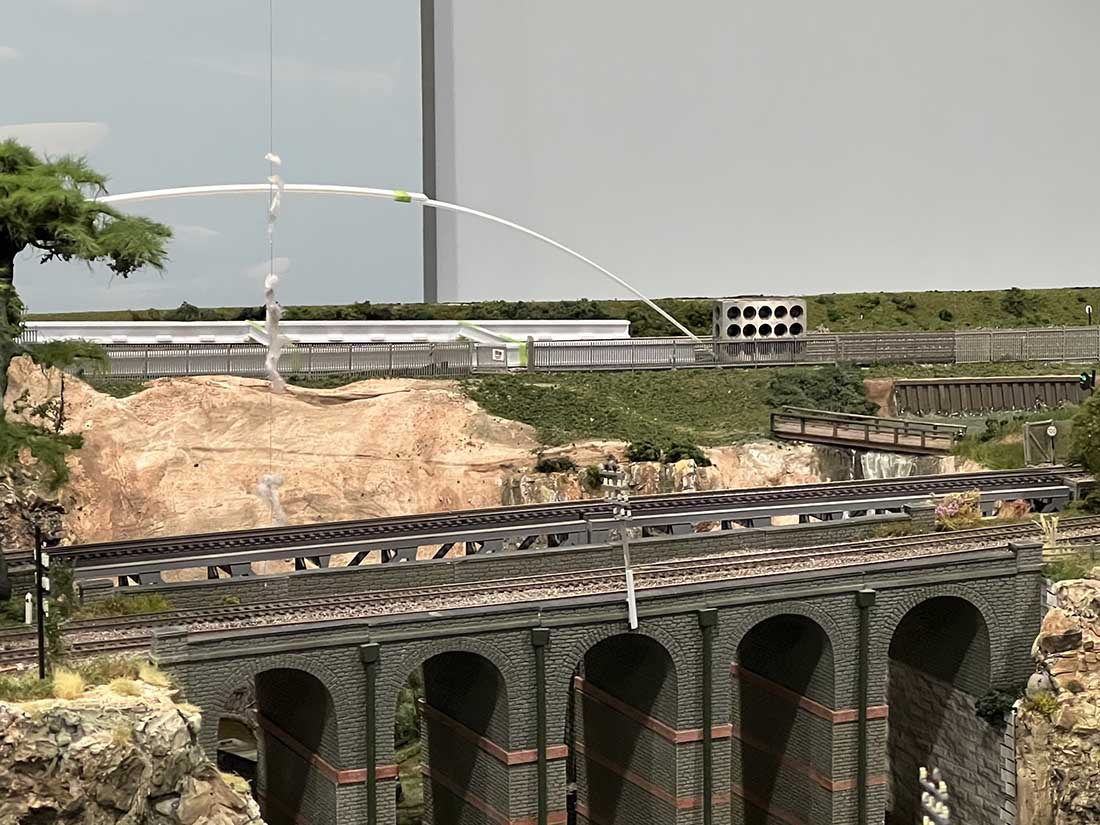
The picture with the plastic arch in it is me testing the placement and size of the bridge.
Thank you for all you do for us, Al.
All the best,
Rob”
A huge big thank you to Rob for sharing – I can’t wait to see how this looks on his layout.
There are so many bridge posts on the blog now, here are a few that spring to mind:
Michael’s bridge:
John’s bridge is amazing:
Jim’s very impressive hinged bridge:
Richards double track bridge:
JIm’s curved trestle bridge:
And who can forget Dan’s which is just stunning:
That’s all for today folks. A big thanks to Rob for his ‘how to scratch build a bridge’ post.
Please do keep ’em coming.
And if today is the day you stop dreaming and start doing, the Beginner’s Guide is here.
Best
Al
PS Latest ebay cheat sheet is here.
PPS More HO scale train layouts here if that’s your thing.
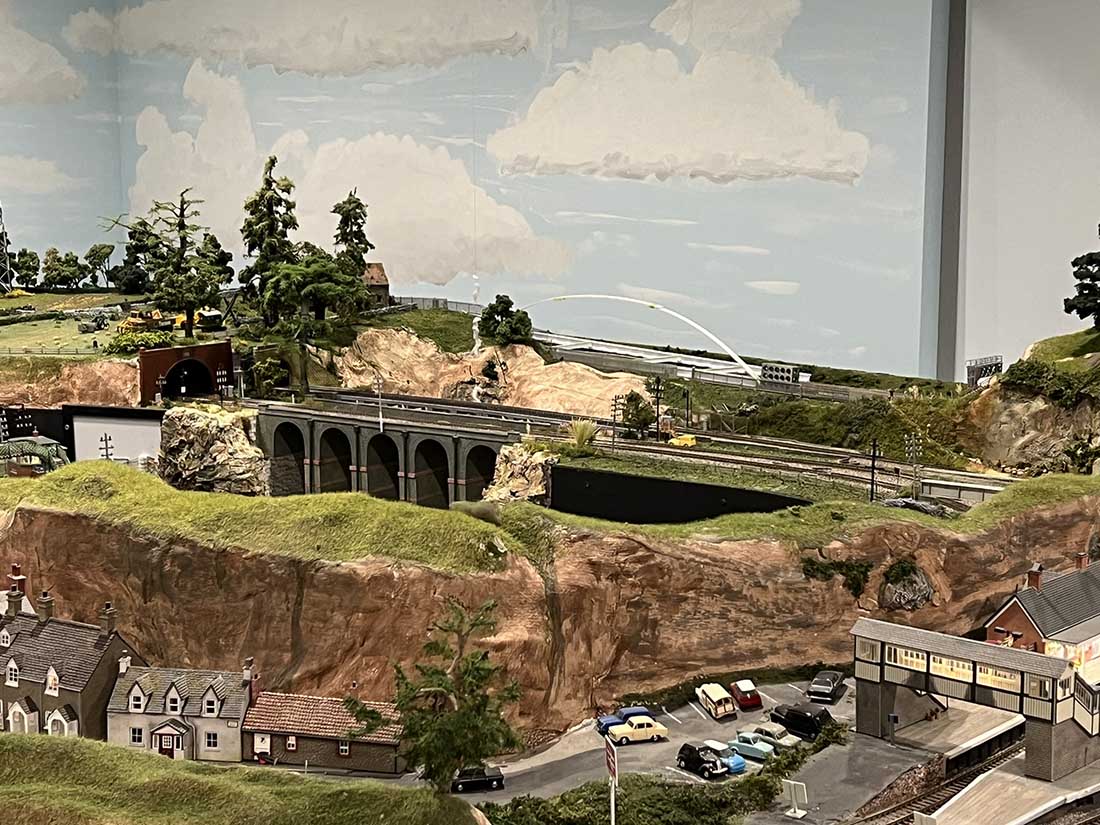


I like what he has done on the rest of the layout, or at least the part he has shown in his pics. I wish that he would have shown more of the layout and given the overall size of the project. He really does not need to add another bridge, but to each his own. Sometimes the people do not show enough of the overall layout, but in this case he was just concentrating on his new bridge.
Can’t wait to see more!
2 great videos from Rob on how to scratch build a Pratt Truss Bridge. Loved the detailed description of his use of plastruct parts and how he assembled the bridge. Excellent!!
Yes, very intricate and detailed as rest of layout construction. This man reads directions first, plans and executes. Me… look at directions as very last effort, never works out well lmao. Brain is always going though, think of things- wake up in middle of night.
Now if I can only get right comments with right story. Think it’s called dementia? Many things worth forgetting these days, not all bad.
Rich, Regarding
As always fantastic detailed workmanship Rob. I look forward to seeing the completed project. Your layout is inspirational.
Rob
Super submission. Cant wait for part 3 so we can see how the master paints and finishes the project.
We will know if the engineering of the bridge will support -did you say- 3 engines and how much flex there will be.
Big Al
Always nice to hear from Rob. Gracias
Brilliant.
Great design can’t wait to see more.
It’s a nice bridge, but as a civil engineer, I must point out that in the design of such a truss bridge, some members are in tension and others in compression. The thin bars here are used for tension, but there should also be some girders used for those members in compression. My apologies if this information is too technical.
What is Robs YouTube site called?