Dean’s been back in touch with his take on a Denver and Rio Grande Western model railroad:
“Al, Cheers from Dean in New Mexico.
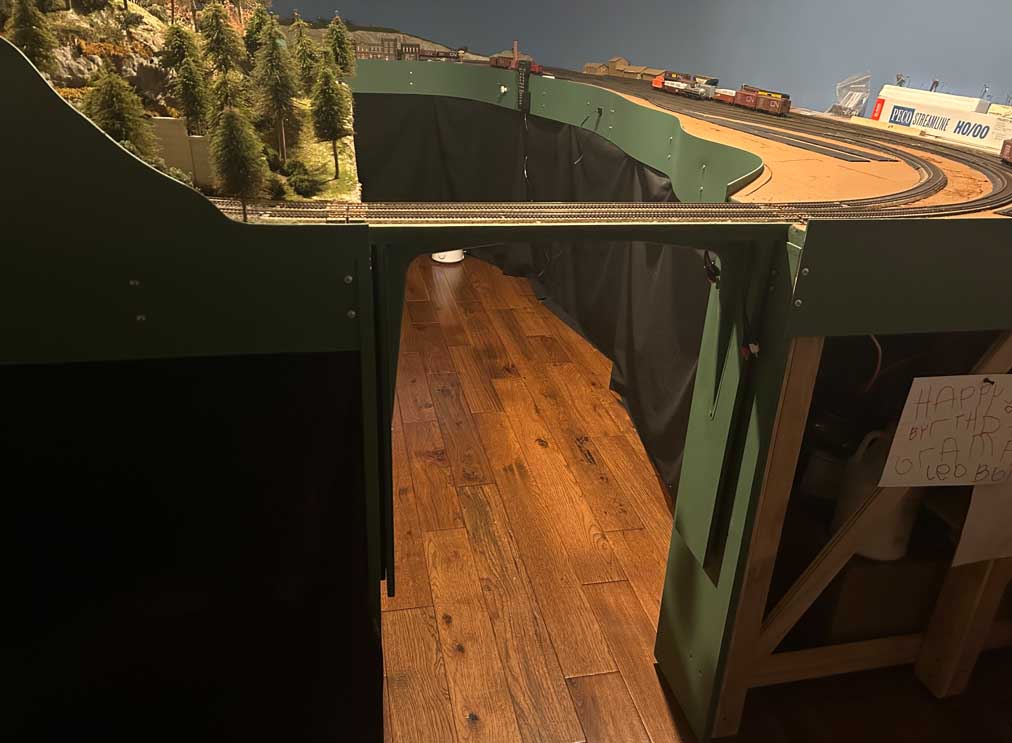
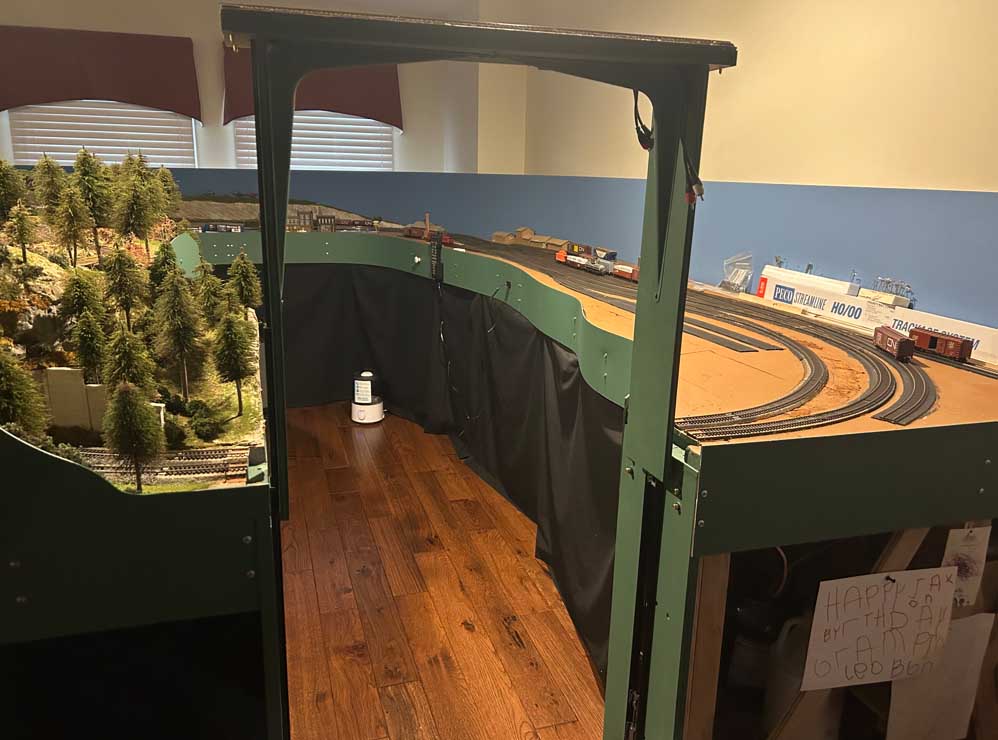
I’m working on a new L-shaped N-scale railroad.
The plans are below, but first I want to talk a little bit about its history. This layout will be located in northern New Mexico (actually well know to me since I live there).
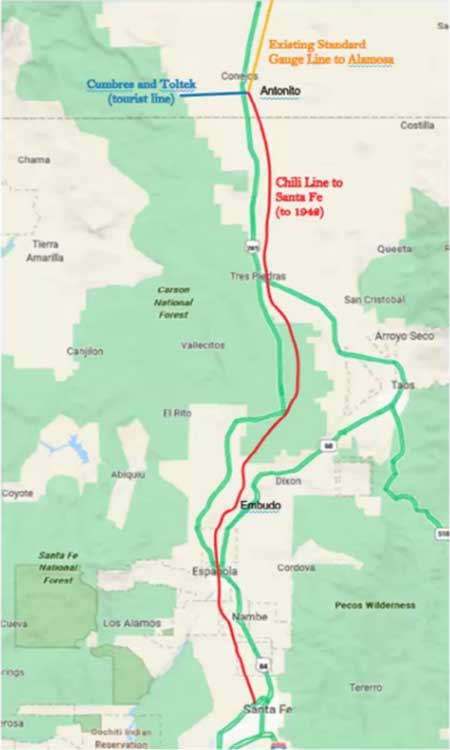
Before I get to the history of my new fictitious Santa Fe Northern Railroad, I want to talk about the history of the Denver and Rio Grand Western Railroad in New Mexico. See the map below.
The D&RGW came down from Alamosa to Antonito (both in Colorado) as shown in the yellow line. This part of the railroad was converted to standard gauge early on and is still an active railroad running a few trains a month.
At Antonito the line continued onto Chama, New Mexico, on what is now the Cumbres and Toltek tourist line. Also leaving Antonito was the narrow gauge Chili Line down to Santa Fe, New Mexico.
The line traveled south on the plateau following closely what is now Highway 285. If you drive on this road, you can see much of the grading still visible, and at the town of Tres Piedras there is still an original water tower.
At a place above the ghost town, Embudo, the line dropped over a steep grade down to the Rio Grande river. At Embudo you can still see a turntable pit and another water tower. The line then followed the river, through Española. It crossed the Rio at a place named Otowi crossing, then proceeded to Santa Fe.
The original plan was to follow the river all the way down to the border with Mexico, but the Santa Fe RR won that race. Unfortunately, the Chili Line was abandoned in 1942 and the rails were pulled up to support the war effort.
The history of Otowi was written up in the book The House at Otowi Bridge: The Story of Edith Warner and Los Alamos , which talks about how Oppenheimer and other scientists at Los Alamos during the war often dropped in on Edith. She was the station master at Otowi and also ran a lunch stop.
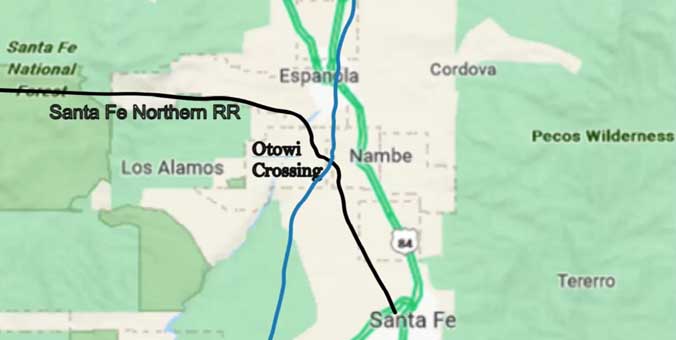
In my imaginary history of the area, the Chili Line and the Los Alamos Lab did not exist. Instead, the Santa Fe Northern was built, following the route of the Chili Line, from Santa Fe down to Otowi, but then it turned away from the river into the mountains to service a large coal mine at Redondo and to haul off lumber from the forest.
A large coal mine actually existed in northern New Mexico in Madrid, a town south of Santa Fe. It serviced the Santa Fe Railroad until diesels replaced the coal locos. But coal does not exist in the area of the Santa Fe Northern, since that area is the remains of a large extinct volcano which blanketed the area with lava and volcanic ash. But my railroad, my history!
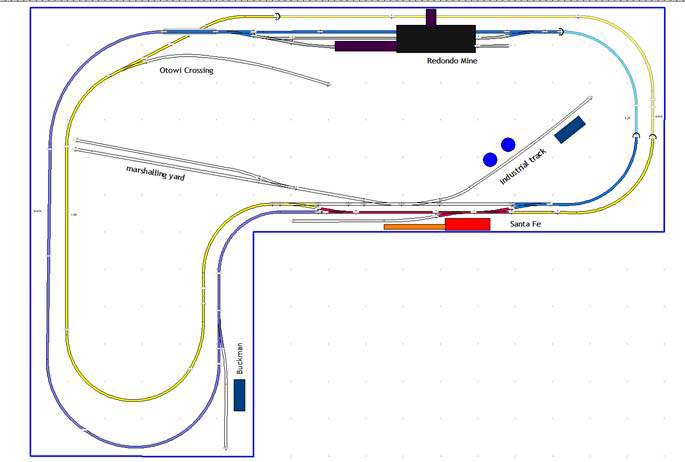
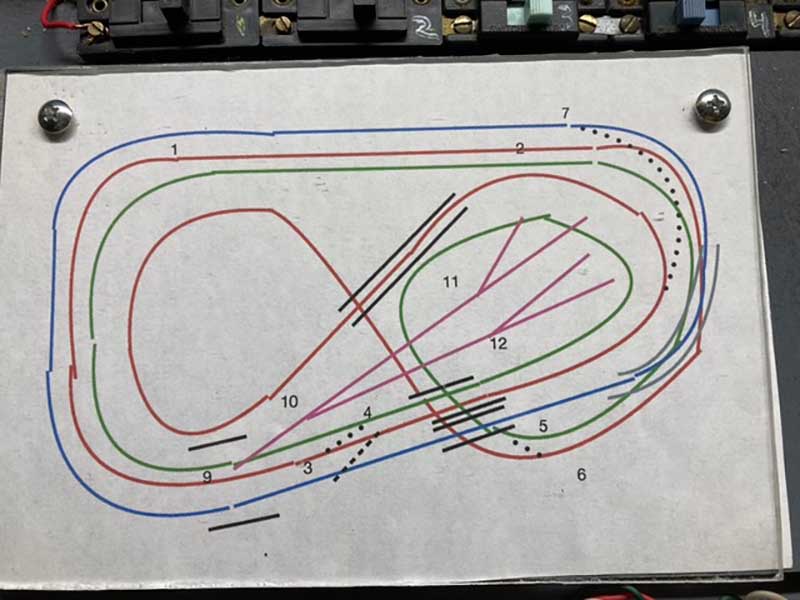
Below is my layout plans as developed using SCARM (free version can be downloaded from scarm.info). It is a double ovel connected by two sets of crossovers. The railroad can be run in three main modes.
1) Work train from Santa Fe to mine. Train runs CCW from Santa Fe to Otowi Crossing on the yellow or lower loop, continuing on taking the blue loop up to the mine.
2) One train over the whole main line. Start anywhere with both switch crossings set to the straight position, and eventually the train will get back to the original spot.
3) Two trains going in opposite directions, one on the yellow line, one on the blue. This requires both trains to utilize the red track, necessitating focused attention from the operator to manage the switches effectively. This would be a good thing to show kids.
The three modes of operation are all demonstrated using the Model Train Simulator add-on to SCARM in my YouTube.
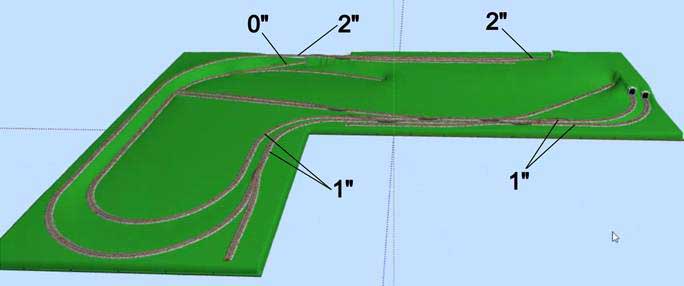
Below is the 3D version of the plan showing track elevations at key points. The lowest point is at Otowi with an elevation of 0”. Tracks rise up to Santa Fe and the yards at 1”, then continue up to the mine at 2”. By breaking this up into three main elevations, the track inclines are decreased by half—this brilliant change was suggested by a viewer of my YouTube channel.
I had hoped to have this layout well under construction by now with the baseboard built and some of the track laid. But unfortunately, ” life is what happens when you’re making other plans”. A five-day stay at a hospital with a slow recovery has slowed me down. Hopefully, I can report progress in a month or so.
Thanks Al, for everything you do.
Dean”
A big thanks to Dean for sharing his Denver and Rio Grande Western model railroad plans – you all know how much I like a layout with a theme so I’m looking forward to seeing this one.
Now on to Kerry:
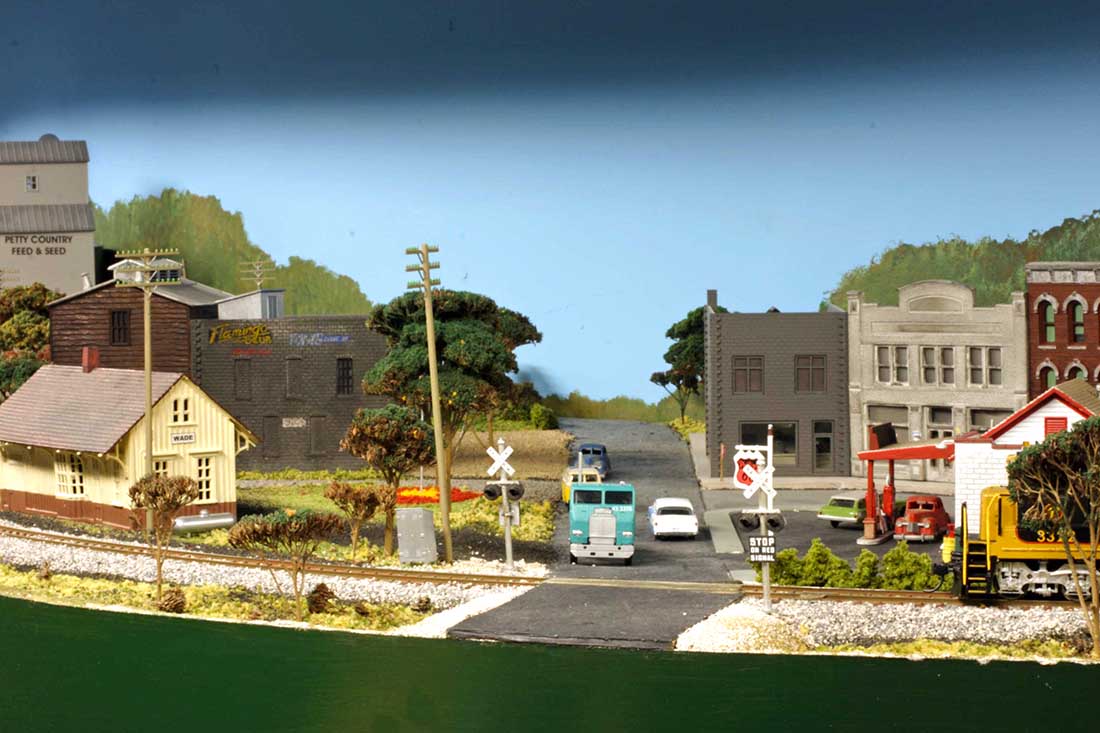
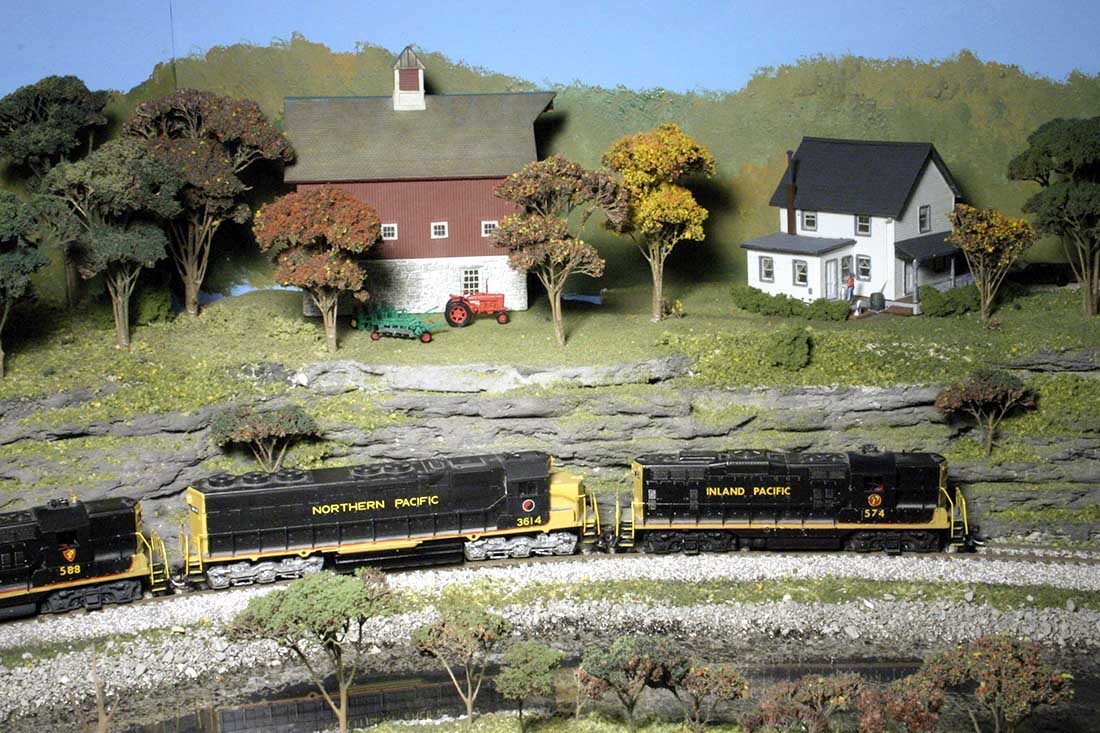
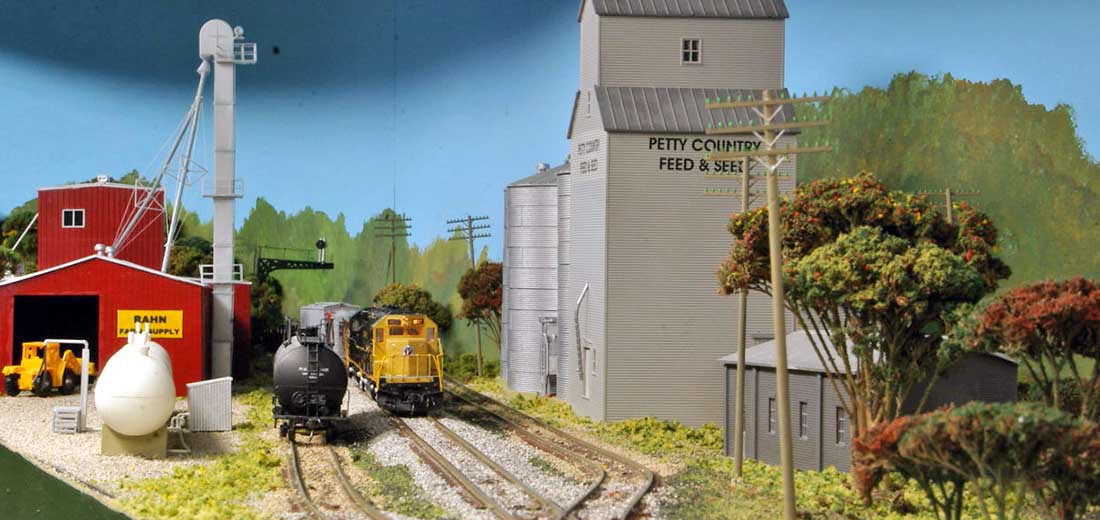
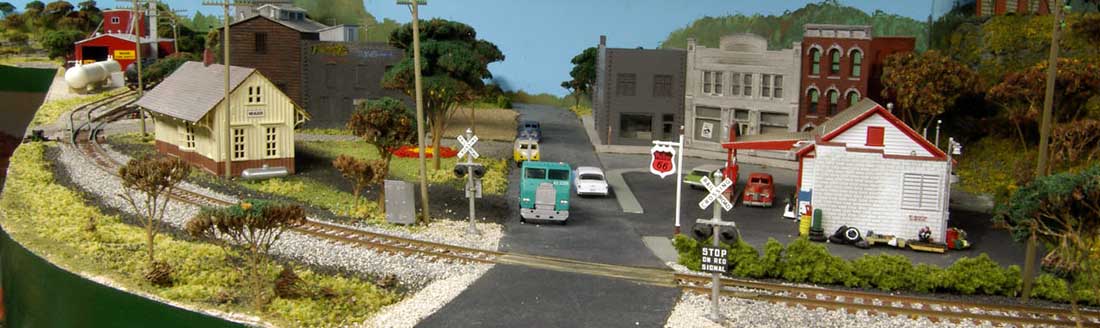
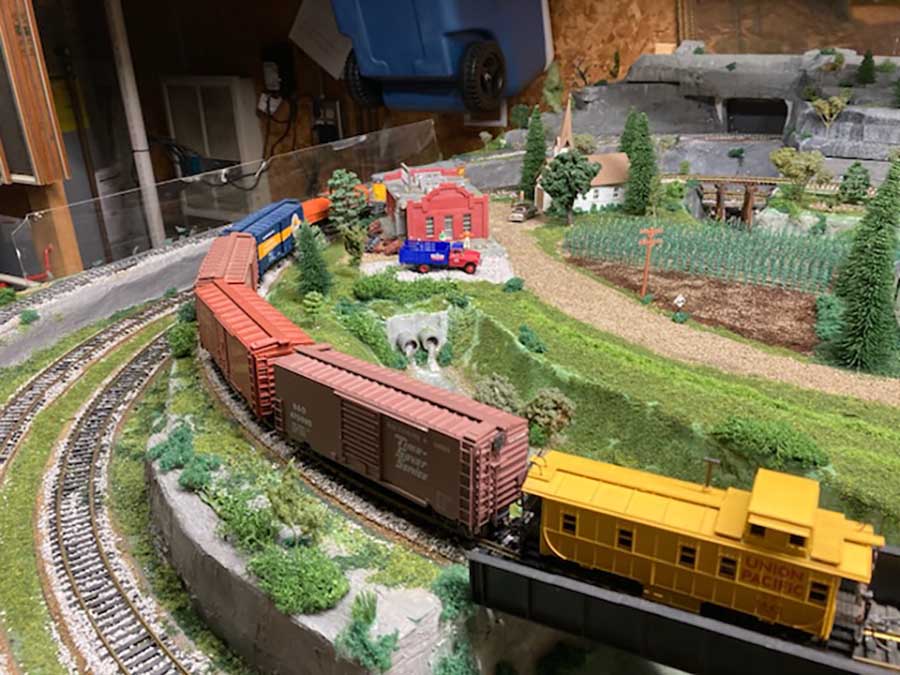
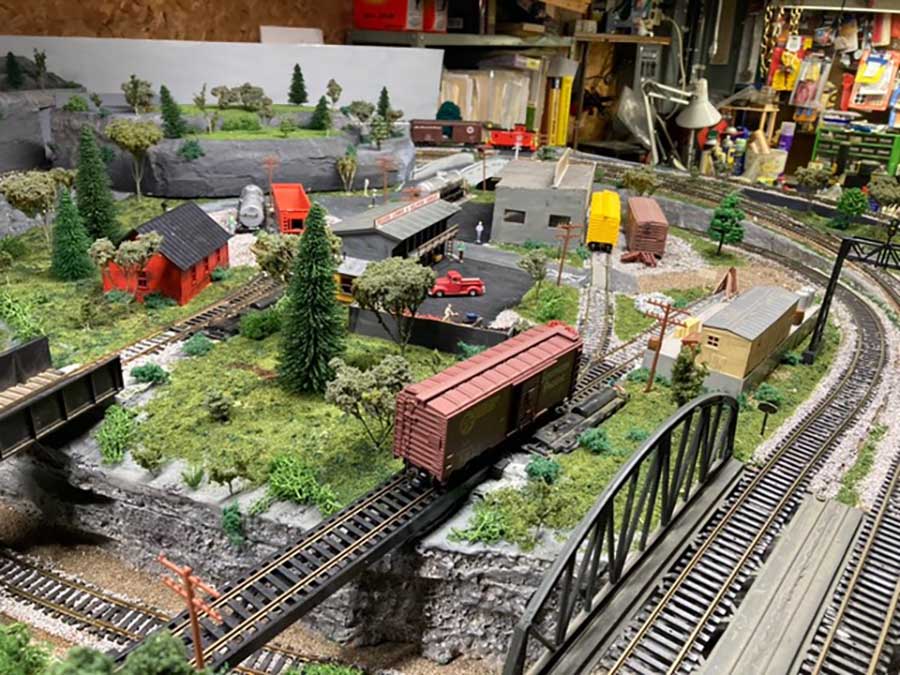
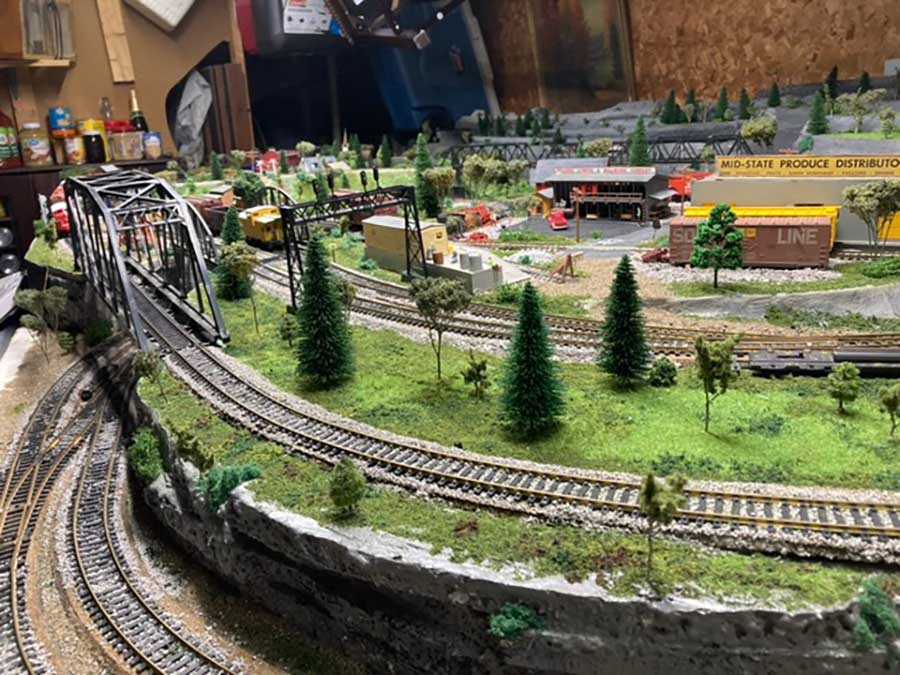
“Hello Alastair: I’ve watched many of the contributions of others. I have an HO layout 5’ x 9’ I started 30 years ago, but didn’t really make alot of progress until the last 8 years. Converted to DCC last year. Modeling the early 50’s. I used Atlas track and turnouts as that’s all I could afford 25 years ago. They still work, even with DCC technology.
Kerry”
I do love it when I receive stuff about 30 or 50 year old locos or track working just fine. Just makes me smile.
That’s all for this time folks.
Please do keep ’em coming.
And if today is the day you get started on your layout, the Beginner’s Guide is here.
Best
Al
PS More HO scale train layouts here if that’s your thing.