Lawrence has been in touch, he’s been busy adding a scratch built roundhouse to his layout.
“Hi Al,
The first thing I do each morning is look at the emails you send out with my cup of coffee. Thank you for doing this.
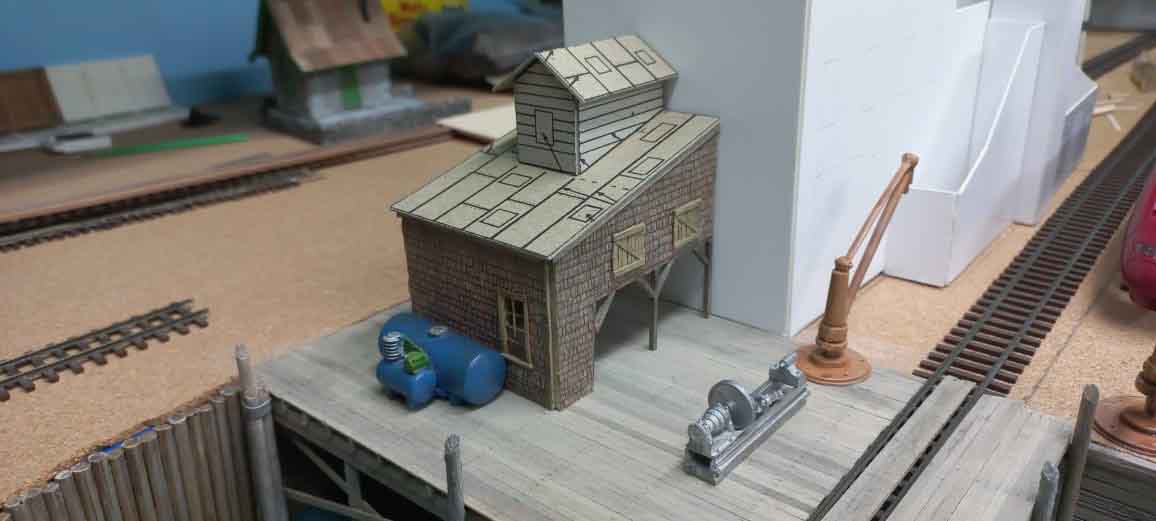
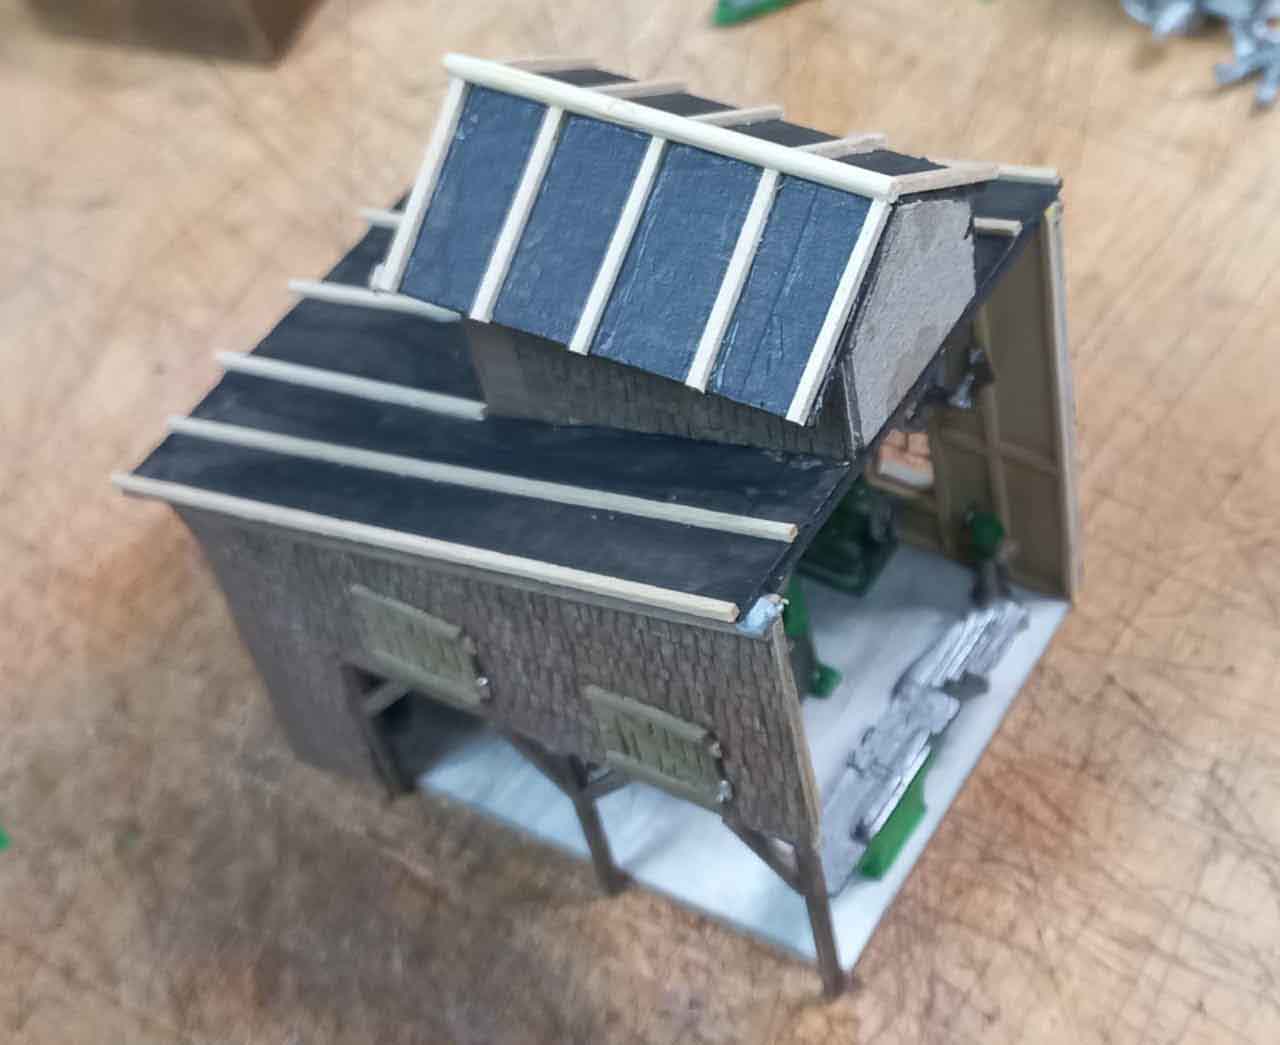
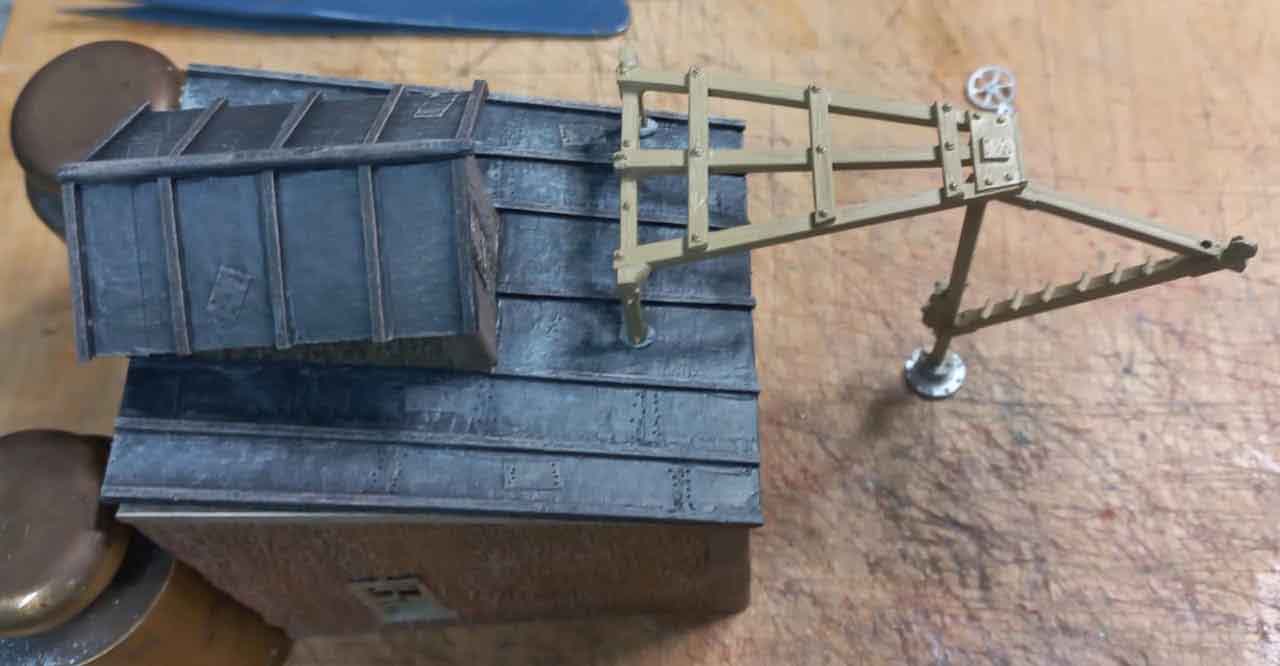
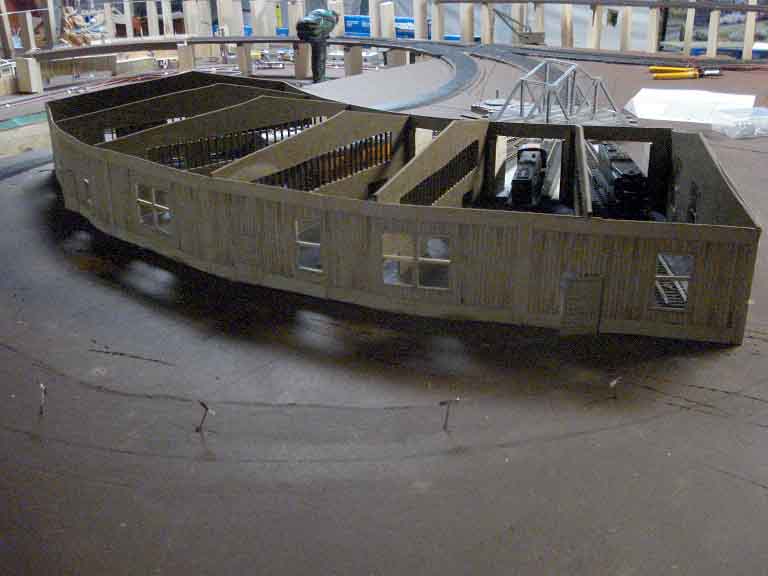
Just sending a few pictures of the start of my six position Round House.
I used your Round House printable pictures. But in this case for the size of the engines I could not use the 89% factor. I had to go up to printout of 130% to get proper clearance side to side and height for the engines.
Hindsight = maybe should have cut out under the turntable and lowered it. It actually created a lot of extra work on my part. Painted the three-eighths inch round house black for now.
Used 0.8-inch styrene between the turntable and the round house and painted it concrete. With that the height of the track was perfect. You can see from the pictures that track laying was still in progress. I wanted to get the basic turn table and round house done as part of laying track.
The first thing I had to do was find out how much space needed for the six lanes.
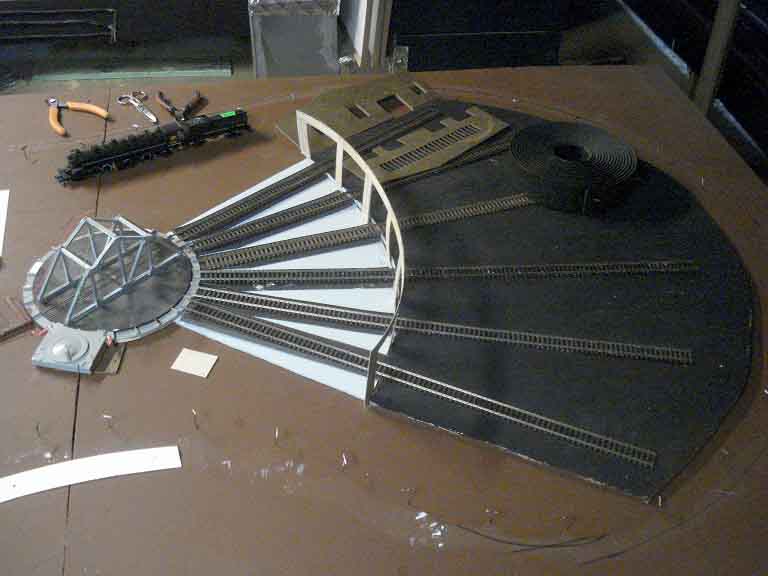
The front of the printout was printed three times to get the entrance spacing for the round house. Put down some track from the turntable and extend the track for the engine inside the building.
To back the paper for the front I use “Ram Board” from Lowes. It is stuff used beneath carpets and comes in 36” by 50’ and I think it was about $30 for the roll. I have been using that roll for two years for the print out pictures.
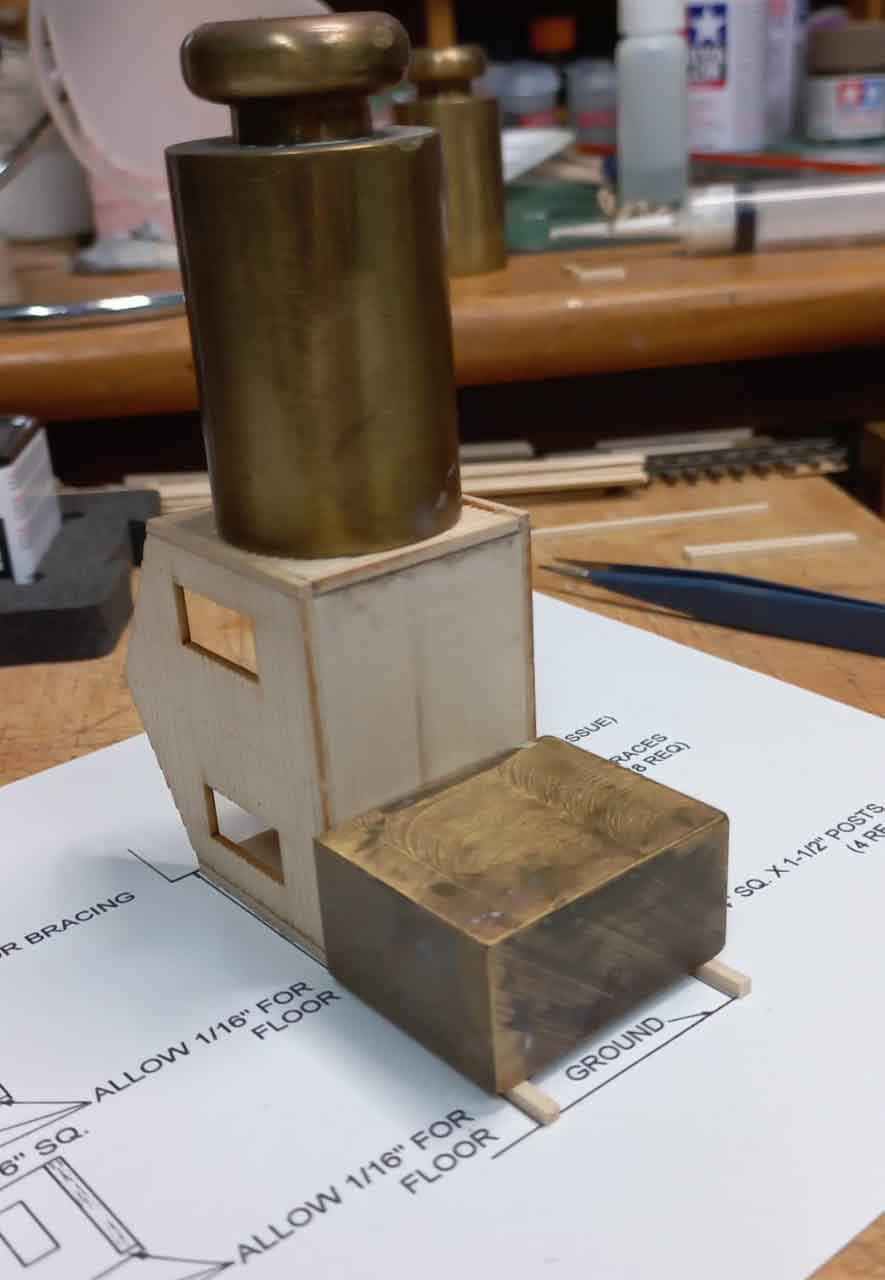
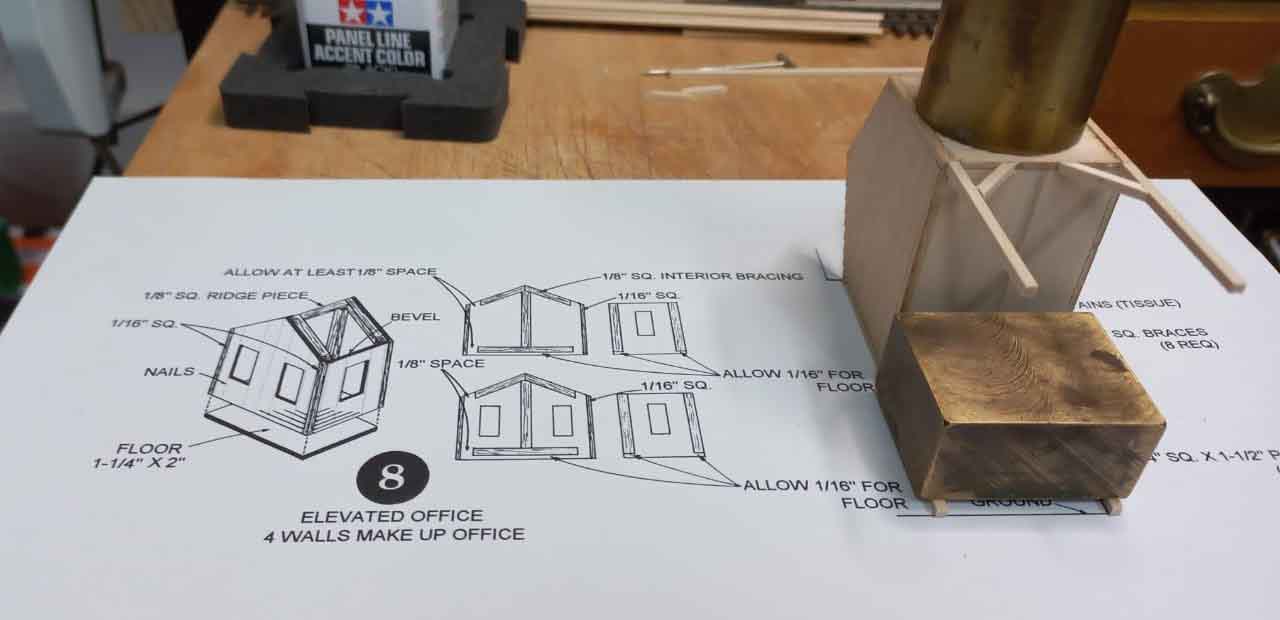
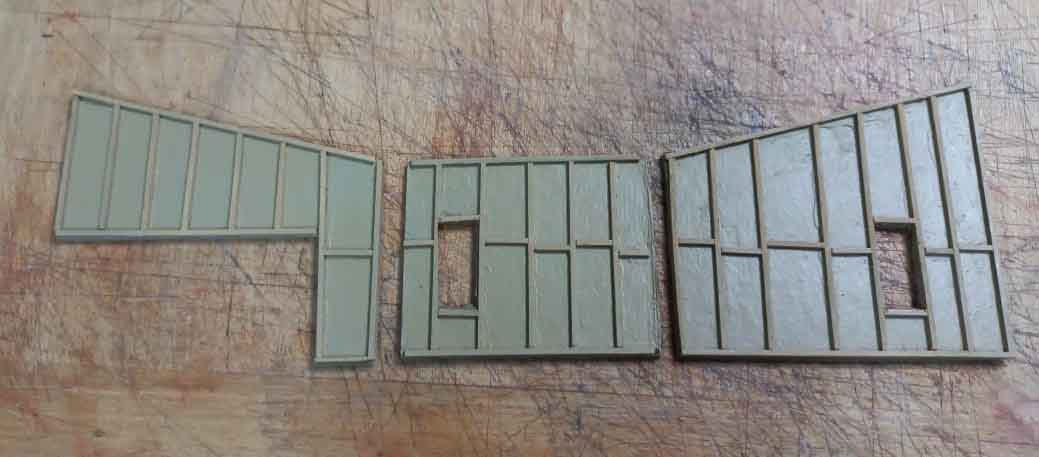
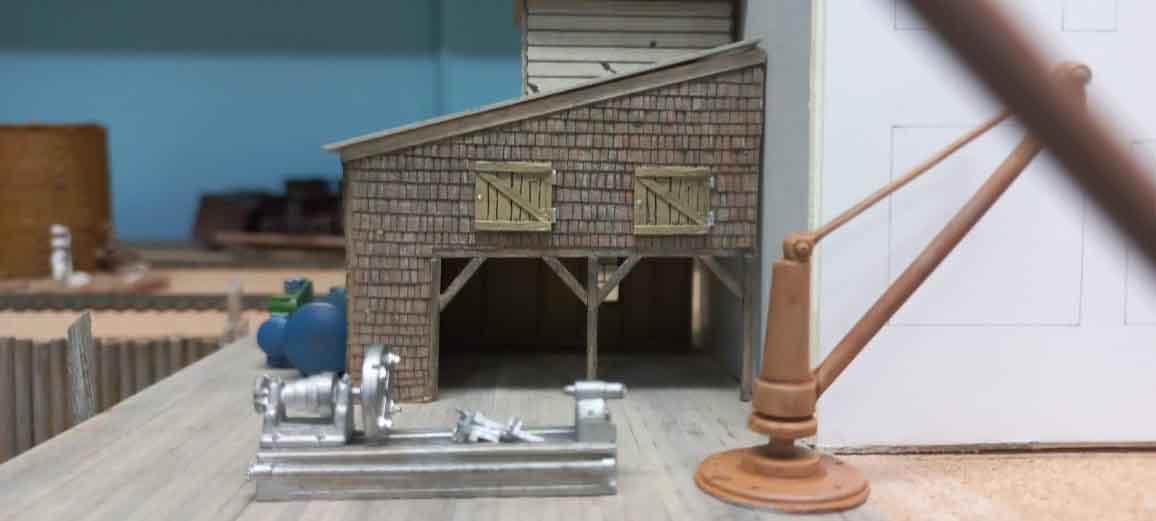
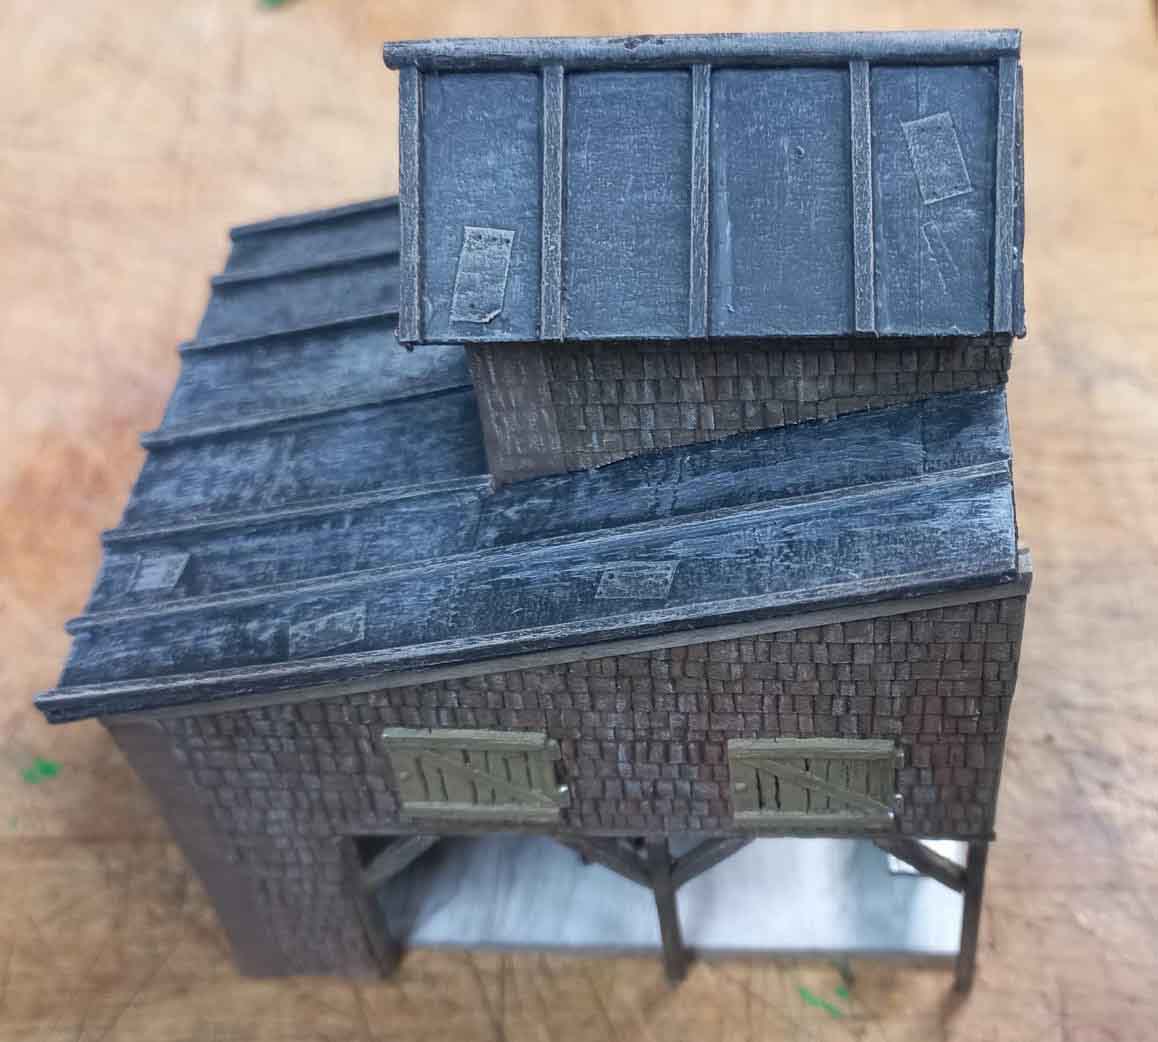
The next three pictures I used one eight-inch hard board for the left and right-side pictures from the round house download. Using the side pieces to determine the length of the round house.
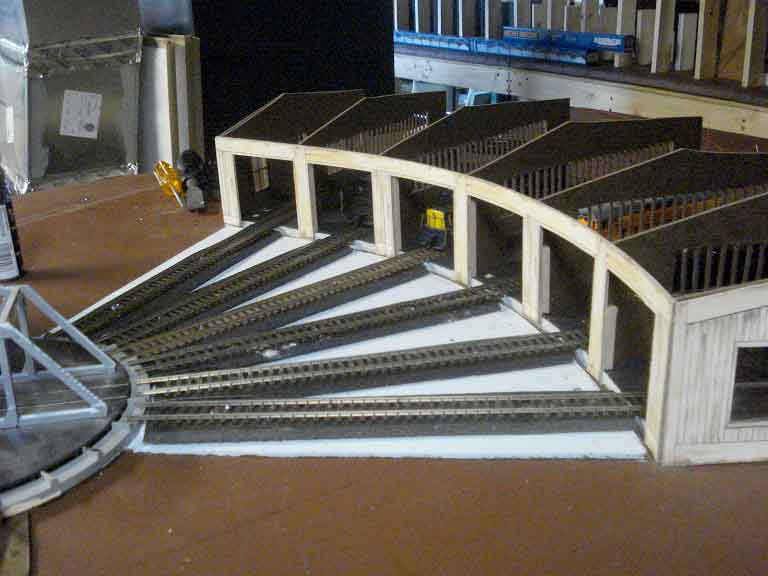

I also used the hardboard for the dividing walls, same length as the sides. Drilled pilot holes as needed and then a jig saw to cut the openings. Used balsa wood strips to fill the cross-area ventilation.
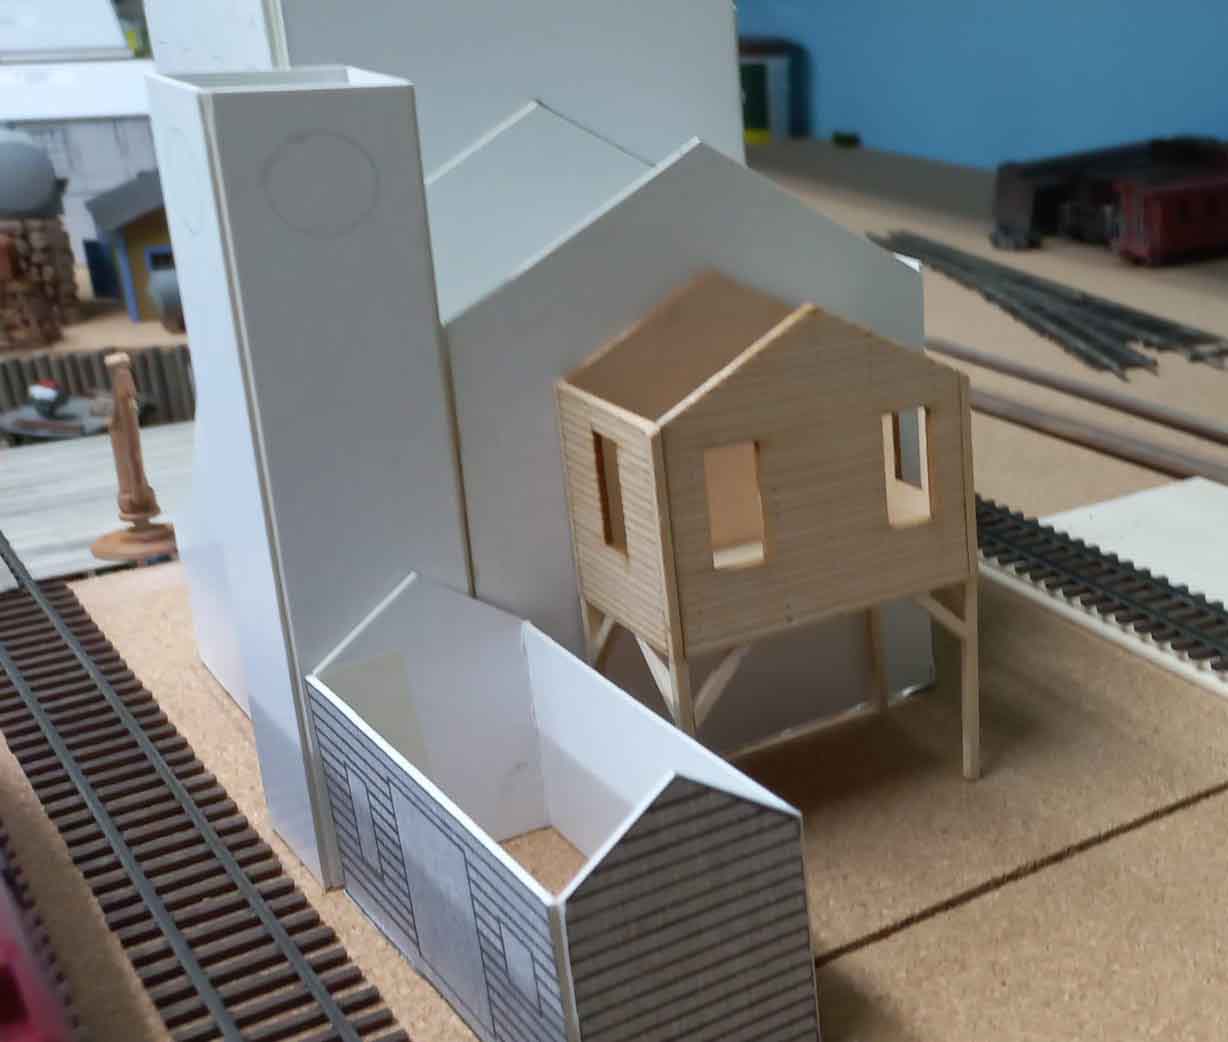
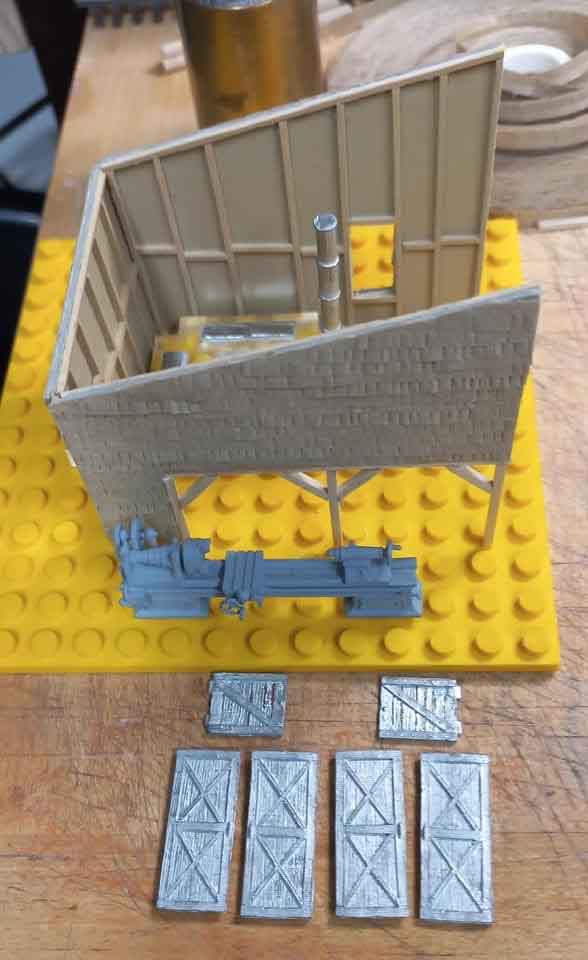
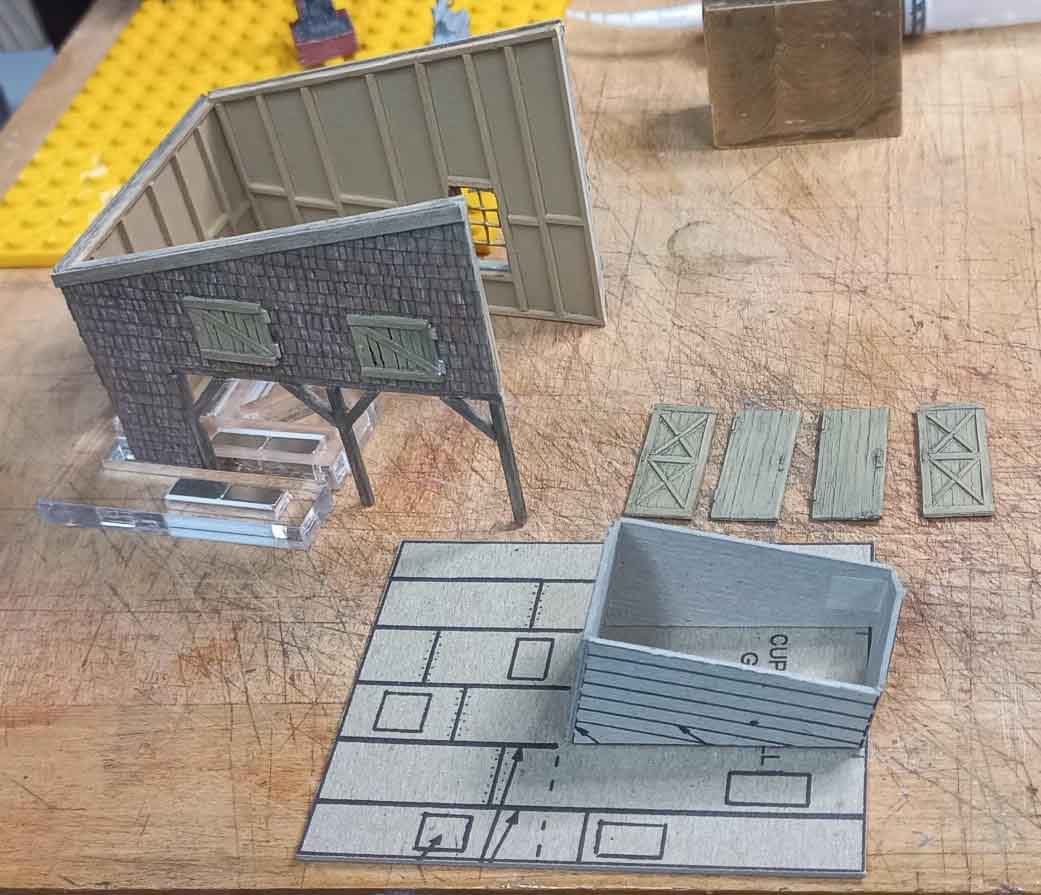
Next picture – printed out the back wall three times and mounted the paper on the Ram Board. It was amazing, the three back walls connected together actually came out to the length across the back at this time with only three-eights of an inch overlap. The Ram Board is very easy to cut and takes to corners nicely. Easy to cut our windows and doors. The windows are clear styrene with balsa wood strips.
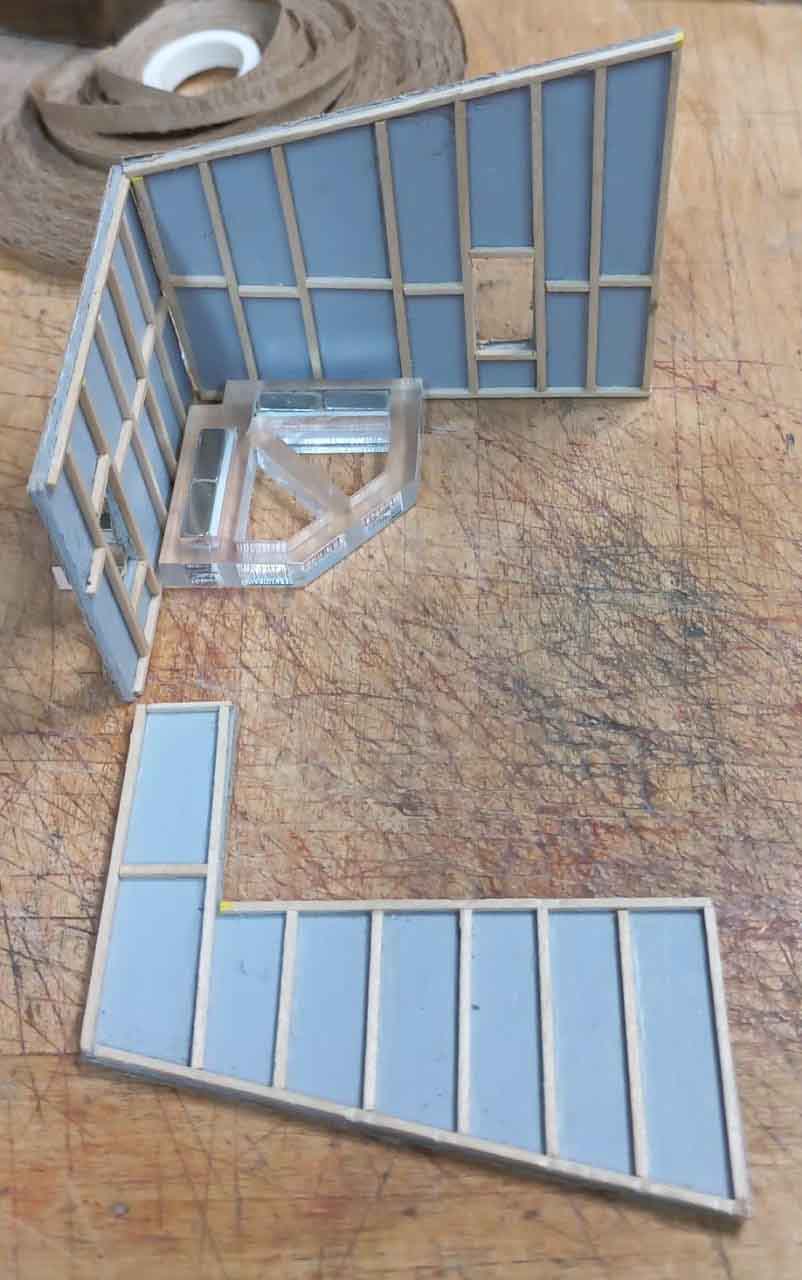
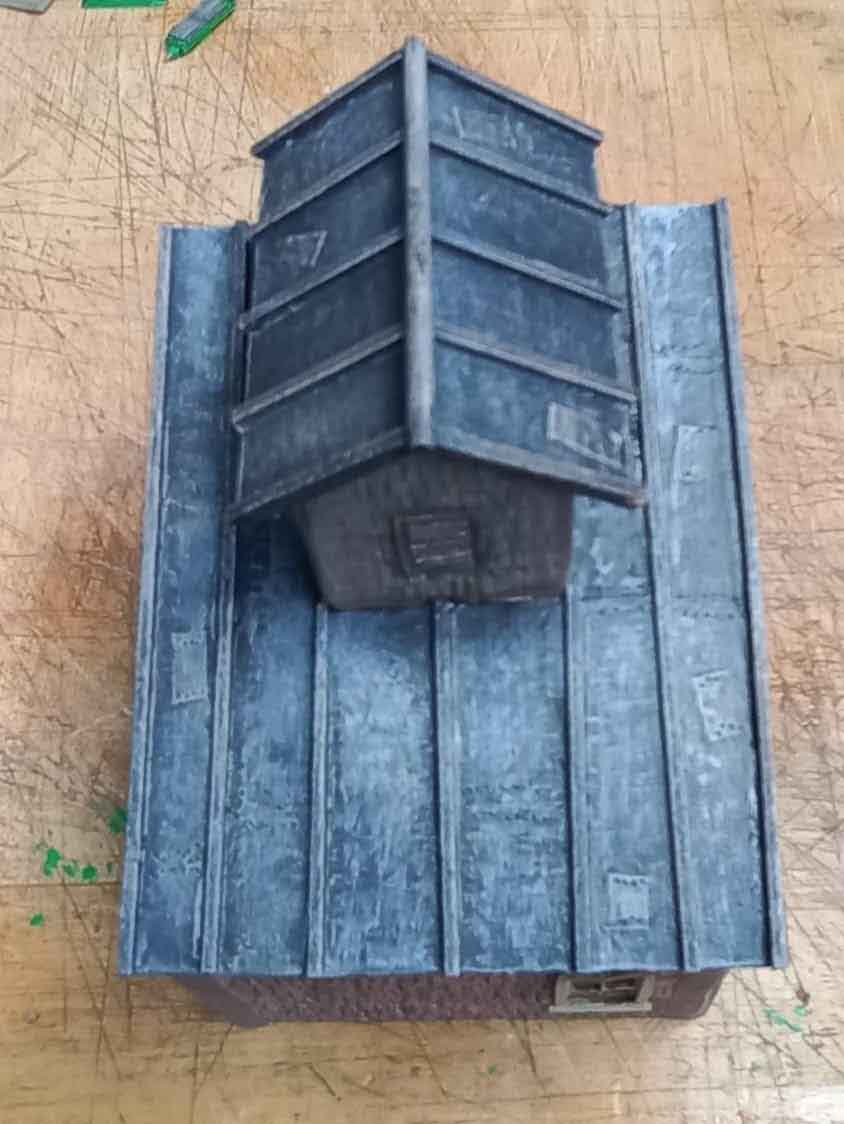
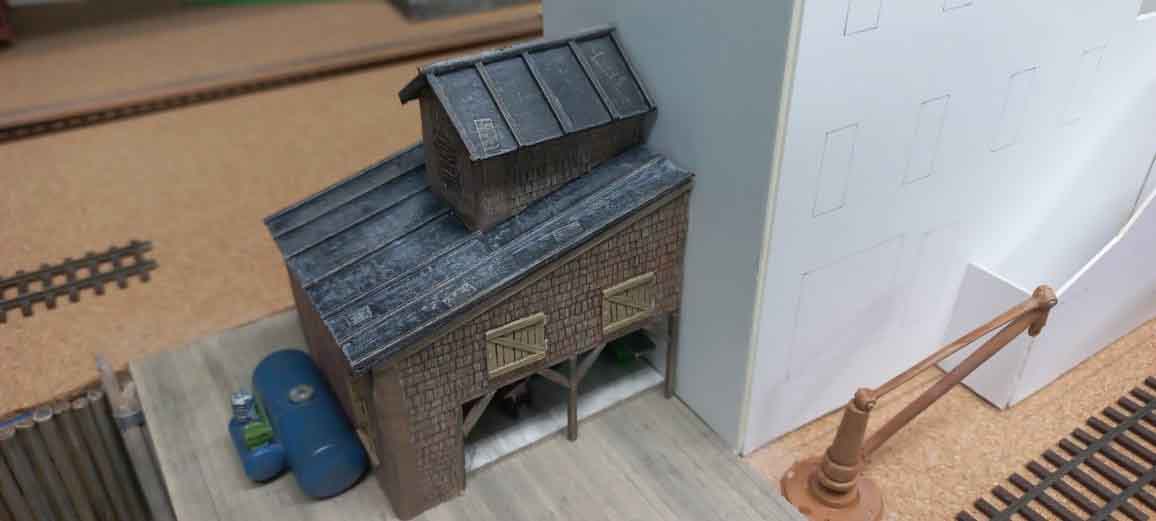
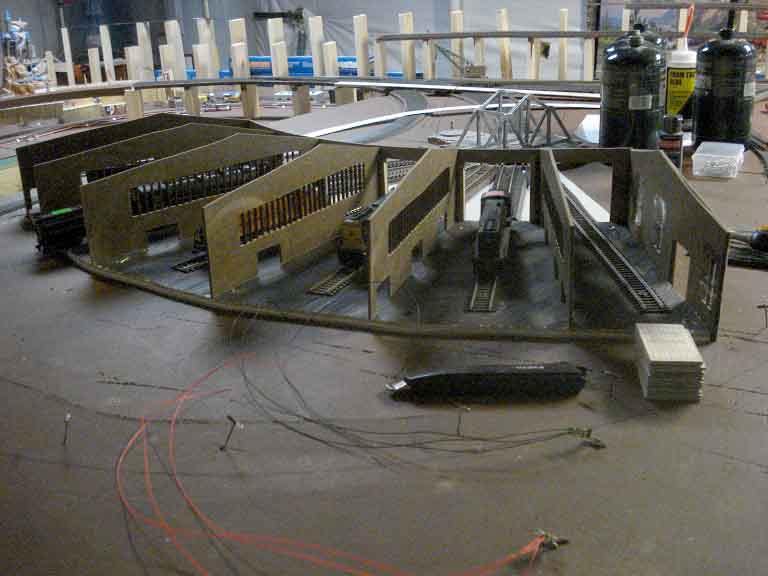
Next picture – then printed out the front walls three more times. Needed to have twelve sets of doors so that the door pictures are on both sides (of Ram Board) of each door. In the final pictures I used all Ho scale Diesel Engines. That is where they will stay for display purpose.
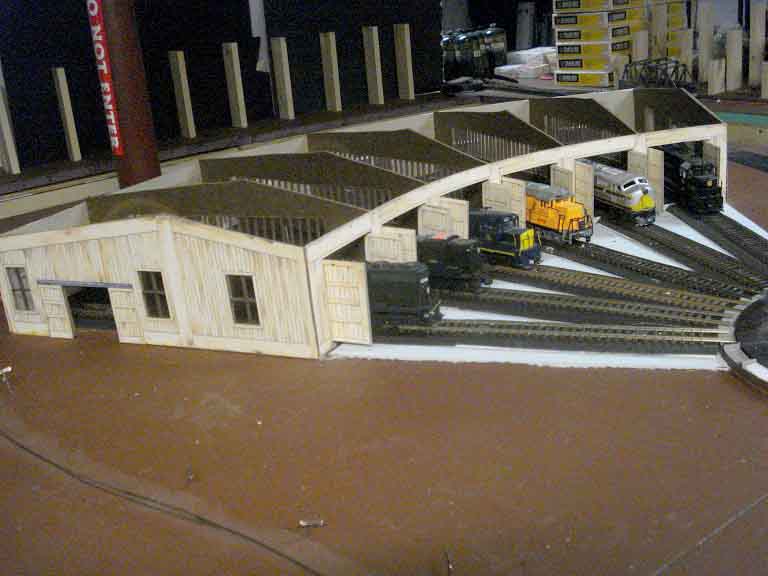
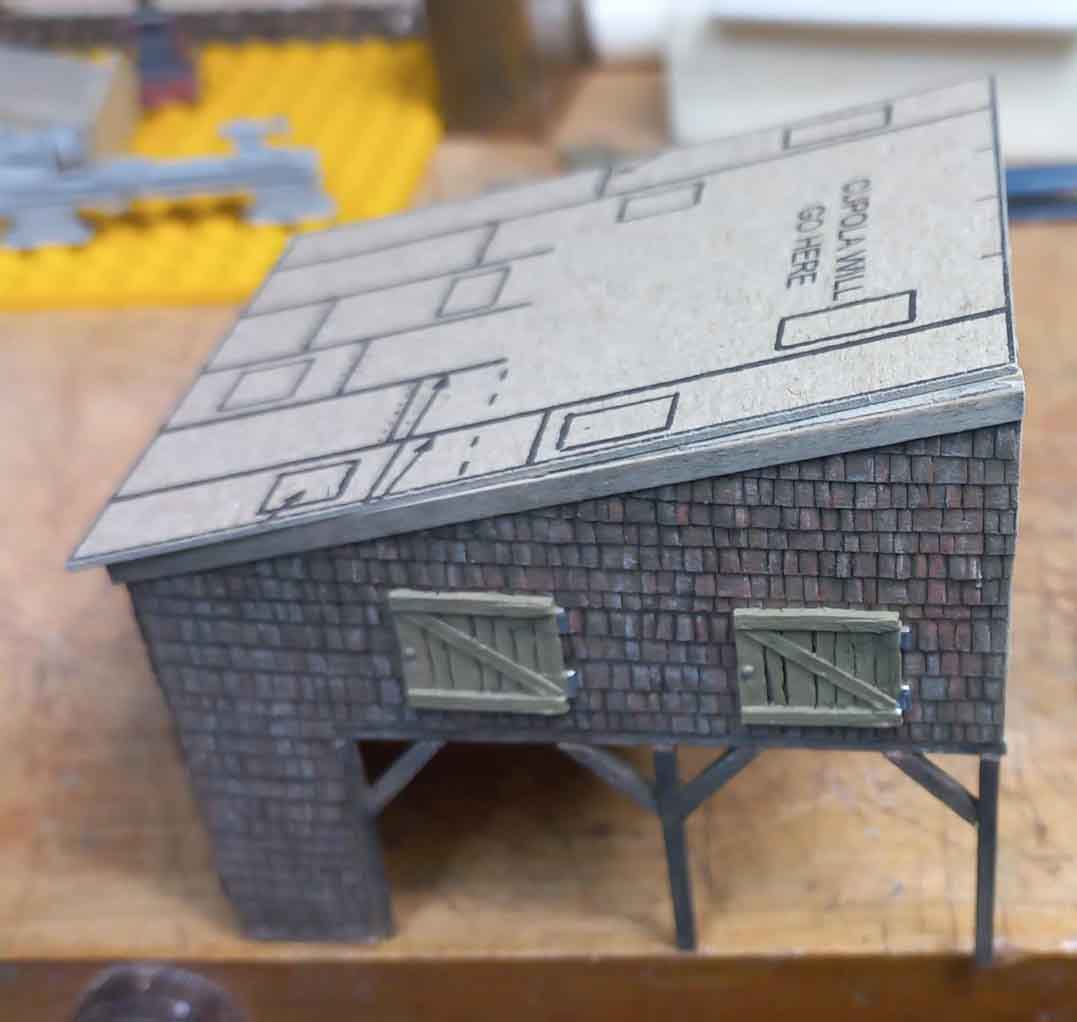
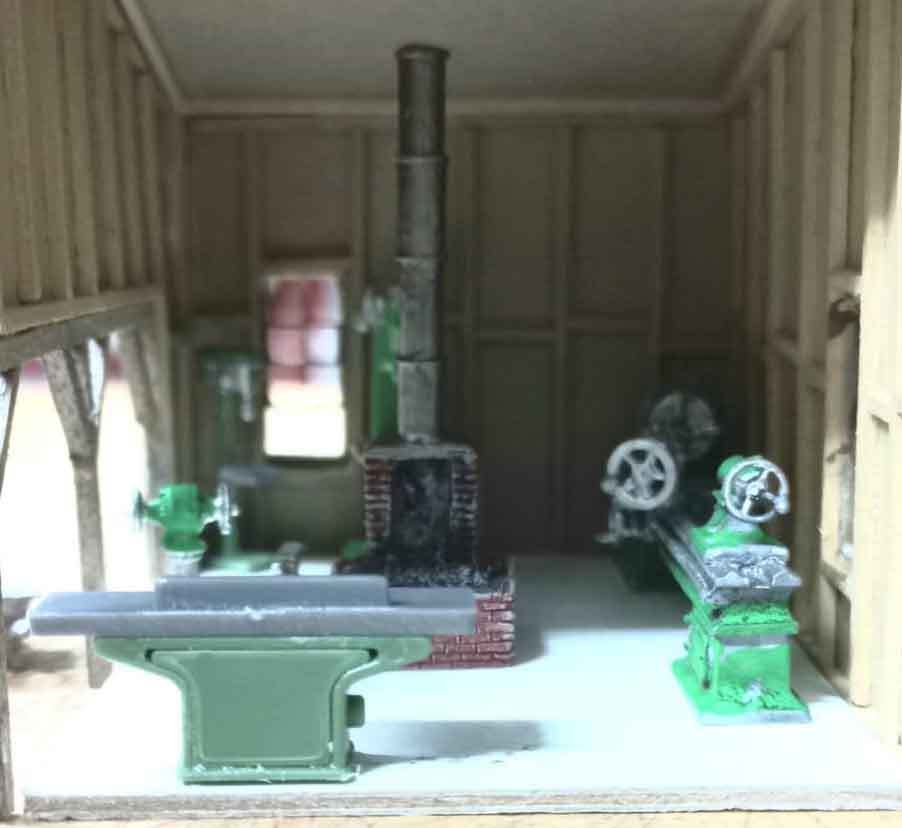
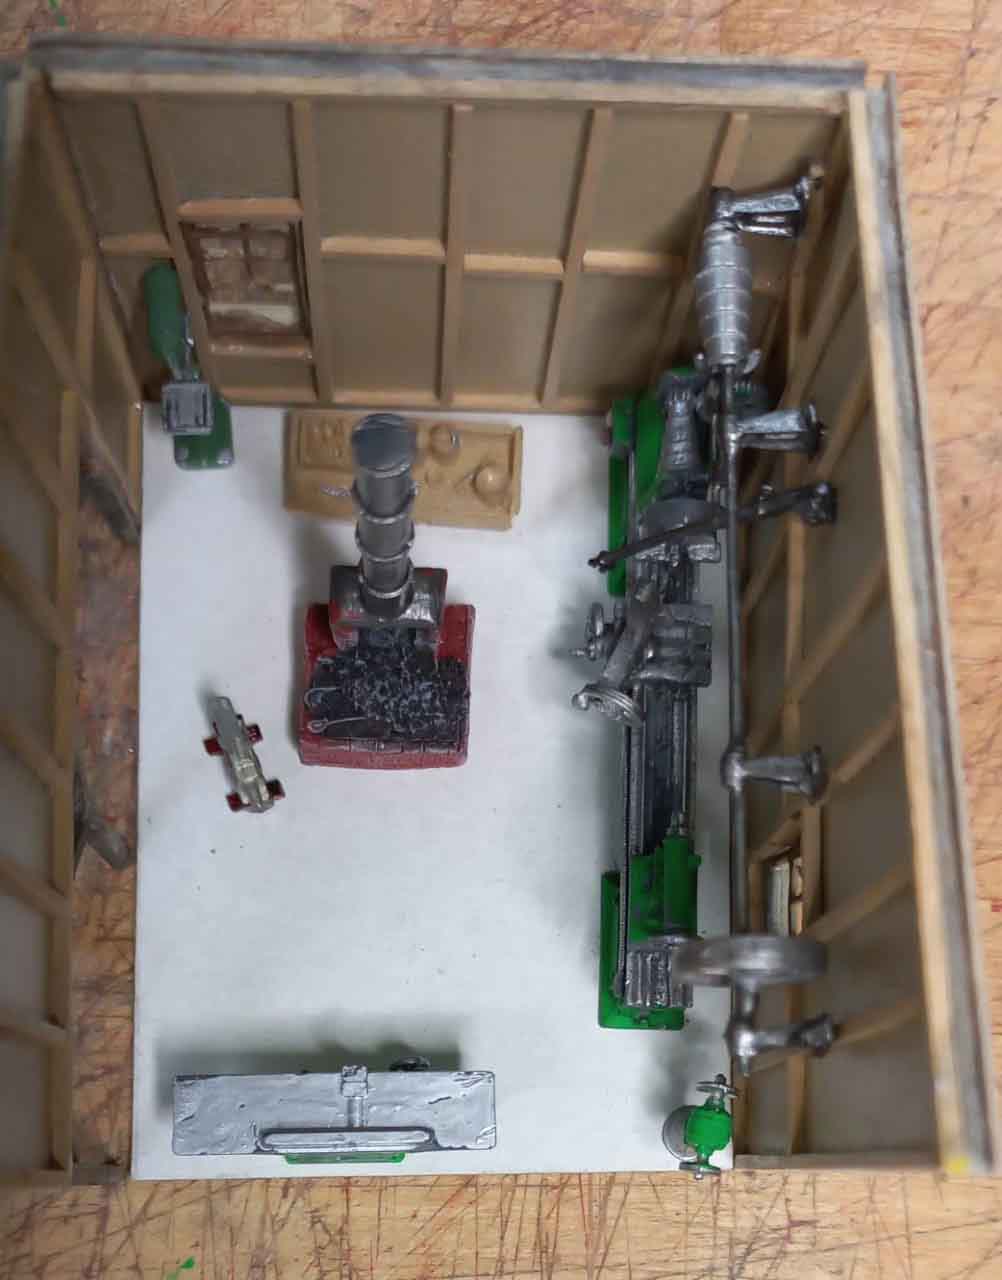
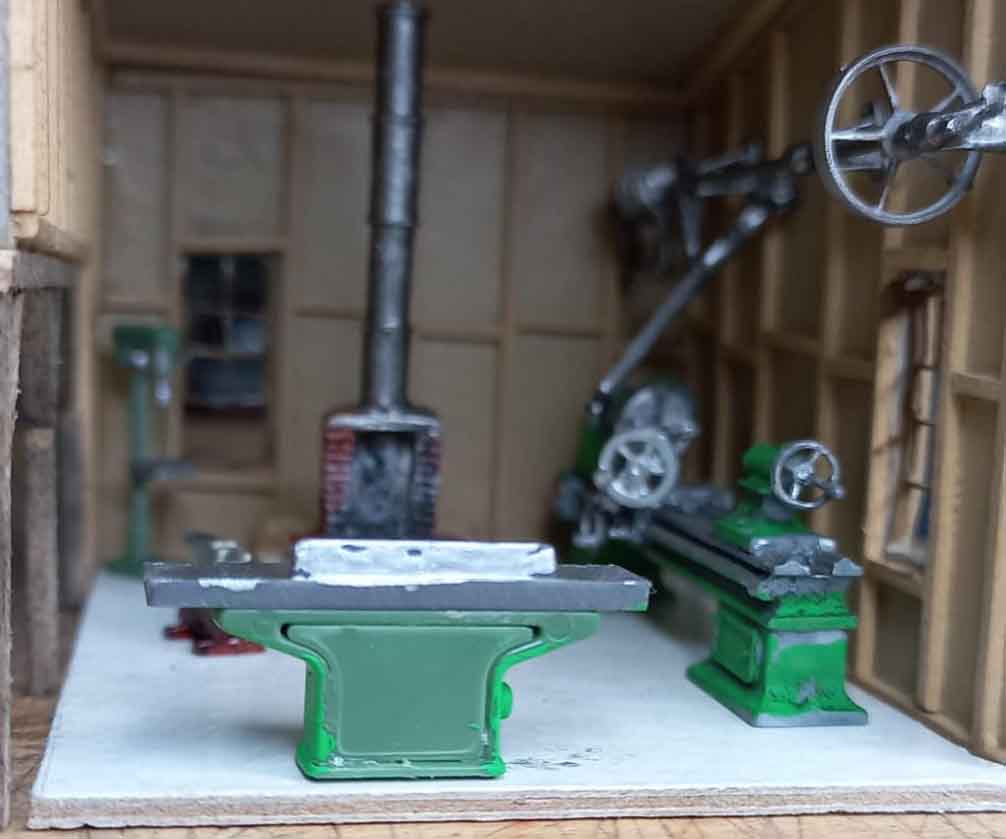
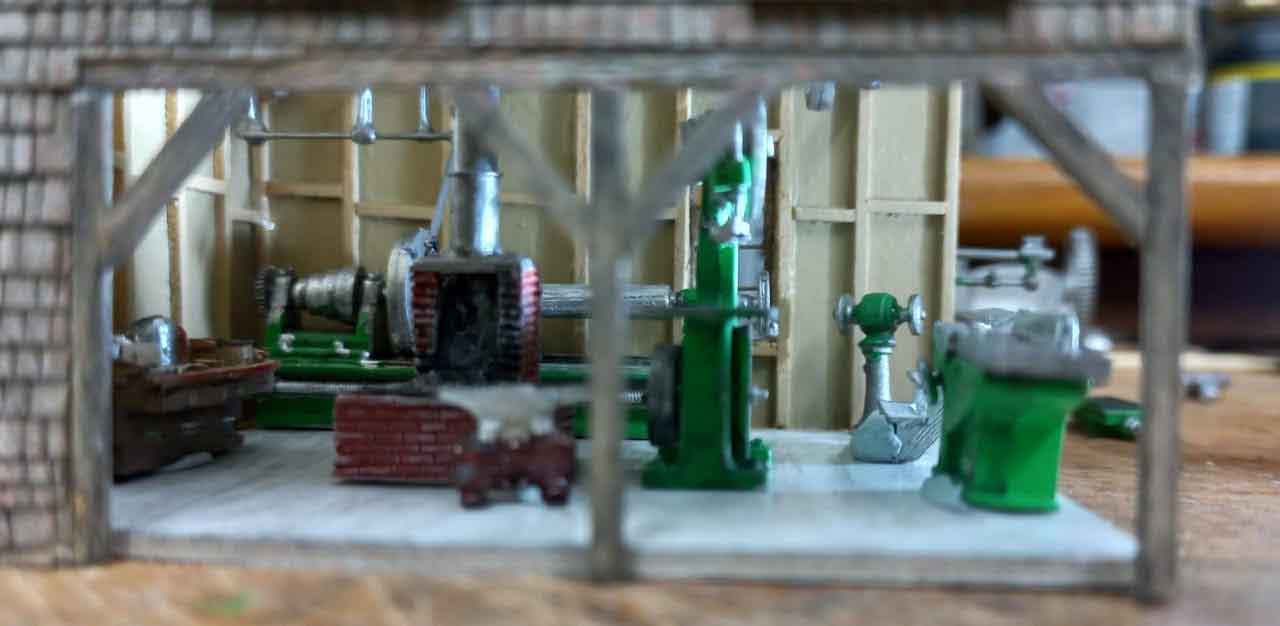
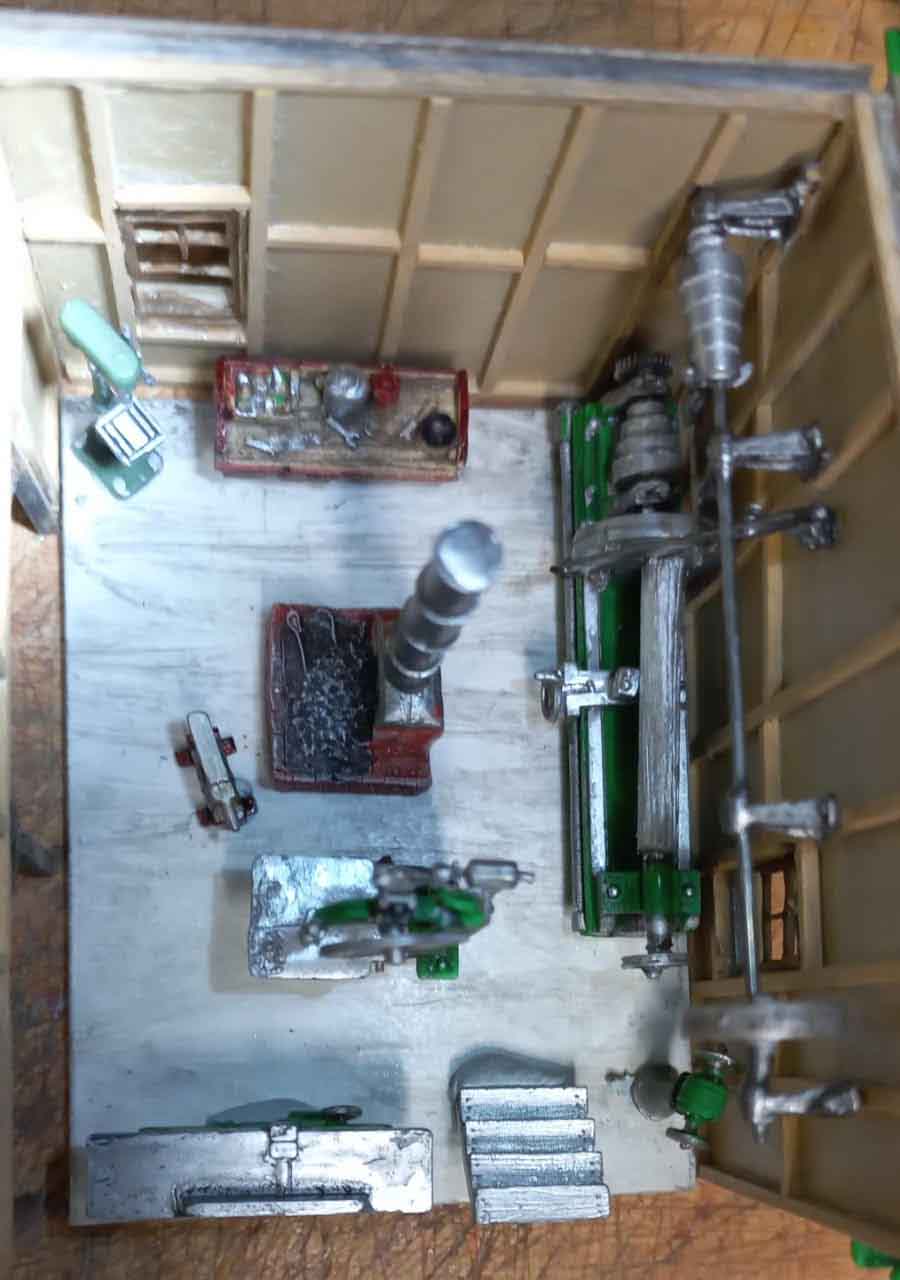
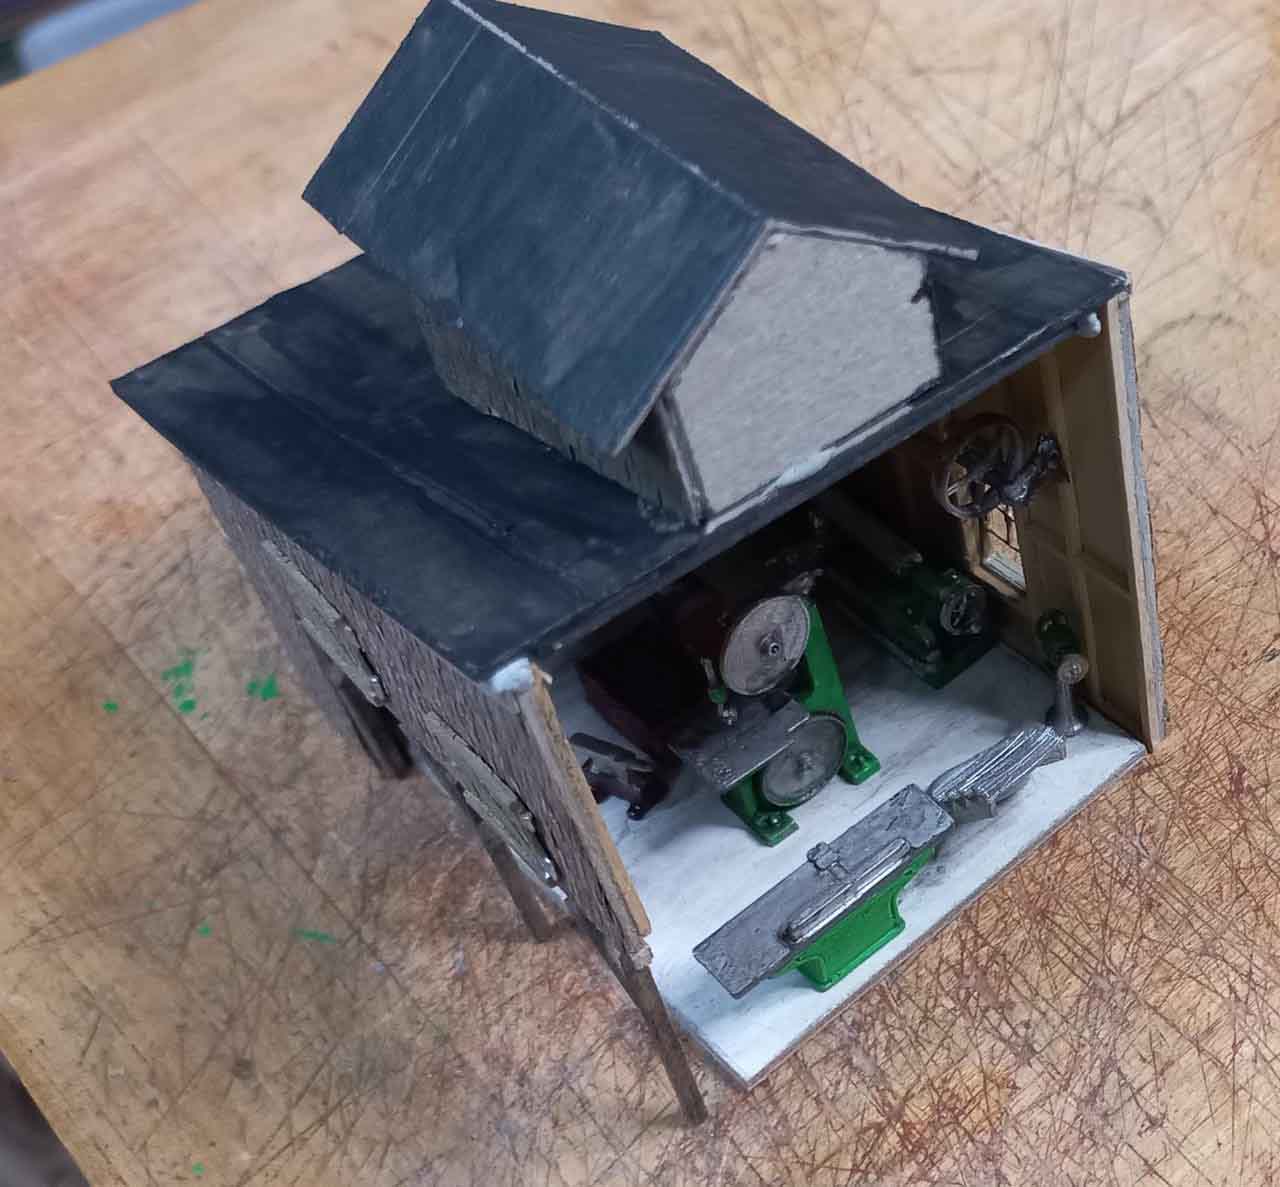
The interior layout to include platforms, tools, and parts will be completed later before the actual roof is completed. Thinking of clear styrene roof material. To be displayed in a future set of pictures.
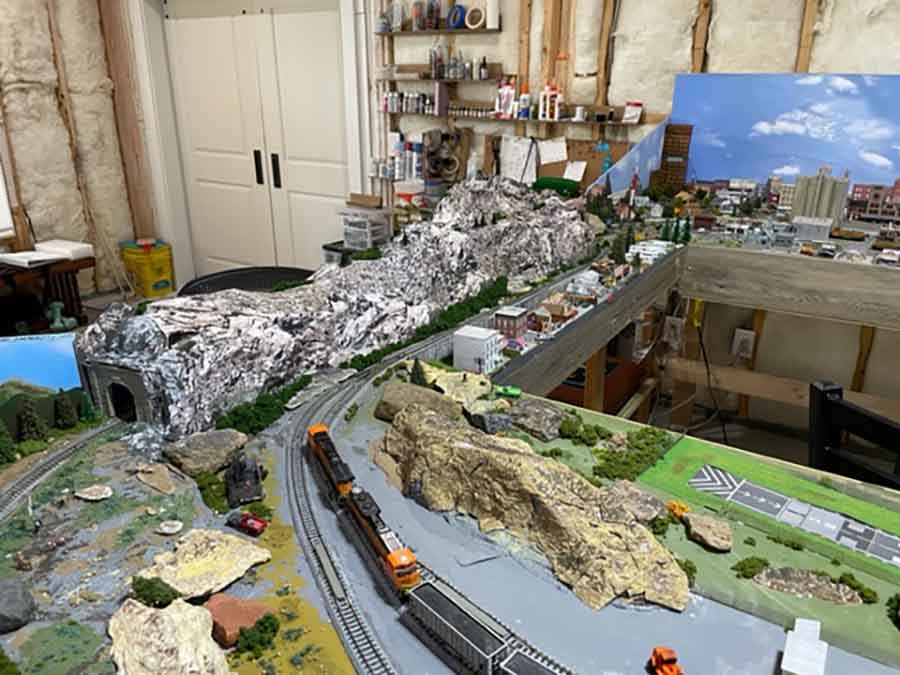
Lots of track to still be put down. Plus, two Helix’s and nine more bridges. Eleven scratch-built bridges completed at this time. A future email to display the overall layout and the bridges completed.
Lawrence”
A big thanks to Lawrence for his scratch built roundhouse – he really did make my day for two reasons.
First, I love what he’s done with the roundhouse from the printable buildings range (most of them are in the store here).
And secondly, whenever somebody says the first thing they do each day is sit down with a coffee and read the blog, it never fails to put a smile on my face.
I’m only human and I have good days and bad days like everybody else.
So a big thank you to each and everyone of you, because without you, they’d be no blog at all.
Lawrence’s post also jogged my memory – the infamous bonkers John did a video on the roundhouse:
Now on to another John:
“Hi Al,
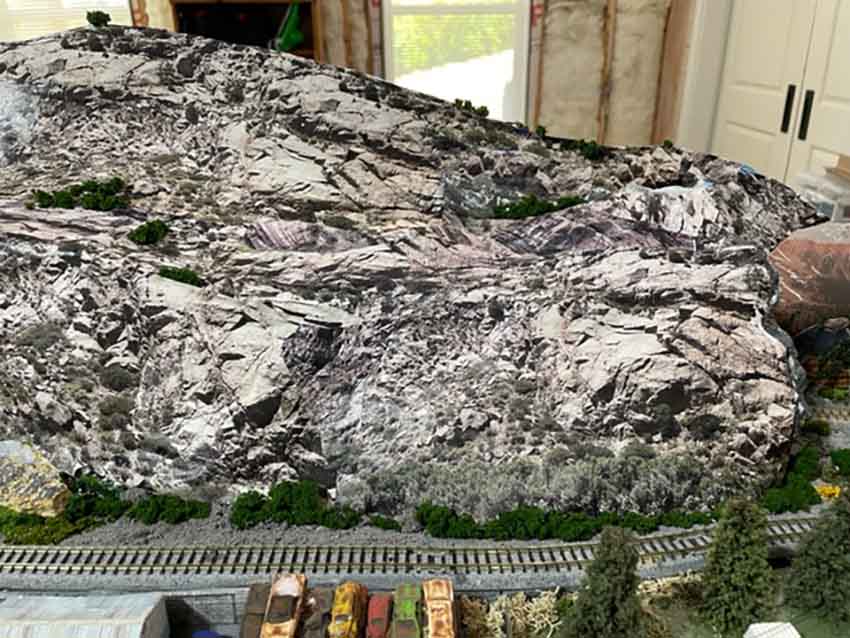
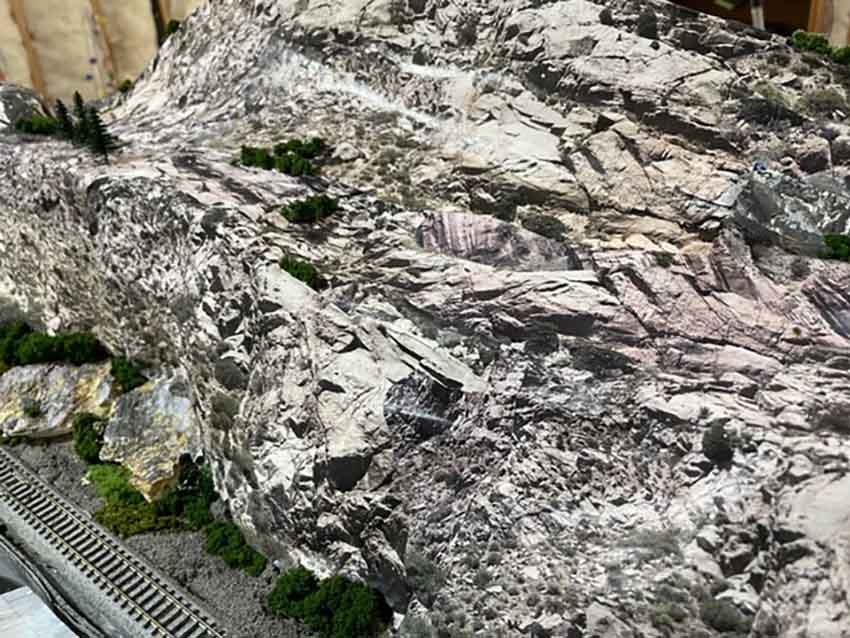
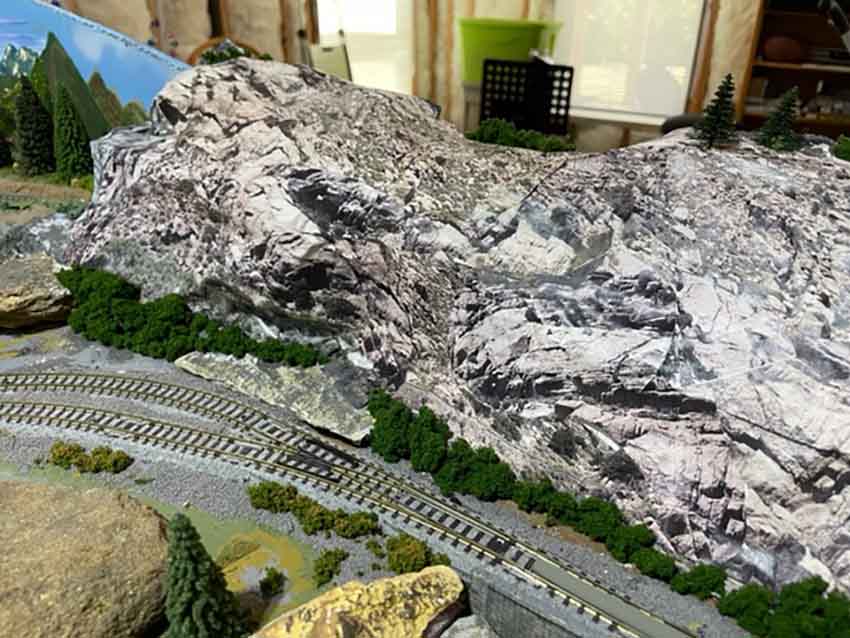
I’ve been working on scenery on my HO Scale layout lately and experimenting with some homemade mats for a woodsline. I like the way they turned out and thought I would share with you.
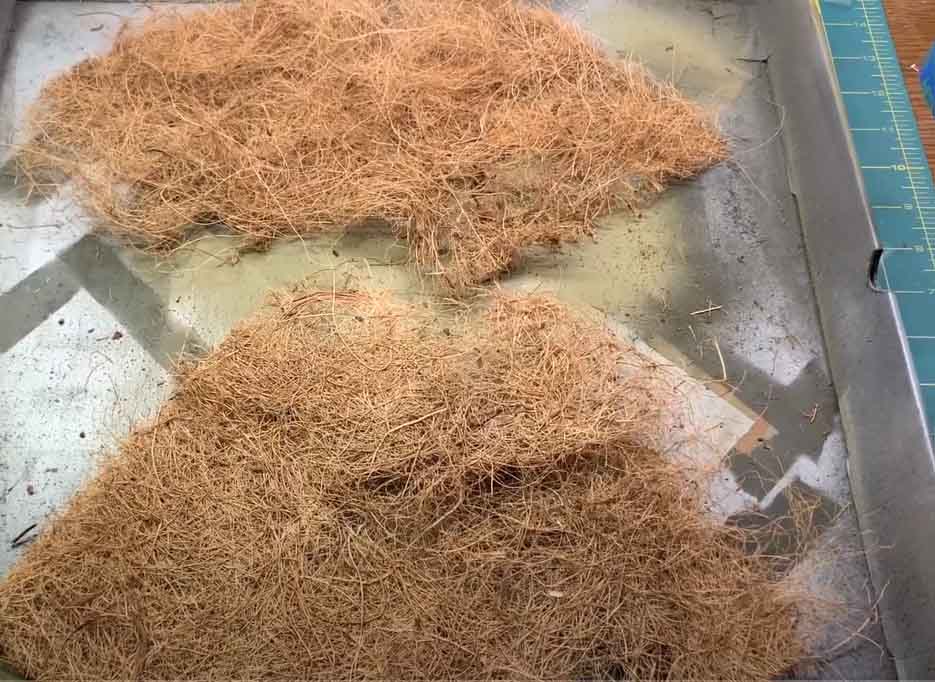
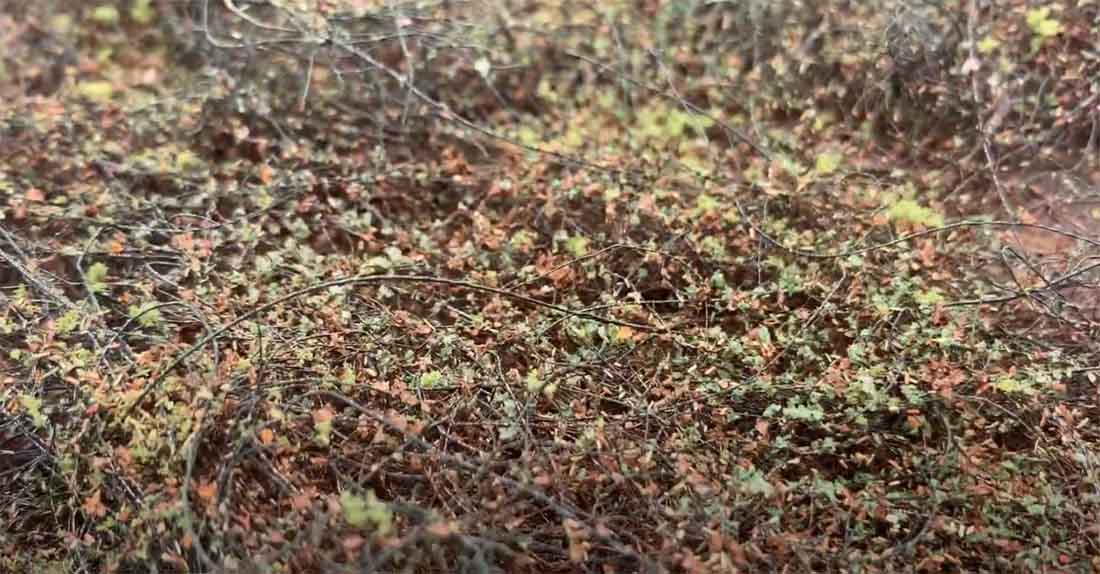
I’ve been creating a wooded hill to use as a scenic divider as well as to hide the entrance to staging on my layout. Between the open areas on either side of the trees on the hilltop, I wanted to create a brambled, overgrown area on the hillside. I used a Coconut Coir basket liner and part of an old air filter to create the effect.
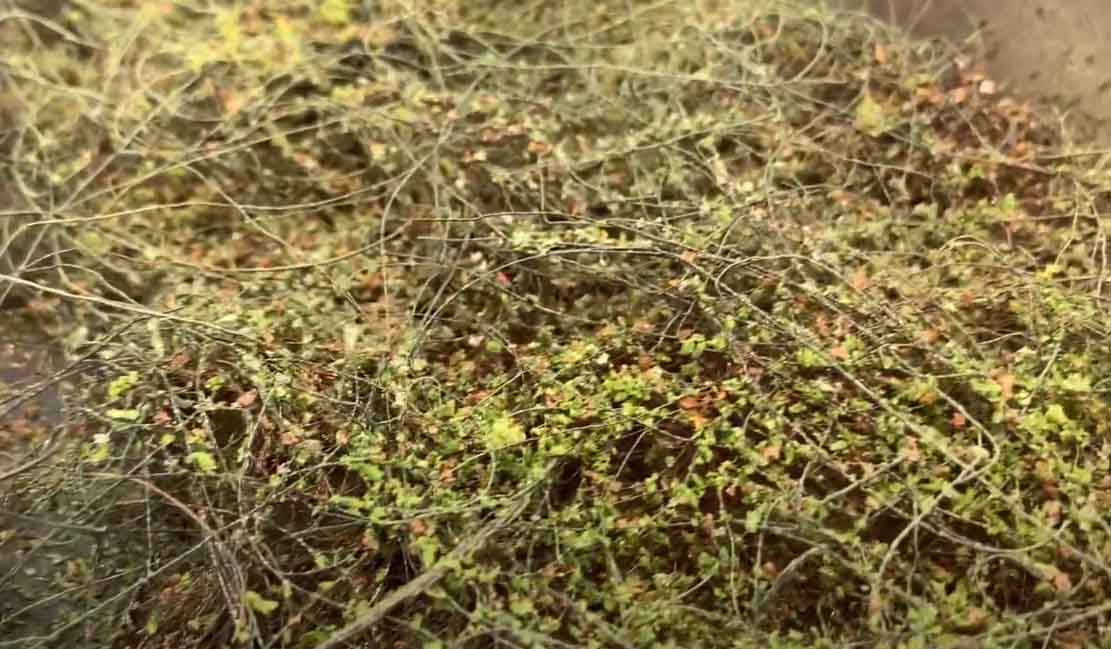
First, I separated a section of the basket liner into two halves. I did the same with the air filter material. The side that was on the outside of either material is pressed flat with some sort of adhesive. But working with the inside, one can tease the material up and create vertical depth.
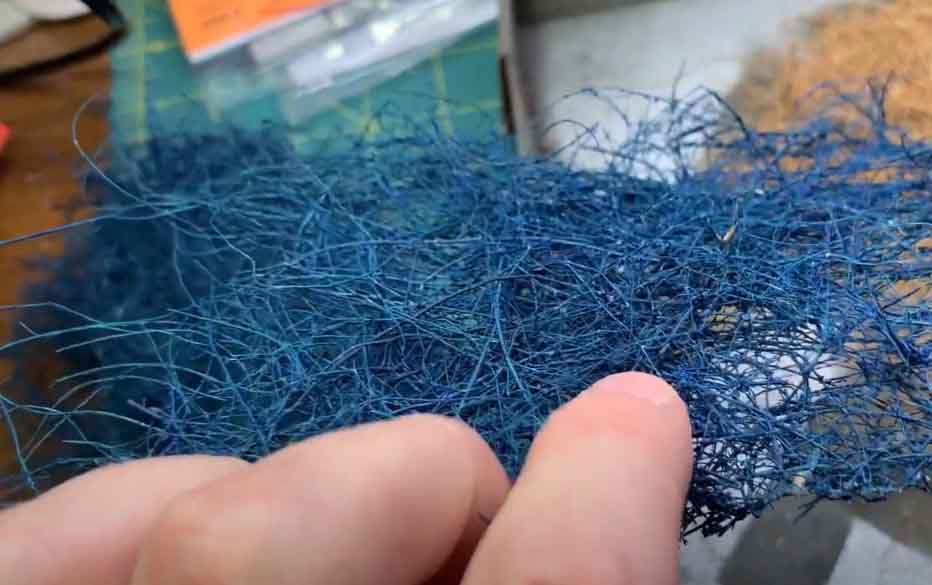
Next, simply paint the materials thoroughly with some flat brown and darker green tones. Once dry, I applied spray adhesive and several varieties of leaf and flock material, followed by hairspray. An optional mist of some florist green tone spray paint was perfect for some highlights.
I ended up using some thinner pieces along a nearby embankment, and combined with some Super Trees, the larger chunks made for what I think is a convincing woodsedge,
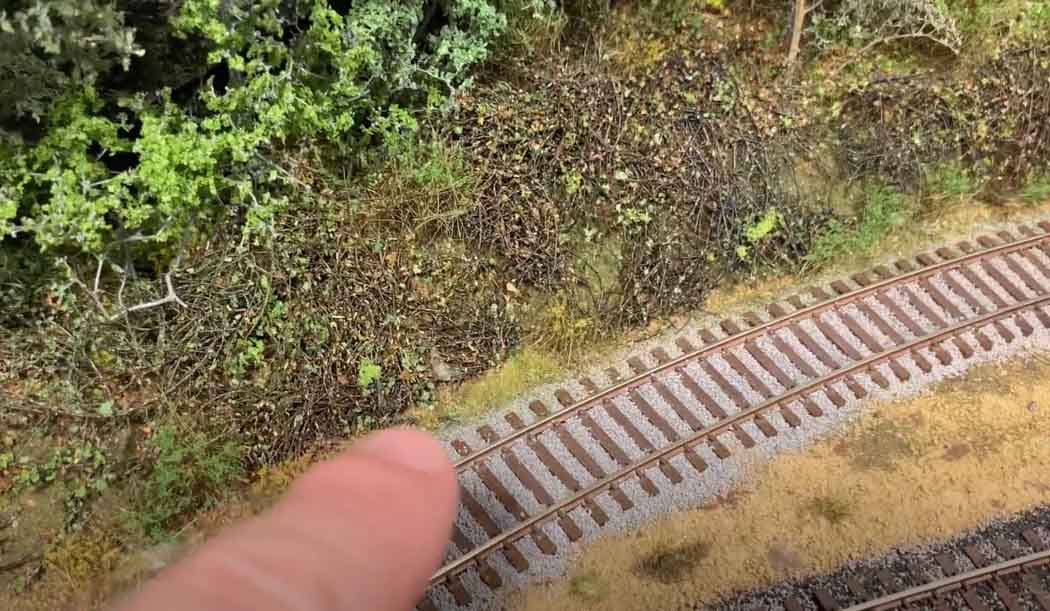
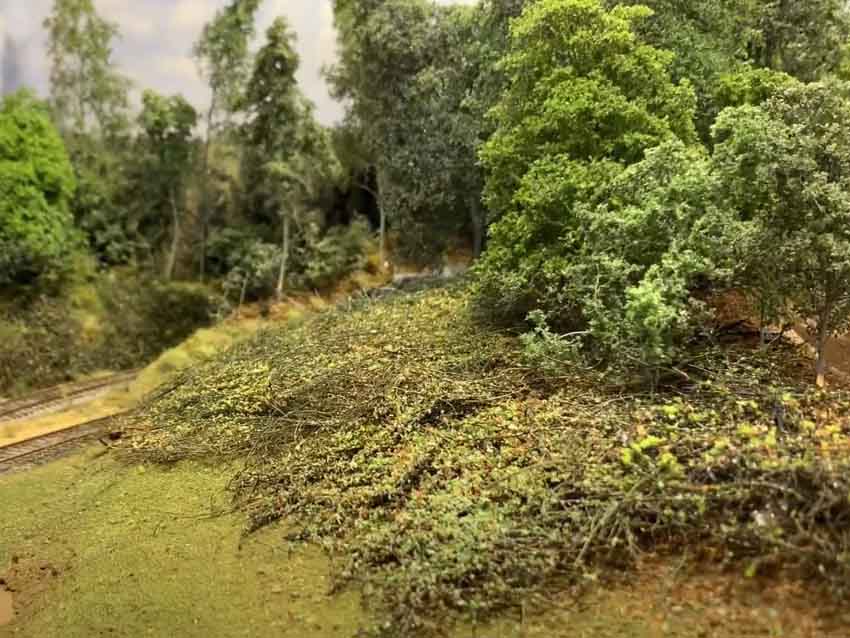
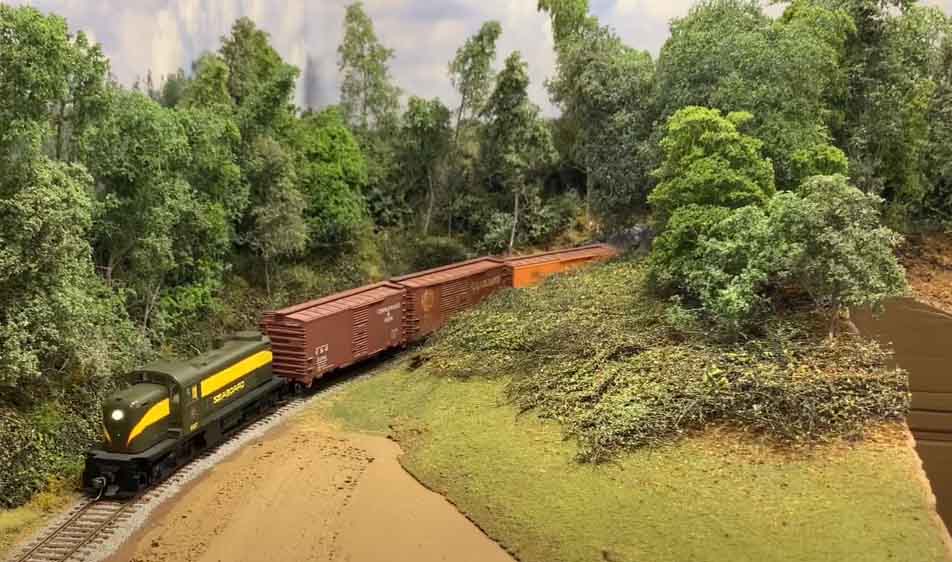

I documented the process in the video above, and ran some trains through the completed scene at the end.
John”
That’s all for today.
Thanks to John and Lawrence.
And I hope it’s inspired you to make that start – even if it’s only making a model house.
Course, I’m biased, but the the Beginner’s Guide will point you in the right direction.
Best
Al
PS Latest ebay cheat sheet is here.