If you’re reading this, the chances are you’ve thought about Starting model train hobby.
Of course, I’m biased, but it’s a wonderful hobby.
All you need do is pick a theme, pick a track layout, and get going.
Start small. Start simple. And then it all falls into place.
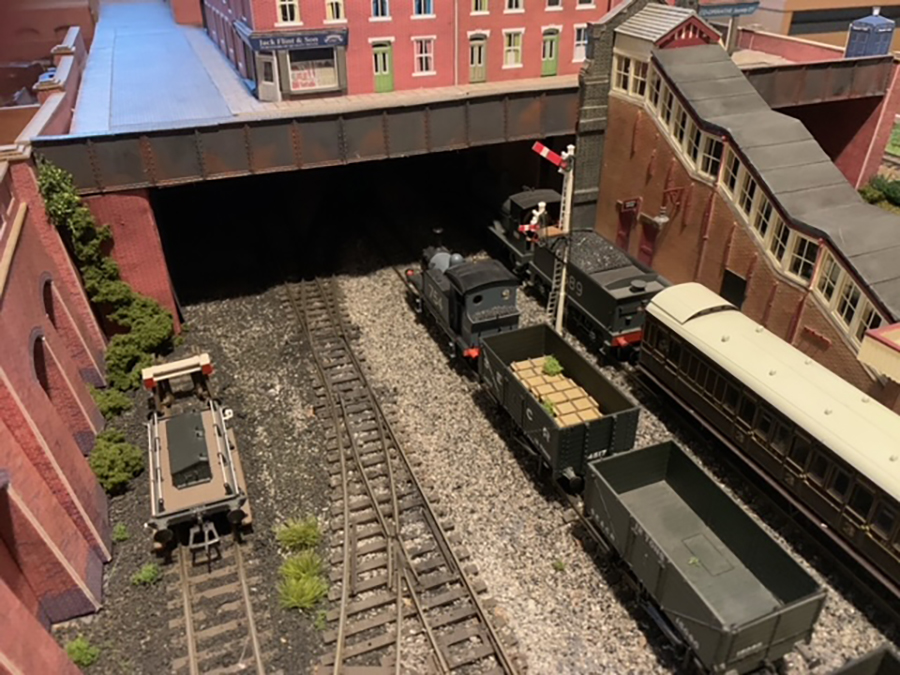
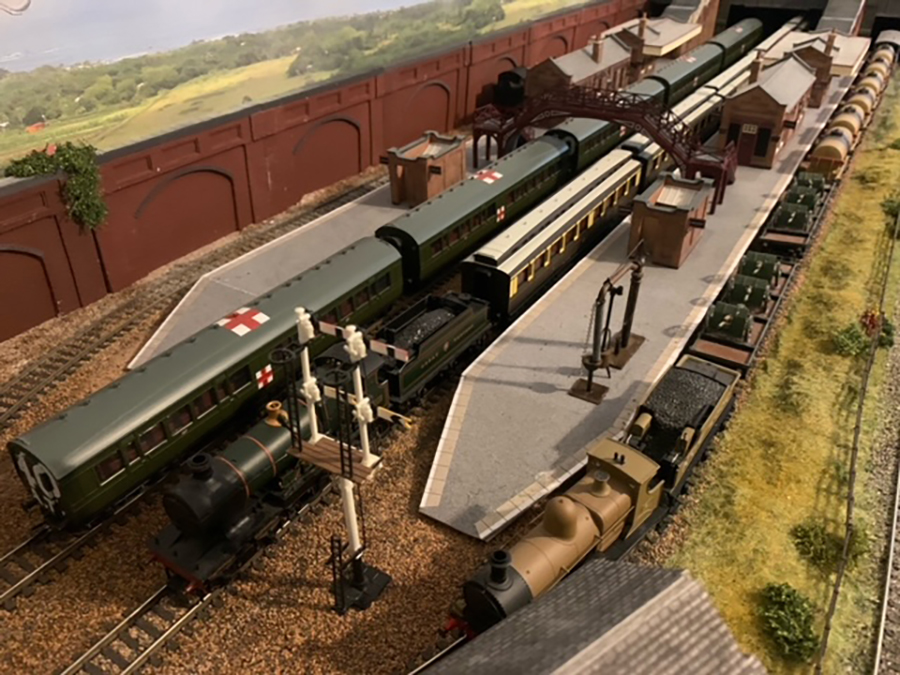
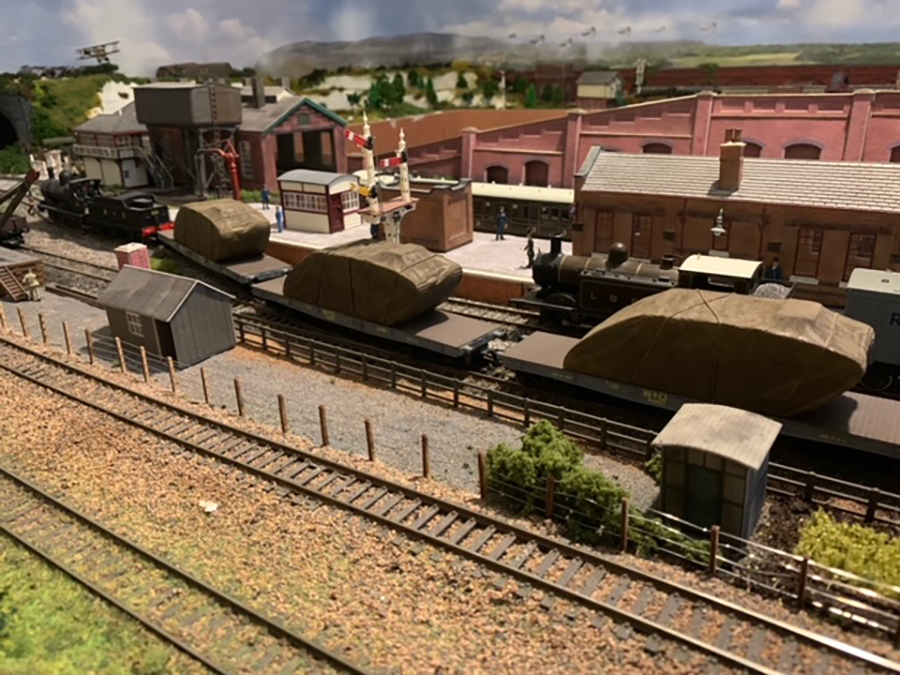
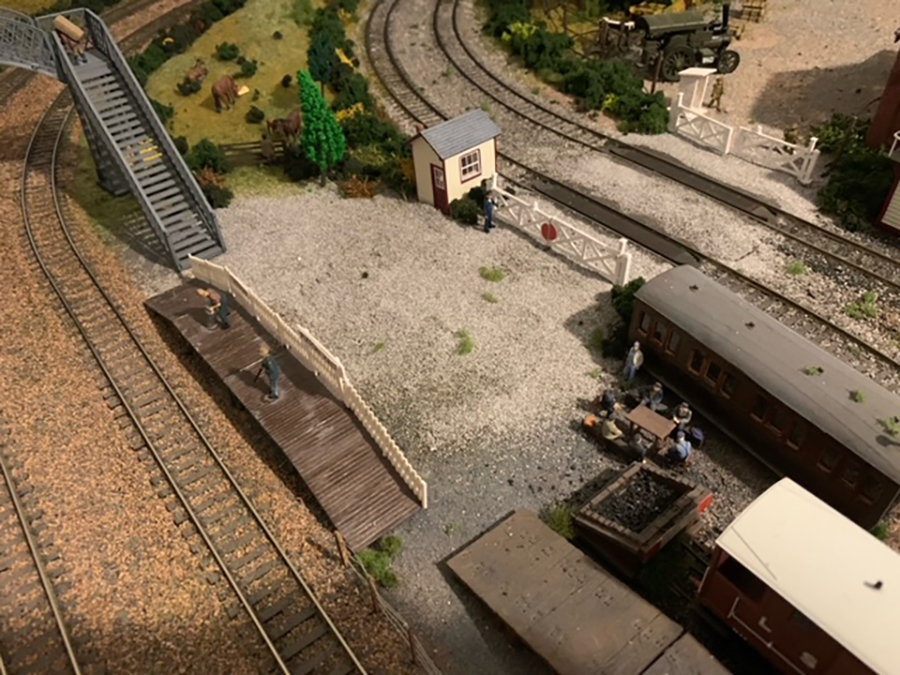
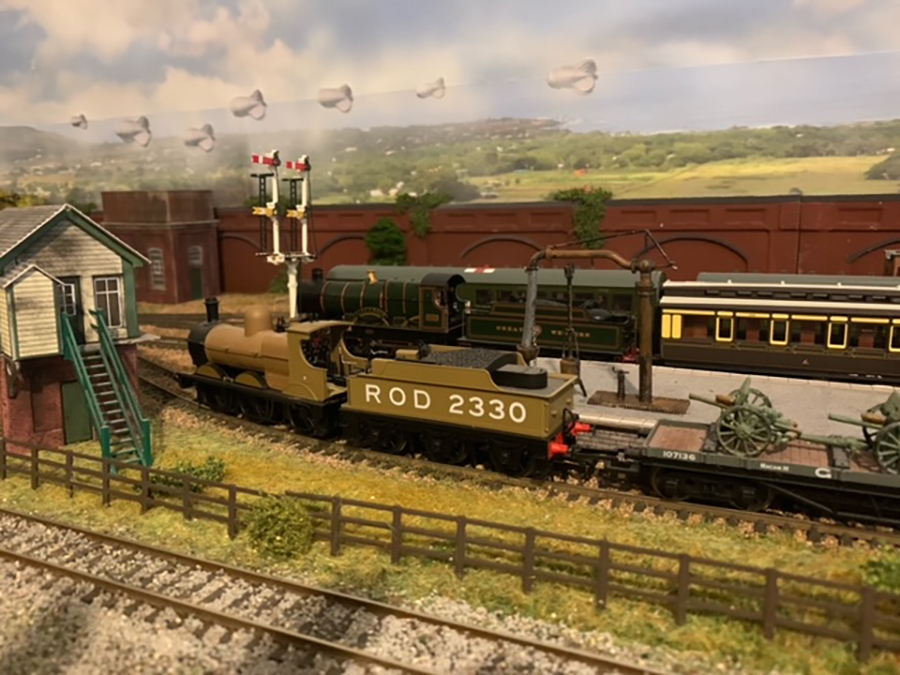
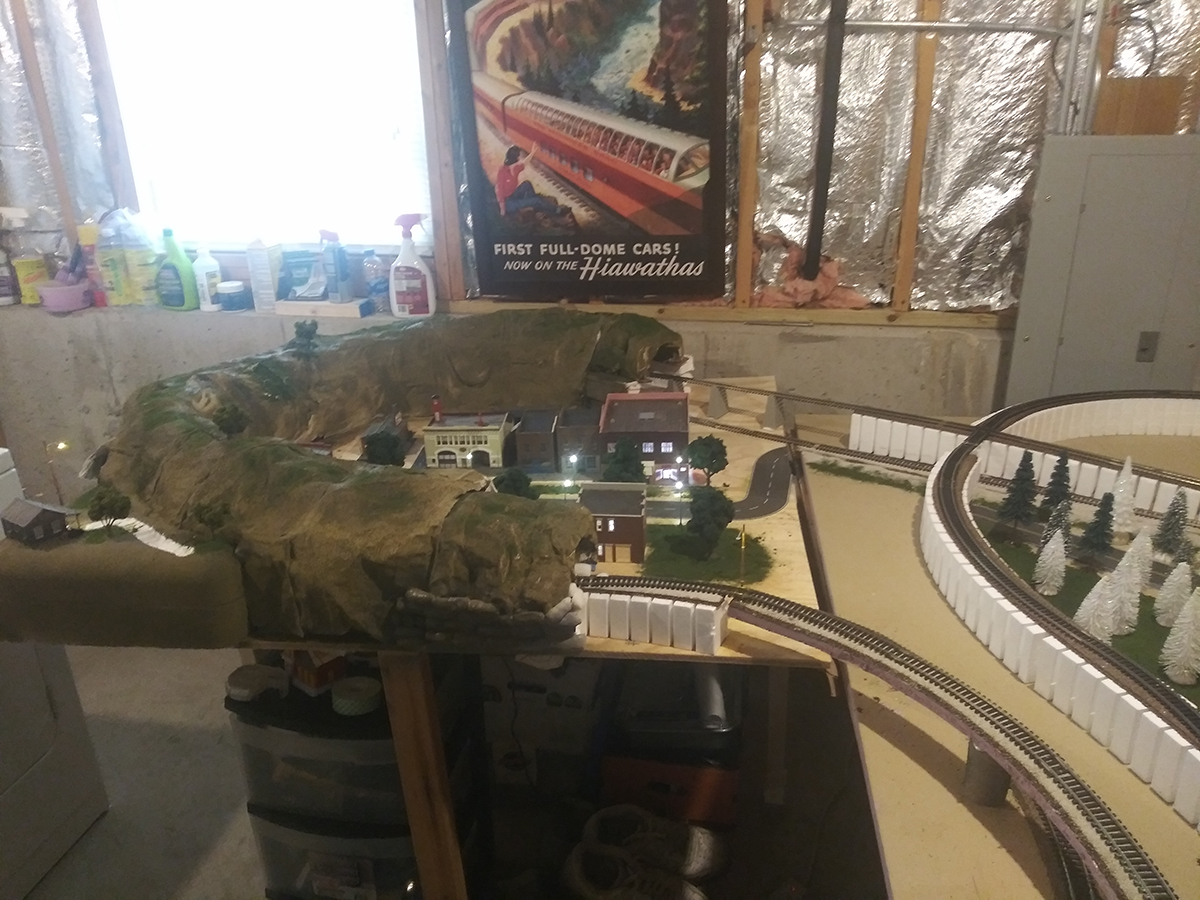
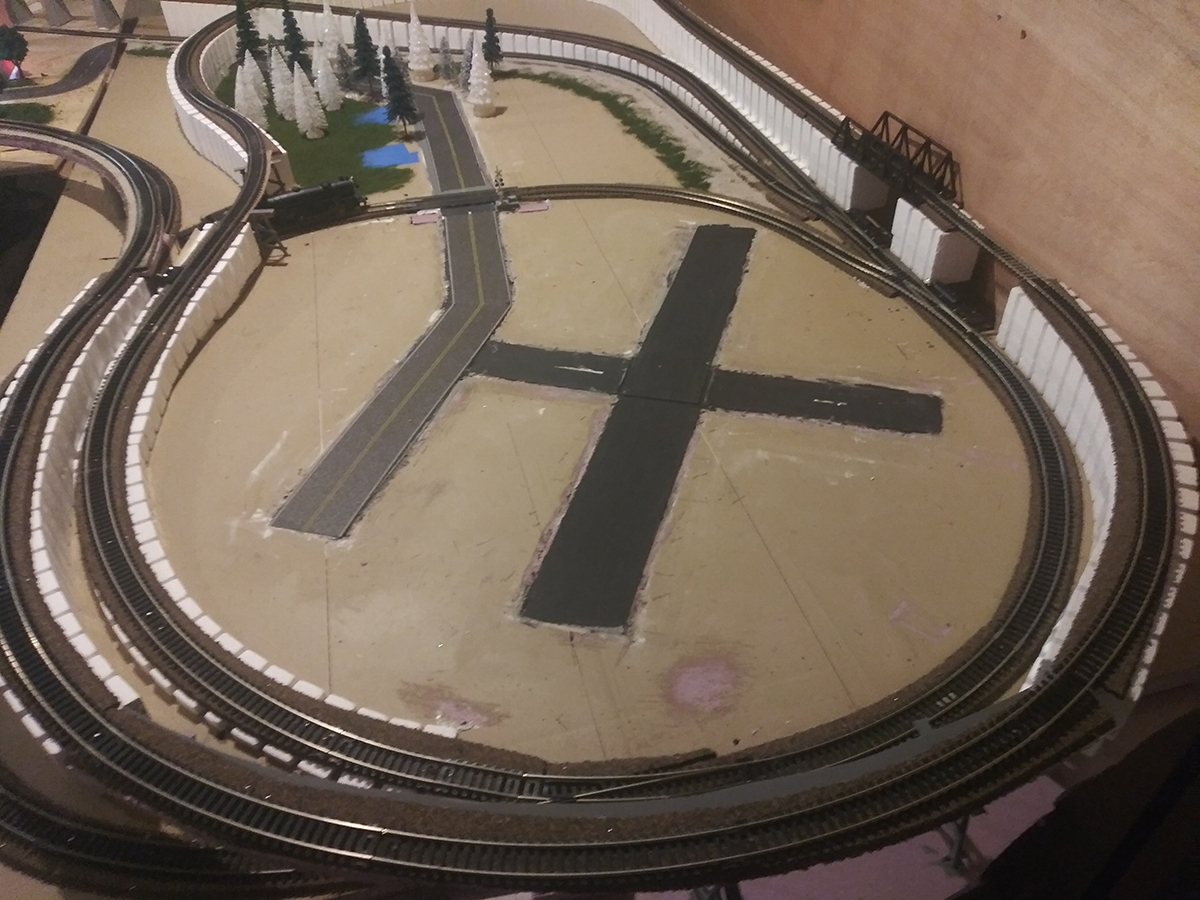
Jeff’s a man of few words but look what he’s put together in such a small space:
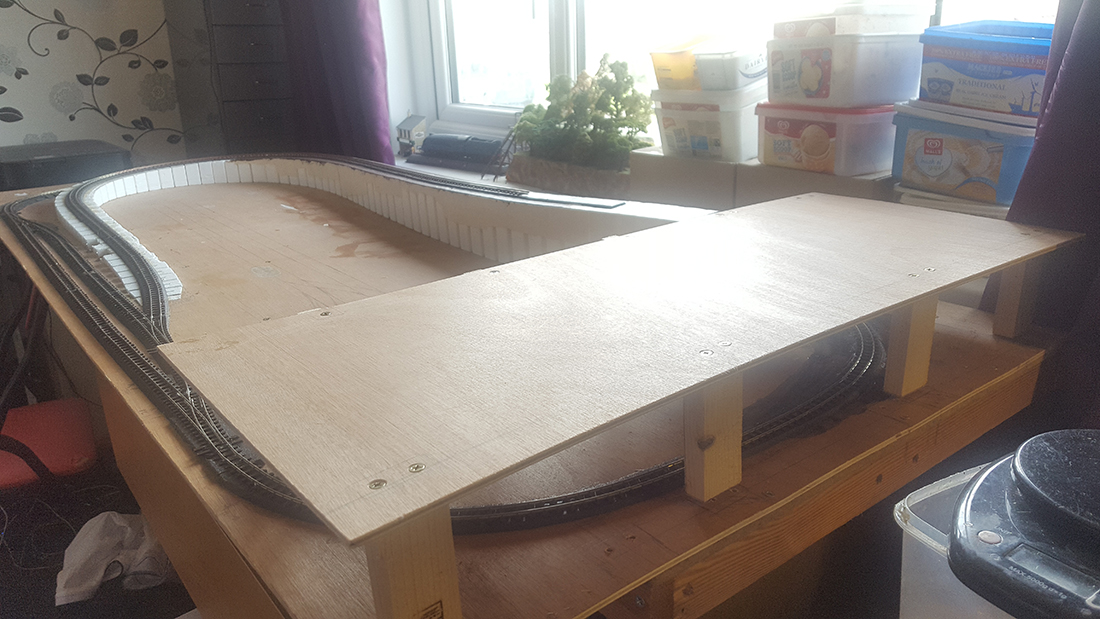
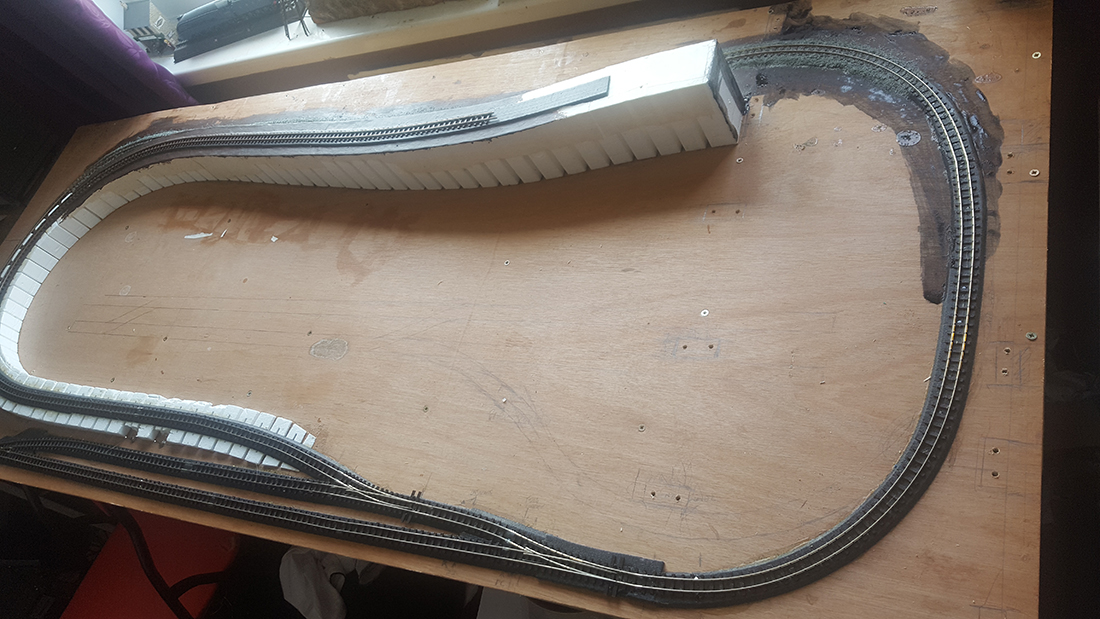
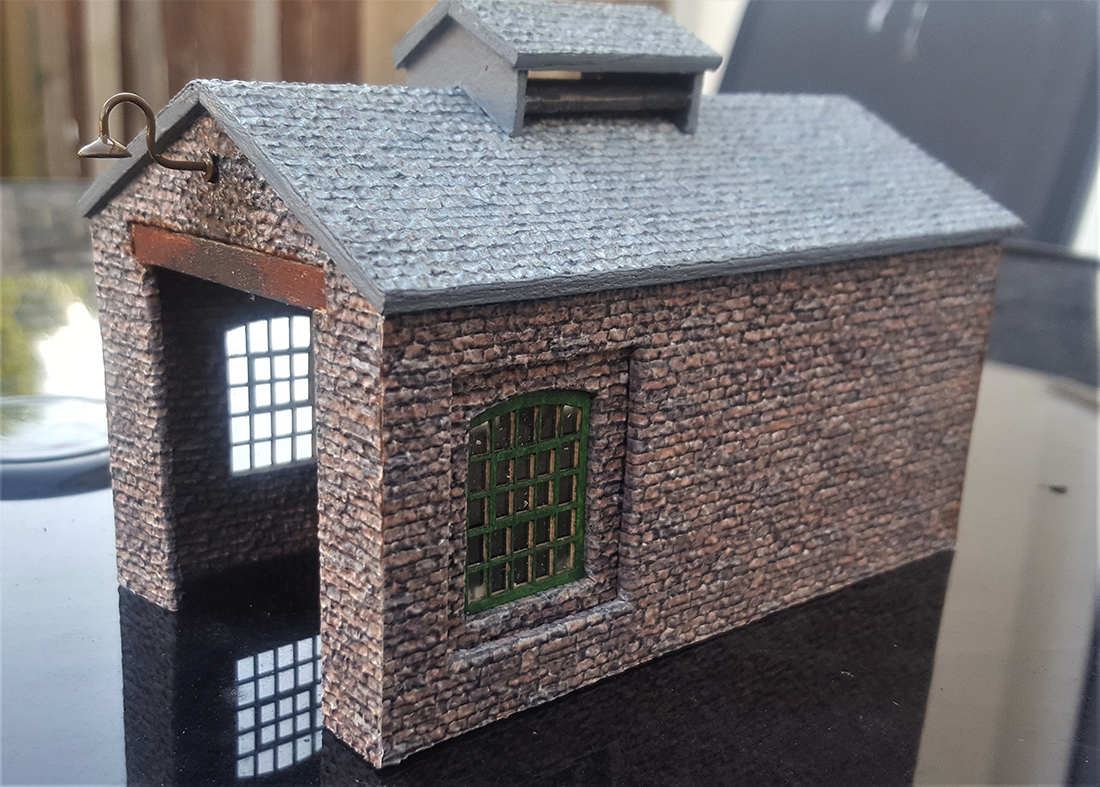
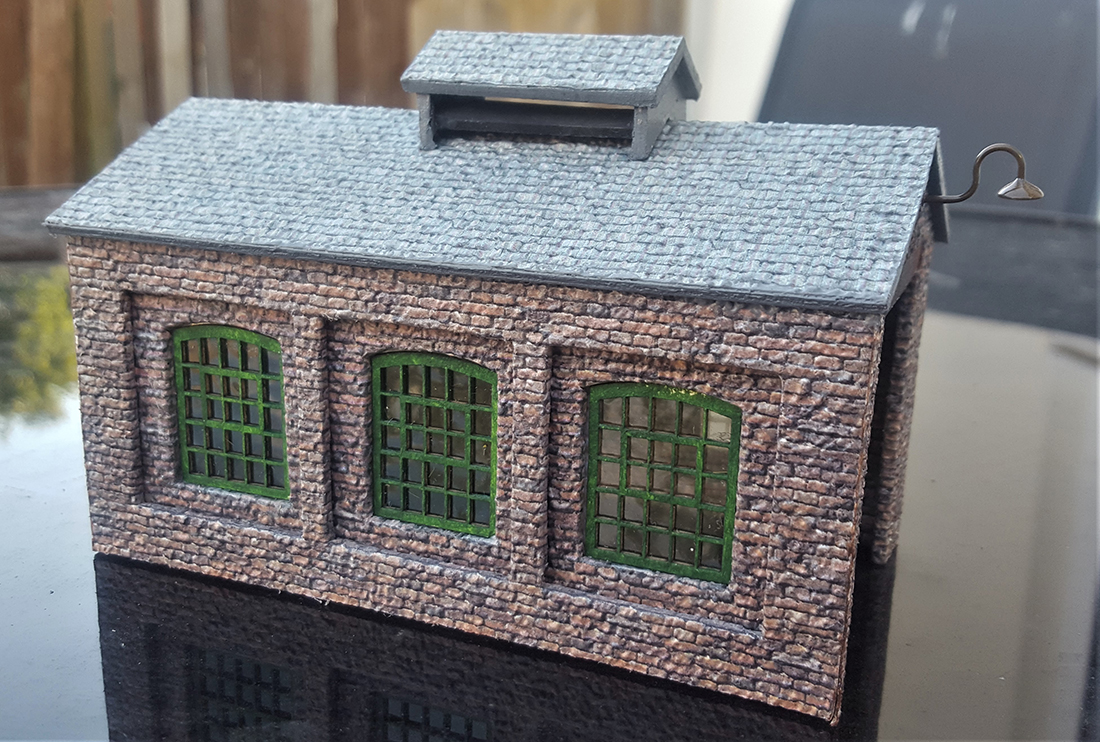
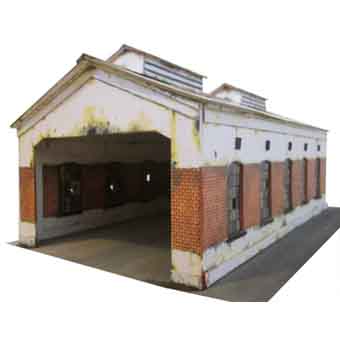
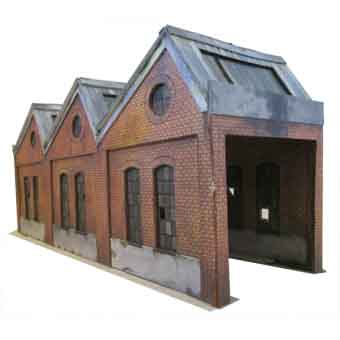
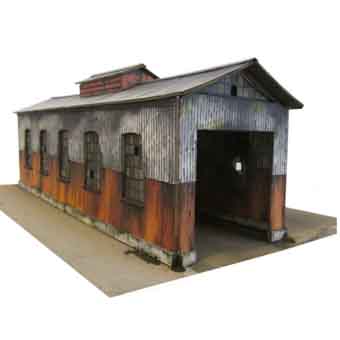
“Here are some pictures of my layout.
As you can see I don’t have a lot of space to work with, but I made the best out of what I have.
Jeff”
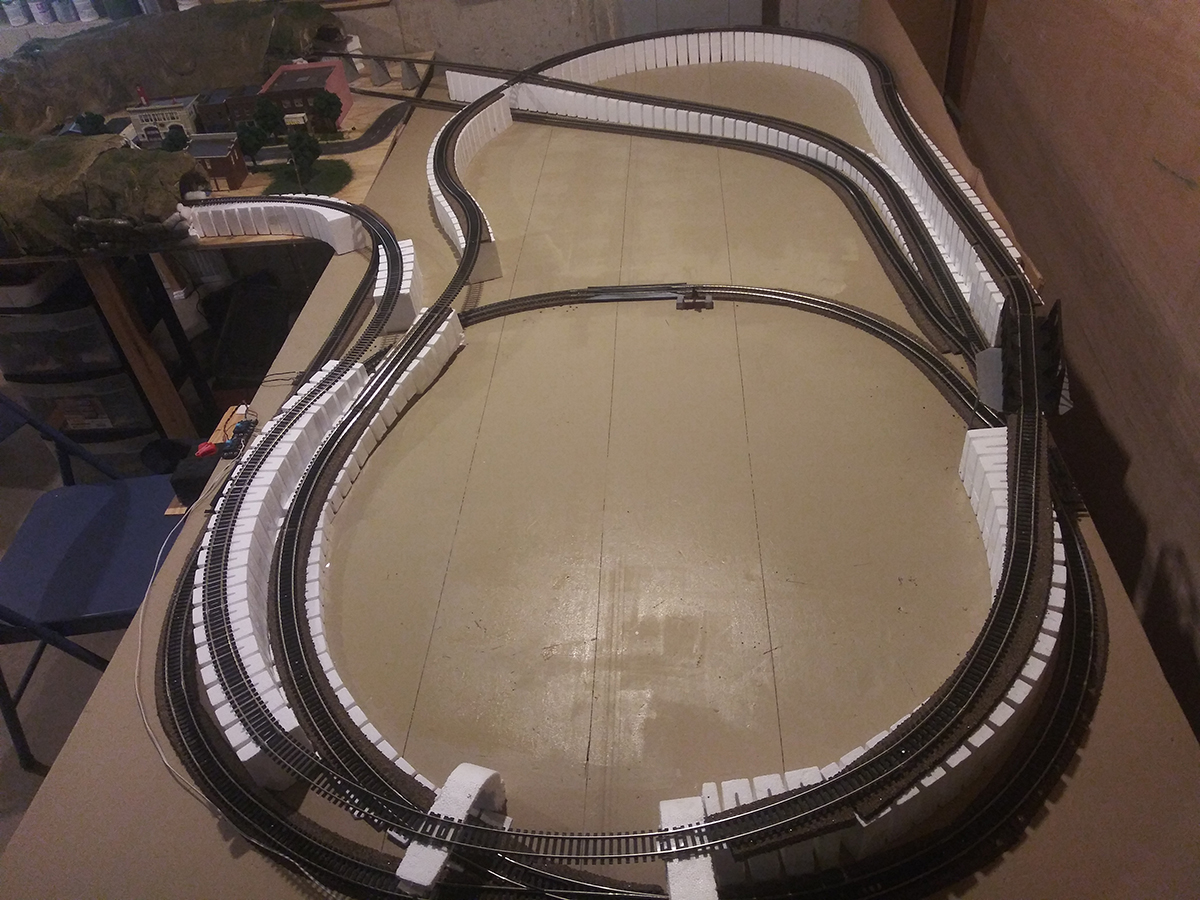
Jeff might not have a lot to say, and there’s only a handful of pics of his layout, but he’s made a start, and that’s what it’s all about.
Over the years there has been quite a few posts now on how to make a start – and I really enjoy seeing them in my inbox and I take great delight in posting them.
Here’s a few of them:
How to start a model train layout
You get the idea… it’s all about the start.
In fact, it’s the start that stops most people.
And if you want a little bit of help in making that start, just pick a theme. It can be anything you like – an old holiday destination perhaps, or where you grew up. Or maybe it’s the era that interests you? The 1940s?
Once you have them that you know you’ll enjoy the rest will slot in to place and you’ll be laying track in no time at all.
Now on to Dangerous Dave.
He sent me this, which I have to say, did make me smile:
“After been challenged by a fellow Youtube Modeller in Germany to try and see how many cars and trucks could be pulled by one Locomotive ..(and to compete with American Rakes)
I did a quick video yesterday showing I got 45 on the back of one Locomotive, and not a problem, think I could manage another 5.
On the description it shows the lead to Andy`s Trains who sent the challenge.
Regards
Dave”
Latest ebay cheat sheet is here.
Nice one Dave! A big thanks to you and Jeff.
And if you’re still thinking about starting model train hobby, jump on the newsletter and you’ll be laying track in no time.
That’s all for now – until tomorrow – when I have a cracking HO scale for you.
Please do keep ’em coming.
Best
Al