Weathering locomotives

Kaustav’s been in touch again with a ‘how to’ on weathering locomotives.

He shows us how he turned a clean looking toy train into a dirty gritty workhorse:

“Hi Al,

Typically I like a challenge when it comes to model making as you already know, but at times it’s OK to take it easy and just be on the ‘relaxed’ mode!

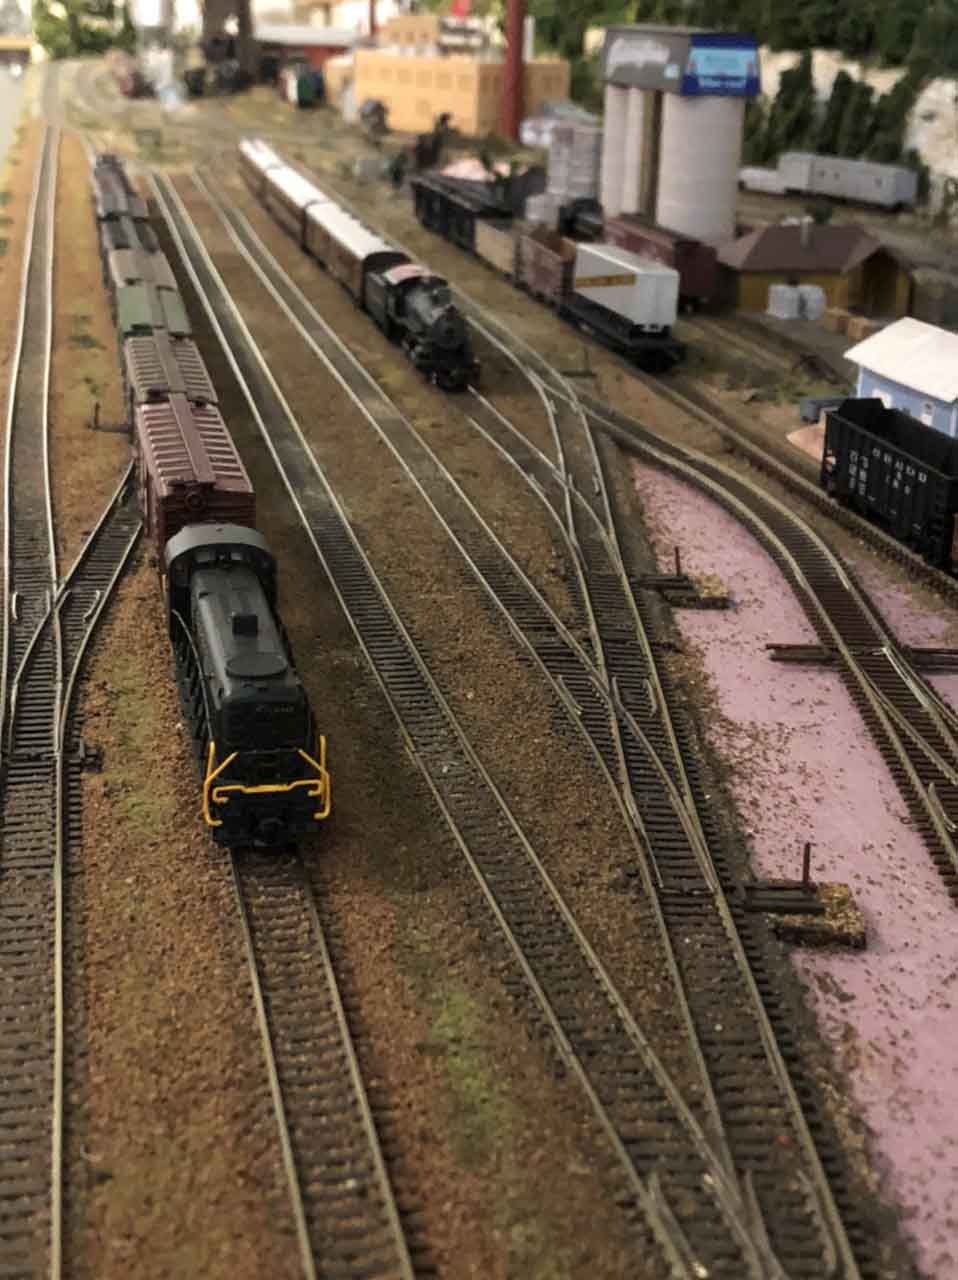
That’s what I did when I weathered my Atlas VO-1000 – a tiny little N scale locomotive that not only runs well, but boasts a lot of fine details.

I feel it is comparable to my all time favorite N Scale switcher locomotive Kato NW-2, except the blocked cab – if only they could make it a proper, see thorugh cab it could be on the top of my list!

Anyway, I wanted an easy, fast, over the weekend job for my next how-to, but I also wanted to do something uncharacteristic of me – really heavy weathering without relying on rust.

Even the most manhandled and poorly maintained locomotives in service didn’t have a lot of rust unless they landed on the graveyard, but they did have other aging like crud, grease, grime, dust, dirt and chipping.

I focussed on these elements for this locomotive to give it a very weathered, ill maintained, yet a revenue earning work horse look. And of course there was the right amount of rust and streaking as well.

I was also lazy enough to set-up my airbrush for this, so I did a a classic wash-pastel-chalk weathering that is within the grasp of almost everyone without any special tools or even skills.

The methods are not only easy, but also forgiving, meaning if you mess it up, it’s easy to ‘wipe’ it and start over.

And as always, a quick video showing how I did it.

Hope you and the folks enjoy this.

Cheers!

Kaustav”

weathering locomotives

weathering locomotives

weathering locomotives

weathering locomotives

weathering loco

weathering engine


weathering steam engine


A huge thanks to Kaustav for sending in his weathering locomotives ‘how to’.

I do love his stuff – his models have such character. His vids are just as good too.

If you missed his barge post, it’s here. It really is worth a read if weathering is your thing.

Kaustav’s post also reminded me of Sam’s post: Weathering rolling stock.

That’s all for today folks.

Please do keep ’em coming.

And don’t forget the Beginner’s Guide is here if you’re tired of everybody else having all the fun.

Best

Al

PS Latest ebay cheat sheet is here.


MRC railpower 1370 overheating?

Gary has been in touch with an electrical power problem with his layout – could it be the MRC railpower 1370 overheating?

Have a look at the comments below and make your own mind up.

If you’re unfamiliar with his layout, his last few posts are here and here.

If there’s one thing I have learned over the years of doing this blog, is that all layouts present a whopper of a problem at some point.

But they are nothing a bit of thought and shared experience can’t overcome.

So let’s see what we can do to help Gary.

“Hi Alastair:

I need some help and guidance from you and/or your many railroad modeler followers.

I have a major electrical problem. I have been using a MRC railpower 1370 to provide AC power for building lights, Atlas switches and LEDs for the signals on my layout.

I have 33 switches, 55 LEDs for my dwarf signals and 13 LEDs in my buildings for lighting.

All my track power is DC from a separate MRC railpower 1370 transformer.

For my Atlas switches, I am also using Peco DL-35 C.D.U.s (Capacitor Discharge Unit) for additional initial power to throw the turnouts.

Electrically, everything has been working ok for over a year that I finished the engine yard. The switches in the passenger yard have been working for close to two years. All off the one transformer which I only use for AC.

I have 3 DC buses from a Railpower 1300 and 3 AC buses from the MRC railpower 1370 that run under the layout providing power. The wires from the transformers go to distribution blocks which then I turn goes to the different accessories.

This past Friday as I was trying to make a video of the layout that some of the modelers ask for from my last post. The layout was on for about 20 minutes and then all my lights dimmed and went out and switch power was lost.

I switched the power button on the AC Railpower 1370 transformer on and off a few times and nothing worked. I waited a few minutes and turned the power back on and everything worked and lit up and then dimmed and went off after about two or three minutes.

I have found out that the longer I leave the power off, when I turn it back on, the longer it stays on but never last more than 20-25 minutes.

It does not act like a short where it goes right off; it works ok, and then dims out.

I am not sure if it is an overload because it has been working fine for a long time.

Yesterday, I added an additional New MRC railpower 1370 and started moving the AC buses off the first 1370; same problem until I move ONLY AC bus 1 to the new transformer and the problem happened with the new transformer with only the first AC bus which has most of the accessories on it.

I still don’t know if it’s an overload or a short.

Has anyone ever run across this?

I am going to call the manufacturer, MRC (Model Rectifier Corp.), here in New Jersey, U.S.A., tomorrow morning and see if I can speak to one of their technical people.

I have so much wiring under the table, I don’t know where to start. Everything has come to a halt with this issue. I dread having to go under the layout and follow every wire.

I know this is not going to be easy.

MRC railpower 1370

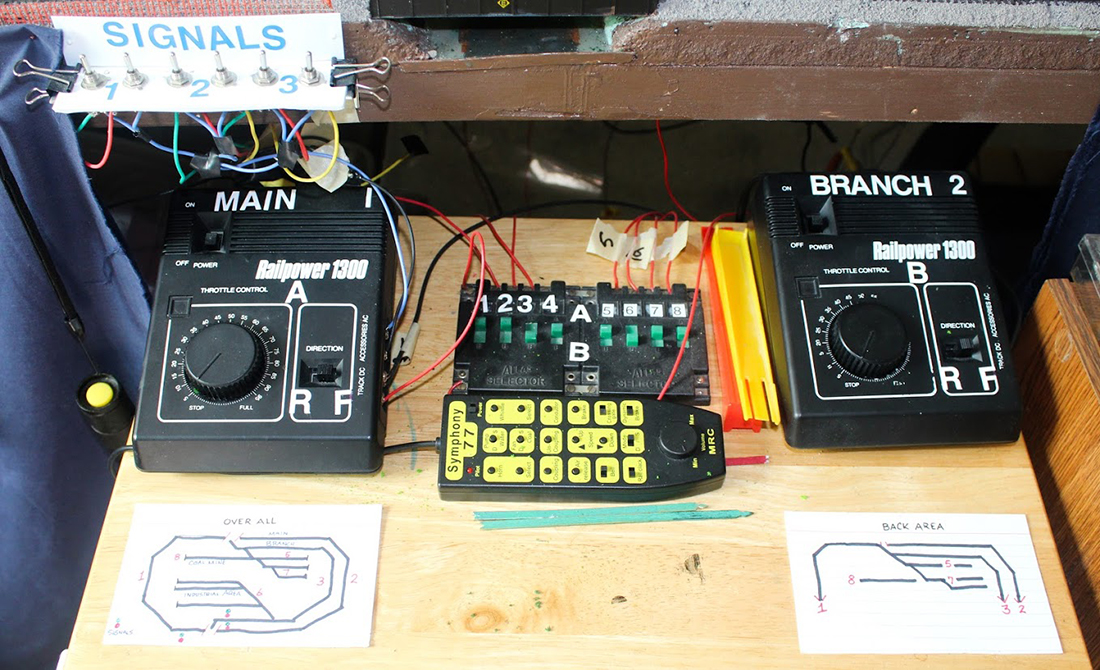
Here are the power packs. The 1300 is the one I am having the problem with.


I hope someone can help with some knowledge or experience about this.

Gary M from Long Island”

A real head scratcher – could it be the MRC railpower 1370? Or a short? Please do leave a comment below if you can help Gary.

Now on to Tony:

“Hi Al,

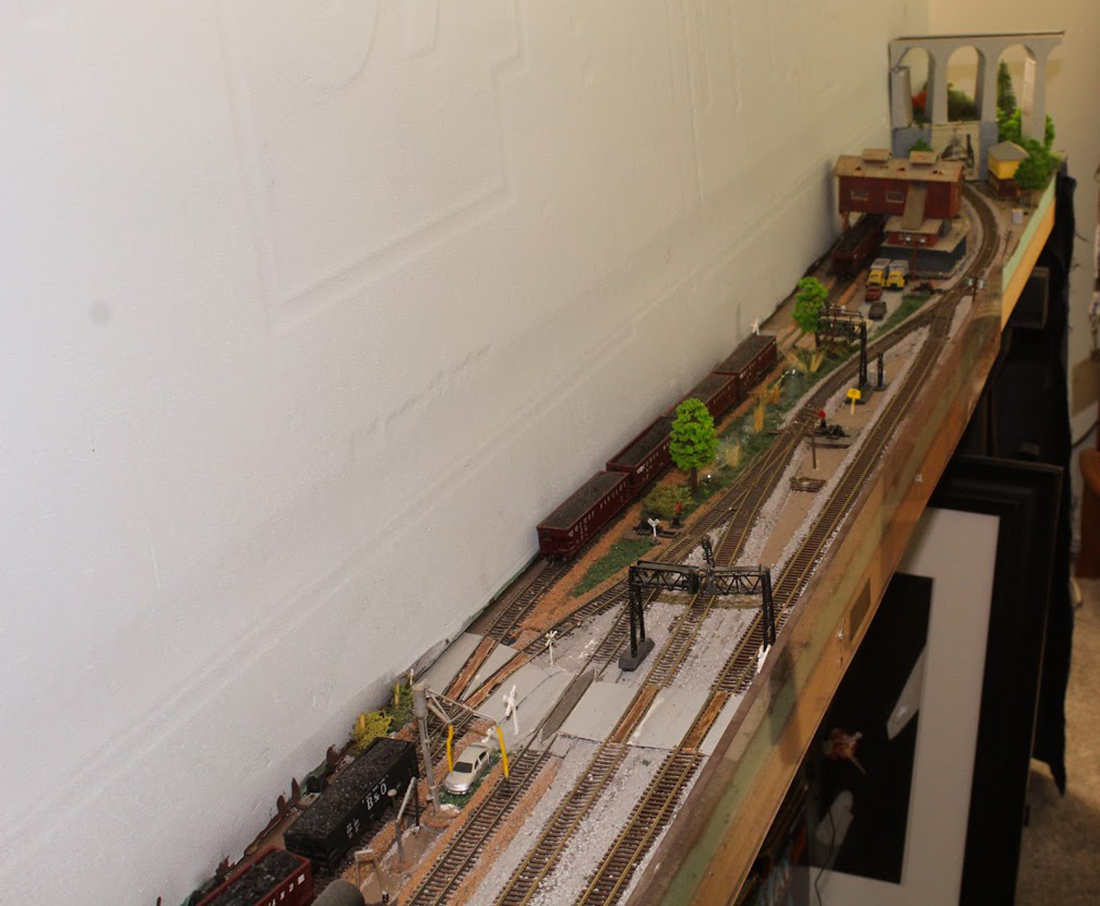
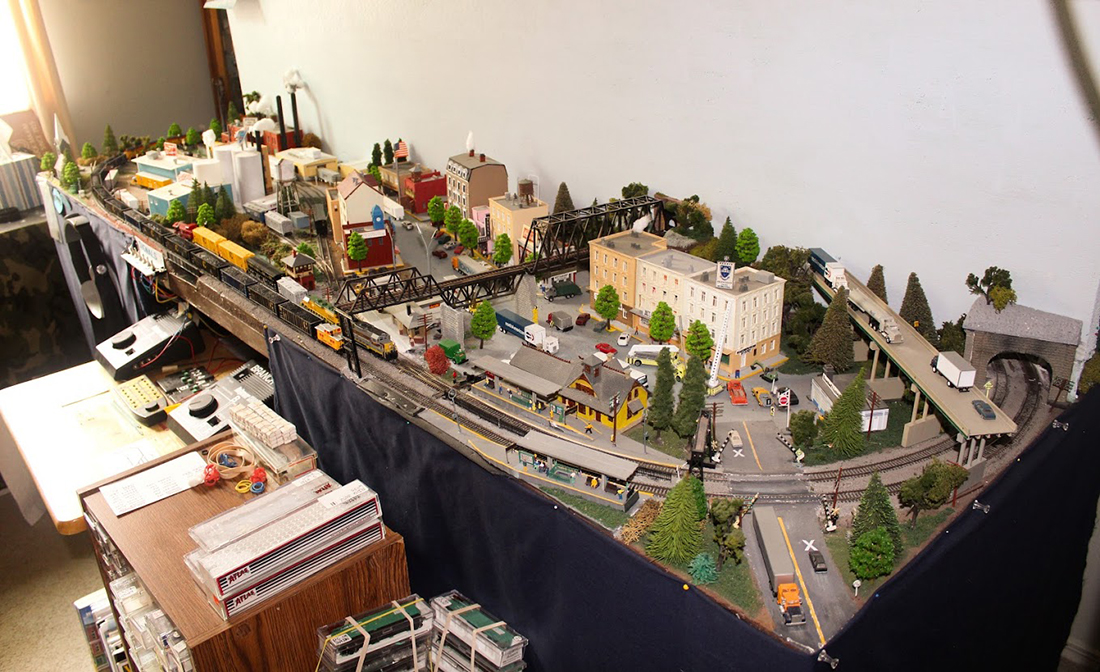
Thanks for posting pictures of my combined layout of both 00 gauge railway and micro scalextrix.

I have moved on since those early days to a “finished lay out” as of today.

I am happy for you to share these photos and welcome any comments members may wish to make.

I modified the first layout by extending the area in front of the window to first situate my controllers and extended the area to the right so that I can have a return loop back to the main board and extend the micro scalextrix.

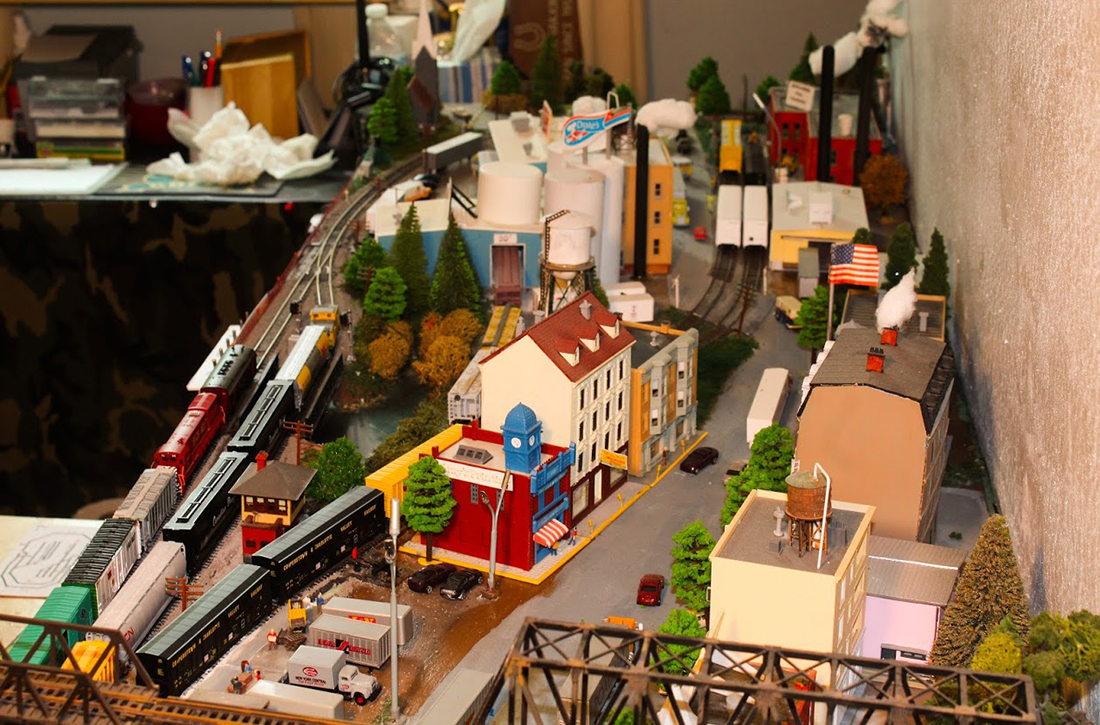
After a few months I decided to change again and further extended the window area to situate a village scene and completely changed the right hand side to place sidings for all my other locos etc.

This now was the first time I attempted to use point motors and after a couple of trial runs – see photos, I managed to set up a neat control panel of switches next to the power units.

model train MRC railpower 1370

model train MRC railpower 1370


MRC railpower 1370 track

model railroad track

model railroad

laying track

model train

model railroad


model train car

model train car

adding grass model train

1370 scenery

MRC track

1370 scenery

railpower

model railway using MRC railpower 1370

model train houses

model railway post office

model railway pub

Keep up the fantastic work which we all very much appreciate.

Tony

Stockport
Cheshire”

A big thanks to Tony. I remembered his original layout – hard to forget a layout with a race track! Wonderful stuff.

That’s all for today, folks – except please don’t forget Gary ans the thorny issue of his MRC railpower 1370. Can anyone help?

Please do keep ’em coming.

And if today is the day you make your start, just like Gary and Tony did, the the Beginner’s Guide is here.

Best

Al

PS Latest ebay cheat sheet is here.


DC wiring model trains

Bob’s been back in touch with a top for DC wiring model trains.

(his last post is here.)

Just have a look at his wiring!

“Alastair,

The adage “necessity is the mother of invention” holds true.

In setting up my signaling on my new layout, I am using three-headed signal masts.

Telephone wire works great for these since each signal has a Black ground wire and Red, Green, and Yellow wires for the LEDs and that is what phone wire has.

That makes it easy to run wire from my signal control panels to the signals (first picture).

Now the IR sensors I am using only use three wires: positive, ground and data. I could use phone wire again band just not use the green wire, but I decided to use separate Red, Black, and Yellow wires.

DC wiring model trains

It was going to be more work than using three different spools instead of one phone wire. Then the light came on.

I fashioned a spool rack using a ½ in dowel and some scrap wood(picture two).

It works great for DC wiring model trains. I just tape the ends of the three wires together and pull the wires together from the control panel to each sensor.

DC wiring model trains

The spool rack is also a great way to store wire and it is portable.

Here it is on the floor where I am working but I also use it on my workbench when I am putting together and wiring the dwarf lights for my turnouts.

Bob in Virginia”

Now on to Ashley:

“Hi Al,

I have been enjoying your posts for a couple of years now. So it’s probably time I contributed something. As well as the modelling and running a layout I enjoy working on the controls side of things.

With DCC loco’s the reading and changing CV’s becomes tedious if you have to remove the engine and put it on a programming track each time. So I devised a simple improvement.

I made a section of track isolated and wired it to a switch that can connect either to the running output or programming output of the controller.

I simply run the engine onto the isolated section ( switch set to run) then switch to programme, read and change CV’s. Then switch back to Run and check it out.

I never have to takethe engine from the track.

The diagram below shows a simple installation using a double pole double throw switch.

The second diagram shows how I added LED indicators. The resistor value depends on how bright you want the LED. between 270 Ohm and 1k Ohm will be ok.

As the track voltage is alternating the LEDs can be connected either way.

DC wiring model trains diagram

diagram

Ashley”

And now some pics from Cassio. His last post is here.

He’s a man of very few words, but we’ll make an exception again because of the language barrier:

HO scale model train

HO scale model train


HO scale model train

HO scale model train

HO scale model train

“HI Al

Robert here just made this track cleaner and works better then any store bought Simple to make track cleaning car.

Look for a gondola you won’t mind drilling a hole through the middle, drill through the weight. Get yourself a floor scrubbing pad and cut to size.

Your Home Depot / Lowes has 16” size or the paint isle has smaller hand held scrubbers.

You can buy a flat head bolt. Mine is from a toilet seat kit that i didn’t use.

For the cleaning liquid is your call. I use rubbing alcohol because it cleans and evaporates quickly. Buy any size cut to fit.

Enjoy

Robert”

track cleaner

track cleaner

“As an “Old School Modeler” I learned from my Dad a long Time ago that if you don’t have “good track work” as in “Your Track/Layout and connections are PERFECT… It won’t be fun to run the trains!”

This is exactly what my dad instilled in me over forty two years ago when I was in my pre/early teens.

Back then we had switched from American Flyer ‘S’ gage to HO, because back then we didn’t have “E-Bay” or the internet or “after markets” and “Re-Pops”. Sooo getting parts and stuff for those old American Flyer trains was alot more difficult!

So when we switched to HO… first off we could build alot bigger layouts with the tables we already had… and do alot more detailing! And it was pretty affordable too.

And I’ve always loves seeing what I could do with Smaller Trains and slot cars too! 🙂 so this was a win-win for us!

but… it also meant taking much more time to get things right!

In Smaller Scale… things like tight curves, gaps etc. get alot worse and made for attention to what we were doing much more critical!

If your track work does not work flawlessly, no amount of electronics. scenery, realism, operations, etc. will ever make you want to head for the train room. Take your time on the track work, make if bullet proof, and everything else will be a delight!”

However It wasn’t easy for me (as a Kid!) because my Dad and I had spent a good chunk of money getting all New Stuff! And of course being a kid I couldn’t wait to run it all! (Hell I’m still that way now! LOL 😀 )

So “patience” and “time taking” was something I really had to learn! But it did all pay off! Once we got ALL of the “bugs” worked out on the main layout… which also taught us a lot in just how “tight” we could make turns and how steeo we could make grades and such… and when we later added on the back “Train Yards” on the other side of our wreck room wall (And into the laundry/utility room!) it went down without a hitch including the “Round House” and “Repair Yards”!

What also Helped was using what we dubbed “The “Bitch” because it was a Steam Locomotive that would de-rail from a shadow it was so Sensitive!

So once “The Bitch” ran the entire Layout five times without a hitch or stopping or de-railing, then we knew it was all ready to nail down permanently!

I will also add to this… If you don’t have enough ‘power’ for your layout… especially if it’s a gin one like we ended up with… that too will add to frustrations!

So Power the tracks / trains with multiple power sources, add “bypass” wires from the Power Sources to multiple areas of the tracks to ensure continues power flow so you won’t get “dead Spots” and Power the “extras” (i.e. Lights. Switches, Etc.) with seperate power sources!

This will make for a much nicer time running things and if you have a “Snafu” in anything… you only have to mess with that circuit setup and not the entire layout.

Joe

Wisconsin”

That’s all for today folks. A big thanks to Joe, Robert, Ashley and to Bob for his DC wiring model trains ‘how to’.

Please do keep ’em coming – it’s all getting a bit thin on the ground again this end.

And if you want to your start, on your very own layout, the Beginner’s Guide is here.

Best

Al

PS Latest ebay cheat sheet is here.