How to build a model railroad control panel

John’s been in touch with how to build a model railroad control panel:

“Al,

This article is the next following after my “how to build your own under layout switch machines”, and is about the construction of the layout control panel.

First, I got more 6mm or ¼” Lexan® plastic sheet to use as the board. I chose this because it can easily be drilled, sawn, and won’t contribute to short circuits like anything aluminum would.

I laid out my track plan in schematic form, and tried to follow the “protocols” of the real railroad interlocking plant boards I have seen and worked on.

You may remember, I was a signal maintainer on a USA East Coast railroad, now part of CSX. Schematic picture below left, then had to figure how to print it in reverse, below right.

How to build a model railroad control panel
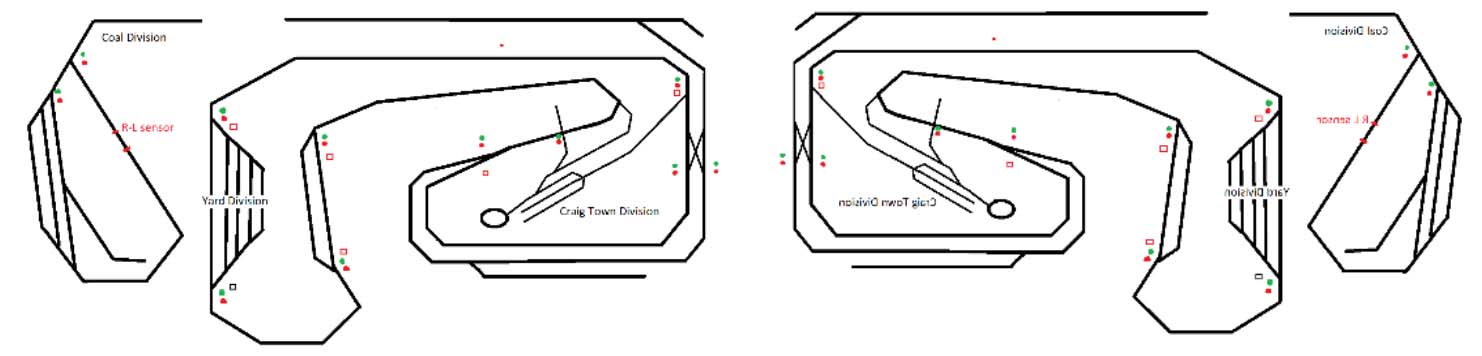
(All images are clickable.)

I next got my plastic and some drafting chart tape and laid out the reverse schematic on the bare clear sheet, it’s white below because I put paper under it so I could see the tape!

The yards, sidings and storage tracks are ½ size of the mainlines. I worked out the hole size for the Light Emitting Diodes (LED’s) on a scrap sheet of plastic.

To make sure all the LED’s and switches were uniformly spaced, I made a template for marking the hole spacing.

How to build a model railroad control panel

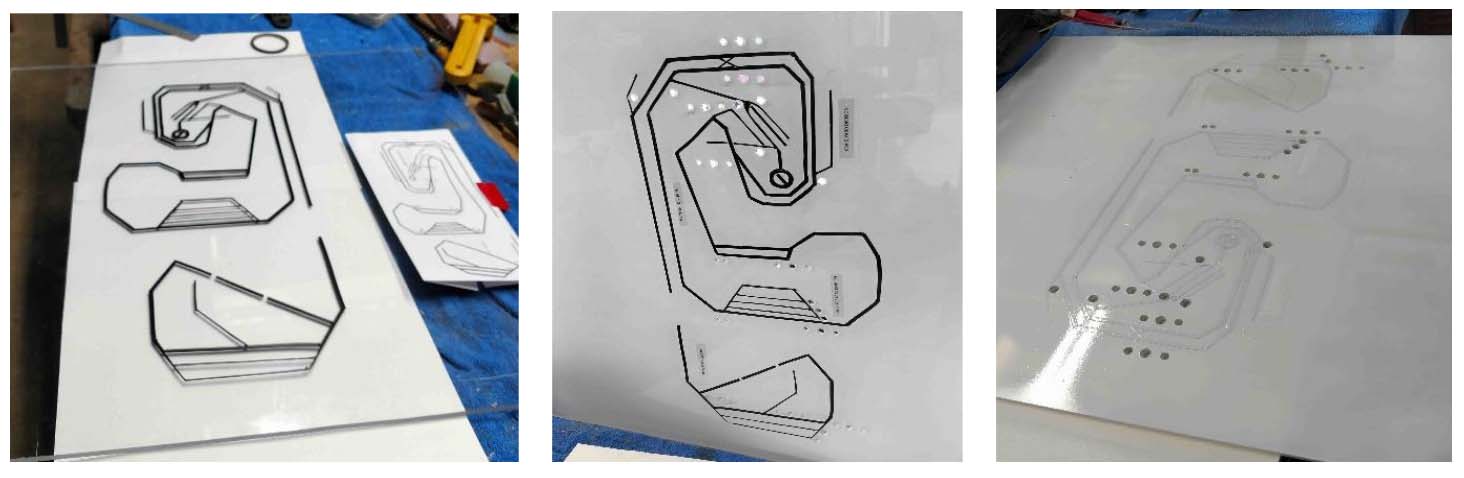
Once everything was marked, I drilled the clear plastic with the tape reversed schematic applied. I then spray painted the back side of the panel white.

A note or 2 on the wiring. Remember, the lamps are LED’s – So they will only light up when the polarity is correct, they ignore reversed polarity because of the “D” or the diode in their name.

Also note that my switch machines run on 5v DC, and reverse when the polarity is reversed. 5 volts is too high for LED’s which take 2.5 to 3 depending on the color.

I soldered a resistor to the cathode side of the LED’s (the slightly longer lead) so I could keep track of where to connect the + and – sides of the LED.

How to build a model railroad control panel

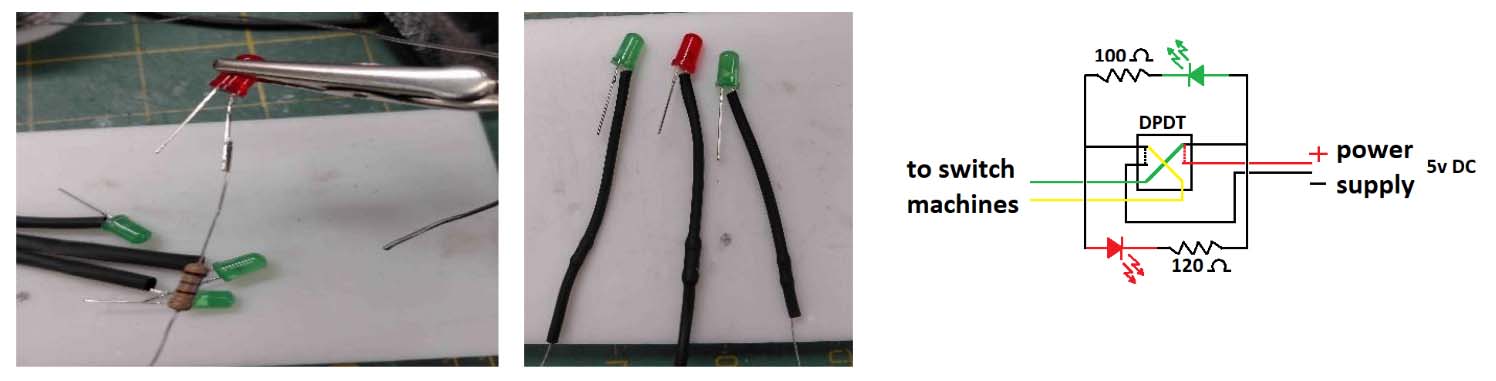
The schematic shows the DPDT switch connecting the power to the upper contacts, so in this case the green LED is lit.

I also put heat shrink tubing over the resistor to reduce the chance of a short circuit behind the control panel.

Note the wires to the switch machines are “hot” all the time, and their polarity changes when the switch is moved to the other position. This will allow me to connect LED signals to the switch machine wires at the location for their power.

make model train control panel

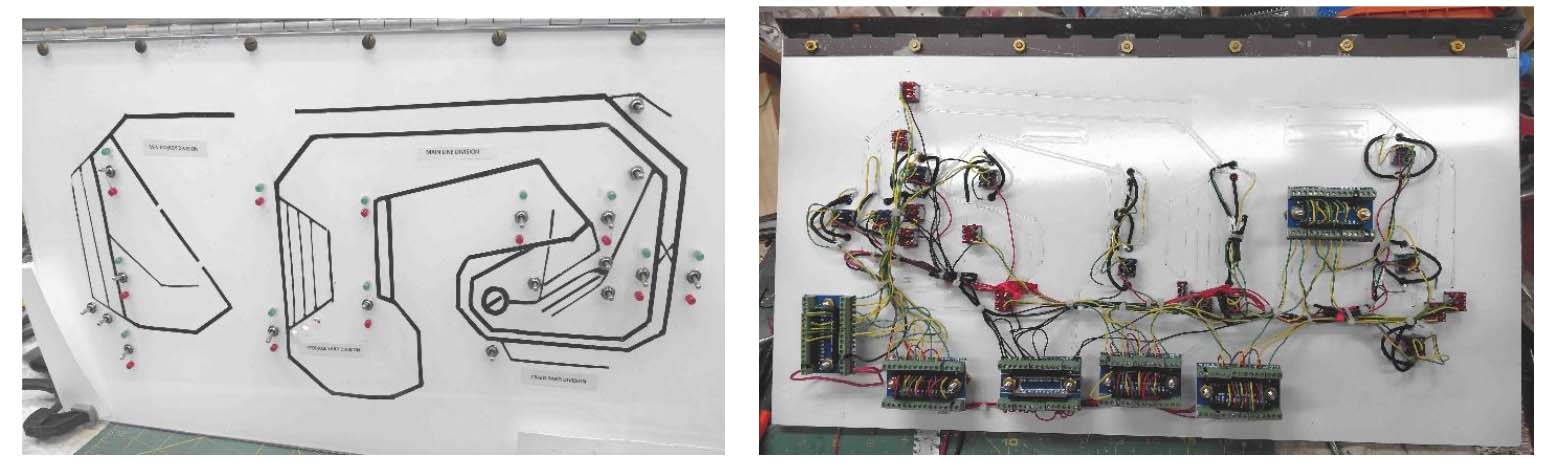
The wired and tested panel is above. The bigger blocks on the back side are terminal blocks to attach wiring from the actual layout.

Green lights will mean the turnout (track switch, or for you UK folks points) are lined for straight through, the divergent route is red. This is consistent with actual switch stand flags and lights on real railroads.

Below is the panel ready to mount to my layout board, and for wiring into the devices on it.

How to build a model railroad control panel

The green LED’s look almost white in the photo but are indeed green.

Also note that not all of the control switches have LED’s, those without are momentary – center-off switches to control Atlas® type switch machines.

I may add a relay and a LED to indicate when these “un-signaled” tracks are lined for trains to come in or go out, but that will be much later.

Next step is to mount the panel and begin wiring the layout. I’ll also start the third side of the layout, mountains and mines above storage for trains and cars underneath.

I’ve decided to wire everything plain DC until I can scrape up the $$$ for DCC, once I have the Rail-Pro system in hand, the change-over should be pretty simple.

John”


“I enjoy your posts very much.

Many good ideas. Here’s one I’m trying.

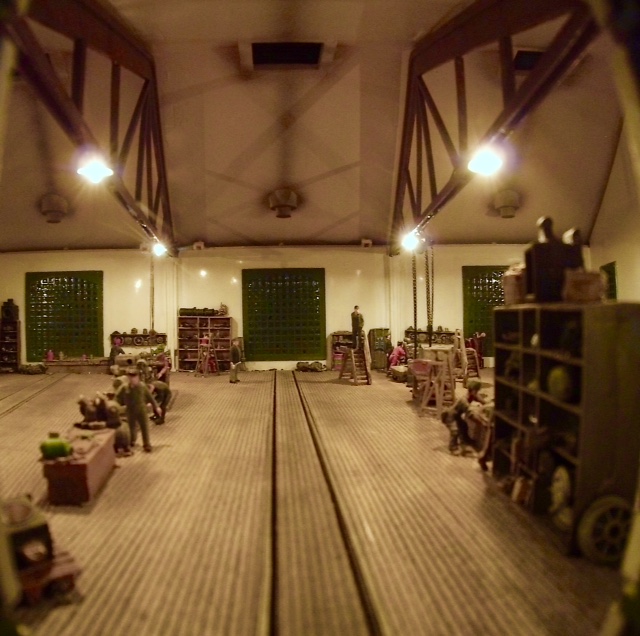
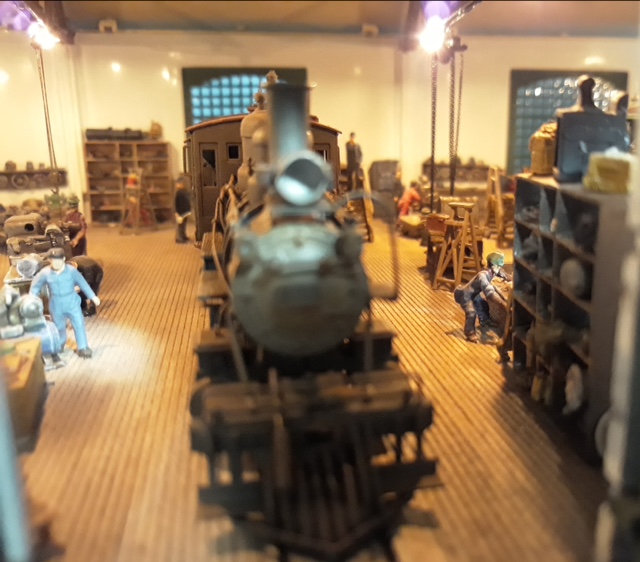
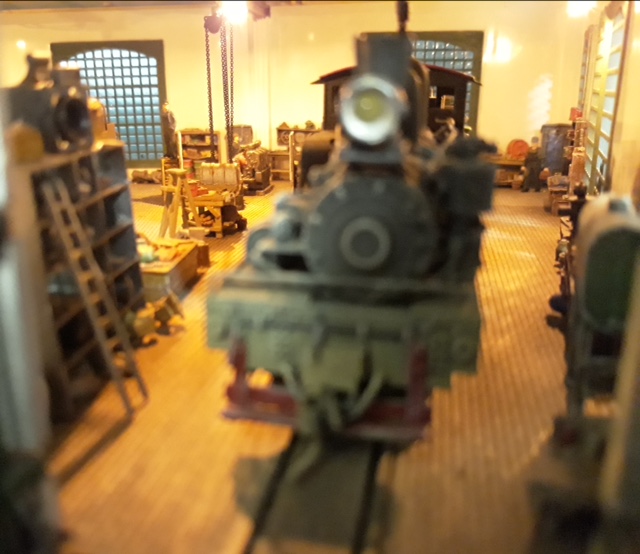
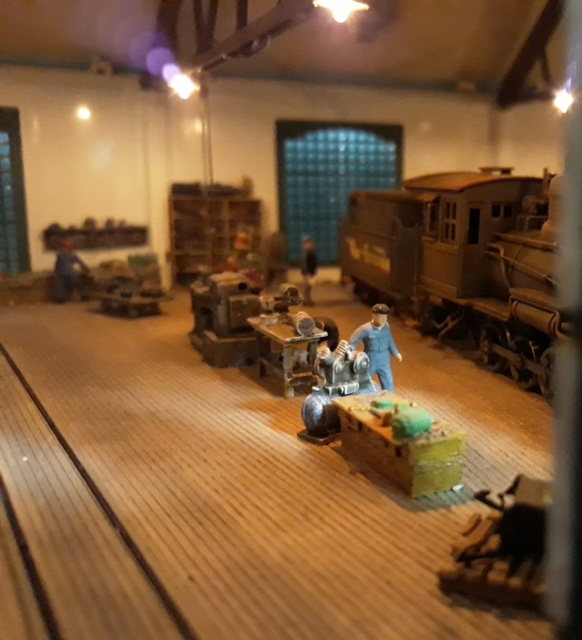
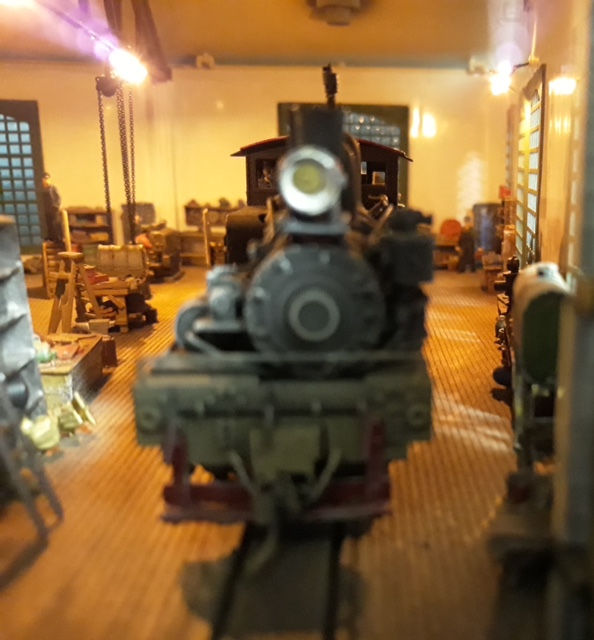
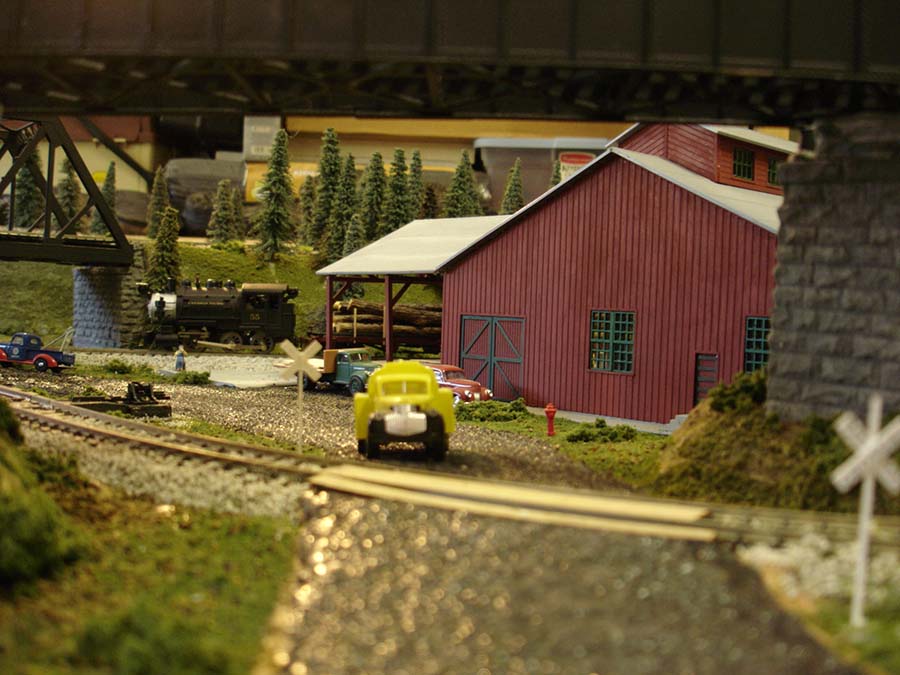
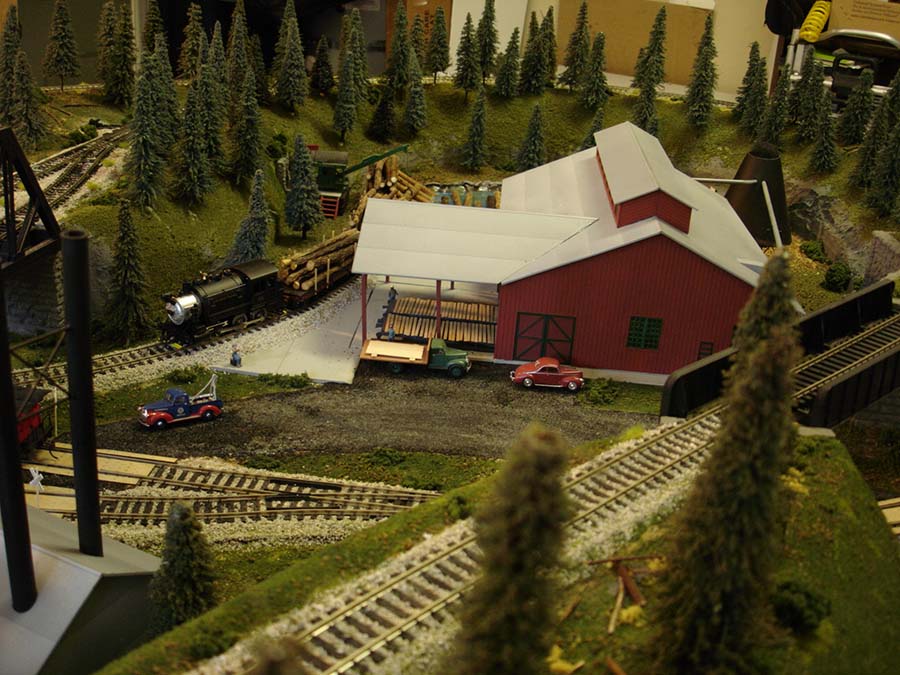
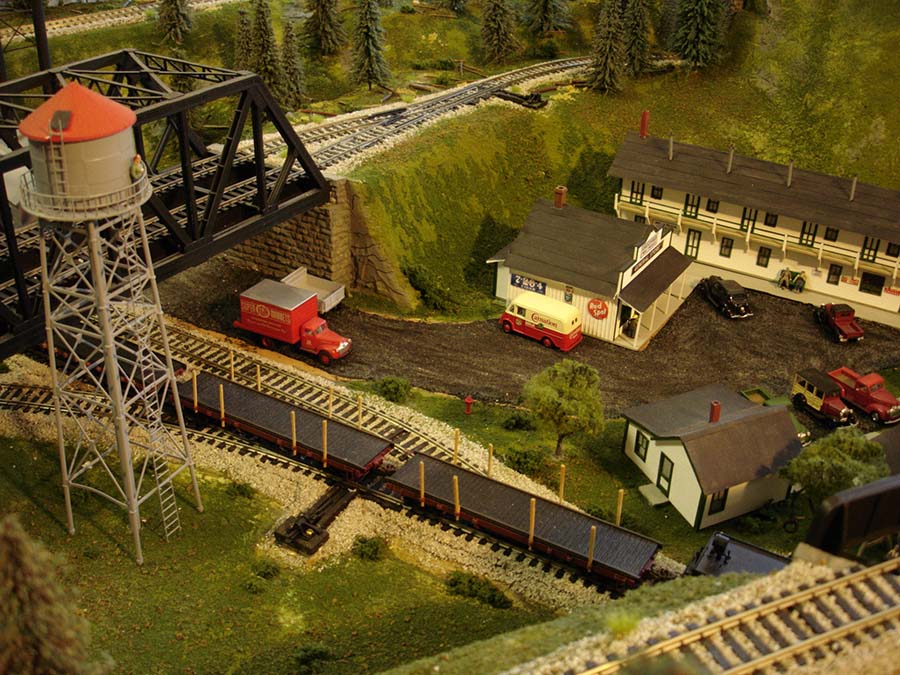
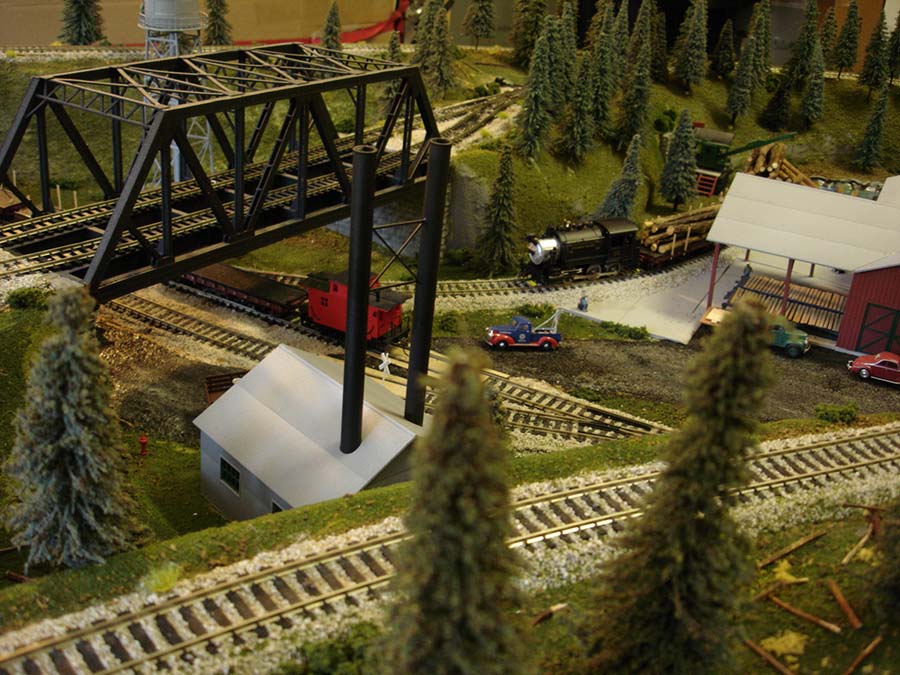
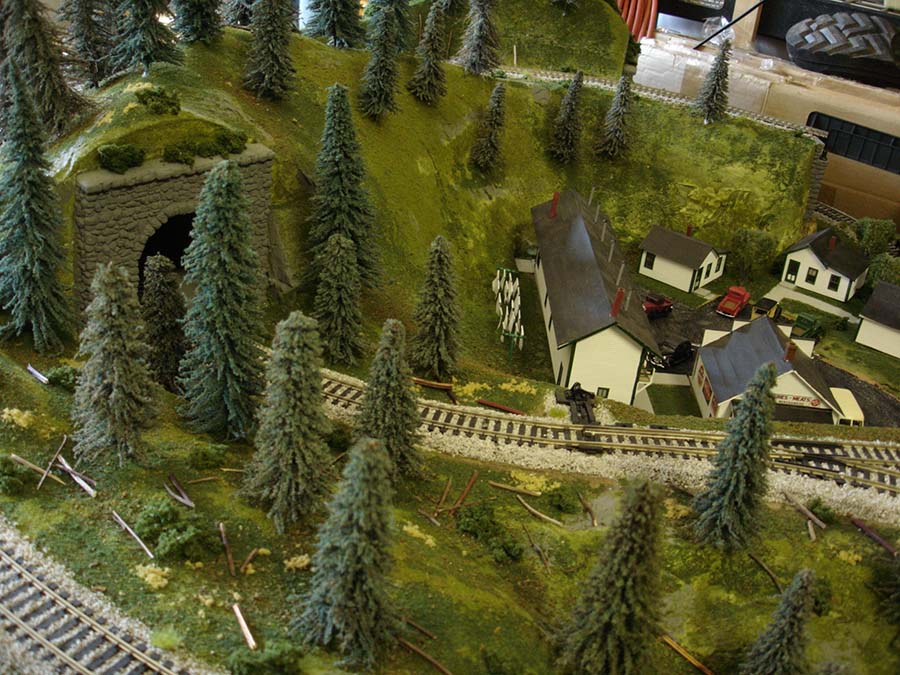
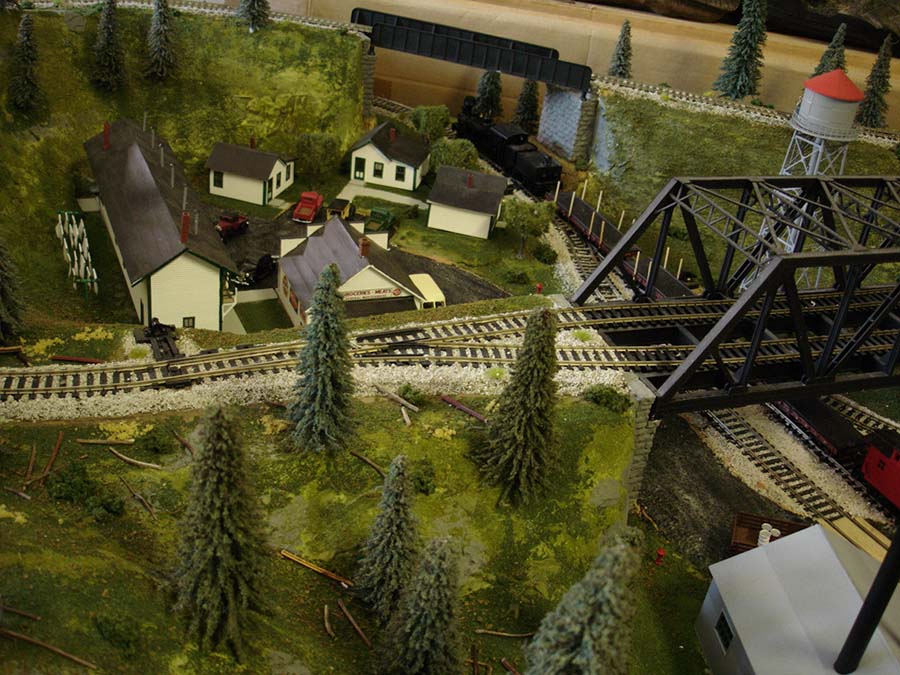
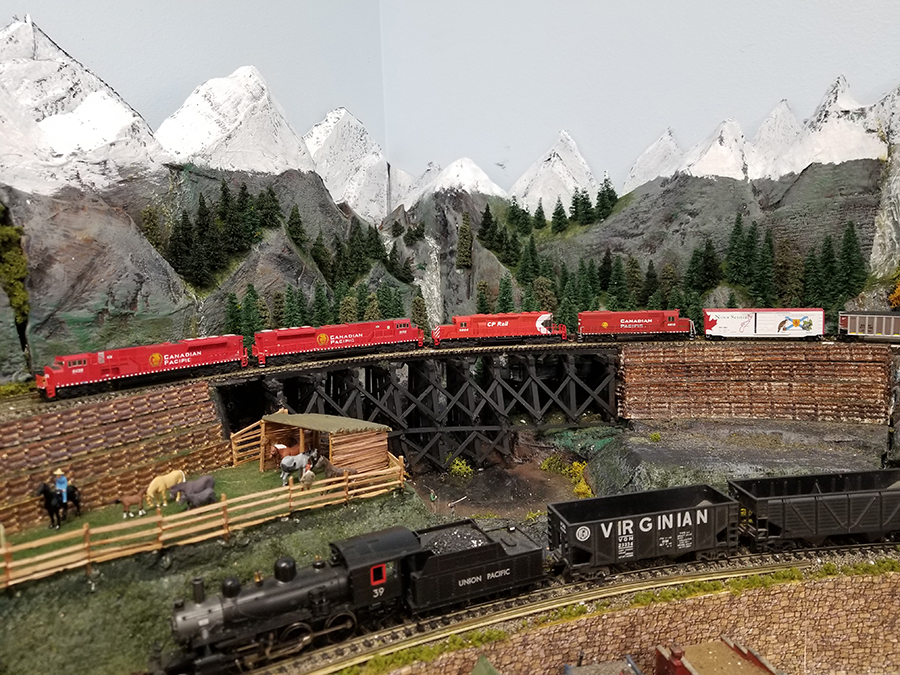
I have a small bedroom for my new layout. I am combining HO and N to try and and get some degree of depth. The steamer in the front is HO and the coal train is N. Some will say ‘not prototipical’, but I’m having a ball.

Andy.”

model railroad

“Greetings from Los Angeles Al!

The commercial plants and trees can prove to be costly if you need several…

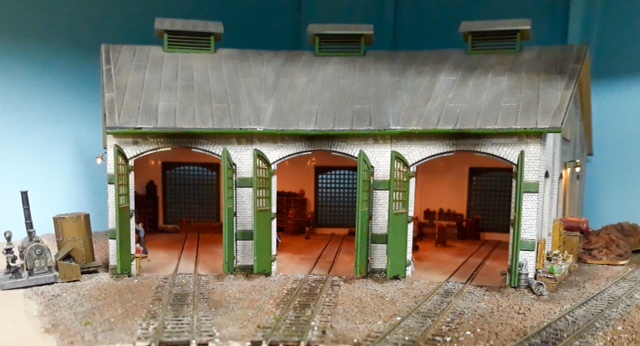
I made these planters on ether side of the door by wrapping pipe cleaners around a sharpened pencil and then pressing them into the desired shape. Then I paint then with inexpensive acrylic green and glue them into the planters .

The planters are BEADS from the craft store..then I glue them to my structures ,or where needed om my layout You can make dozens of these for next to nothing…

John”

model railroad door plant

A huge thank John for showing us how to build a model railroad control panel – clever stuff indeed!

Thanks to the other John and Andy too.

That’s all for today folks.

Please do keep ’em coming.

And if today is the day you poke boredom in the eye and start laying track, the Beginner’s Guide is here.

Best

Al

PS Latest ebay cheat sheet is here.

PPS More HO scale train layouts here if that’s your thing.


HO scale roundhouse and turntable

Brian’s been in touch with his HO scale roundhouse and turntable. Stunning stuff:

“Hi Alastair

A few photos of my 99% completed HOn3 Roundhouse with all the lights fitted both inside and outside. Maybe add a bit more detail on the outside and some more weathering (dirt) on the floor inside.

Next project connected to this is the installation of the turntable.

That’s all for now.

All the best.

Brian”

engine house

ho scale roundhouse and turntable

ho scale roundhouse and turntable

ho scale roundhouse and turntable

ho scale roundhouse and turntable

ho scale roundhouse and turntable

ho scale roundhouse and turntable

A big thanks to Brian – his last post is here.


“Hi Al,

Here is a little story about a brick from railroad lore and its travels before it finally came home.

In the early 1970’s I took my first professional post at Hartwick College, in Oneonta, NY (USA) which was also a major connection for the Delaware and Hudson Railroad, said by many to be the oldest running transportation company in the country.

It also claimed to have the worlds largest roundhouse, @ 52 stalls, completed in 1916.

As my dad was an avid railroad fan I took a trip down to the yards to get inspiration for a Christmas gift. Sadly, all that remained of the roundhouse was 14 stalls and piles of bricks from the original structure.

I decided to liberate a brick and took it downtown to Jim Konstanty’s sporting goods store (Konstanty was a baseball legend for the 1950 “Whiz Kids” of the Philadelphia Phillies.) to have a plaque made – “Brick from the worlds largest roundhouse etc” Dad could add this to his growing railroad china collection that he was amassing from US and international railroads. He wrote about many of those procurements in his autobiography, Scorekeeper for the Angels (2005).

Dad loved the brick and sometimes took it with him to his “Romance of the Railroad” talks he often gave. (Dad was a Methodist minister so had ample speaking opportunities.) The brick was part of his collection for 35 years.

Dad passed away in 2007 and in 2009 mother had an appraiser come to make an offer on dads collection of Lionel trains, railroad china, and memorabilia. I held back some trains for my sons and the 150th anniversary D & H dining service plate but totally forgot the brick. How stupid was that?

Fast forward to 2016. I was preparing for a long trip but was doing some research for my own model railroad. I had just retired and was looking forward to getting my version of the Delaware and Hudson up and running. When I dropped “Oneonta Roundhouse” into my search engine, up popped an eBay ad touting, “Brick from the worlds largest roundhouse.” I was instantly intrigued and when I clicked on the image, up popped an image of dad’s brick. I gave a HOOT that I am sure my neighbors heard.

I was hard pressed for time in preparation for leaving, and a total neophyte on eBay, so at the asking price of $59.99 I figured and hoped that the brick would still be there upon my return.

After my return I immediately checked on the brick, it was still there; “Phew !!” so I contacted the seller with the note ” I have the provenance for this brick” and I told her the story. She got back to me promptly and was delighted to know the story. I offered her $25, but she paid more for it, so she countered with $40, and I said: “done deal.”

The brick now sits on my desk in our den. Apparently, the brick had traveled from auction to auction and she said this item was the only item that interested her.

The auction was in North Jersey, an hour from my folks southern Jersey home.

Dan
Waconia MN USA”

A huge thanks to Dan for taking the time to send that in – a wonderful story.

A big thanks to Brian too for sharing his HO scale roundhouse and turntable.

That’s all for today folks.

Please do keep ’em coming.

And if today is the day stop dreaming and start doing, the Beginner’s Guide is here.

Best

Al

PS Latest ebay cheat sheet is here.

PPS More HO scale train layouts here if that’s your thing.


HO logging layout plans

Al’s been in touch – he’s sent in pics and a narrative of his stunning railroad, adding to the HO logging layout plans on the blog:

“Attached are some photos of my 4′ x 8′ layout for you to post if you desire.

I am 73 years old and retired from a career in commercial fire protection.

My layout is set in the northwest United States in the early 1940’s.

The buildings are all wooden kits with the exception of the saw mill and power house which are plastic.

I have two DCC steam engines with sound, a 3 truck shay and a 0-6-0 tank engine.

All of the buildings are lighted and I am going to install some street lights in the near future. The mountains are made of rigid foam which was shaped with a wood burning tool, knife and rasp.

I enjoy your posts and have gotten many good ideas from them.

Al

Lacey, Washington”

HO logging layout plans

HO logging layout plans

HO logging layout plans

HO timber yard

HO sidings

HO forest

HO logging layout plans girder bridge


HO water tower

HO scale store

HO girder bridge

HO tunnel

Whenever I get a logging layout sent in, I’m always reminded of Boy’s logging camp:

HO scale logging camp

And Richard’s too:

HO logging railroad.

Now on to Lester:

“Hi AL.

I read your email every time I get one. I enjoy them so very much. I’m not exactly a newbie as I have made at least 10 layouts since I bought my first train set as an adult in December 1963 for my two sons, then ages 3 & 4. I have made or helped make layouts in O gauge, HO gauge and N gauge and have had fun with all of them. I’m current in HO gauge and probably remain there for the rest of my life.

I don’t know what category in which to put this, but I’m a number cruncher in real life (accountant) and here are formulas for calculating speed of HO/OO gauge trains.

actual feet/time in seconds * 59.386 will give scale mph

actual meters/time in seconds *313.493 will give kph

I will derive the formulas for O gauge and N gauge in the near future.

Lester in Georgia, USA”


“Beware of paralysis by analysis. It’s easy to use up too much time planning so that you don’t get on with construction.

Make a start and then you can make corrections as you go. (Some baic plan is of course required.)

Desmond”


And lastly, something from Hall of Fame member, Dangerous Dave.

“Hi Alistair, just downloaded part 3 of the re build, shows my method for adding static Grass and a few other tips there for modellers building a layout.

Hope to get near completion within the next few weeks.

Regards.

Dave”


Latest ebay cheat sheet is here.

A huge thanks to Dave, Desmond, Lester and Al for adding to the HO logging layout plans.

I do love the layouts with a theme, for me, they stand out a mile and I thought Al has done a cracking job.

That’s all for today folks.

Please do keep ’em coming.

And if today is the day you get started on your layout, the Beginner’s Guide is here.

Best

Al

PS More HO scale train layouts here if that’s your thing.


Need buildings for your layout? Have a look at the Silly Discount bundle.