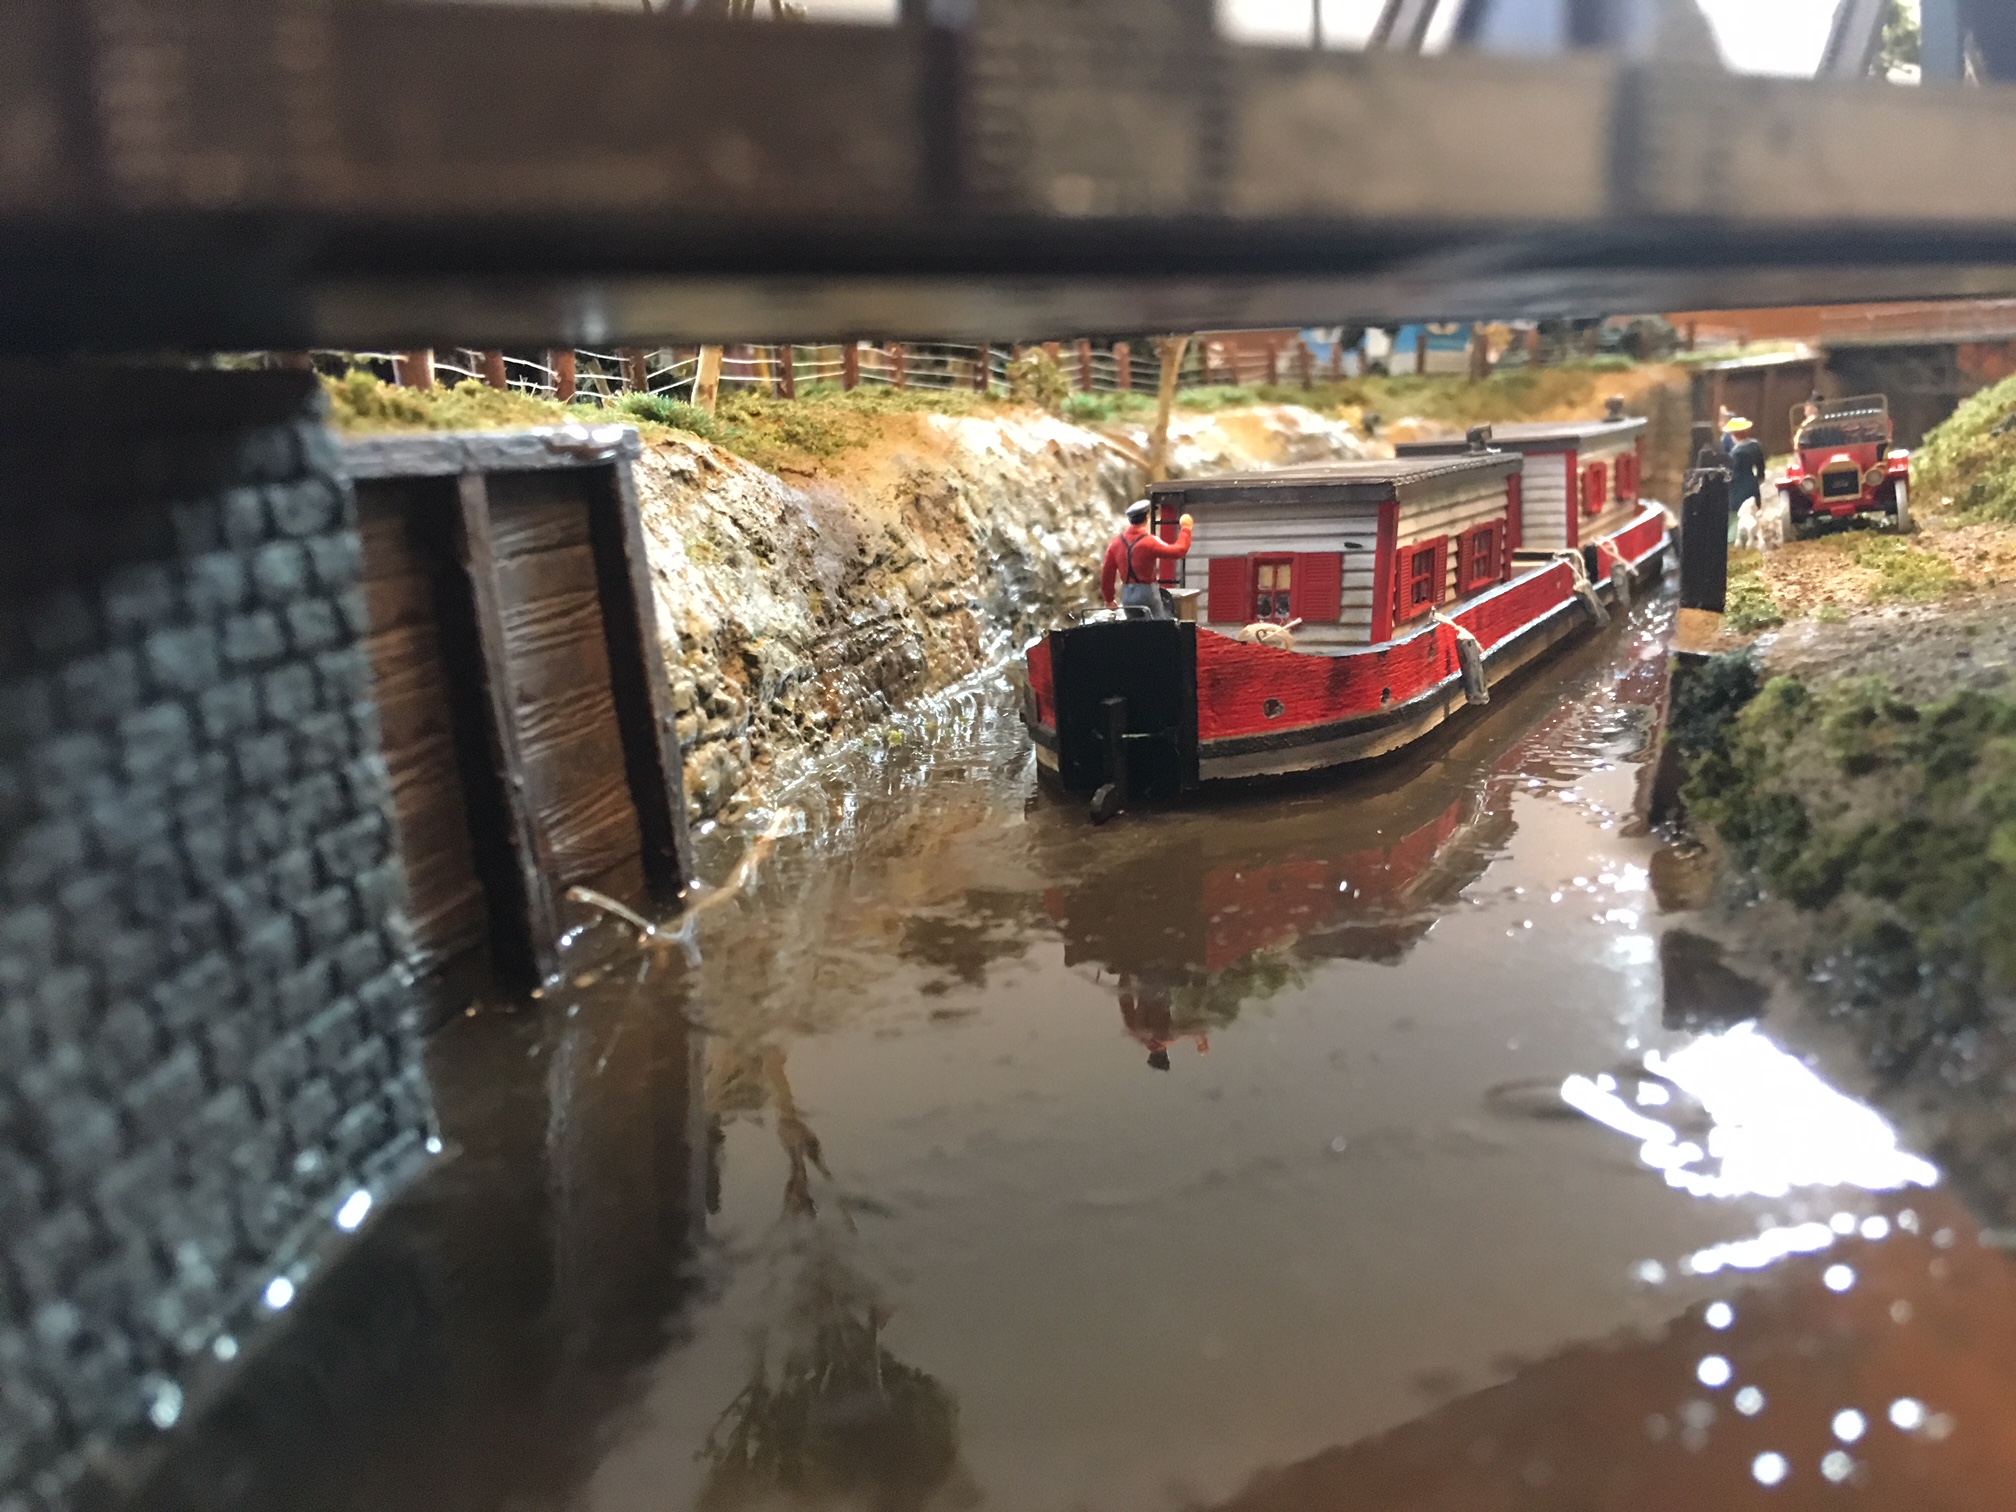
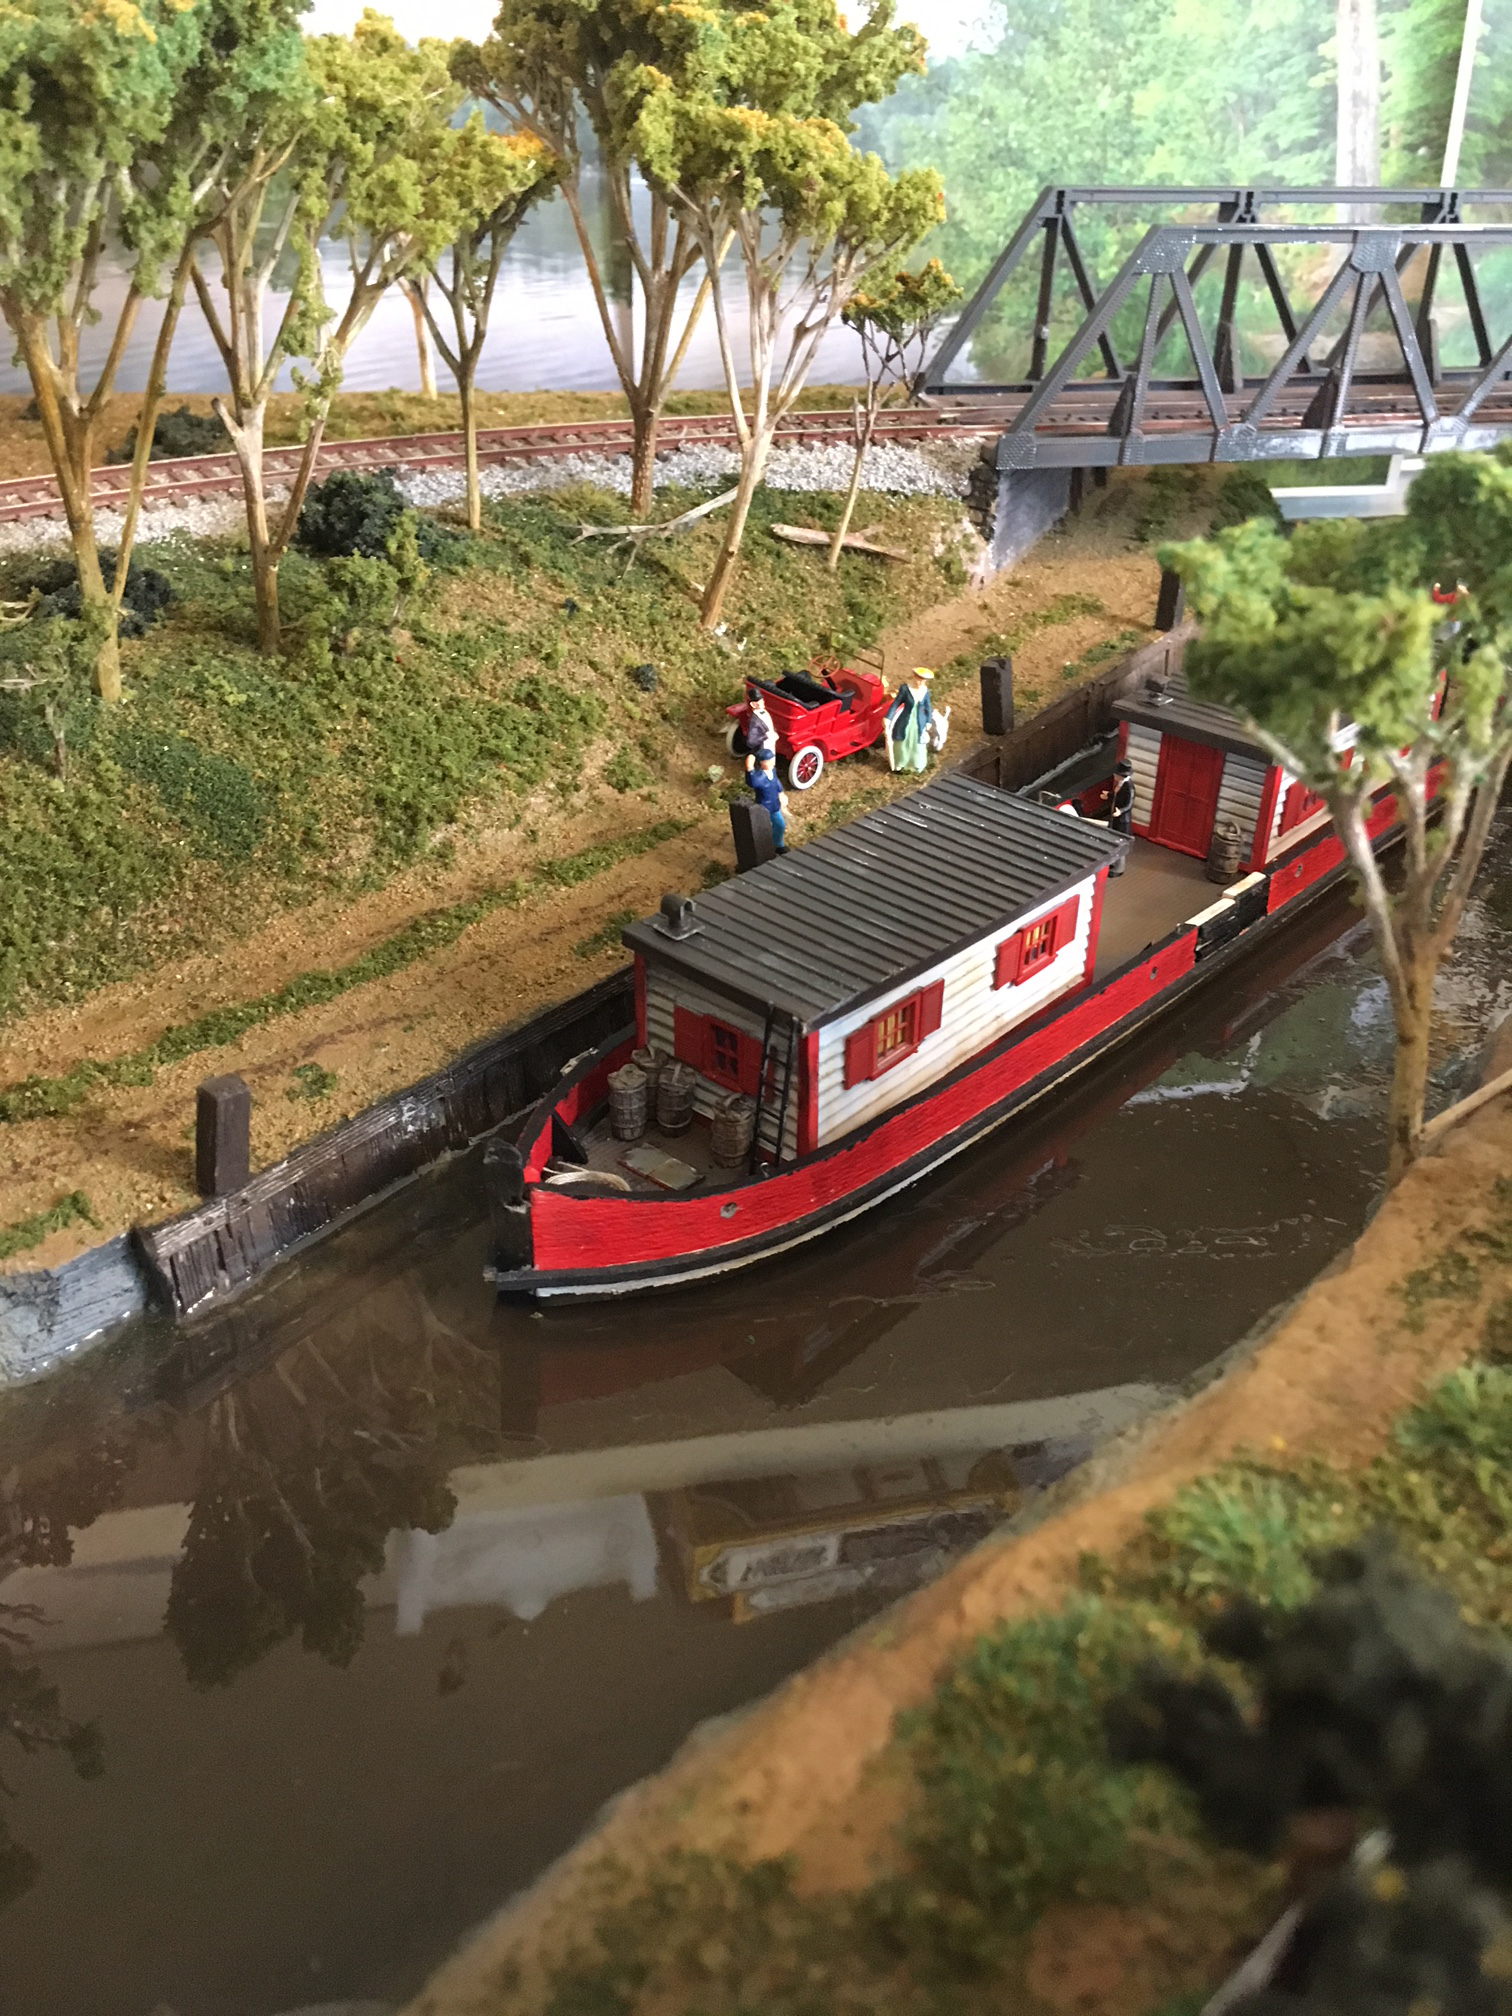
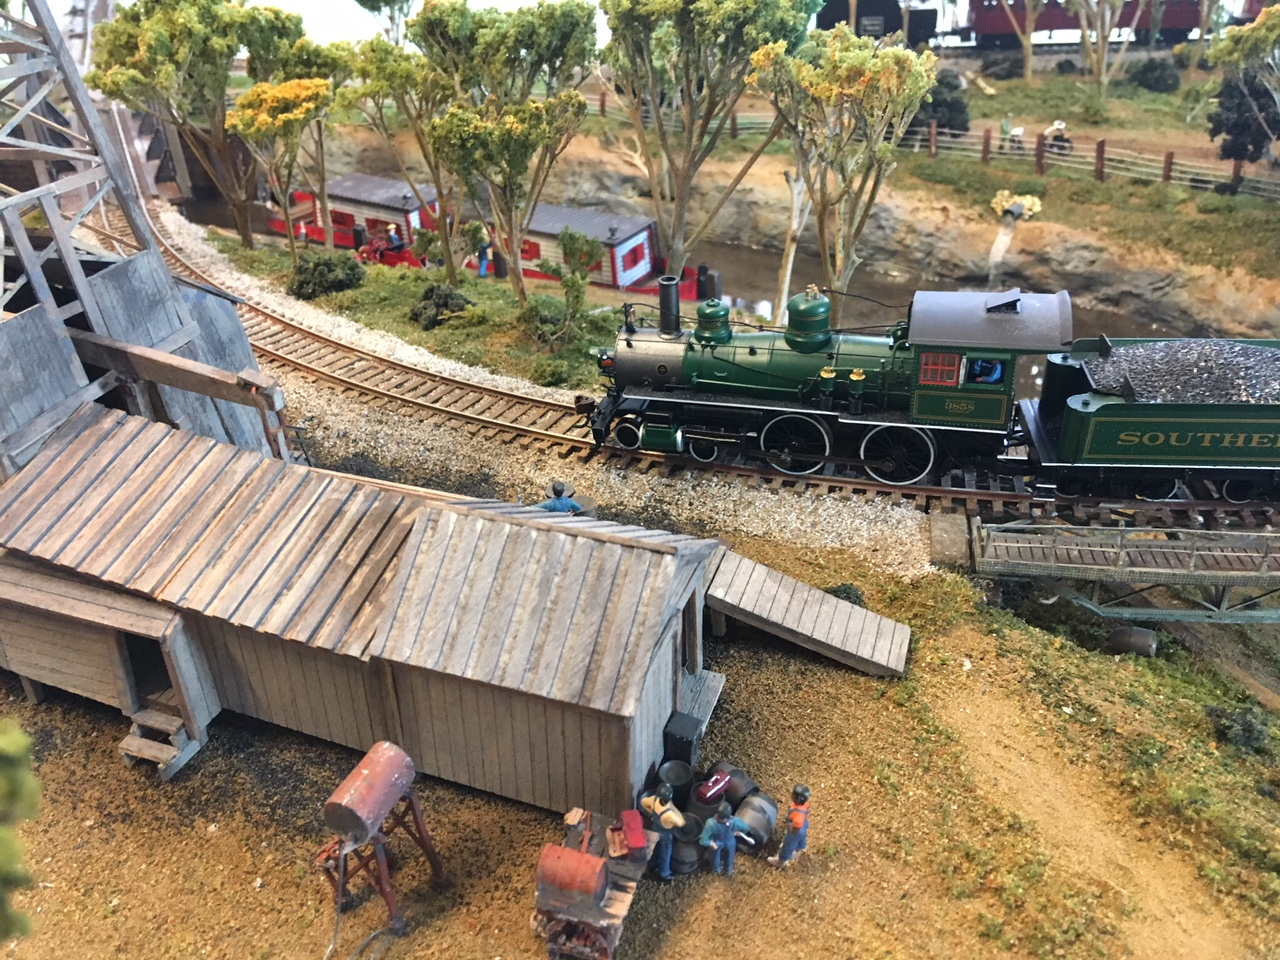
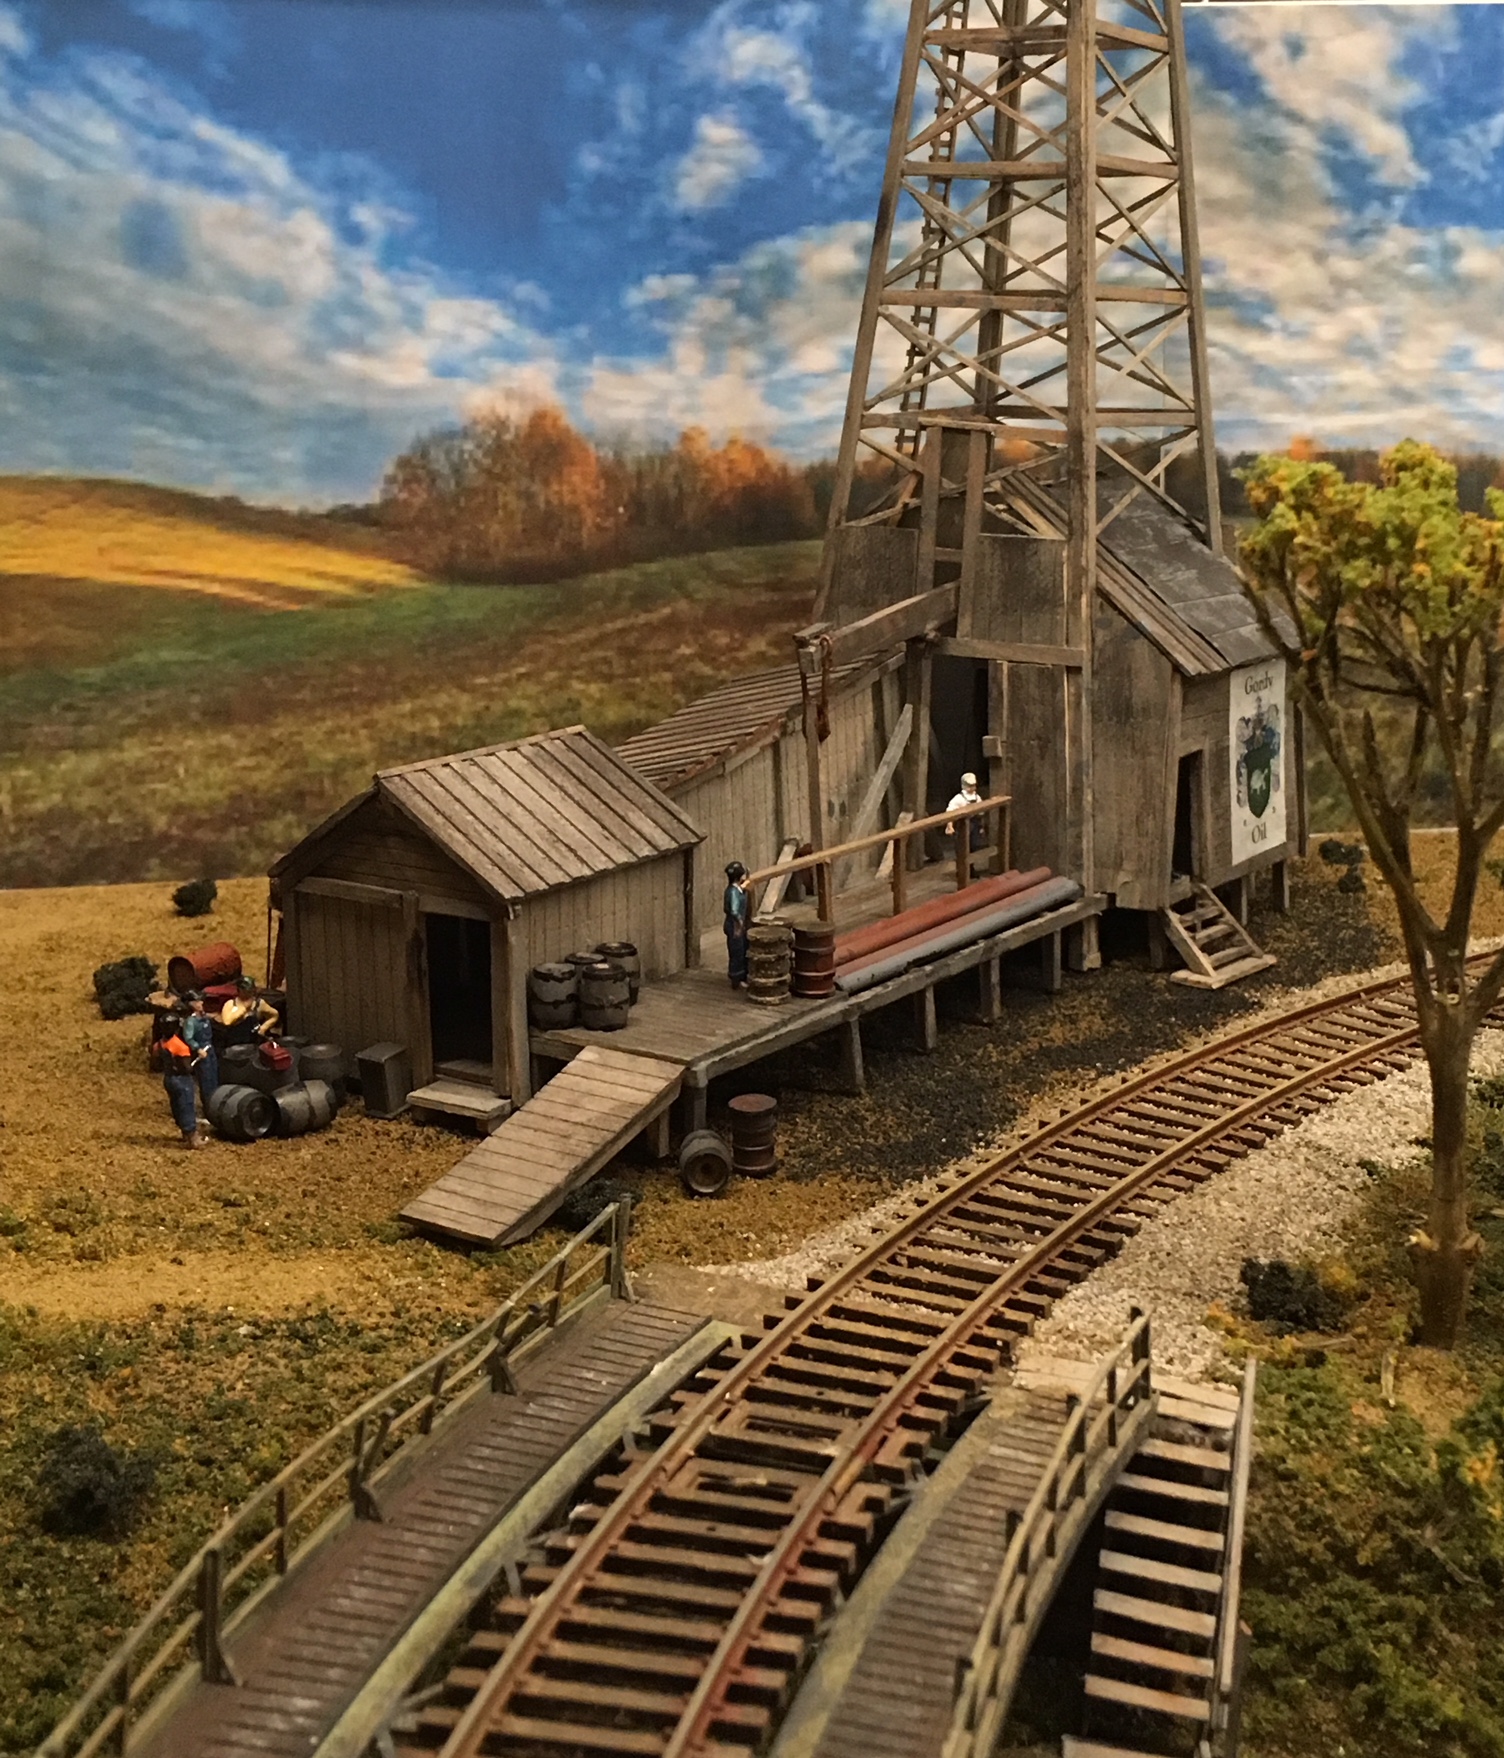
The houses are great fun to build – and look great too. All the printable buildings do!
And once you have downloaded them, you can make as many as you want.
How to make the printable buildings for your model railroad
Here’s John making some of the houses. He’s quite a character:
There are no instructions with the prints – but as John shows, anyone can do them.
All the designs can be resized to the scale you are working in.
Here’s a scale conversion chart:
All the printable buildings are made in HO scale, so if you wanted to convert to N scale, when you print the buildings, just print at 54% size.
HO scale is 100% – you don’t need to do anything. Just print it out and get busy.
How to make the printable buildings
You can below the print outs are nice and simple.
You can see on this example – one of the houses – the two walls, the roof, the chimney and the porch area.
You can stick them some card and make them as they are, which is fine, but they won’t look great.
The printable buildings look best when you add relief – the contours of the doors, windows, bricks and beams.
It’s these contours – the relief – that make the buildings look great.
So the first thing you want to is cut out the windows.
Stick the windows to another sheet of card and forget about them for a few minutes.
Use the printable buildings to trace out where the windows are on another sheet of card.
Then cut the windows out of that one.
Now stick the card with the window holes on to the back of the printable building.
The start sticking the windows back on. As they will behind two layers of card, it will add a lot of depth and the printable building look a lot more realistic.
You can see the top window below already looks more real.
Do the same to the rest of the windows – you can see the difference it makes in the next few pics. The buildings look much more realistic than when they are just flat print outs.
Next you need to score the building with a sharp knife so you can fold it into a 90 degree shape.
Then, glue the building to it’s base, whatever that may be, it really depends on your layout.
Then you need the other half of your printable building – do the same steps as above to make the complete house.
Here you can see a simple roof has been glued to the house.
But just like the rest of the buildings, adding some relief (or depth) really ads to the realism, like in this example below.
The technique is the some for all the buildings, it’s not just he houses that benefit from adding relief.
Here’s one of the barns – you can see it doesn’t look flat at all.
And just to prove the point, here are a few more:
It’s the same what ever the building is – this embankment is also made from a print out:
And of course, once you have the prints, you can use them to make your own buildings.
Here John has scratch built an engine shed for his layout – it’s made entirely from the printable building downloads, but to his design. You can scratch build as much as you like!
All the printable buildings are made in HO scale. However, if you’re looking to use these buildings in N scale, it’s no problem, just follow these simple steps.
When you’re ready to print the buildings, print at 54% and you’ll have them perfectly scaled down for your N scale model train set.
For HO scale, you don’t need to make any adjustments as it is already set at 100%.
I have to say, I do love his layout and what he’s done. Six years of fun so far – and that’s what it’s all about, going at your own pace…
“Hello Al and All,
I’m about 6 years into my garden G scale railroad and hope to finally start laying track this summer. Last summer I brought in 7 tons of rock for the track bed.
As mentioned in some of my previous posts, during the winter months I’m making buildings, vehicles, people etc… I was only able to get in a few projects this winter but they were rather large and made to fit exact locations on my layout. Here they are, hope you enjoy.
Trestle Bridge
The bridge is designed to go in this location. It is both curved and on an incline.
The lower 2-3 inches will be covered in dirt. You’ll notice that I cheated a bit by using four vertical pieces in the center that actually hold up the bridge. Since the bridge will eventually be outdoors permanently, I thought the added structural support was necessary.
I then built the trestle timber around the vertical supports which made the build easier and to the right dimensions.
The vertical pieces, fiberglass base and top track bed are all screwed together. The trestle pieces are glued to the base with construction adhesive.
I had planned to paint the bridge black but found that I had very little flat black paint remaining. I did have some red left over from a previous project and when I mixed the two together, I got this wonderful chocolate brown color. It’s always a nice surprise when use of improvised materials turns out better than expected.
I dry brushed with some gray to add highlights and as usual, may have overdone it a bit. The small, white accent pieces really serve no purpose, but as the project neared completion, I thought the extra detail would provide some needed character. The horse and wagon show where I think the top of dirt will be.
Tunnel / Machine Shop Combo
This project is a strange concept, but hopefully turns a problem area on my layout into a positive. The idea is to have a great tunnel face but a short tunnel with easy access (maintenance, critters, leaves) and create a focal point on the far end of my layout.
I’m going to remove the plant container (much larger than needed) and extend the rocks to the right up and over the tunnel face. The train will travel into the tunnel face, under the machine shop and into a trench. I intend to further hide the train in the trench with a shed and some plants.
Once in its final location, the lower 4-6 inches of the building will be below grade. The truck and the shed are elevated here to show ground level.
The structure is birch plywood with exterior house paint. The base is fiberglass and the roof is concrete board and real shingles. The four figures were sculpted from clay.
I hope this large opening will be big enough for track cleaning and removing debris, the roof is removable for additional access if needed. With the train coming out the bottom of the building I wanted to add some detail to give it a purpose. I came up with the idea of a gantry crane and suspended load. The doors slide closed to keep the birds out.
Building for the outdoors is a tradeoff between detail and something that will hold up in the elements. I kind of like the idea of doors that open, detailed things that slide that will be protected during non use and winter months. I’m going to try to work more of this into future builds. The clay figures take a lot of time to produce and here they are much harder to see than I had hoped. Hopefully those who visit my layout will take time to appreciate some of the “not so apparent” details.
I wanted a maintenance train for my layout and came across a good deal on an LGB starter kit. It came with figures and turned out to be a fun little project. The flat car is full of accessories I’ve picked up over time including the fuel tank that came off a truck coin bank.
Once again I wanted to say how much I enjoy getting Al’s posts and seeing everyone’s progress on your projects. Have fun and happy modeling.
Cary in KY.”
A huge thanks to Cary for sharing his G scale train modeling. I do love his updates – it’s a huge project and it’s wonderful to see it coming together.
And now on to Dave. This time it’s not his layout, but seeing as I enjoyed watching his video, I thought you might too:
“Hi Al, not sure if you want to post this, but just been up to NYMR to day to capture the famous Tornado which was visiting this last week, she put a great show on, and I am, sure you will enjoy watching her