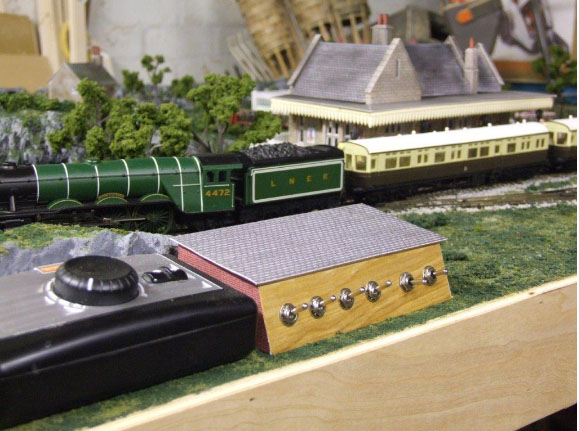
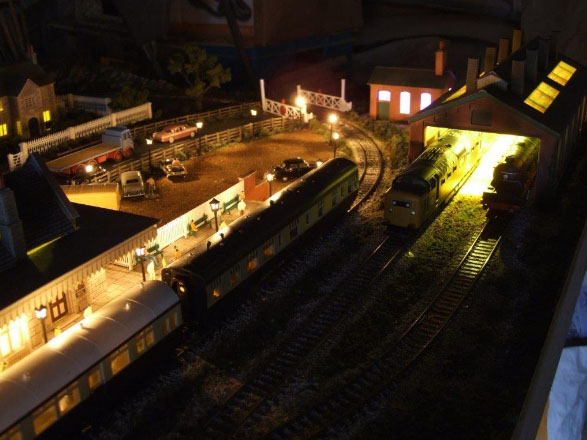
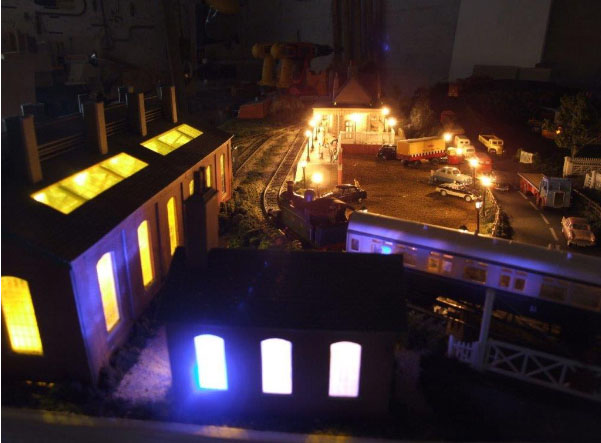
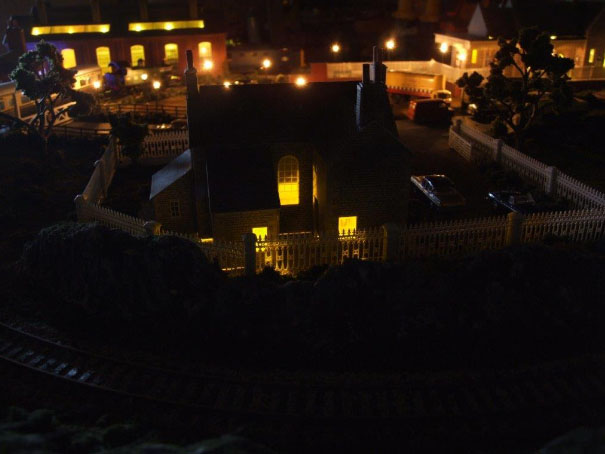
Tom’s been in touch with is O27 model trains:
“AL
It has been A while since I submitted something but I finally have enough completed and of a good quality that I can show it. I work with O27. It was what I had the most of and it goes back years for me. This post will be about my new control panel. Me layout is DC. Someday I would like to try DCC but all my locomotives are old and DC.
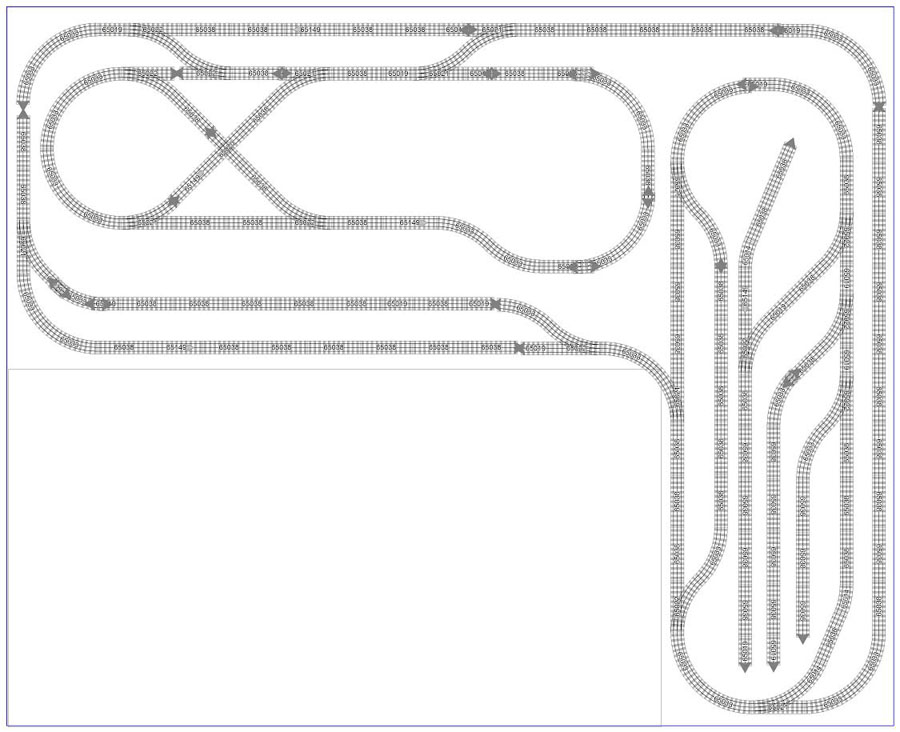
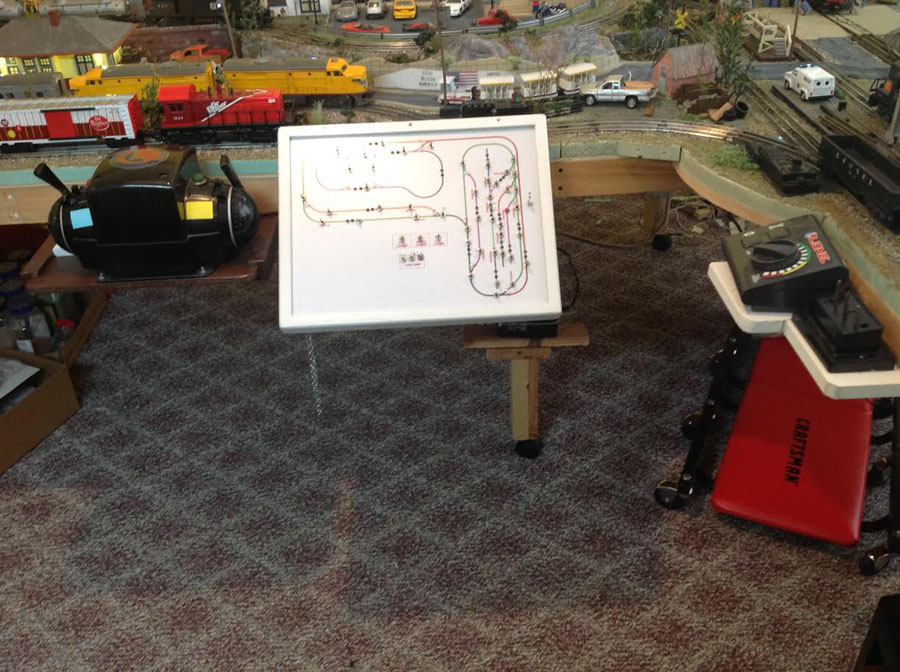
Pict 1—this is my track layout so you have an idea of what I am working on.
Pict 2—this was my temp control panel to test track and switches. I made It from old switches and wire I had on hand
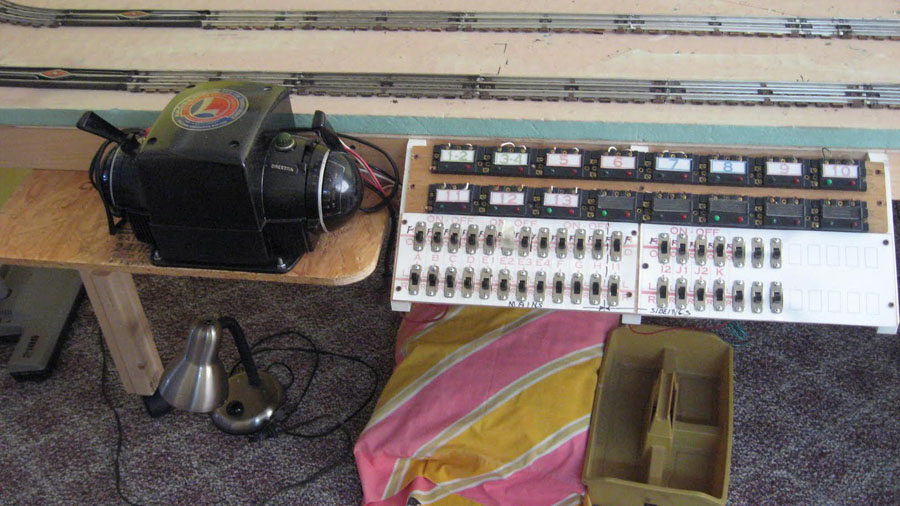
Pict 3—this is the new panel and transformer. You can’t see it in this picture but just to the right is a small transformer that can be used to run a train in the yard to build a train.
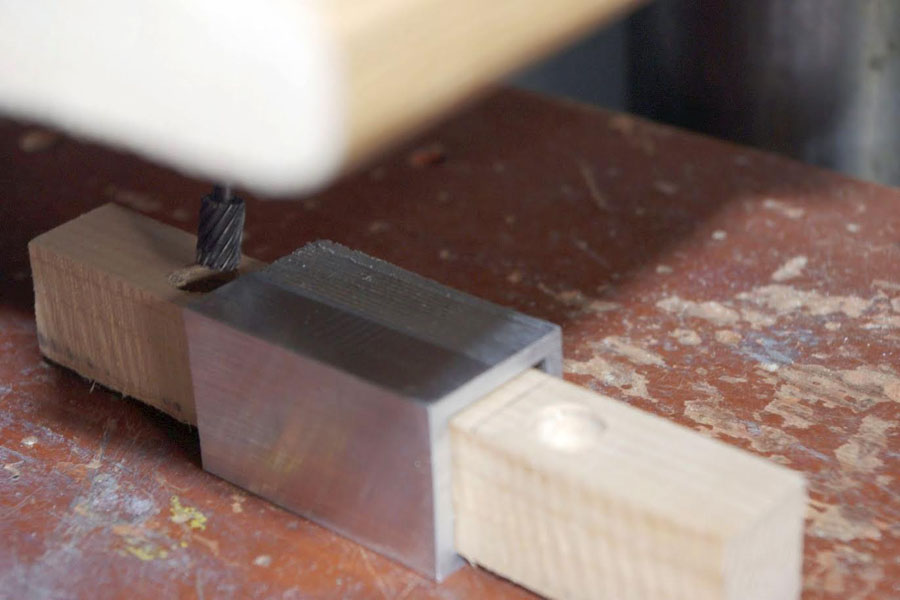
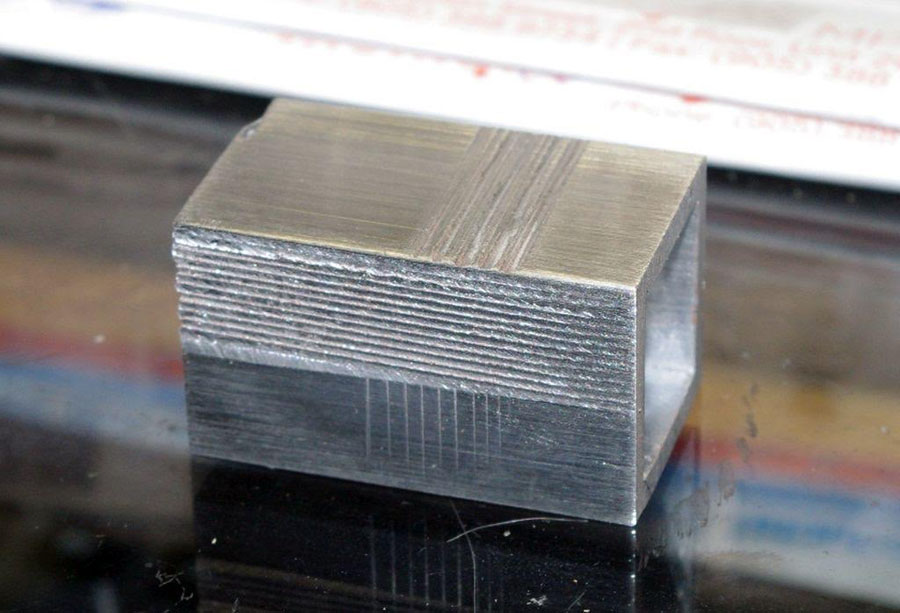
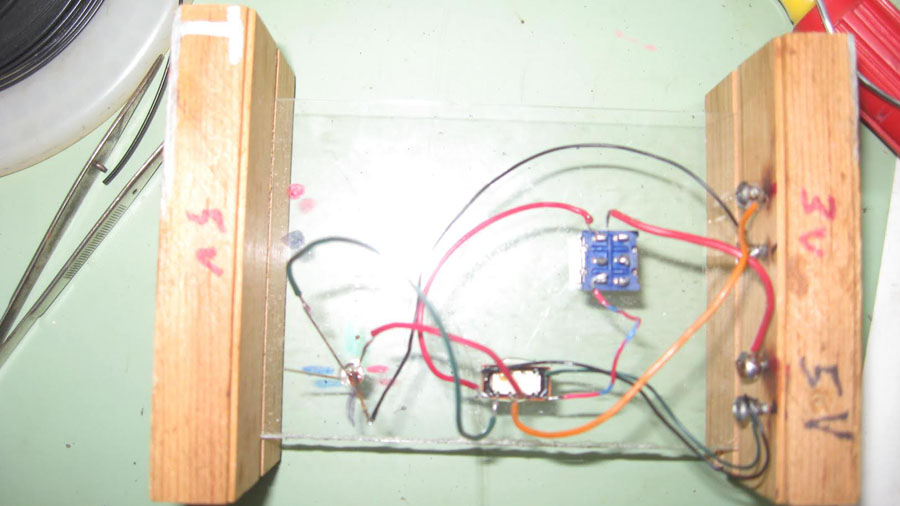
Pict 4—this was a test wiring for switches with LEDs. All my switches are old Lionel O27 #1122 I picked them up for good prices at train shows and rebuild them.
I took them all apart and rebuilt them to work on a separate power supply. I don’t need the track power on to work the switches. This works nice because it gives me time to set the switches up in the direction I want to go. It was a lot of work but worth it.
One of my biggest problems was how to operate the switch and have the red or green LED stay on. The switch is a momentary single but the LED is a fixed low voltage.
There were a few ways to do this but I was thinking about the price. I have 18 switches so it adds up fast.
I used a DPDT momentary switch with one side working the switch and the other half tied to a double coil DPDT latching relay that controlled the LEDs. I played with this for months but it works perfectly.
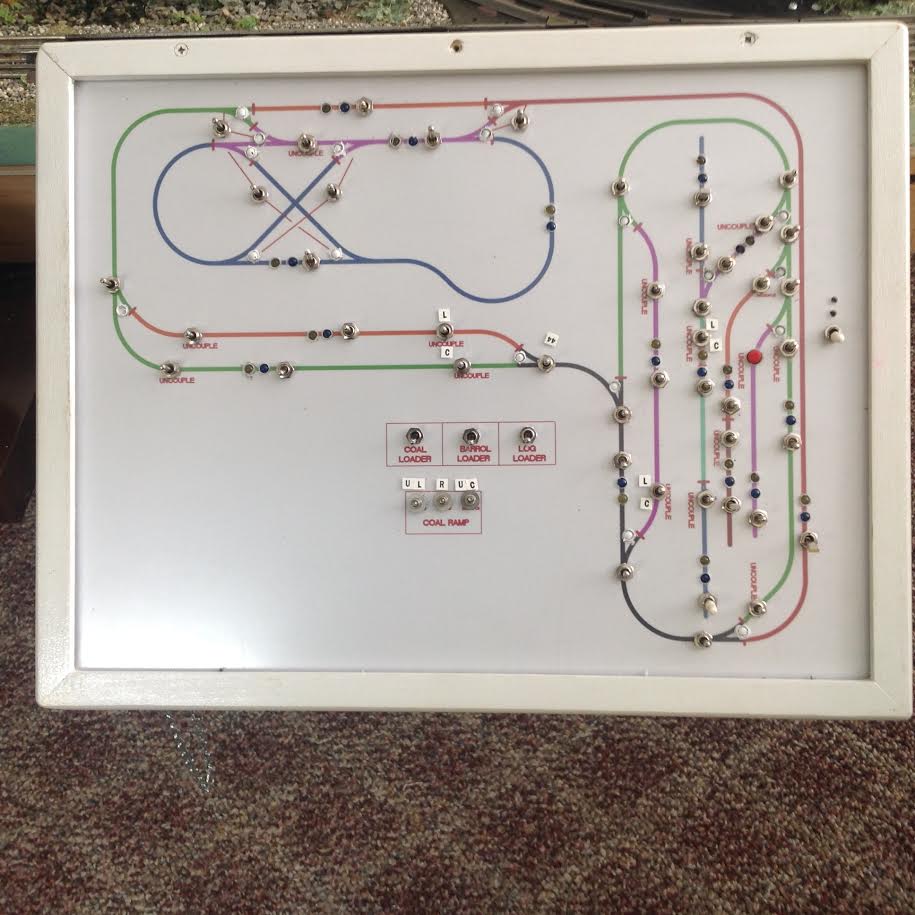
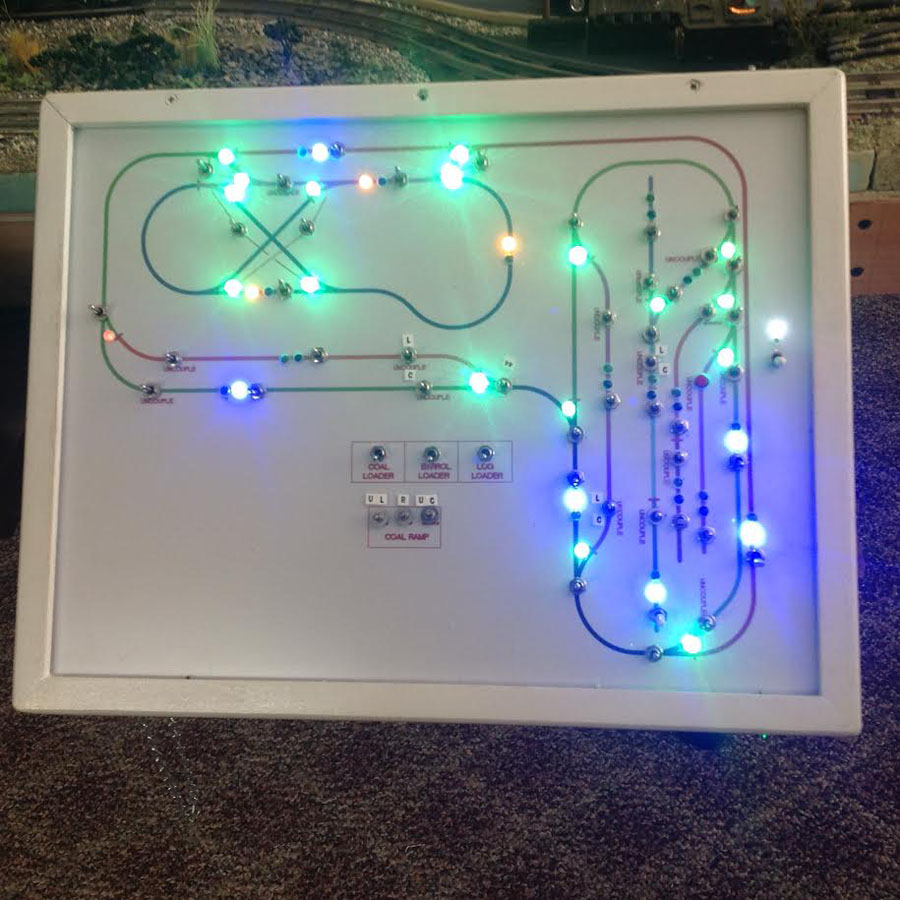
Pict 5—this is the new panel it is a sandwich of a piece of plastic, a picture of my track layout done on Auto Cad and a piece of hard board.
Each track section has a DPDT center off switch that changes the transformer side and has a duel color LED, blue or yellow to show which lever works that section.
All the uncouple tracks have been rewired so they work with a SPDT momentary switch I think there are 16 of them.
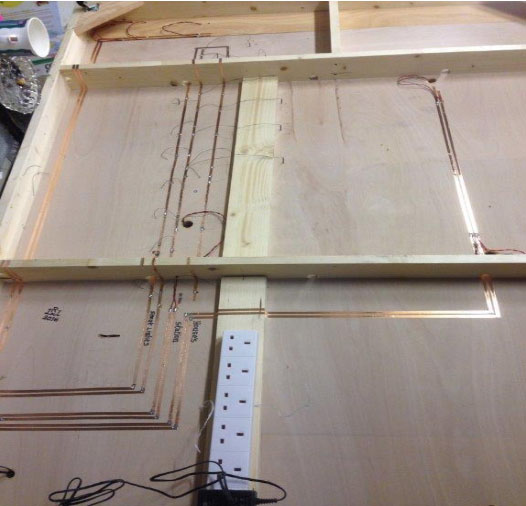
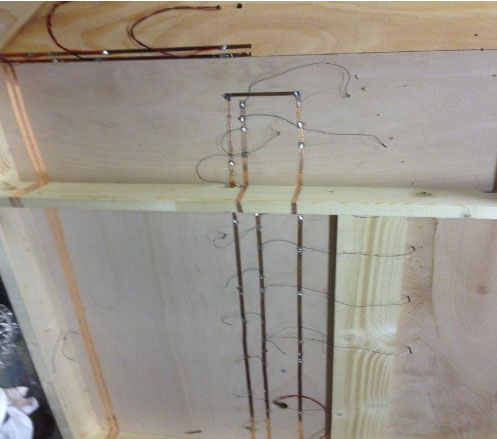
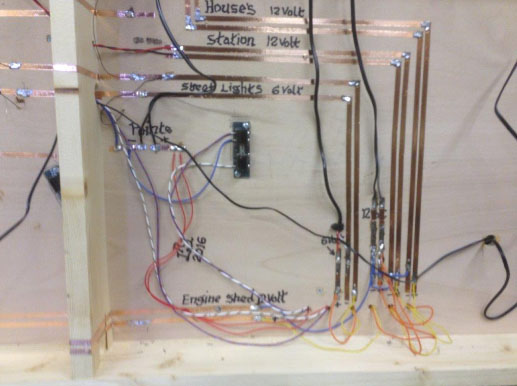
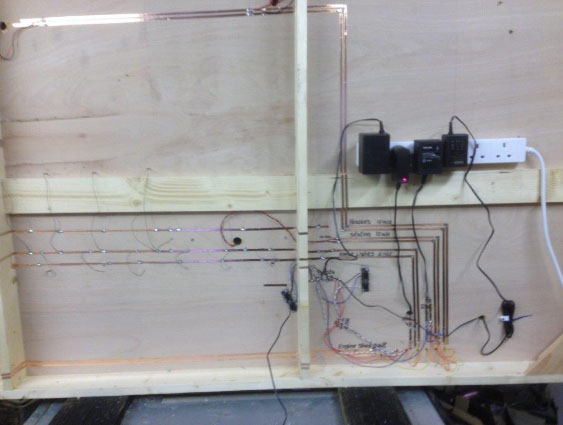
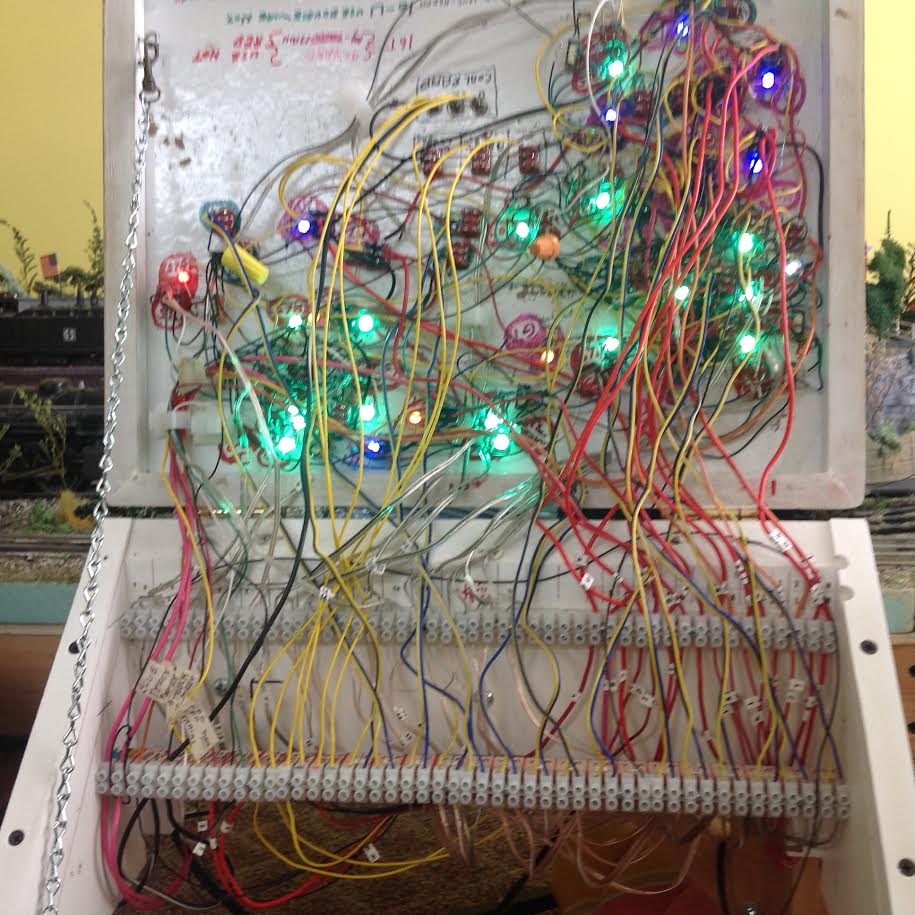
Pict 6—this is the panel wiring as you can see there is a lot going on. I have had a few small problems with a solder joint coming lose and a LED go bad and let me tell you it was not fun to fix. No really I enjoyed it.
O27 model trains:
Pict 7— this is the new panel with lights on you can see the LEDs are a little Bright I am happy with the panel it does everything I wanted it to do.
Now that I have it complete there are a few things I would do different on the next one. I would have made it just a little bigger. Some of the switches are very close together and it was hard to wire.
I should have given a little more thought to the wire layout it got very congested back there. I should have used more different color wires and the LEDs are a little bright.
That’s it for now. I am working on pictures of the whole layout and may have more next week
Steve from Toms River ”
Next, on to Paul:
“Hi Al,
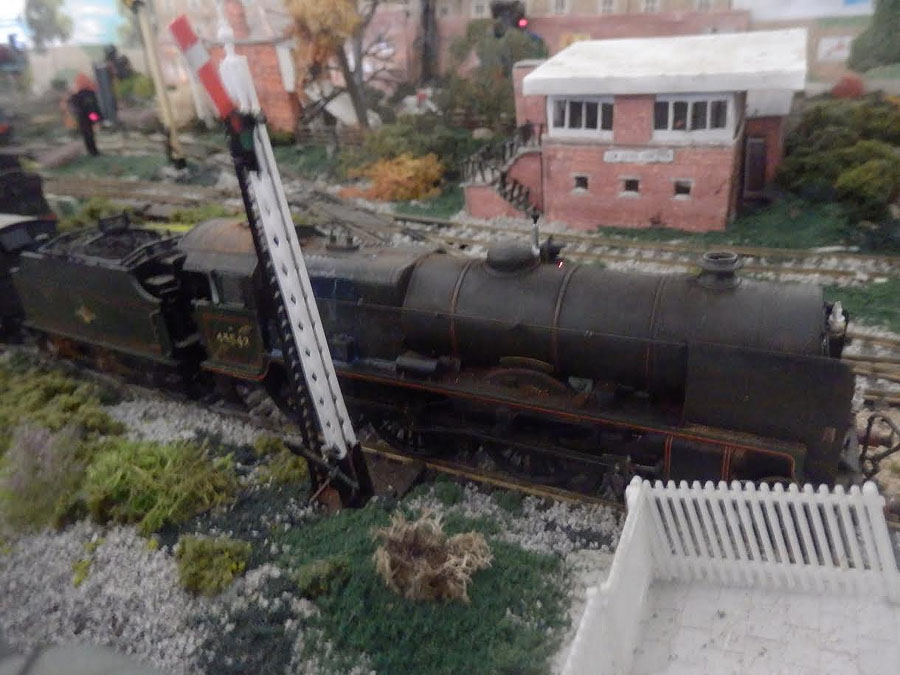
Here is a photo of 45543 in 1960s condition after I weathered it.
I used a thin wash of grey, black, and brown water based paint mixed together, to create the grime and dirt and soot.
I also painted on the stripes, which warn that the locomotive is not run under overhead electrification.
I used insulation tape to guide my paint brush, when I did the stripes.
Paul”
Now on to John:
And lastly John has been in touch again – yesterday I said I had only every published two shunting puzzles. John replied with” “At the close of this installment I noticed you said that you have only published two shunting puzzles…
I know you have published 3 or four of my little layouts.. Shunting puzzles each…
You mentioned you were going to publish my “Lostend Foundry” layout )another puzzle featuring your cutout scenery but I do not recall seeing it published… Would you like me to resubmit Lostend Foundry?
Sincerely,
John from California”
Apologies to John – and yes, please resend your Lostend Foundry (I get so many mails it’s hard to keep up sometimes).
In the meantime, here’s one of John’s previous posts.
A big thanks to Tom for sharing his O27 model trains.
That’s all for today folks.
Please do keep ’em coming.
And if today is the day you get started on your layout, the Beginner’s Guide is here.
Best
Al
PS Latest ebay cheat sheet is here.
PPS More HO scale train layouts here if that’s your thing.