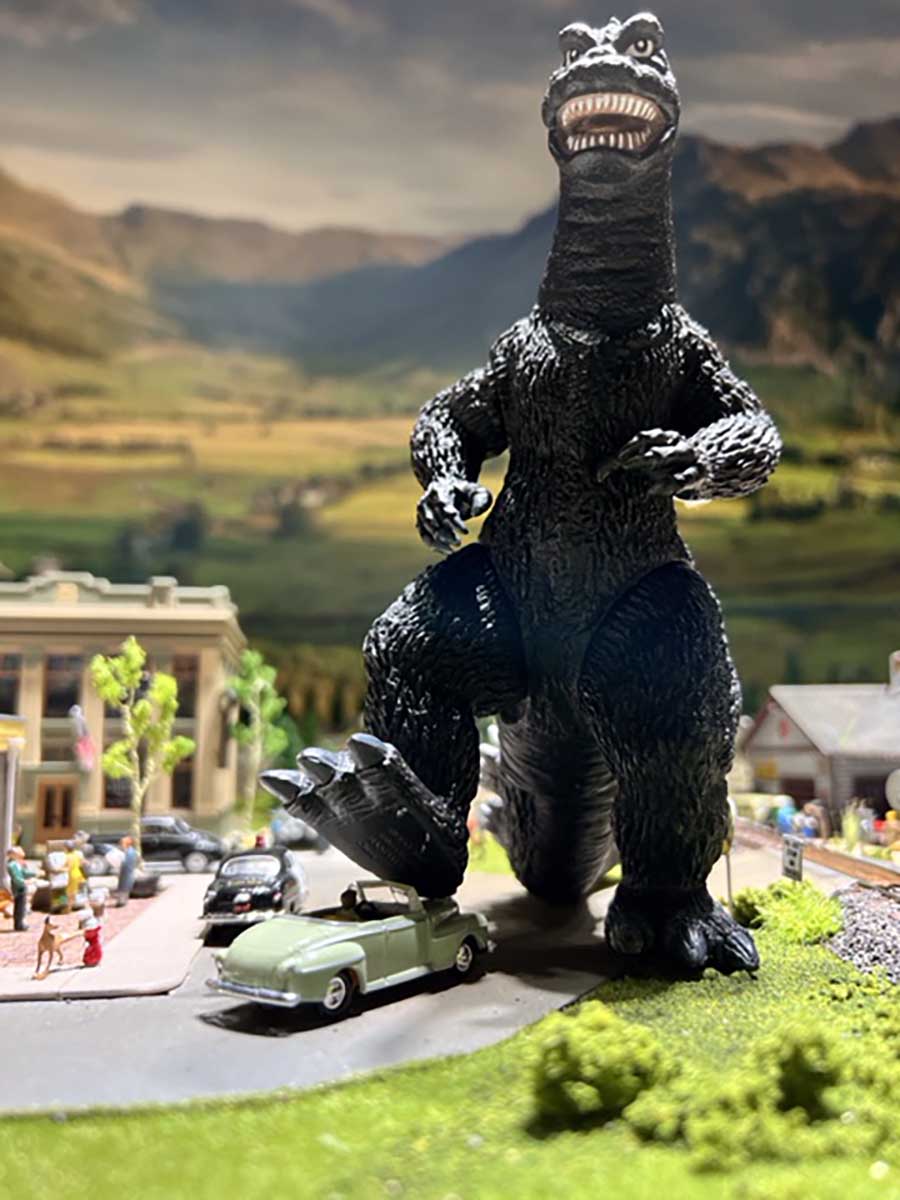
Ken’s been having a lot of fun with his HO scale loop – have a look at Godzilla!
“Hello Al,
I like you decided recently to get back into model railroading. After all, I’m retired now and it’s only been 50 years since my last layout!
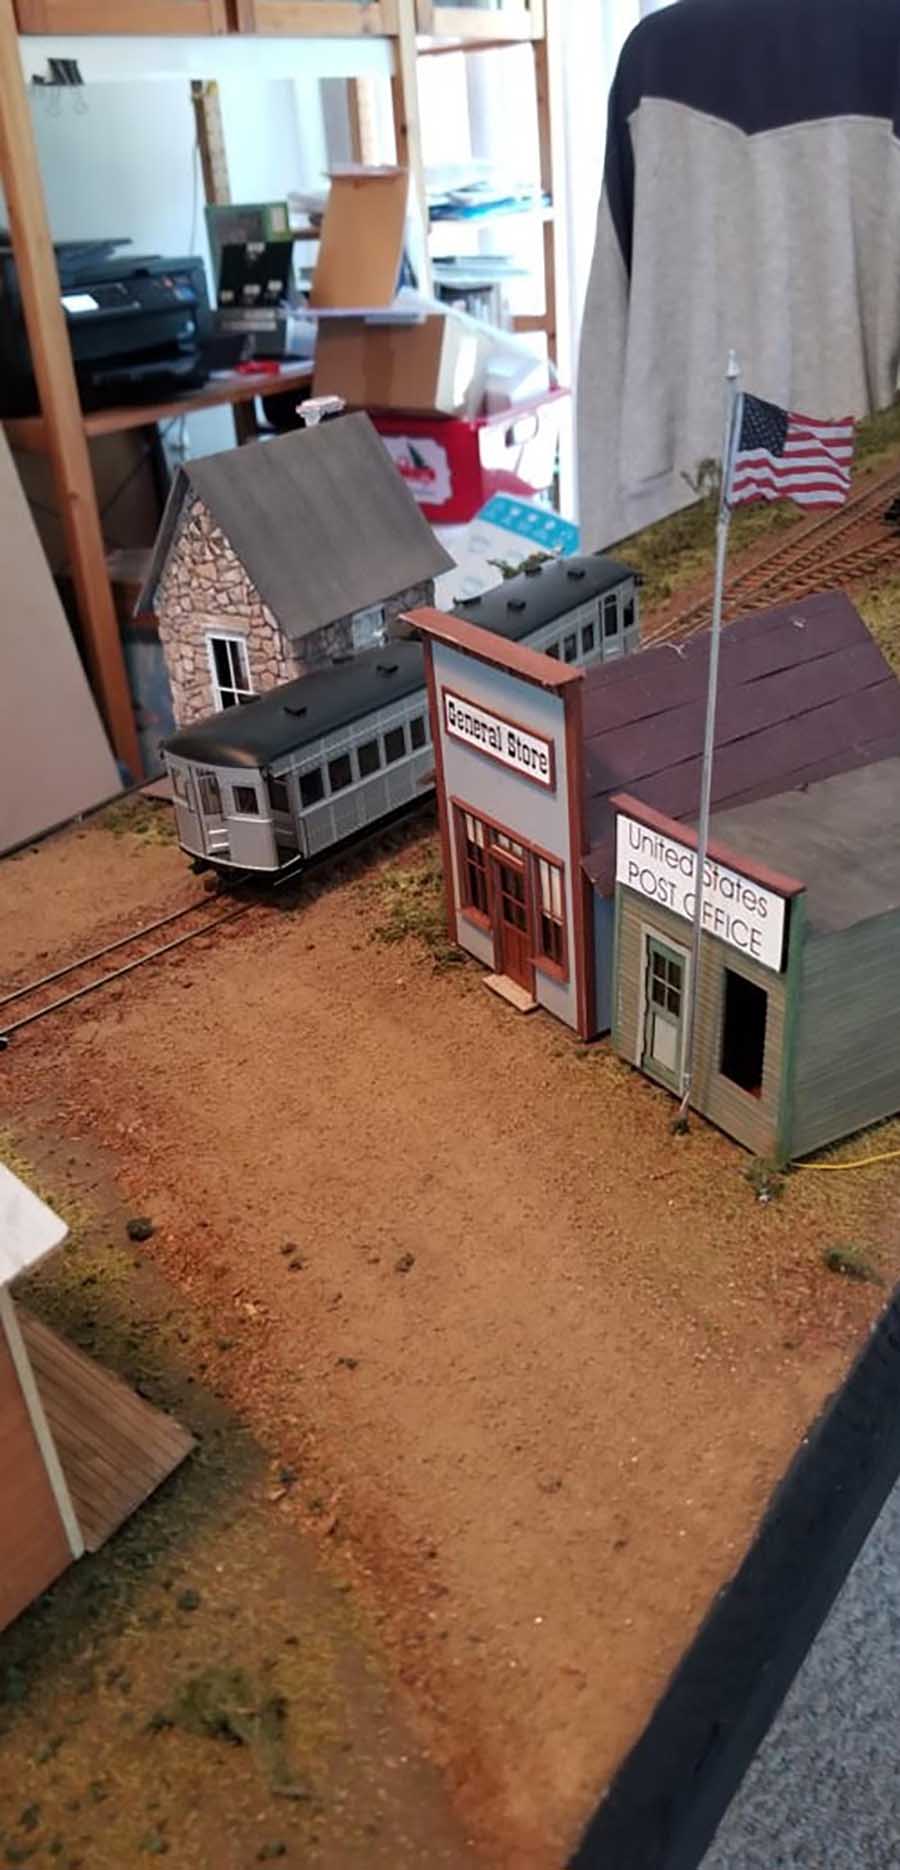
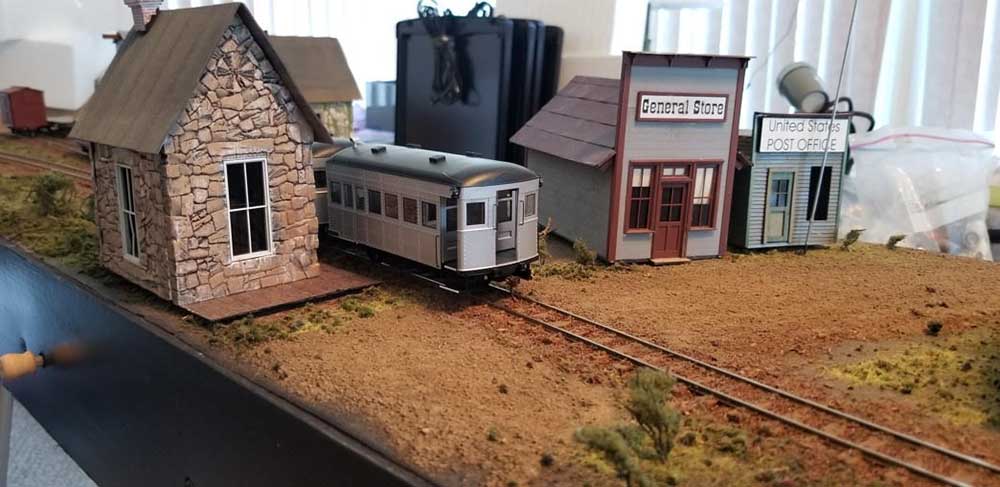
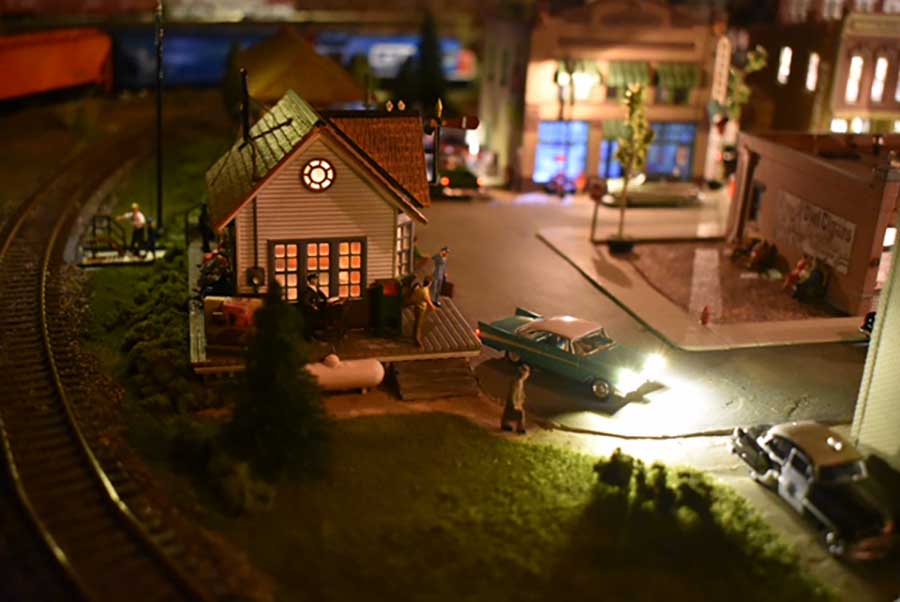
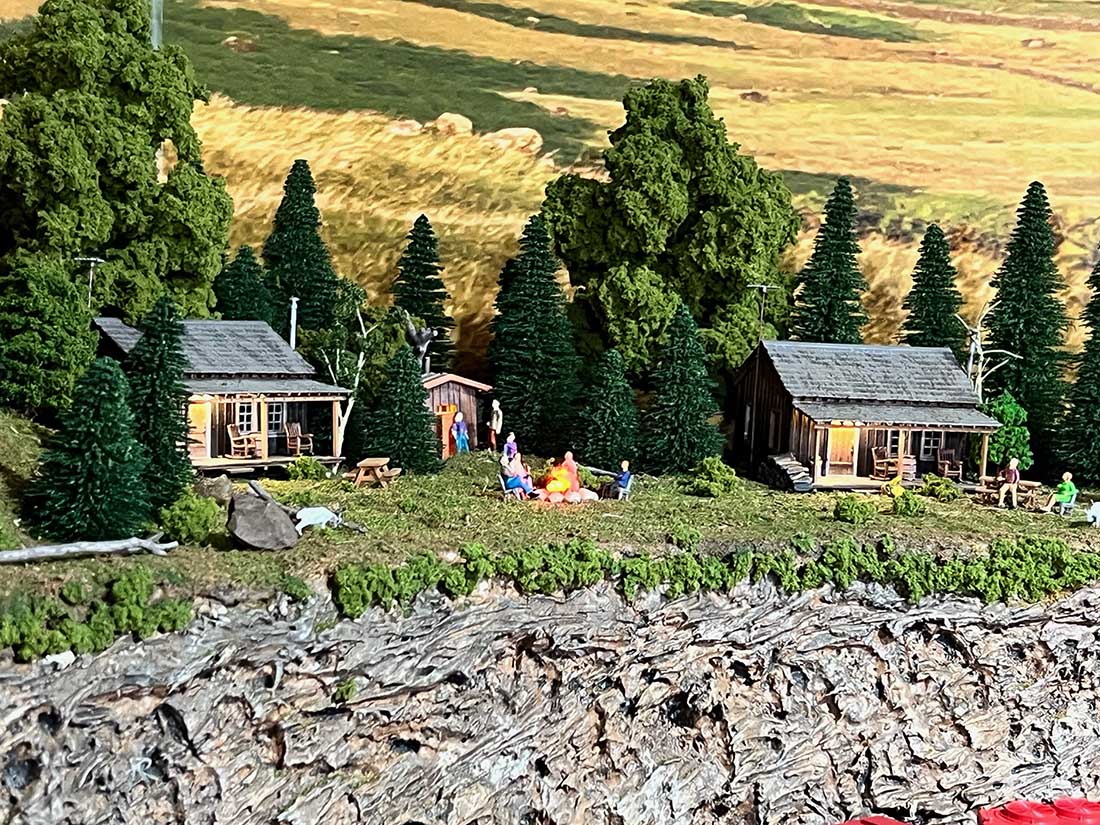
Boy, I wished I had a photo of my little goofy layout. With raising a family and building a career, it’s almost inconceivable that I managed to keep anything leftover from my childhood layout, but somehow I did manage to hold onto 3 little shack buildings that were on that layout. I’ve got them placed in my new layout for sentimental purposes.
I’d like to show you some photos of what I’ve done so far on phase 1. I’d love to hear comments good or bad on what I’ve got so far.
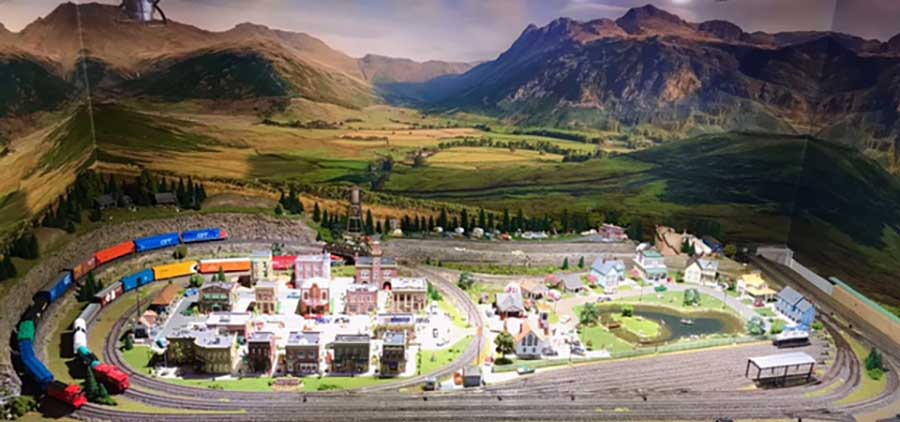
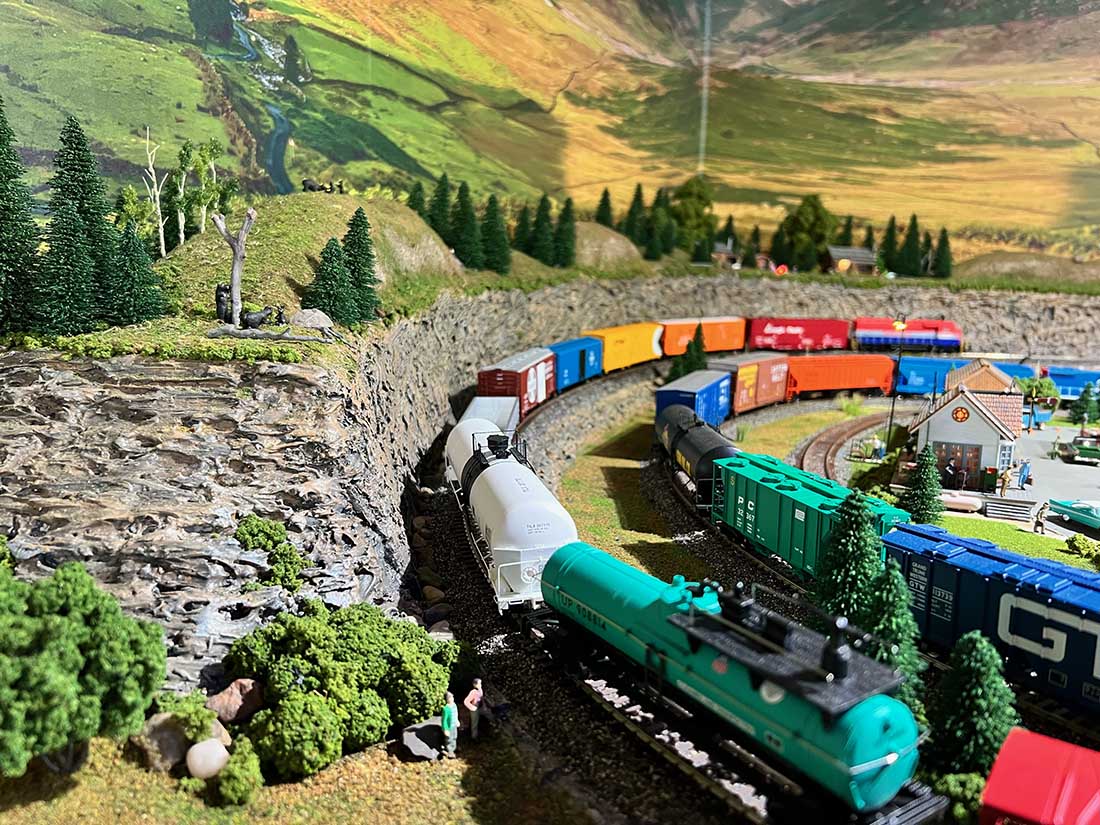
This layout is proof that not all train layouts have to be prototypical, nor do they have to be “point to point” switching layouts in order to have fun with them.
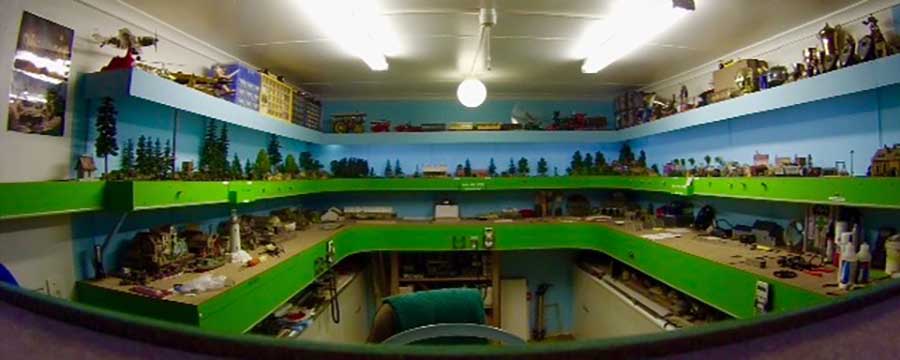
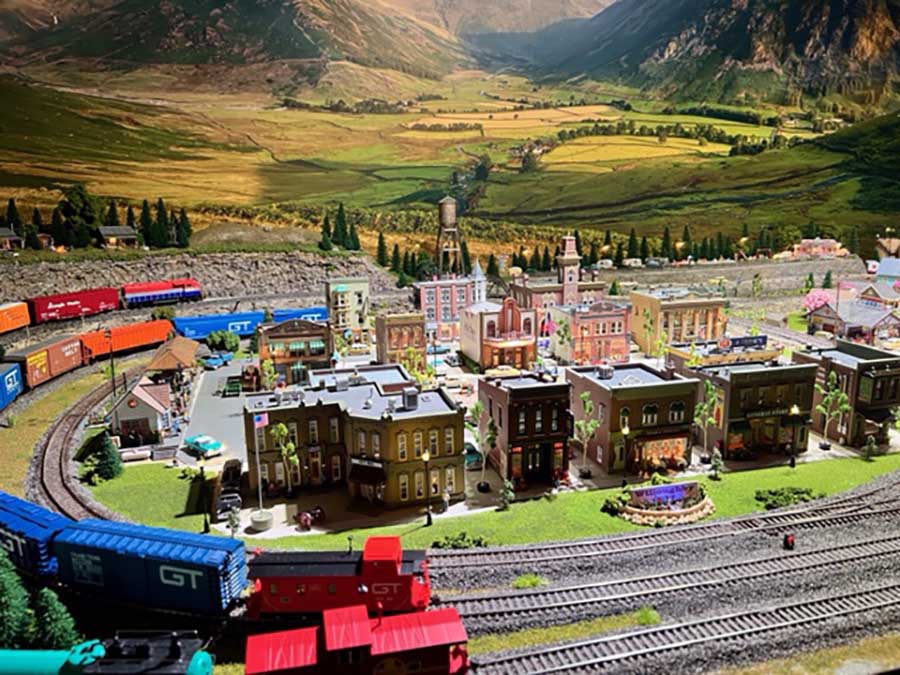
My layout is an HO scale that has evolved since its conception around the holidays last year.
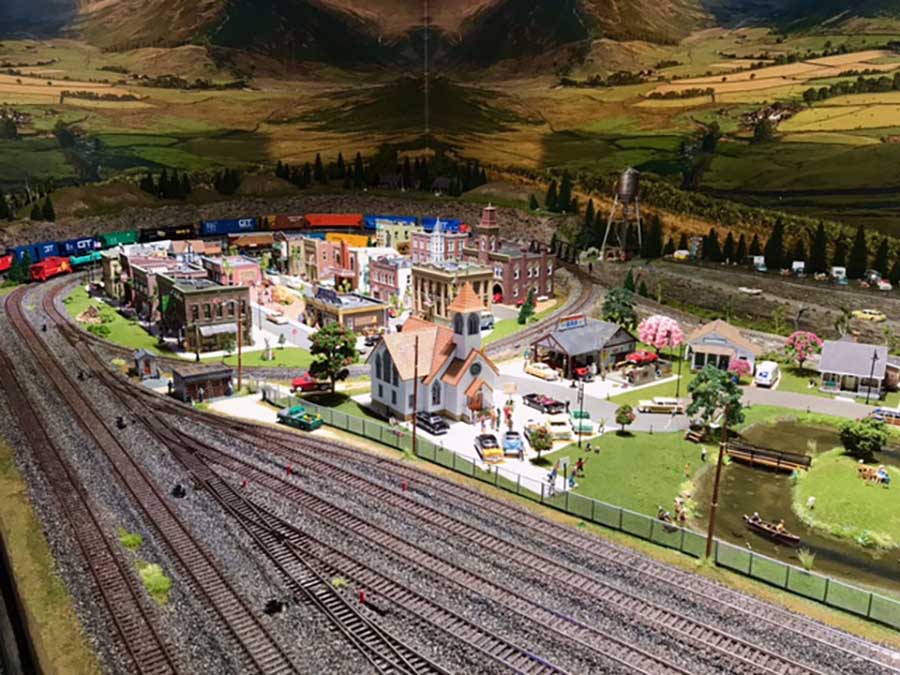
This first phase is built on a 5-1/2’ x 10-1/2’ table. It does raise some challenges if an issue does arise that is out of my reach, but nothing a “reach extender” can’t handle.
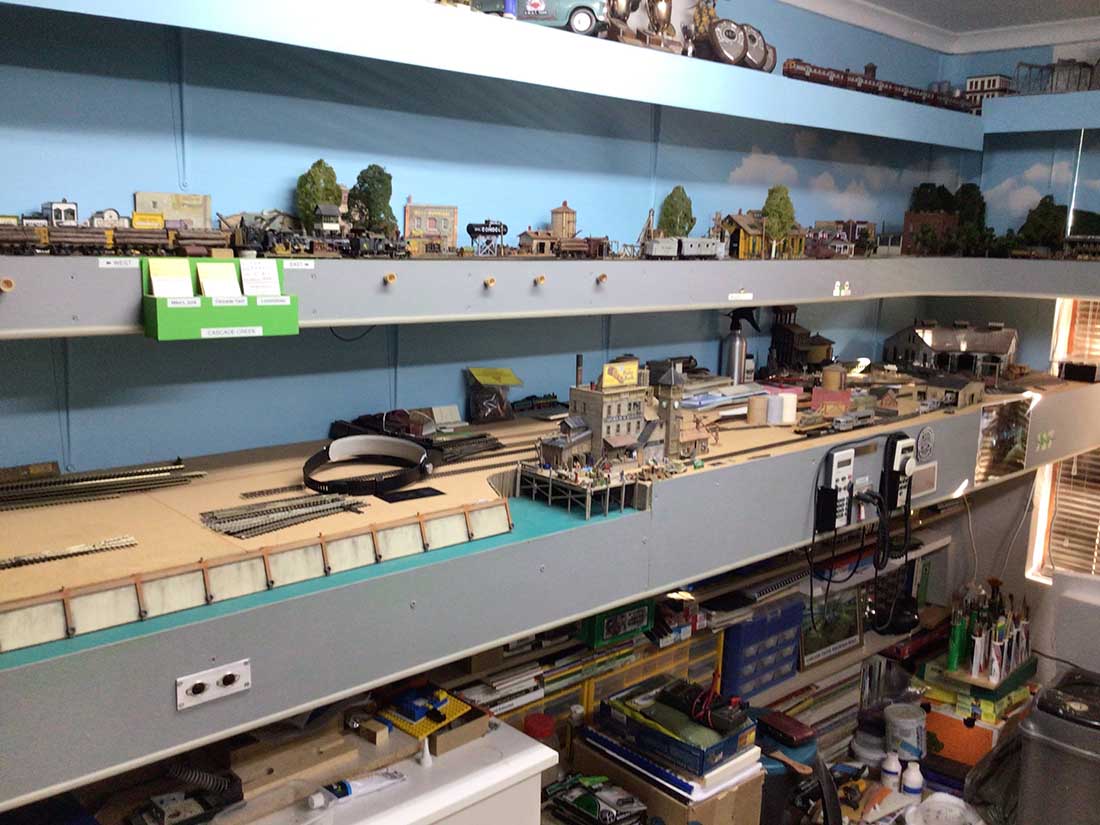
My original design was going to have three or four small industries for me to putz around with. But I found Woodland Scenics Built-up structures and my mind started going in all kinds of directions.
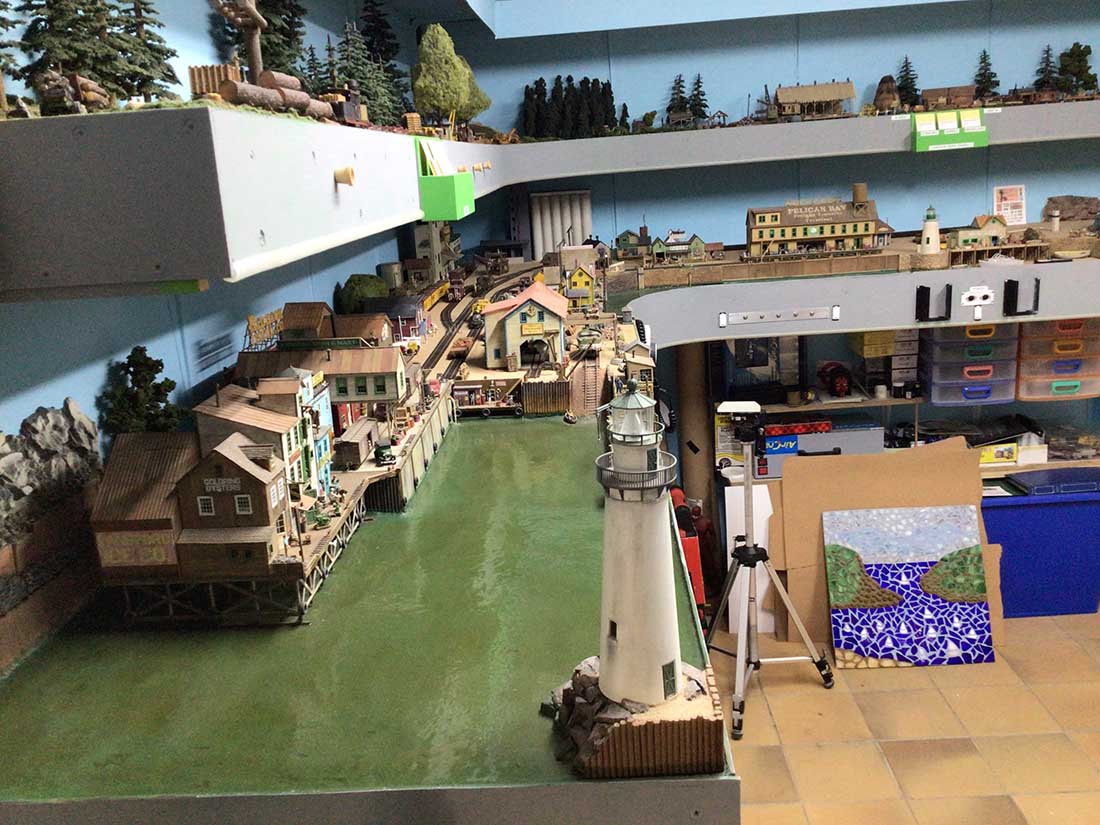
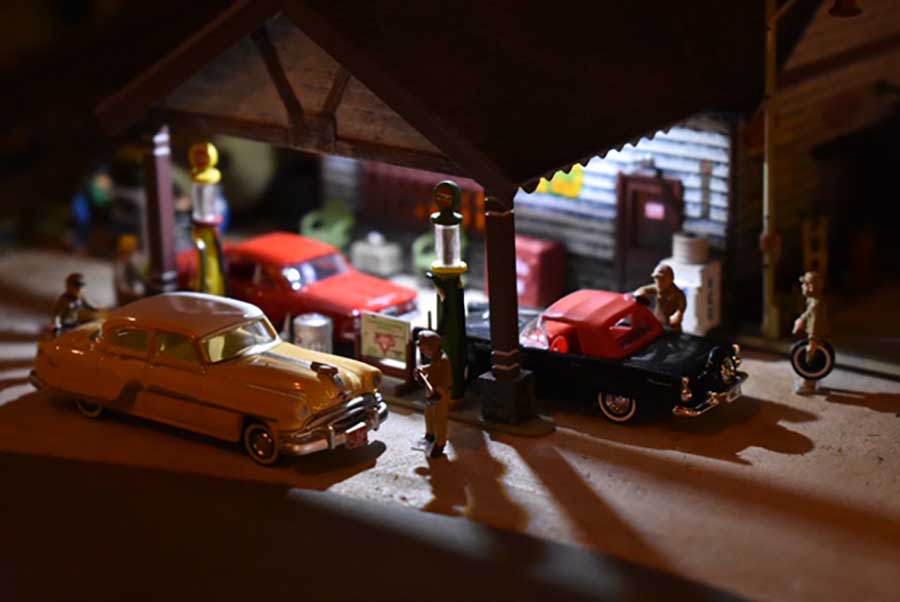
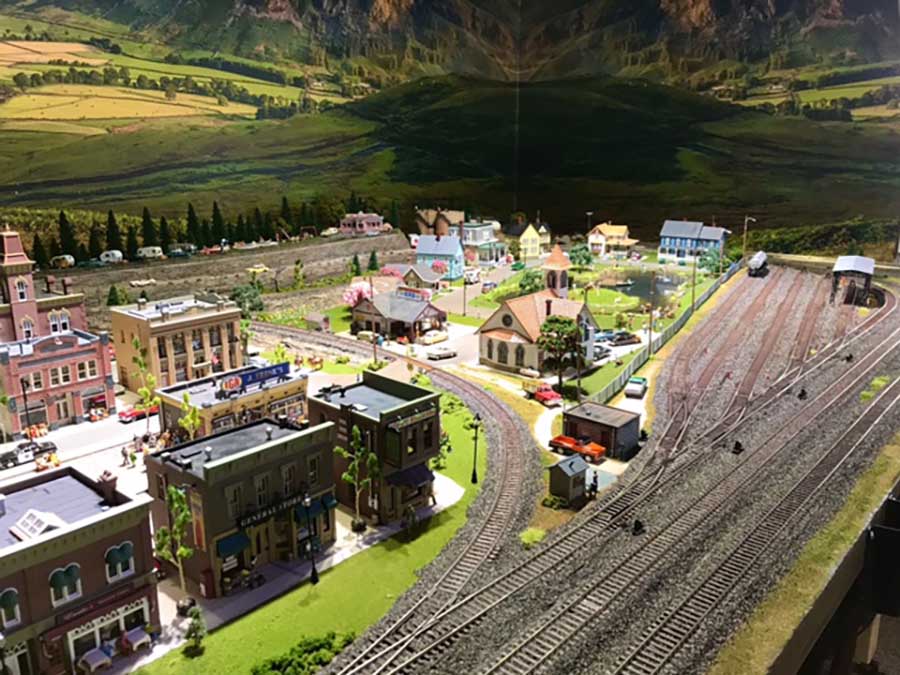
Out of nowhere a little town that I call “Willougby Junction” (named after my favorite Twilight Zone episode) was born. It is modeled in the 50’s – early 60’s time period.
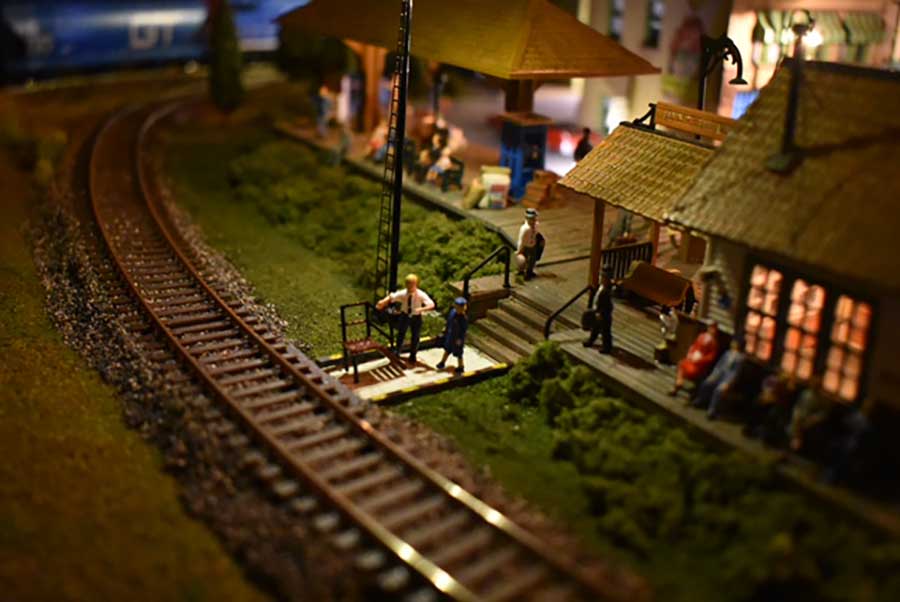
Phase one has only one small fueling depot in the upper right corner, and a train depot at the left to stop and pick up people from the neighboring towns.
Phase two will have more industries to monkey around with.
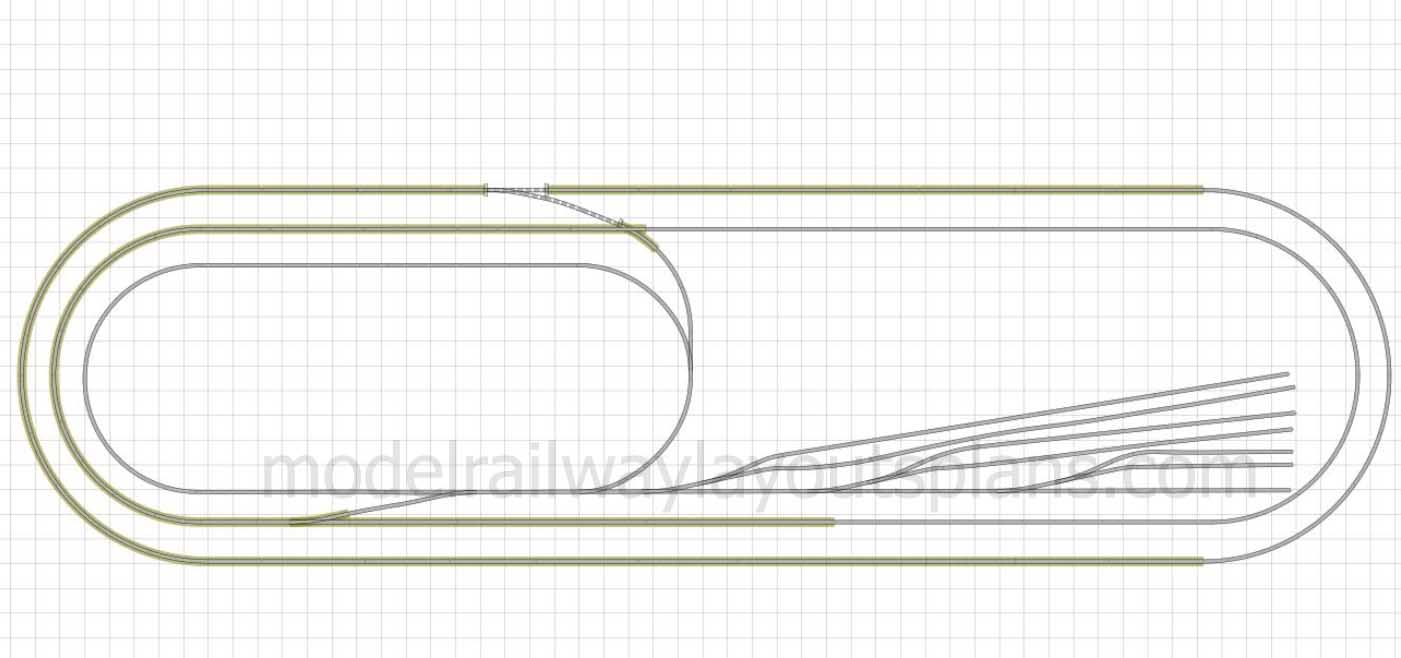
It is basically a freelanced double oval with an added “town loop”, and an arrival/departure track that leads to and from the yard.
I have 11 turnouts all controlled by Tortoise switch machines and my homemade control panel.
The entire track was laid with code 83 Atlas Flex-Track. I have about 8 or 9 bus feeders supplying ample power all the way around. It’s taken me since early January to get to this point.
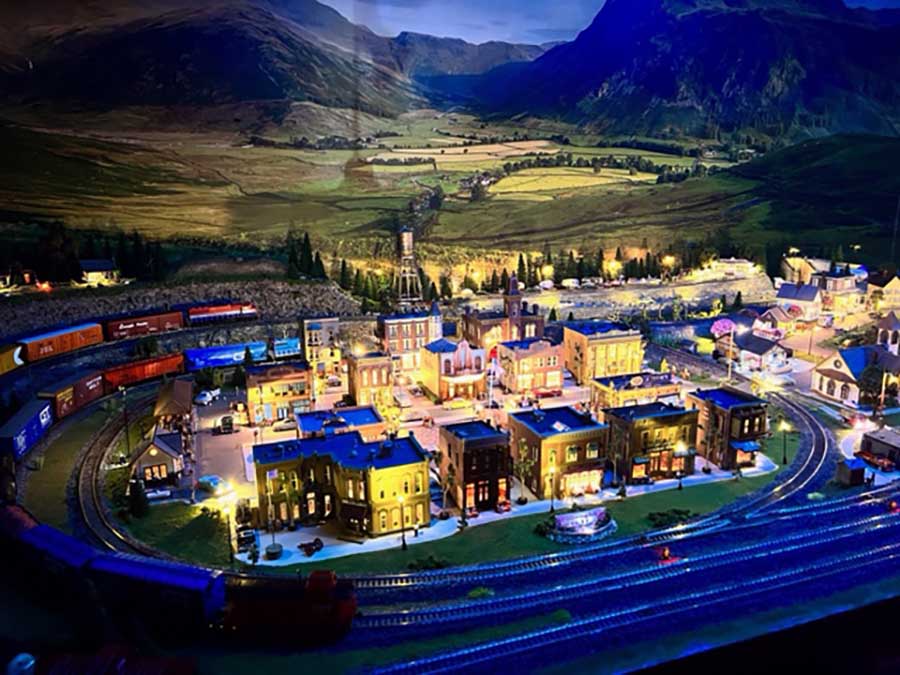
I think the beauty of a continuous running track is when you get a couple trains on opposite ends that are speed matched at say 15% power, you can sit back have a glass of wine (or your favorite beverage) and enjoy the movement and listen to the clickety-clack sounds as well as the prime mover sounds when they go up and down the grades.
I’ve only had a couple people come over and see it, but they are amazed at not only the trains, but the town, the landscaping and all of the small hidden things that takes a while to find.
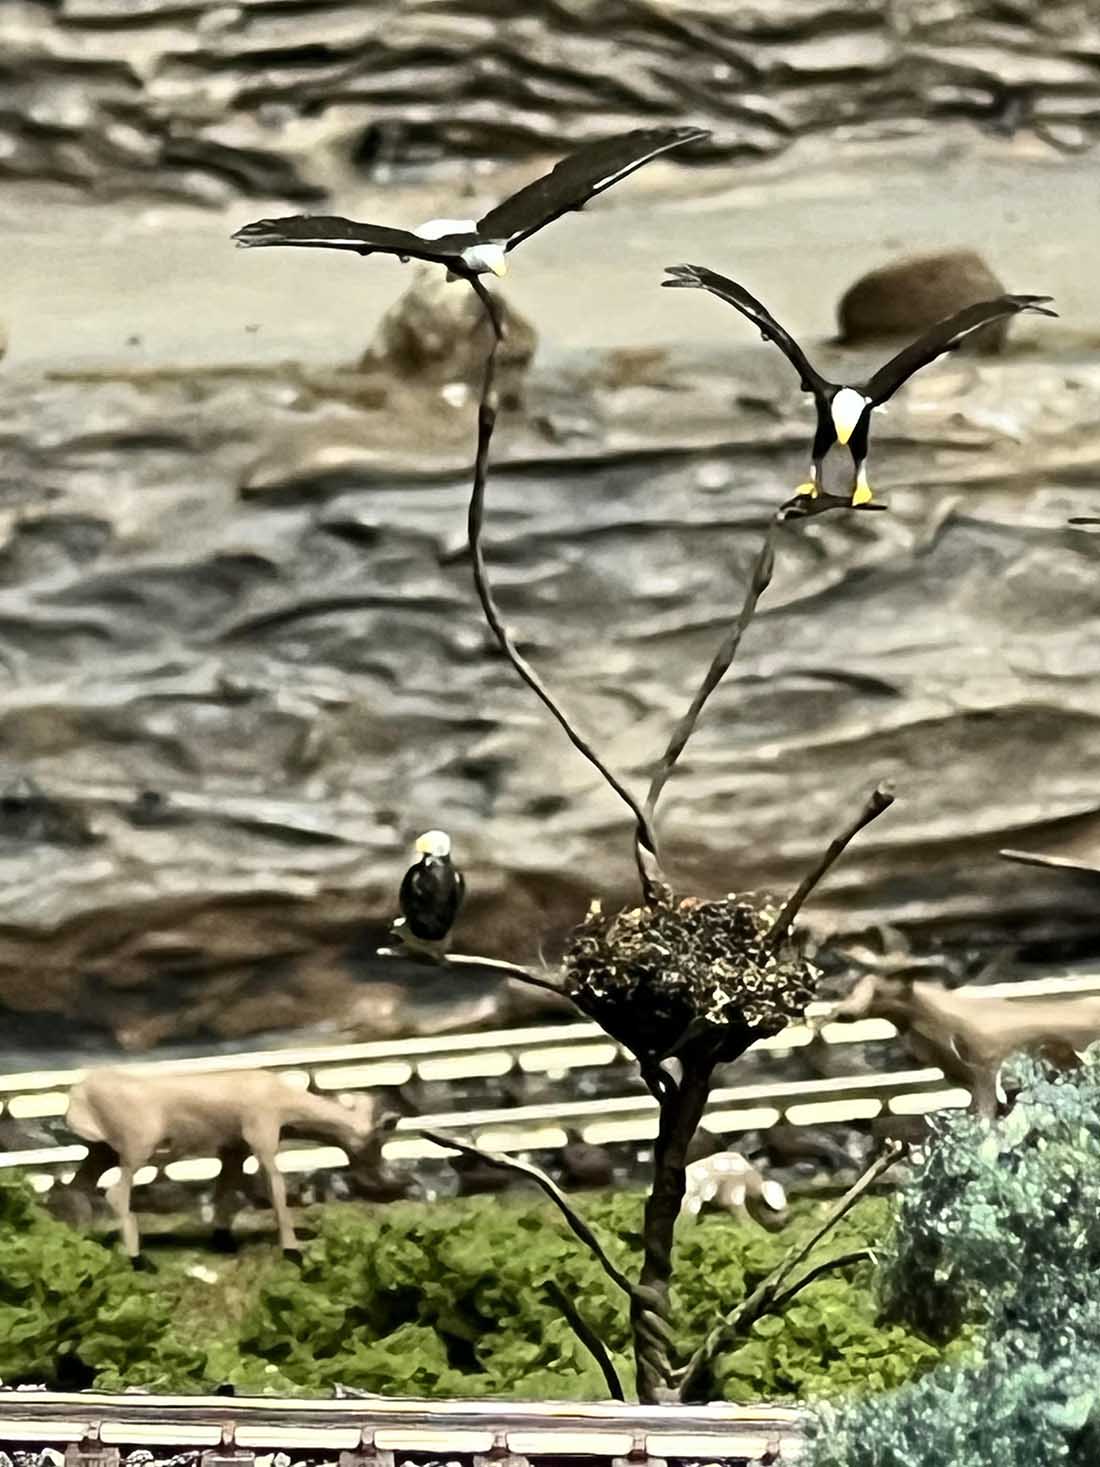
For example, I was looking out at the back of the layout and there’s a place where I have a couple deer hanging around. I wanted to a have an eagle perched on a tree. I found some eagles online that were printed with a 3-D printer.they’re not much higher than 1/4”. I had to paint them of course, but they came out beautifully.
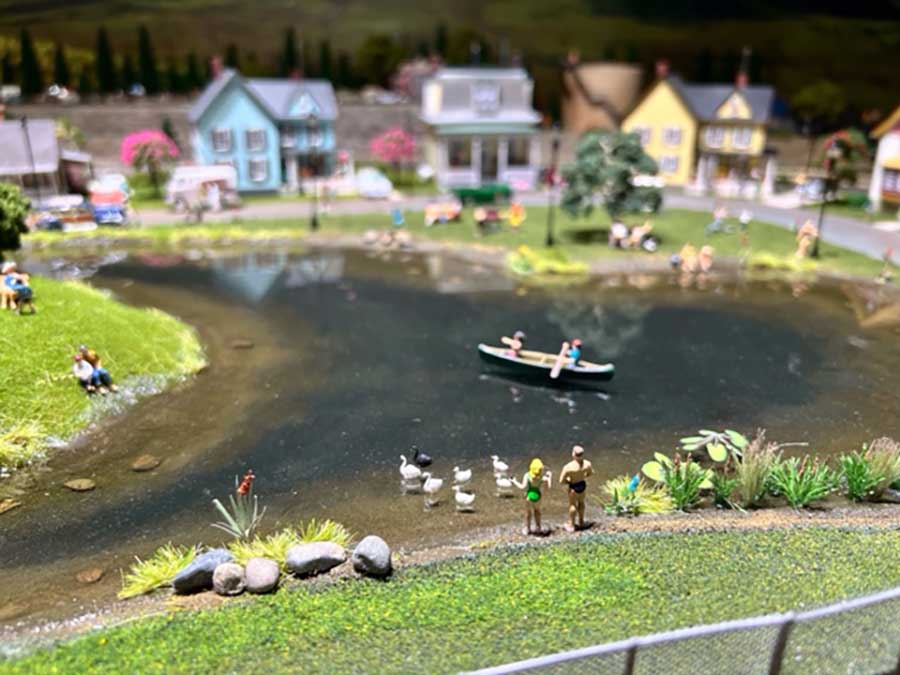
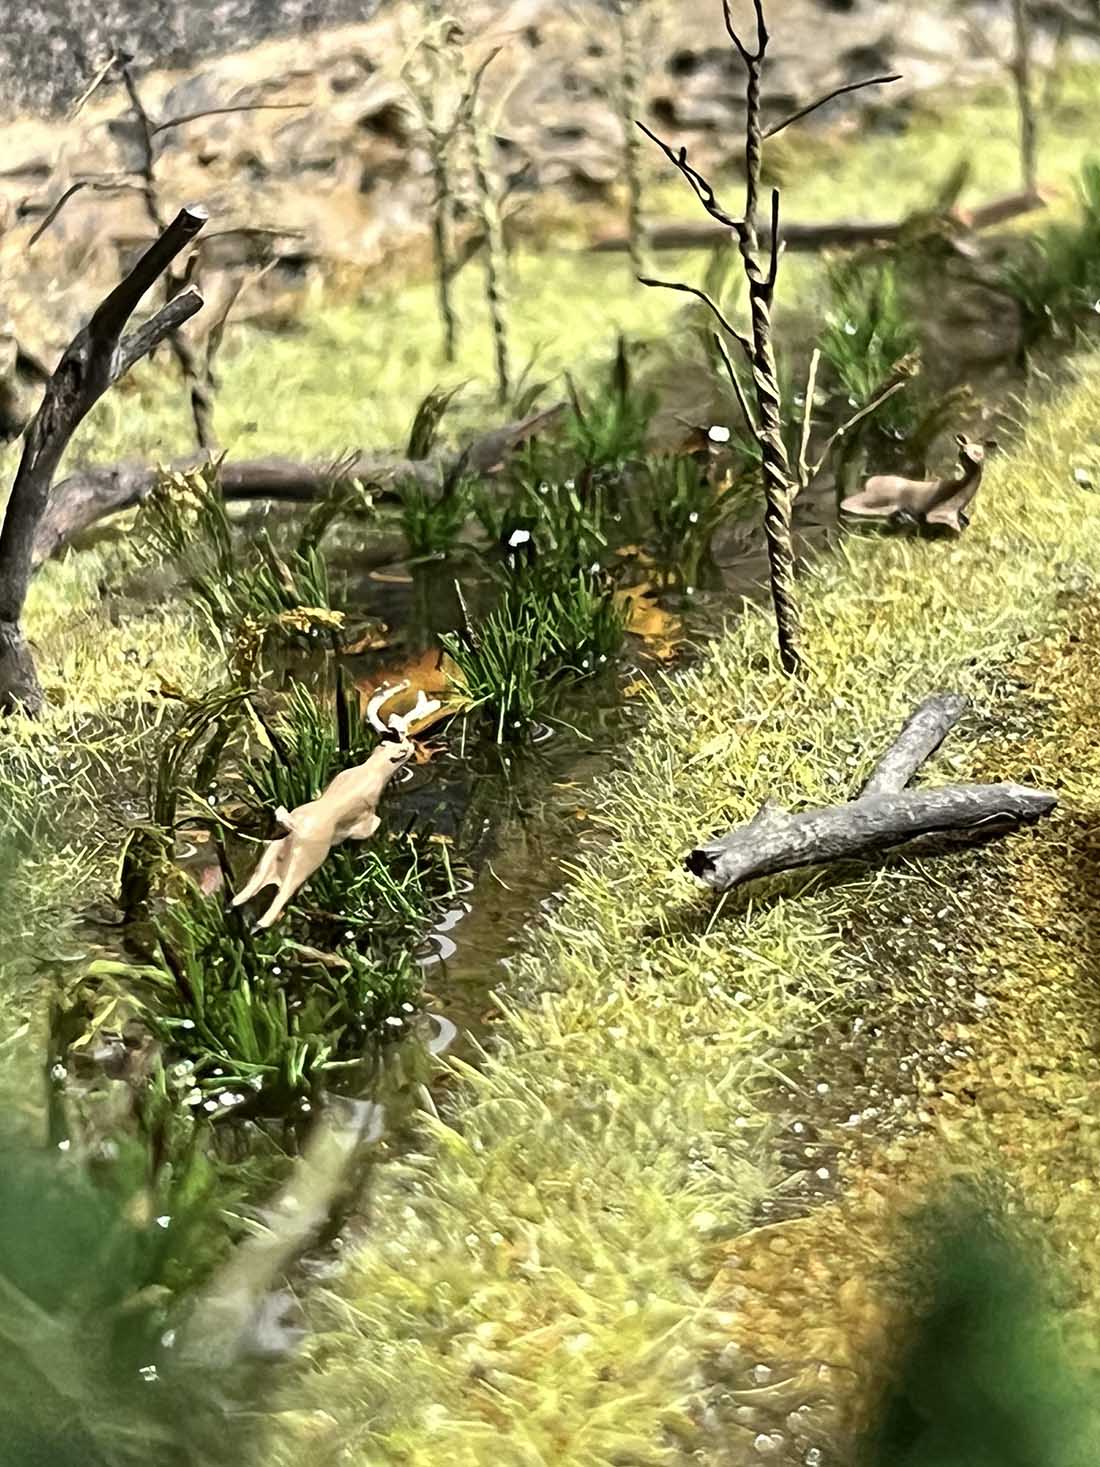
There is also a “Bigfoot” up on the mountain near the cabins. But you have to search to find them. The pond was quite ambitious. It took 5 separate pours of epoxy (almost a gallon) to complete it! I practiced with the epoxy by adding a swamp at the upper left side. I have some deer down by the swamp too.
I grew up in Flint, MI and the only trains running there were Grand Truck Western trains. So it was natural to pick up a Grand Trunk locomotive and some Grand Trunk rolling stock. I even added some Hobo’s to a 40’ box car with a sliding door.
All in all, I’m enjoying my new found hobby and wanted to share my story.
Ken
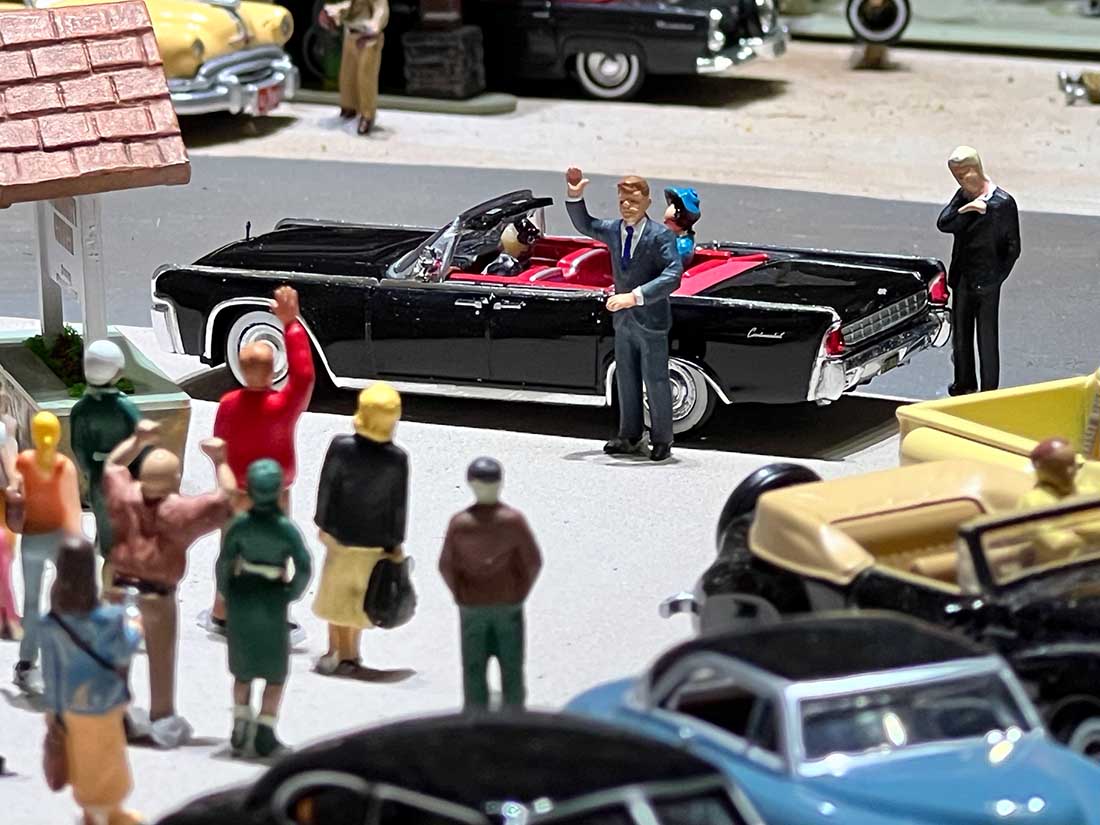
P.S. Try to guess who this VIP is with the 1st Lady? The presidential limo and security detail might give it away! LOL This was as close as I could get to him with my telephoto lense. The crowds were quite large in Willoughby that day!
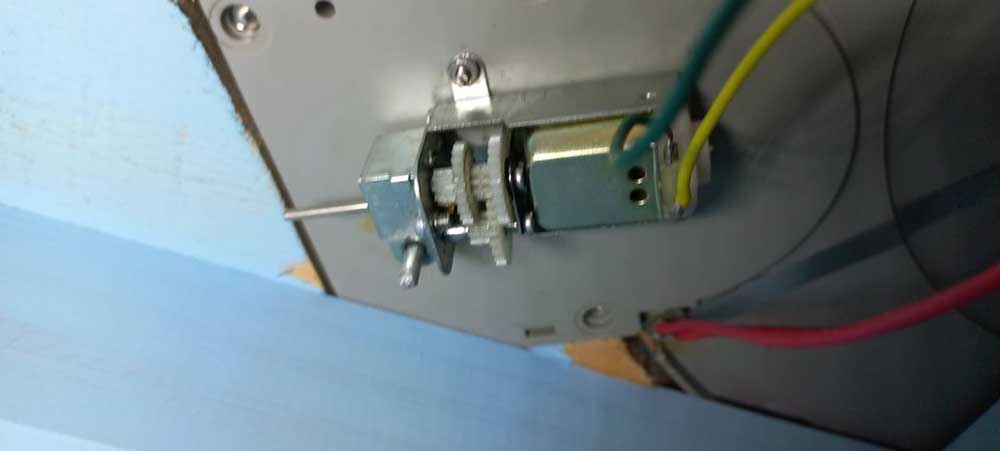
A huge big thanks to Ken for sharing his HO scale loop. If you want to see what he did next it’s here: HO scale switch rebuild.
I absolutley loved the Godzilla pic – it’s all about making your layout your own!
In fact, there’s quite a few layouts on the blog that feature Godzilla. He’s a popular fella.
Dave’s pics reminded me of another HO scale, by another Dave: HO scale train layout.
That’s all for today folks.
Please do keep ’em coming.
And if today is the day you get started on your layout, just like Ken after a 50 year gap, the Beginner’s Guide is here.
Best
Al
PS Latest ebay cheat sheet is here.