Brian’s been in touch with his shelf model railway:
“Hi Al,
I built a simple 00 gauge model railway for my two sons in the early 1980’s.
At the time I was photographing and writing about the colourful and interesting freight movements in the north east of England which culminated in a book published in 1989 ‘Railfreight Today’.
At the same time as building a railway for the children, I was buying odd freight wagons that interested me, with a view to one day having a layout of my own.
With other interests, that never happened, they languished in boxes, surviving a number of house moves for 30 years.
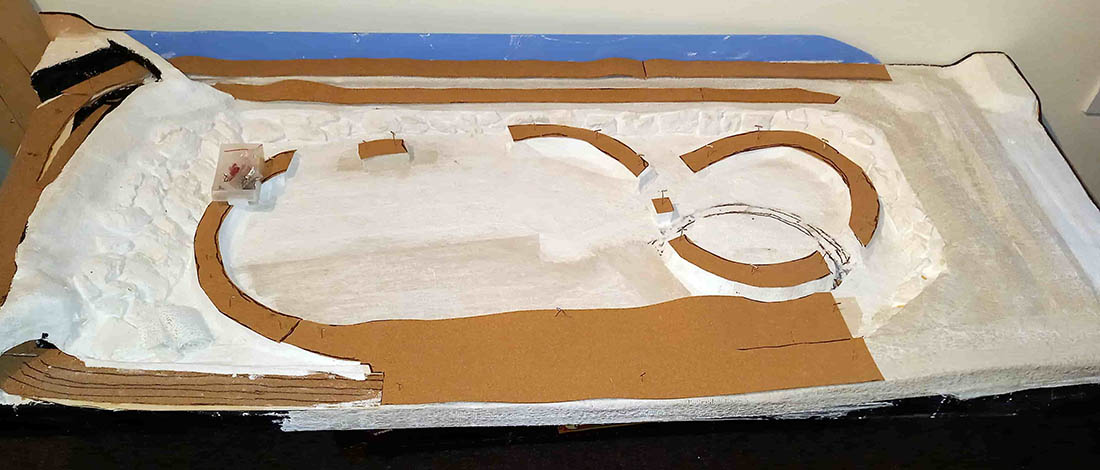
I had decided that due to space restrictions, my layout would go in the garage partly along one wall. But with all the usual garage paraphernalia, it was not going to work. Then I hit upon an idea.
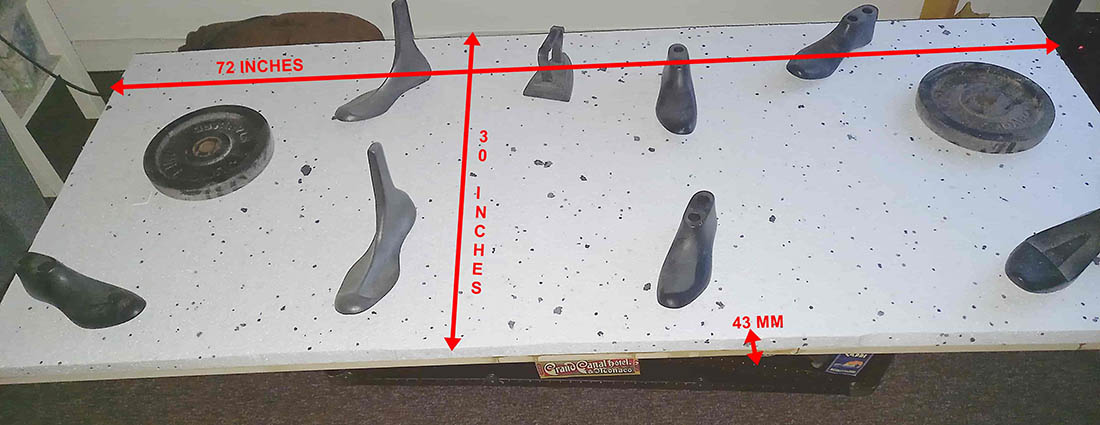
The layout would be built within my sturdy metal shelving system.
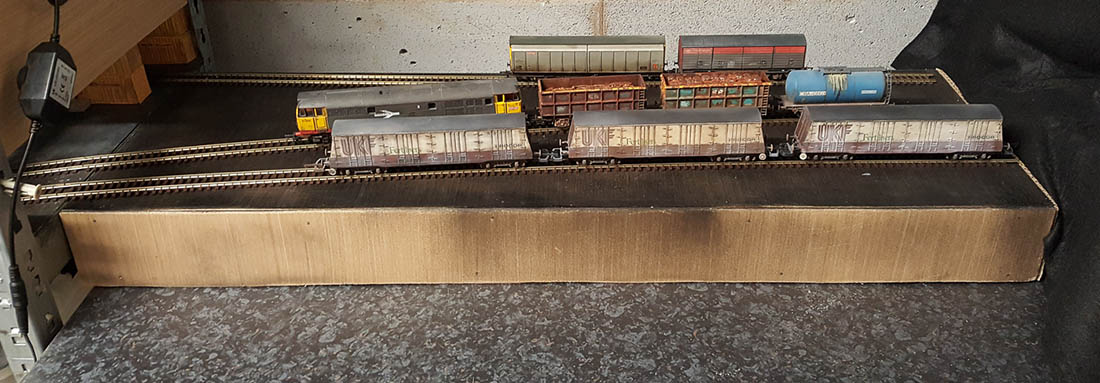
This meant a layout 3 metres long and 0.5 metres wide, with an additional temporary, one metre length of hidden sidings on the adjacent worktop!
Naturally, for me, I wanted a layout to be freight only, no passenger trains in sight! I wanted to run longish freight trains (limited space), but more important, I wanted shunting to be done.
I didn’t want the hassle (and cost) of moving to DCC. My wagons and locos were from the 1980’s ‘Speedlink’, Railfreight era. I looked at plans of end to end layouts, played about with SCARM and eventually came up with a basic layout, which inevitably was altered multiple times.
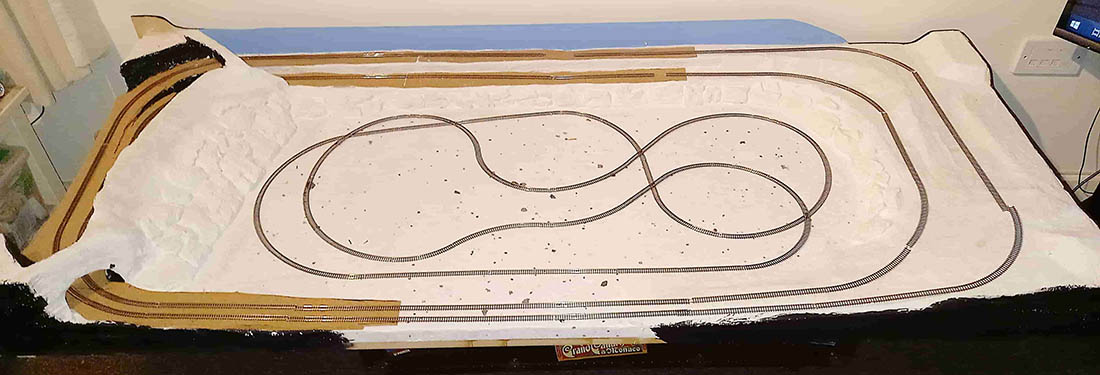
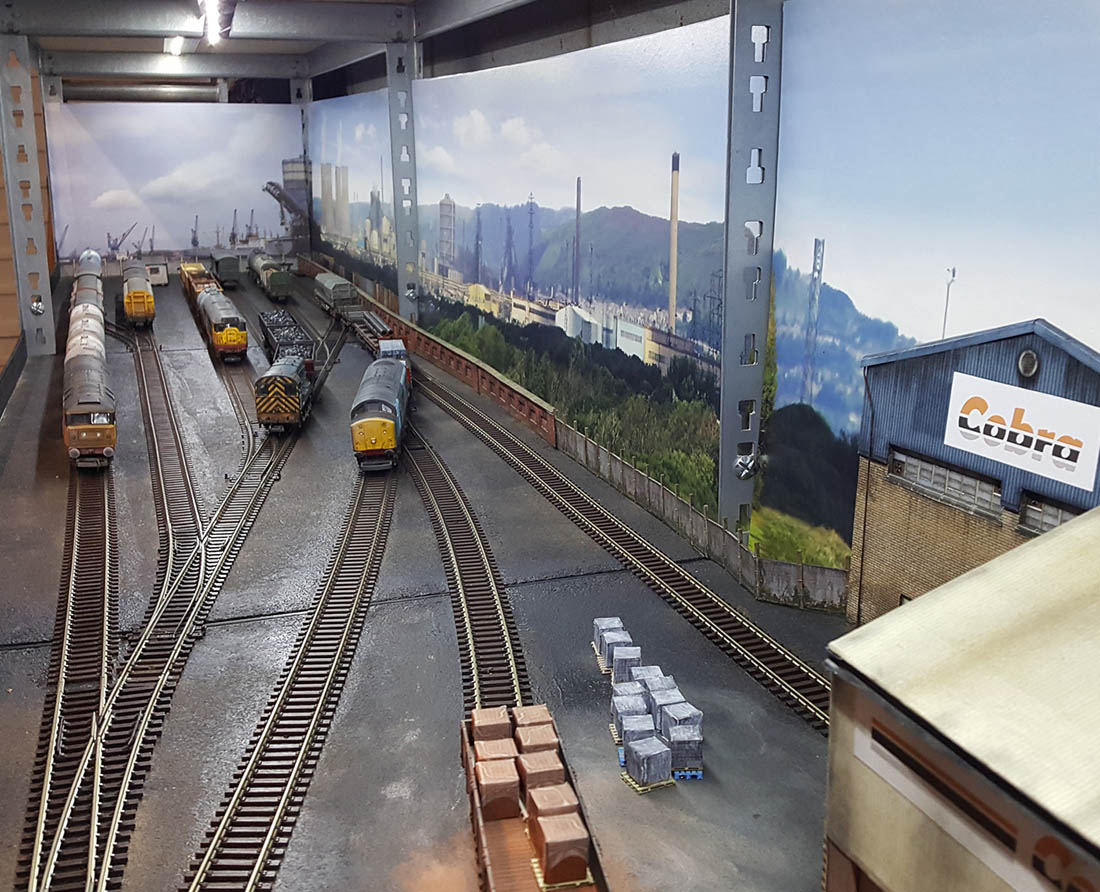
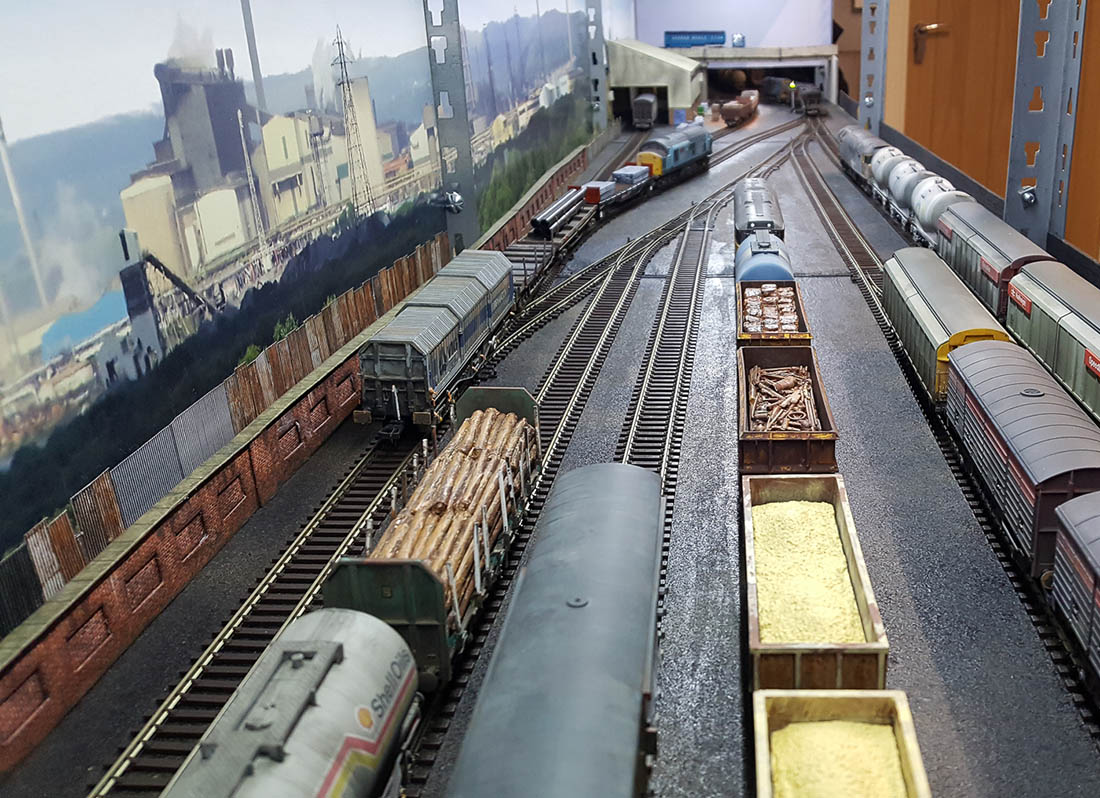
Then the penny dropped. I would create a very, very scaled down version of Tees Marshalling Yard at Middlesbrough!
The Speedlink trains would enter and leave as longish trains. These would be split and marshalled in the yard and small ‘trip’ trains would take and collect wagons from the various private sidings etc. (hidden from view), where I could load and unload commodities. This offered me plenty of different shunting puzzles – ideal.
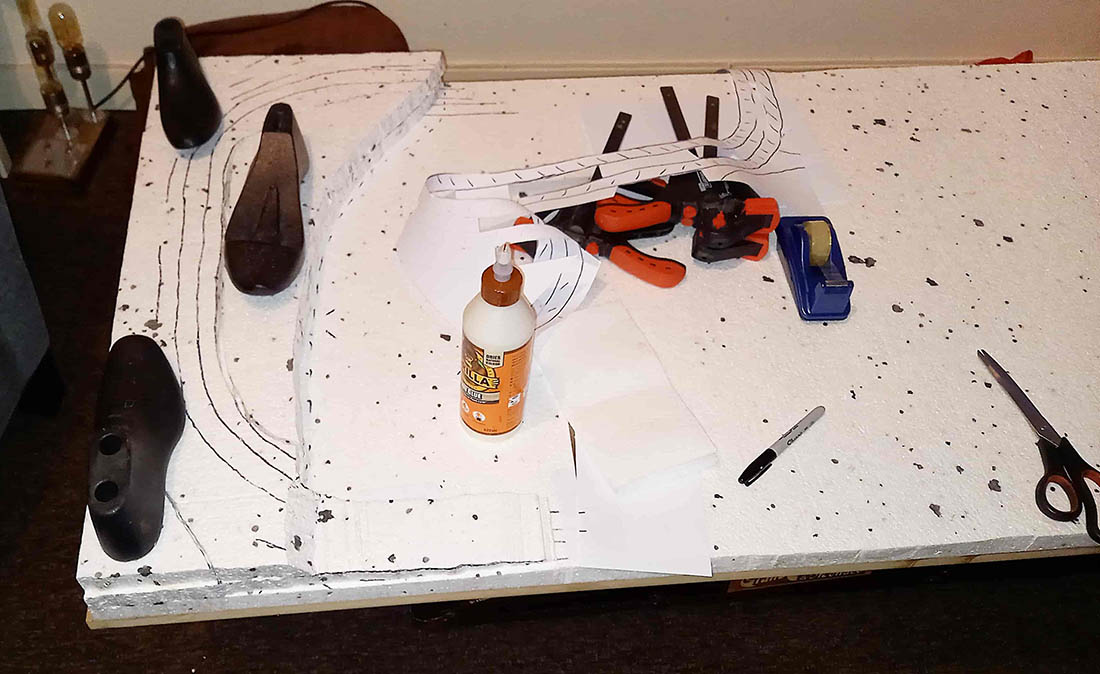
Problem with ‘Lockdown’, the model railway shops were closed. But, I found that some online shops were open for business. I wanted the layout to work electrically and with as few joints as possible so settled on all Peco flexi streamline code 100 and kept the postman busy.
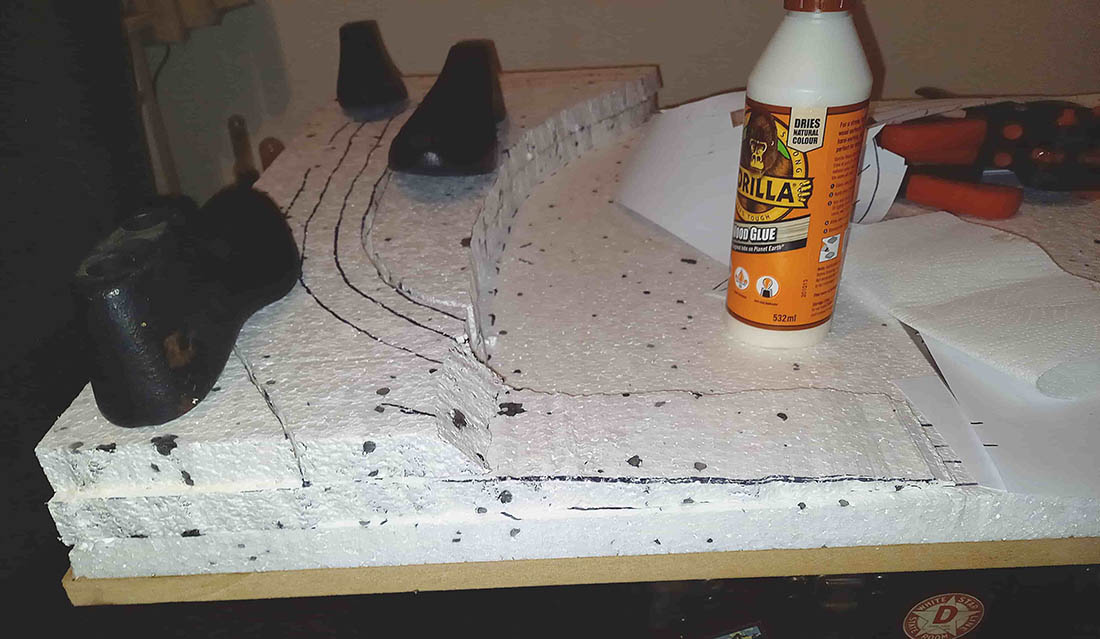
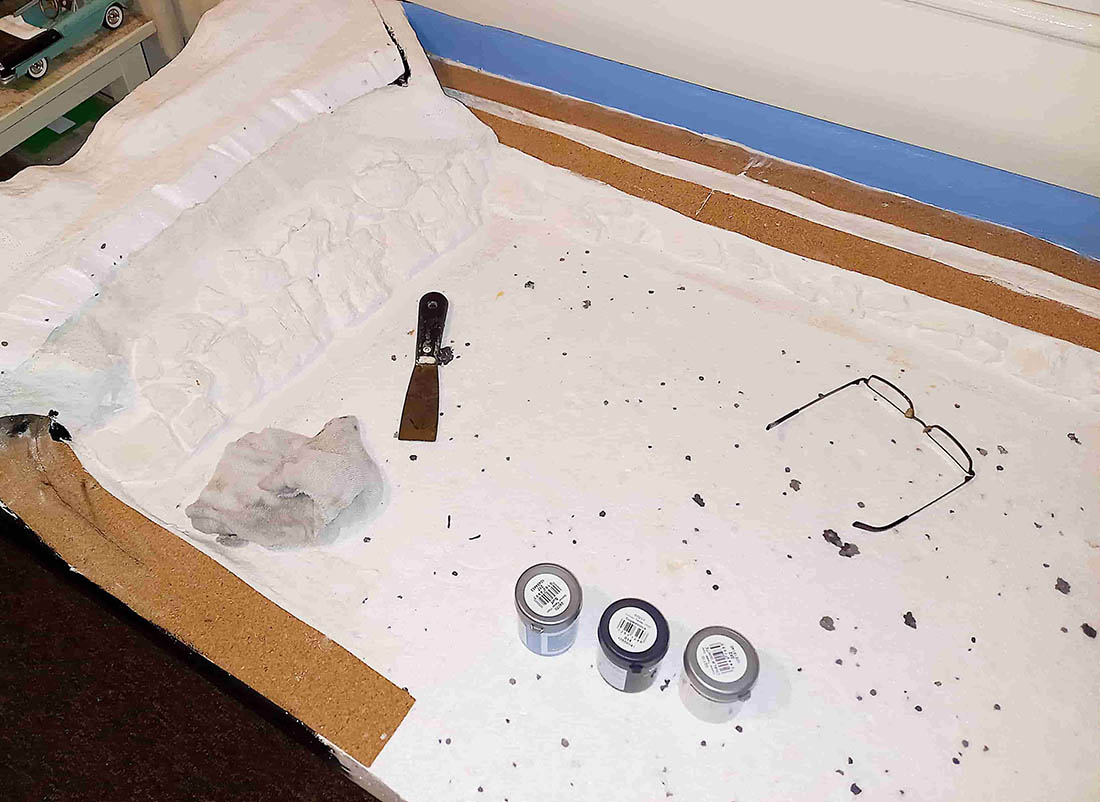
Having walked around many industrial railway settings, the track was never pristine ballast. I decided I would spray paint the baseboards (shelves) black and would not lay down any ballast. The black paint would give it the grimy conditions I wanted.
The track was glued down with dilute PVA glue and additionally pinned near the pointwork. There are just two electrical feeds and I can control two locos from my ageing late 1960’s H&M ‘Duette controller. I have included two loops, which allow for engines/wagons running around.
I was fortunate in seeing a Gaugemaster industrial backdrop that had the appearance of Teesside. One of my ‘better buys’ which work a treat are ‘Train Tech’ buffer stop lights. I have one fitted behind every buffer stop on the layout. They draw very little current. Although not authentic for my era, they let me know which track is live and where I am shunting to, particularly at night! – brilliant.
Being on a shelving system, where ‘garage items’ are stored, above and below, was going to make the layout dark. I found on the internet a string of low voltage LED strip lights with a rheostat, which I mounted under the shelf above. I can have the short trip workings operating to and from the yard in daylight and by turning the lights down, the long ‘Speedlink Services’ depart and arrive overnight, very authentic!
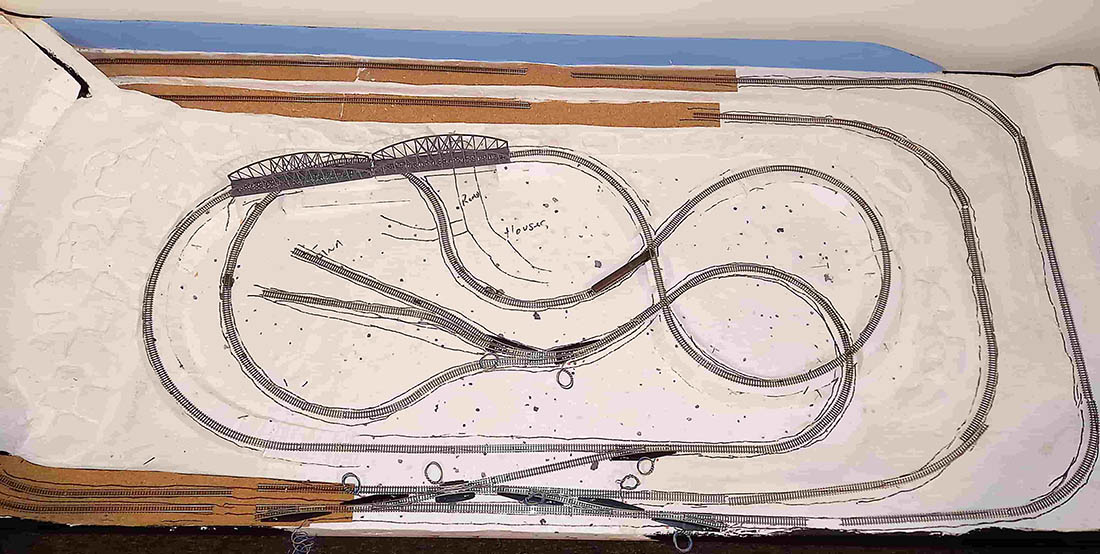
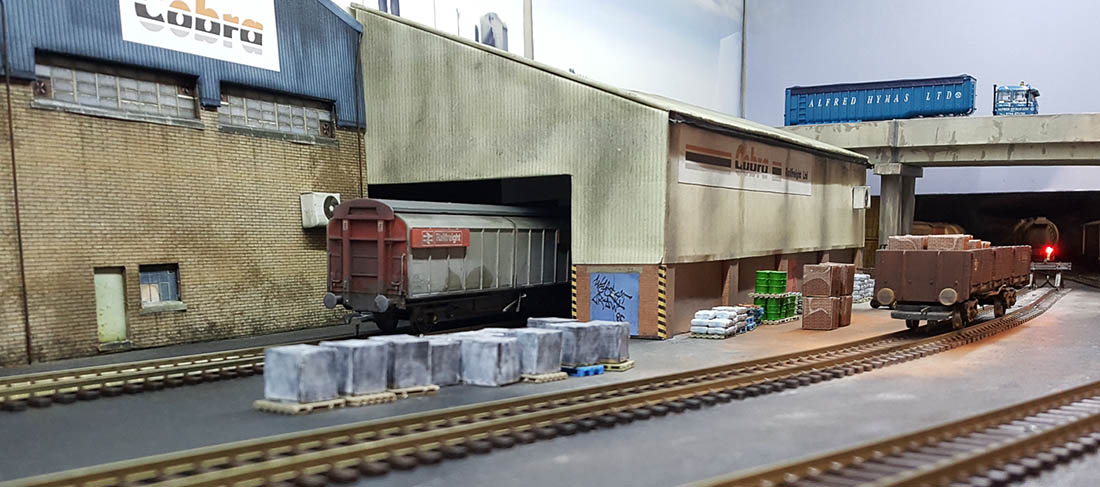
The hidden sidings (three) are built onto a box construction that sits on top of the adjacent work unit, I can quickly connect ‘when playing’!
These sidings are ‘hidden’ from the main layout by a modern road overbridge and a freelance through goods shed, giving access to more docks/sidings beyond. The only other building on the layout is a ‘Portakabin’ (mess room) at the opposite end of ‘the yard’.
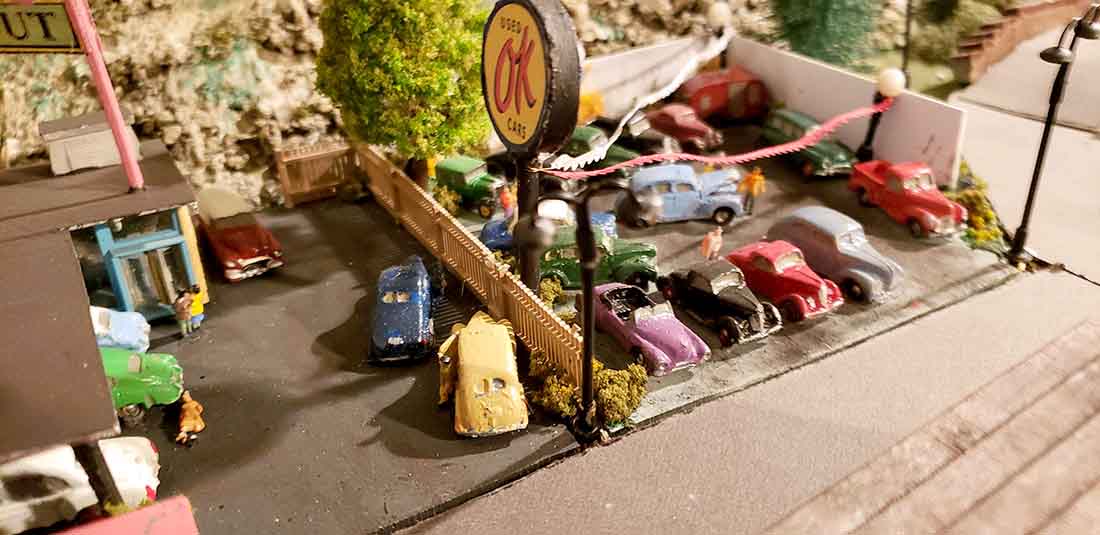
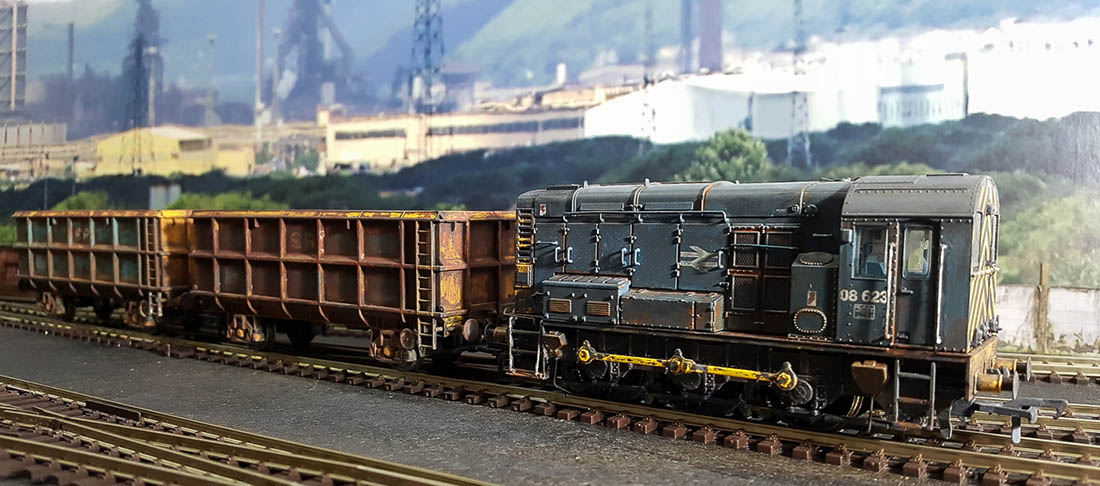
My mint condition wagons and locos (I bought a few extra) needed an upgrade to what a working railway should look like. I set about ’destroying’ the out of the box immaculate look, by weathering them all, to something resembling Teesside in the 1980’s! Something I really enjoyed doing.
I even varied the weathering on each side of the wagons/locos to double the size of the fleet, as viewing is from one side only! Of course, it could be any fictitious place and I can run almost any freight wagons and locos I want – joy?
So now, thanks to ‘lockdown’ and after thirty years, I can now enjoy amusing myself looking back in miniature, to an era of wagon load freight.
Brian”


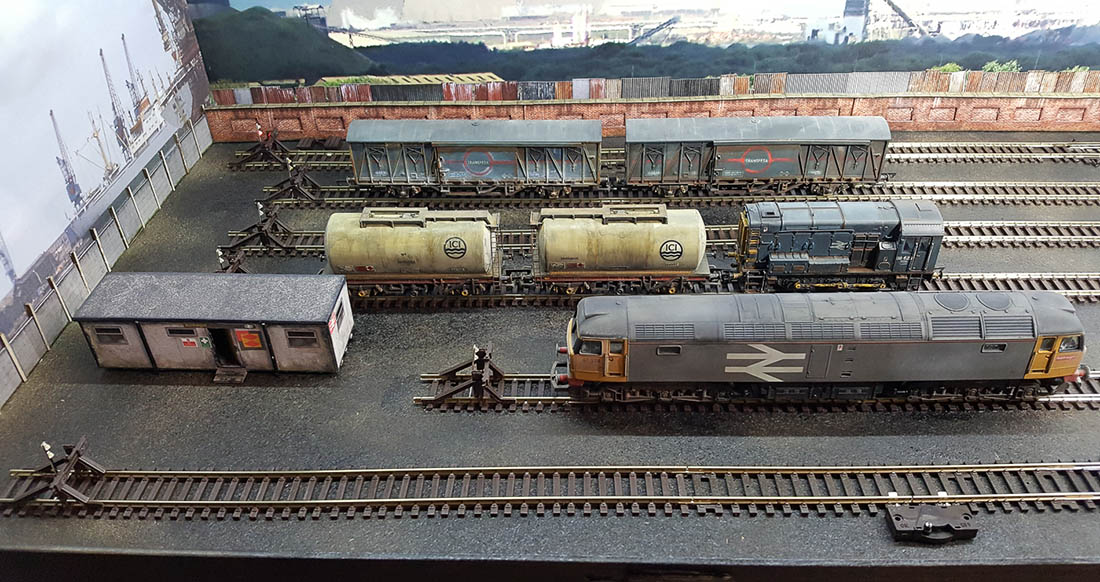
Absolutley loved Brian’s weathering. A big thanks to Brian for sharing his shelf model railway.
Whenever a shelf layout comes in, I always think of John’s: Shelf layouts
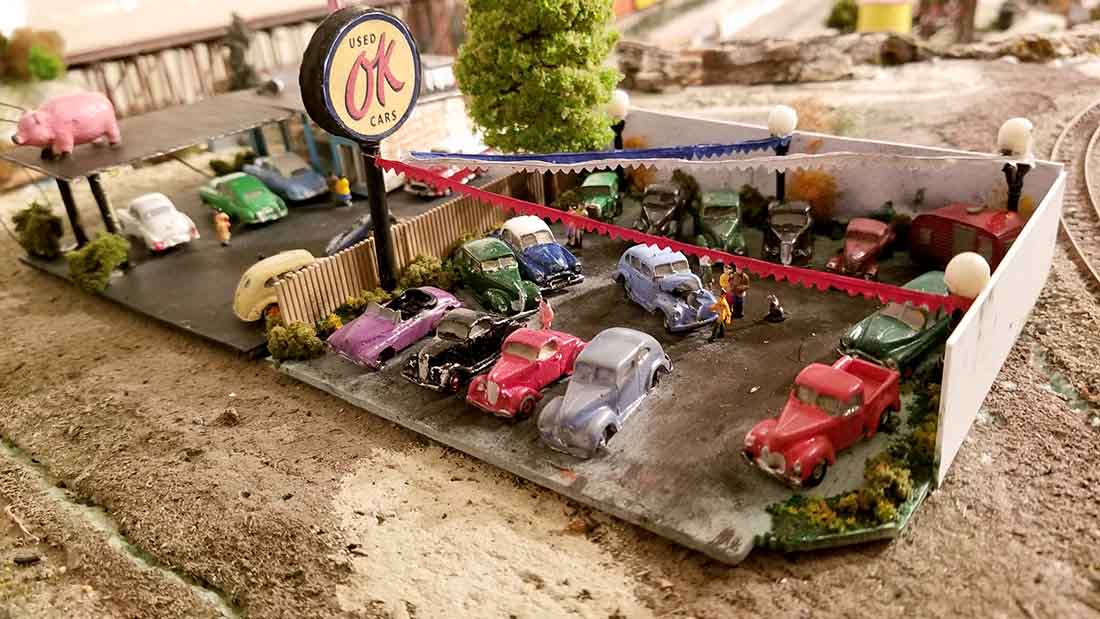
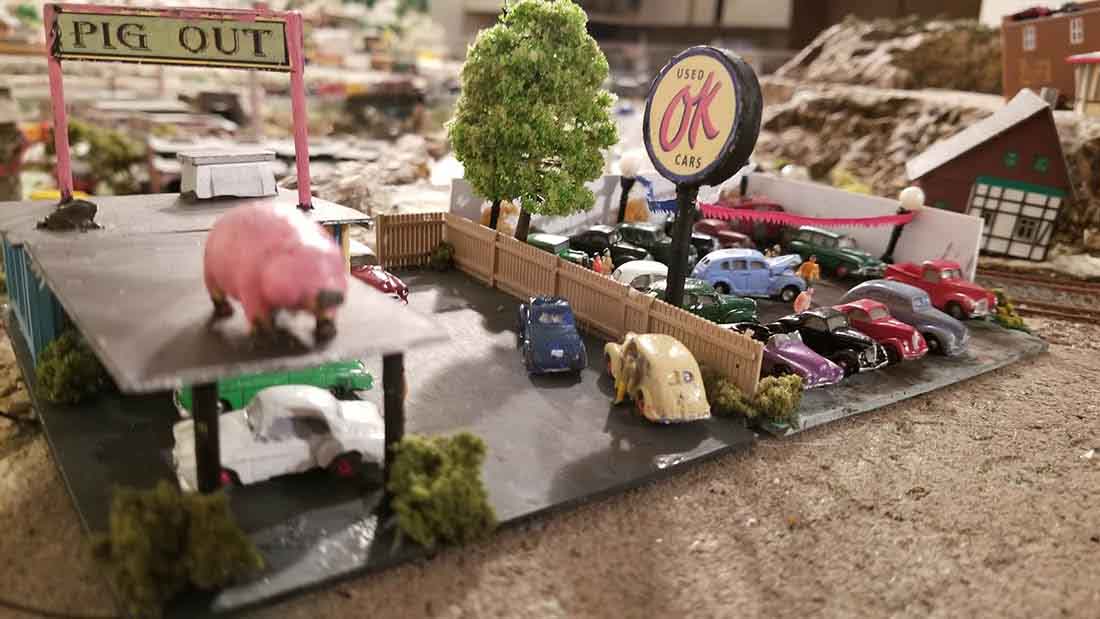
Now on to Eric.
(If you want to catch up, Eric’s last post is here.)
“Hi Alastair
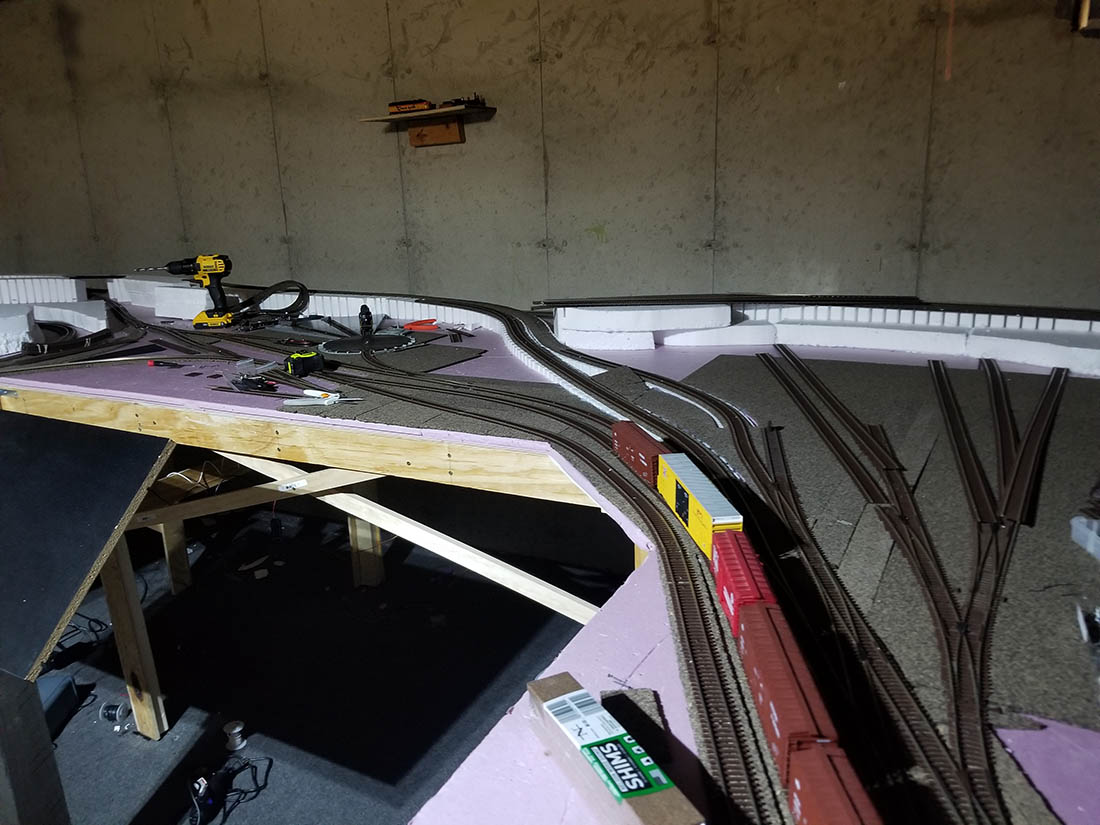
I am back and have a few short movies others can view. These are from different locations on the lower layout and yes had to bring the fire helmet home to use the camera.
I put a short description on each movie..
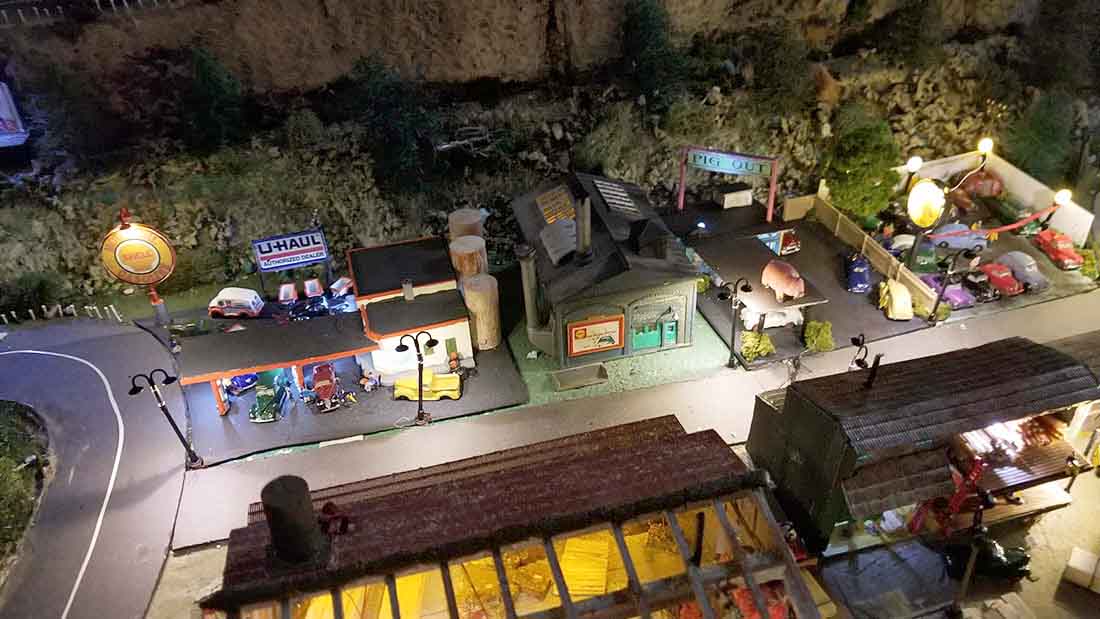
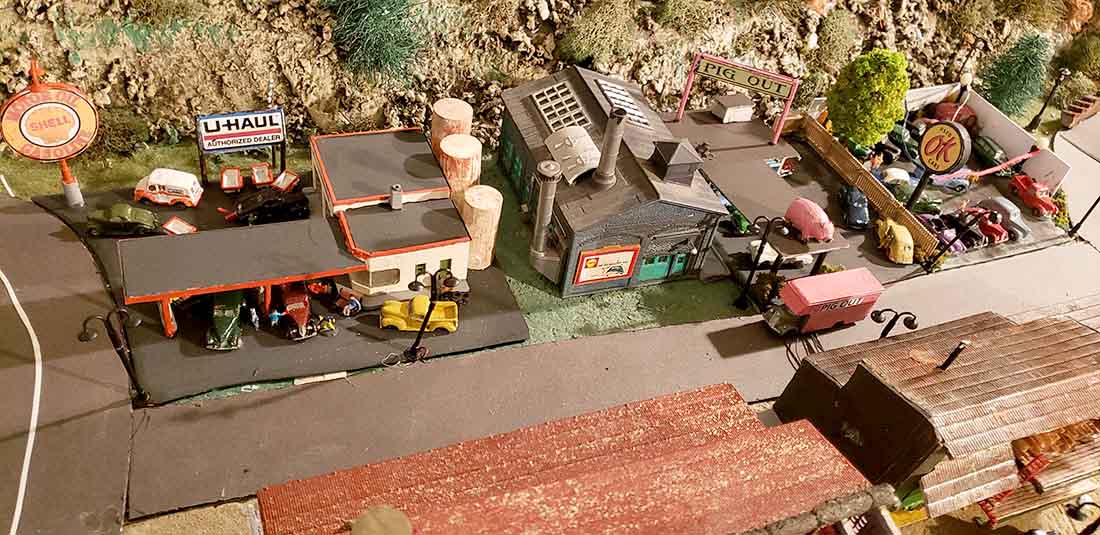
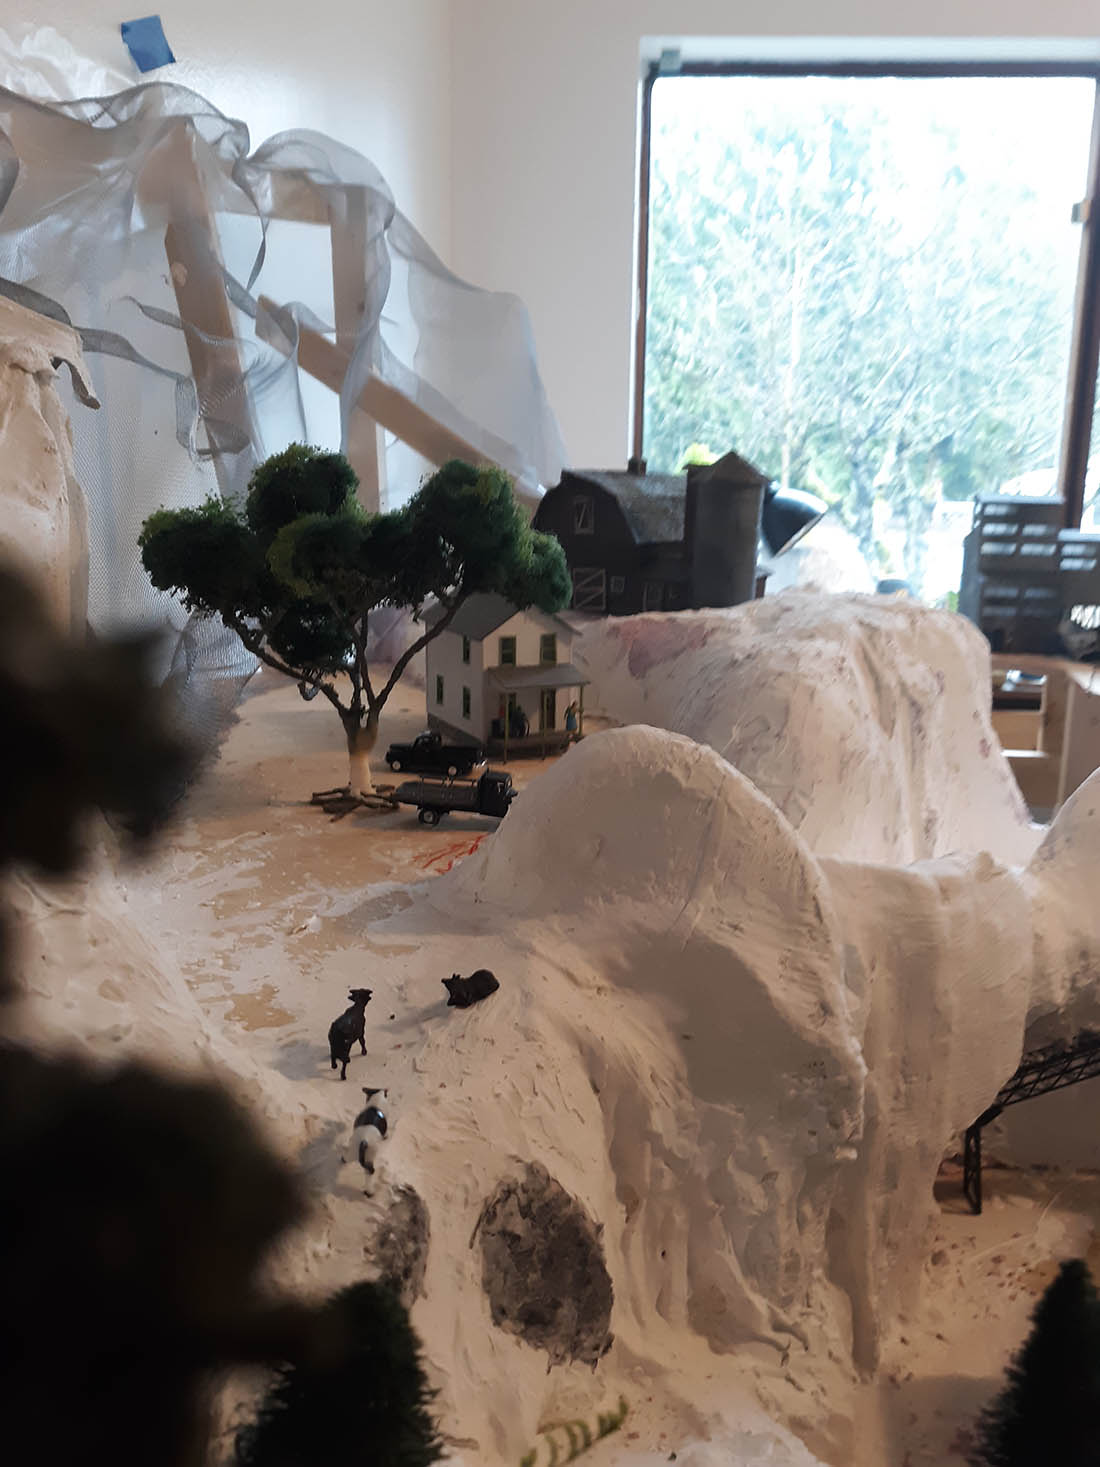
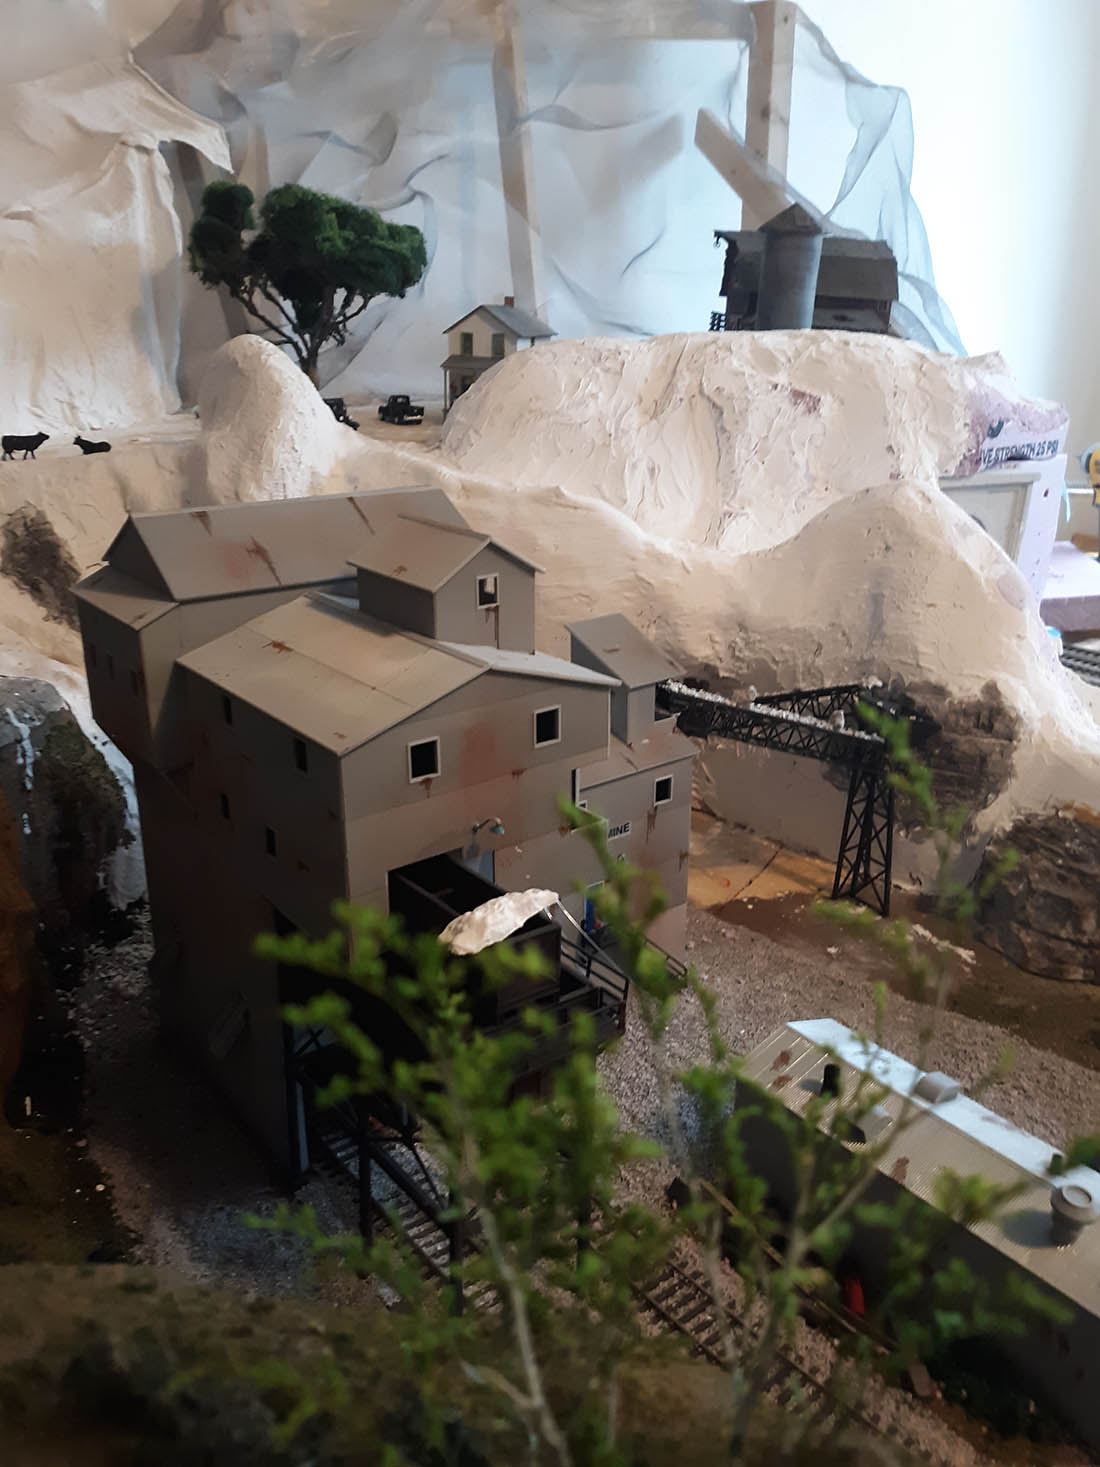
Also the lift out portion used to gain access to the West area with the shooting range that was on top of the cliff has been taken out and a new piece has been put in its place with a new town being built. The funeral home is in the town with a railfan camera mounted on it.
Well it is late here a need to be at Fire House in the morning so I will sign out.
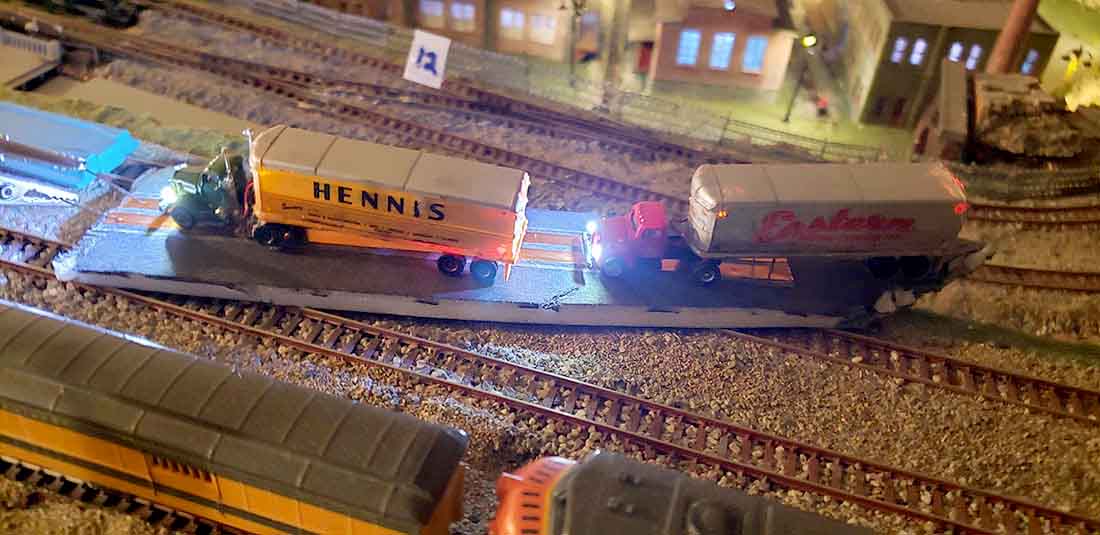
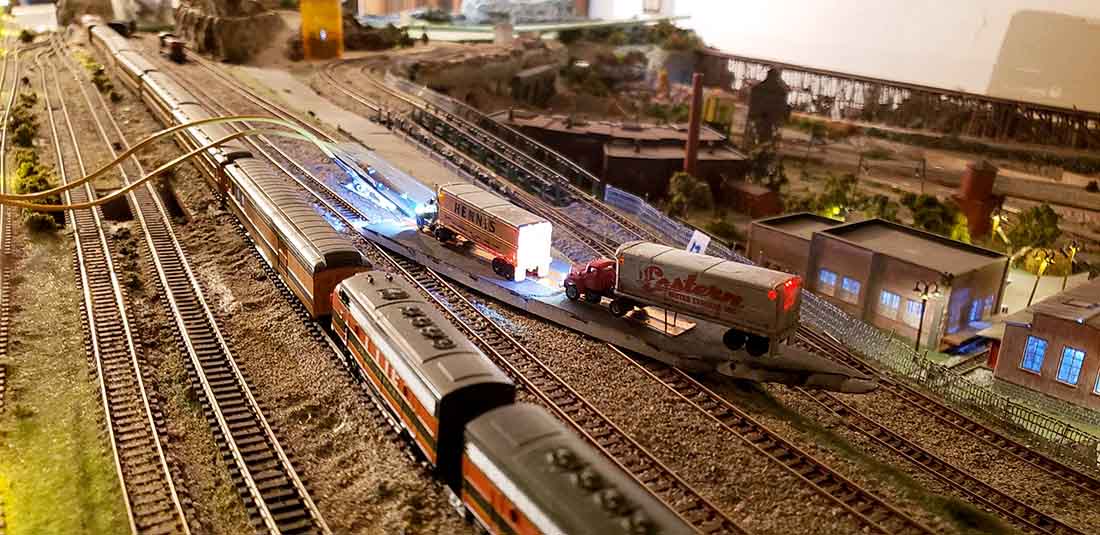
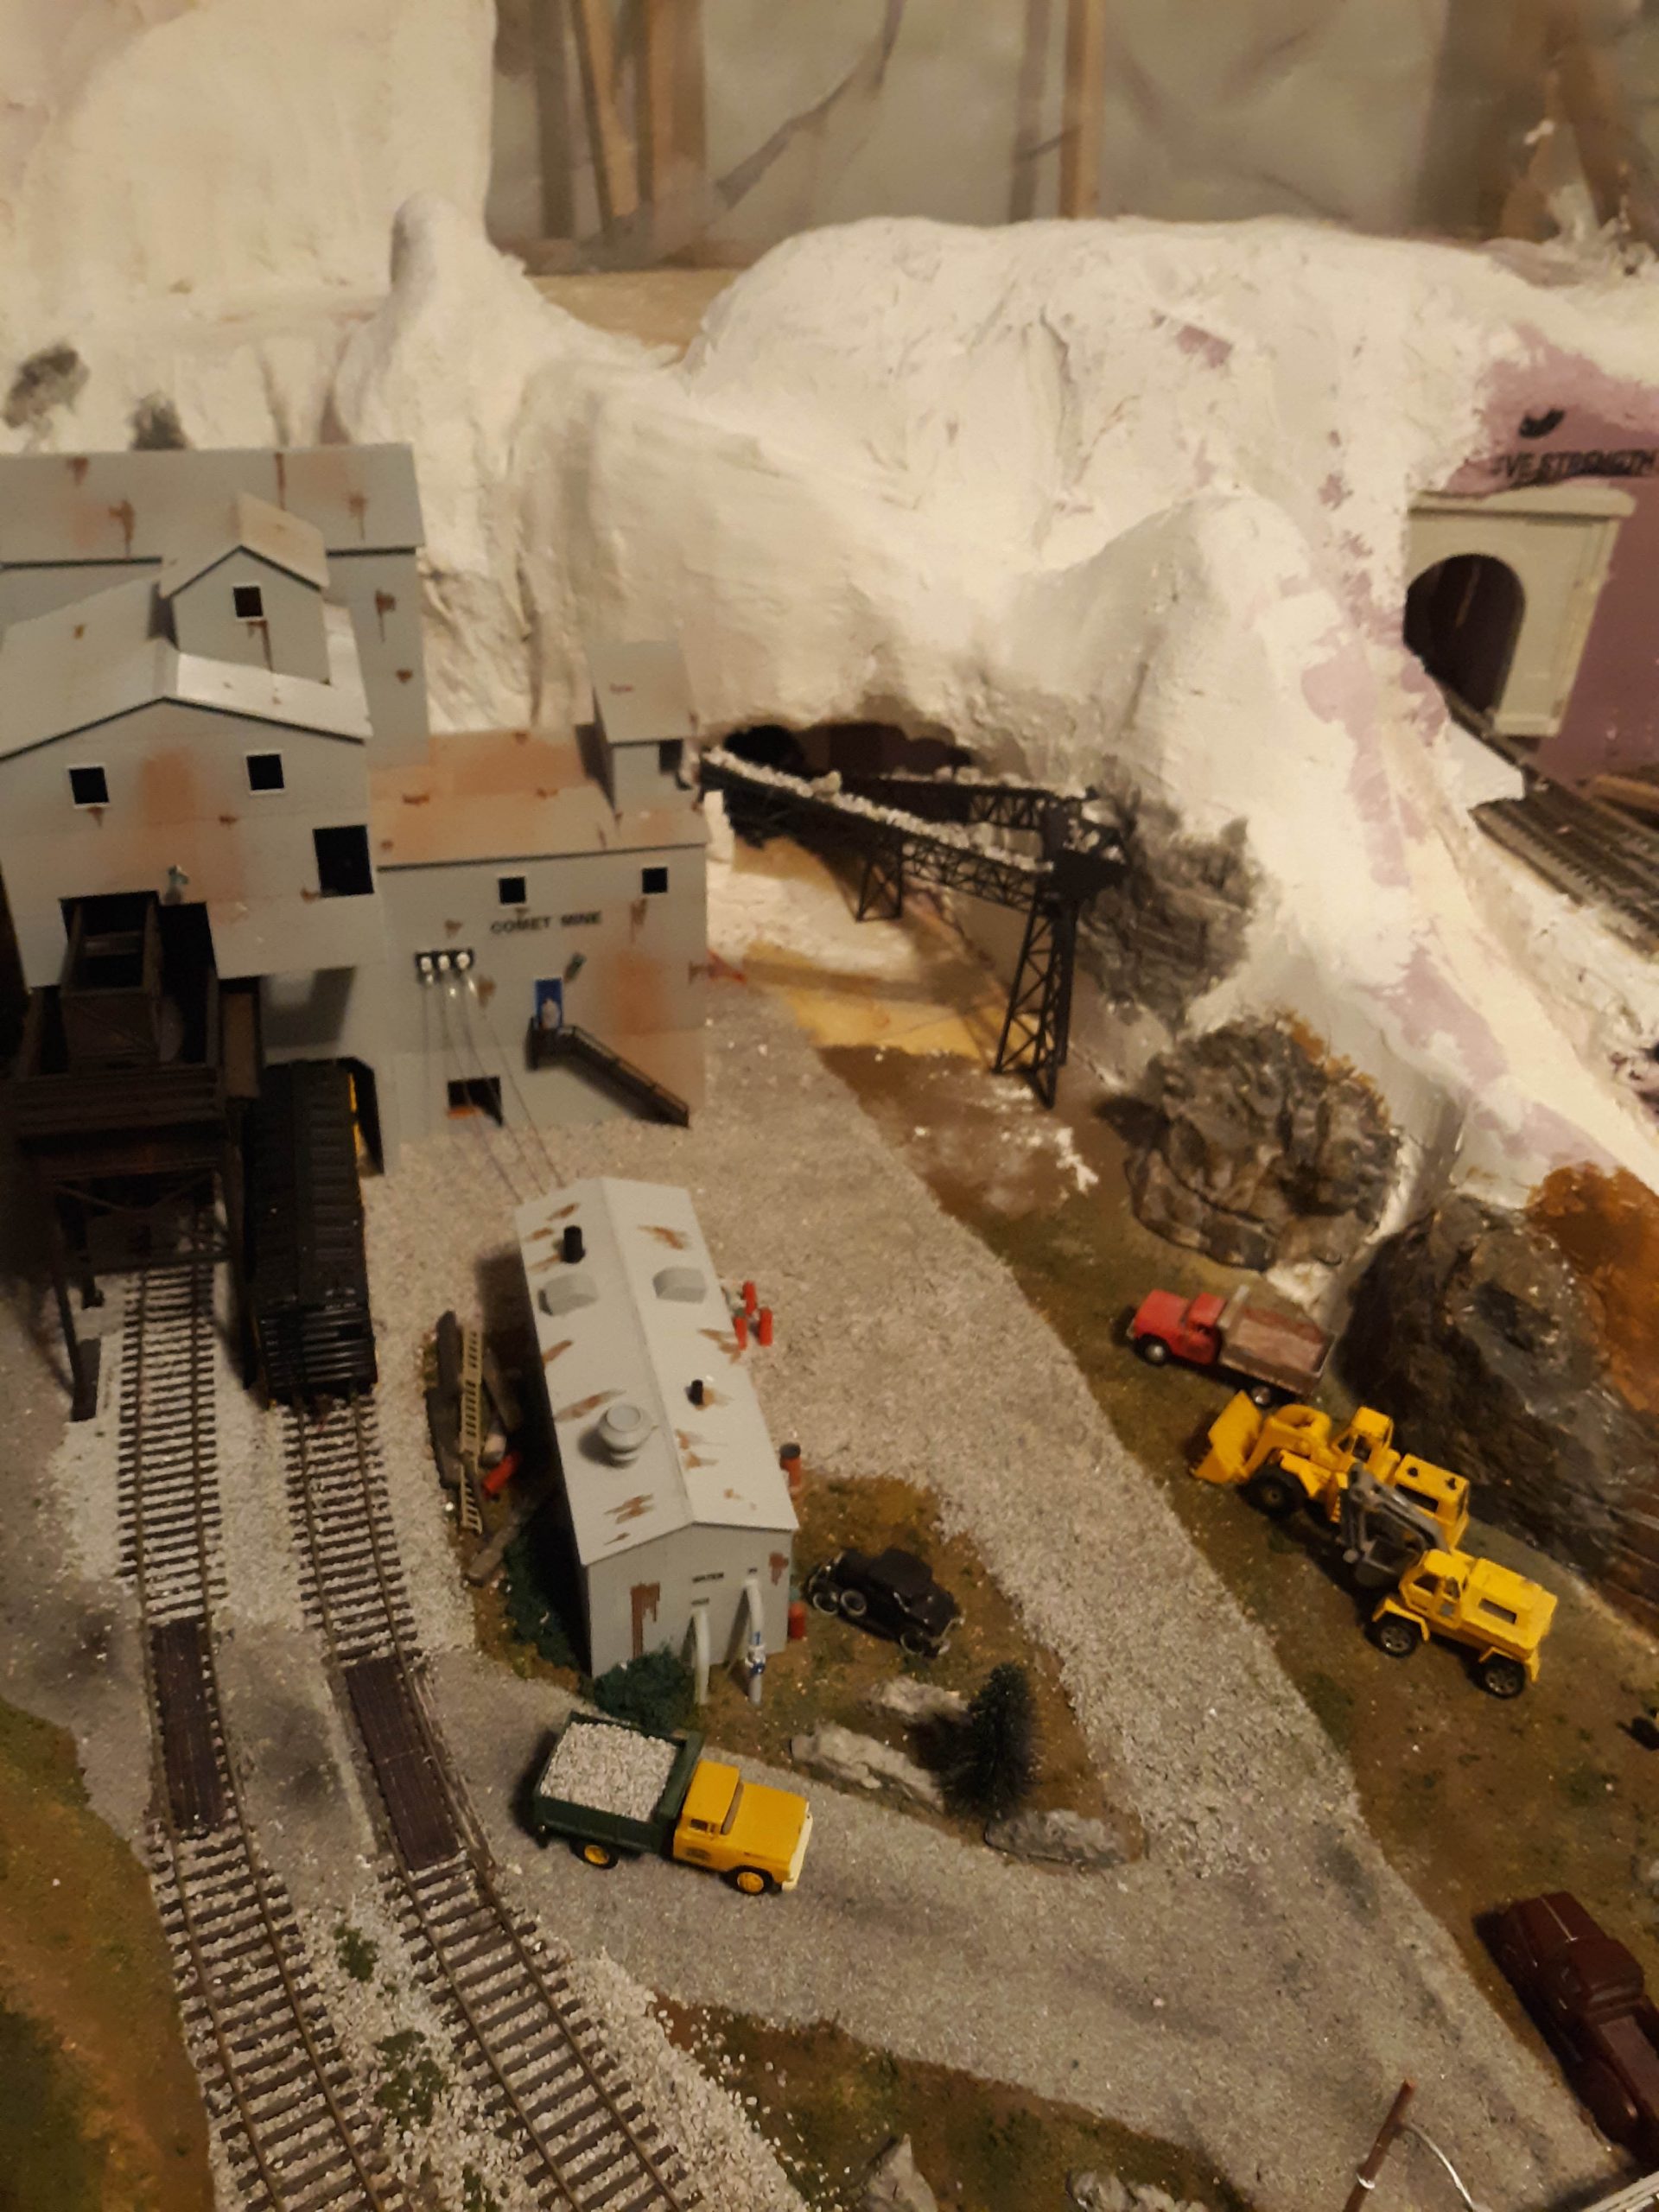
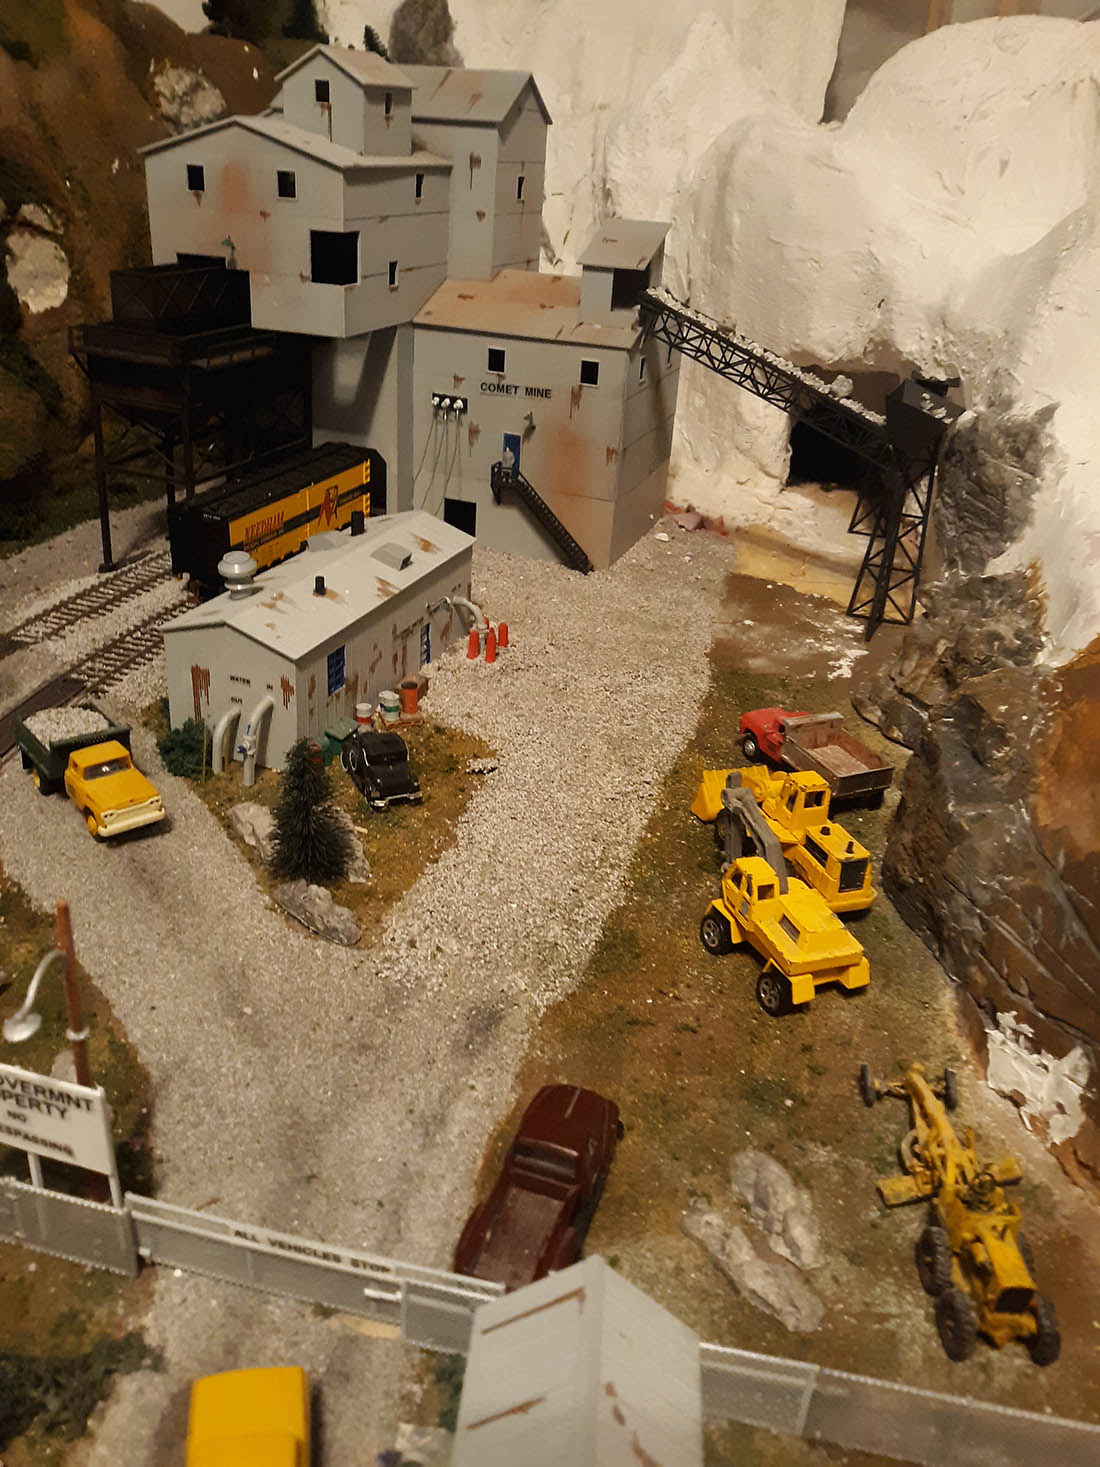
This is a shot of North bound trains coming out of a double tunnel and they are heading toward a small town that has a active Haz-mat spill in to the Wide Mouth Creek.
East bound trains heading toward the entrance of the double tunnel. The view is from atop the portal.
Coming from the west, rail workers are insight. They are waiting the passing of the two trains to check conditions of the rails that had been repaired months ago. They will continue to monitor.
Railfan camera East view from the top of the funeral home, this is the small town that is being added to the layout.
Thanks Al and thanks to all the wonderful ideas and layouts all over the world from all the viewers.
Eric The Firefighter St. Louis, Missouri Area”
A big thanks to Brian and Eric.
That’s all for today folks.
Please do keep ’em coming.
And if today is the day you get started on your layout, the Beginner’s Guide is here.
Best
Al
PS More HO scale train layouts here if that’s your thing.
Need buildings for your layout? Have a look at the Silly Discount bundle.