Fred’s been in touch with an update on his N scale oil refinery:
“Hi Al –
While I have more stuff and pictures I could share, the problem with my layout is that parts of it are so inaccessible that I have to disassemble sometimes in order to go further. I won’t bore you… just can’t show what I’ve accomplished yet.
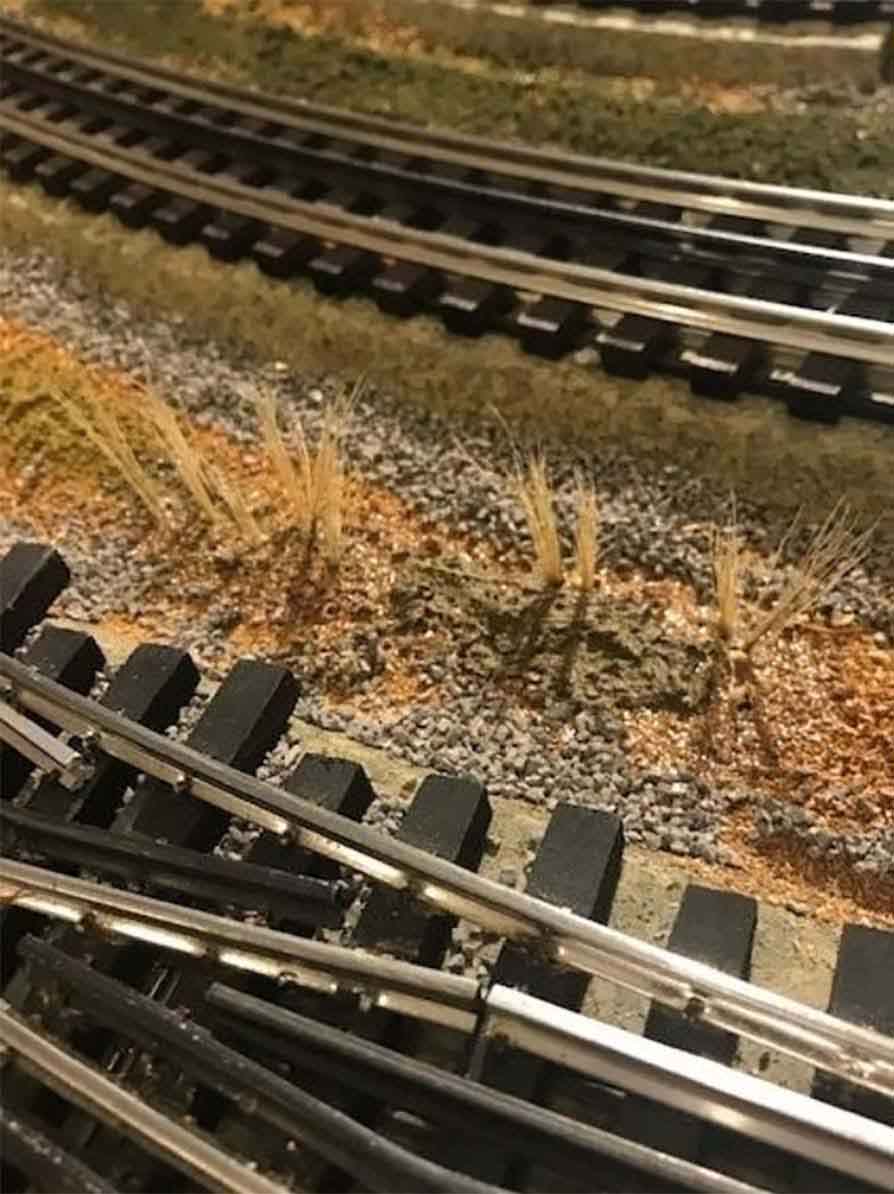
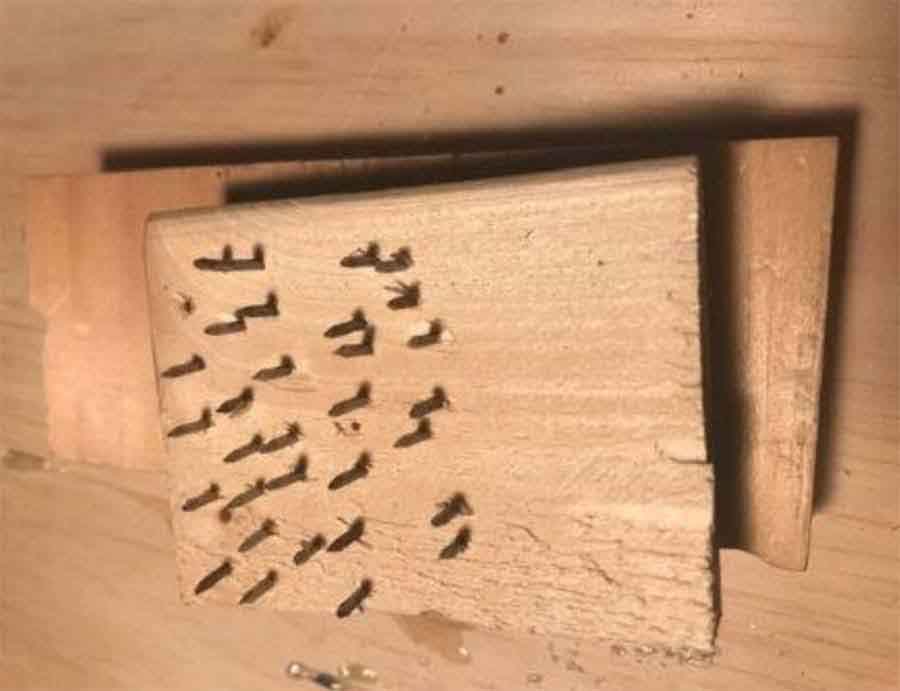
I have made progress with my oil refinery, though, so will share that with the group. Thank heaven for Shapeways – I got lots of N Scale details like condensing stacks, ladders, staircases, that I couldn’t possibly have made in N Scale!
Anyhow….the new frontier I’ve been investigating for my layout is sound. Unwilling to stop at the “sound modules” commercially available, I created my own sound tracks, using commercially available sound effects and “ambience” footage, and edited them in Apple’s “Garageband.”
Each is 8 – 10 minutes long, and loops, so that it starts all over again. I have spent hours, experimenting with the acoustics of my layout and diorama enclosure, and have placed 18 hidden speakers throughout, to give a sense of locus to the appropriate background noise as you wander about my layout. The speakers, (which range from 3” multipurpose to 3/4” electronics speakers the thickness of a coin) in turn, are wired to small stereo amplifiers – (Pyle 120W and Winter MA170).
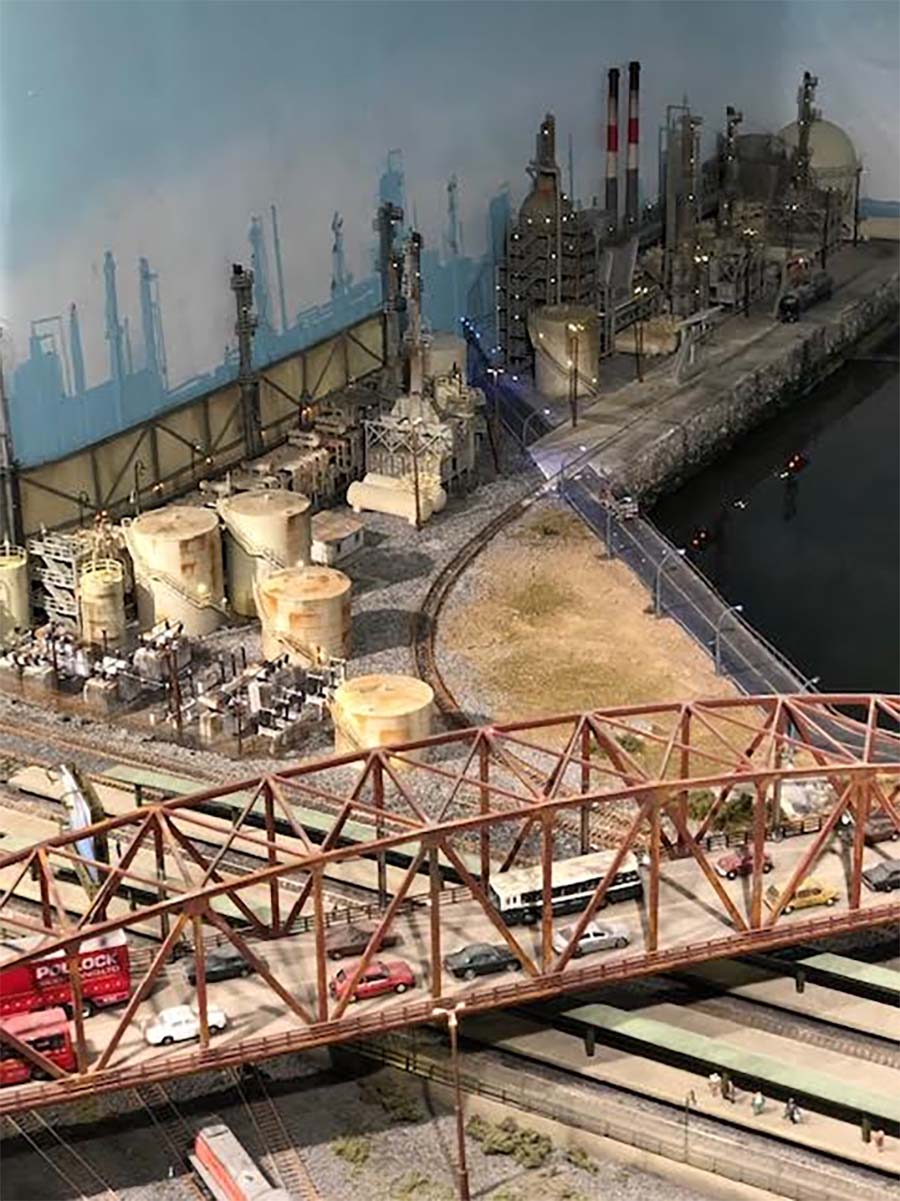
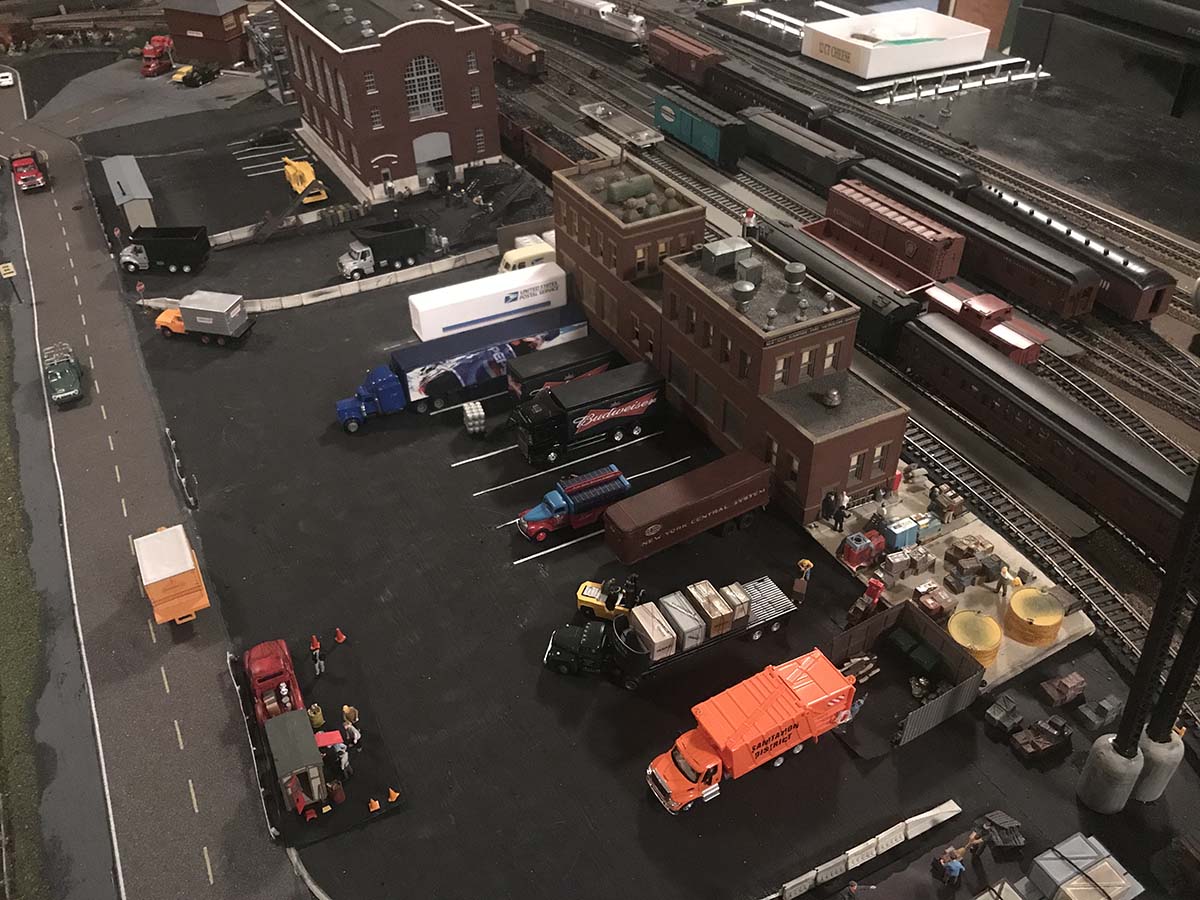
Oil refinery
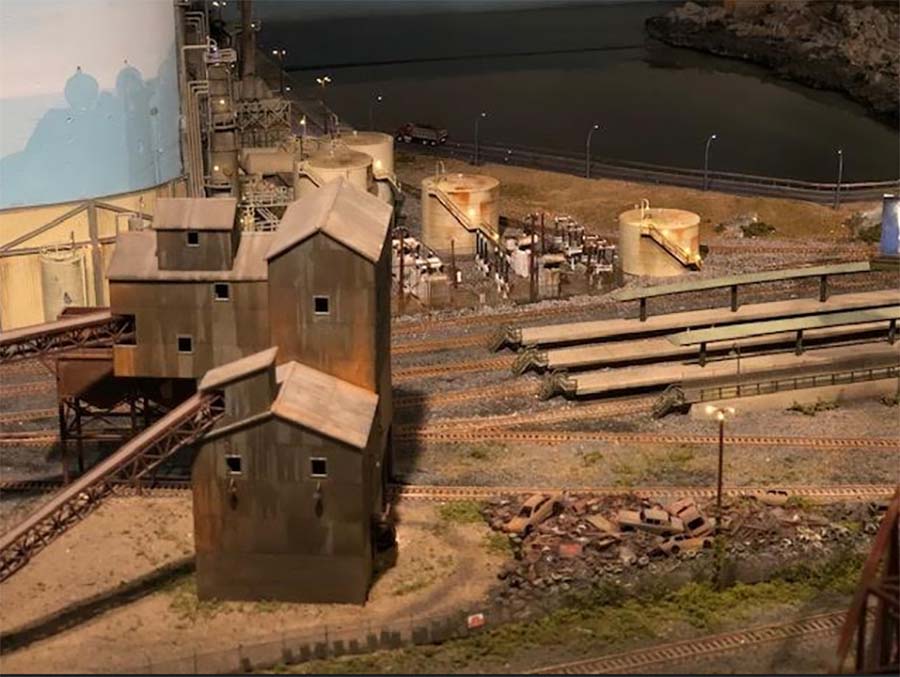
Oil refinery and rock crusher
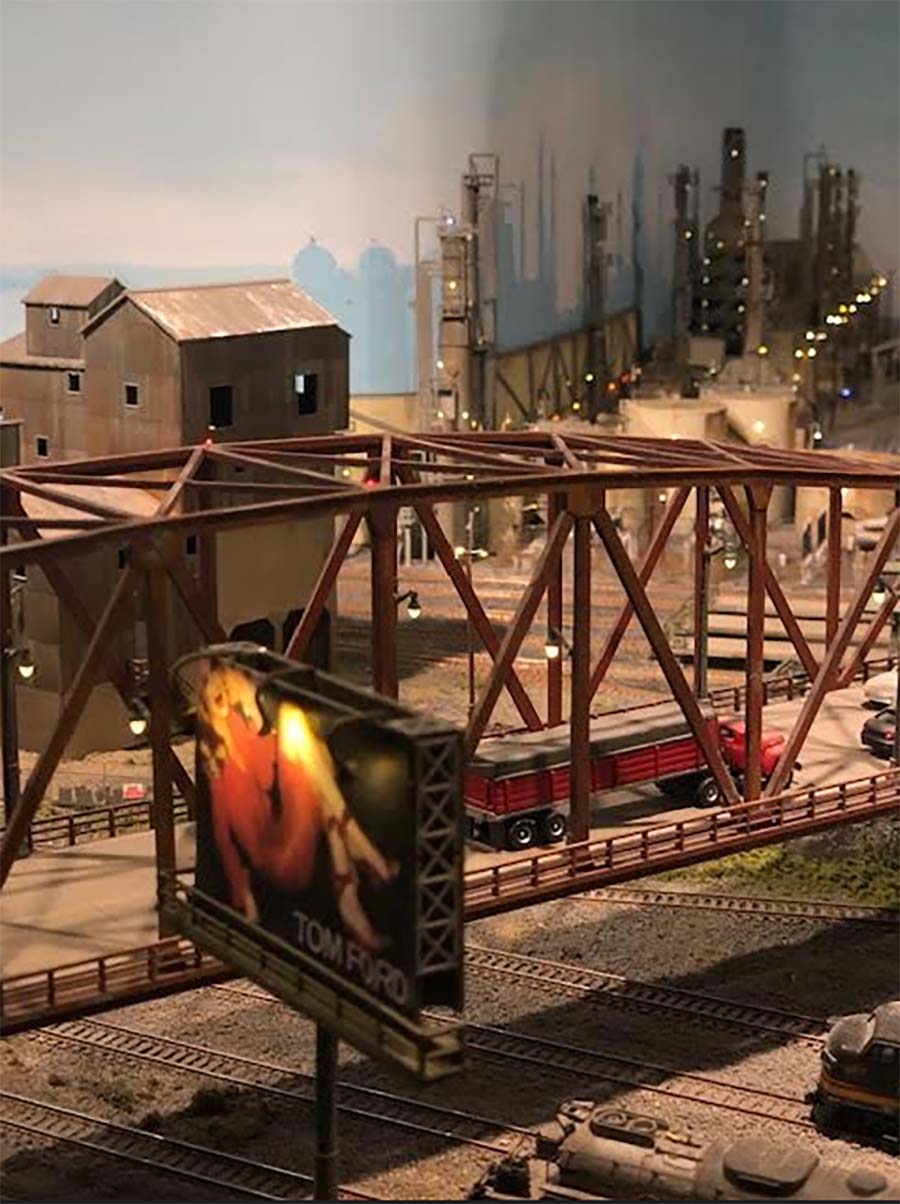
N scale billboard with a speaker inside it (the size of a coin) for roadside sound effects.
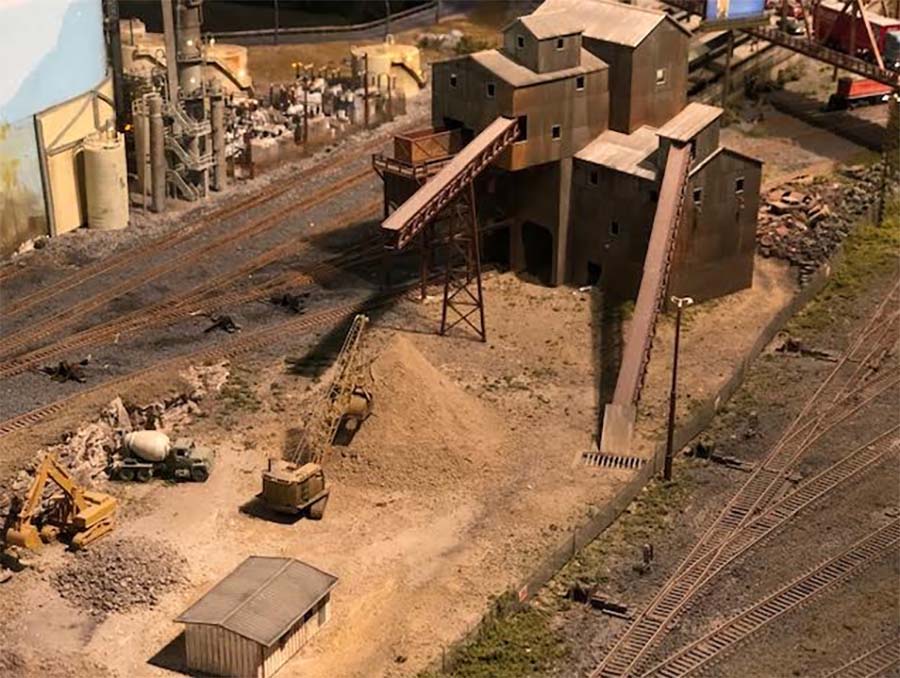
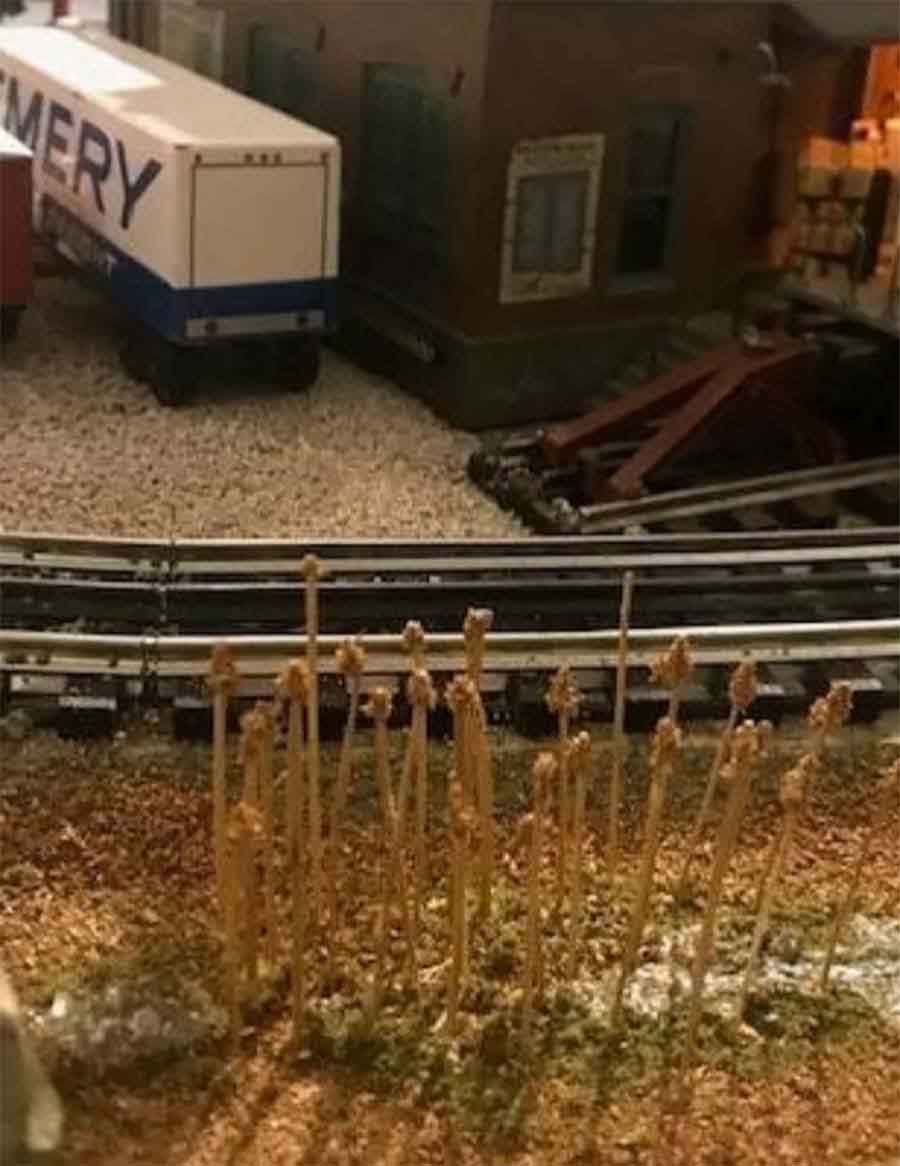
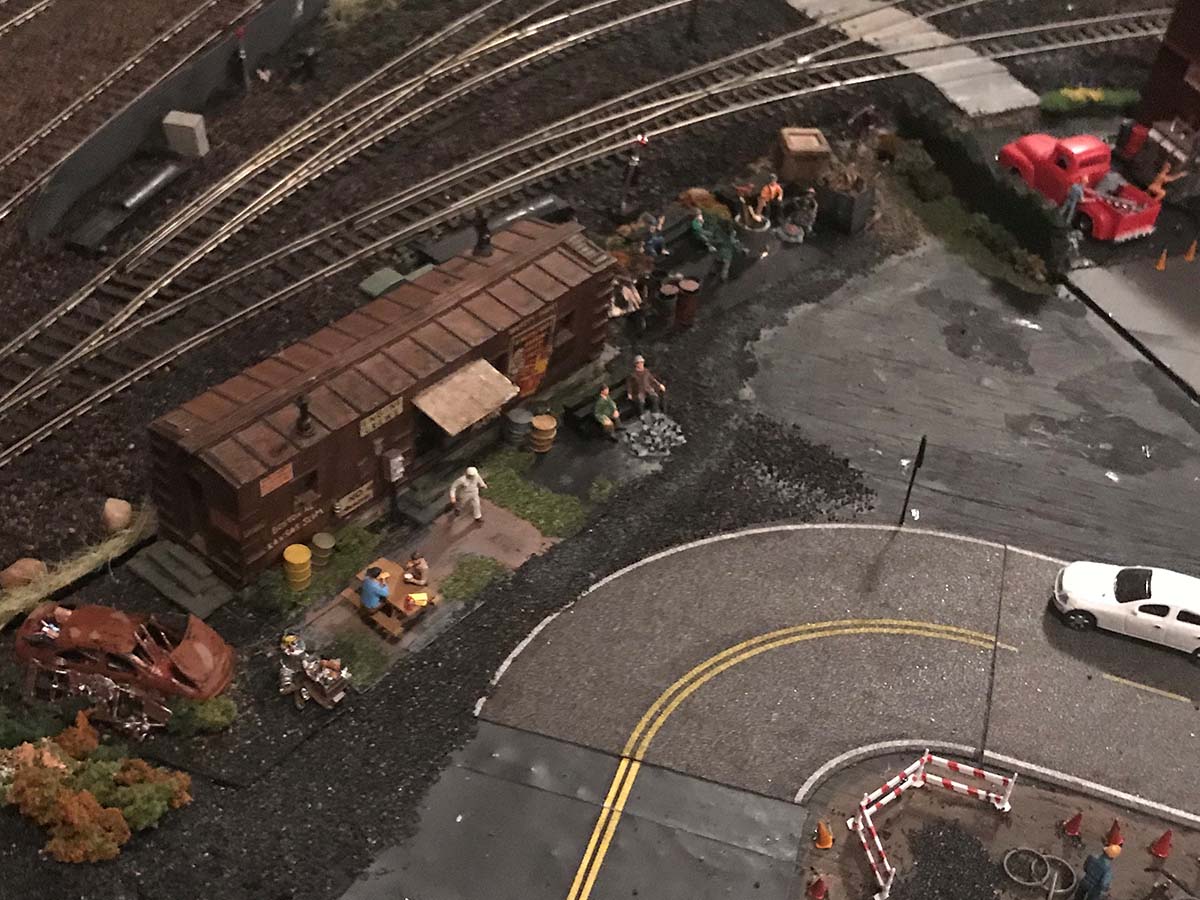
Heavy industry near freight yard
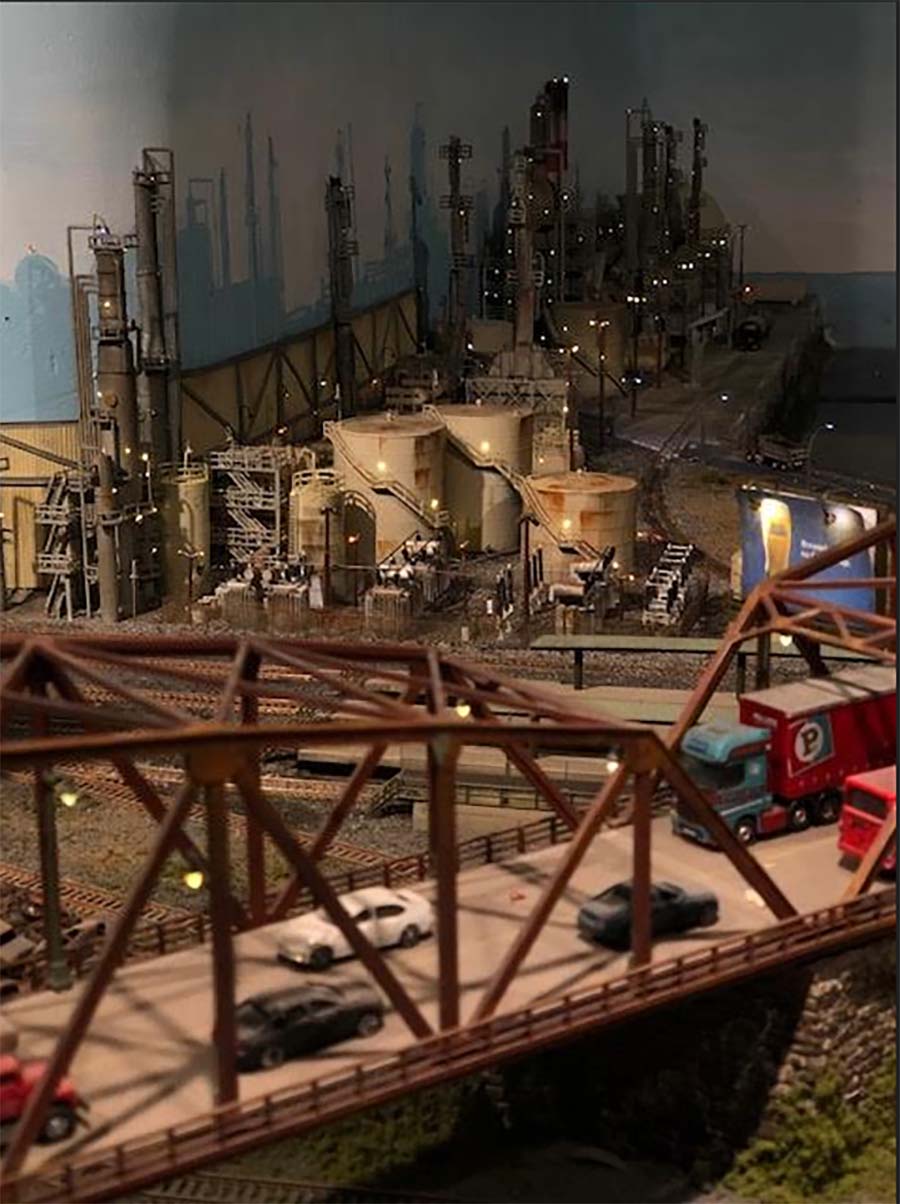
Oil refinery.
For the sound track playback and recording, I used several Sony ICD PX370 hand held voice recorders. They have their own built in USB connecters, and like all Sony equipment are easy to use, reliable, and able to store MP3 files of considerable size. As usual, I went overboard, with almost a dozen soundtracks, both for overall ambience and isolated “event” or “location” sound effects.
Fred”
(I know the video is very small – but there’s nothing I can do about that – sorry.)
Latest ebay cheat sheet is here.
A big thanks to Fred for sharin his N scale oil refinery – can’t wait to see his full update – what a layout!
(Here’s a load more N scale layouts if you’re after them.)
That’s all for today folks.
Please do keep ’em coming.
And don’t forget the Beginner’s Guide is here, if you want to stop dreaming, and start doing.
Best
Al