Robert’s been in touch with his model railroad track cleaning tips:
“Hi Al
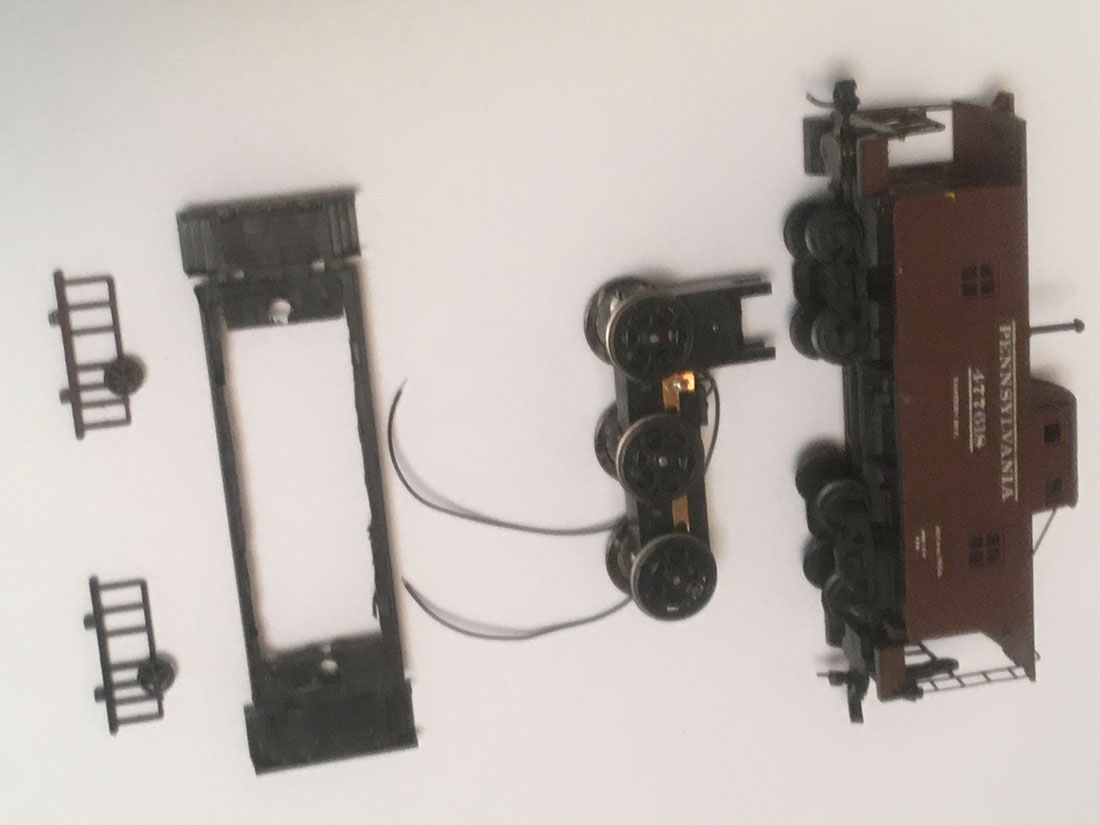
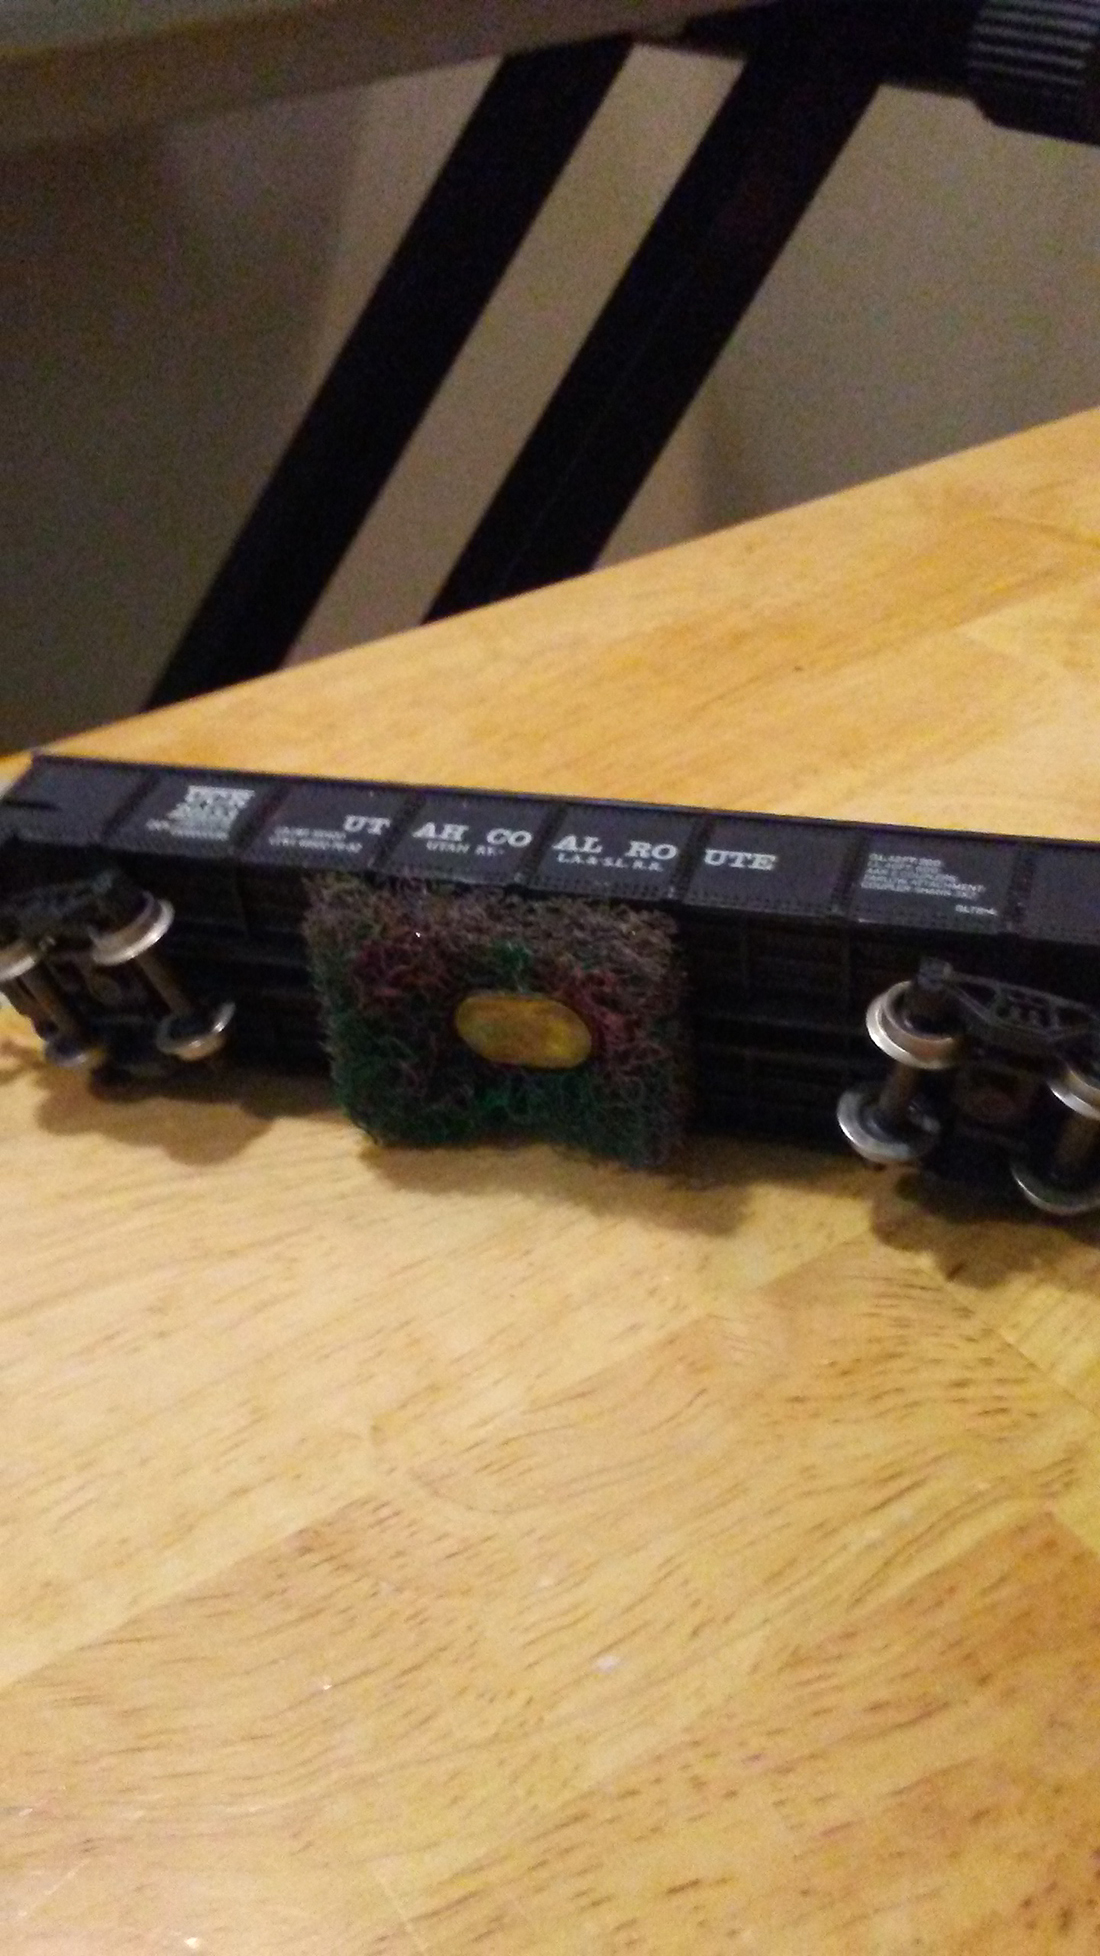
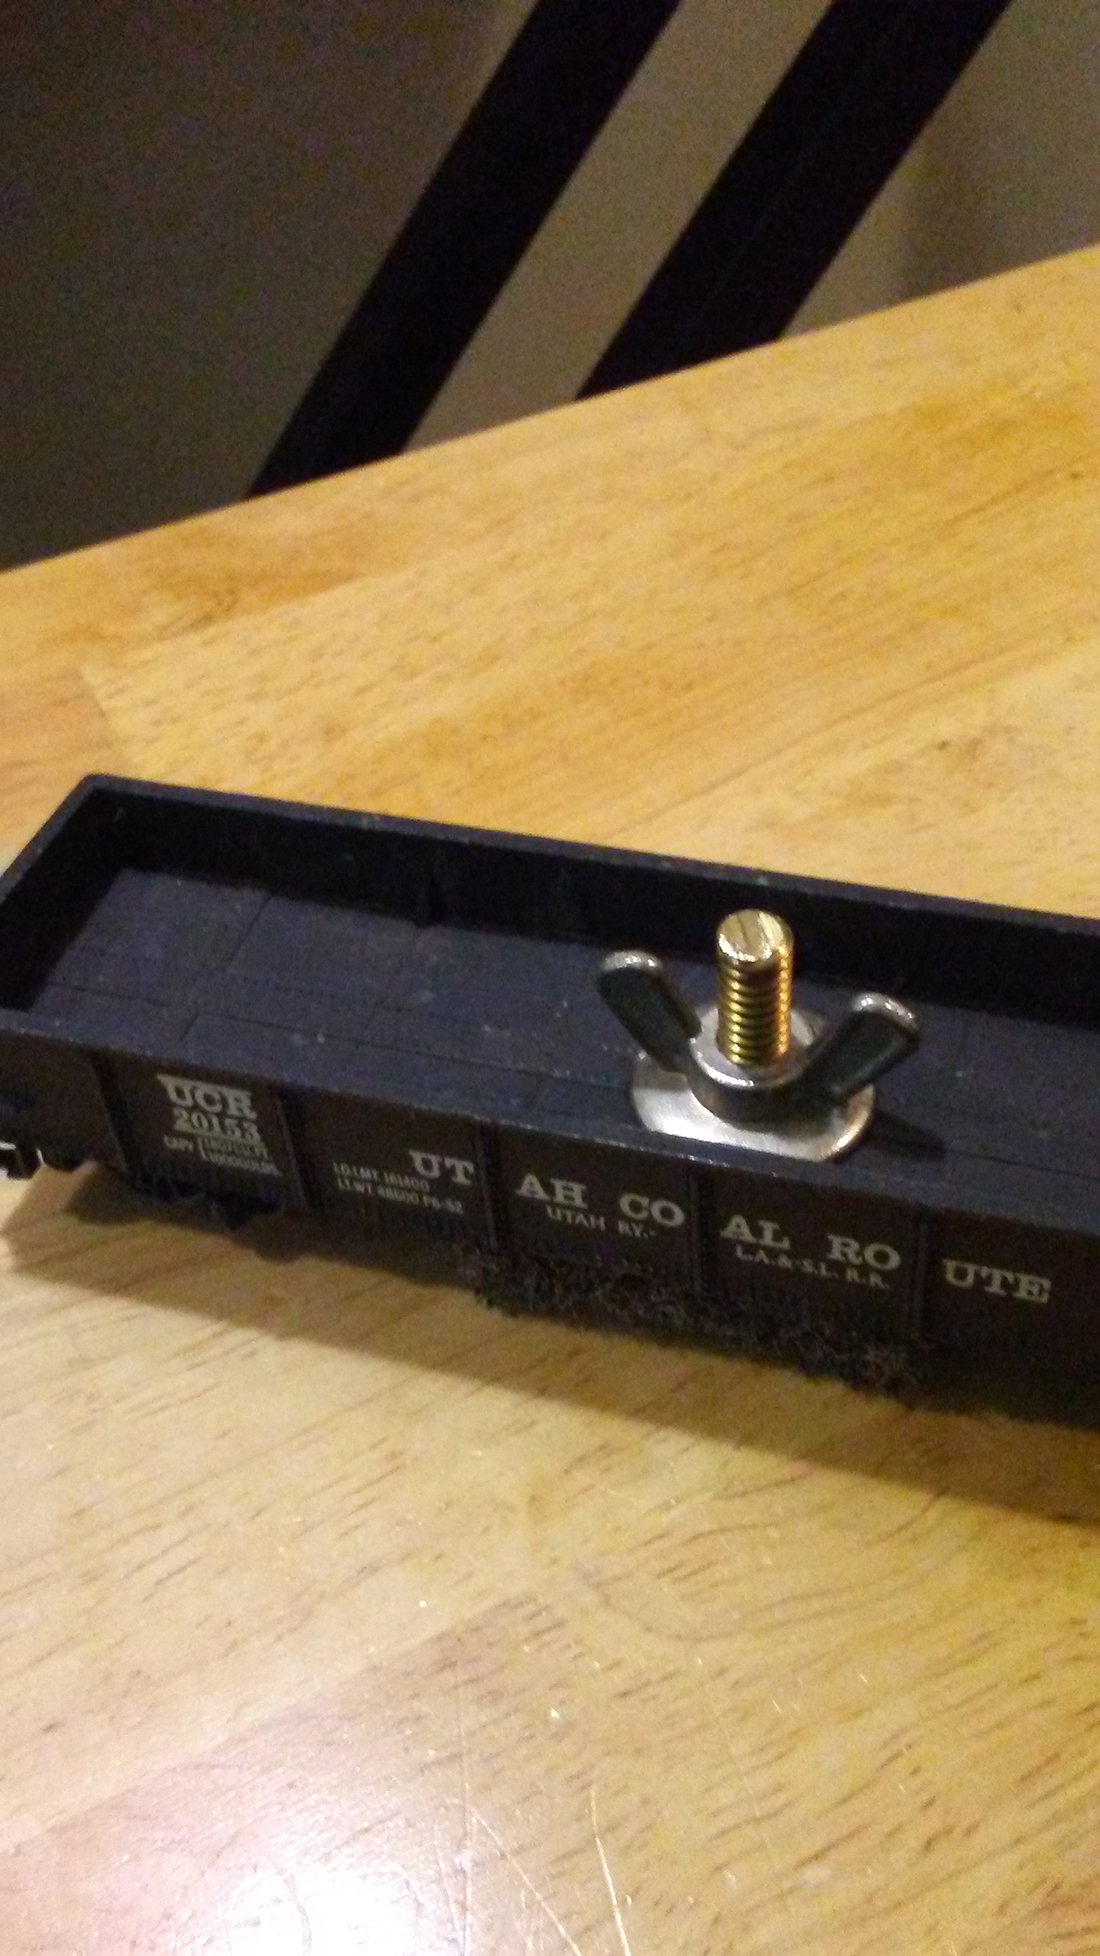
Robert here just made this track cleaner and works better then any store bought Simple to make track cleaning car.
Look for a gondola you won’t mind drilling a hole through the middle, drill through the weight. Get yourself a floor scrubbing pad and cut to size.
Your Home Depot / Lowes has 16” size or the paint isle has smaller hand held scrubbers.
You can buy a flat head bolt. Mine is from a toilet seat kit that i didn’t use.
For the cleaning liquid is your call. I use rubbing alcohol because it cleans and evaporates quickly. Buy any size cut to fit.
Enjoy Robert”
When it comes to model railroad track cleaning tips, there’s quite a few on the blog now.
These spring to mind:
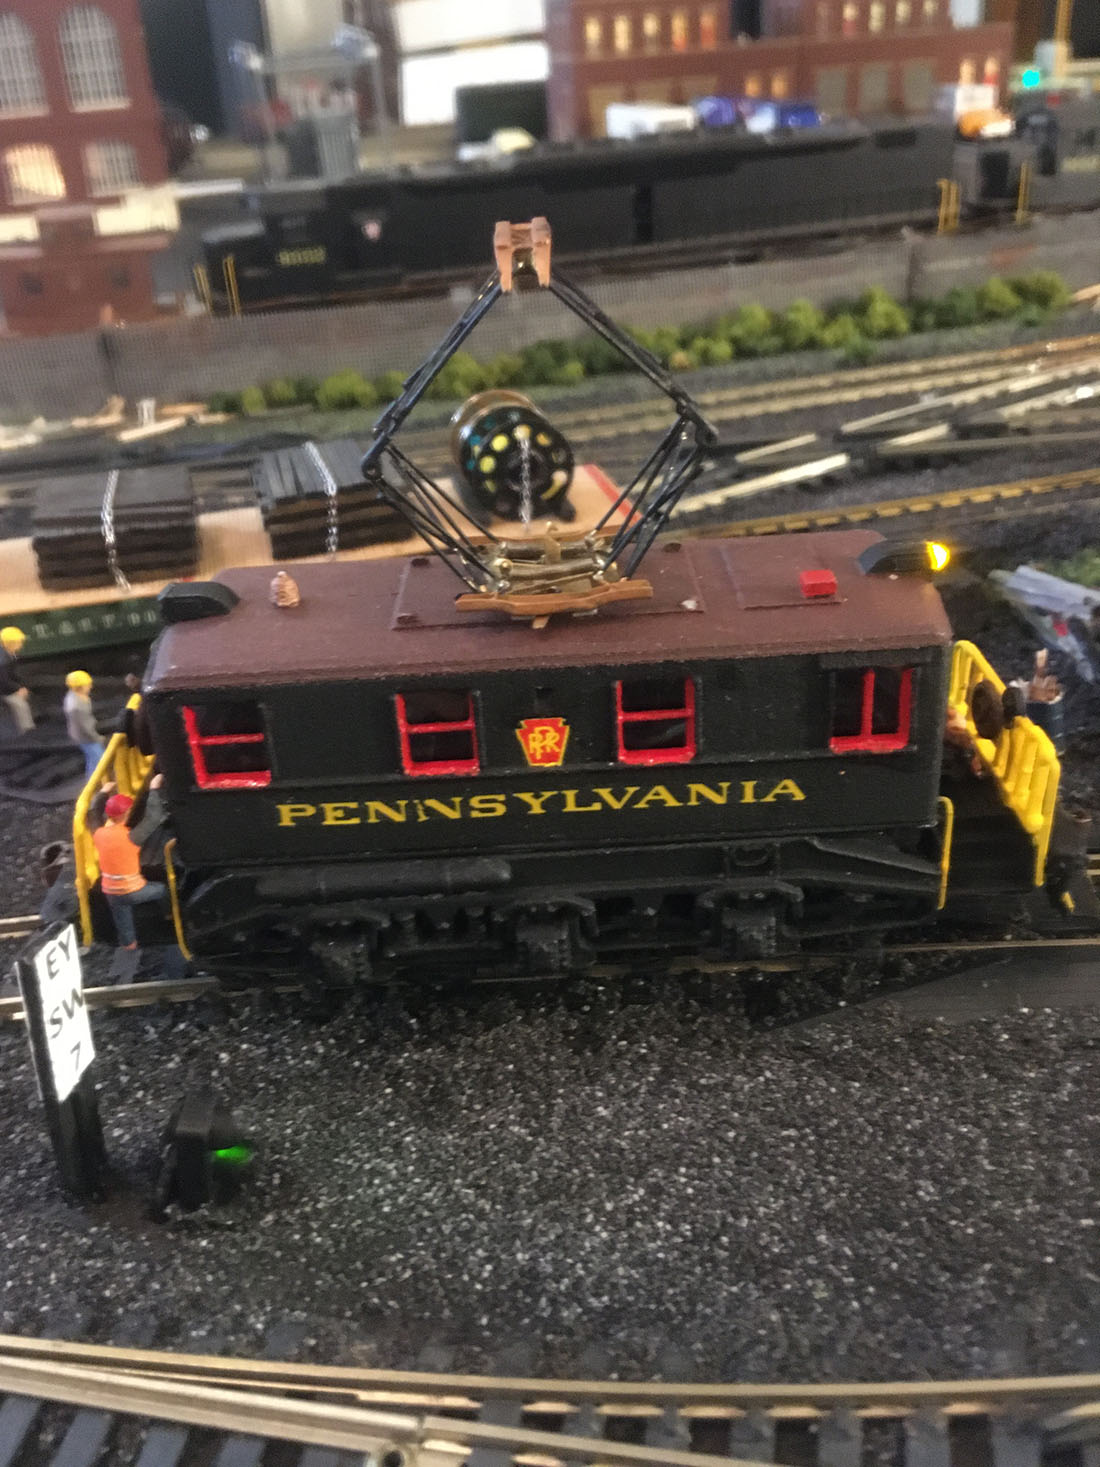
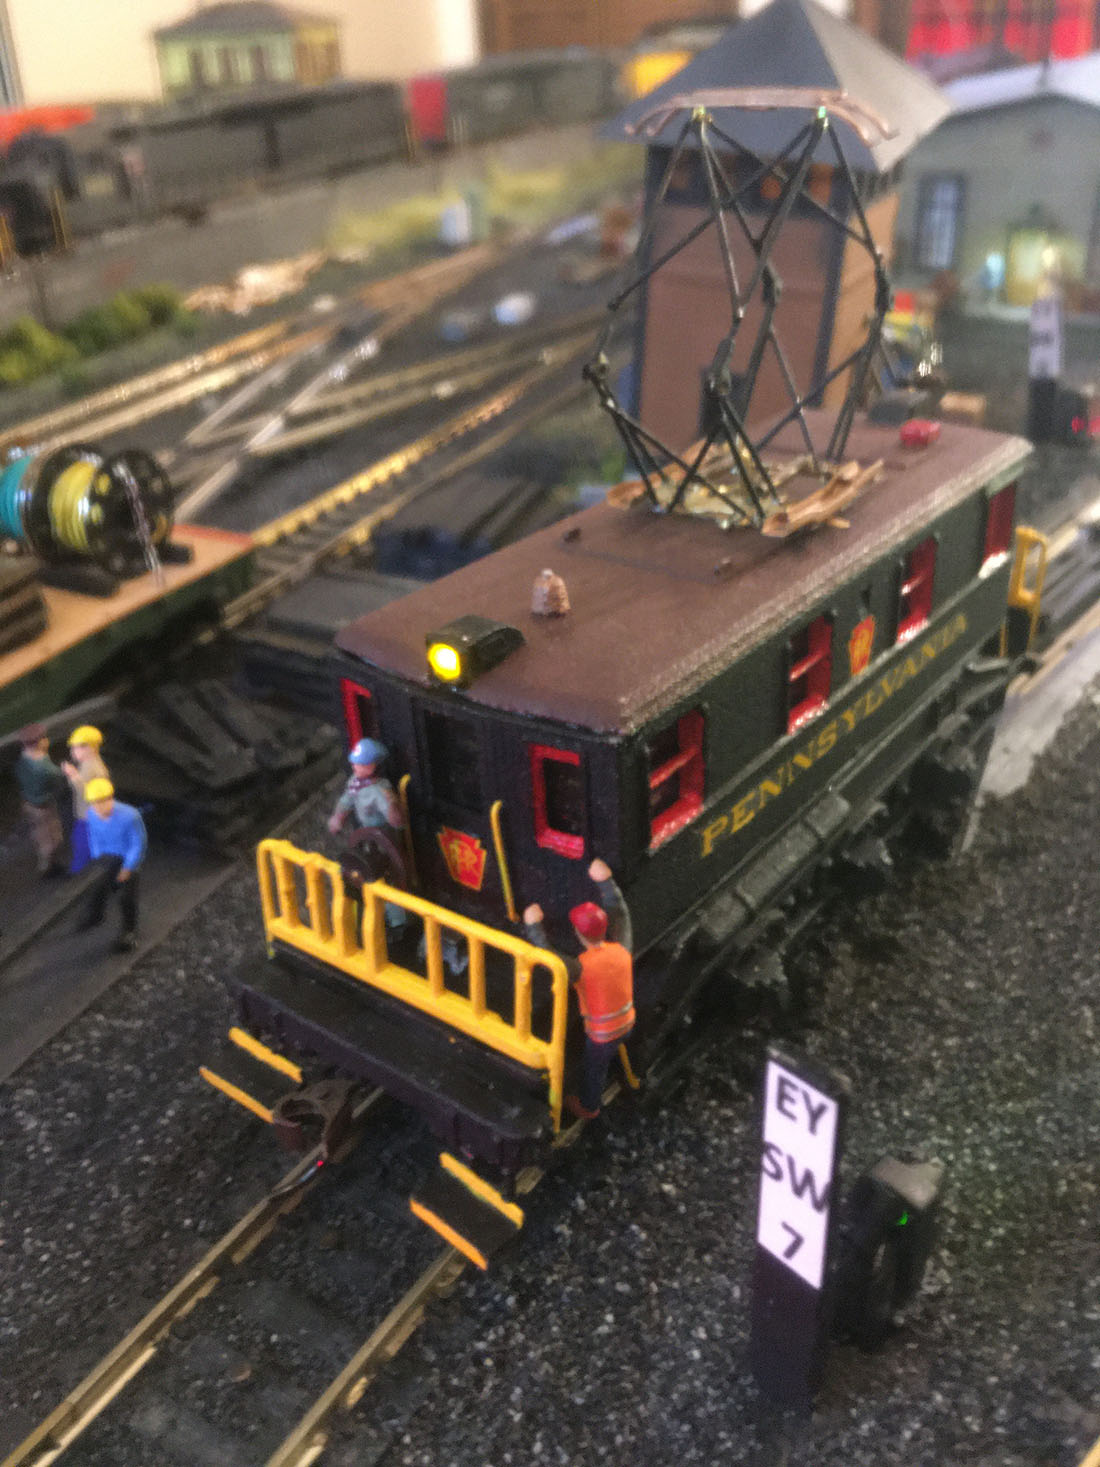
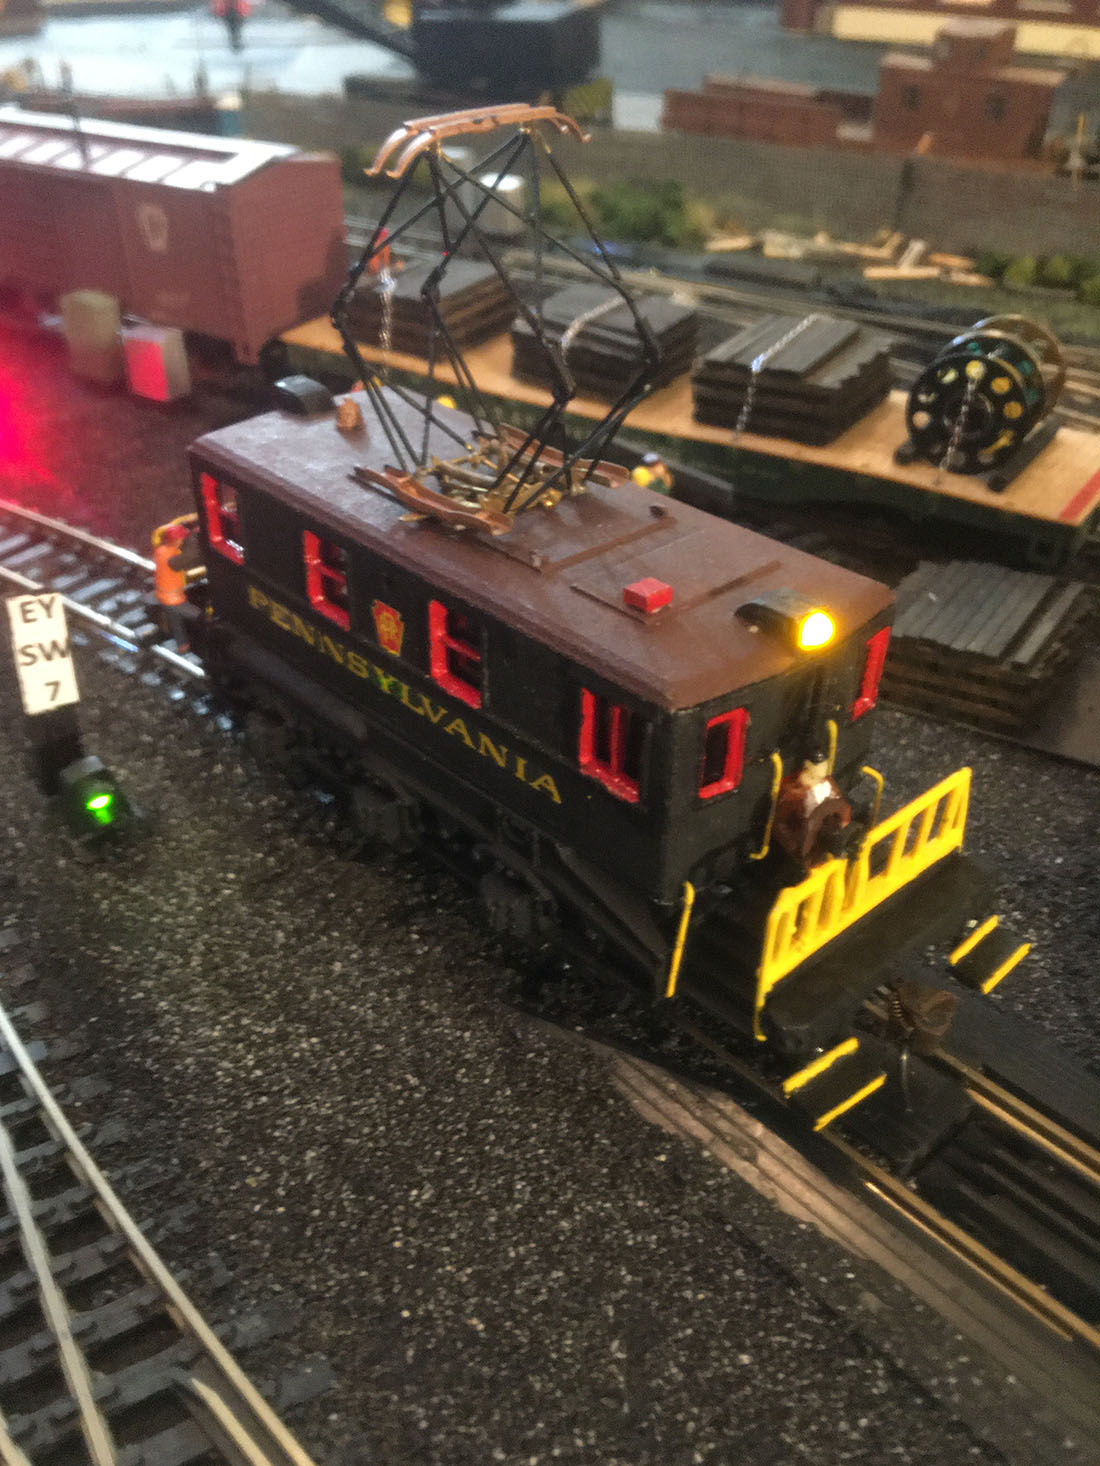
Model railroad track cleaning car.
“As an “Old School Modeler” I learned from my Dad a long Time ago that if you don’t have “good track work” as in “Your Track/Layout and connections are PERFECT… It won’t be fun to run the trains!”
This is exactly what my dad instilled in me over forty two years ago when I was in my pre/early teens.
Back then we had switched from American Flyer ‘S’ gage to HO, because back then we didn’t have “E-Bay” or the internet or “after markets” and “Re-Pops”. Sooo getting parts and stuff for those old American Flyer trains was alot more difficult!
So when we switched to HO… first off we could build alot bigger layouts with the tables we already had… and do alot more detailing! And it was pretty affordable too.
And I’ve always loves seeing what I could do with Smaller Trains and slot cars too! 🙂 so this was a win-win for us!
but… it also meant taking much more time to get things right!
In Smaller Scale… things like tight curves, gaps etc. get alot worse and made for attention to what we were doing much more critical!
If your track work does not work flawlessly, no amount of electronics. scenery, realism, operations, etc. will ever make you want to head for the train room. Take your time on the track work, make if bullet proof, and everything else will be a delight!”
However It wasn’t easy for me (as a Kid!) because my Dad and I had spent a good chunk of money getting all New Stuff! And of course being a kid I couldn’t wait to run it all! (Hell I’m still that way now! LOL 😀 )
So “patience” and “time taking” was something I really had to learn! But it did all pay off! Once we got ALL of the “bugs” worked out on the main layout… which also taught us a lot in just how “tight” we could make turns and how steeo we could make grades and such… and when we later added on the back “Train Yards” on the other side of our wreck room wall (And into the laundry/utility room!) it went down without a hitch including the “Round House” and “Repair Yards”!
What also Helped was using what we dubbed “The “Bitch” because it was a Steam Locomotive that would de-rail from a shadow it was so Sensitive!
So once “The Bitch” ran the entire Layout five times without a hitch or stopping or de-railing, then we knew it was all ready to nail down permanently!
I will also add to this… If you don’t have enough ‘power’ for your layout… especially if it’s a gin one like we ended up with… that too will add to frustrations!
So Power the tracks / trains with multiple power sources, add “bypass” wires from the Power Sources to multiple areas of the tracks to ensure continues power flow so you won’t get “dead Spots” and Power the “extras” (i.e. Lights. Switches, Etc.) with seperate power sources!
This will make for a much nicer time running things and if you have a “Snafu” in anything… you only have to mess with that circuit setup and not the entire layout.
Joe
Jefferson Wisconsin”
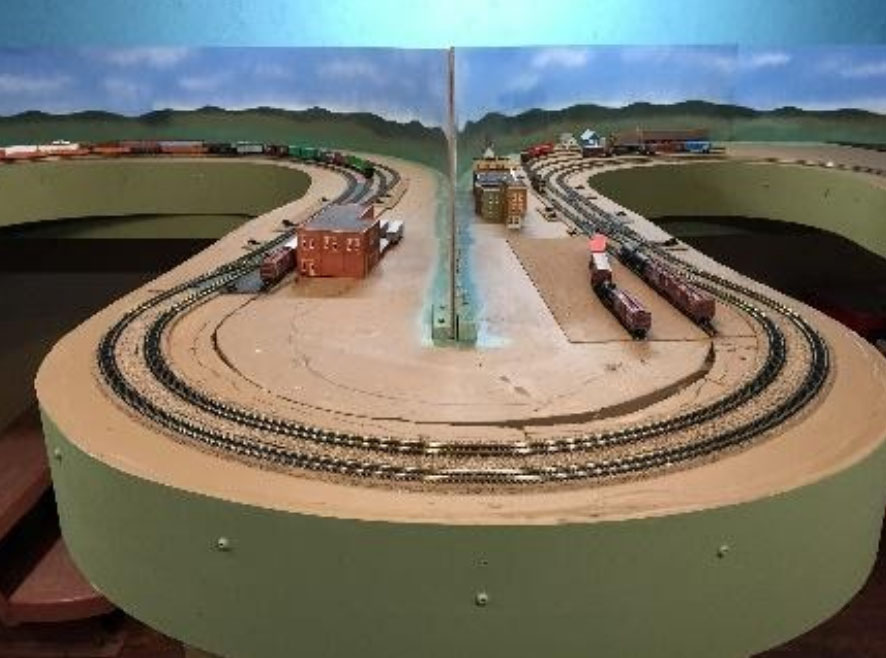
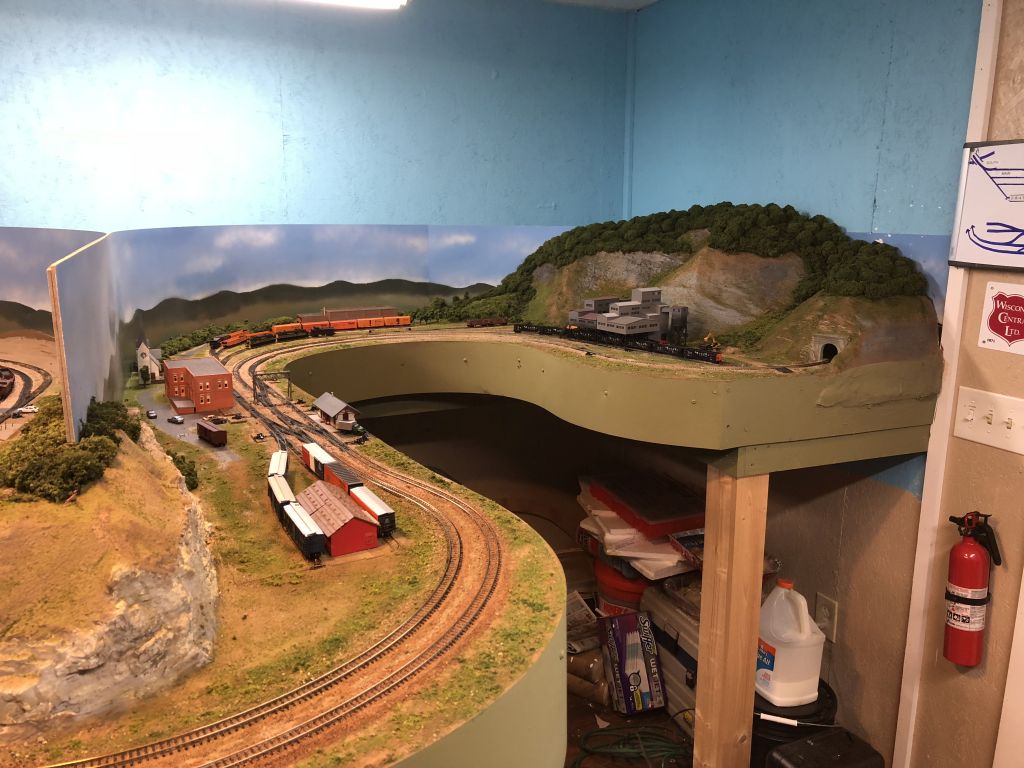
“I have an HO two level, (not inter-connected), layout which fills a room of about 25 by 25 feet. I built it myself and made every mistake in the book and then some.
Some thoughts:
I find it a problem when the track is further away than my arm’s reach.
I find it a problem when there are no “emergency hand access” holes in totally covered mountain scenery.
I find it a problem where there are no “people access holes” on large table tops.
I find it a problem when a layout is densely complex with turn-outs, switch backs, short sidings, etc.
Another point:
It was a BIG Problem when I added a second main line next to and basically following the already installed, original main line:
Clearance problems, (particularly for tunnel entrances, and for long freight/passenger cars), radius problems, wiring problems, turn-out interferences, track side structures, etc. Disappointed
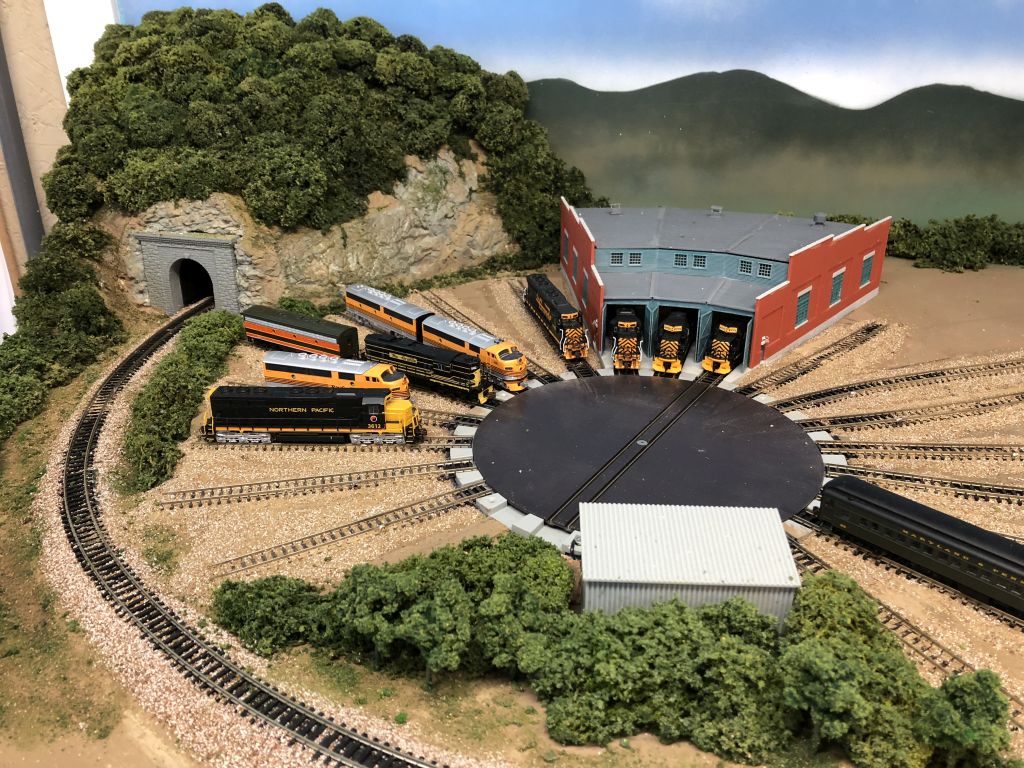
Another problem: if you are going to install a Round House and turntable, make sure you have sufficient, (yes, more than you think necessary), “lead in track” so that your longest locomotive can line up properly and enter the turntable and exit the turntable and smoothly enter the Round House.
Also watch out for track alignment and track elevation problems on the entrance and exit of the turntable.Weary
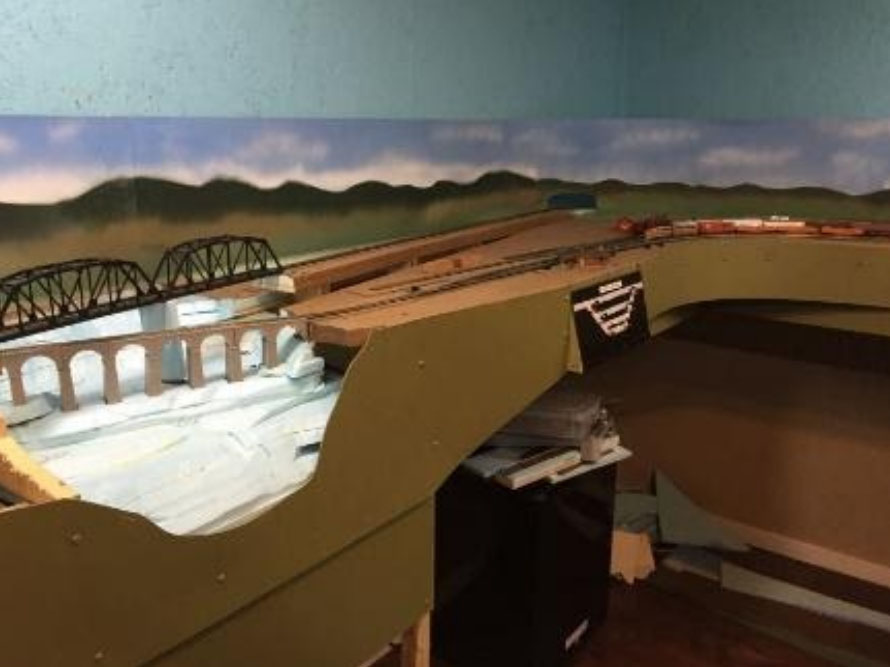
Another issue: I used flex track around the long curves. Watch out. Flex track is great. However when you bend it around to make a curve you are inducing “locked in stresses”, (yes I know, I am an engineer).
These “locked in stresses”, over time, may cause track misalignments and may even cause the track to warp in a vertical plane, popping off the road bed. If the involved section of track is beyond your arm’s reach, you may have an “Advil” headache problem.
Frank in San Diego”
“Hi Al…
just downloaded this video showing a problem I have, maybe someone can sort for me, also a tip on cleaning the tracks, and a bit of a running session.
Just sit back and enjoy…
Regards
Dave”
Latest ebay cheat sheet is here.
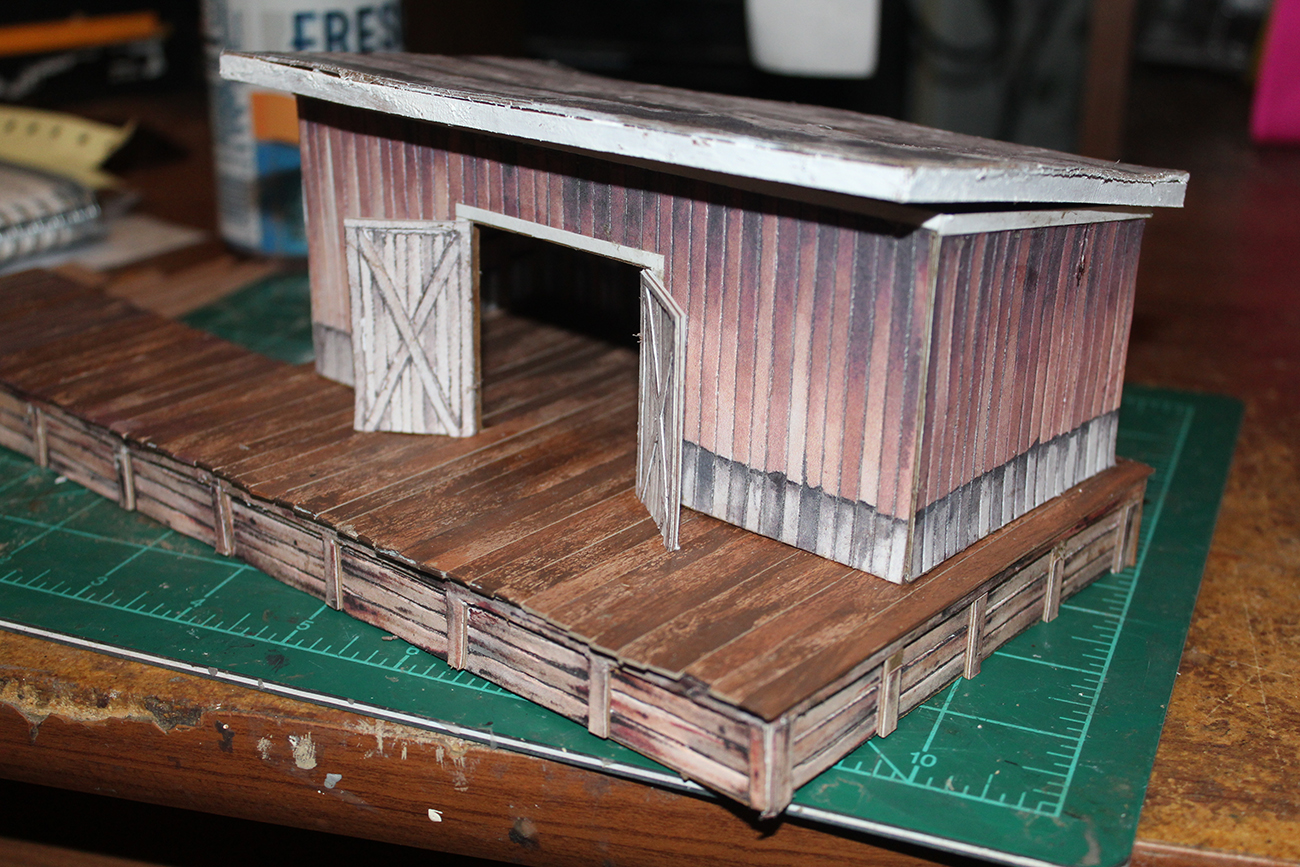
And finally for today, cast your mind back to the scratch building competition.
I said the winning building will be put on the site for a free download. Well, here it is:
Click here to download John’s winning freight shed.
And here’s a pic of it:
That’s all for today folks. Who can help Dave? Leave a comment below if you can.
Thanks to Robert for his model railroad track cleaning tips.
Please do keep ’em coming.
And if today is the day you get started on your layout, the Beginner’s Guide is here.
Best
Al
PS Latest ebay cheat sheet is here.
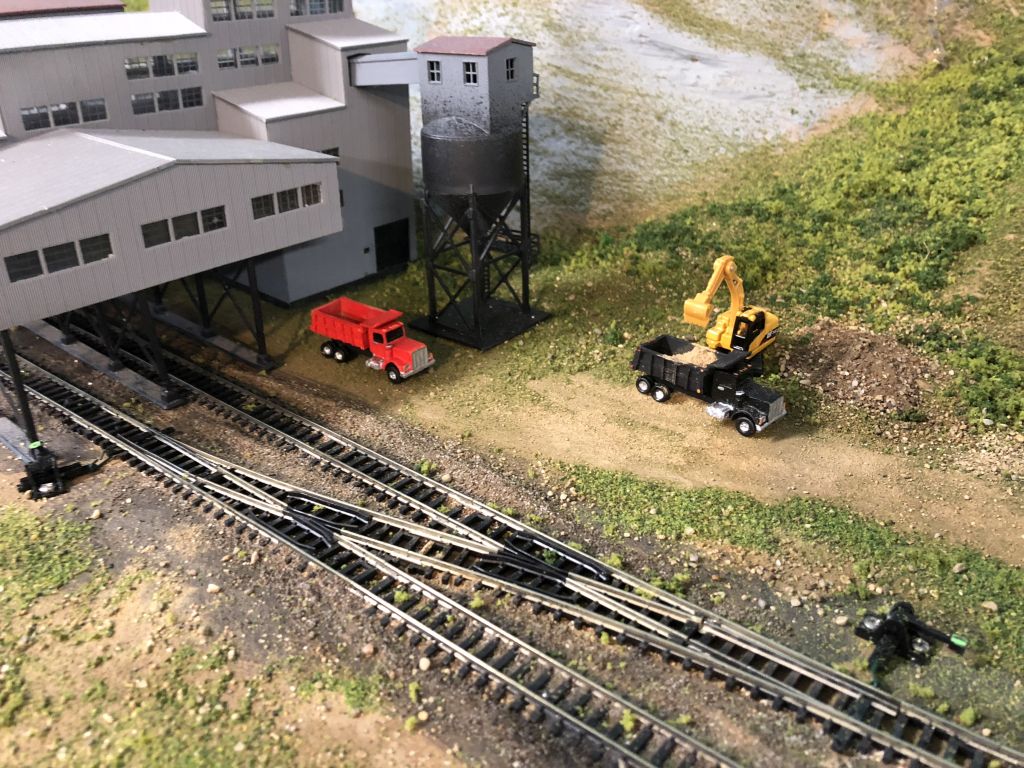
PPS More HO scale train layouts here if that’s your thing.

And there’s the Silly Discount bundle too.