Dan’s been back in touch, this time with pics and advice when it comes to making a model train river:
“Al,
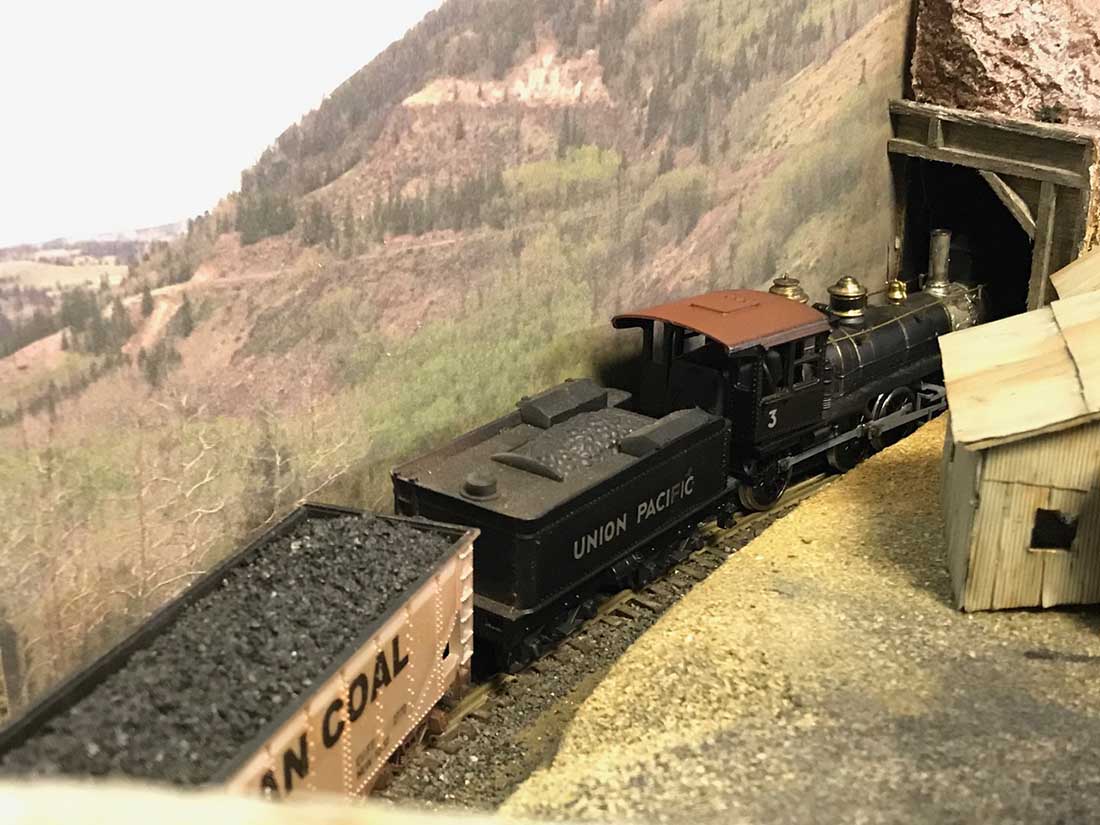
In a previous post, long ago now, I mentioned that I did not do a river on my Santa Fe layout. I chose the “dry” season because I did not know how to do the water.
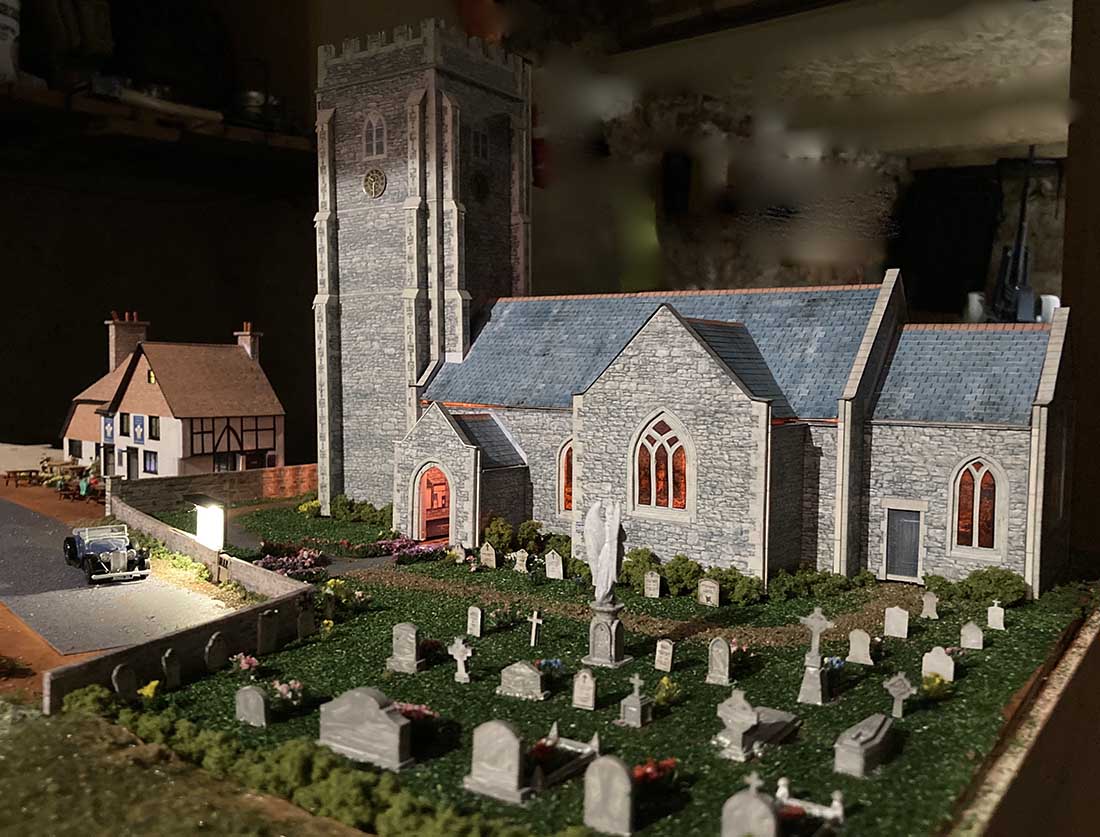
Here is the Inland Pacific Railway and the first rivers I ever did. The owner was a railroader and the layout was a three level very large layout. The lower level was storage and run through. It was a fully sceniced and signaled operating railroad. It had a working 11 track hump yard!
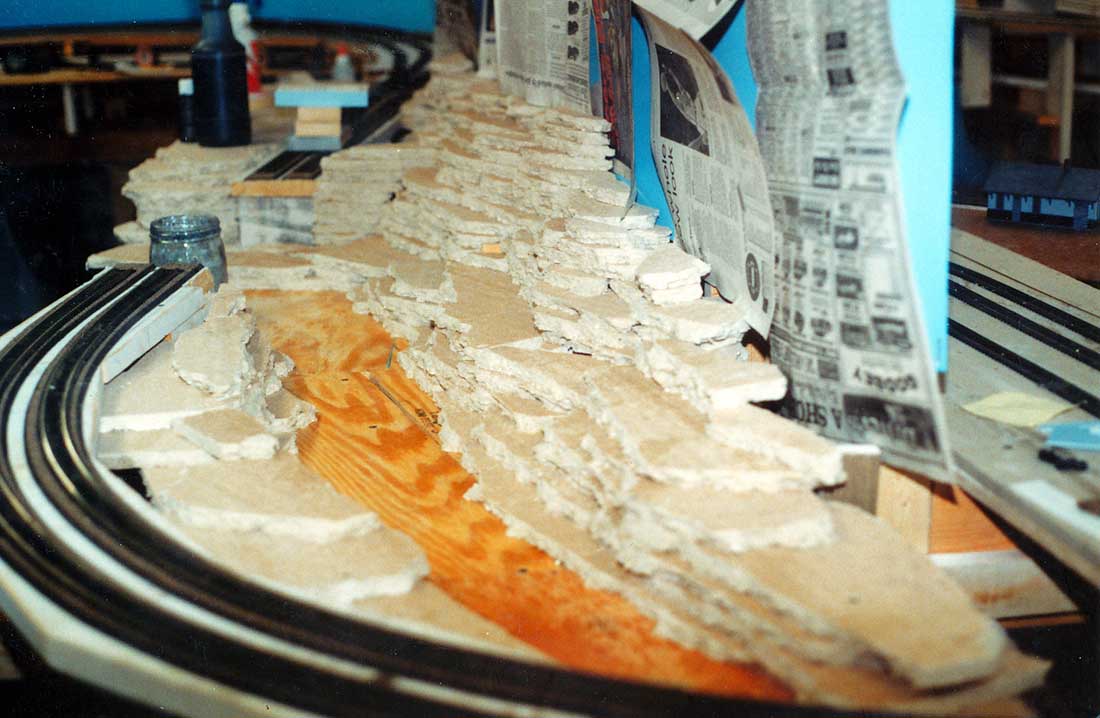
My first river turned out to be 6 feet long. Here is the beginning. I don’t think I have photos of the progress. I will say that once I poured the plaster bottom, I used my hand to smooth out the river bed to get a little 3-D effect. Very subtle but in real life it looked like a slightly uneven river bed. I also used my hand to smooth out the paint.
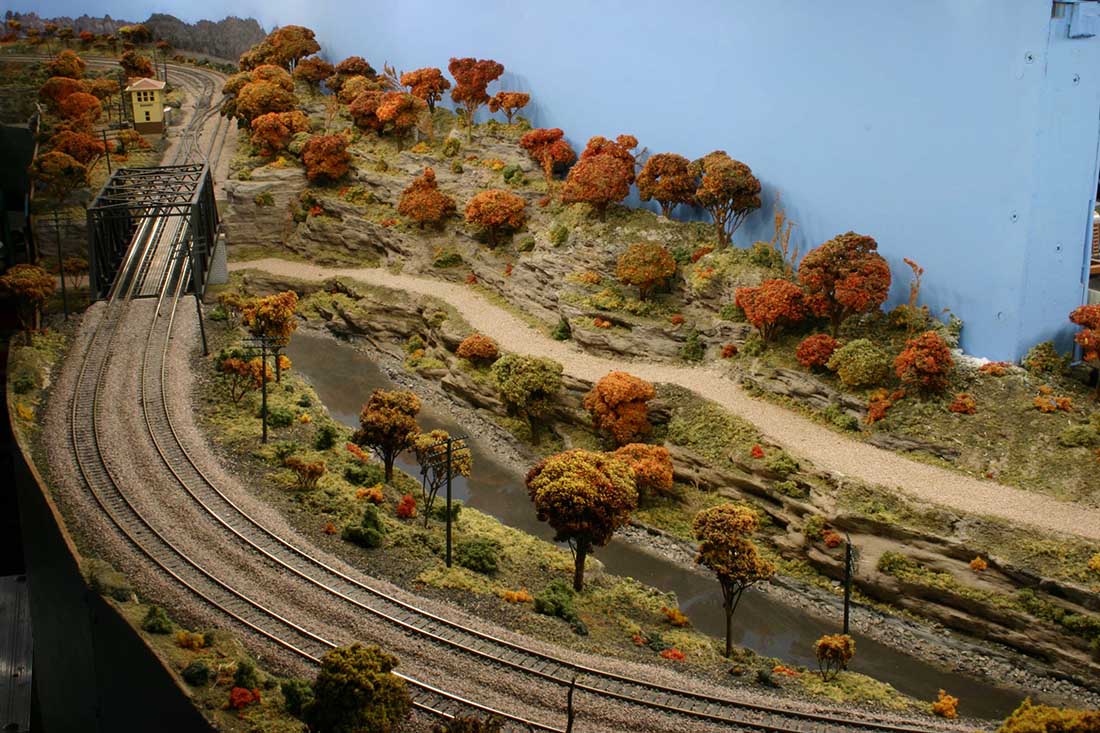
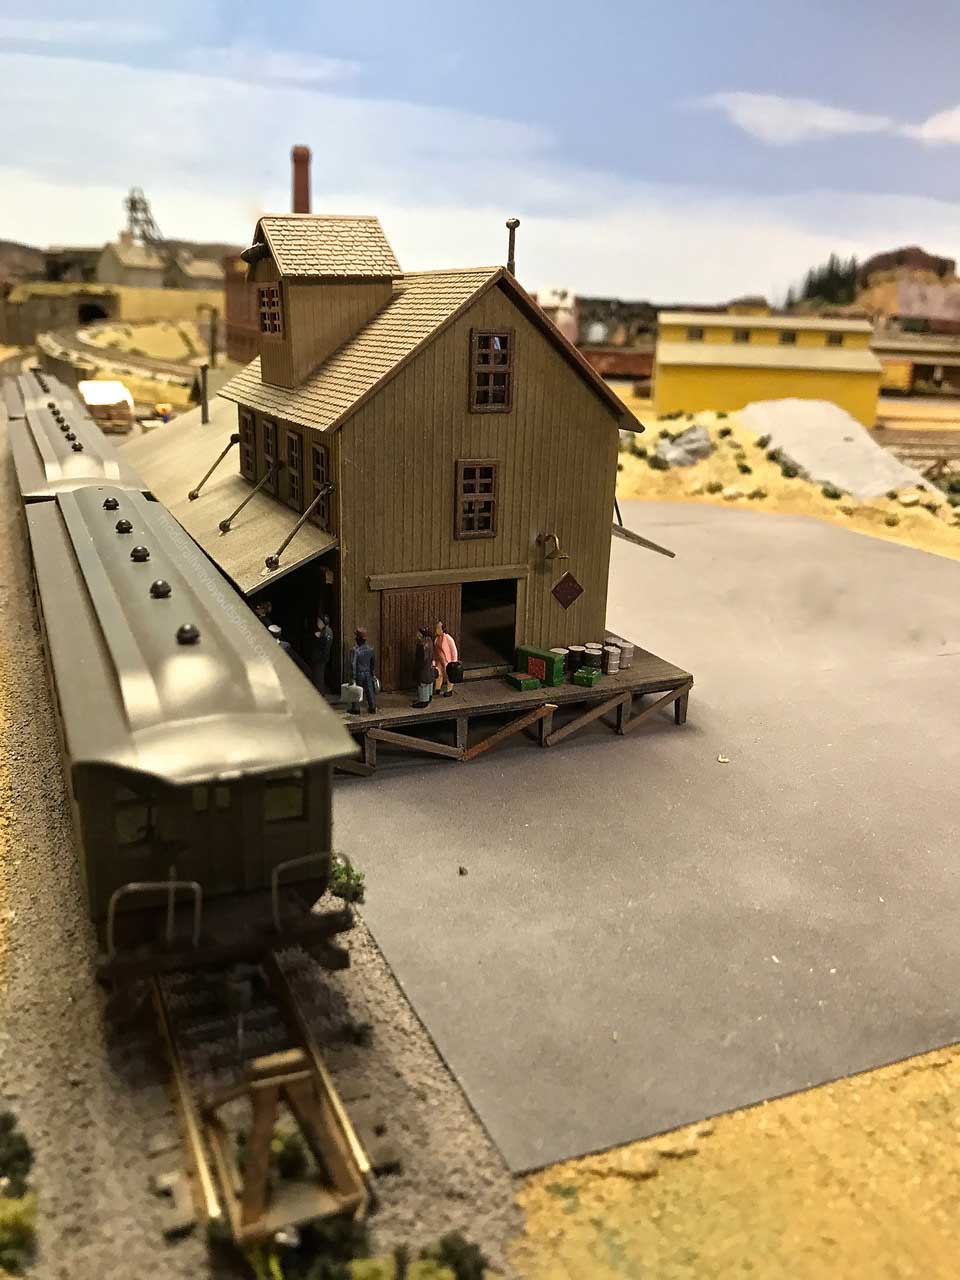
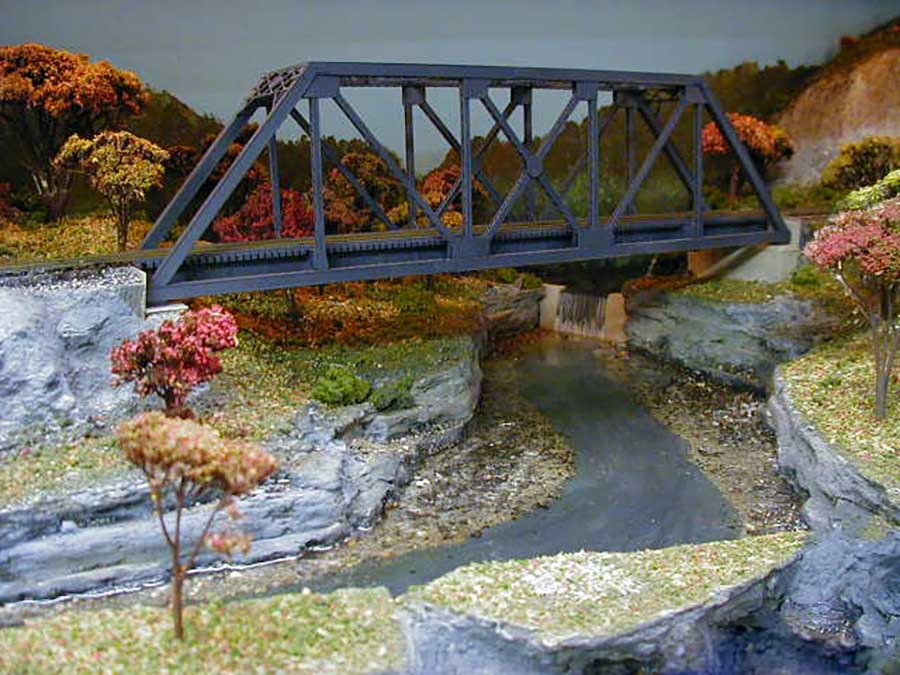
Finished look
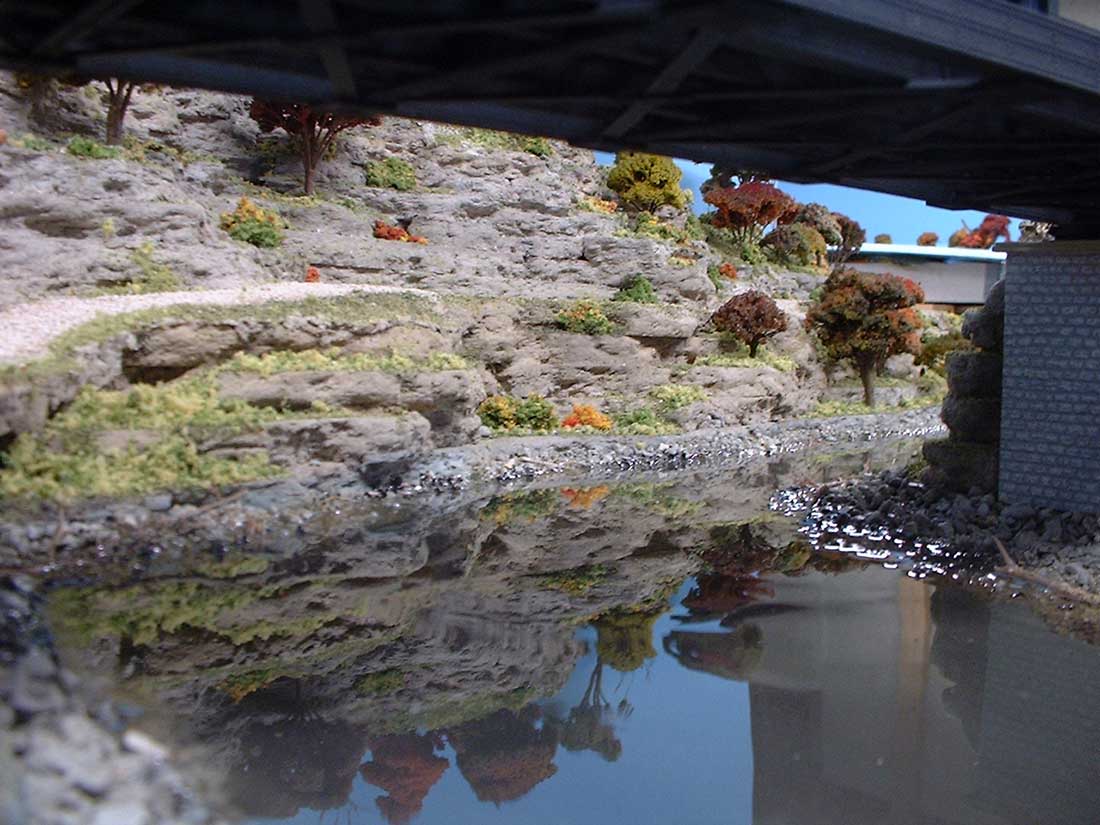
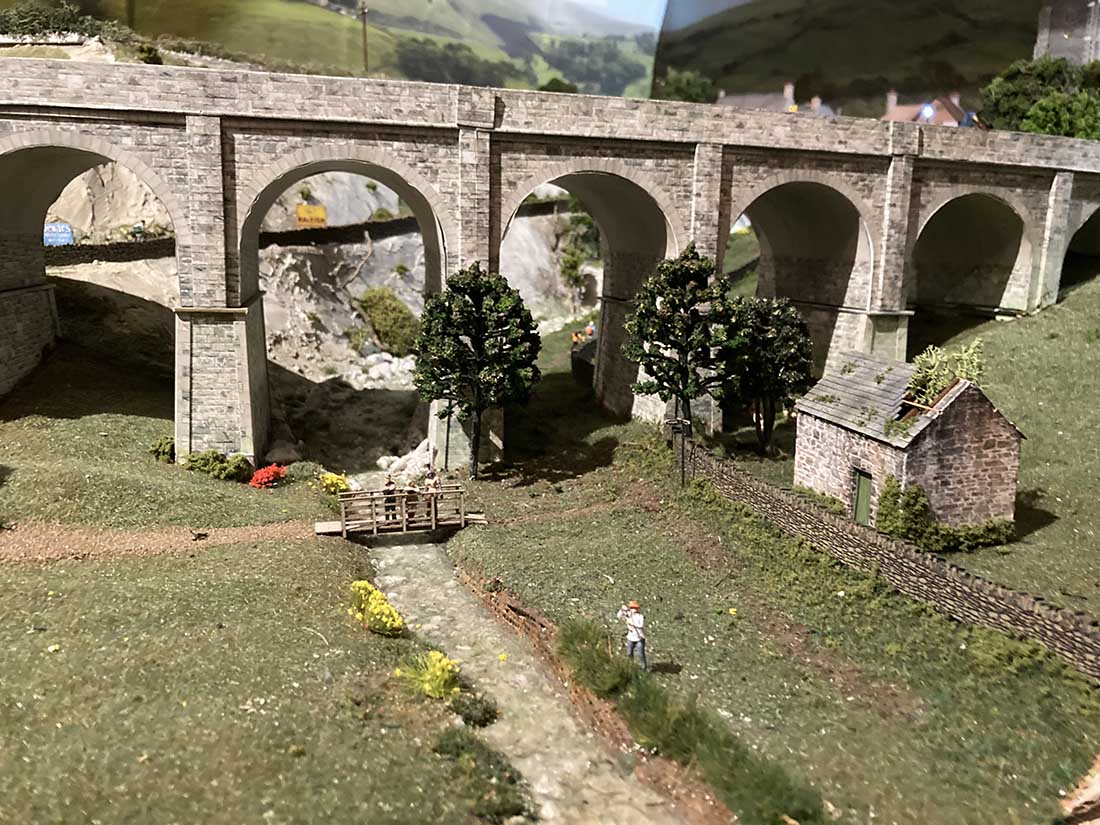
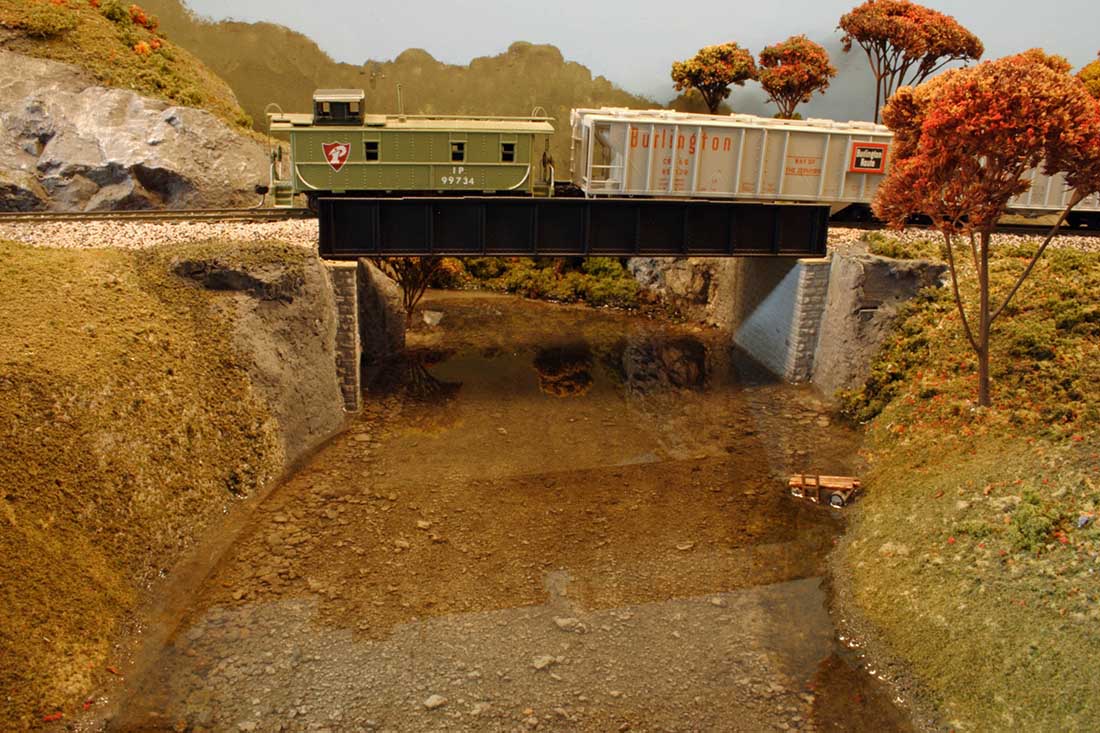
Under the bridge
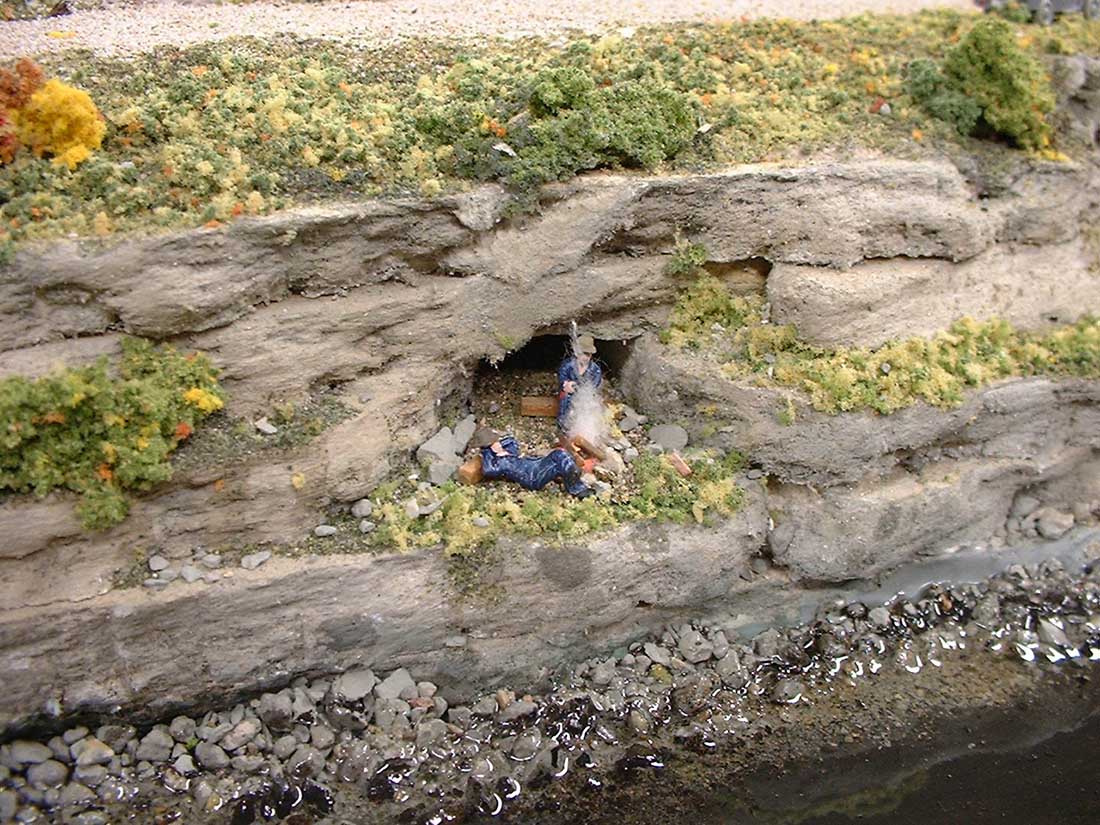
A Hobo camp
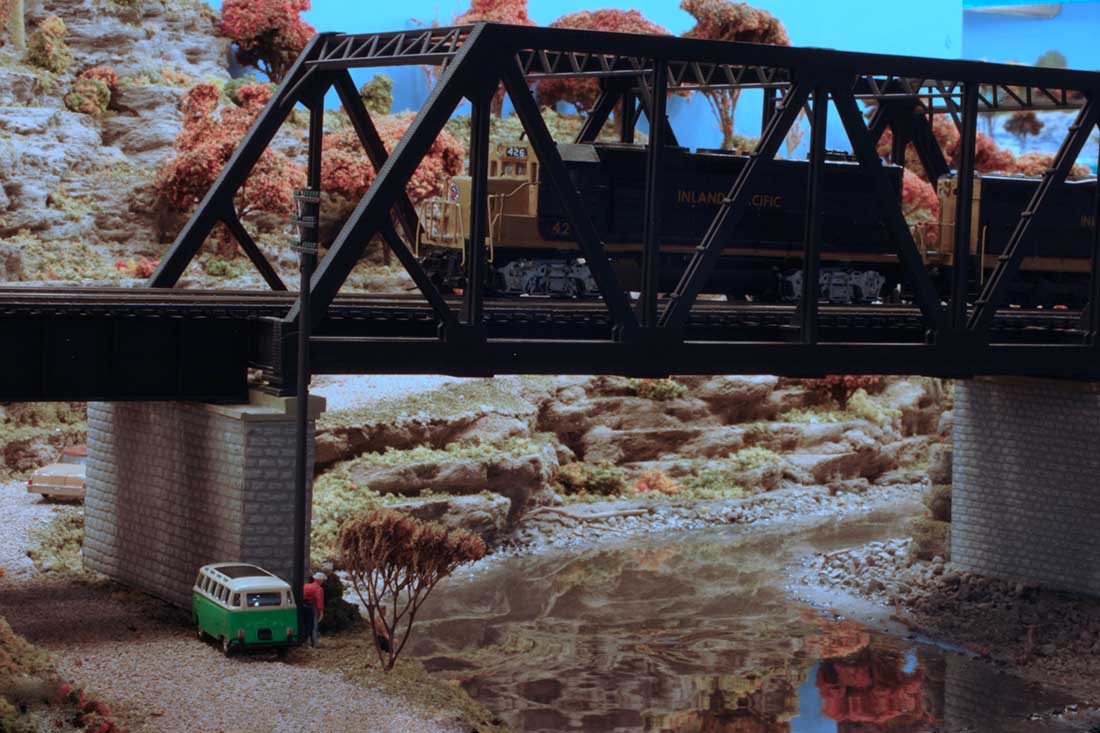
Camper under the bridge
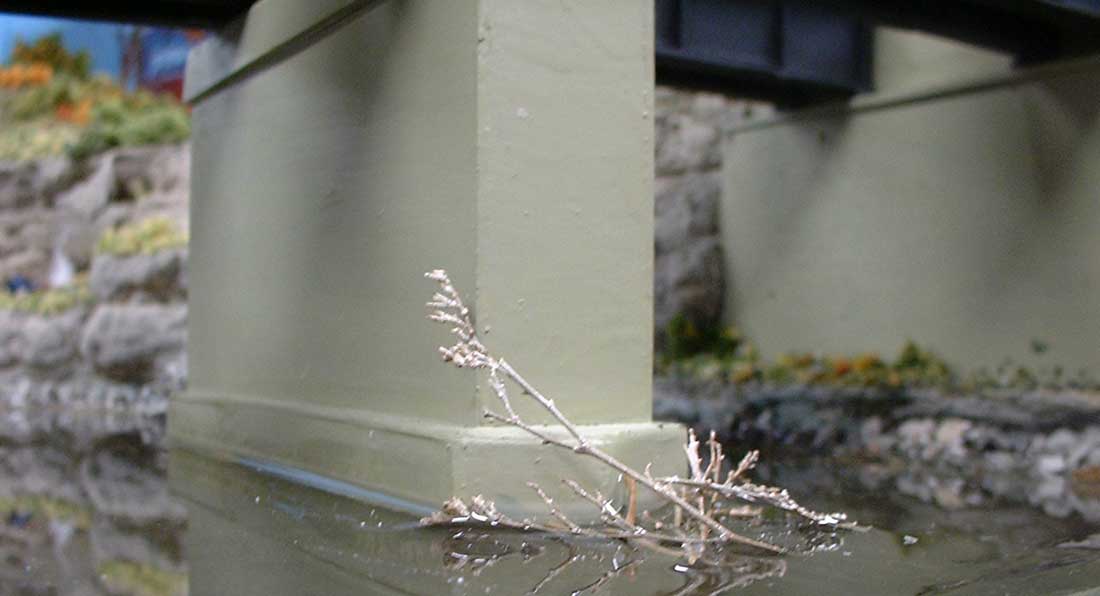
Drift wood detail
A closer look
Model train river:

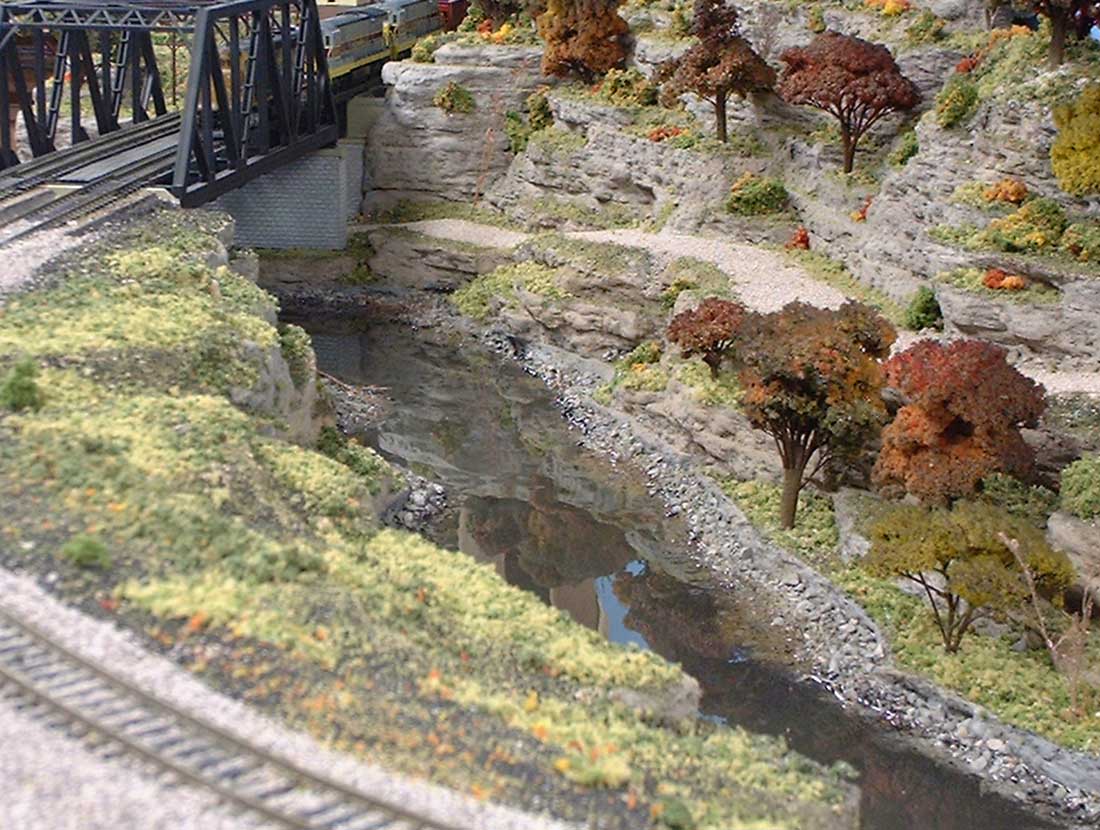
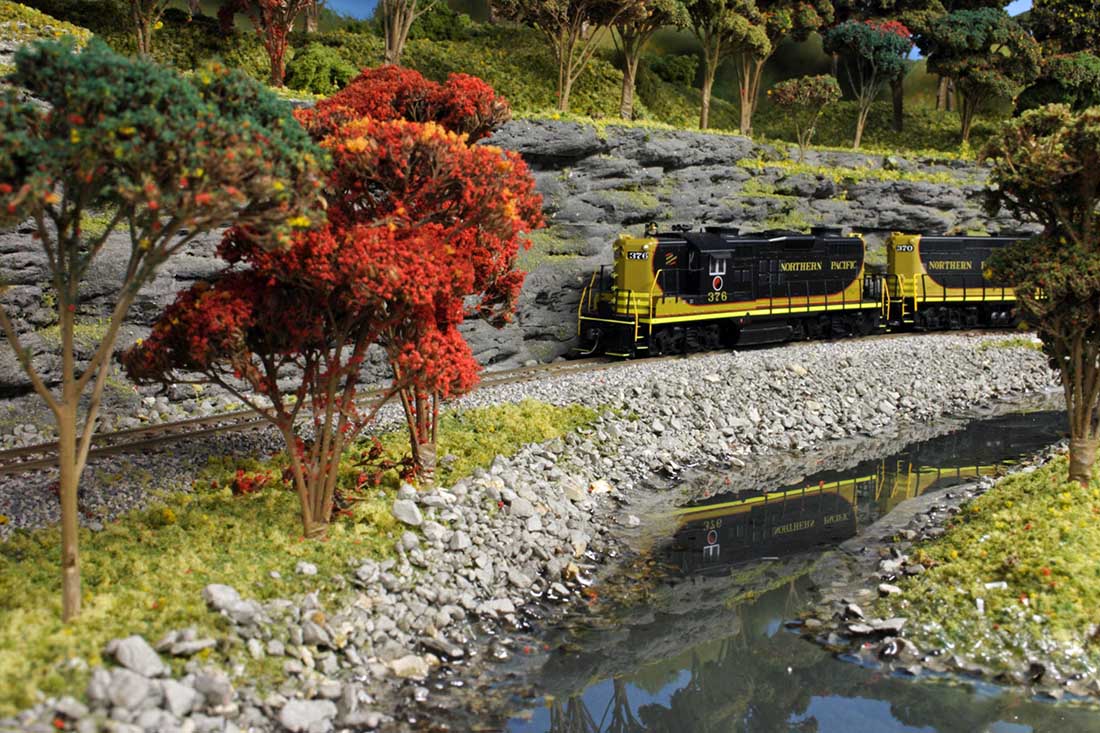
This train is on the lower level of the layout. The train continues to the right to the bridge over the river in the photos above. The train is on a curve from left to right. I made an Ox Bow bend scene.
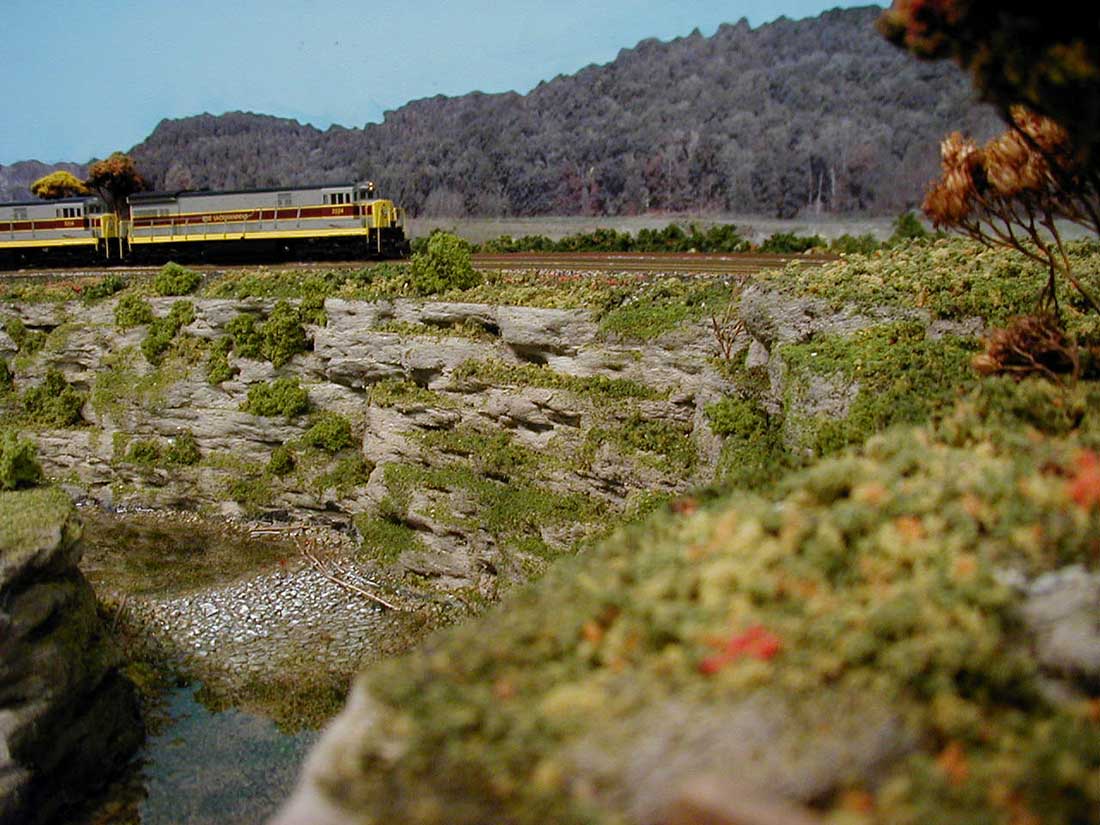
I made the rapids with kitty litter and dry brushed on white and blue paints to get the daylight glint.
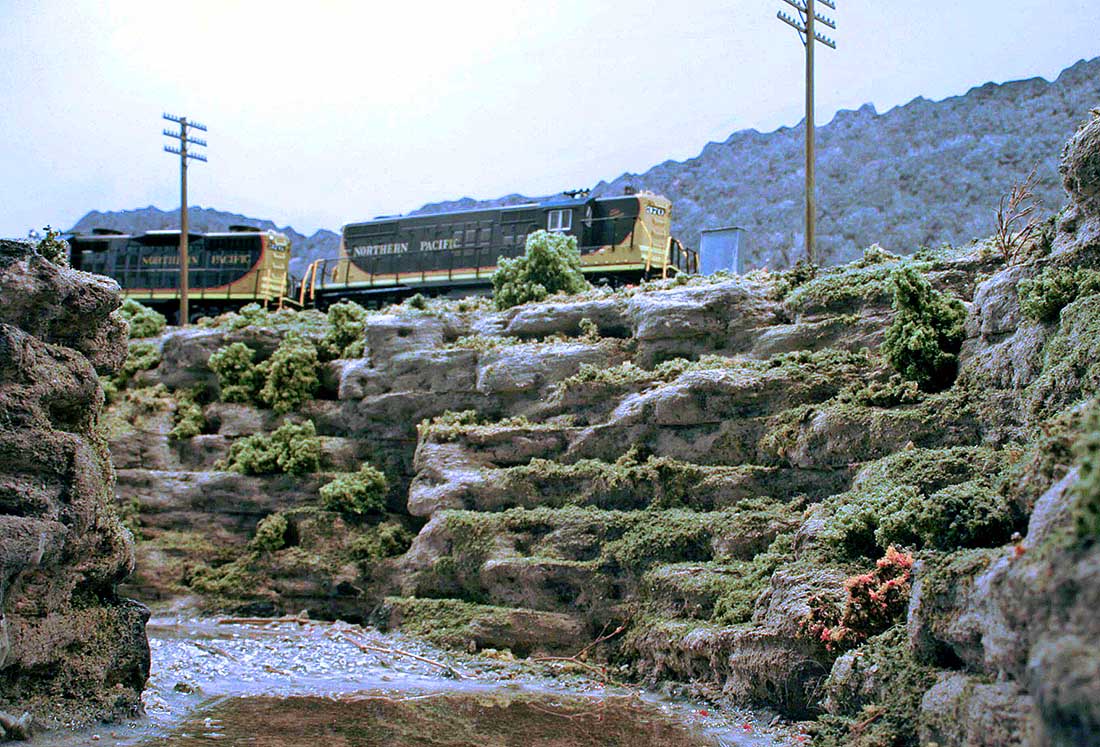
River level look.
Another river. Here there is dam holding the water at the rear of the photo. I made a pond there with the dam.
The over flow is interesting. I painted the dam’s over flow with tempera paint that was not fully wet. I mean not fully dissolve. This when brushed on gave it texture. Once everything was in place I made two pours of EnviroTex. I made sure there would be room for the second pour. Starting at the pond I let the “water” flow over the dam. The photo does not do it justice.
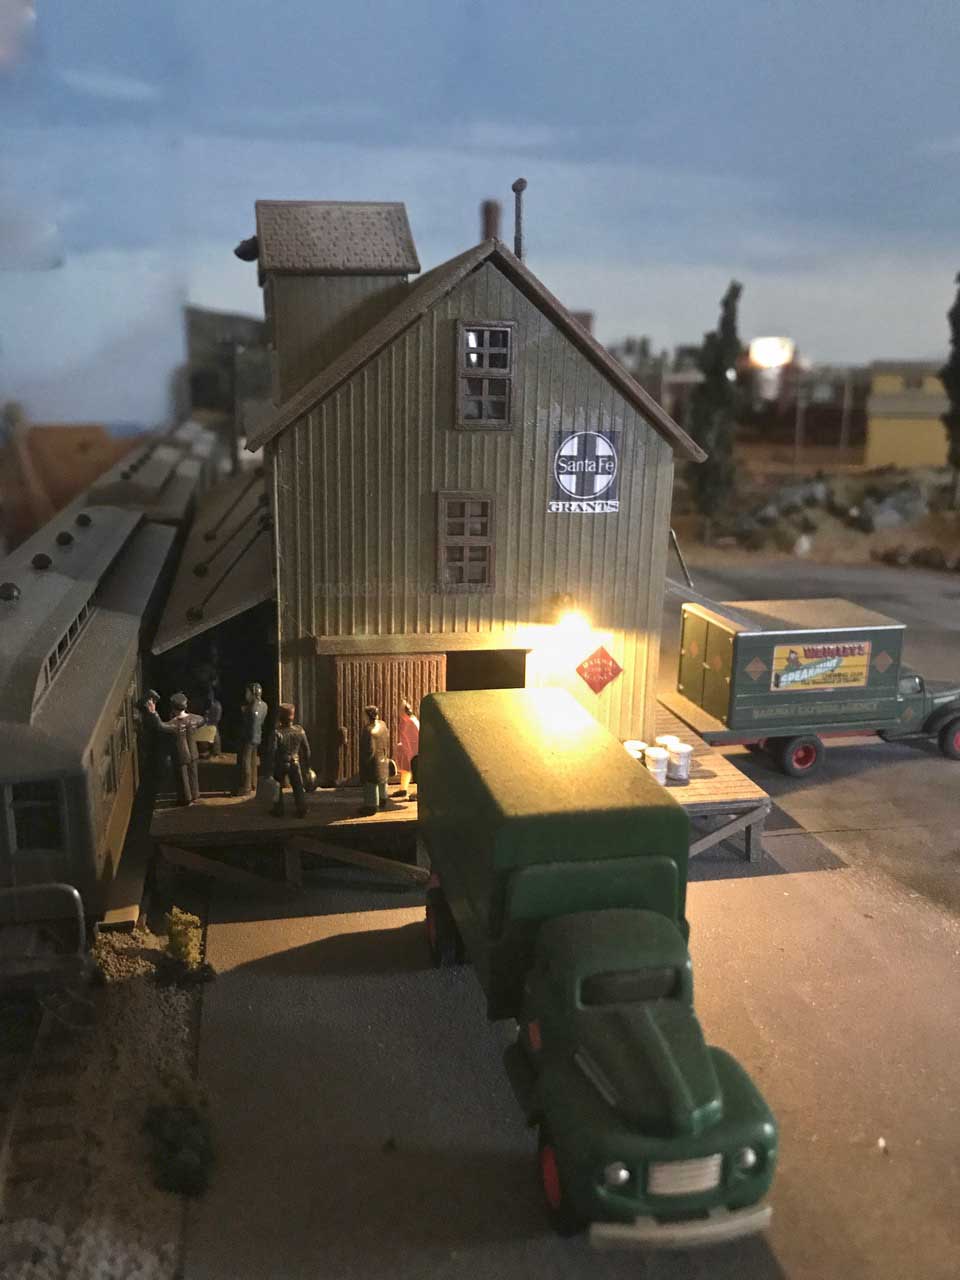
Another river. I taught driver ed for about 10 summers. I saw rivers in all manor of runoff. Here is chose a nice summer clear water look. Notice the raft some kids have put in the water.
There are 5 rivers on the layout. Here is another. The rivers were for scenic internist.

A different river.
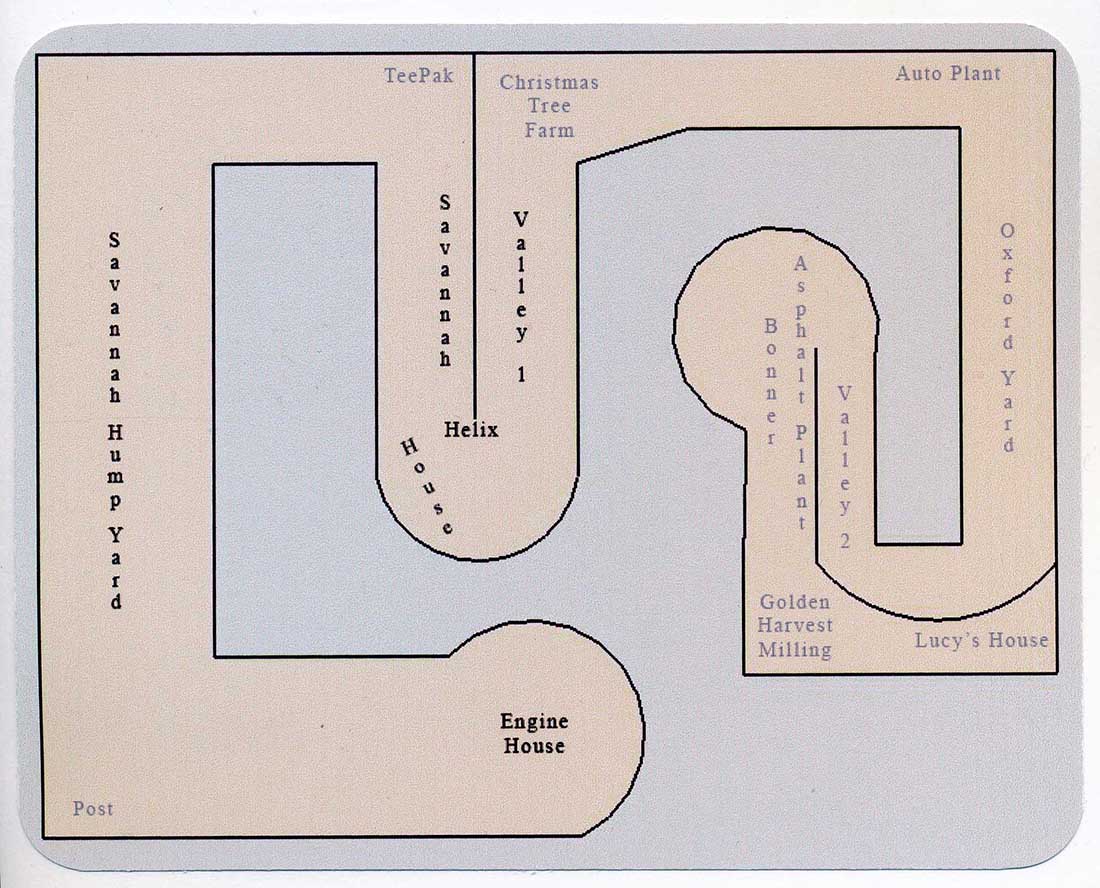
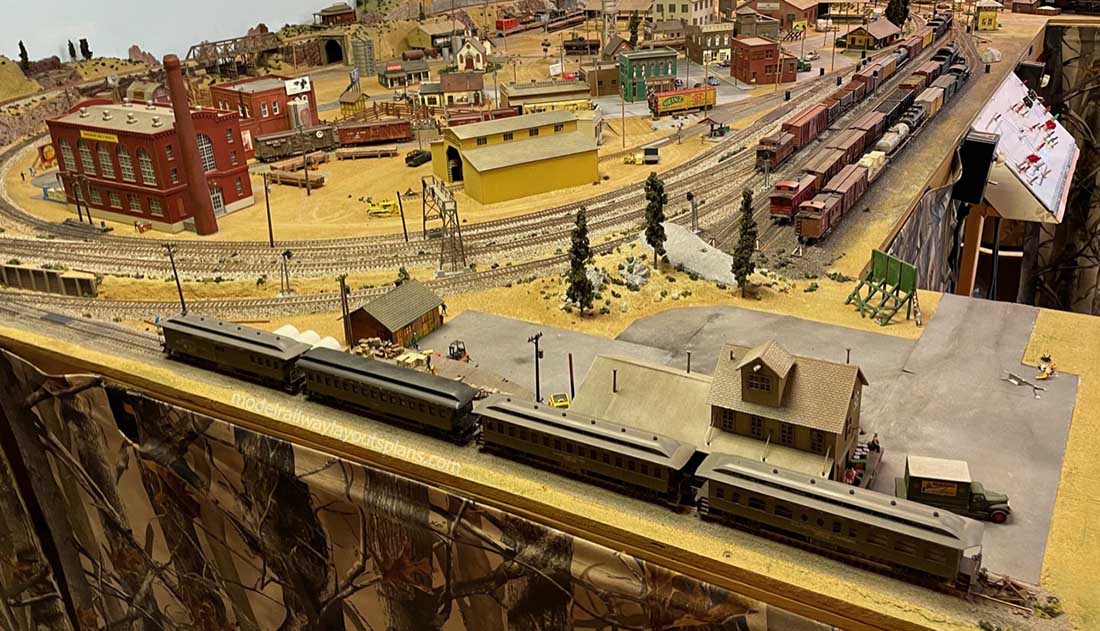
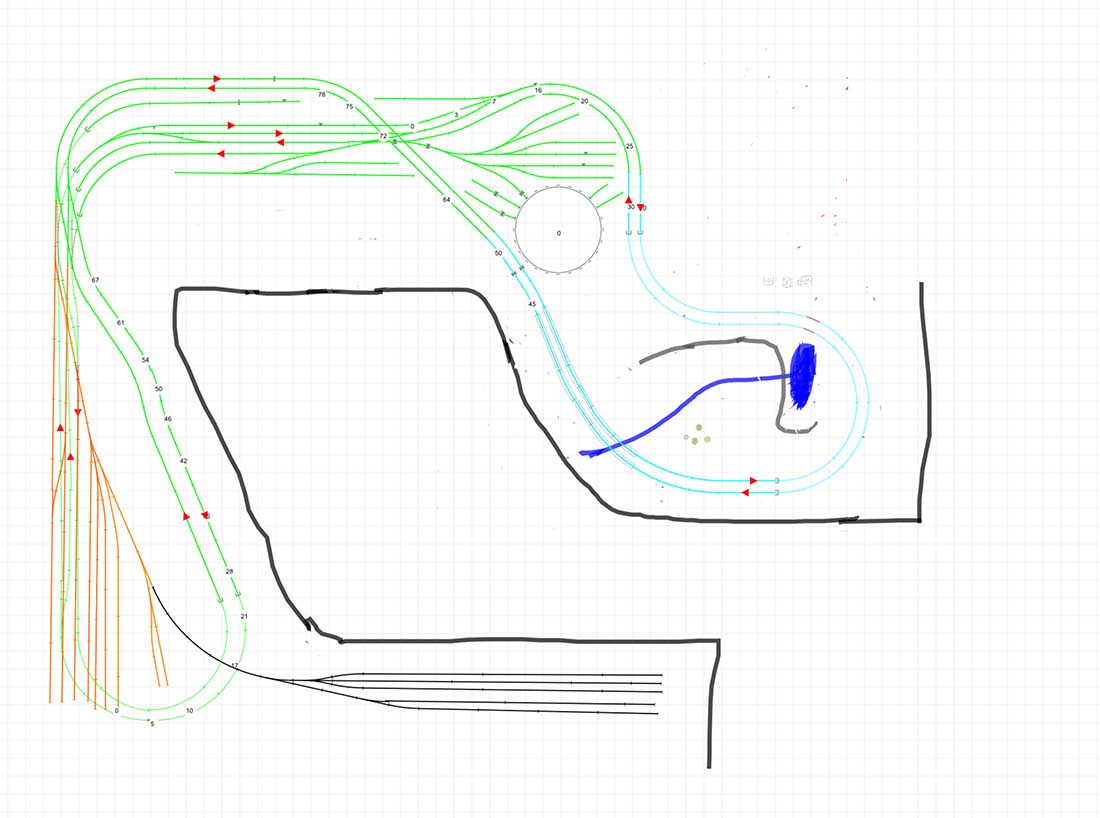
As I prepared these photos, I realized that I should at least show the layout diagrams. General look at the layout foot print. I do not recall the size of the basement. It was a full sized basement.
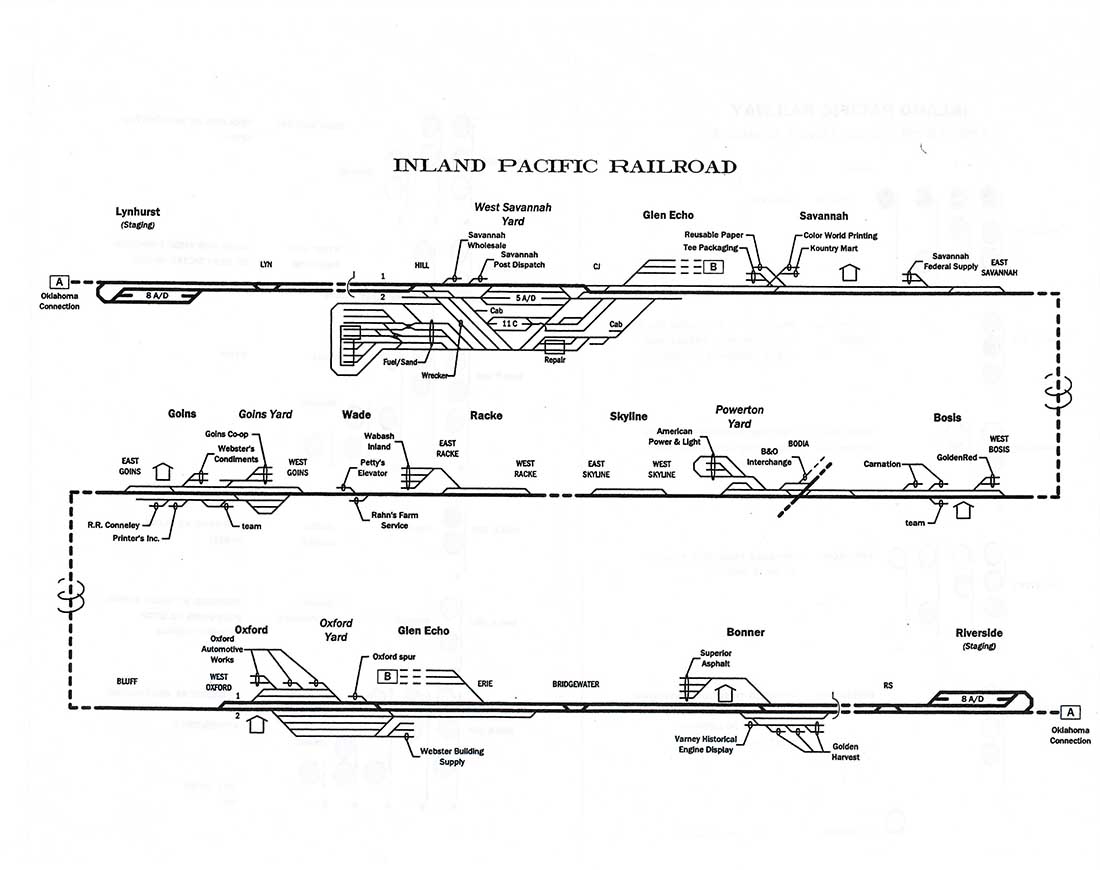
The diagram.
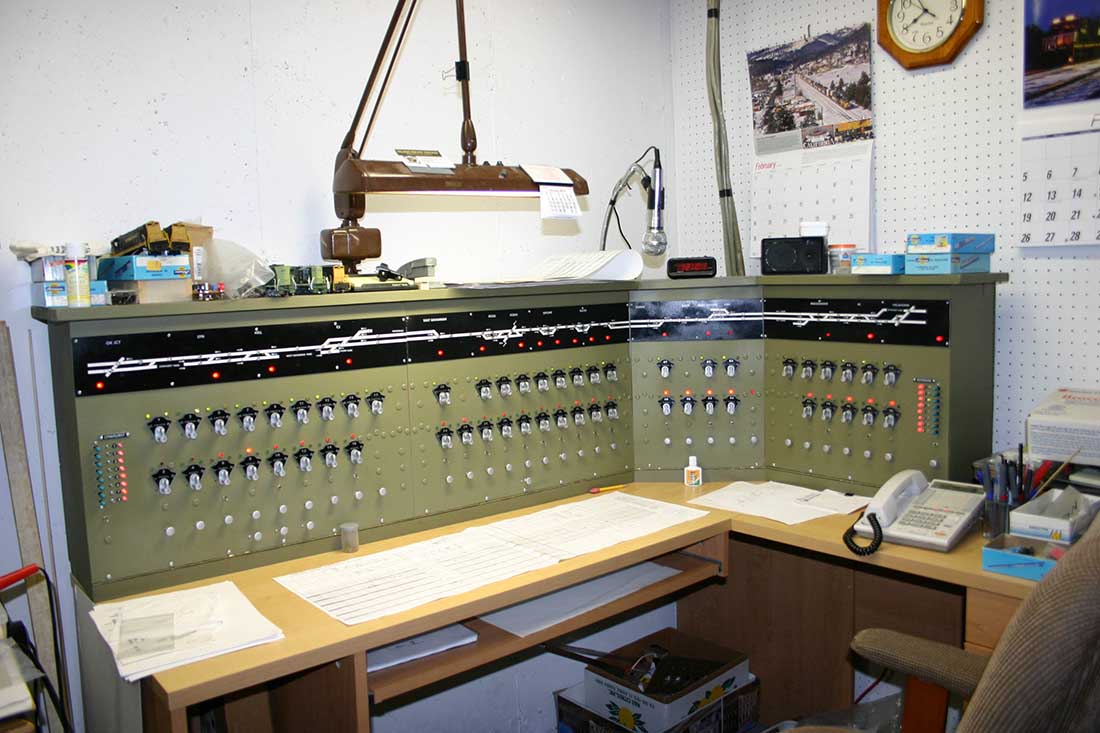
The dispatch room.
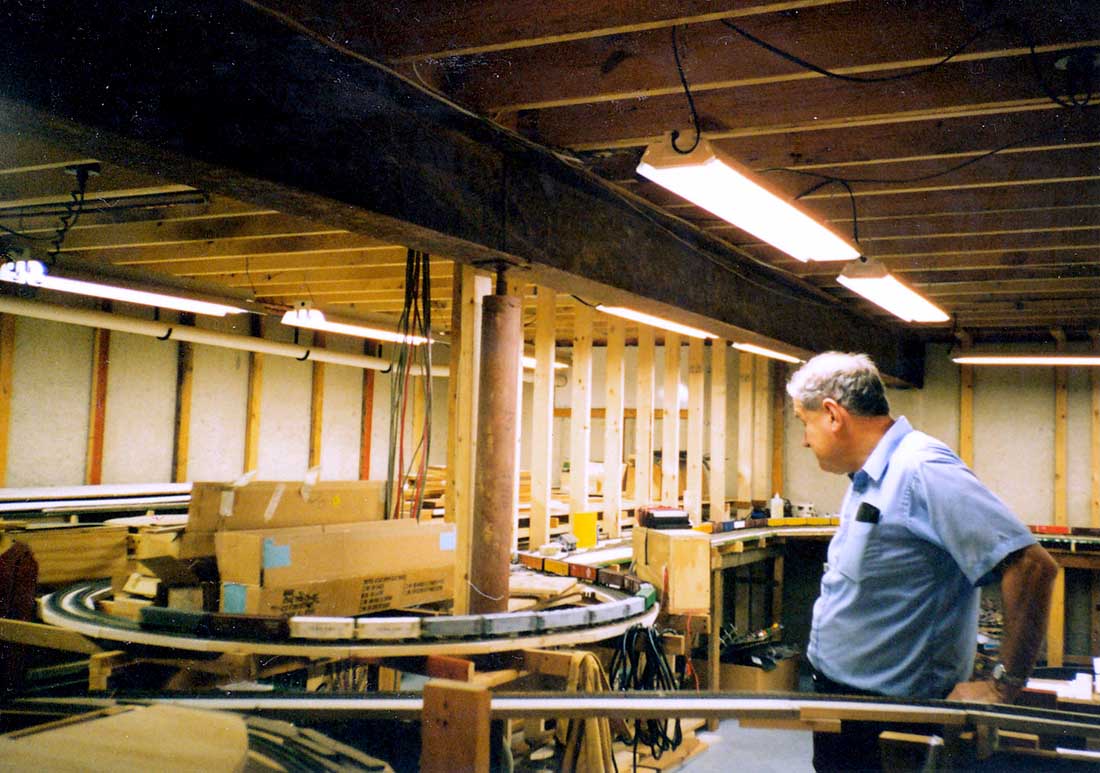
The owner standing at the helix. This gives some idea as to the room size. There is as much room behind him as in front.
Thanks for looking. I have other layout rivers to post. If you want more of this layout let me know. Alas, as with all layouts this one is no more. A lot of it went with him when he moved to another city.
Santa Fe Dan*”
A huge big thanks to Santa Fe Dan for sharing his model train river pics and advice.
There’s quite a few posts on lakes and rivers on the blog now:
How to make a river for your railroad
How to make a pond for your model railroad
That’s all for today folks. Please do keep ’em coming. And you all know how I’m going to end:
If you’ve enjoyed this one as much as me, please help keep the doors open and support the blog.

Best
Al