Dave’s been back in touch with some track for model trains that has been no end of problems:
“Hi Al… just had another bit of a problem with track movement, so had to go out and buy some new.
To start with could not locate what I wanted, then thinking I had bought some Peco track got home to find it was Hornby ..and due to no model shop near to us with Peco in stock, had to use this, its not up to Peco standard…
Also showing some glue which does what it says ..instant and sticks just about everything…especially track for model trains.
Regards
Dave”
A big thanks to Hall of fame Dave.
I think Track for model trains gives us all grief at some time or other.
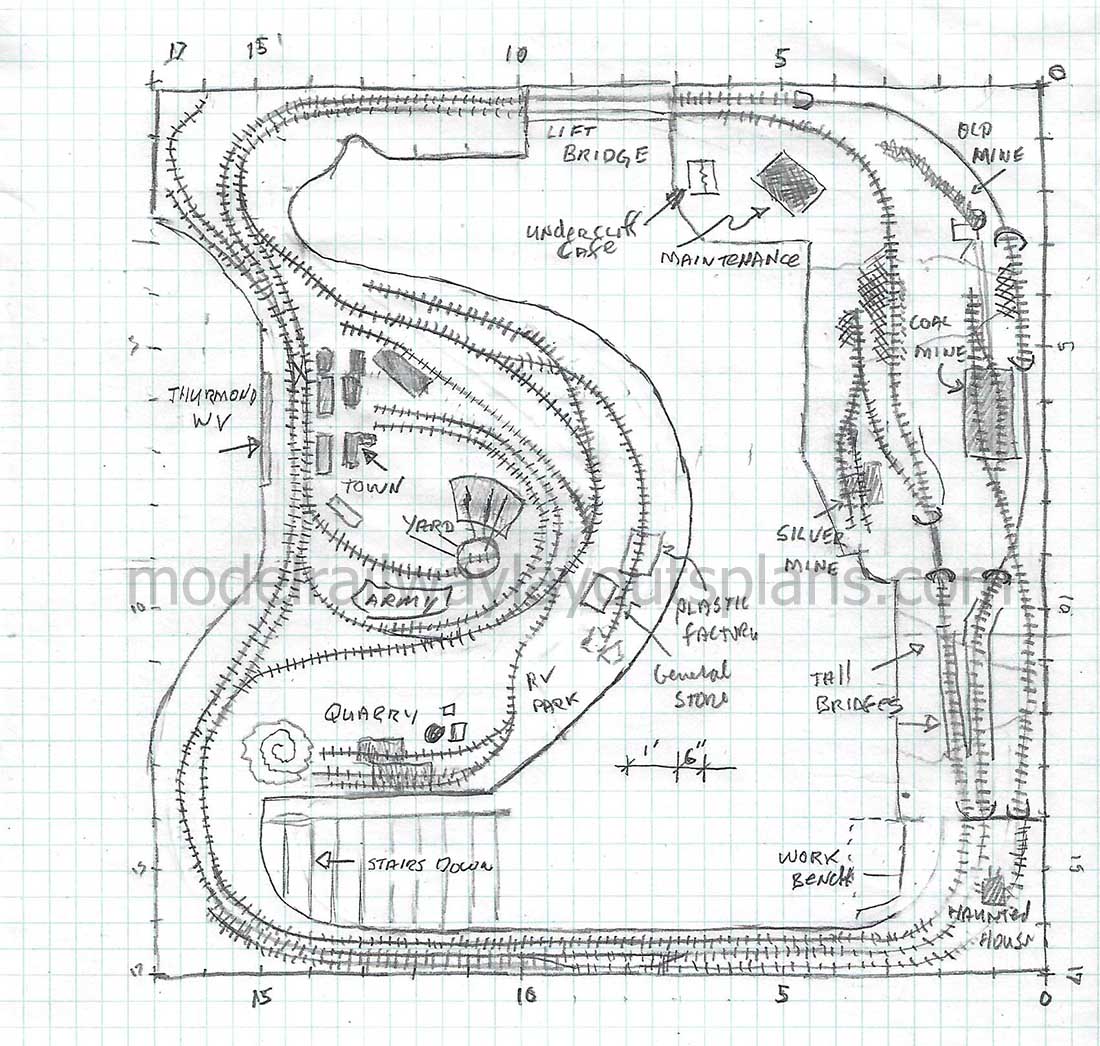
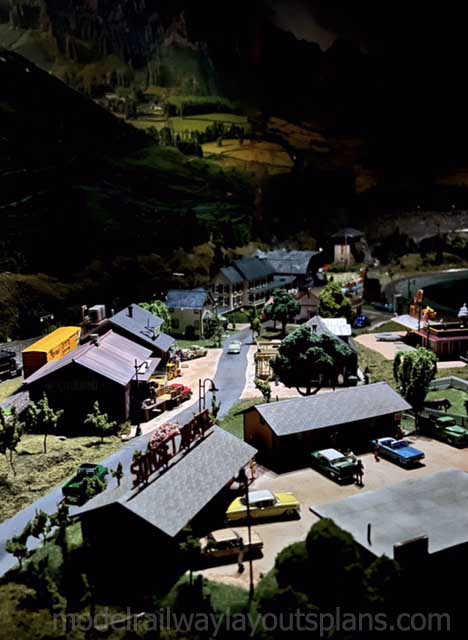
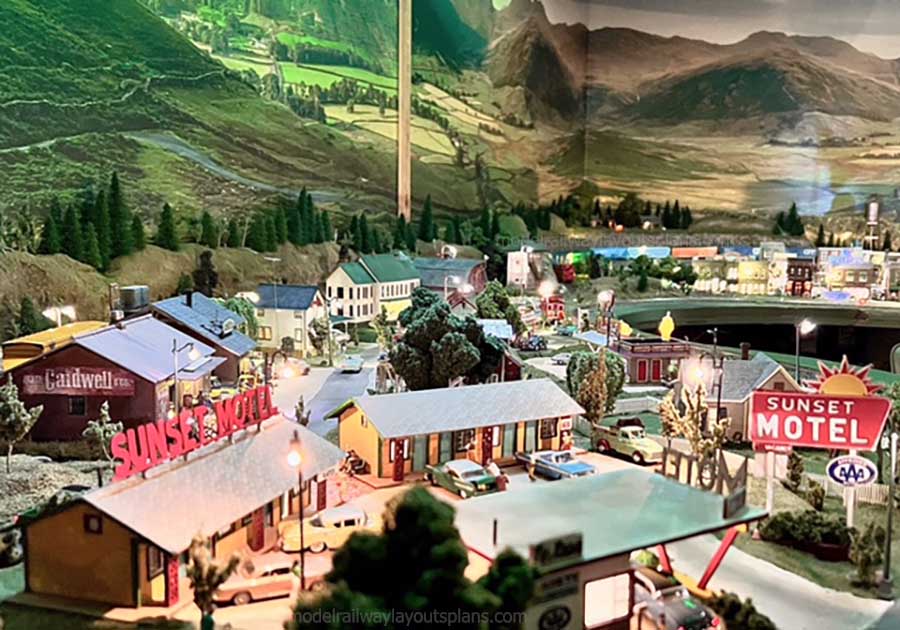
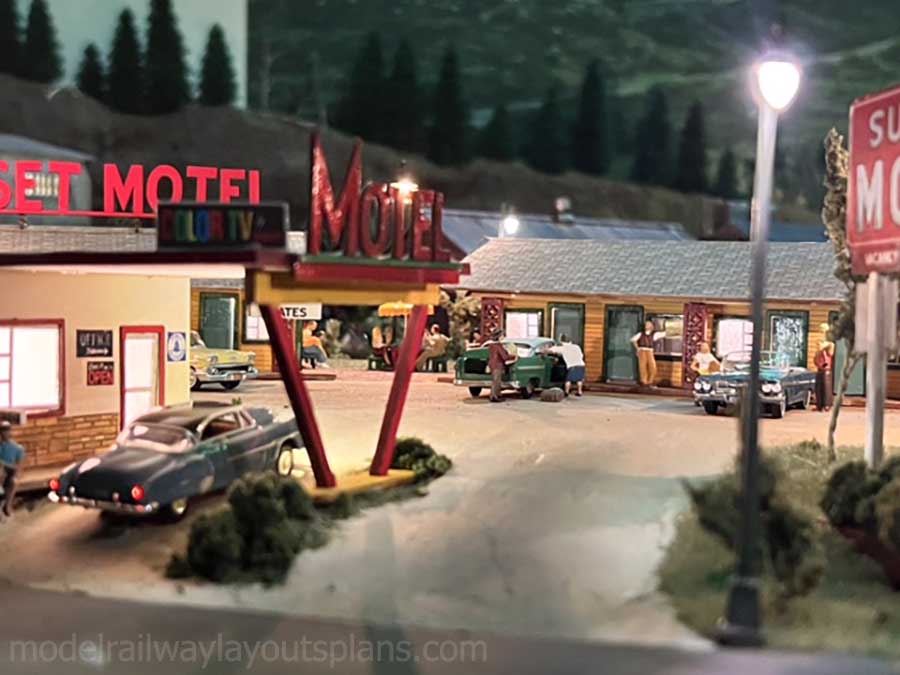
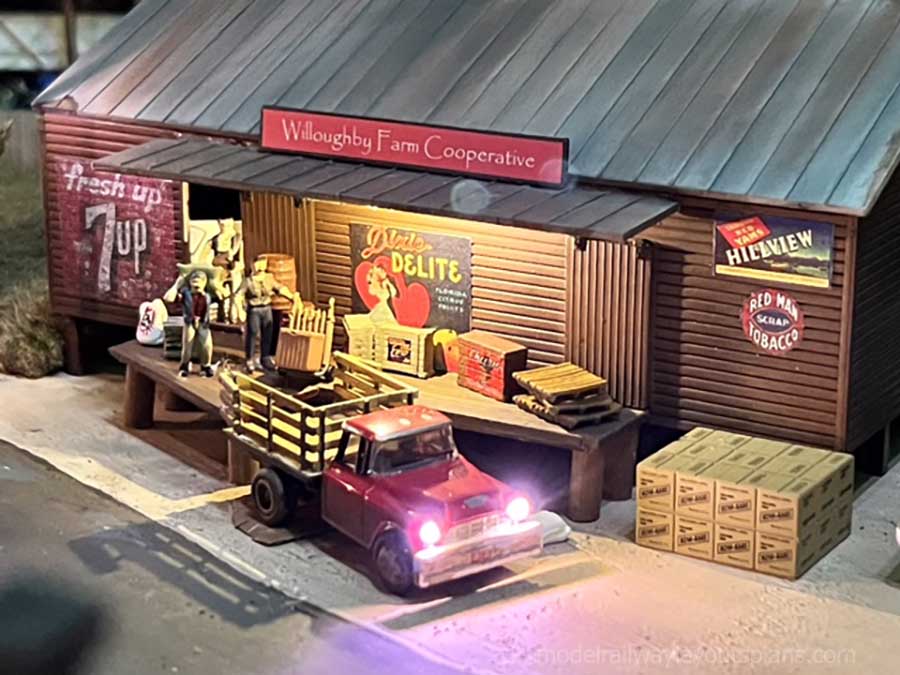
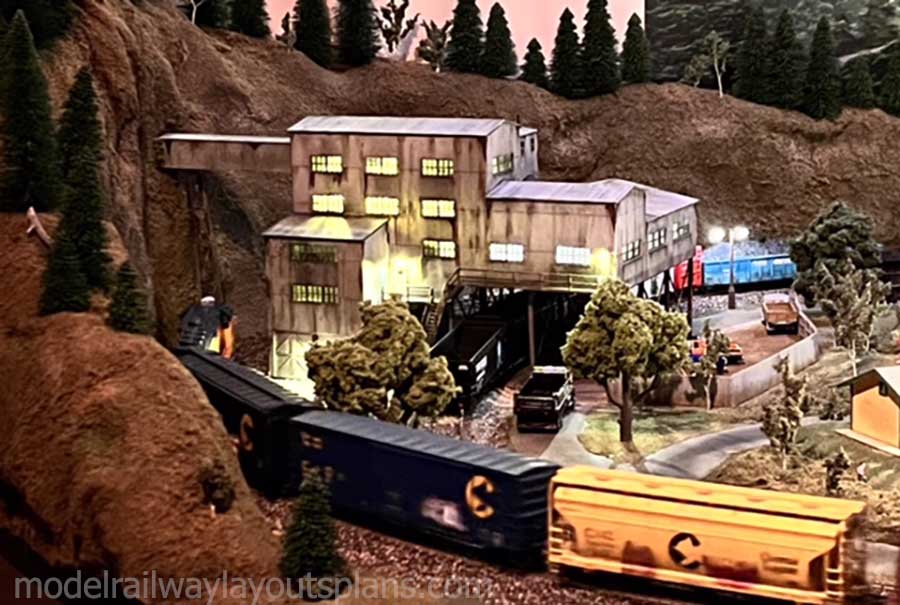
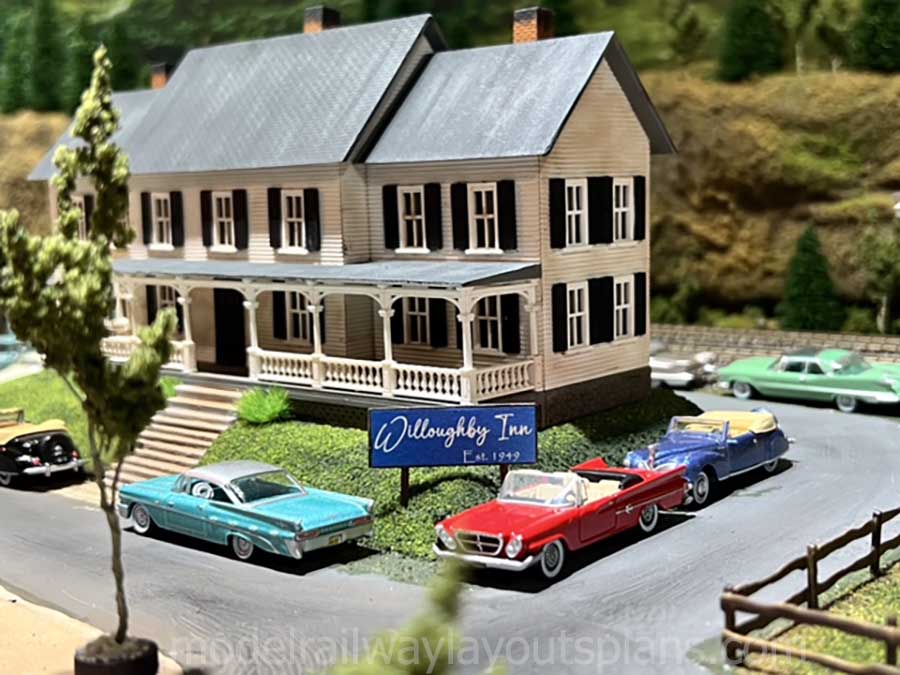
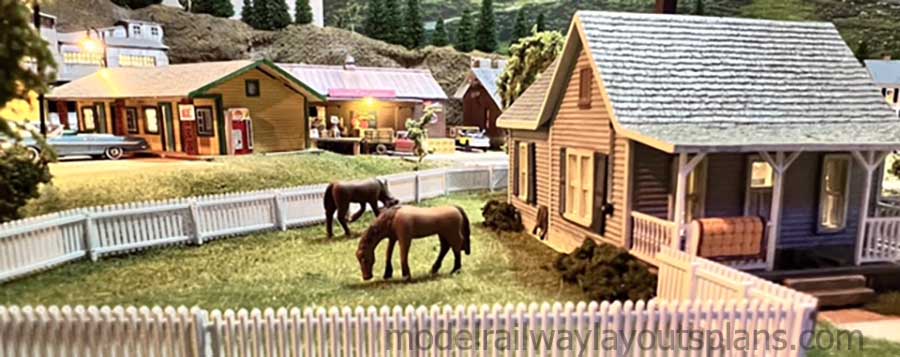
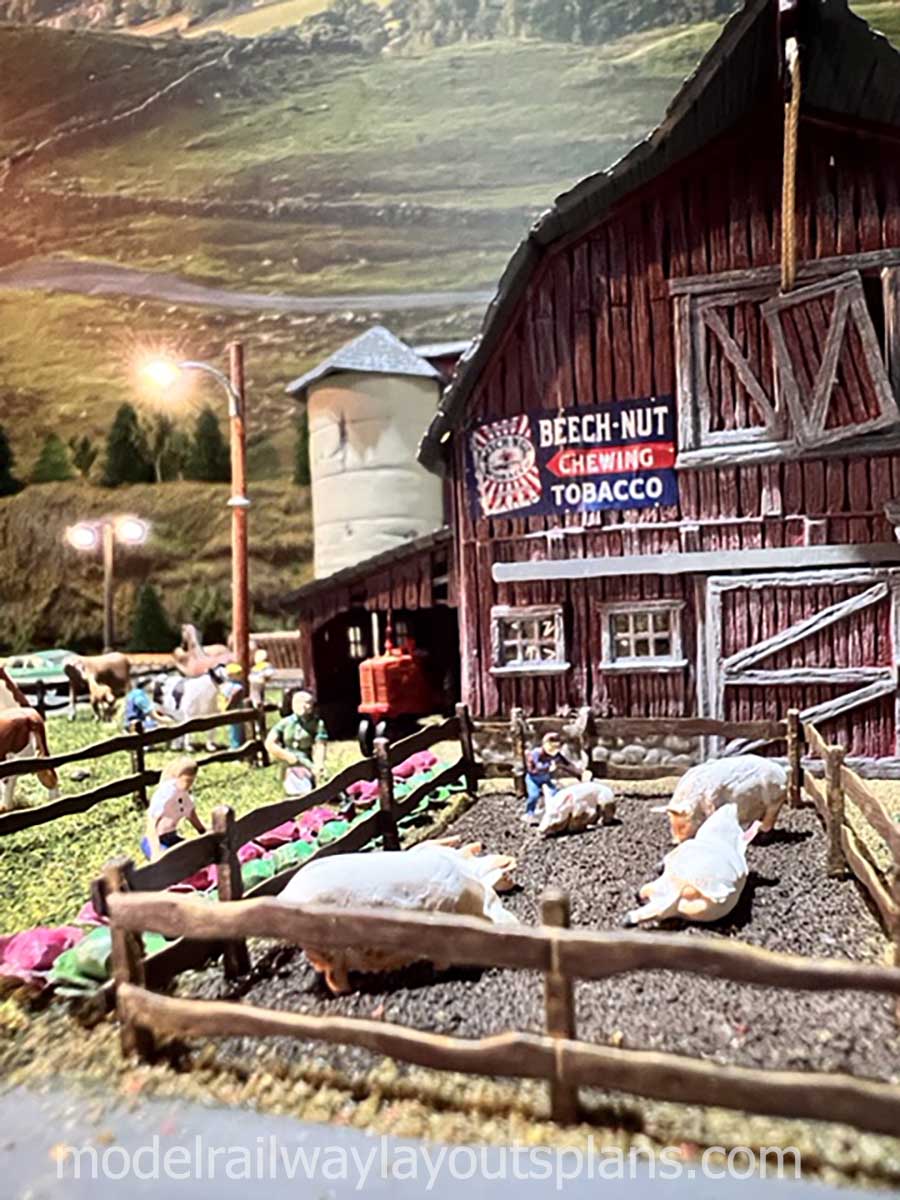
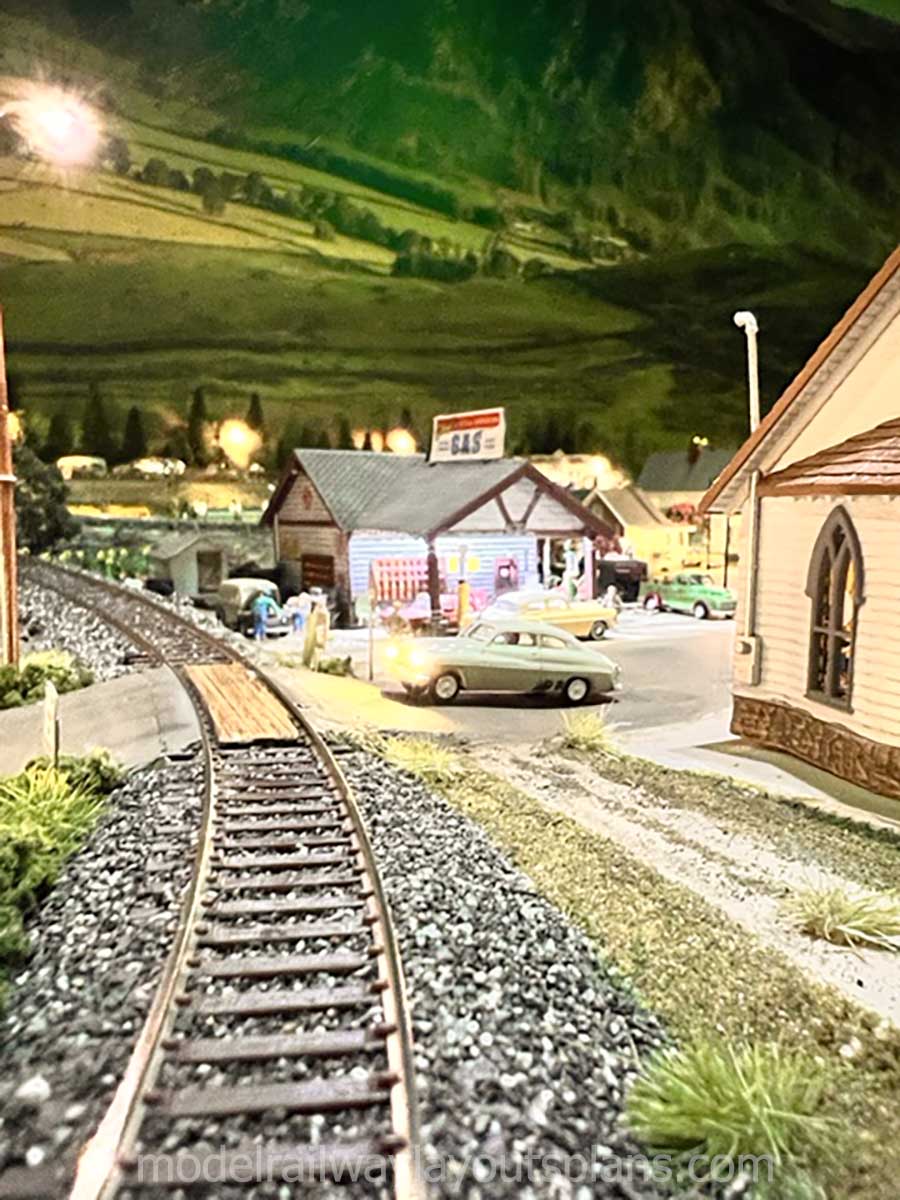
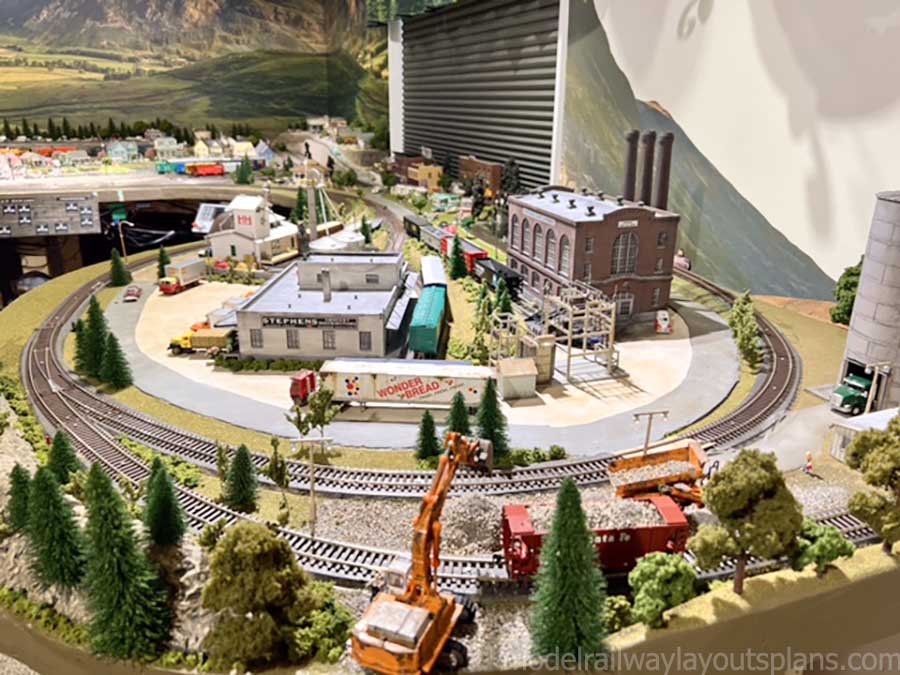
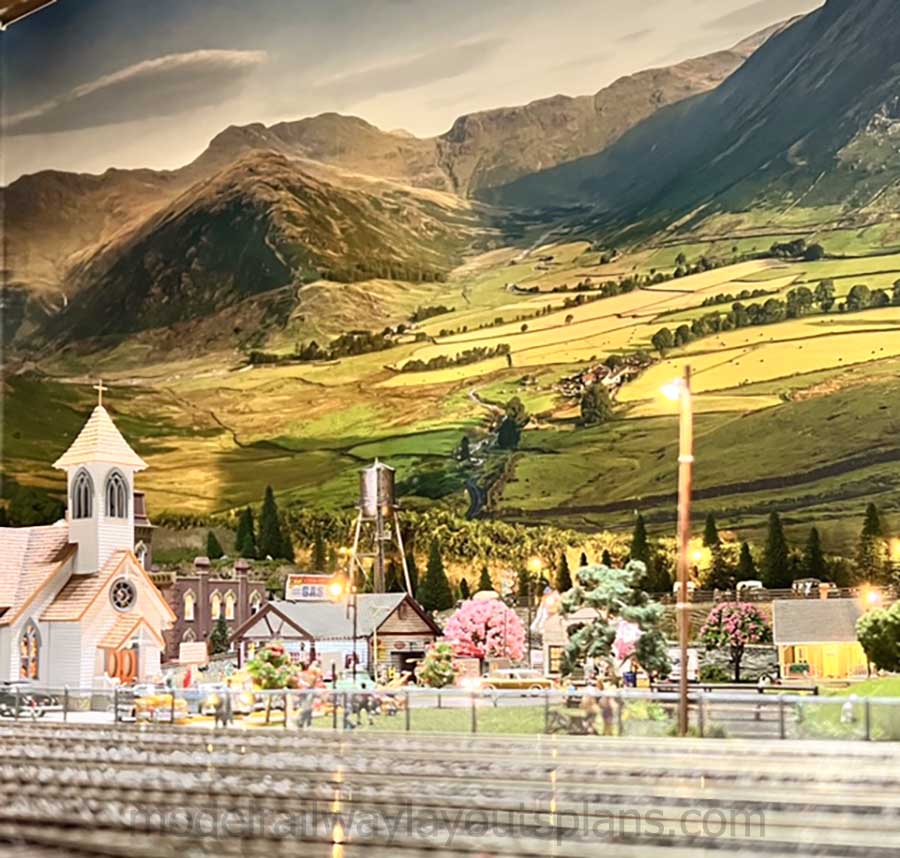
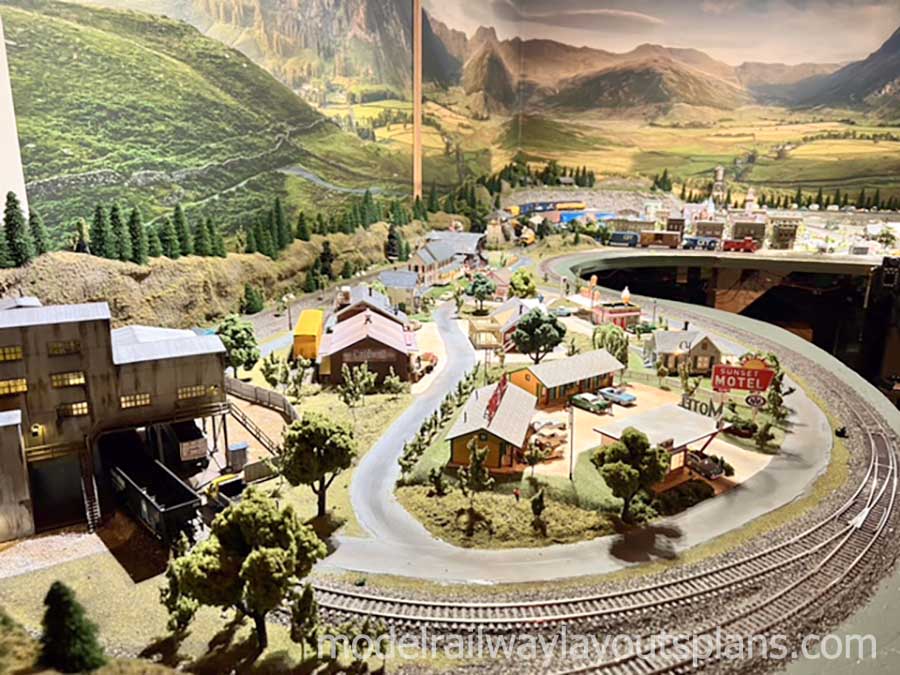
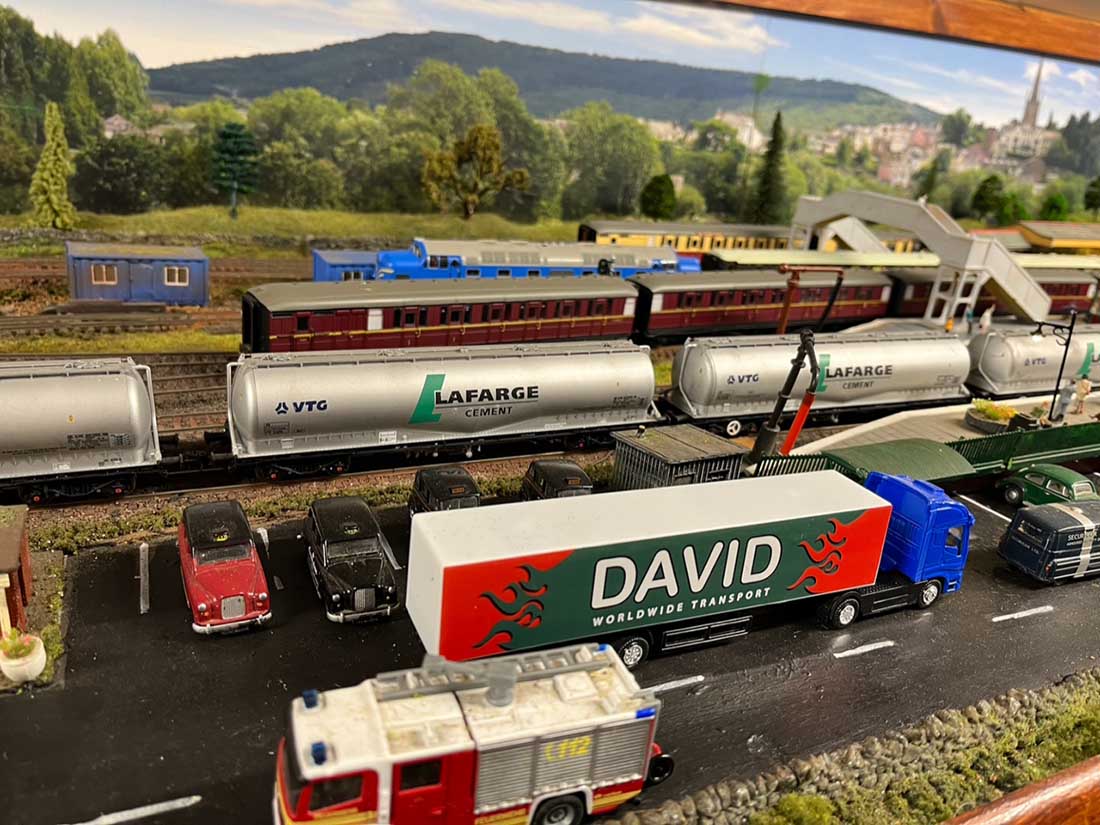
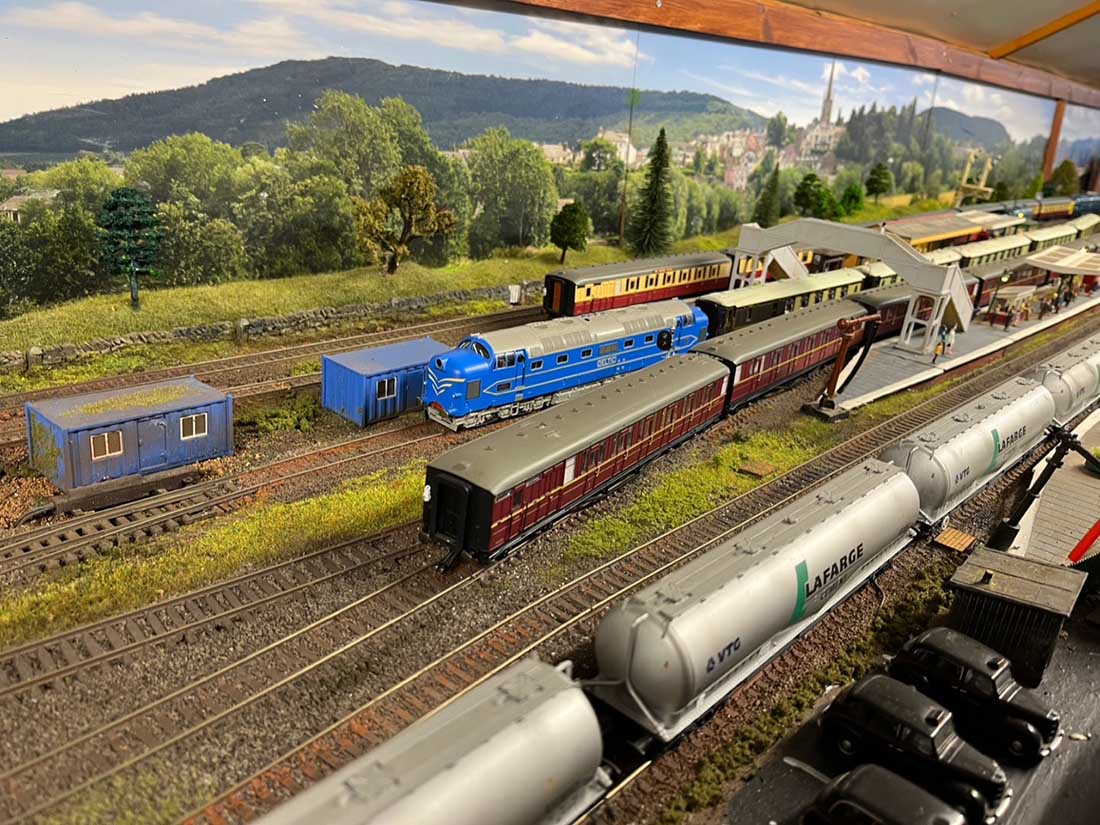
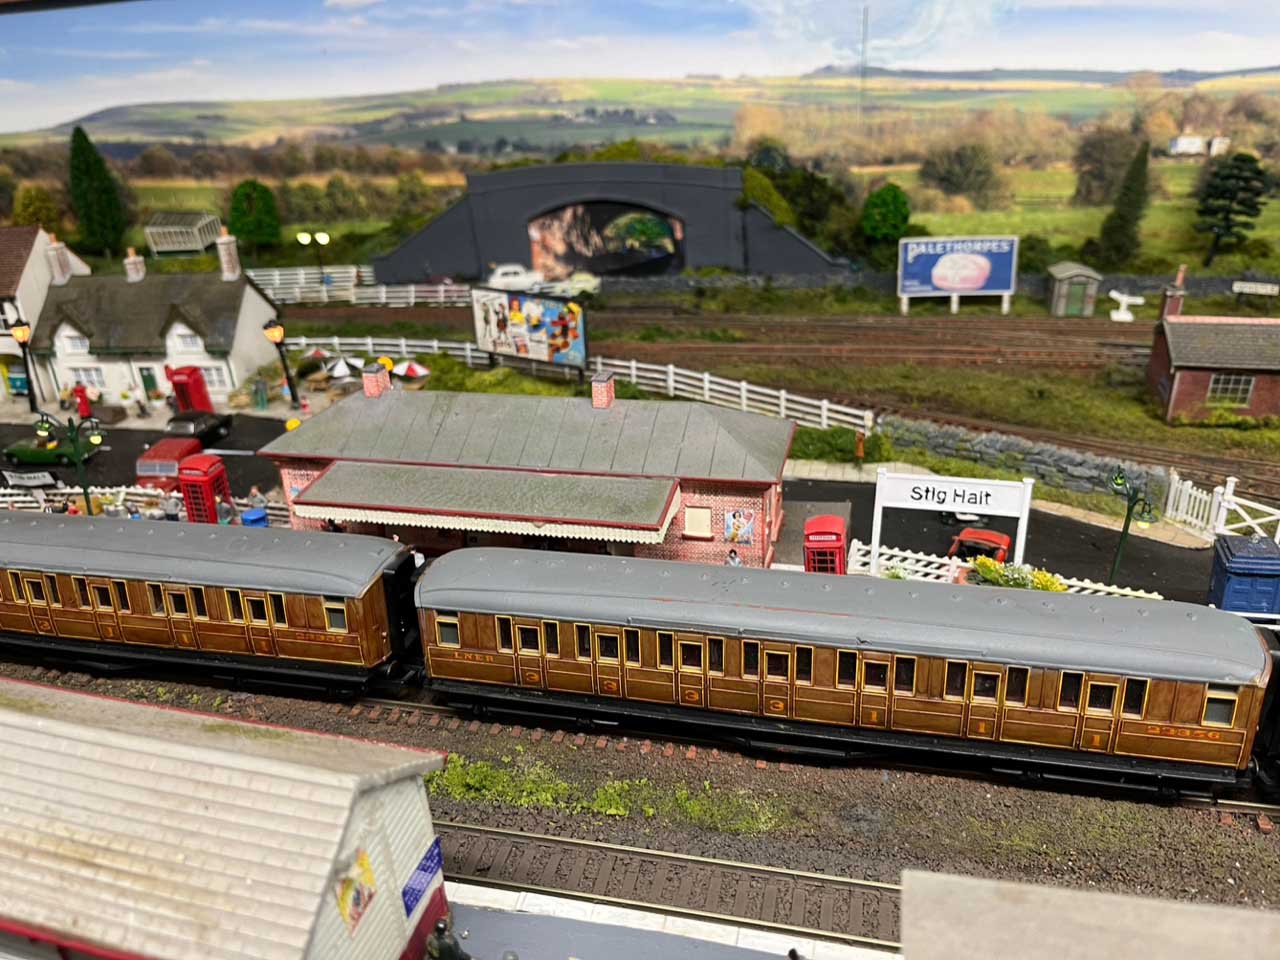
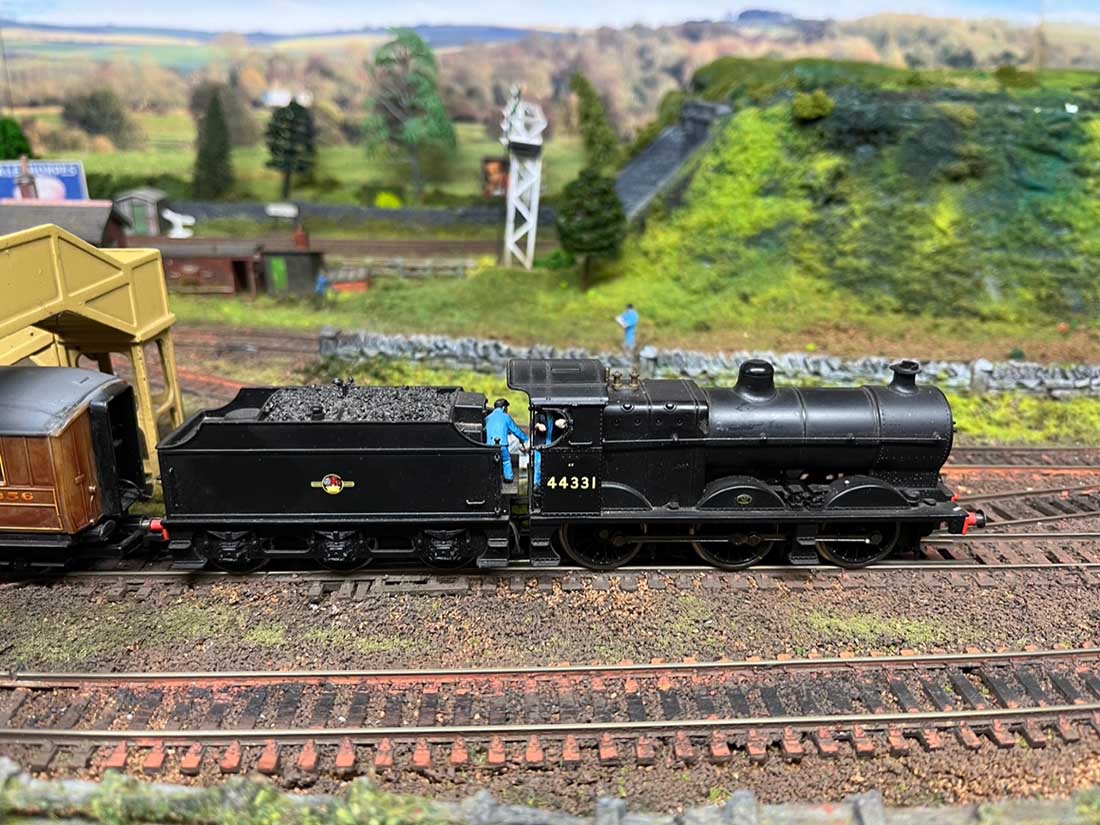
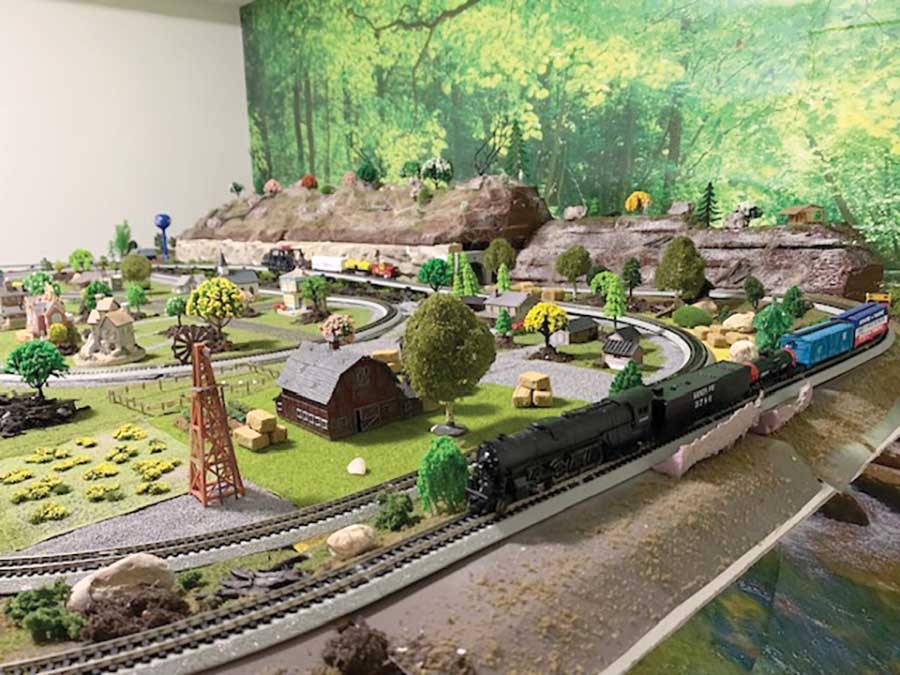
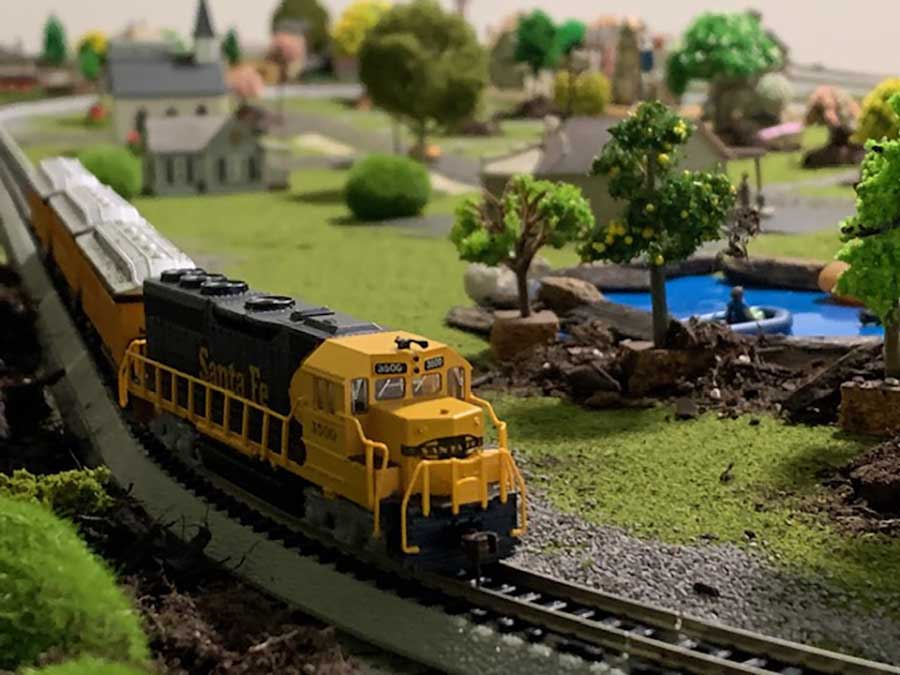
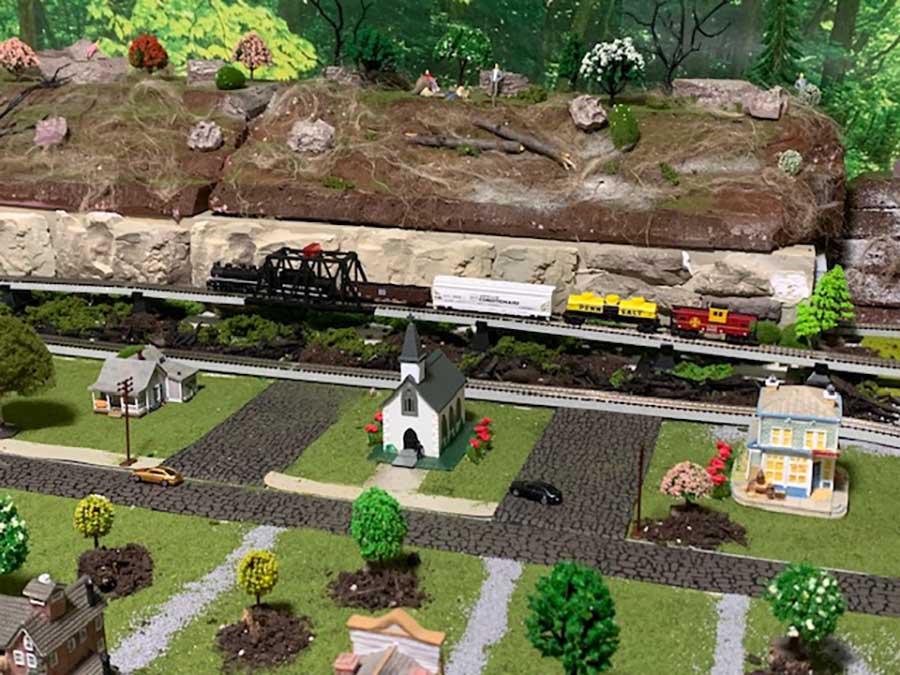
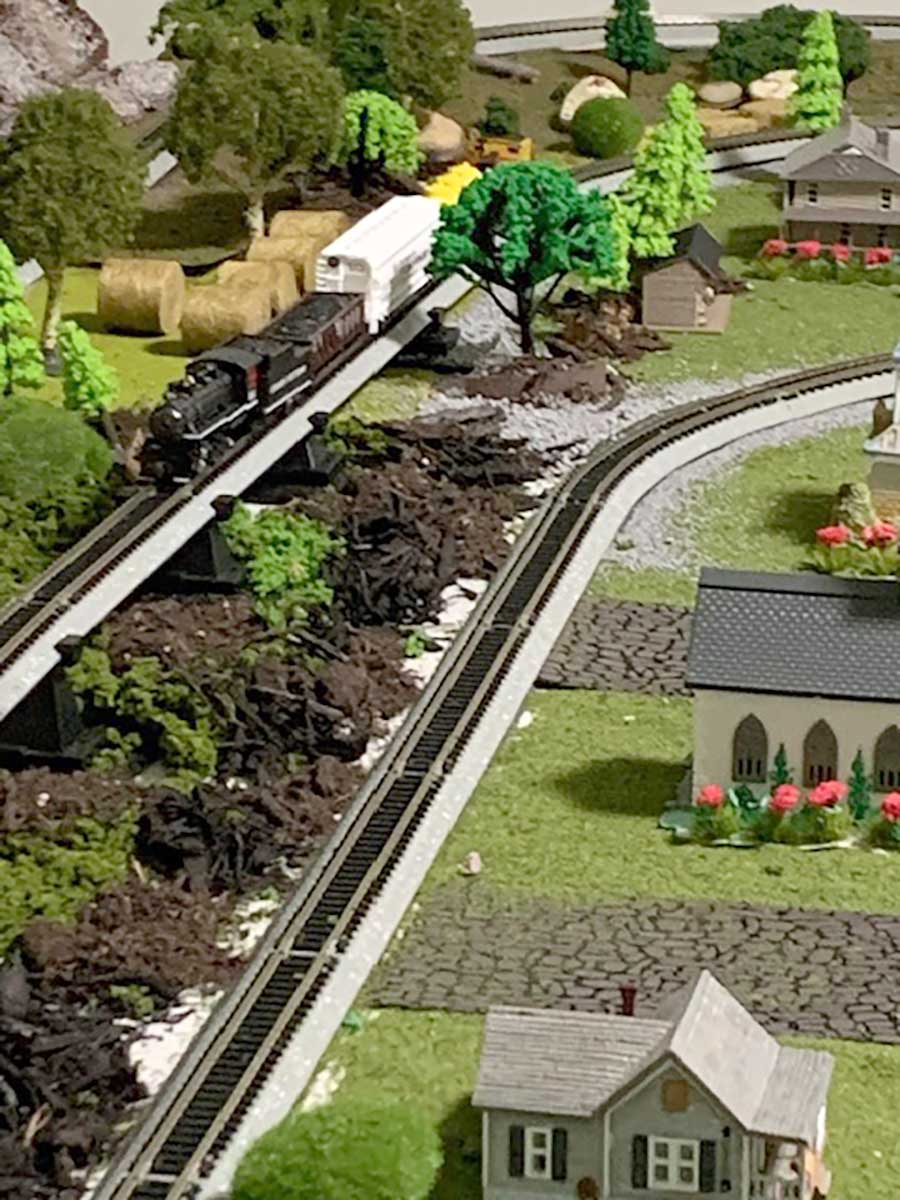
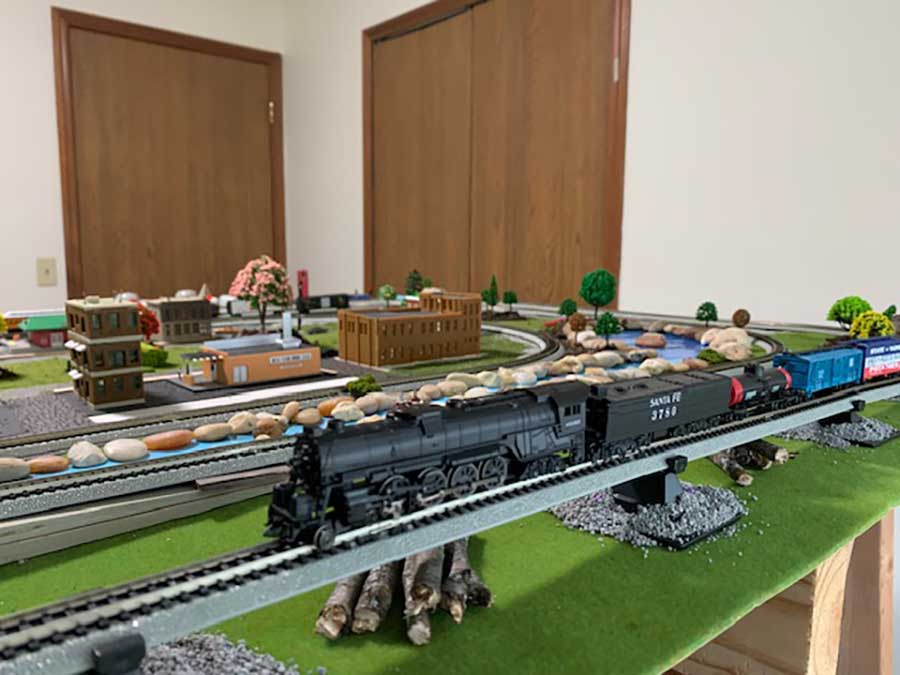
Next, on to Brian, who has sent in more pics of his layout.
His first post is here: L shaped N scale layout.
“Alastair,
I love photography as much as railroading but promise not to keep sending these unless you want more.
Brian”
Now on to another Brian, who has been busy with is track too:
“Hi Alastair,
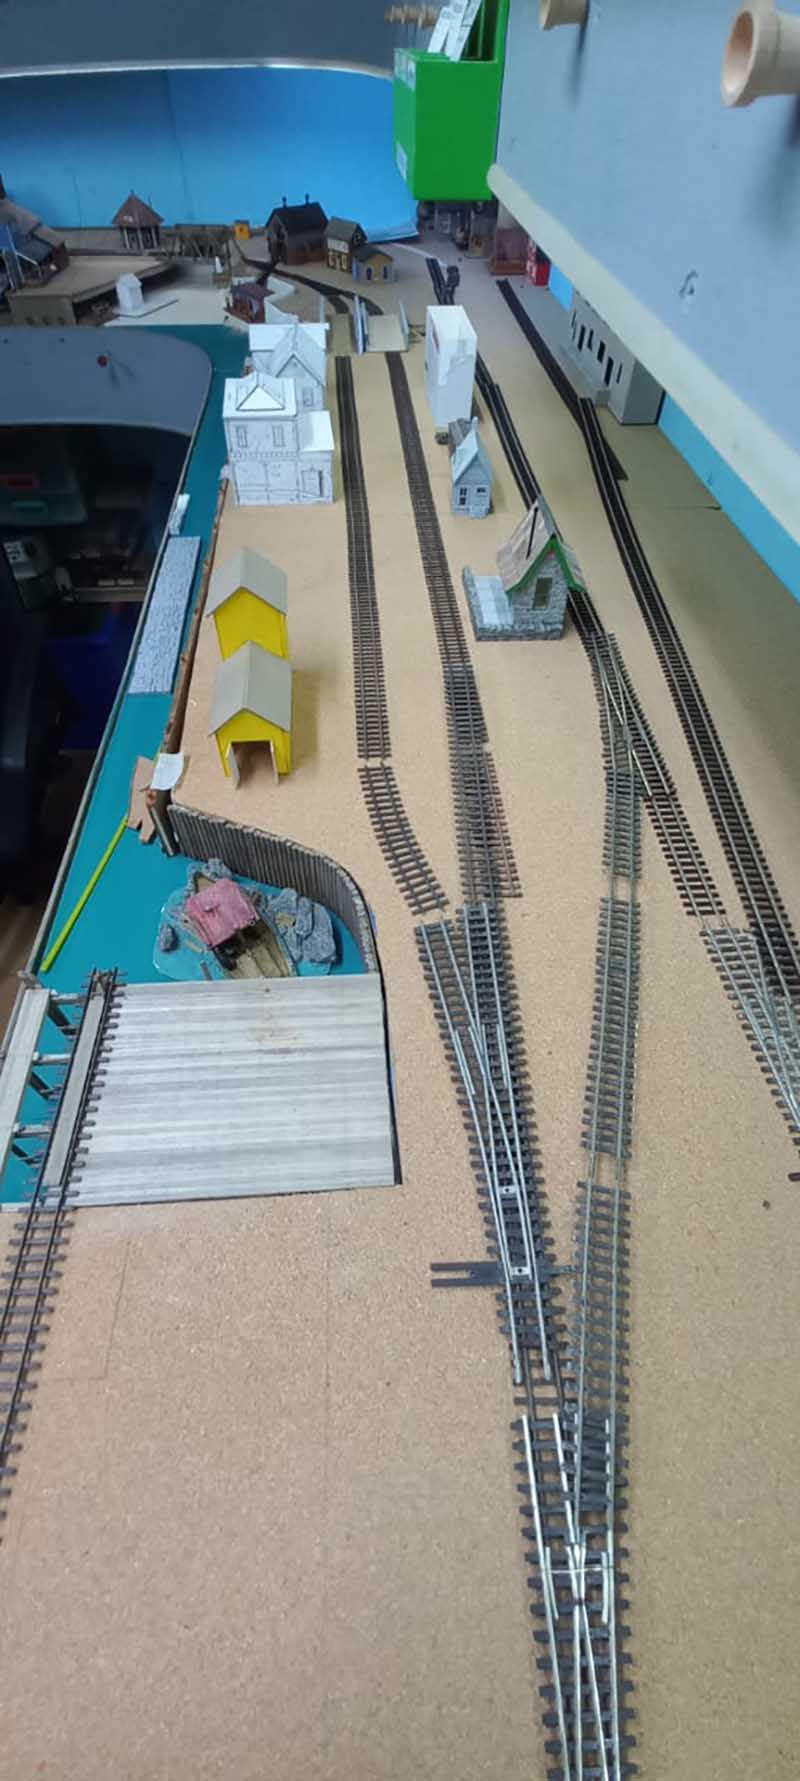
I have been placing track on the last leg of the bottom level of my double deck HOn3 layout.
It is not fixed in place yet (good job that it isn’t) This is where a camera comes in handy as I physically could not see what was wrong until I took a photo of the section and the error glared at me.
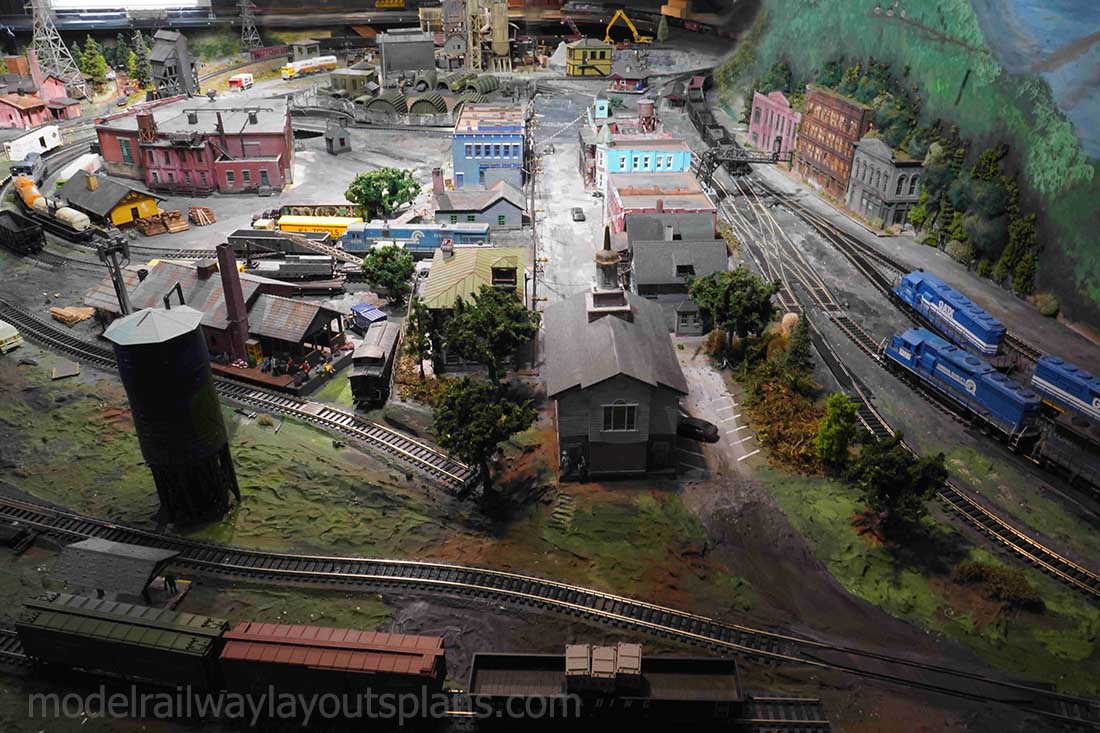
There is a track that comes from the back of the layout leading to the the yard and engine facilities but could not get to the turntable from there. (No run around).
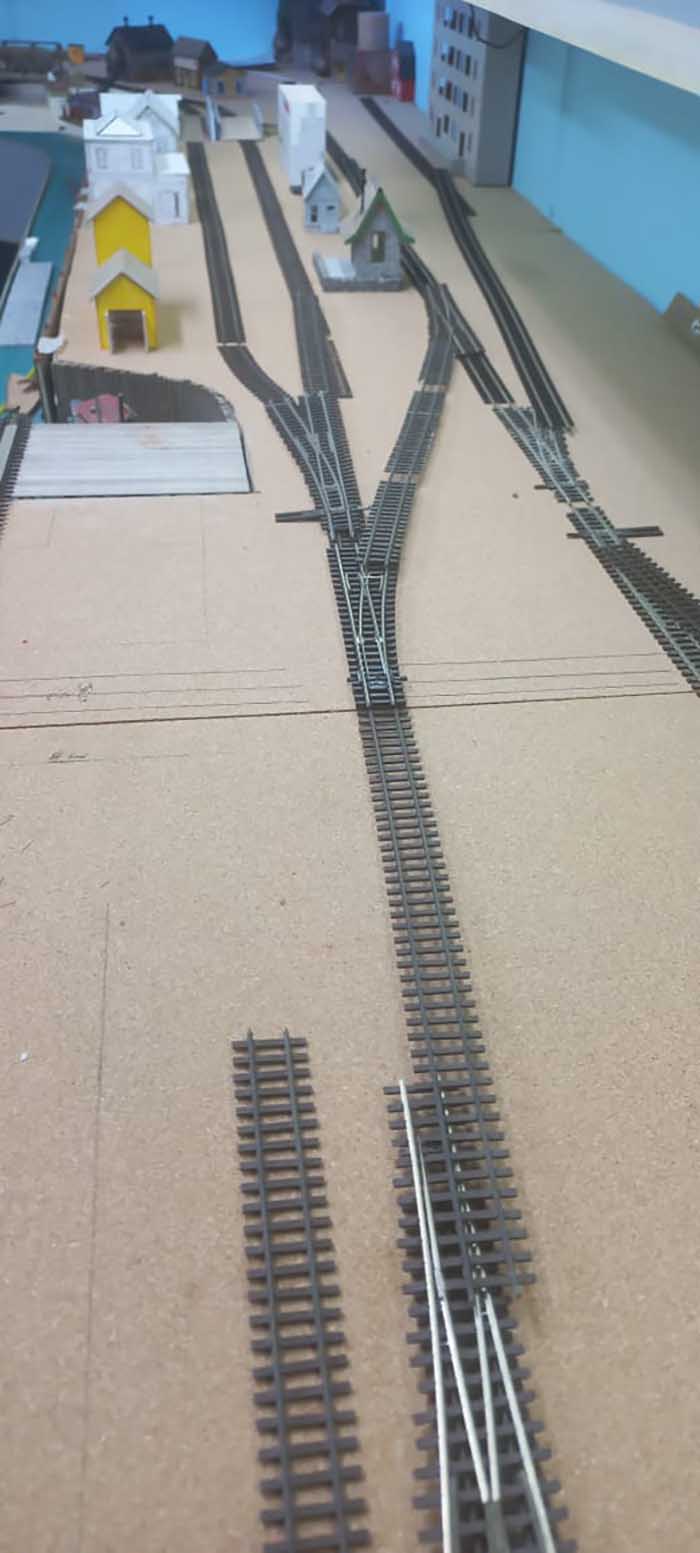
As can be seen below, there is no connection between the second track from the left to the next one to the right of it which leads to the engine terminal.
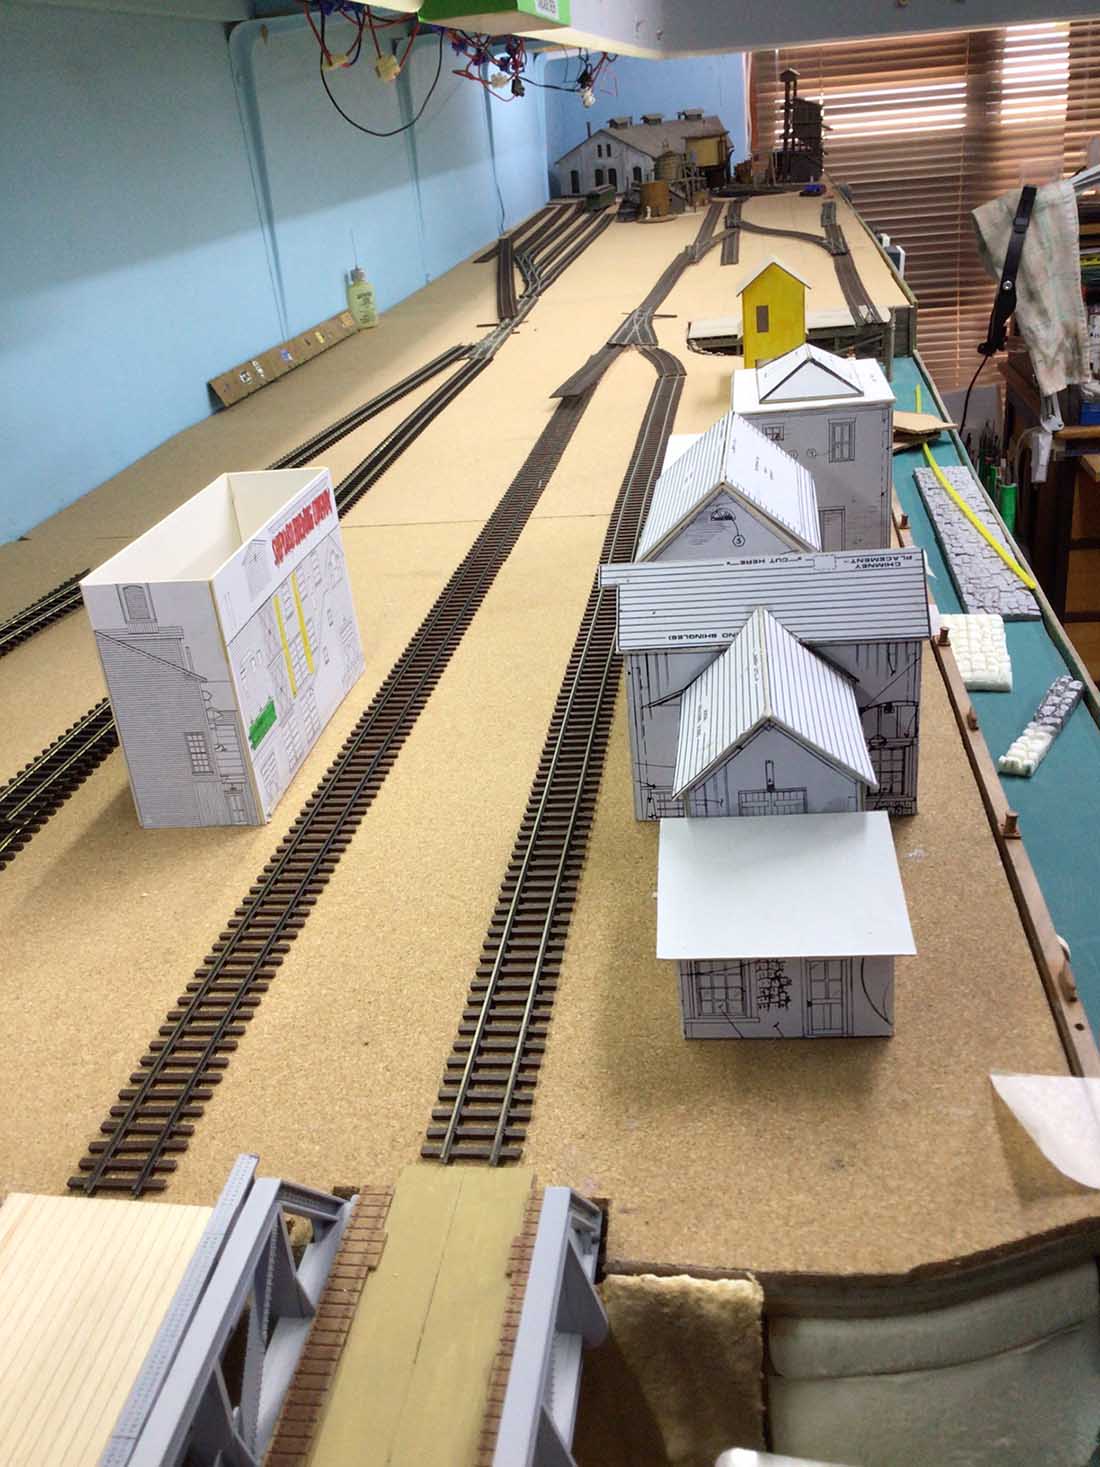
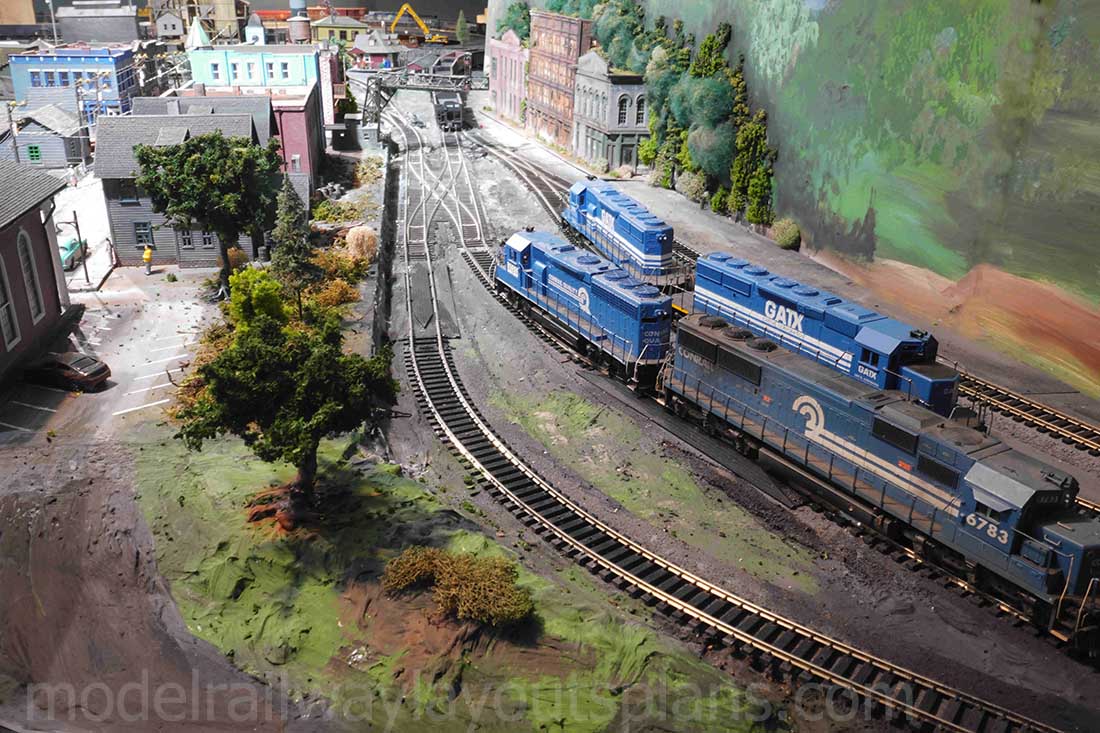
The track on the right hand side (not the siding) is the one that comes from the other side of the layout and leads to the yard and engine facilities. As seen below.
The white card template shows where the track will be.
The spur from this track leads to the brewery. Seen below.
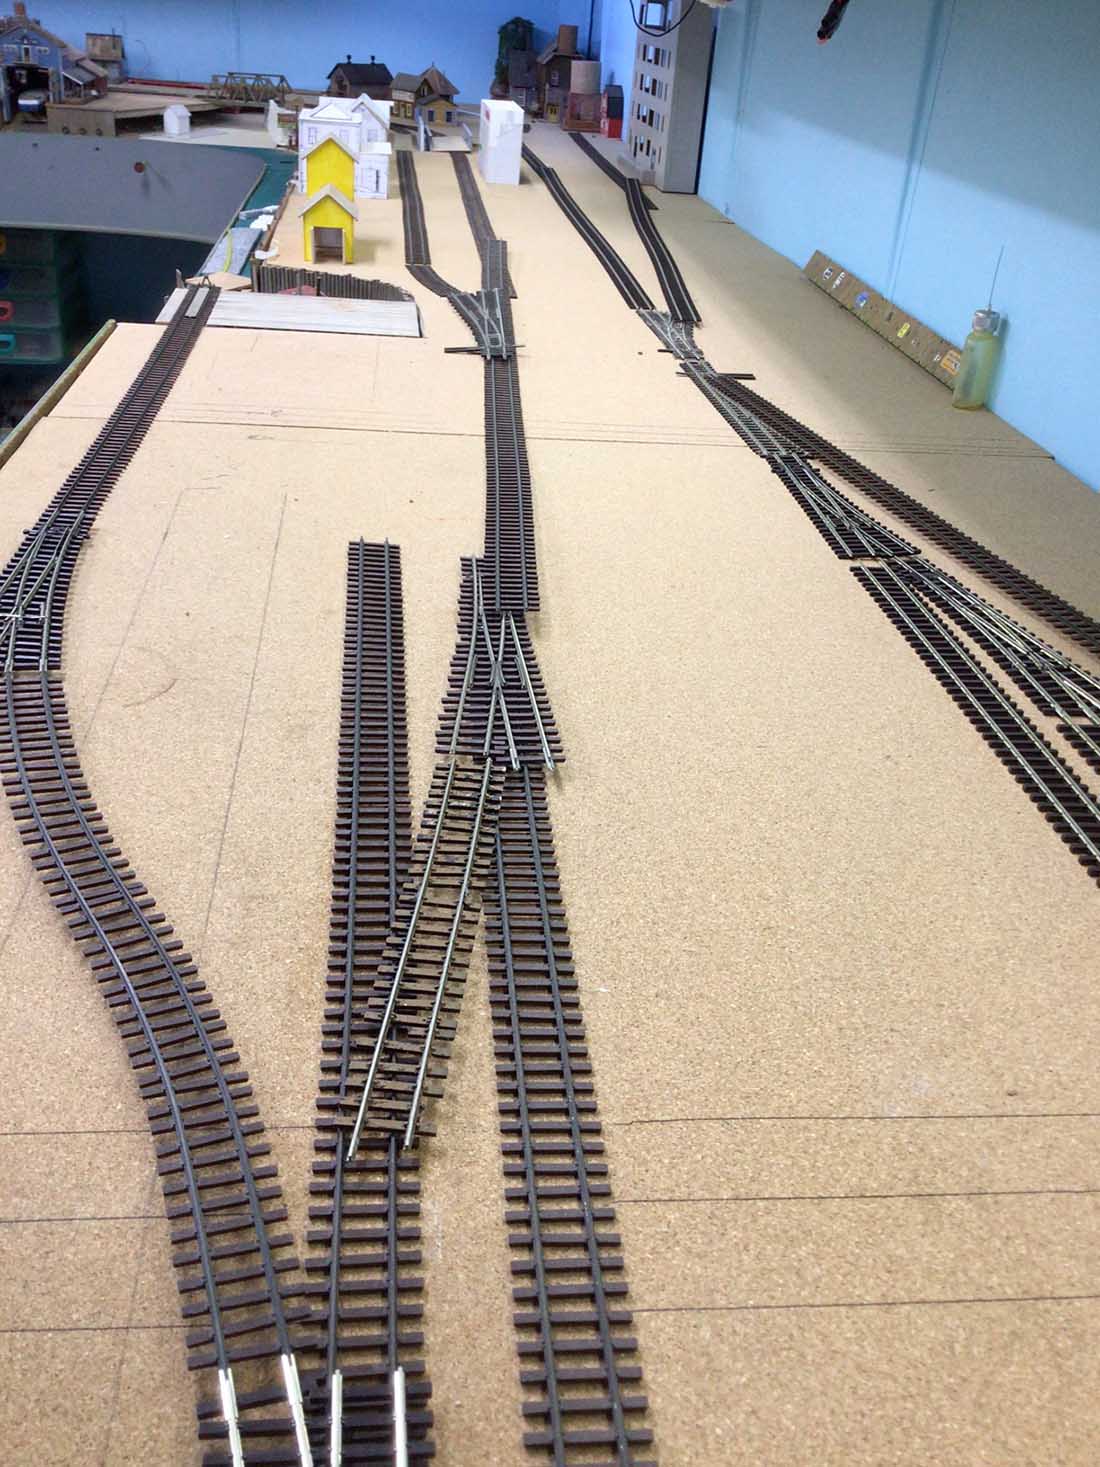
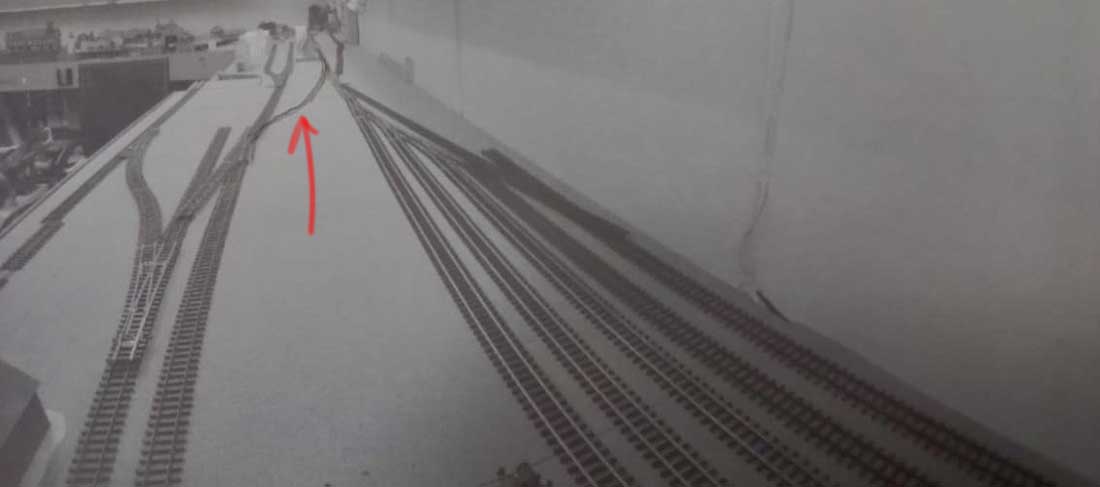
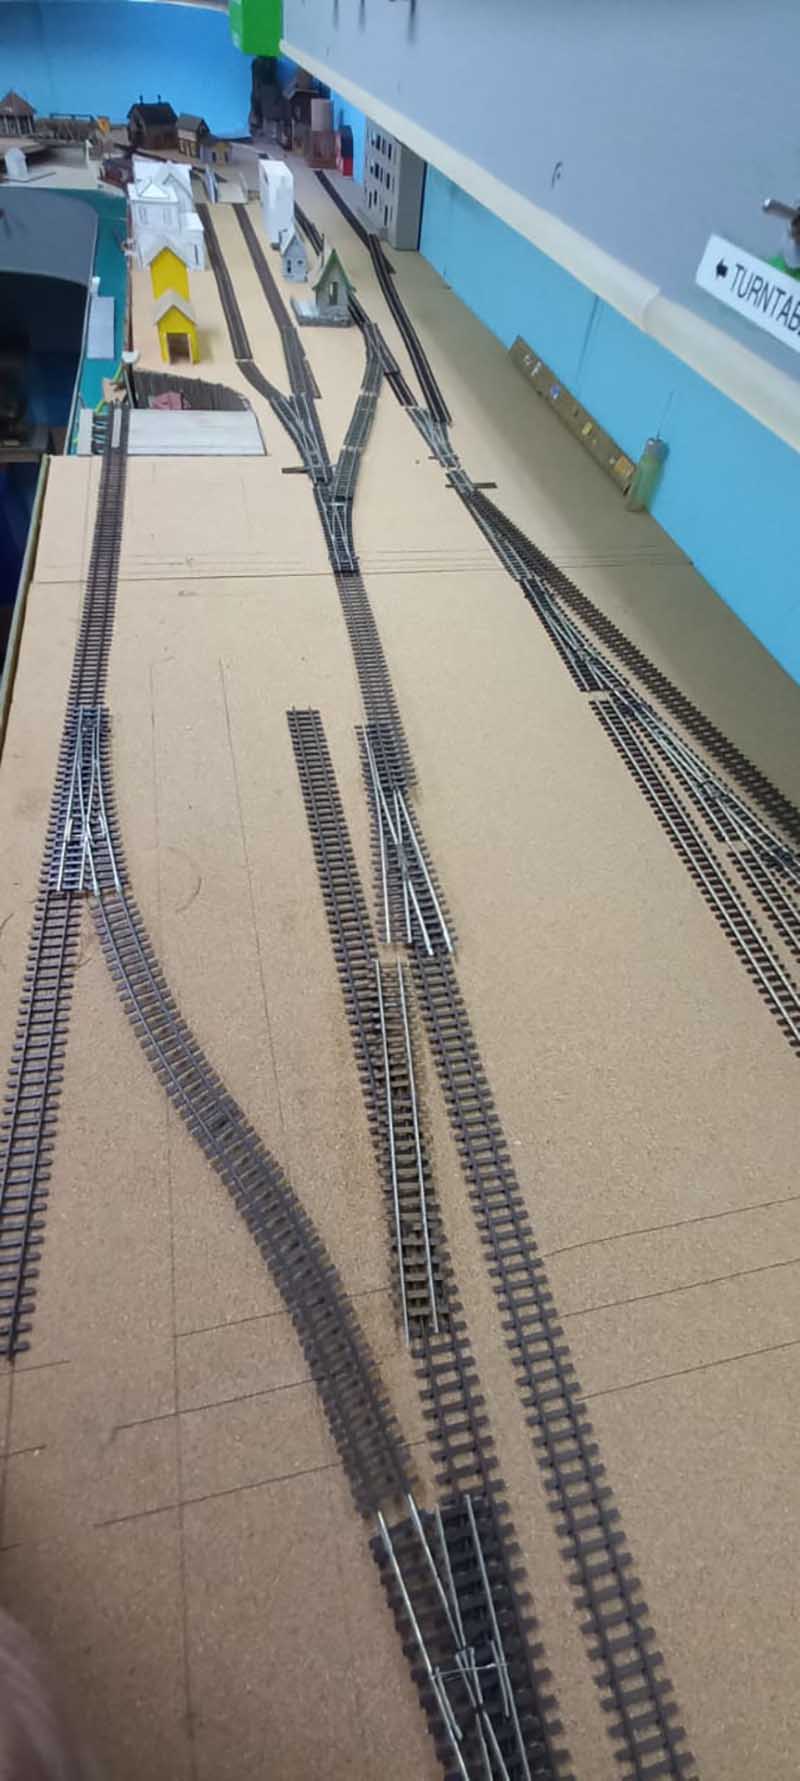
Having taken a photo of this section is where I could see the error of the missing run – around between the two tracks. I have pencilled it in on the photo near the top left.
Fortunately I had two spare HOn3 right hand points that I could use to correct the problem as seen below.
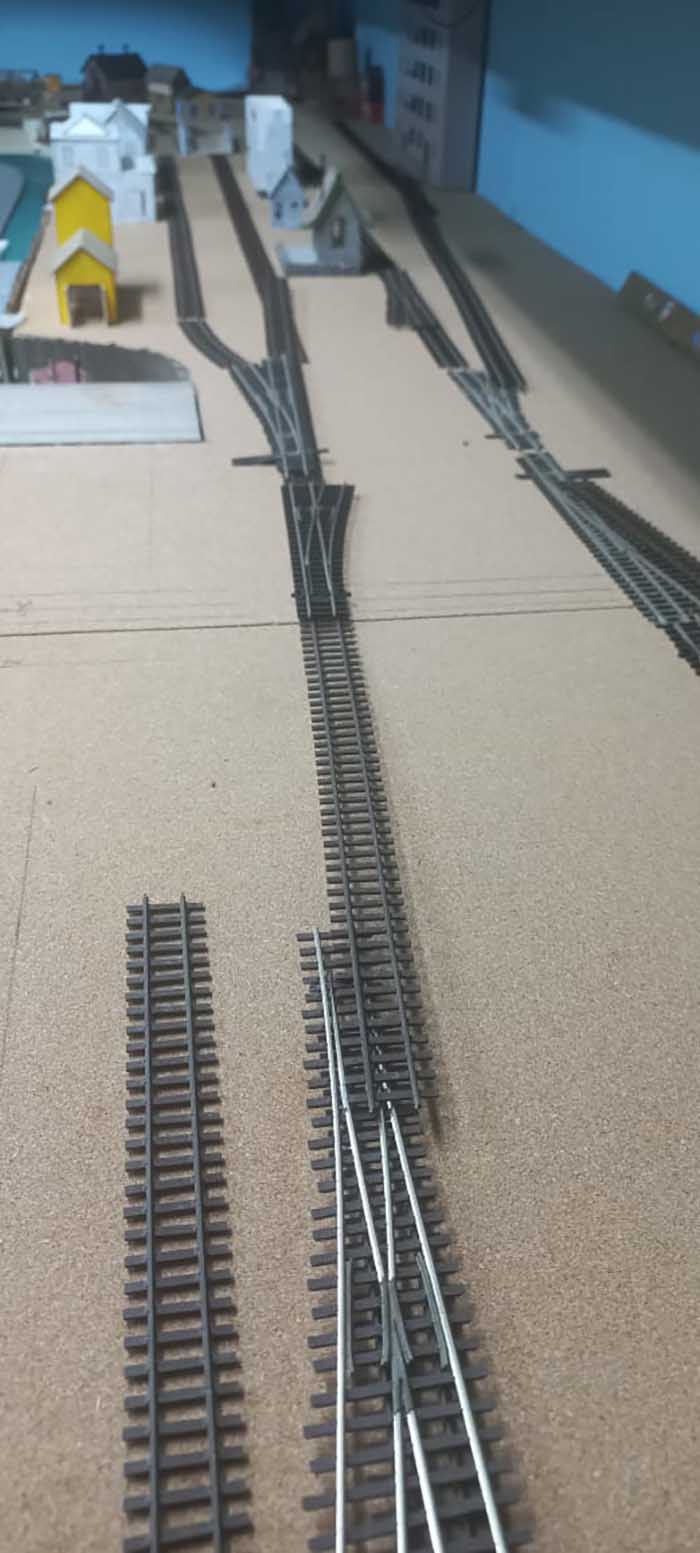
The buildings are temporarily placed and not in the final position nor completed.
Short pieces of track placed temporarily to visualise what the final placement would be. (waiting for more HOn3 Peco track lengths to arrive).
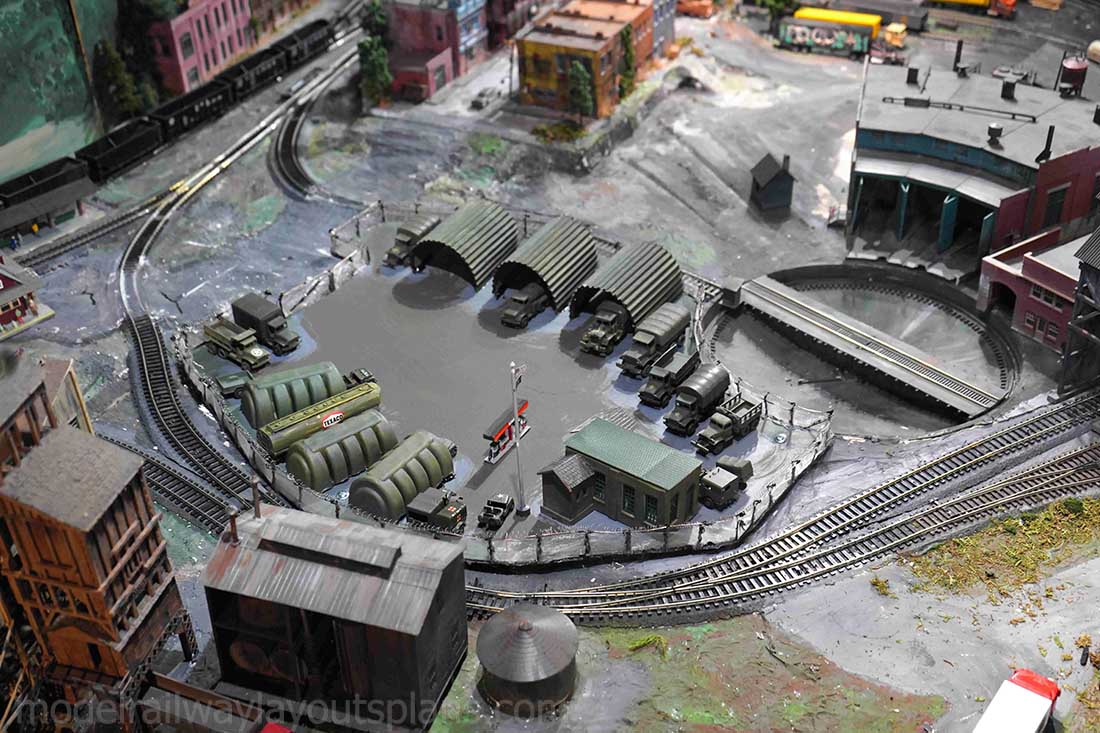
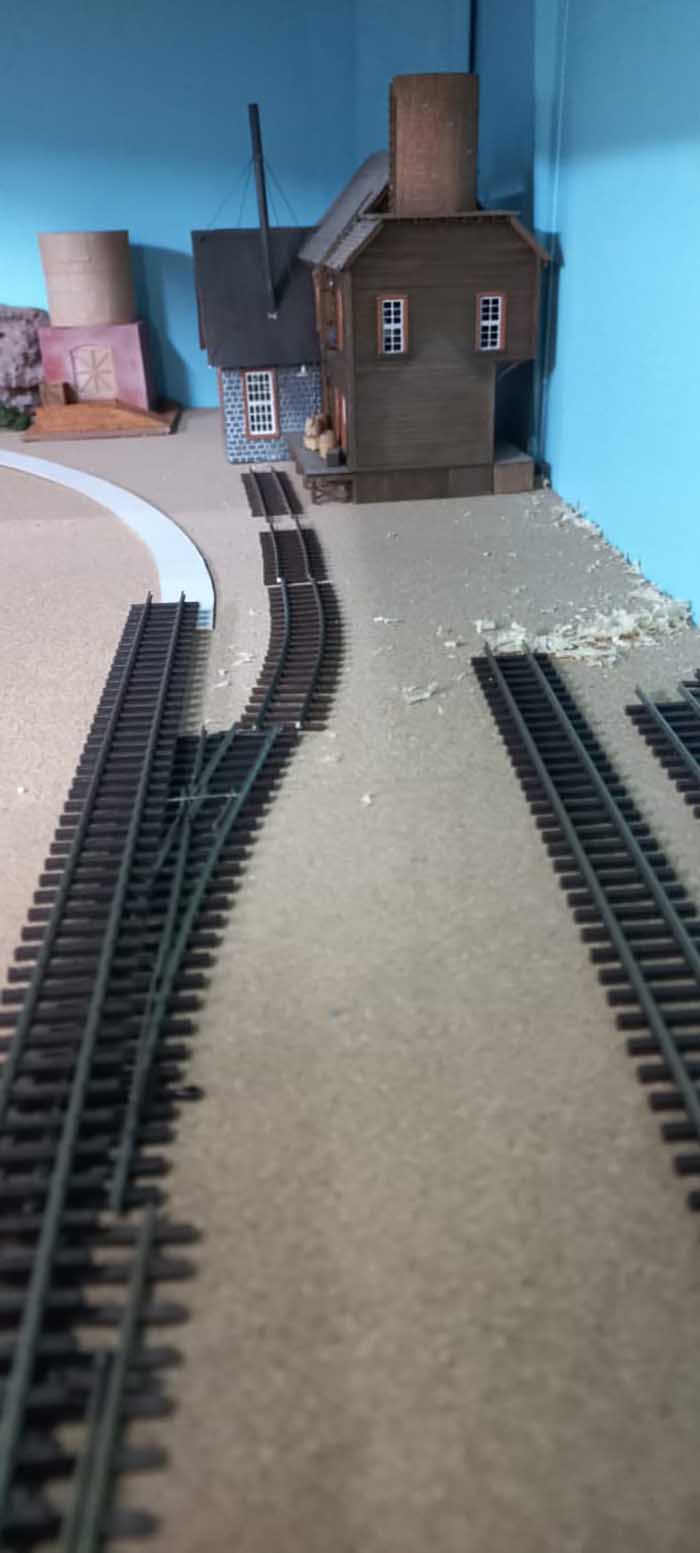
Below is a view of the bottom section allowing for trains to access the yard or down to the turntable and engine facilities.
There will be background buildings along the wall with possibly some form of industry.
The bare wharf in the middle is where my FSM Seafood Emporium will be located as seen in previous posts of the build/kit-bash of it.
This black and white photo taken below looking east showing how it all worked out with the Roundhouse and facilities right at the end of this level.
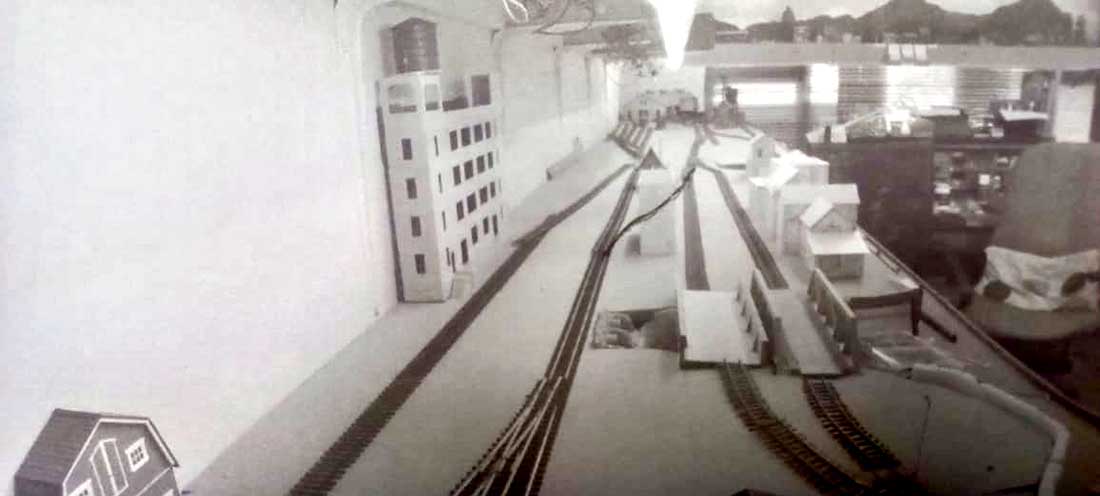
A closer view of the facilities without the buildings in there respective places while working on this section.

Fortunately I was able to purchase two more Blue Point motors for the points that our local hobby shop happened to have in stock.
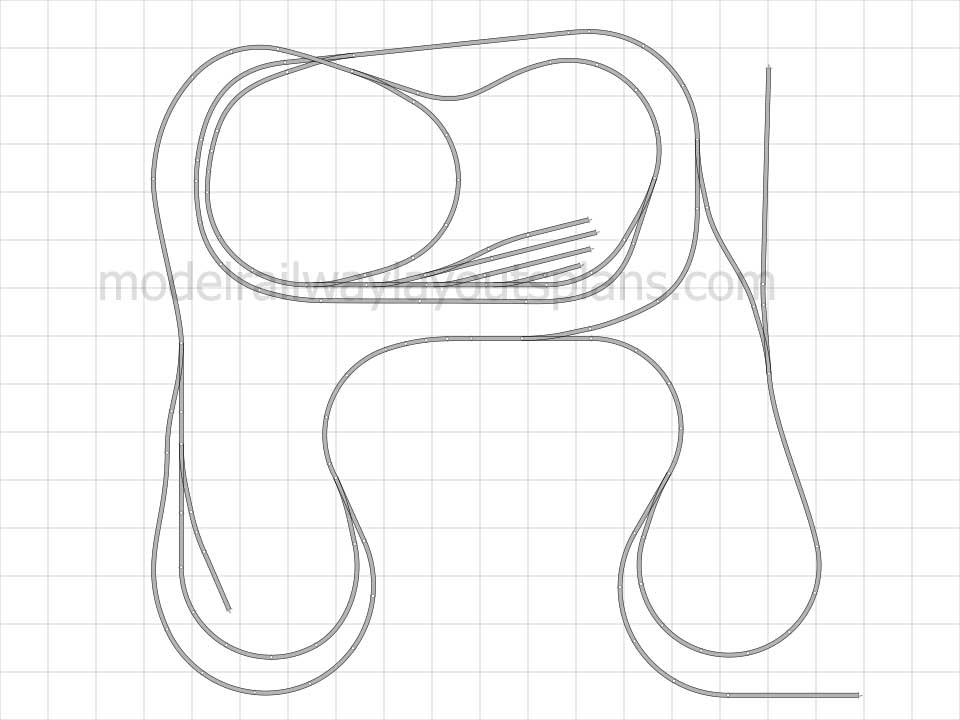
A lesson learned (again) when working on a new layout, is – must have a track plan. (I have a track plan for the other side but not this side 😢😡😢).
Now to get on with the fixing down of the track. 👏
It has been extremely hot here in the past week of temperatures reaching 37c at times and way too hot to work in the train room.
Once again Alastair, keep up the excellent work you are doing for us modellers.
All the best.
Brian – the HOn3 guy in Knysna RSA”
That’s all for today folks. A big thank to the two Brians and Dave.
Please do keep ’em coming.
And if today is the day you stop dreaming and start doing, the Beginner’s Guide is here.
Best
Al
PS Latest ebay cheat sheet is here.
PPS More HO scale train layouts here if that’s your thing.